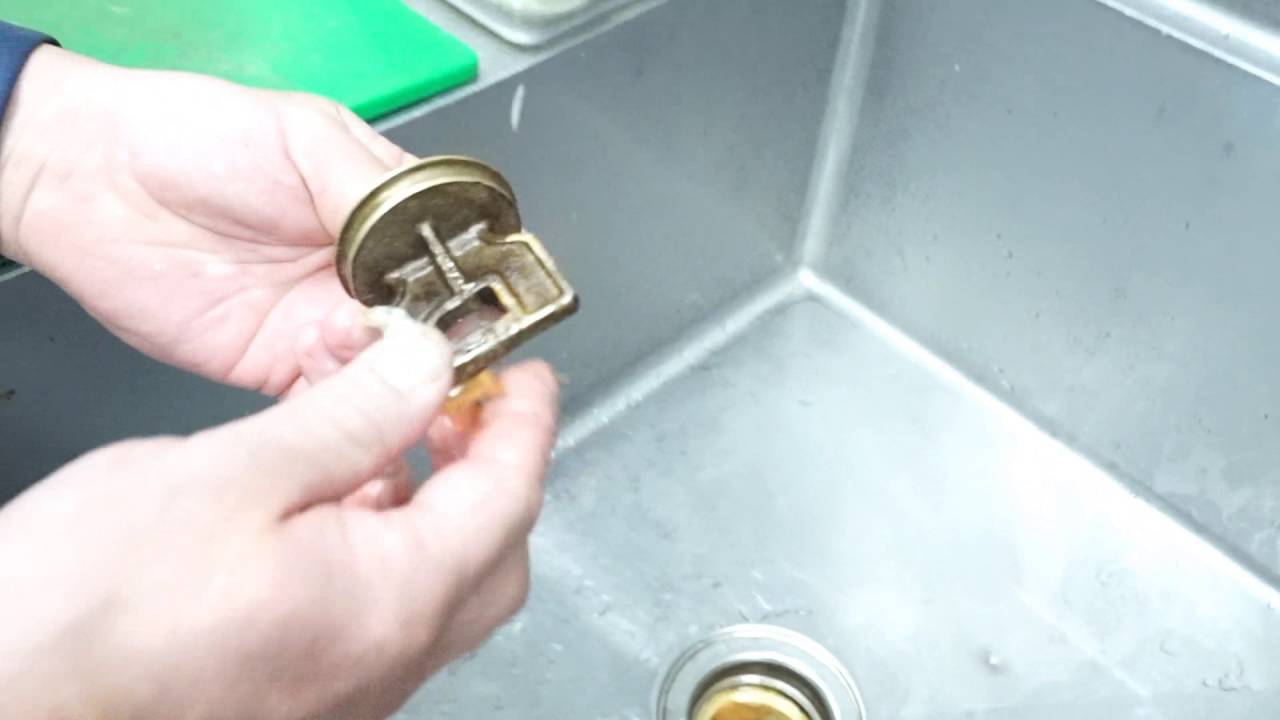
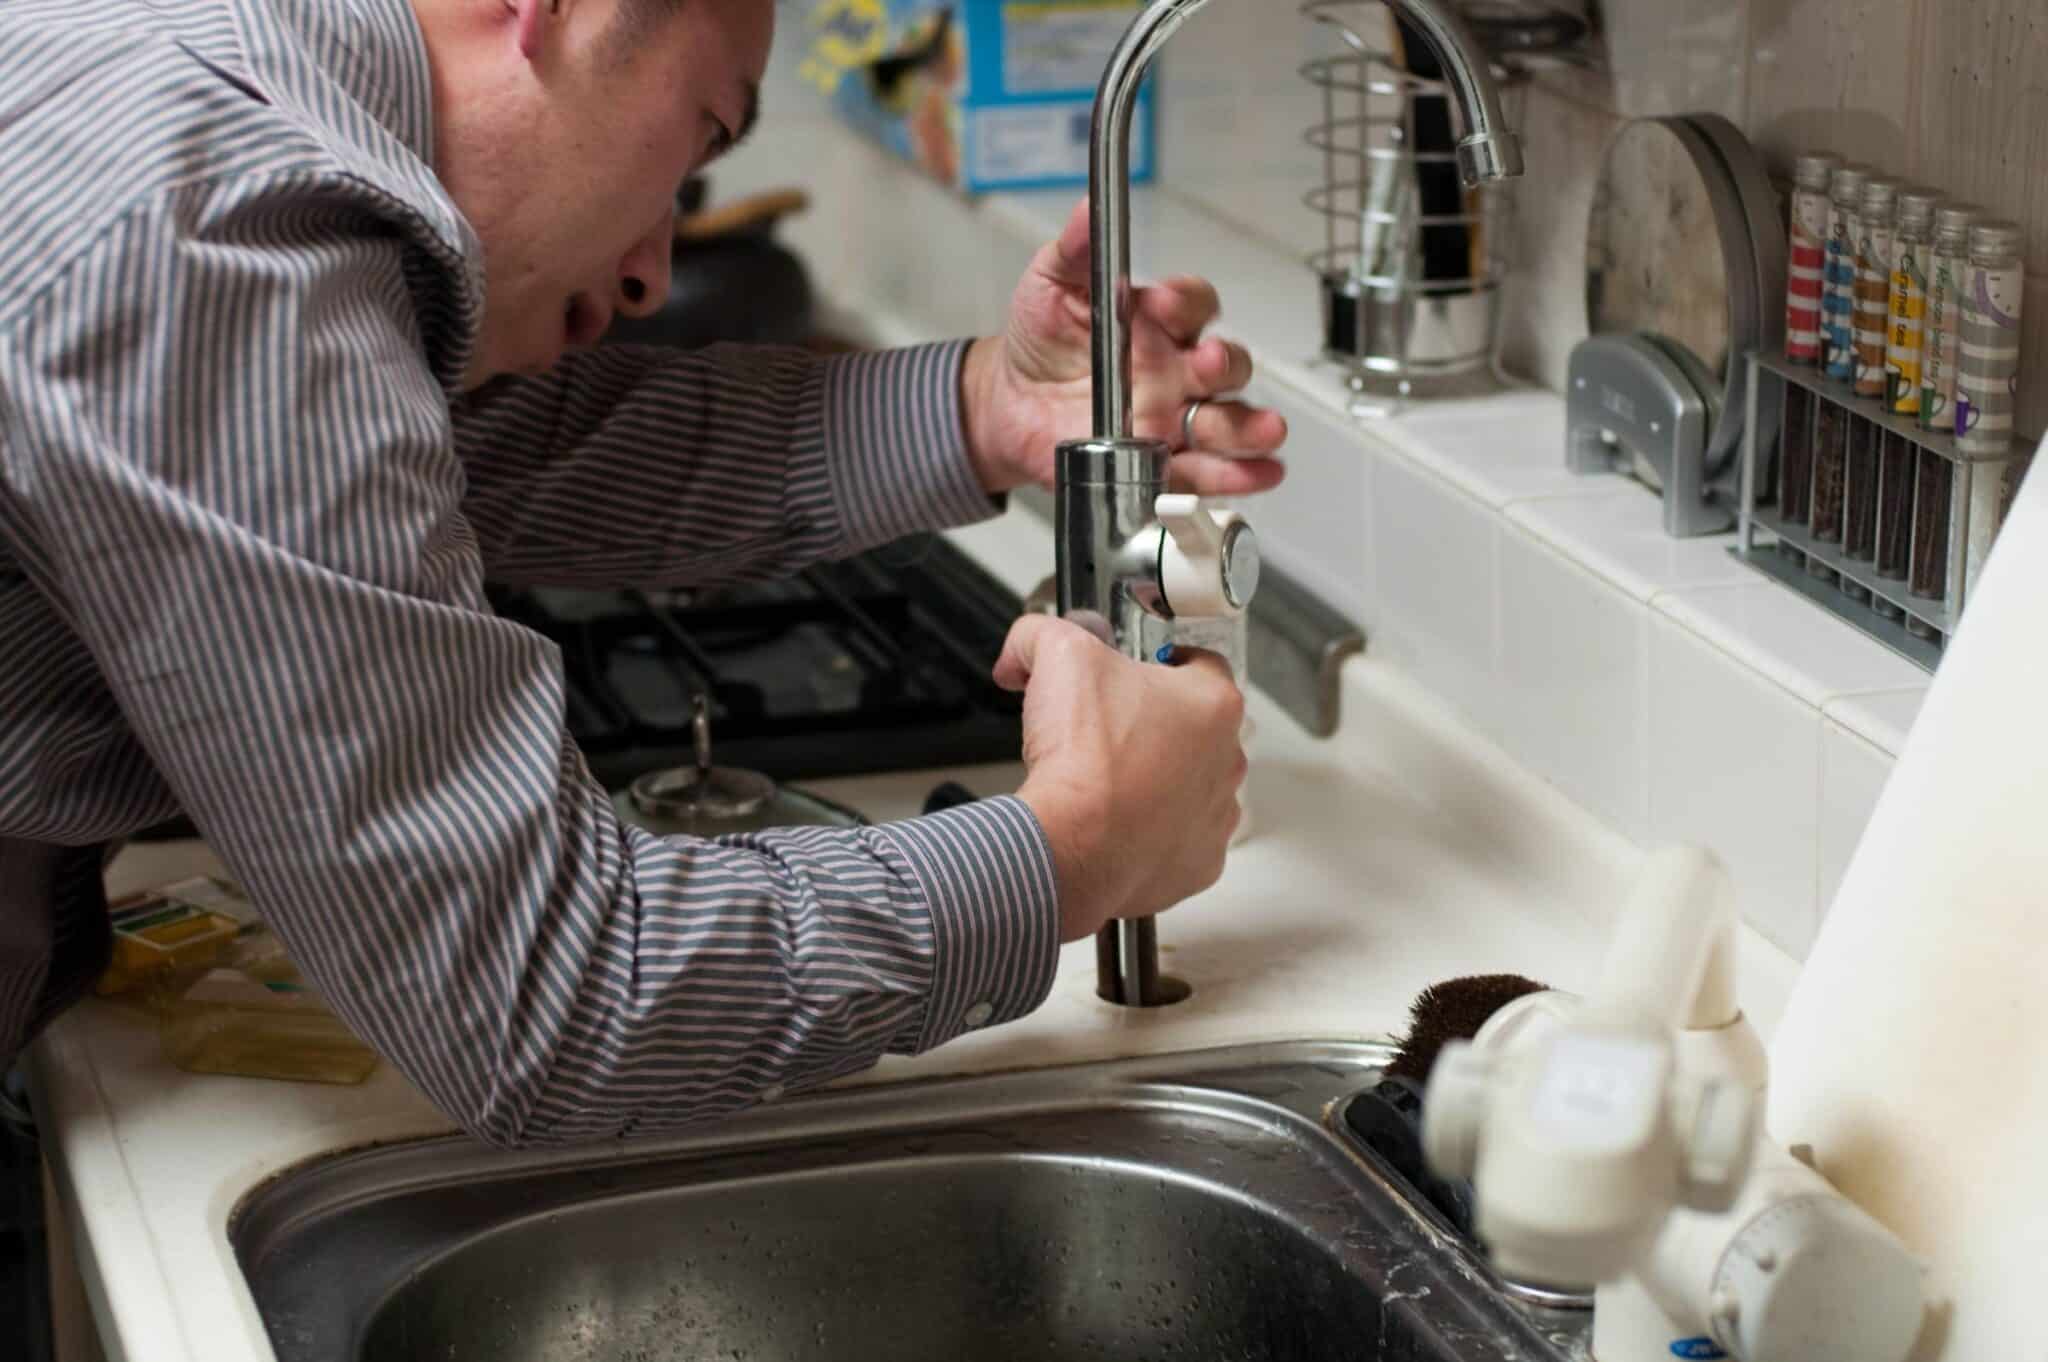
If you notice that your kitchen sink is not draining properly, it may be time to replace the O'Ring in your sink's drain. The O'Ring acts as a seal between the sink and the drain, preventing leaks and keeping the sink functioning properly. Over time, the O'Ring may become worn or damaged, causing it to lose its effectiveness. In this guide, we will walk you through the steps of removing a kitchen sink drain O'Ring and replacing it with a new one.How to Remove a Kitchen Sink Drain O'Ring


How to Remove a Kitchen Sink Drain O'Ring


Replacing a kitchen sink drain O'Ring is a relatively simple DIY task that can save you time and money. Here's what you'll need to do:How to Replace a Kitchen Sink Drain O'Ring


How to Replace a Kitchen Sink Drain O'Ring
/how-to-install-a-sink-drain-2718789-hero-b5b99f72b5a24bb2ae8364e60539cece.jpg)


Replacing a kitchen sink drain O'Ring is a simple task that can be done by most homeowners. By doing it yourself, you can save money on hiring a professional plumber and have the satisfaction of completing a task on your own. Just make sure to follow the steps carefully and take your time to ensure a proper seal.DIY Kitchen Sink Drain O'Ring Replacement

DIY Kitchen Sink Drain O'Ring Replacement


:max_bytes(150000):strip_icc()/how-to-install-a-sink-drain-2718789-hero-24e898006ed94c9593a2a268b57989a3.jpg)

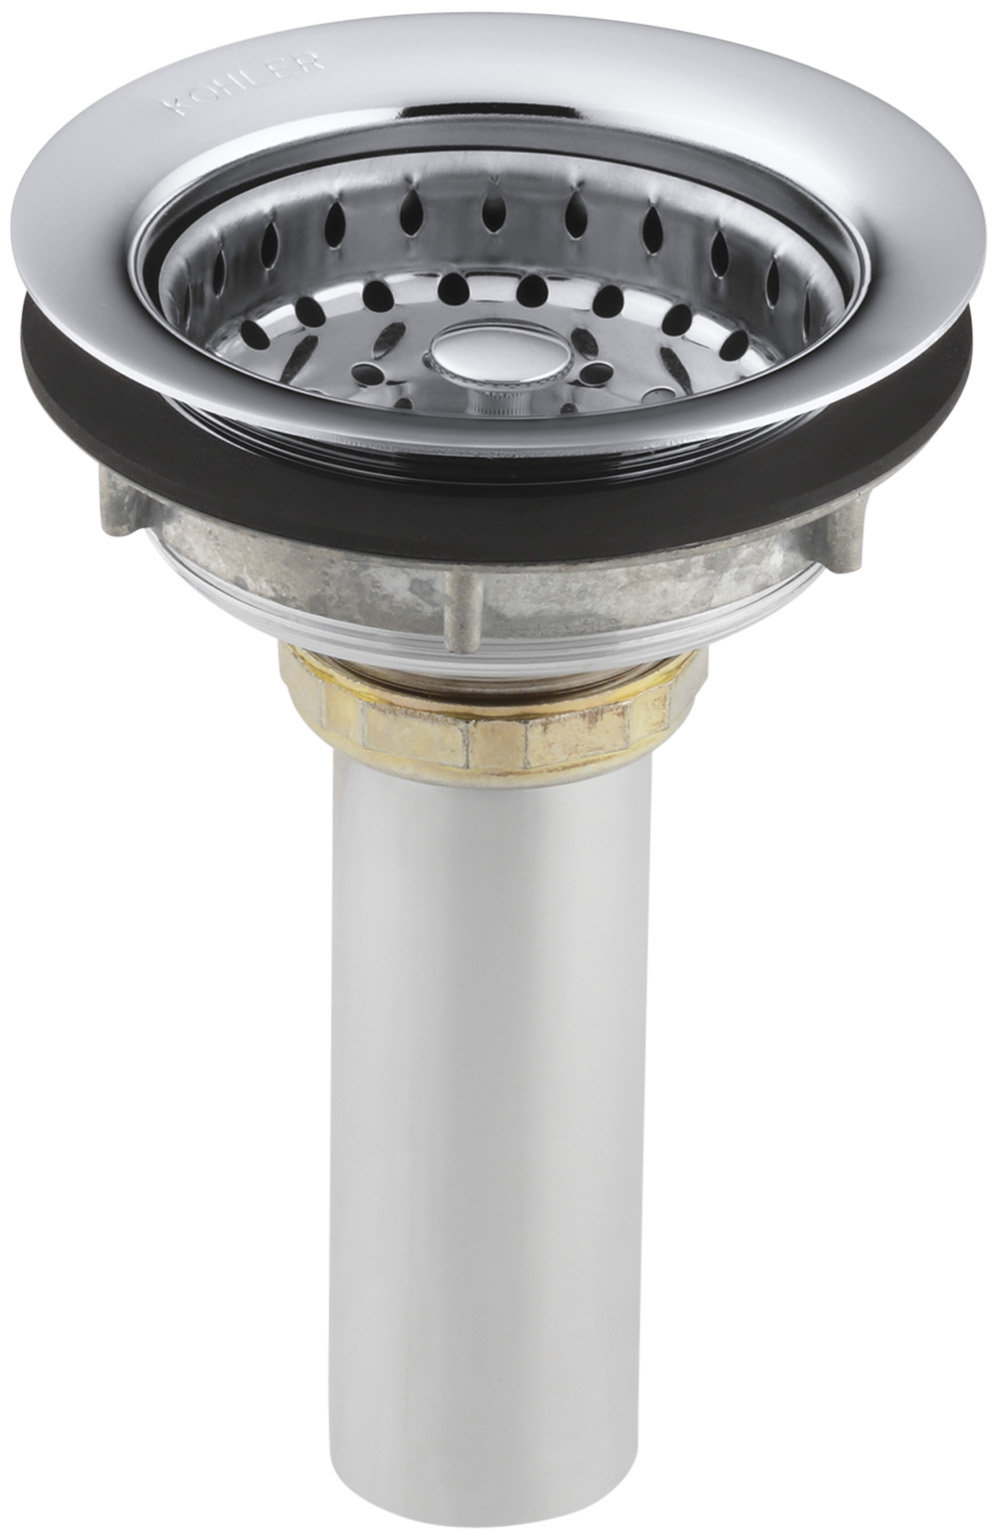
In case you need a more detailed guide, here is a step-by-step breakdown of how to remove a kitchen sink drain O'Ring:Step-by-Step Guide for Removing a Kitchen Sink Drain O'Ring


Step-by-Step Guide for Removing a Kitchen Sink Drain O'Ring


The tools needed for removing a kitchen sink drain O'Ring are minimal and can be found at most hardware stores:Tools Needed for Removing a Kitchen Sink Drain O'Ring


Tools Needed for Removing a Kitchen Sink Drain O'Ring


While removing a kitchen sink drain O'Ring is a relatively straightforward process, there are a few common issues that may arise:Common Issues with Kitchen Sink Drain O'Ring Removal


Common Issues with Kitchen Sink Drain O'Ring Removal


If you encounter a stubborn O'Ring that is difficult to remove, here are a few tips that may help:Tips for Removing a Stubborn Kitchen Sink Drain O'Ring

Tips for Removing a Stubborn Kitchen Sink Drain O'Ring


For visual learners, here is a helpful video tutorial on how to remove a kitchen sink drain O'Ring: Insert link to video tutorial hereVideo Tutorial: How to Remove a Kitchen Sink Drain O'Ring
Video Tutorial: How to Remove a Kitchen Sink Drain O'Ring


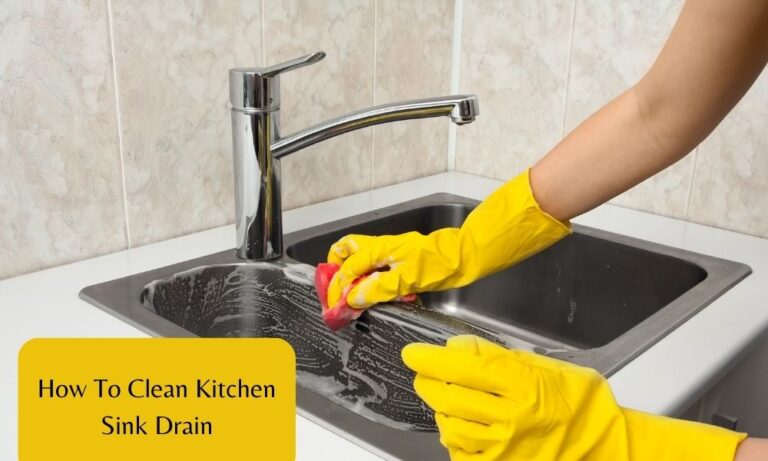
To prevent damage to your sink or drain cover when removing a kitchen sink drain O'Ring, follow these tips:Preventing Damage When Removing a Kitchen Sink Drain O'Ring


Preventing Damage When Removing a Kitchen Sink Drain O'Ring


While some homeowners may feel more comfortable hiring a professional to remove their kitchen sink drain O'Ring, it is a task that can easily be done on your own. By following the steps outlined in this guide, you can save time and money by completing the task yourself. However, if you encounter any issues or do not feel confident in your abilities, it is always best to hire a professional plumber.Professional vs. DIY: Removing a Kitchen Sink Drain O'Ring
Professional vs. DIY: Removing a Kitchen Sink Drain O'Ring


Why Removing the Kitchen Sink Drain O'ring is Essential for a Well-Designed Home

The Importance of Proper Maintenance in House Design
 When it comes to designing a house, every little detail matters. From the color of the walls to the placement of furniture, every decision plays a crucial role in creating a well-designed home. However, one aspect that often gets overlooked is the maintenance of essential fixtures, such as the kitchen sink drain o'ring.
Proper maintenance is crucial for the longevity and functionality of your home
. This includes regularly checking and replacing the kitchen sink drain o'ring, which may seem like a small task but can have a significant impact on the overall design of your house.
When it comes to designing a house, every little detail matters. From the color of the walls to the placement of furniture, every decision plays a crucial role in creating a well-designed home. However, one aspect that often gets overlooked is the maintenance of essential fixtures, such as the kitchen sink drain o'ring.
Proper maintenance is crucial for the longevity and functionality of your home
. This includes regularly checking and replacing the kitchen sink drain o'ring, which may seem like a small task but can have a significant impact on the overall design of your house.
The Role of the Kitchen Sink Drain O'ring
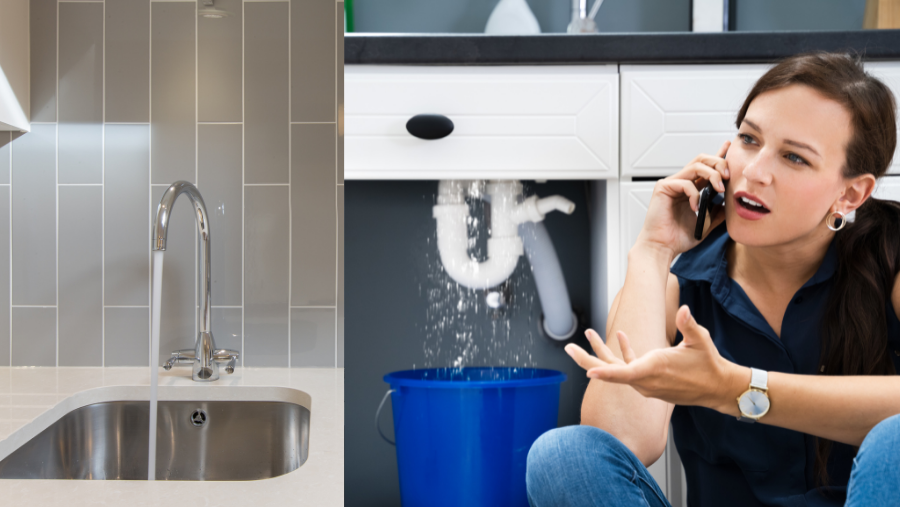
 The kitchen sink drain o'ring is a small rubber ring that sits between the sink and the drain. Its main function is to create a watertight seal, preventing any leaks from occurring. Over time, this seal can weaken or break due to wear and tear, resulting in leaks and potential water damage to your home.
Aside from its practical function, the kitchen sink drain o'ring also plays a vital role in the aesthetics of your kitchen. A worn-out or damaged o'ring can make the sink look dull and unappealing, taking away from the overall design of the space.
The kitchen sink drain o'ring is a small rubber ring that sits between the sink and the drain. Its main function is to create a watertight seal, preventing any leaks from occurring. Over time, this seal can weaken or break due to wear and tear, resulting in leaks and potential water damage to your home.
Aside from its practical function, the kitchen sink drain o'ring also plays a vital role in the aesthetics of your kitchen. A worn-out or damaged o'ring can make the sink look dull and unappealing, taking away from the overall design of the space.
Why Regularly Removing and Replacing the Kitchen Sink Drain O'ring is Necessary
 Removing and replacing the kitchen sink drain o'ring should be a part of your regular maintenance routine
. Doing so not only ensures the functionality of your sink but also helps maintain the design of your kitchen. A new o'ring will create a tight seal, preventing leaks and keeping your sink looking clean and polished.
Moreover, regularly removing the o'ring allows you to clean the area underneath it, preventing the buildup of grime and mold. This not only keeps your kitchen hygienic but also maintains the appearance of your sink, making it a focal point of your kitchen design.
In conclusion,
proper maintenance is key to creating a well-designed home
. By regularly removing and replacing the kitchen sink drain o'ring, you not only ensure the functionality of your sink but also maintain its appearance and contribute to the overall design of your house. So don't forget to add this simple task to your maintenance checklist and enjoy a beautiful, functional kitchen for years to come.
Removing and replacing the kitchen sink drain o'ring should be a part of your regular maintenance routine
. Doing so not only ensures the functionality of your sink but also helps maintain the design of your kitchen. A new o'ring will create a tight seal, preventing leaks and keeping your sink looking clean and polished.
Moreover, regularly removing the o'ring allows you to clean the area underneath it, preventing the buildup of grime and mold. This not only keeps your kitchen hygienic but also maintains the appearance of your sink, making it a focal point of your kitchen design.
In conclusion,
proper maintenance is key to creating a well-designed home
. By regularly removing and replacing the kitchen sink drain o'ring, you not only ensure the functionality of your sink but also maintain its appearance and contribute to the overall design of your house. So don't forget to add this simple task to your maintenance checklist and enjoy a beautiful, functional kitchen for years to come.