How to Remove Caulk from a Kitchen Sink
Removing caulk from a kitchen sink may seem like an intimidating task, but with the right tools and techniques, it can actually be quite simple. Whether you're looking to replace old, discolored caulk or just want to freshen up the appearance of your sink, here's a step-by-step guide on how to remove caulk from a kitchen sink.


How to Remove Caulk from a Kitchen Sink
:max_bytes(150000):strip_icc()/how-to-remove-old-caulk-1824827-01-3d0370c59e124dbbaa6560c68bab111c.jpg)


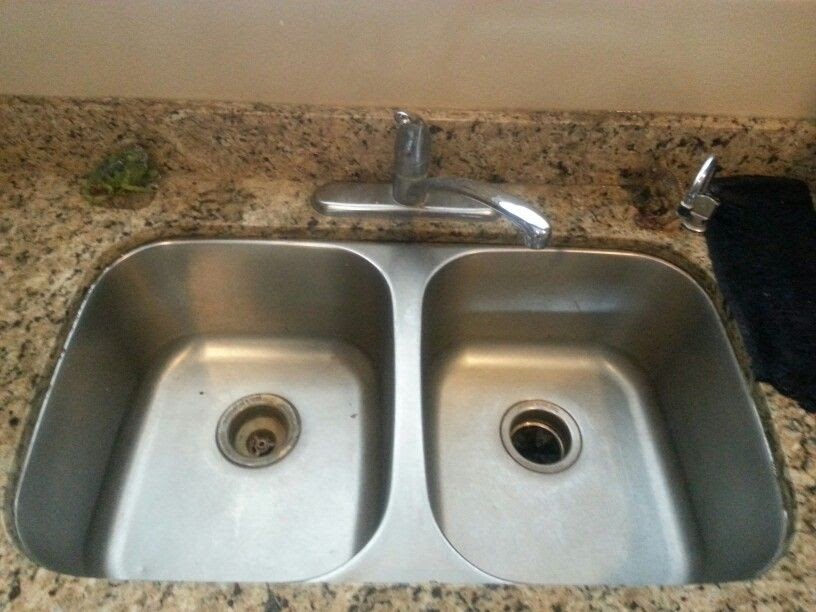
Removing Old Caulk from a Kitchen Sink
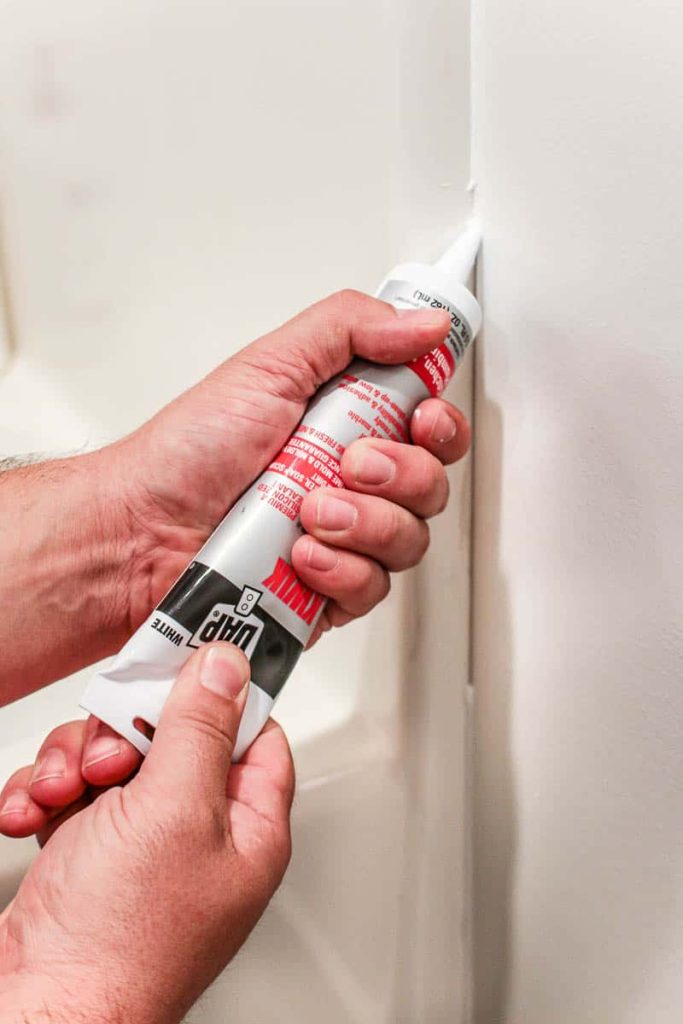
If you're dealing with old, stubborn caulk, don't worry – it's not impossible to remove. Start by using a utility knife or razor blade to cut along the edges of the caulk, being careful not to scratch the surrounding surfaces. Then, use a caulk removal tool or a flat head screwdriver to gently pry up the caulk and remove as much as you can.


Removing Old Caulk from a Kitchen Sink
:max_bytes(150000):strip_icc()/how-to-remove-old-caulk-1824827-01-3d0370c59e124dbbaa6560c68bab111c.jpg)


:max_bytes(150000):strip_icc()/caulk-removal-tool-56ec7f1b3df78ce5f83535fe.jpg)


DIY: Removing Caulk from a Kitchen Sink
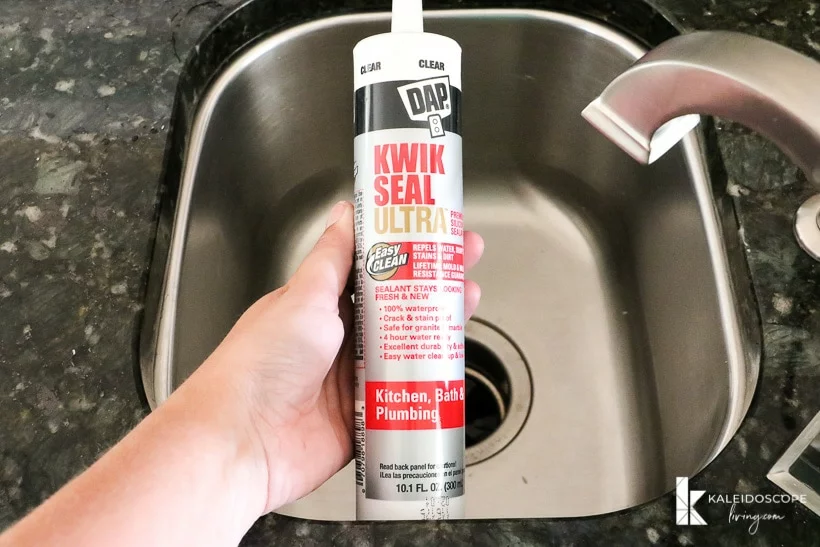
If you're on a budget or just enjoy tackling home improvement projects yourself, you can easily remove caulk from your kitchen sink without hiring a professional. In addition to the aforementioned tools, you'll also need a caulk softener, which can be found at most hardware stores. Apply the softener to the caulk and let it sit for the recommended amount of time before attempting to remove it.


DIY: Removing Caulk from a Kitchen Sink


Step-by-Step Guide to Removing Caulk from a Kitchen Sink
For a more detailed guide on removing caulk from a kitchen sink, follow these steps:
Step 1: Gather your tools and materials, including a utility knife or razor blade, caulk removal tool, flat head screwdriver, caulk softener, and a rag or sponge.
Step 2: Cut along the edges of the caulk with your utility knife or razor blade.
Step 3: Use the caulk removal tool or screwdriver to pry up the caulk and remove as much as you can.
Step 4: Apply the caulk softener to the remaining caulk and let it sit for the recommended amount of time.
Step 5: Use the caulk removal tool or screwdriver to remove the softened caulk.
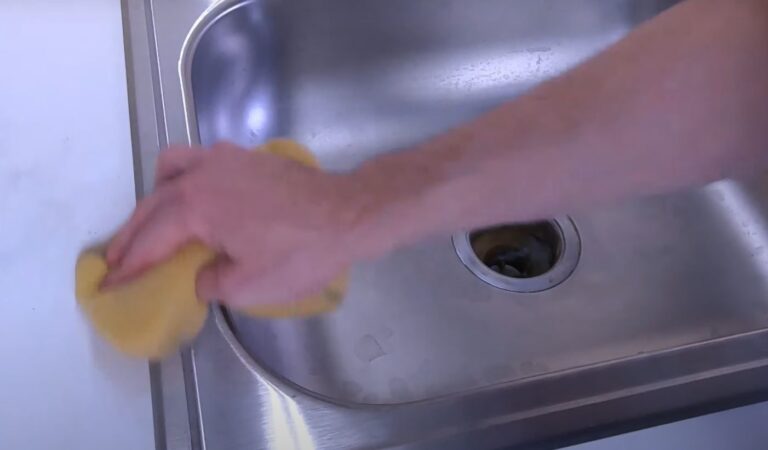
Step 6: Clean the area with a rag or sponge to remove any remaining residue.


Step-by-Step Guide to Removing Caulk from a Kitchen Sink

Best Methods for Removing Caulk from a Kitchen Sink
As mentioned before, using a caulk softener is a great method for removing caulk from a kitchen sink. Additionally, you can also try using a hair dryer to soften the caulk before attempting to remove it. Another effective method is to use a mixture of equal parts vinegar and warm water, which can help dissolve the caulk.


Best Methods for Removing Caulk from a Kitchen Sink


Removing Caulk from a Kitchen Sink: Tips and Tricks
Removing caulk can be a messy and frustrating job, so here are a few tips and tricks to make the process easier:
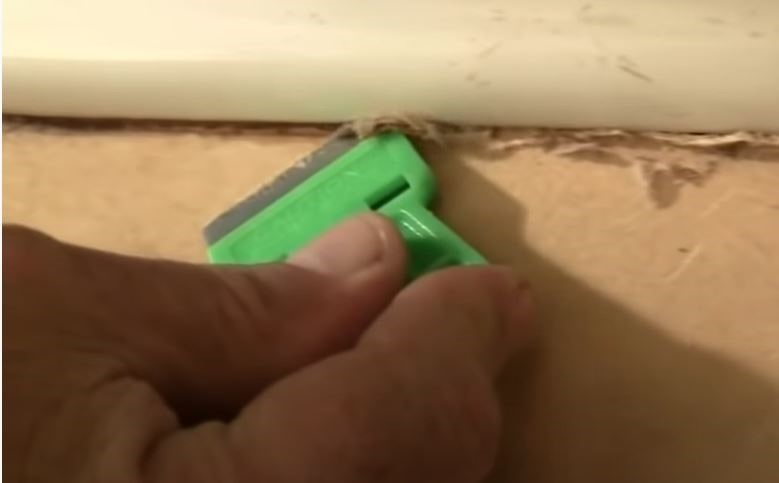
Tip 1: Use a plastic scraper or old credit card to scrape away any excess caulk.
Tip 2: Soak a cloth in hot water and place it over the caulk to soften it before attempting to remove it.
Tip 3: If you're having trouble removing the caulk, try using a caulk removal solvent or adhesive remover.

Removing Caulk from a Kitchen Sink: Tips and Tricks
/caulk-removal-tool-56ec7f1b3df78ce5f83535fe.jpg)

Easy Ways to Remove Caulk from a Kitchen Sink
If you're short on time or just looking for a quick and easy way to remove caulk from your kitchen sink, try using a caulk remover spray. Simply spray the product onto the caulk, wait the recommended amount of time, and wipe away with a cloth or sponge.
Easy Ways to Remove Caulk from a Kitchen Sink


Removing Caulk from a Kitchen Sink: Common Mistakes to Avoid
When removing caulk from a kitchen sink, there are a few common mistakes that can end up making the job more difficult:
Mistake 1: Not using a caulk softener or other removal solution.
Mistake 2: Cutting too deep into the caulk and damaging surrounding surfaces.
Mistake 3: Using too much force and causing scratches or damage to the sink.


Removing Caulk from a Kitchen Sink: Common Mistakes to Avoid


Tools You'll Need to Remove Caulk from a Kitchen Sink
When it comes to removing caulk from a kitchen sink, having the right tools can make all the difference. Here are the tools you'll need to get the job done:
Tool 1: Utility knife or razor blade
Tool 2: Caulk removal tool or flat head screwdriver
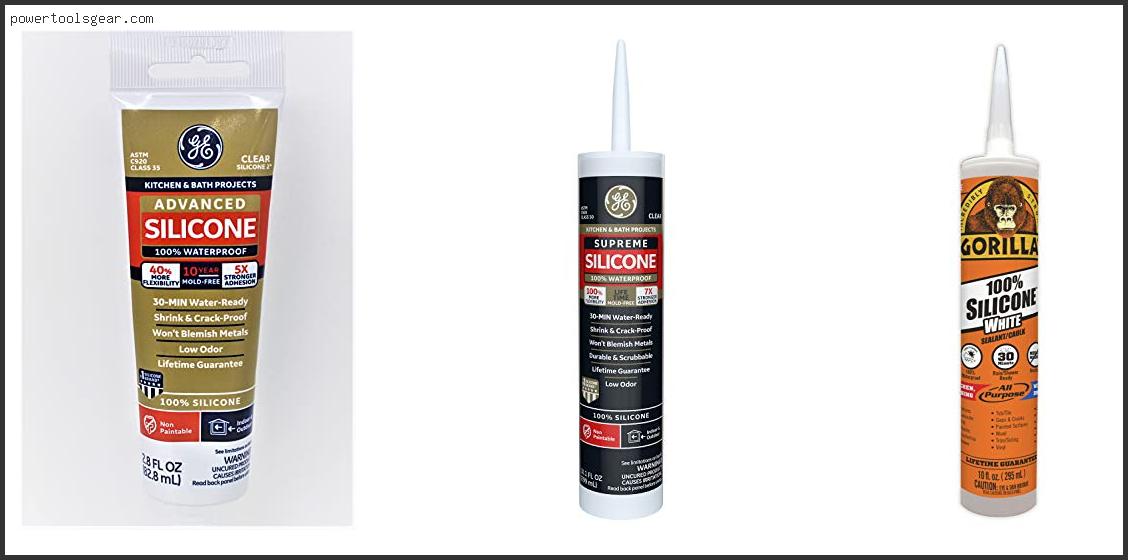
Tool 3: Caulk softener or caulk removal solvent
Tool 4: Hair dryer (optional)
Tool 5: Rag or sponge


Tools You'll Need to Remove Caulk from a Kitchen Sink
:max_bytes(150000):strip_icc()/caulk-removal-tool-56ec7f1b3df78ce5f83535fe.jpg)


Removing Caulk from a Kitchen Sink: Professional vs. DIY
While removing caulk from a kitchen sink can certainly be done as a DIY project, if you're not comfortable with the process or don't have the necessary tools, it may be best to hire a professional. They have the experience and expertise to get the job done efficiently and effectively, without risking damage to your sink or surrounding surfaces.
Now that you know how to remove caulk from a kitchen sink, you can easily give your sink a fresh, clean look. Just be sure to follow these tips and tricks and avoid common mistakes for a successful caulk removal process. With the right tools and techniques, you'll have your sink looking like new in no time.


Removing Caulk from a Kitchen Sink: Professional vs. DIY

Why Removing Caulk from Your Kitchen Sink is Important for a Clean and Functional Space

The Importance of Caulk in Your Kitchen Sink
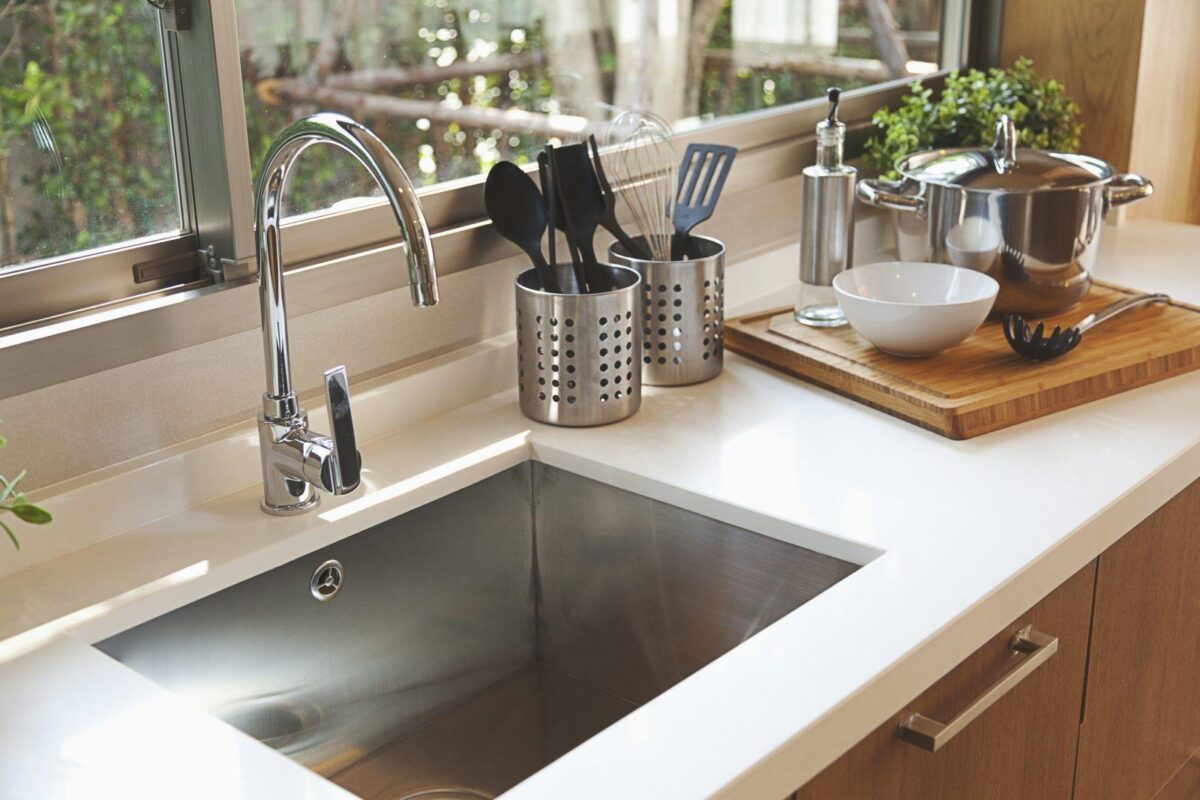
 Caulk is a type of sealing material that is used to fill gaps and cracks, preventing water and air from getting through. In a kitchen sink, caulk is used to seal the area where the sink meets the countertop, creating a waterproof barrier and keeping the sink in place. Over time, however, caulk can become worn out, cracked, or discolored, which not only affects the aesthetics of your kitchen but also compromises the functionality of your sink. That's why it is important to regularly remove and replace caulk in your kitchen sink.
The Benefits of Removing Old Caulk
 Improved Aesthetics:
Old caulk can become discolored and develop mold and mildew, making your kitchen sink look dirty and unhygienic. By removing old caulk, you can give your sink a fresh and clean appearance, instantly improving the overall look of your kitchen.
Prevention of Water Damage:
Cracked or damaged caulk can allow water to seep through and cause damage to your kitchen cabinets and countertops. By removing old caulk and replacing it with new, you can ensure that your kitchen stays free from water damage.
Better Hygiene:
As mentioned earlier, old caulk can develop mold and mildew, which can be a breeding ground for bacteria. This can be a health hazard, especially in a place where food is prepared. By removing old caulk and replacing it with new, you can maintain a clean and hygienic kitchen.
Improved Aesthetics:
Old caulk can become discolored and develop mold and mildew, making your kitchen sink look dirty and unhygienic. By removing old caulk, you can give your sink a fresh and clean appearance, instantly improving the overall look of your kitchen.
Prevention of Water Damage:
Cracked or damaged caulk can allow water to seep through and cause damage to your kitchen cabinets and countertops. By removing old caulk and replacing it with new, you can ensure that your kitchen stays free from water damage.
Better Hygiene:
As mentioned earlier, old caulk can develop mold and mildew, which can be a breeding ground for bacteria. This can be a health hazard, especially in a place where food is prepared. By removing old caulk and replacing it with new, you can maintain a clean and hygienic kitchen.
The Process of Removing Caulk from Your Kitchen Sink
 Now that we understand the importance of removing old caulk, let's take a look at the process of doing so. The first step is to gather all the necessary tools, including a putty knife, caulk remover, and a caulk gun. Next, use the putty knife to scrape away as much of the old caulk as possible. Then, apply the caulk remover to the remaining caulk and let it sit for the recommended amount of time. Finally, use the putty knife or a scrub brush to remove the rest of the caulk, and clean the area with a mildew cleaner.
Conclusion
 In conclusion, removing old caulk from your kitchen sink is essential for maintaining a clean, functional, and visually appealing space. By regularly removing and replacing caulk, you can prevent water damage, improve hygiene, and enhance the overall look of your kitchen. So, don't neglect this important task and keep your kitchen sink in top condition.