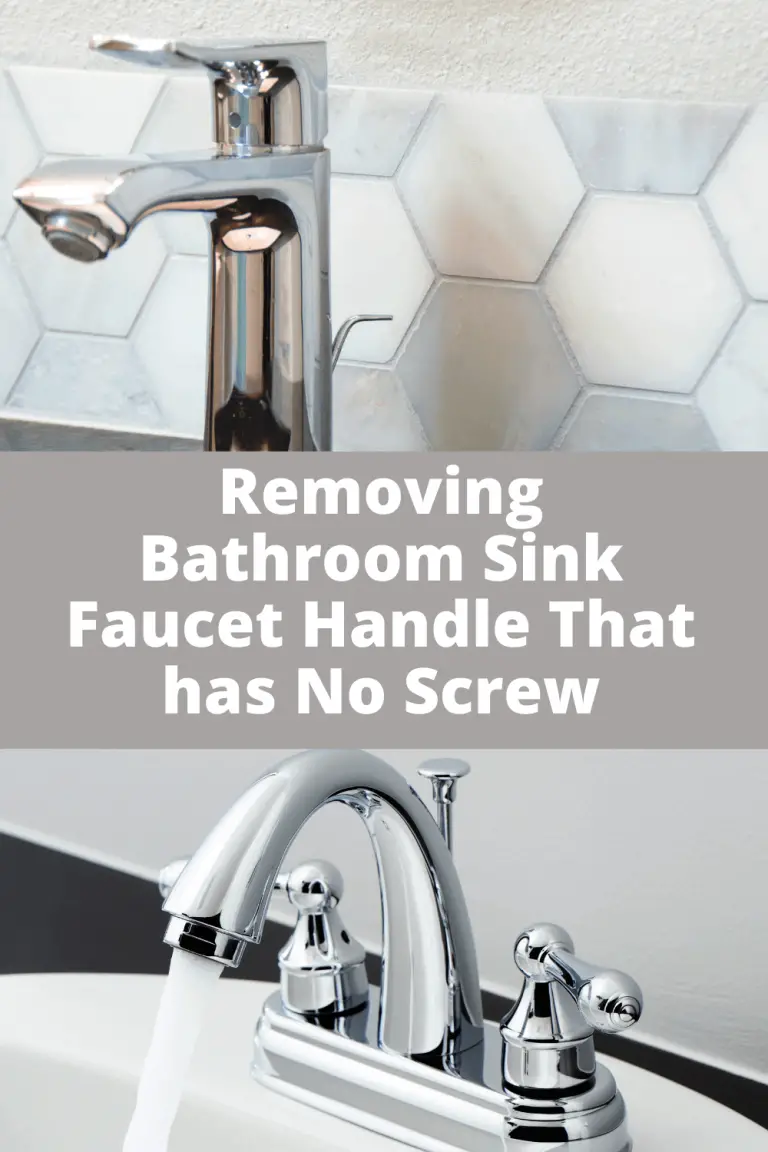
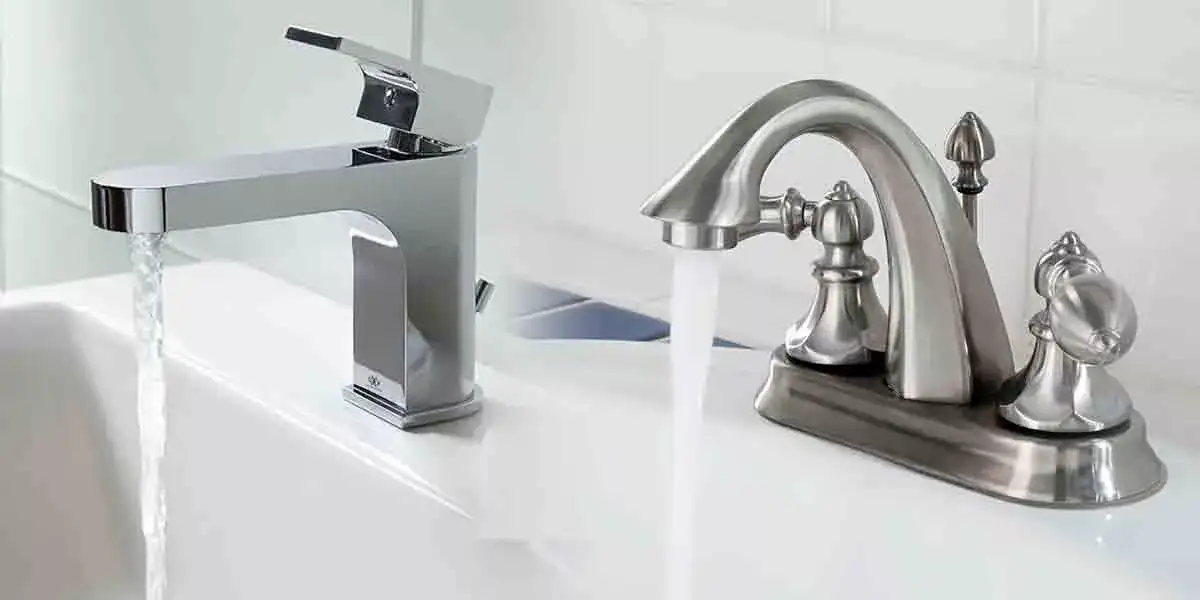
Removing bathroom sink screws may seem like a daunting task, but with the right tools and techniques, it can be a simple and hassle-free process. Whether you’re looking to replace your old sink or just need to fix a leak, knowing how to remove bathroom sink screws is an essential skill for any DIY enthusiast. In this guide, we’ll show you the best methods for removing bathroom sink screws without damaging your sink.How to Remove Bathroom Sink Screws


How to Remove Bathroom Sink Screws

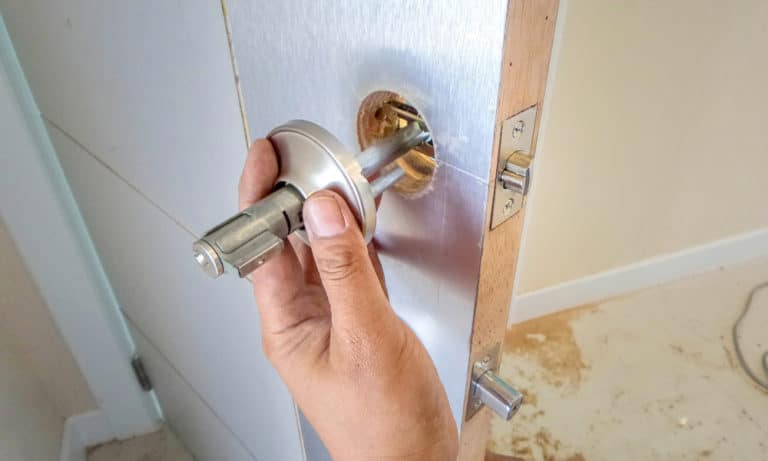
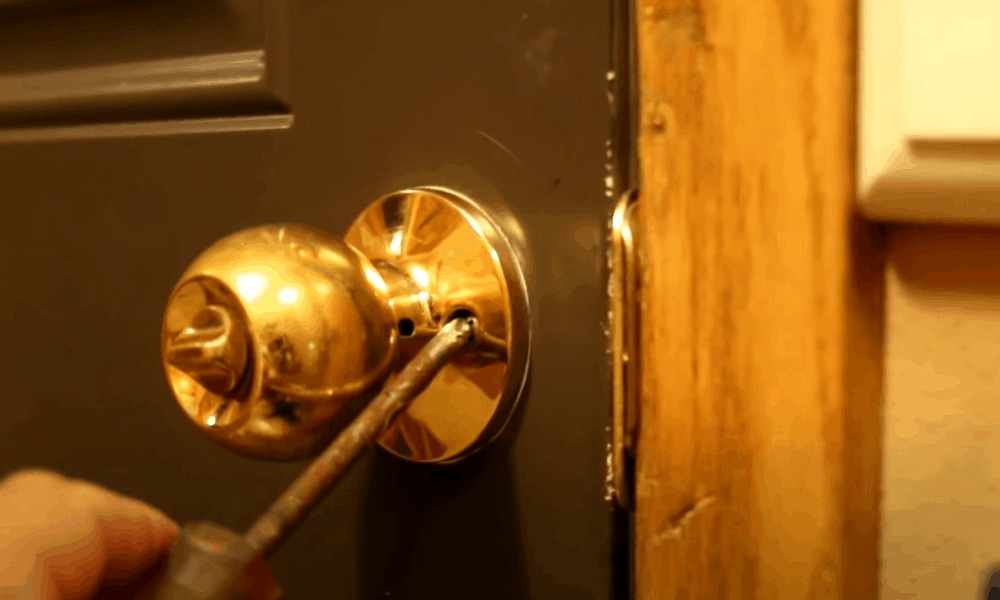
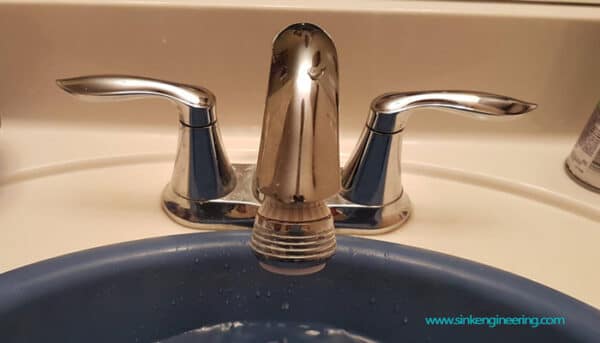
Before you start removing your bathroom sink screws, make sure you have all the necessary tools at hand. This includes a screwdriver, pliers, and possibly a power drill or screw extractor. Once you have everything you need, follow these steps: Step 1: Locate the screws underneath your sink. These are usually located at the top of the sink, near the back wall. Depending on the design of your sink, there may be two or four screws holding it in place. Step 2: Use a screwdriver to loosen the screws. If the screws are rusty or difficult to remove, you may need to use a penetrating oil or rust remover to loosen them up. Step 3: If the screws are stuck or stripped, try using pliers to grip the head of the screw and turn it counterclockwise. This should help loosen it enough to remove it with the screwdriver. Step 4: Once the screws are removed, gently lift the sink off the vanity or countertop. If the sink is still attached, check for any additional screws that may be holding it in place. Step 5: Once the sink is removed, you can easily access the pipes and plumbing underneath for any repairs or replacements.Removing Bathroom Sink Screws: A Step-by-Step Guide


Removing Bathroom Sink Screws: A Step-by-Step Guide


If you’re a DIY enthusiast, you’ll be happy to know that removing bathroom sink screws is a relatively simple task that you can do yourself. With the right tools and some basic knowledge, you can easily remove your old sink and replace it with a new one. To start, make sure you have all the necessary tools, as mentioned in the previous section. You’ll also need some towels or rags to protect your vanity or countertop from scratches or damage. Follow the step-by-step guide mentioned above, and you should have no trouble removing your bathroom sink screws. However, if you encounter any difficulties, don’t hesitate to call a professional plumber for assistance.DIY: Removing Bathroom Sink Screws


DIY: Removing Bathroom Sink Screws


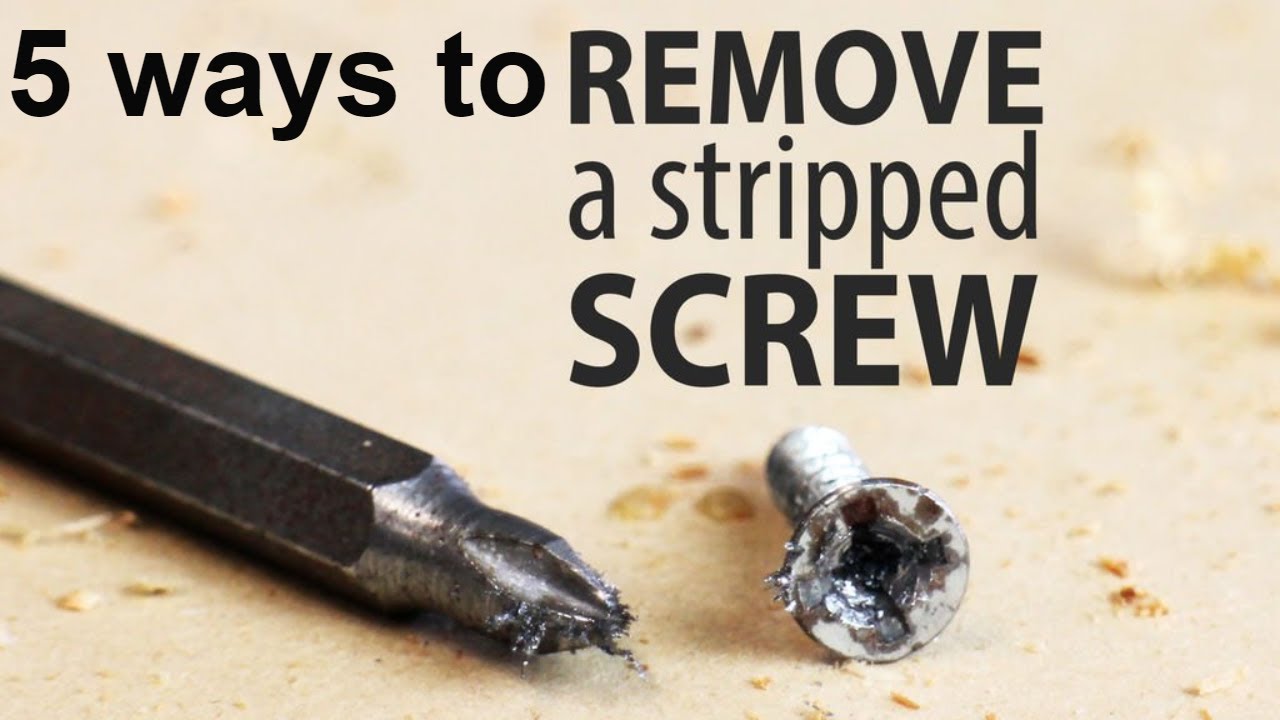
One of the biggest concerns when removing bathroom sink screws is damaging the sink itself. This is especially true if you have an older sink that may have rusted or corroded screws. To avoid any damage, follow these tips: Use a penetrating oil or rust remover to loosen stubborn screws. This will make it easier to remove the screws without putting too much pressure on the sink. Use pliers to grip the head of the screw. This will help prevent the screwdriver from slipping and causing any scratches or dents on the sink. Protect the sink with towels or rags. Place these underneath the sink and around the edges to prevent any accidental damage while removing the screws. Be gentle and patient. It’s important to take your time and be careful when removing bathroom sink screws to avoid any mishaps.Removing Bathroom Sink Screws Without Damaging Your Sink


Removing Bathroom Sink Screws Without Damaging Your Sink


If you’re short on time or don’t have the necessary tools, there is a quick and easy way to remove bathroom sink screws. All you need is a power drill and a screw extractor. Step 1: Attach the screw extractor to your power drill. Step 2: Place the extractor on the head of the screw and slowly drill it into the screw. Step 3: Once the extractor is securely in the screw, turn the drill counterclockwise to remove the screw. Step 4: Repeat this process for all the screws until they are all removed. Using a screw extractor is a quick and efficient way to remove bathroom sink screws, but it may not be suitable for all types of screws. If you encounter any difficulties, it’s best to call a professional for assistance.Quick and Easy Way to Remove Bathroom Sink Screws


Quick and Easy Way to Remove Bathroom Sink Screws


Rusty bathroom sink screws can be a nightmare to remove, but with the right tools and techniques, it is possible to get them out without causing any damage. Here’s how: Use a rust remover. This will help loosen the screws and make them easier to remove. Use a power drill with a wire brush attachment. This can help remove any rust or corrosion around the screws. Be patient. Removing rusty screws may take longer than usual, so it’s important to be patient and not rush the process.Removing Rusty Bathroom Sink Screws

Removing Rusty Bathroom Sink Screws


To remove bathroom sink screws, you’ll need the following tools: Screwdriver - for loosening and removing the screws. Pliers - for gripping and turning stuck or stripped screws. Power drill - for quick and efficient removal of screws. Screw extractor - for removing stubborn or stripped screws. Rust remover - for loosening rusty screws. Wire brush attachment - for removing rust and corrosion around screws.Tools You Need to Remove Bathroom Sink Screws


Tools You Need to Remove Bathroom Sink Screws

Using a power drill is a quick and efficient way to remove bathroom sink screws, especially if you have a lot of screws to remove. Here’s how to do it: Attach the appropriate drill bit. The size of the drill bit should match the size of the screw head. Place the drill bit on the screw head and slowly drill into it. This will loosen the screw and make it easier to remove. Once the screw is loose, turn the drill counterclockwise to remove it.Removing Bathroom Sink Screws with a Power Drill


Removing Bathroom Sink Screws with a Power Drill

If you have stubborn or stripped screws that cannot be removed with a screwdriver or power drill, a screw extractor is your best bet. Here’s how to use it: Attach the screw extractor to your power drill. Place the extractor on the head of the screw and slowly drill into it. Once the extractor is securely in the screw, turn the drill counterclockwise to remove the screw. Repeat this process for all the screws until they are all removed.Removing Bathroom Sink Screws with a Screw Extractor


Removing Bathroom Sink Screws with a Screw Extractor


:max_bytes(150000):strip_icc()/remove-a-broken-screw-with-an-extractor-1824847_02_extractscrew-141c4432b097415ebc894c7c621d11dd.jpg)
:max_bytes(150000):strip_icc()/remove-a-broken-screw-with-an-extractor-1824847_hero-f6a746d3dee04979bd710dcd1780cd1f.jpg)
When it comes to removing bathroom sink screws, there are a few common mistakes that people make. These include: Using the wrong tools. Using the wrong tools can cause damage to your sink or make the process more difficult than it needs to be. Being too forceful. Applying too much pressure or force when removing screws can cause damage to your sink or strip the screws. Not protecting the sink. It’s important to protect your sink with towels or rags to avoid any accidental damage while removing the screws. Not being patient. Rushing the process can lead to mistakes and potential damage to your sink. By avoiding these common mistakes, you can safely and successfully remove your bathroom sink screws without any issues.Removing Bathroom Sink Screws: Common Mistakes to Avoid


Removing Bathroom Sink Screws: Common Mistakes to Avoid


How to Remove Bathroom Sink Screws: A Step-by-Step Guide

Introduction
 When it comes to house design, every detail matters. From the color of the walls to the type of furniture, every element contributes to the overall aesthetic of a home. One essential part of house design that often goes unnoticed is the bathroom sink. It may seem like a small feature, but it can make a big impact on the look and feel of a bathroom. However, there are times when you may need to remove your bathroom sink, whether it's for a renovation or a repair. And one of the most challenging tasks in this process is removing the sink screws. In this article, we will guide you on how to remove bathroom sink screws effectively and efficiently.
Step 1: Gather Your Tools
 Before starting the process, make sure to gather all the necessary tools. This will save you time and frustration later on. You will need a screwdriver, a pair of pliers, a wrench, and a bucket or a bowl to catch any water that may still be in the sink pipes.
Step 2: Turn Off the Water Supply
 Before removing the sink, it's crucial to turn off the water supply. Locate the shut-off valves under the sink and turn them clockwise to shut off the water flow. If you can't find them, you may need to turn off the main water supply to your home.
Step 3: Remove the Drain Pipe
 Using a wrench, loosen the nuts that connect the drain pipe to the sink. Then, carefully remove the pipe and let any remaining water drain into the bowl or bucket.
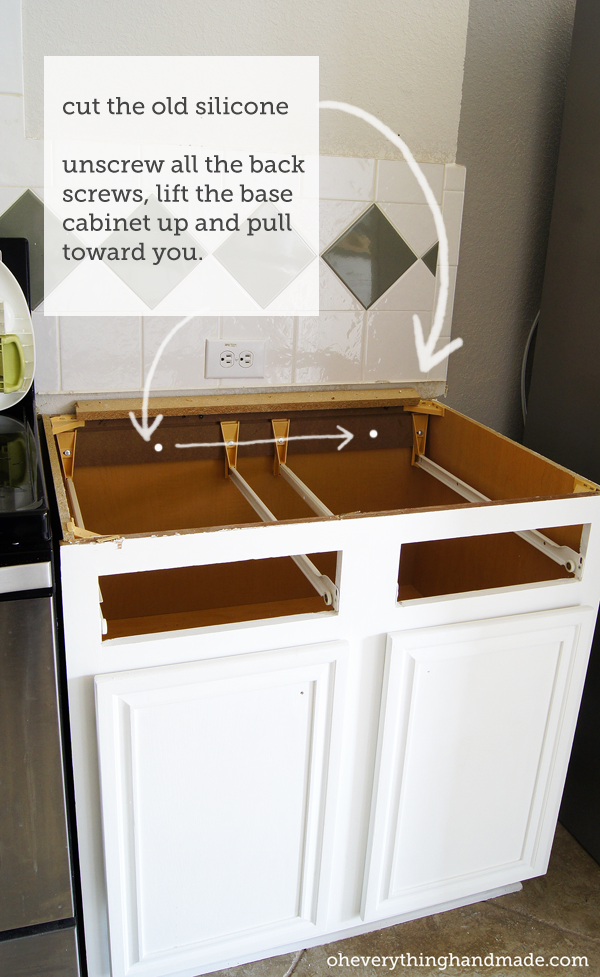
Step 4: Loosen the Sink Clips
 Most bathroom sinks are held in place by clips attached to the underside of the countertop. These clips can be loosened with a screwdriver. If the sink is still too tight, you can use pliers to loosen the clips further.
Step 5: Remove the Sink Screws
 With the sink now loose, you can easily access the screws that hold it in place. Use a screwdriver to remove these screws. If the screws are rusted or stuck, you can use a lubricant to loosen them.
Step 6: Lift the Sink
 Once the screws are removed, you can now lift the sink out of the countertop. Be careful not to damage the countertop or the sink in the process.
Conclusion
 Removing bathroom sink screws may seem like a daunting task, but with the right tools and techniques, it can be done efficiently. Following these steps, you can easily remove your bathroom sink without any hassle. Remember to take your time and be patient, and you'll have your sink removed in no time. And if you encounter any difficulties, don't hesitate to call a professional for assistance. Happy house designing!