Are you experiencing a clogged bathroom sink? Do you need to replace your old drain parts? Removing bathroom sink drain parts may seem like a daunting task, but with the right tools and knowledge, you can easily tackle this DIY project. In this guide, we'll walk you through the steps of removing your bathroom sink drain parts and provide you with essential tips and best practices to ensure a successful removal process. How to Remove Bathroom Sink Drain Parts


How to Remove Bathroom Sink Drain Parts


Before you begin, it's important to gather all the necessary tools and materials. You'll need a pair of pliers, a screwdriver, a bucket, and a new drain kit. It's also recommended to have some towels or rags on hand to protect your sink and prevent any potential mess. Bathroom Sink Drain Parts Removal Guide


Bathroom Sink Drain Parts Removal Guide


If you're a DIY enthusiast, you'll be happy to know that removing bathroom sink drain parts is a relatively simple process that you can do on your own. The first step is to locate the drain under your sink. You can find it by looking for the U-shaped pipe connected to the bottom of your sink. DIY: Removing Bathroom Sink Drain Parts


DIY: Removing Bathroom Sink Drain Parts


Now, let's get into the step-by-step process of removing your bathroom sink drain parts: Step-by-Step Guide for Removing Bathroom Sink Drain Parts


Step-by-Step Guide for Removing Bathroom Sink Drain Parts

Having the right tools is crucial for a successful bathroom sink drain parts removal. In addition to the tools mentioned earlier, you may also need a drain wrench, a drain snake, and a hacksaw if you encounter any stubborn or damaged parts. Essential Tools for Removing Bathroom Sink Drain Parts


Essential Tools for Removing Bathroom Sink Drain Parts

:max_bytes(150000):strip_icc()/bathroom-sink-drain-installation-2718843-02-61e5ecbee1e949be8d8f45ac4f5a6797.jpg)

Here are some tips to help you avoid any potential damage to your sink while removing the drain parts: Tips for Removing Bathroom Sink Drain Parts Without Damaging Your Sink


Tips for Removing Bathroom Sink Drain Parts Without Damaging Your Sink


Removing bathroom sink drain parts may not always go smoothly. Here are some common issues you may encounter and how to troubleshoot them: Troubleshooting Common Issues When Removing Bathroom Sink Drain Parts

Troubleshooting Common Issues When Removing Bathroom Sink Drain Parts
To ensure a successful bathroom sink drain parts removal, here are some best practices to keep in mind: Best Practices for Removing Bathroom Sink Drain Parts

Best Practices for Removing Bathroom Sink Drain Parts
Safety should always be a top priority when working on any DIY project. Here are some safety tips to keep in mind when removing your bathroom sink drain parts: How to Safely Remove Bathroom Sink Drain Parts
How to Safely Remove Bathroom Sink Drain Parts


Now that you know how to remove bathroom sink drain parts, you can confidently tackle this DIY project. Remember to gather all the necessary tools, follow the step-by-step guide, and use the tips and best practices provided to ensure a successful removal process. If you encounter any challenges, don't hesitate to seek professional help. Happy DIYing! Removing Bathroom Sink Drain Parts: What You Need to Know

Removing Bathroom Sink Drain Parts: What You Need to Know


How to Efficiently Remove Bathroom Sink Drain Parts for a Clean and Functional Bathroom

The Importance of Maintaining Your Bathroom Sink
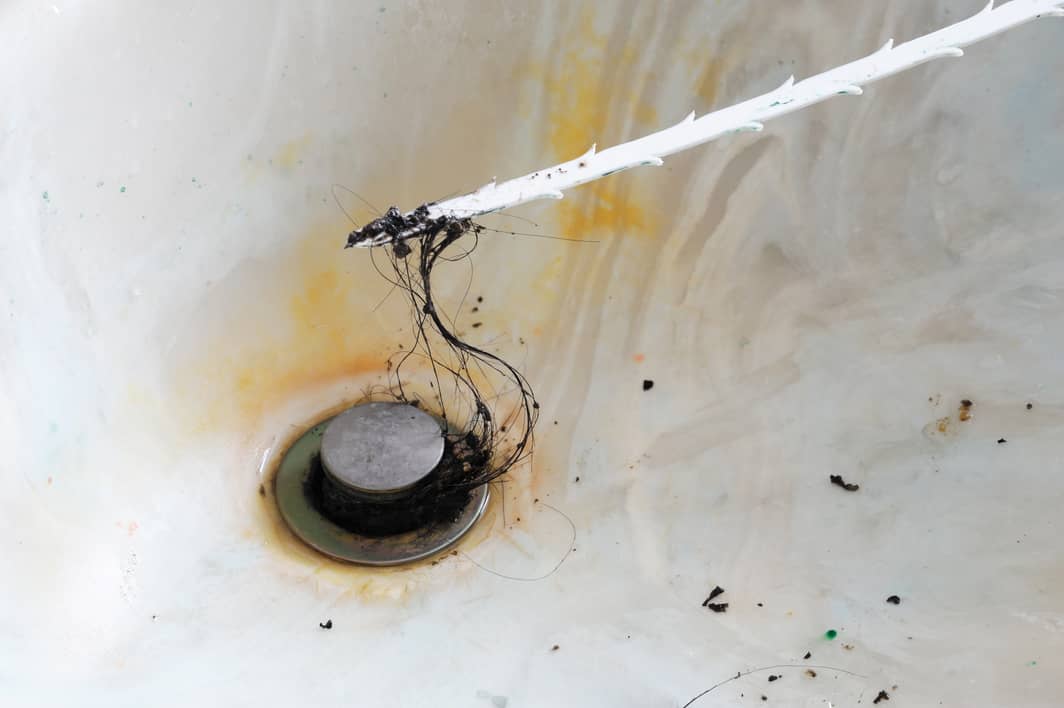
 Your bathroom sink is an essential part of your daily routine, providing you with a convenient and hygienic space to wash your hands, brush your teeth, and take care of personal grooming tasks. However, over time, the buildup of hair, soap scum, and other debris can clog your sink drain, leading to unpleasant odors and even water backup. In order to keep your bathroom sink clean and functional, it is important to regularly remove and clean its drain parts.
Step-by-Step Guide to Removing Bathroom Sink Drain Parts
 Step 1: Gather Your Tools and Materials
Before starting the process, make sure you have all the necessary tools and materials. These may include a pair of pliers, a screwdriver, a drain snake, a bucket, rubber gloves, and a cleaning solution.
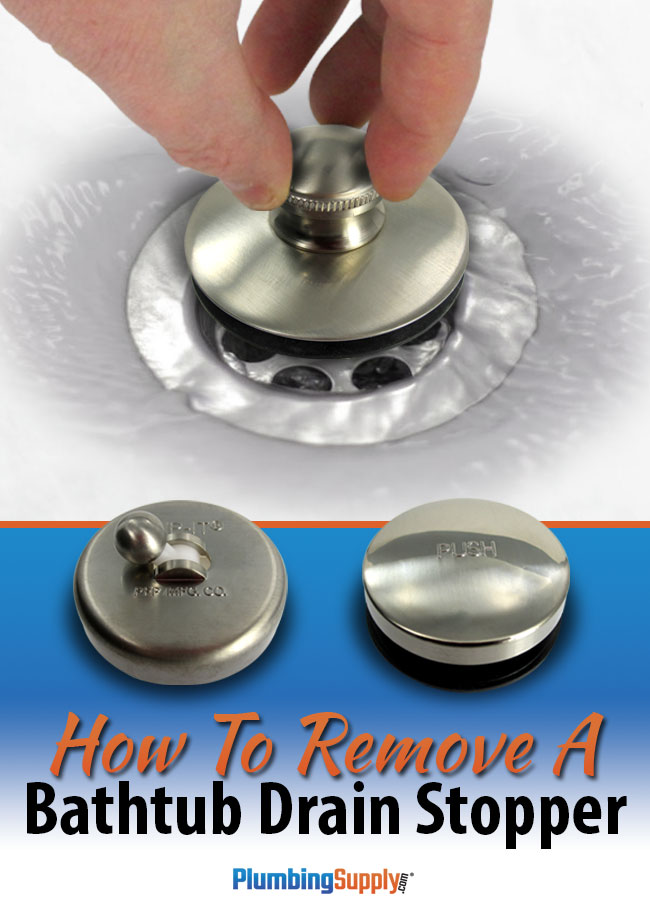
Step 2: Locate the Drain Stopper
In most bathroom sinks, the drain stopper can be found in the sink basin, either in the center or towards the back. It may be connected to a lever or knob on the faucet or have a separate mechanism to open and close it.
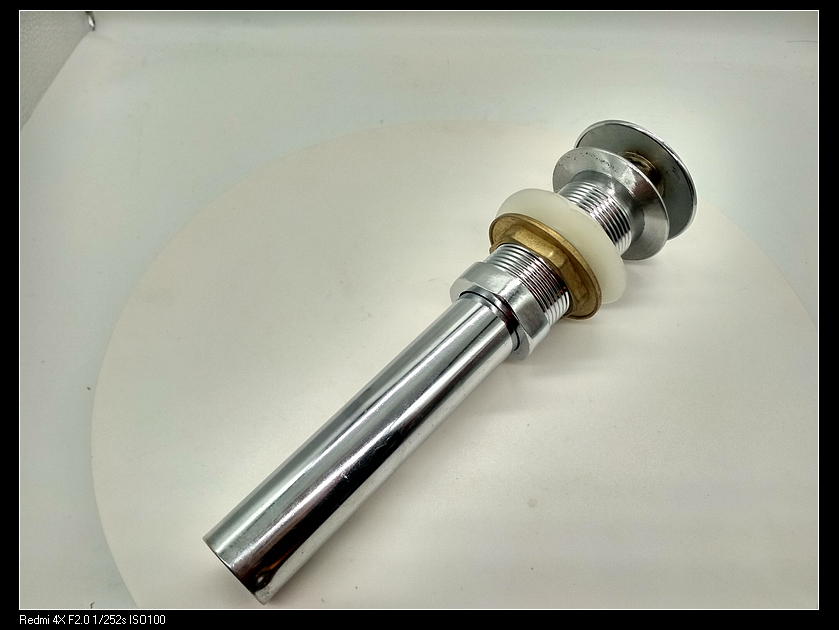
Step 3: Remove the Drain Stopper
Using your pliers or screwdriver, unscrew or unclip the mechanism connecting the stopper to the drain. Once it is loose, pull the stopper out of the drain.
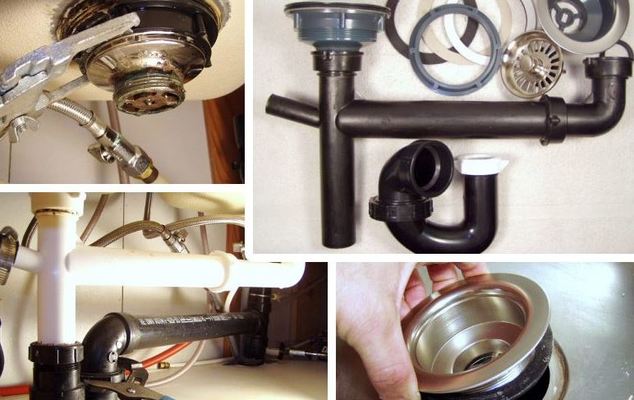
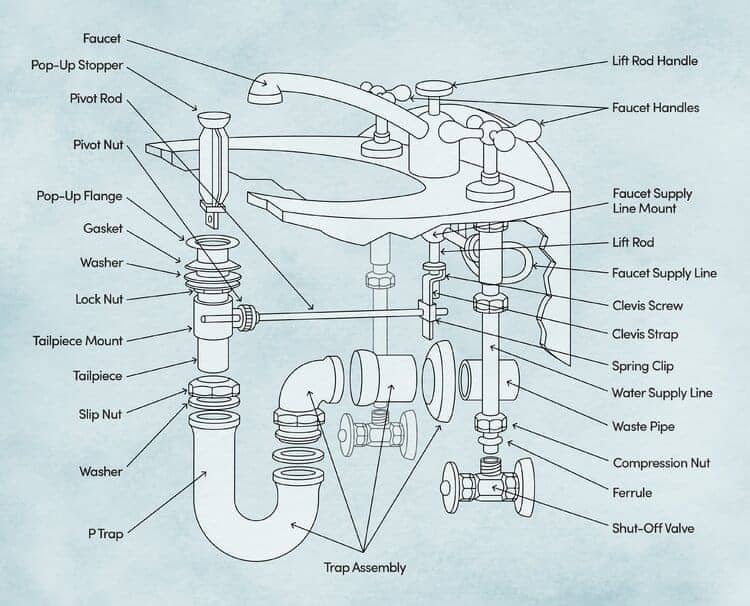
Step 4: Disassemble the Drain Parts
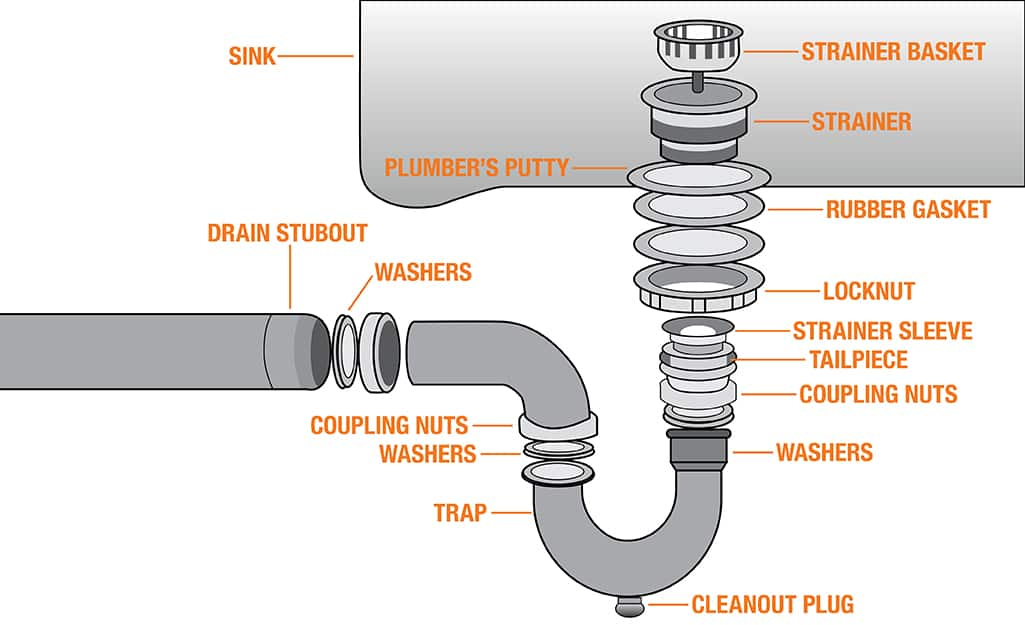
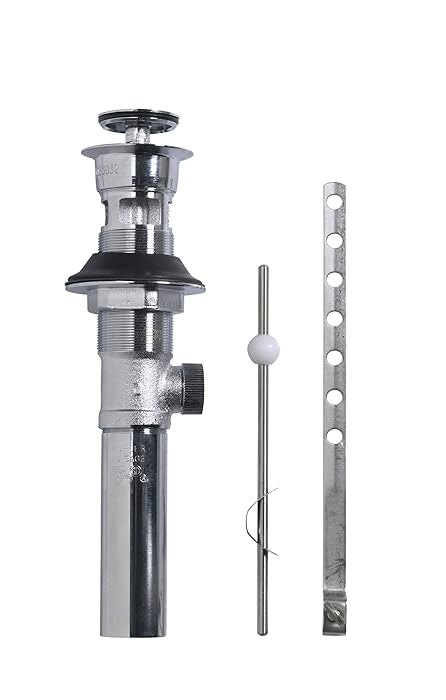
Underneath the sink, you will find a series of drain parts, including the drain pipe, the pivot rod, and the P-trap. Using your pliers, loosen and remove the nuts and connections holding these parts in place.
Step 5: Clean and Clear the Drain Parts
Once you have removed all the drain parts, clean them thoroughly with a cleaning solution or a mixture of vinegar and baking soda. Use a drain snake to clear any buildup or debris from the drain pipe and P-trap.
Step 6: Reassemble the Drain Parts
After cleaning, reassemble the drain parts in the reverse order that you removed them. Make sure all connections are tightened securely.
Step 1: Gather Your Tools and Materials
Before starting the process, make sure you have all the necessary tools and materials. These may include a pair of pliers, a screwdriver, a drain snake, a bucket, rubber gloves, and a cleaning solution.
Step 2: Locate the Drain Stopper
In most bathroom sinks, the drain stopper can be found in the sink basin, either in the center or towards the back. It may be connected to a lever or knob on the faucet or have a separate mechanism to open and close it.
Step 3: Remove the Drain Stopper
Using your pliers or screwdriver, unscrew or unclip the mechanism connecting the stopper to the drain. Once it is loose, pull the stopper out of the drain.
Step 4: Disassemble the Drain Parts
Underneath the sink, you will find a series of drain parts, including the drain pipe, the pivot rod, and the P-trap. Using your pliers, loosen and remove the nuts and connections holding these parts in place.
Step 5: Clean and Clear the Drain Parts
Once you have removed all the drain parts, clean them thoroughly with a cleaning solution or a mixture of vinegar and baking soda. Use a drain snake to clear any buildup or debris from the drain pipe and P-trap.
Step 6: Reassemble the Drain Parts
After cleaning, reassemble the drain parts in the reverse order that you removed them. Make sure all connections are tightened securely.
Maintaining a Clean and Functional Bathroom Sink
 Regularly clean your drain stopper and sink basin to prevent buildup.
This will help keep your sink drain clear and prevent clogs from forming.
Avoid pouring harsh chemicals down your drain.
These can damage your pipes and cause corrosion, leading to future plumbing issues.
Consider using a drain cover.
This can help catch hair and other debris before it enters your drain, preventing clogs from forming.
Be mindful of what you put down your sink drain.
Avoid putting items like coffee grounds, grease, or food scraps down your sink, as they can cause clogs and damage to your plumbing.
Regularly clean your drain stopper and sink basin to prevent buildup.
This will help keep your sink drain clear and prevent clogs from forming.
Avoid pouring harsh chemicals down your drain.
These can damage your pipes and cause corrosion, leading to future plumbing issues.
Consider using a drain cover.
This can help catch hair and other debris before it enters your drain, preventing clogs from forming.
Be mindful of what you put down your sink drain.
Avoid putting items like coffee grounds, grease, or food scraps down your sink, as they can cause clogs and damage to your plumbing.
In Conclusion
 Removing and cleaning bathroom sink drain parts may seem like a daunting task, but it is a necessary step in maintaining a clean and functional bathroom. By following these simple steps and incorporating some helpful tips, you can ensure that your bathroom sink remains in top condition for years to come.
Now that you know how to efficiently remove bathroom sink drain parts, you can confidently tackle this task and keep your bathroom looking and functioning at its best.
Removing and cleaning bathroom sink drain parts may seem like a daunting task, but it is a necessary step in maintaining a clean and functional bathroom. By following these simple steps and incorporating some helpful tips, you can ensure that your bathroom sink remains in top condition for years to come.
Now that you know how to efficiently remove bathroom sink drain parts, you can confidently tackle this task and keep your bathroom looking and functioning at its best.