If you're experiencing a clogged or slow draining sink, it might be time to remove the bathroom sink drain assembly. This is a common plumbing issue that can be easily fixed with a few simple steps. In this guide, we'll walk you through the process of removing a bathroom sink drain assembly and provide tips and tricks to make the process as smooth as possible.How to Remove a Bathroom Sink Drain Assembly


How to Remove a Bathroom Sink Drain Assembly
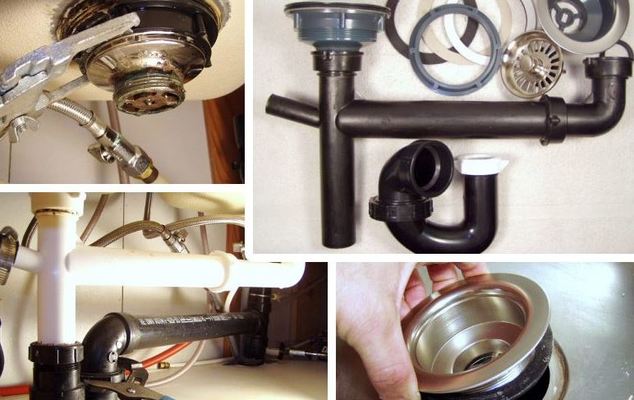


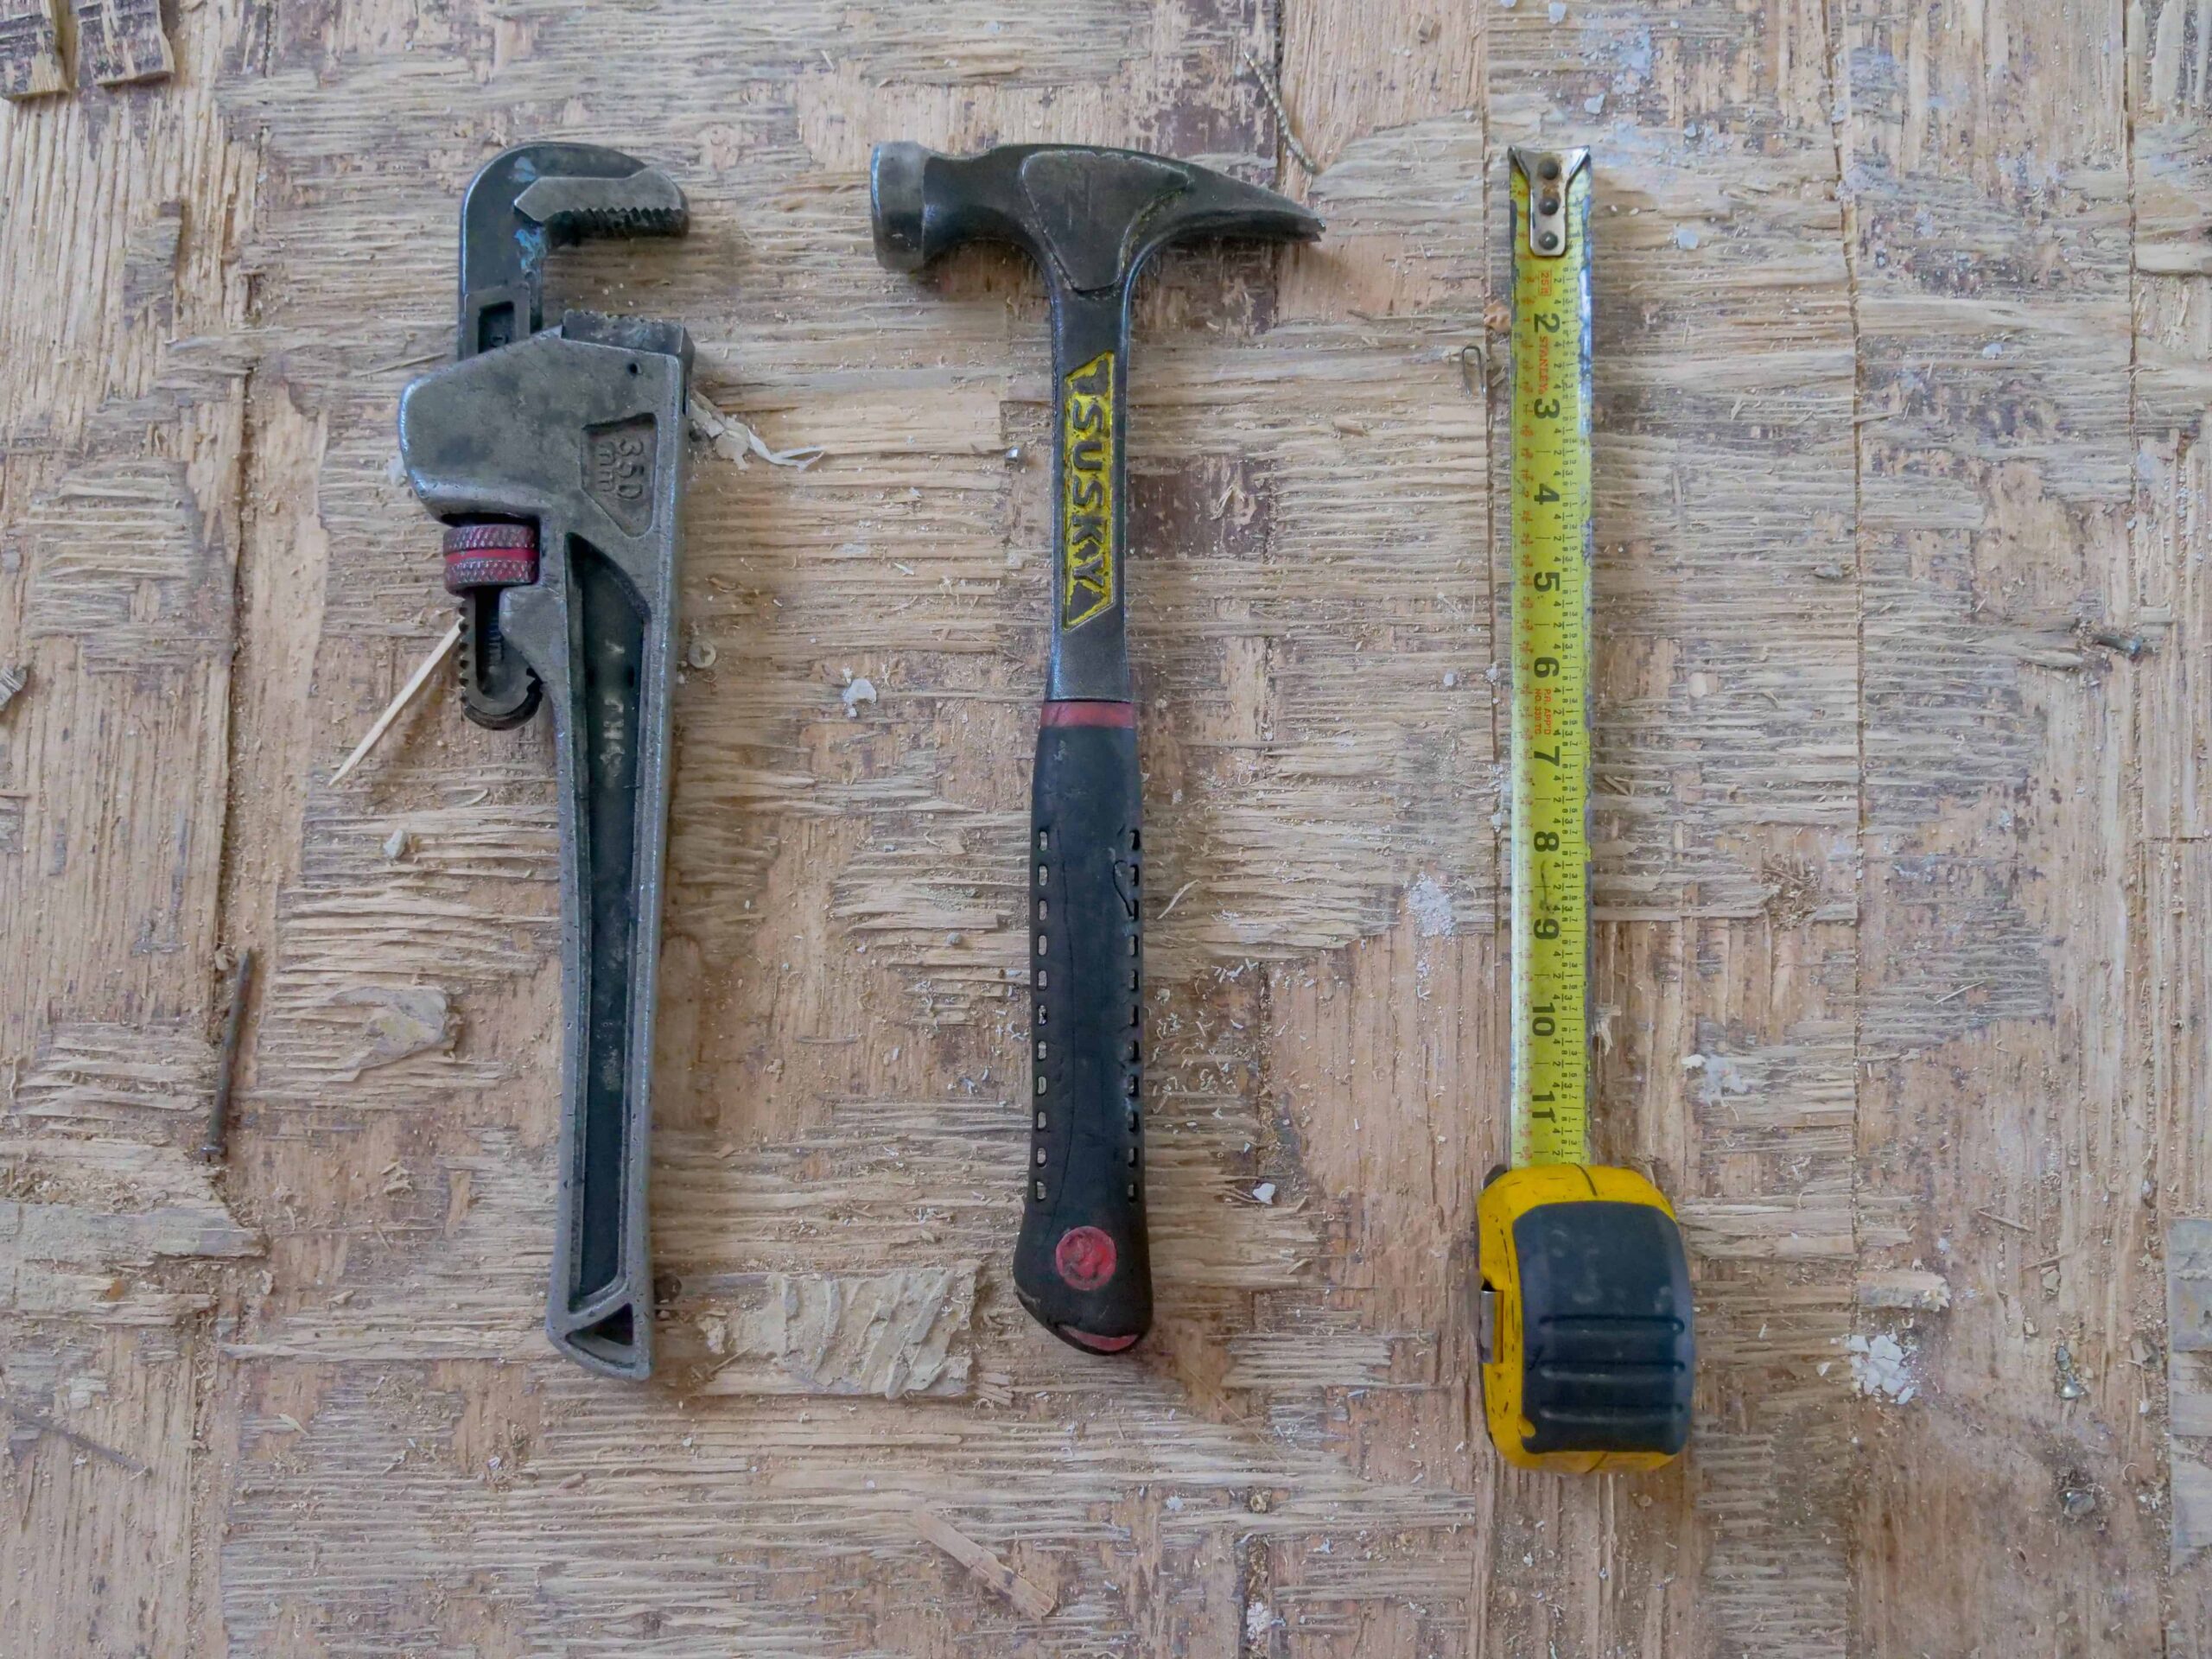
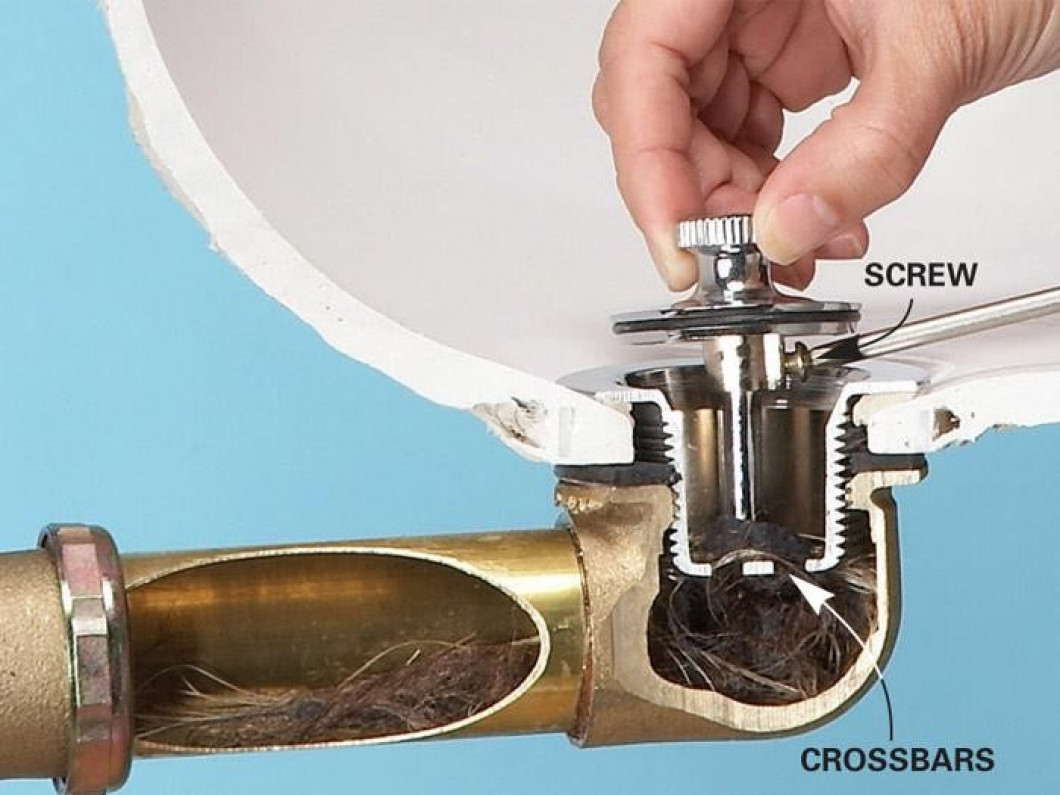
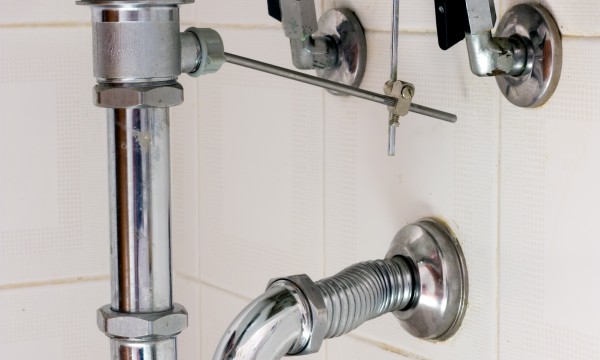
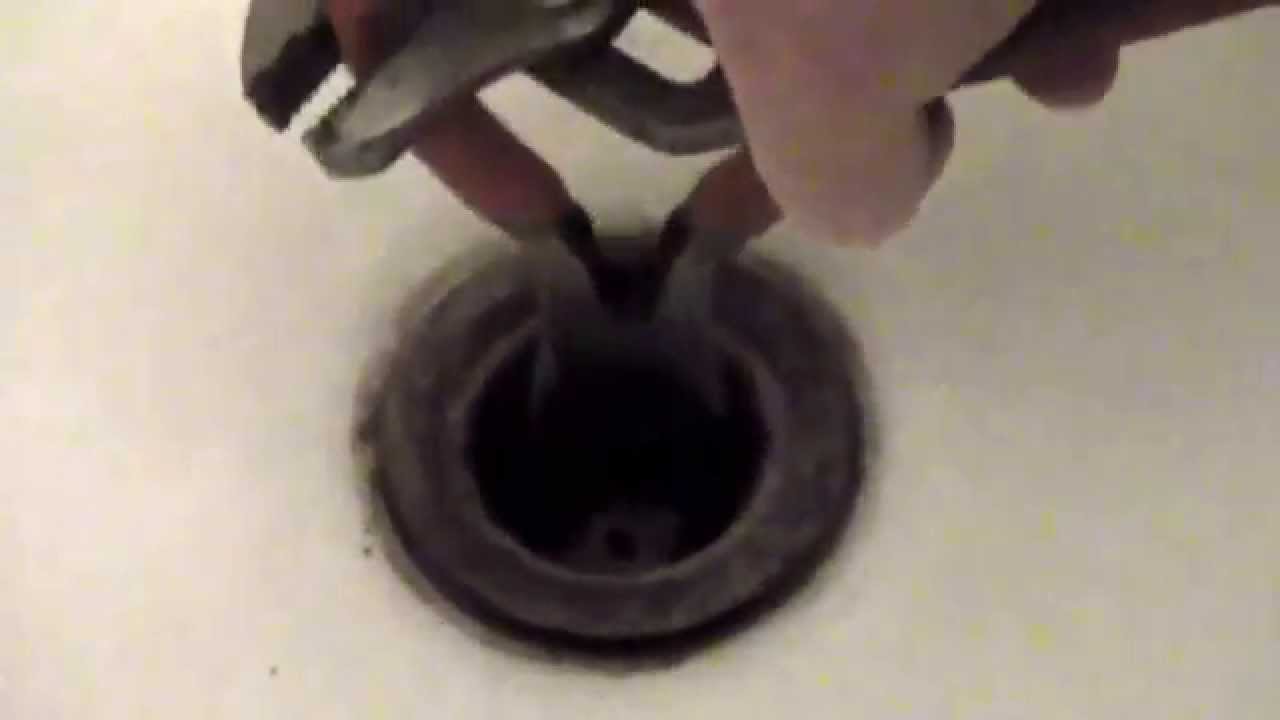
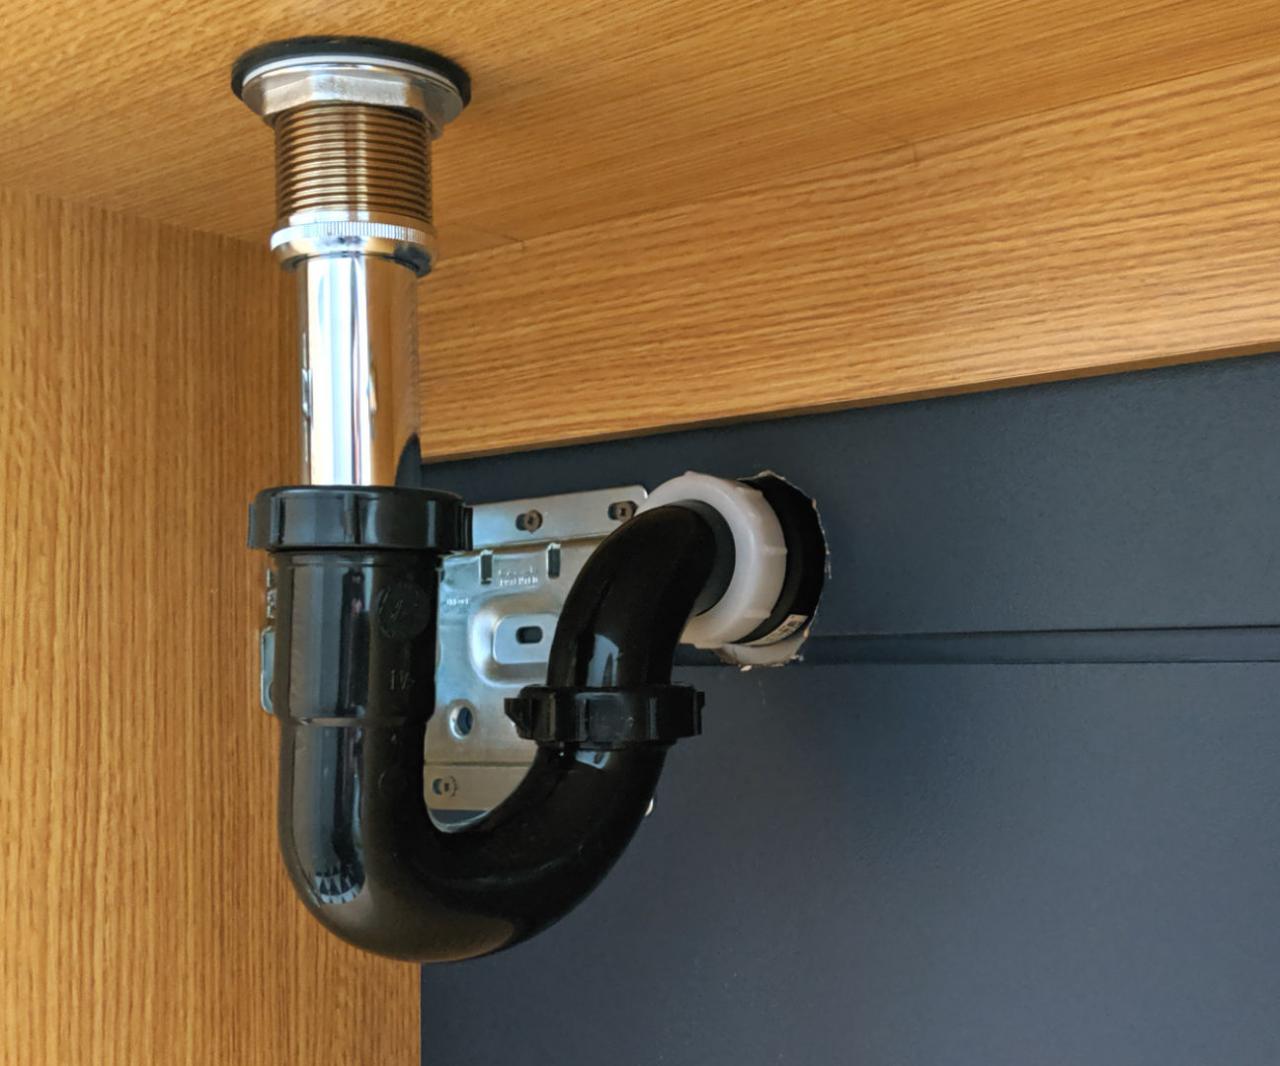
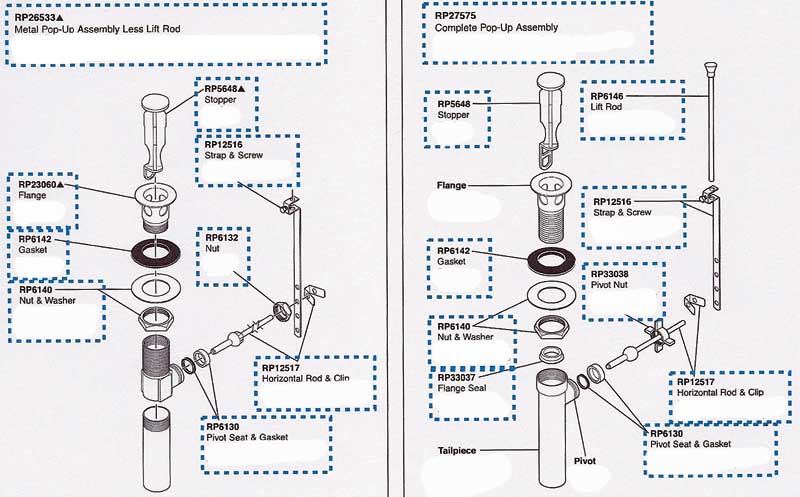
Before you begin, make sure to gather all the necessary tools and materials. You'll need a pair of pliers, a pipe wrench, a screwdriver, and a bucket to catch any water or debris. It's also a good idea to wear gloves to protect your hands. First, locate the drain assembly under your sink. It will typically be located in the center of the sink and will consist of a drain plug, drain body, and drain flange. Next, using your pliers, remove the drain plug by unscrewing it counterclockwise. Be careful not to apply too much force as this can damage the plug or drain body. Once the plug is removed, use a pipe wrench to loosen the drain body by turning it counterclockwise. This may require some force, so be sure to hold onto the sink to prevent any movement. Once the drain body is loose, gently pull it out from under the sink. This may take some wiggling and maneuvering, but it should come out easily. With the drain body removed, you should now be able to see the drain flange. Use your pliers to loosen and remove the flange by turning it counterclockwise. Finally, remove any remaining debris or buildup from the drain opening and clean the area thoroughly before installing a new drain assembly.Removing a Bathroom Sink Drain Assembly: A Step-by-Step Guide


Removing a Bathroom Sink Drain Assembly: A Step-by-Step Guide


Removing a bathroom sink drain assembly is a simple task that can be done by most DIY enthusiasts. By following the steps above, you can save yourself the cost and hassle of hiring a plumber. Just be sure to take your time and follow each step carefully to avoid any mistakes or damage to your sink.DIY: Removing a Bathroom Sink Drain Assembly


DIY: Removing a Bathroom Sink Drain Assembly


Here are some additional tips and tricks to make the process of removing a bathroom sink drain assembly even easier:Removing a Bathroom Sink Drain Assembly: Tips and Tricks

Removing a Bathroom Sink Drain Assembly: Tips and Tricks


Removing a bathroom sink drain assembly doesn't have to be a daunting task. By following our step-by-step guide and using the right tools, you can easily remove and replace your drain assembly in no time. Just be sure to take your time and work carefully to avoid any mistakes or damage to your sink.Quick and Easy Guide to Removing a Bathroom Sink Drain Assembly


Quick and Easy Guide to Removing a Bathroom Sink Drain Assembly


When removing a bathroom sink drain assembly, there are a few common mistakes that can easily be avoided:Removing a Bathroom Sink Drain Assembly: Common Mistakes to Avoid


Removing a Bathroom Sink Drain Assembly: Common Mistakes to Avoid

Removing a bathroom sink drain assembly may seem like a simple task, but it's important to do it properly to avoid any future plumbing problems. By following the steps outlined in this guide, you can ensure that your sink drains properly and stays clog-free for years to come.The Importance of Properly Removing a Bathroom Sink Drain Assembly

The Importance of Properly Removing a Bathroom Sink Drain Assembly


To successfully remove a bathroom sink drain assembly, you'll need the following tools:Removing a Bathroom Sink Drain Assembly: Tools You'll Need


Removing a Bathroom Sink Drain Assembly: Tools You'll Need


If you're more of a visual learner, here's a step-by-step tutorial for removing a bathroom sink drain assembly:Step-by-Step Tutorial for Removing a Bathroom Sink Drain Assembly


Step-by-Step Tutorial for Removing a Bathroom Sink Drain Assembly


If you encounter any issues while removing a bathroom sink drain assembly, here are some common troubleshooting tips:Removing a Bathroom Sink Drain Assembly: Troubleshooting Common Issues


Removing a Bathroom Sink Drain Assembly: Troubleshooting Common Issues

Why You Should Remove Your Bathroom Sink Drain Assembly

Bathroom Design and Functionality
 The bathroom is one of the most important rooms in a house. It is where we start and end our day, and it is also a place where we can relax and unwind. As such, it is crucial to have a well-designed and functional bathroom. One of the key components of a bathroom is the sink, which is used for various tasks such as washing hands, brushing teeth, and even washing our faces. However, over time, the sink drain assembly can become clogged, rusted, or damaged, which can hinder the functionality and aesthetics of your bathroom. That is why it is essential to know how to remove and replace the bathroom sink drain assembly.
Benefits of Removing the Bathroom Sink Drain Assembly
 Prevent Clogging and Improve Drainage
The primary function of the sink drain assembly is to allow water to flow out of the sink and into the pipes. However, over time, hair, soap scum, and other debris can accumulate in the assembly, causing clogs and slow drainage. By removing the assembly and cleaning it, you can prevent clogs and improve the drainage of your sink.
Enhance Aesthetics
Another benefit of removing the bathroom sink drain assembly is that it can enhance the overall aesthetics of your bathroom. As mentioned earlier, the assembly can become rusted or damaged, which can be unsightly and make your bathroom look old and worn out. By removing the assembly and replacing it with a new one, you can instantly improve the appearance of your sink and bathroom.
Save Money and Time
If you notice that your sink is not draining properly, you may immediately call a plumber to fix the issue. However, by knowing how to remove and clean the drain assembly yourself, you can save money on hiring a professional and also save time by not having to wait for an appointment.
Prevent Clogging and Improve Drainage
The primary function of the sink drain assembly is to allow water to flow out of the sink and into the pipes. However, over time, hair, soap scum, and other debris can accumulate in the assembly, causing clogs and slow drainage. By removing the assembly and cleaning it, you can prevent clogs and improve the drainage of your sink.
Enhance Aesthetics
Another benefit of removing the bathroom sink drain assembly is that it can enhance the overall aesthetics of your bathroom. As mentioned earlier, the assembly can become rusted or damaged, which can be unsightly and make your bathroom look old and worn out. By removing the assembly and replacing it with a new one, you can instantly improve the appearance of your sink and bathroom.
Save Money and Time
If you notice that your sink is not draining properly, you may immediately call a plumber to fix the issue. However, by knowing how to remove and clean the drain assembly yourself, you can save money on hiring a professional and also save time by not having to wait for an appointment.
Conclusion
 In conclusion, removing the bathroom sink drain assembly is a simple yet essential task for maintaining a functional and attractive bathroom. By doing it yourself, you can prevent clogs, improve drainage, enhance aesthetics, and save money and time. So, the next time you notice your sink is not draining properly, don't hesitate to remove the drain assembly and give it a good clean. Your bathroom will thank you for it.