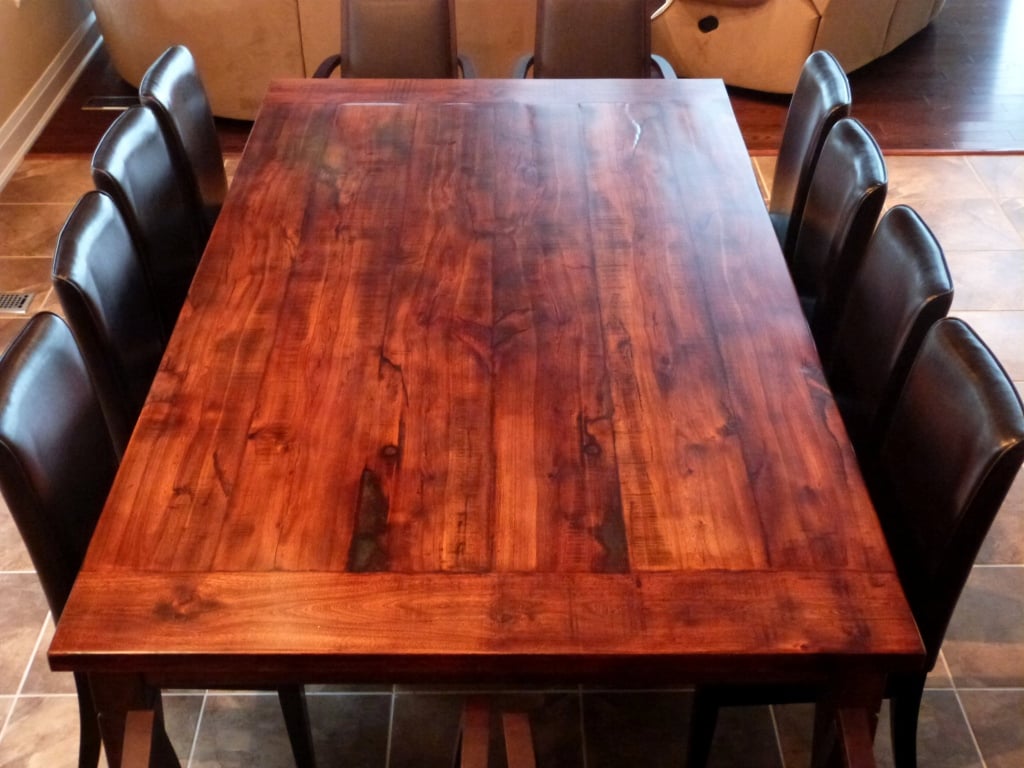
If you're tired of your dining room table looking dull and worn out, reglazing it can be a great way to give it a fresh new look. Not only is it a cost-effective solution, but it also allows you to customize the finish to your liking. Here's everything you need to know about DIY dining room table reglazing.DIY Dining Room Table Reglazing
Reglazing a dining room table involves stripping off the old finish and applying a new one. It may seem like a daunting task, but with the right tools and techniques, it can be a fun and rewarding DIY project. Here's a step-by-step guide to help you through the process.How to Reglaze a Dining Room Table
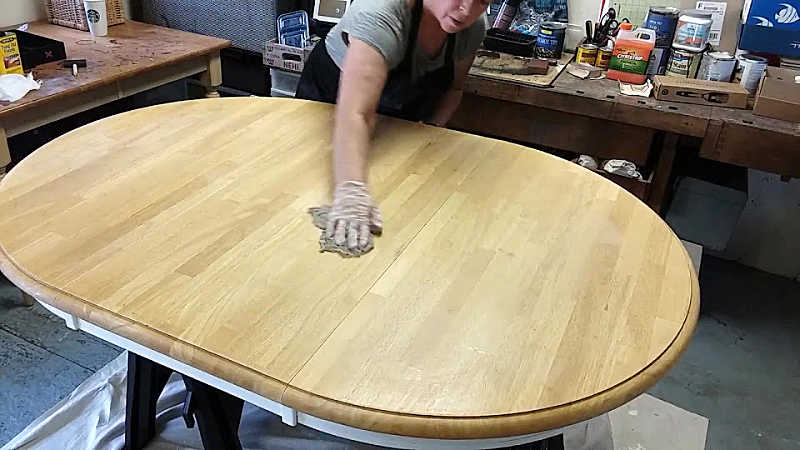
Step 1: Prepare the work area by covering it with drop cloths or old newspapers to protect it from any spills or drips. Step 2: Remove the old finish using a paint stripper or sandpaper. If using a chemical stripper, make sure to follow the instructions carefully and work in a well-ventilated area. Step 3: Once the old finish has been removed, sand the table surface using fine-grit sandpaper to smooth out any imperfections and create a clean and smooth surface for the new finish. Step 4: Wipe down the table with a tack cloth to remove any dust and debris from sanding. Step 5: Apply a wood conditioner to the table to help the new finish adhere evenly. Step 6: Use a brush or cloth to apply your chosen finish, whether it's paint, stain, or varnish. Apply in thin and even coats, following the grain of the wood. Let each coat dry completely before applying the next. Step 7: Once the final coat is dry, lightly sand the table with fine-grit sandpaper to smooth out any brushstrokes or imperfections. Step 8: Wipe down the table with a tack cloth and apply a clear top coat for added protection and a smooth finish. Step 9: Let the table dry completely before using it.Step-by-Step Guide for Reglazing a Dining Room Table
Tip 1: Choose the right finish for your table based on the look you want to achieve. Paint offers a more modern and colorful look, while stain brings out the natural beauty of the wood. Varnish provides a glossy and durable finish. Tip 2: Work in a well-ventilated area and wear protective gear when using chemical strippers. Tip 3: Use a high-quality brush or foam applicator for a smooth and even finish. Tip 4: Let each coat dry completely before sanding and applying the next one. Tip 5: Don't rush the process. Take your time and be patient for the best results.DIY Dining Room Table Makeover: Reglazing Tips
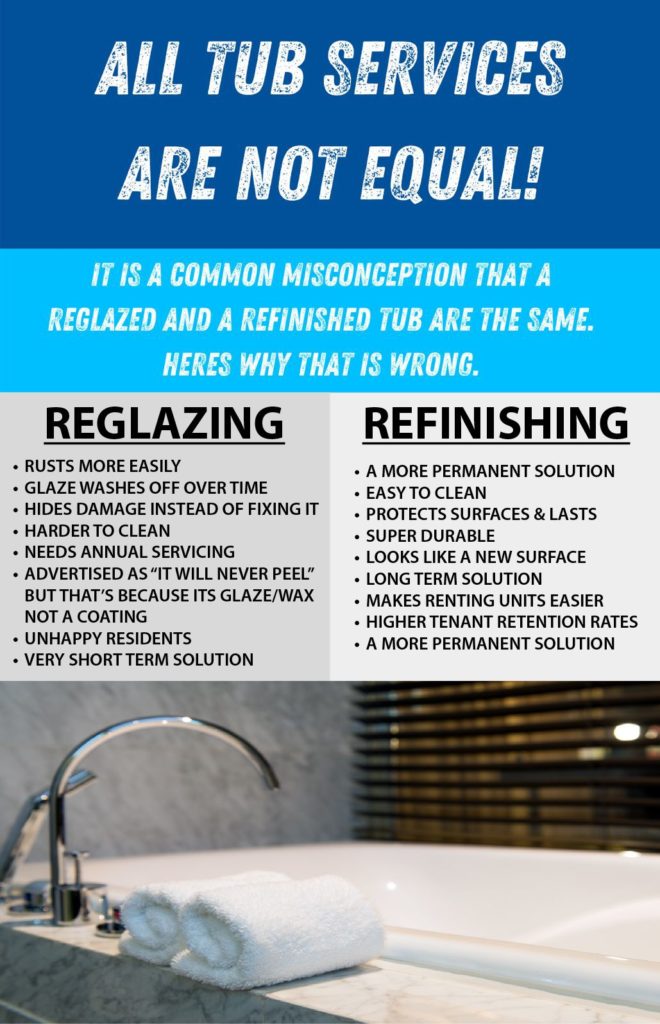
Reglazing a dining room table involves applying a new finish on top of the existing one. It's a great option if you want to change the color or sheen of your table but don't want to completely strip and refinish it. Refinishing, on the other hand, involves completely removing the old finish and applying a new one. This is a more time-consuming and labor-intensive process, but it allows for a completely new look.Reglazing vs. Refinishing: What's the Difference?
Paint stripper/sandpaper - to remove the old finish Tack cloth - for cleaning the table surface Wood conditioner - to help the new finish adhere evenly Paint/stain/varnish - for the new finish Brush/foam applicator - for applying the finish Clear top coat - for added protection and a smooth finish Sandpaper - for sanding between coatsMaterials Needed for Reglazing a Dining Room Table
Minwax Gel Stain - this gel stain is easy to use and provides a rich, deep color Rust-Oleum Chalked Paint - this paint offers a matte finish and comes in a variety of colors Varathane Water-Based Polyurethane - this clear top coat provides excellent protection and a smooth finishBest Products for DIY Dining Room Table Reglazing
Mistake 1: Not properly preparing the table surface before applying the new finish. Mistake 2: Skipping the wood conditioner, which can lead to uneven absorption of the new finish. Mistake 3: Using too much pressure when sanding, which can damage the wood. Mistake 4: Applying too thick of a coat, which can lead to drips and an uneven finish. Mistake 5: Not allowing enough drying time between coats, which can result in a tacky finish.Common Mistakes to Avoid When Reglazing a Dining Room Table
The time it takes to reglaze a dining room table will depend on the size of the table, the type of finish you're using, and the number of coats needed. On average, it can take anywhere from 1-2 days to complete the process, including drying time between coats.How Long Does it Take to Reglaze a Dining Room Table?
Hiring a professional to reglaze your dining room table can cost anywhere from $200-$500, depending on the size and condition of the table. However, by doing it yourself, you can save a significant amount of money. The cost of materials for DIY reglazing can range from $50-$100, making it a much more budget-friendly option. In conclusion, reglazing your dining room table is a great way to give it a fresh new look without breaking the bank. With the right tools and techniques, you can achieve a professional-looking finish and customize it to your liking. So why not give it a try and transform your dining room table into a stunning centerpiece for your home?Cost Comparison: Hiring a Professional vs. DIY Reglazing
Why You Should Consider Reglazing Your Dining Room Table Yourself
The Beauty of DIY
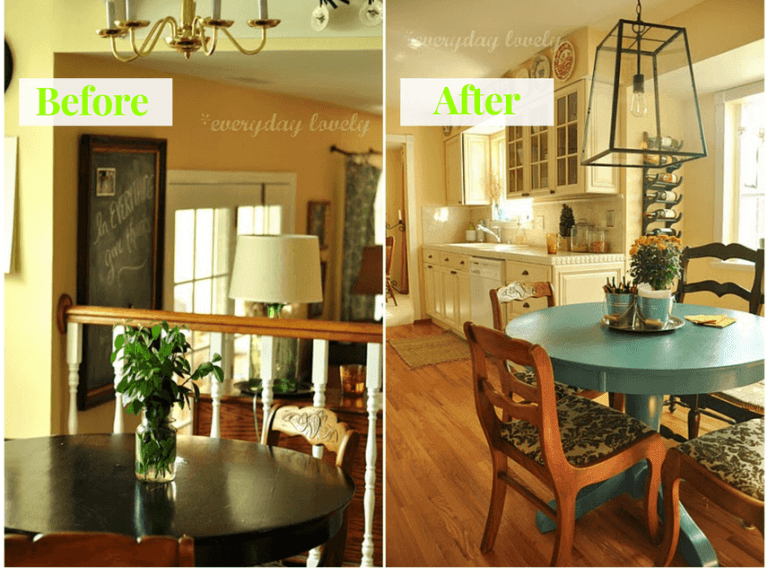
 If you're looking to give your dining room a fresh new look, one of the best ways to do so is by reglazing your dining room table. Not only does this allow you to save money by not having to purchase a new table, but it also gives you the opportunity to add your own personal touch and creativity to your dining room.
Reglazing
is the process of refinishing the surface of furniture by stripping off the old finish and applying a new one. This can be done with a variety of finishes, including
stains
,
paints
, or
varnishes
. While it may seem like a daunting task, reglazing your dining room table is actually a simple and
cost-effective
DIY project that can completely transform the look of your dining room.
The Benefits of Reglazing
 Aside from giving your dining room a new look, there are several other benefits to reglazing your dining room table. First and foremost, it allows you to restore the
original beauty
of your table. Over time, dining room tables can become worn, scratched, or discolored, making them look old and outdated. Reglazing can bring back the shine and luster of your table, making it look brand new again.
Another benefit of reglazing is that it gives you the opportunity to
customize
your table to fit your personal style. You can choose from a variety of finishes and colors to match your existing decor or create a whole new look for your dining room. This is your chance to get creative and make your dining room table truly unique.
The DIY Advantage
 One of the main reasons why you should consider reglazing your dining room table yourself is the
cost-saving
benefits. Hiring a professional to refinish your table can be expensive, and doing it yourself can save you a significant amount of money. You can also take your time and work at your own pace, making sure every detail is perfect.
In addition, reglazing your dining room table yourself allows you to have
full control
over the process. You can choose the type of finish, the color, and the level of shine you want for your table. Plus, you'll have the satisfaction of knowing that you accomplished this project on your own and created a beautiful piece of furniture for your home.
In Conclusion
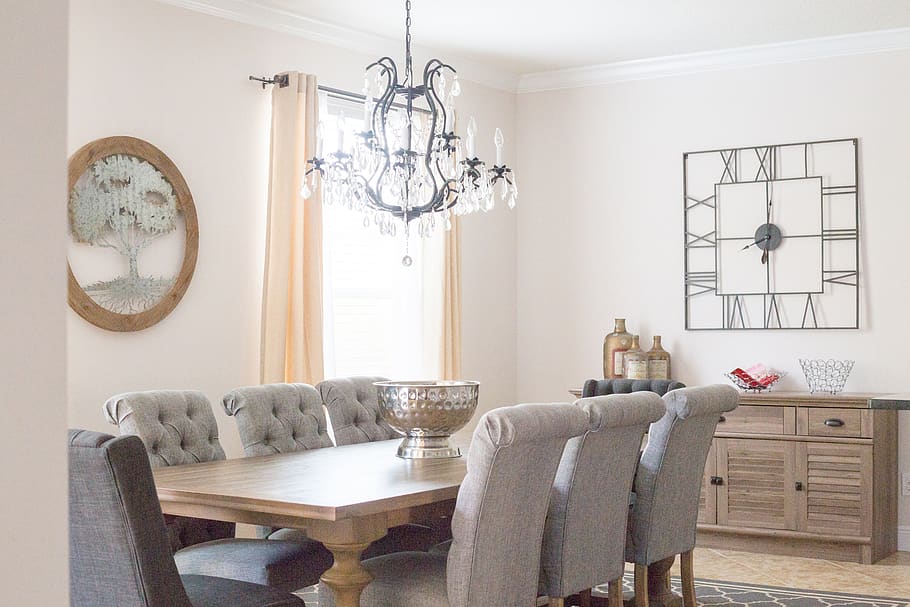 Reglazing your dining room table yourself is a great way to give your dining room a fresh new look without breaking the bank. It allows you to restore the beauty of your table, customize it to fit your style, and save money in the process. So why not give it a try and see the amazing transformation for yourself?
