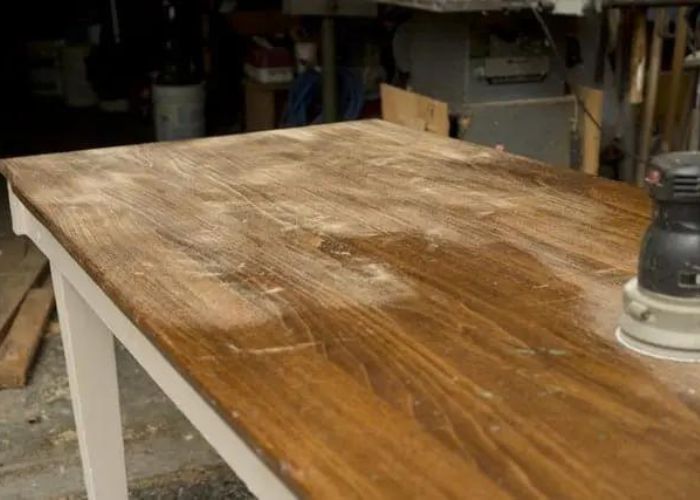
If you have a pine kitchen table that has seen better days, refinishing it can breathe new life into your dining space. The first step to refinishing a pine kitchen table is to sand it down to remove any old finish or scratches. This will create a smooth surface for the new finish to adhere to.1. Sanding the table down to remove old finish and scratches
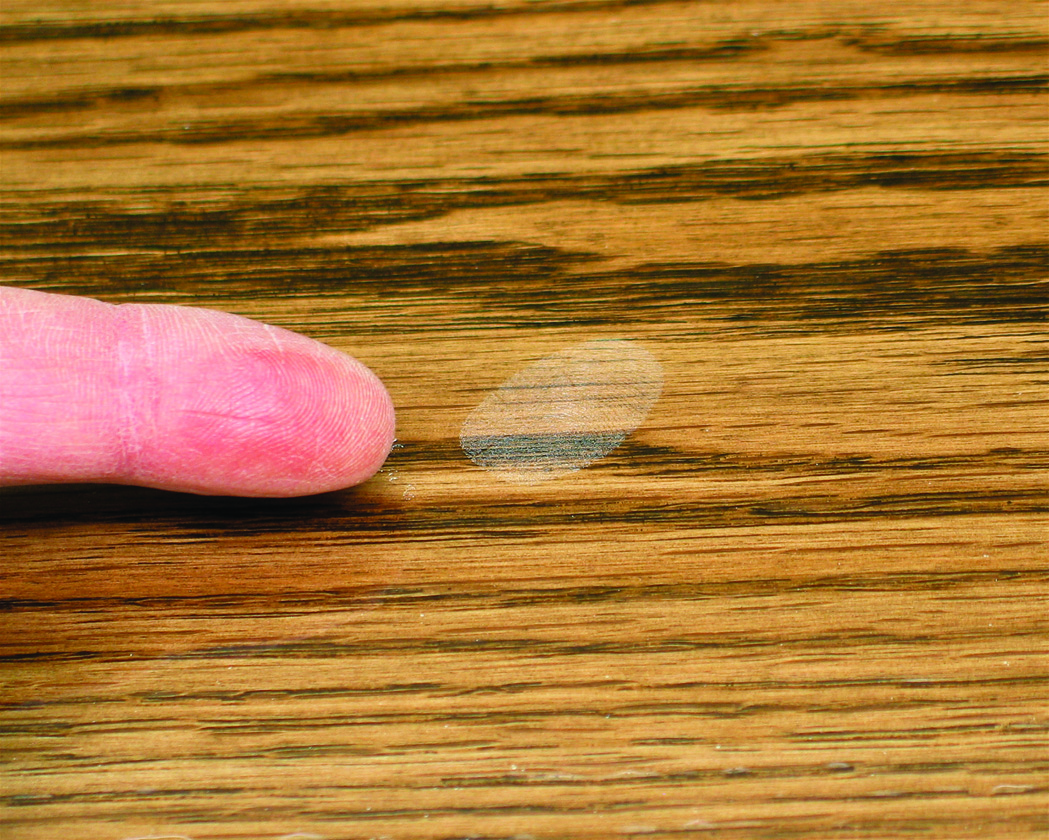
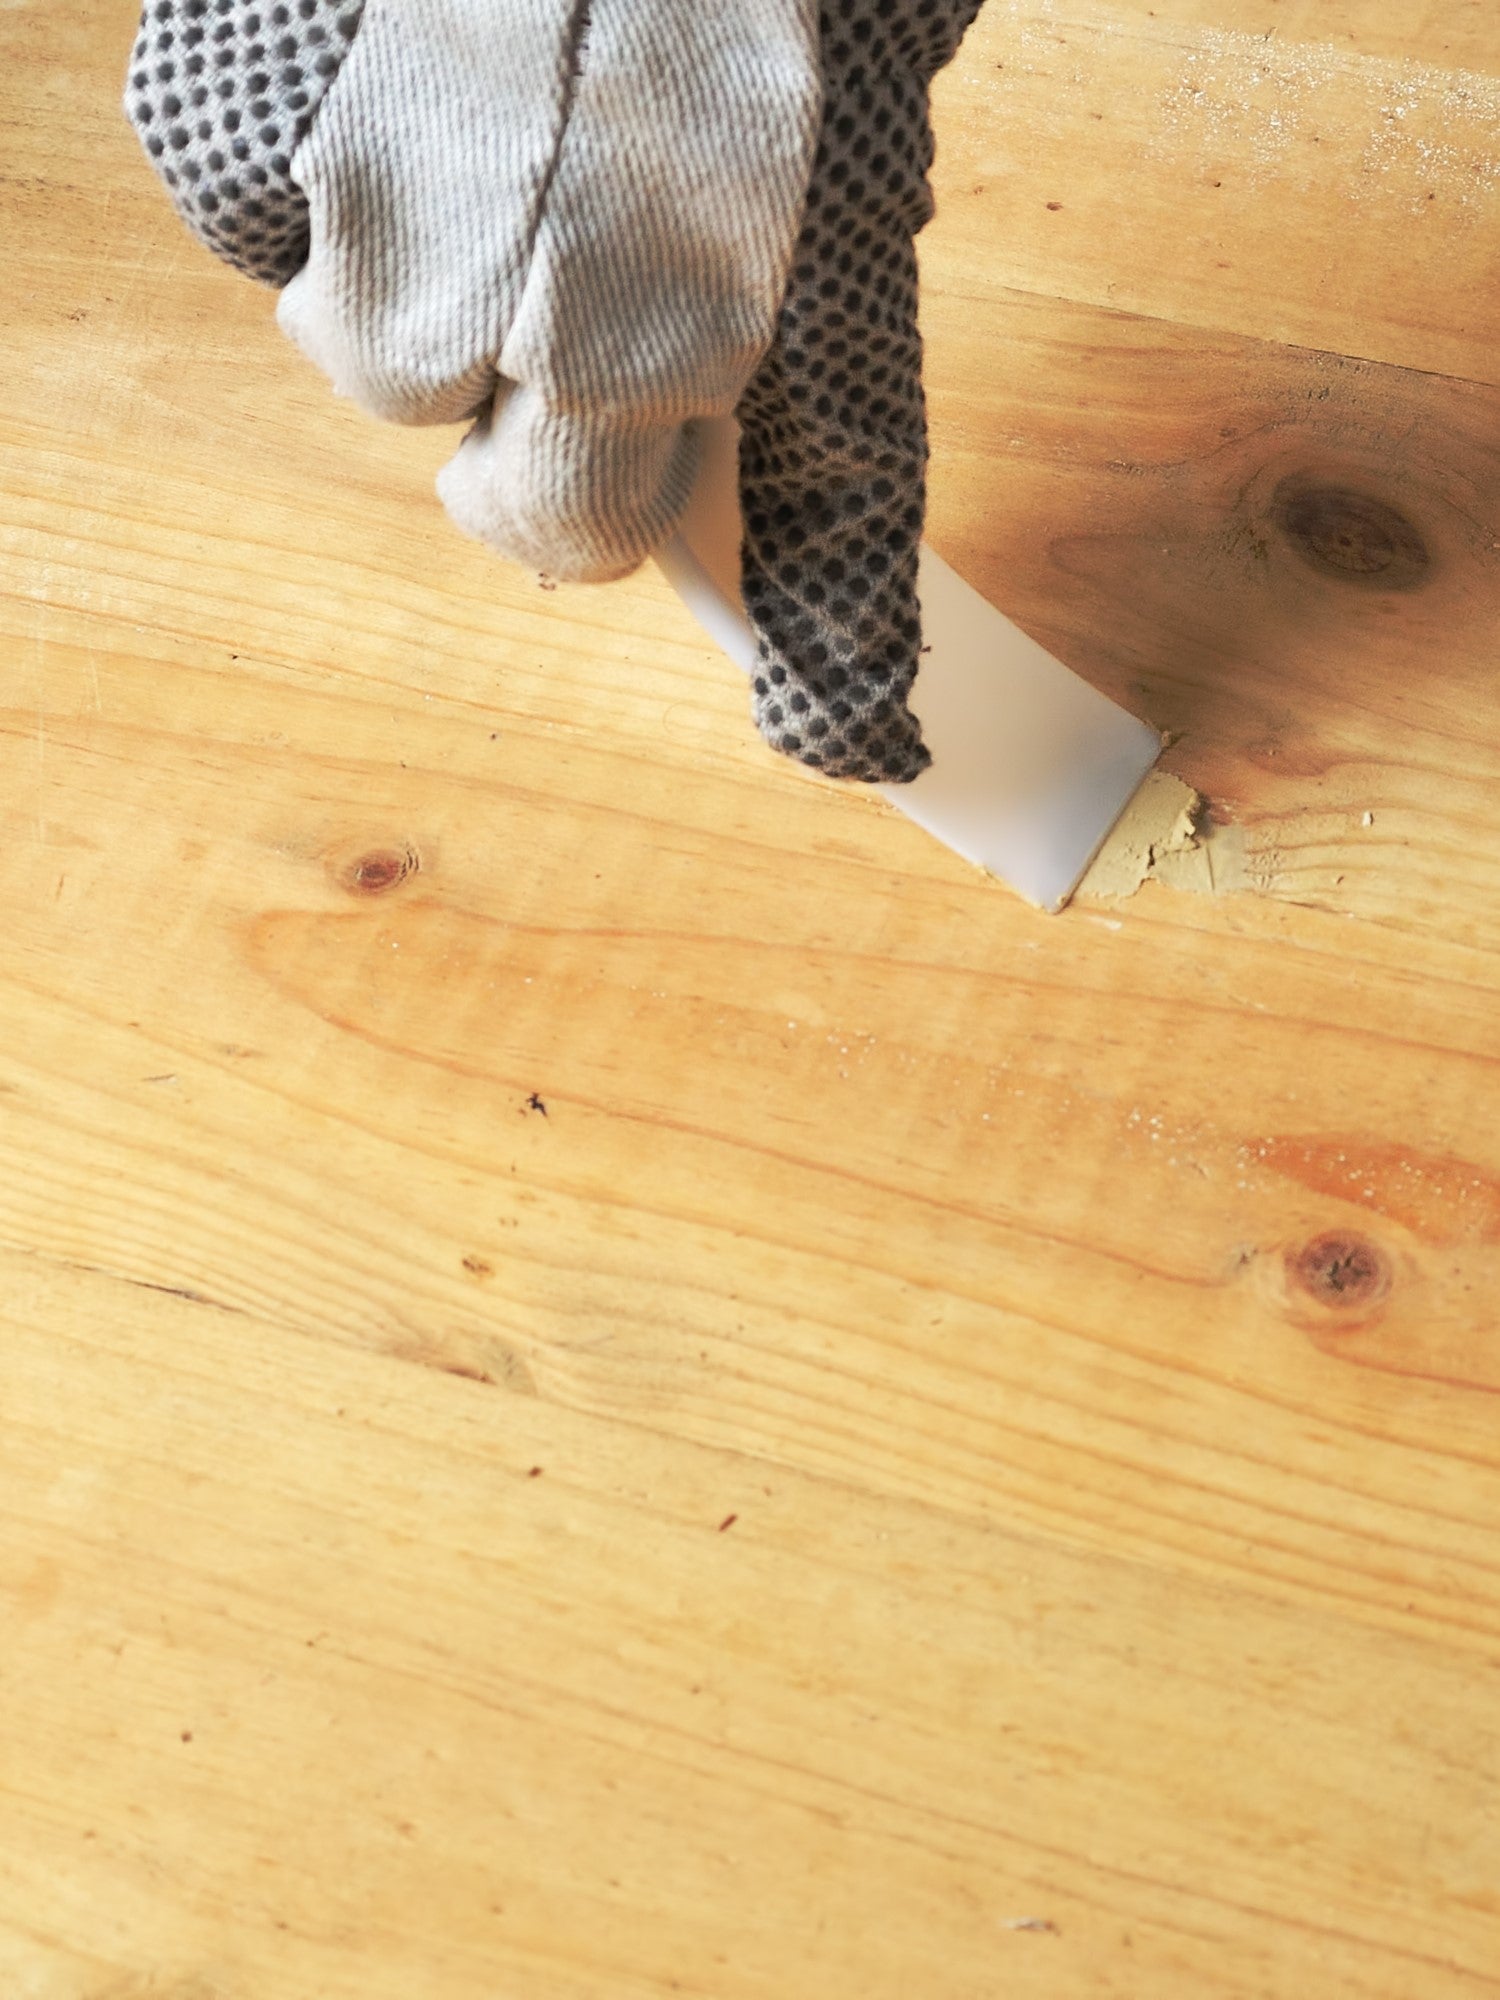
Pine is a soft wood and can easily get scratched or gouged over time. Before sanding, it's important to inspect the surface of the table for any deep scratches or gouges. Use a wood filler to fill in these imperfections and create a level surface.2. Applying wood filler to any deep scratches or gouges
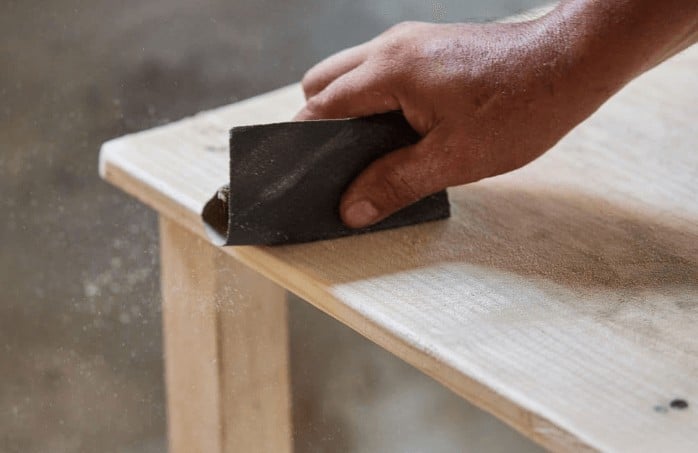
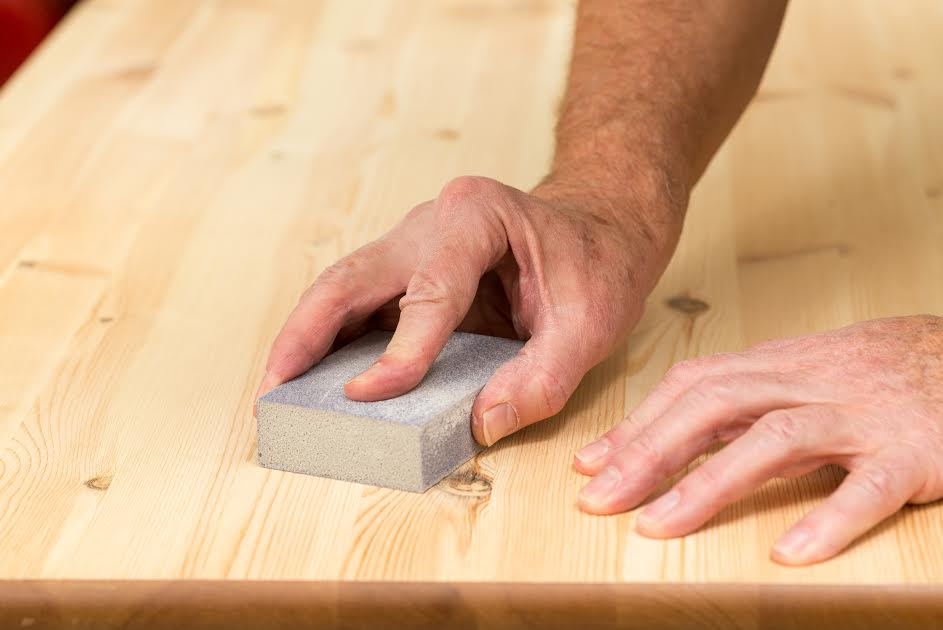
After the wood filler has dried, use a fine-grit sandpaper to sand down the surface again. This will smooth out the wood filler and create a seamless surface. Be sure to sand in the direction of the wood grain for the best results.3. Sanding again to smooth out the wood filler
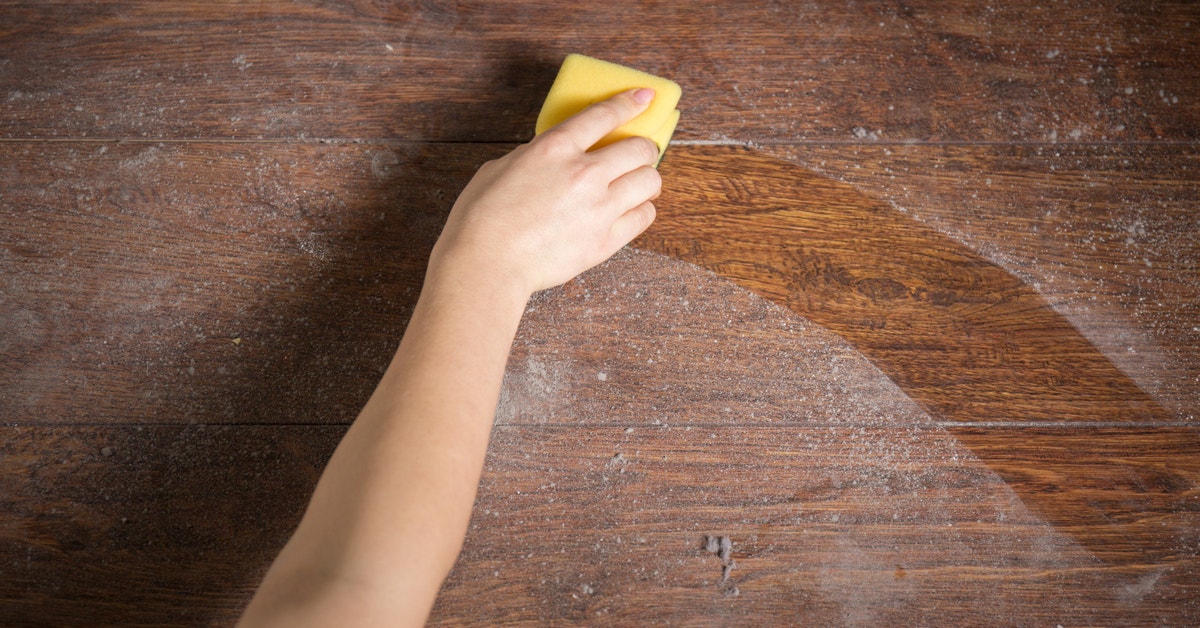
Before applying any new finish, it's important to clean the table thoroughly to remove any dust or debris. Use a damp cloth or tack cloth to wipe down the surface and ensure it is completely clean before moving on to the next step.4. Cleaning the table thoroughly to remove any dust or debris
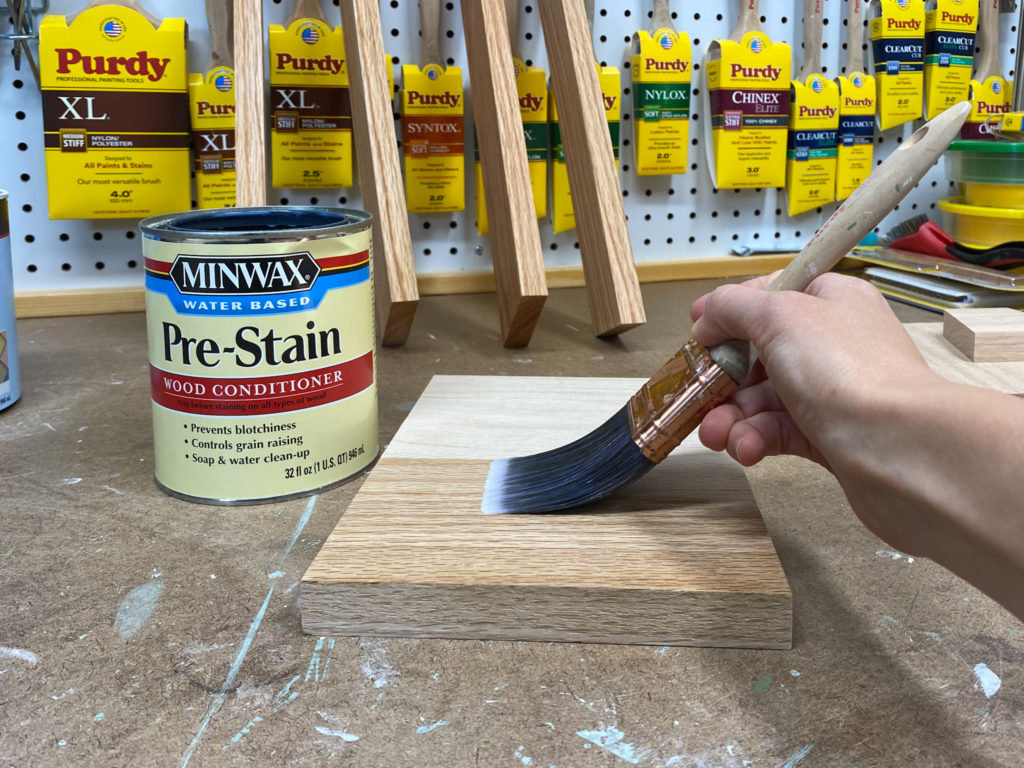
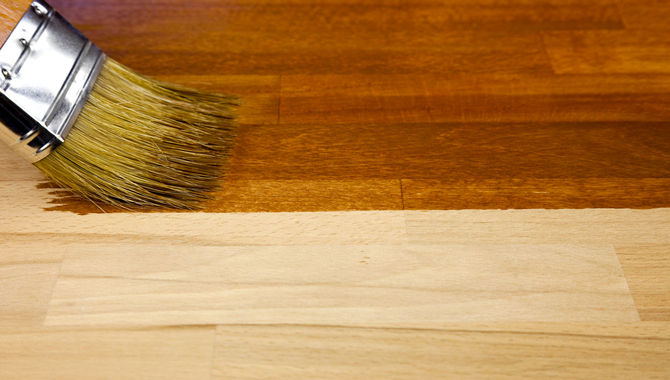
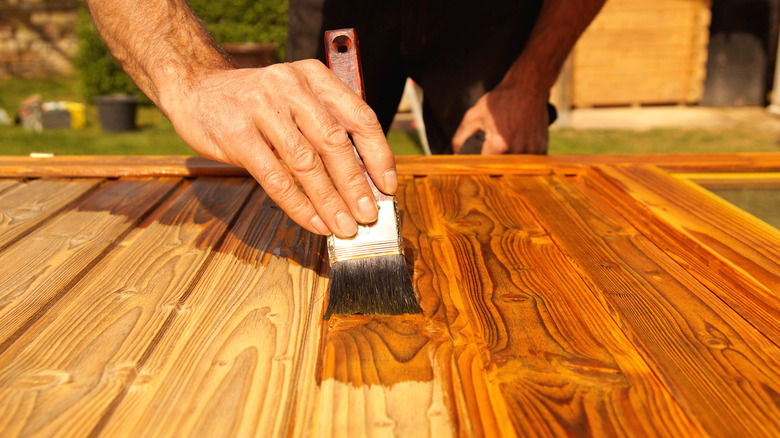
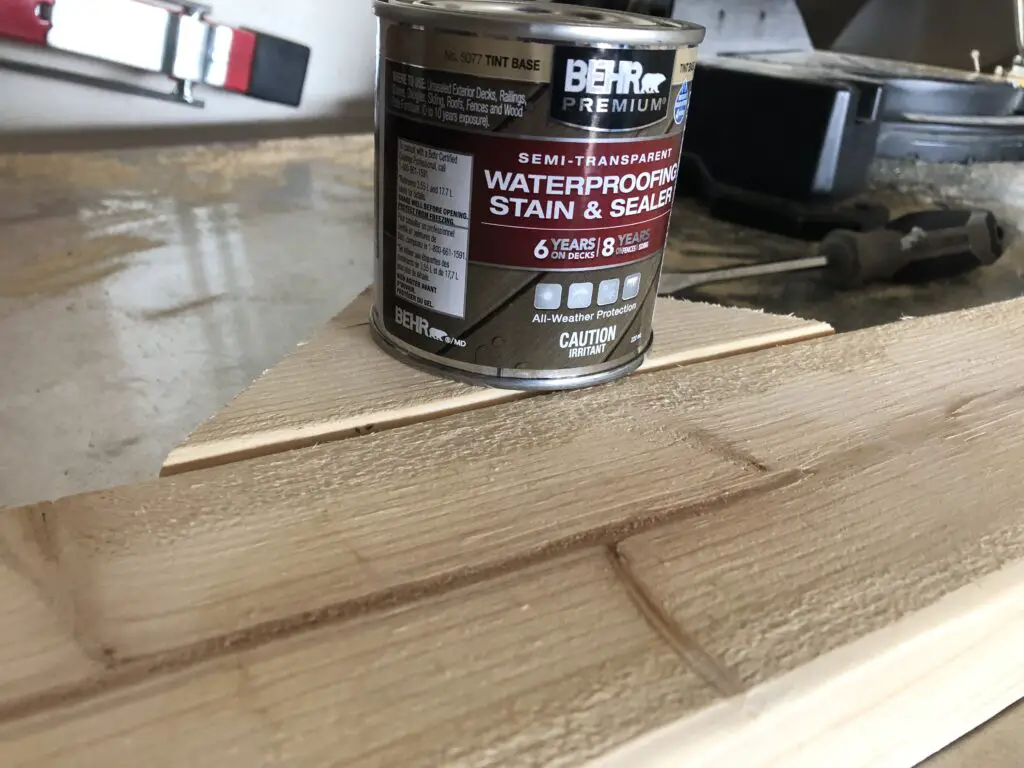
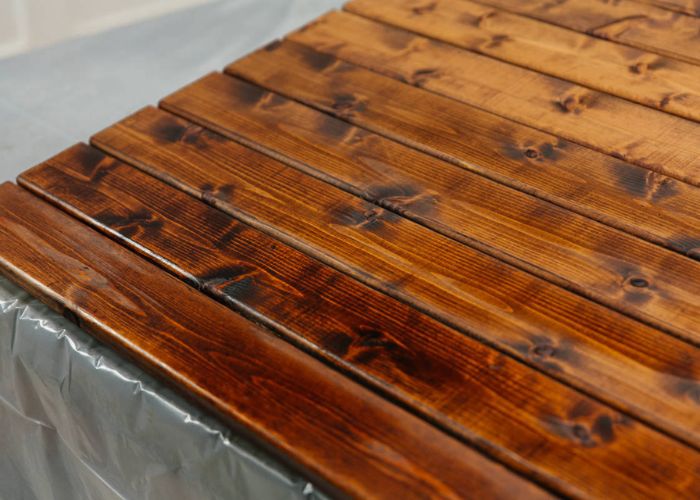
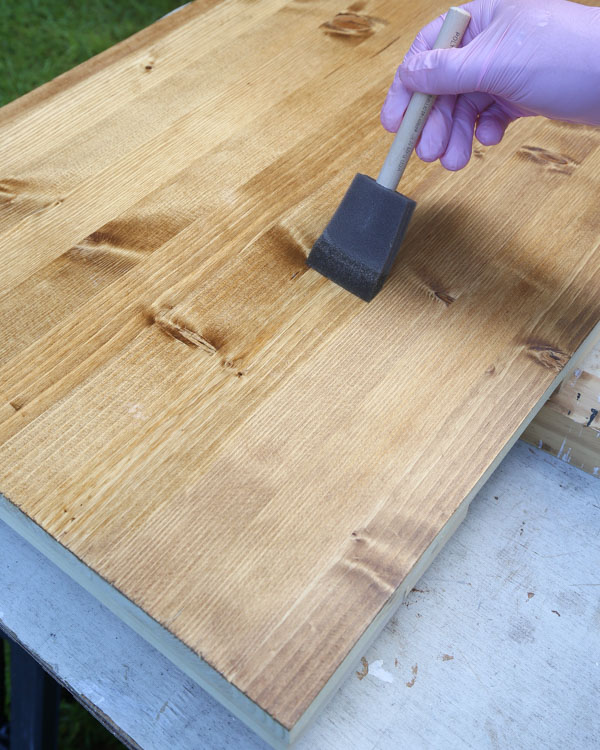
Now comes the fun part - choosing a new color for your pine kitchen table! There are many different wood stains available, so be sure to choose one that complements your kitchen decor. Apply the stain using a brush or cloth, following the manufacturer's instructions.5. Applying a wood stain in desired color
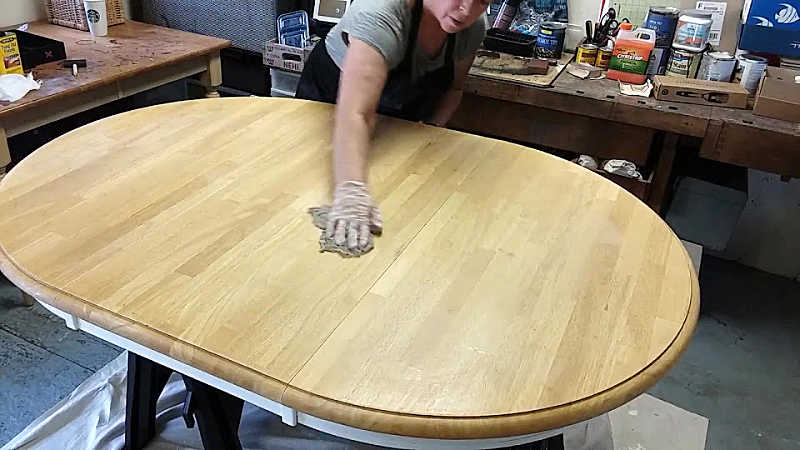
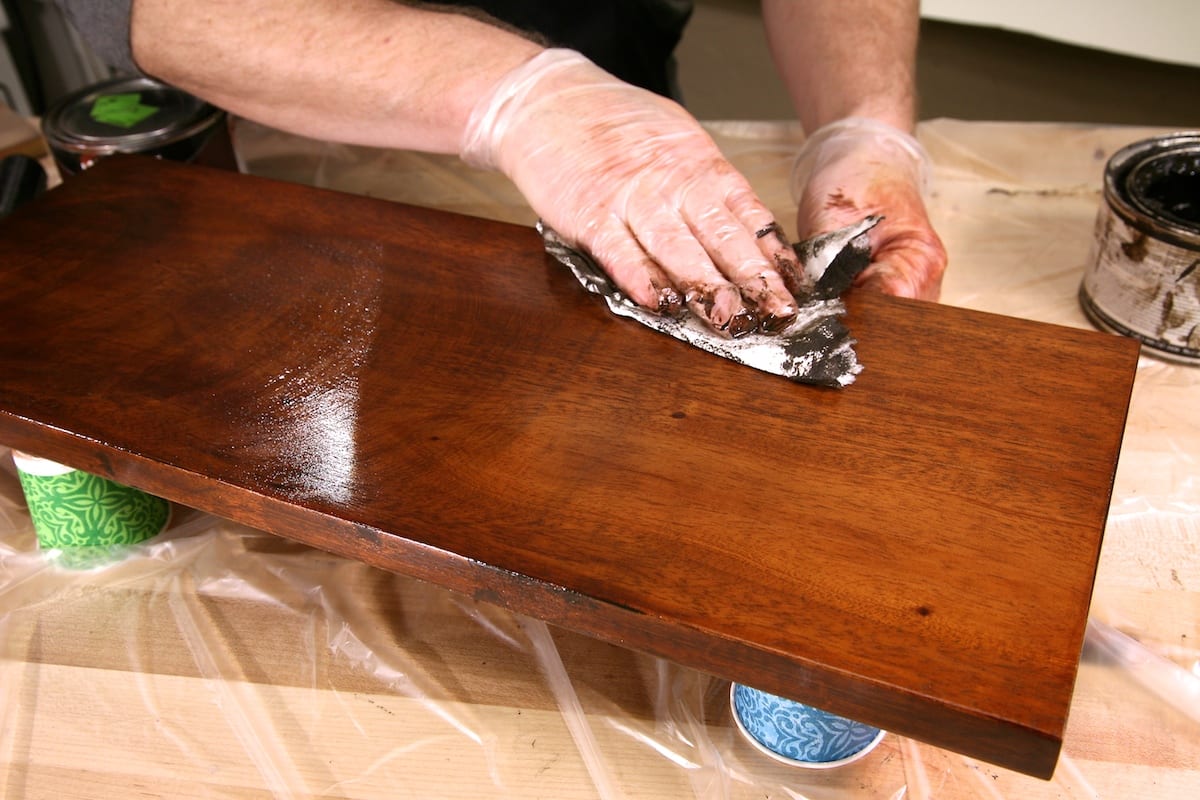
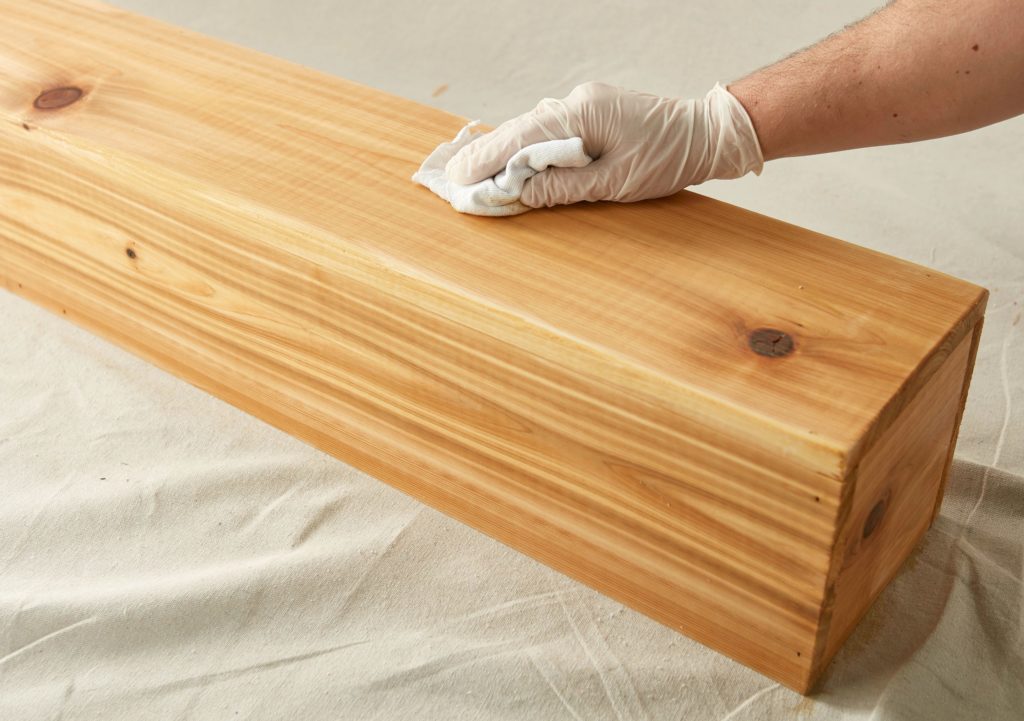
After applying the stain, use a clean cloth to wipe off any excess. This will prevent the stain from drying unevenly and creating a blotchy finish. Allow the stain to dry completely before moving on to the next step.6. Wiping off excess stain and allowing it to dry
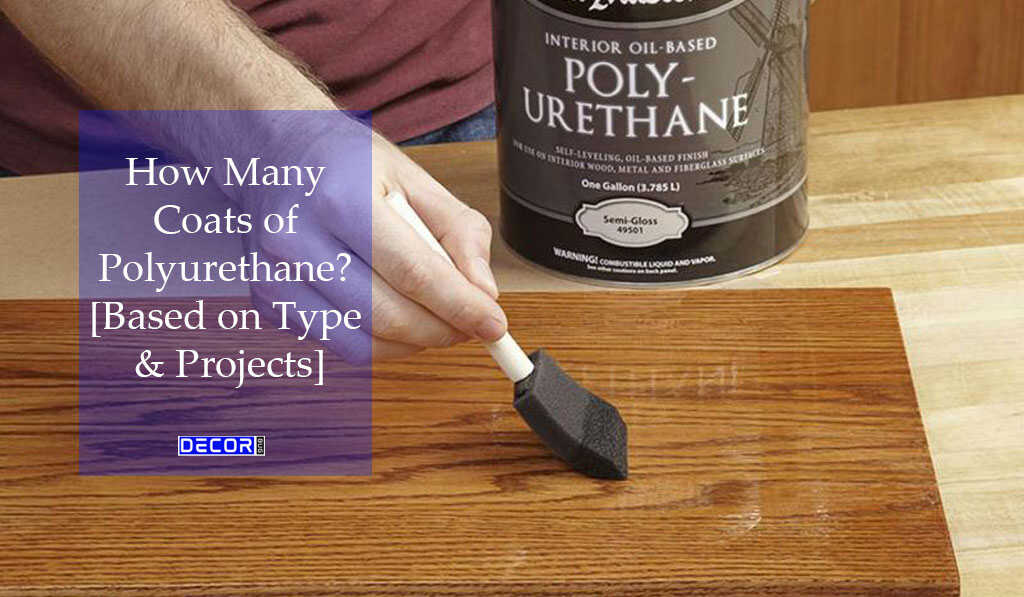
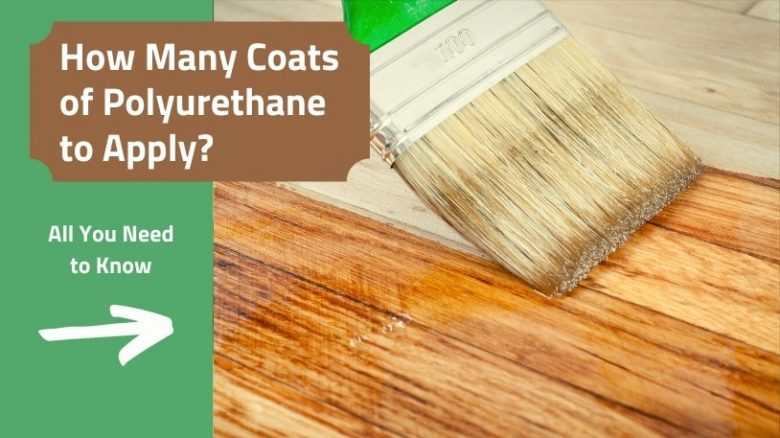
To protect your newly stained pine kitchen table, apply a coat of polyurethane. This will create a durable finish that can withstand daily use. Use a brush or cloth to apply the polyurethane in long, even strokes.7. Applying a coat of polyurethane for protection
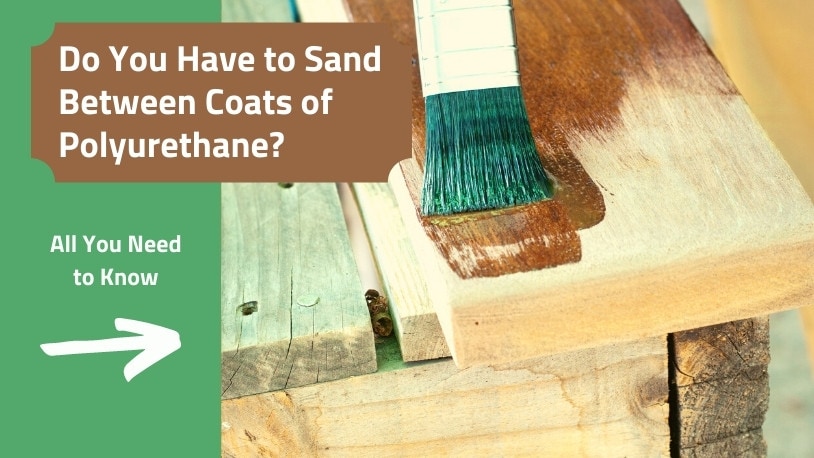
For the best results, it's recommended to apply multiple coats of polyurethane. However, before applying each coat, lightly sand the surface with a fine-grit sandpaper. This will create a smooth surface and help the polyurethane adhere better.8. Sanding lightly between coats of polyurethane
Continue applying coats of polyurethane until you achieve the desired level of protection and shine. Be sure to sand lightly between each coat for the best results. You can also choose to add a layer of wax for added protection and shine.9. Adding additional coats of polyurethane for a durable finish
Finally, allow the table to dry completely before using it. This may take a few days, depending on the type of finish you used. Once dry, you can enjoy your newly refinished pine kitchen table and admire the transformation it has undergone! Refinishing a pine kitchen table may seem like a daunting task, but with the right tools and techniques, it can be a fun and rewarding project. Follow these steps to refinish your table and give it a new lease on life. refinishing a pine kitchen table, pine kitchen table, refinishing, sanding, wood filler, scratches, cleaning, wood stain, polyurethane, protection10. Allowing the table to fully dry before use
How to Refinish a Pine Kitchen Table: A Step-by-Step Guide
Step 3: Sanding the Table
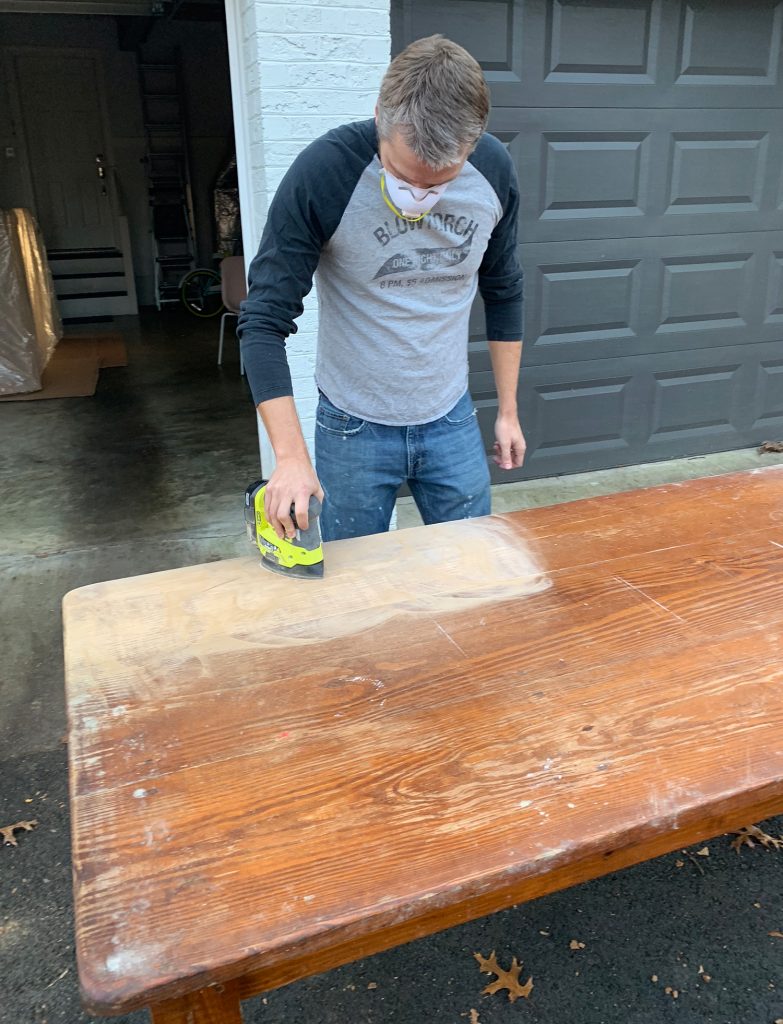
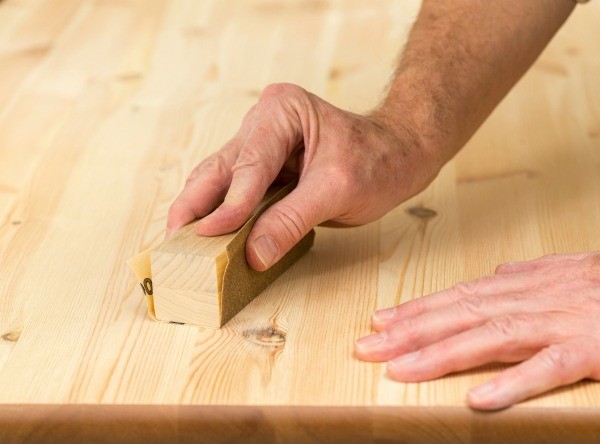
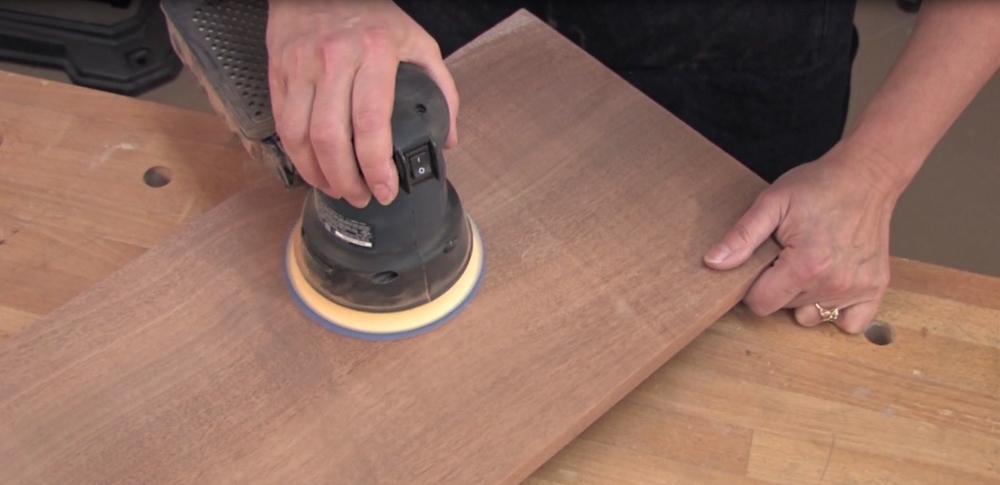
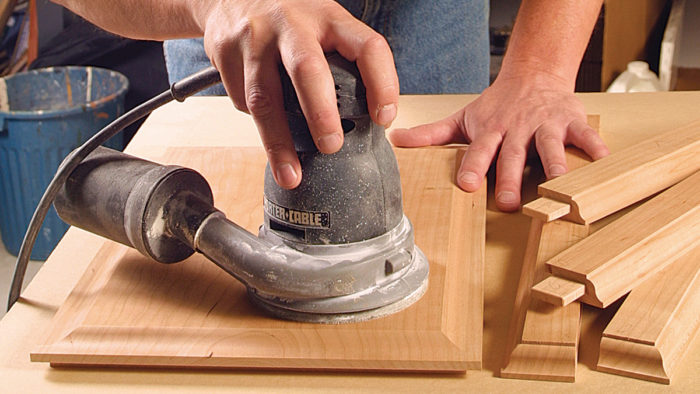
 Once you have removed the old finish and cleaned your pine kitchen table, it’s time to start sanding. Sanding is an important step in refinishing as it helps to smooth out any imperfections and create a clean surface for the new finish to adhere to.
Begin by using a coarse grit sandpaper (60-80 grit) to remove any remaining old finish and scratches from the surface of the table.
This may take some time, but it’s important to be thorough to achieve a smooth and even finish.
Once you have removed the old finish, switch to a medium grit sandpaper (100-150 grit) to further smooth out the surface.
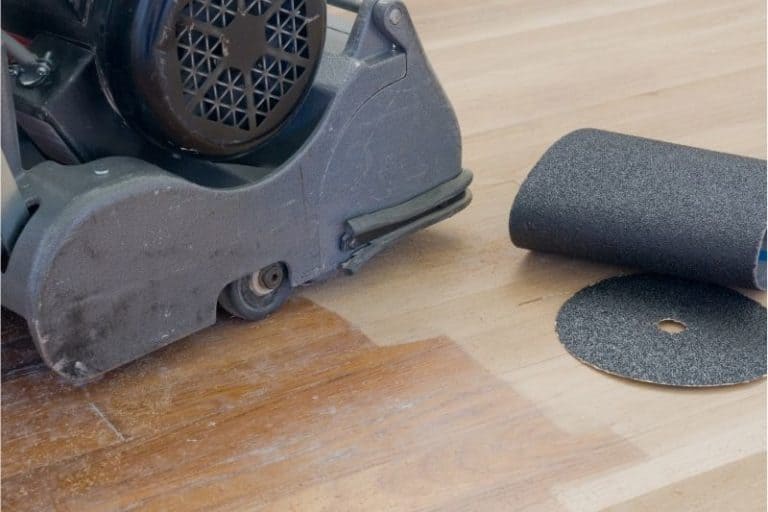
You can also use an electric sander for this step to speed up the process.
Be sure to sand in the direction of the wood grain to avoid damaging the surface.
After sanding with the medium grit sandpaper, finish off with a fine grit sandpaper (200-220 grit) to achieve a smooth and polished surface.
Be sure to wipe down the table with a tack cloth to remove any dust and debris before moving on to the next step.
Step 4: Staining and Sealing
 Now that your pine kitchen table is sanded and clean, it’s time to add some color and protection.
Choose a stain that complements the style of your kitchen and the rest of your furniture.
Using a brush or rag, apply the stain evenly in the direction of the wood grain.
Be sure to work in small sections and wipe off any excess stain with a clean cloth.
After the stain has dried according to the manufacturer’s instructions, it’s time to seal your table.
Choose a polyurethane finish for a durable and long-lasting protection.
Apply the first coat with a brush or rag, following the direction of the wood grain.
Allow the first coat to dry completely before lightly sanding with a fine grit sandpaper and applying a second coat.
Repeat this process for a third coat for an even more durable finish.
Step 5: Finishing Touches
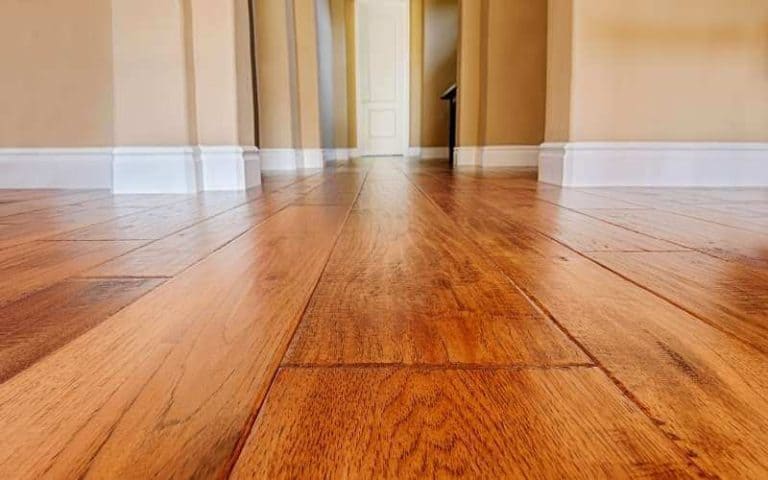
 Once your final coat of polyurethane has dried, your pine kitchen table is ready to be used.
But to add some extra protection and a smooth finish, you can lightly sand the surface with a very fine grit sandpaper and apply a wax or furniture polish.
This will also add a subtle shine to your table.
Remember to regularly clean and maintain your newly refinished pine kitchen table to keep it looking beautiful for years to come.
With these steps and some patience, you can transform your old and worn out kitchen table into a stunning centerpiece for your home.


























:max_bytes(150000):strip_icc()/WipeExcessStain-ab48bd0cb84642e0b0e8e5b5406858b7.jpg)





:max_bytes(150000):strip_icc()/GettyImages-183771871-5c49f74546e0fb00014c1b5a.jpg)
