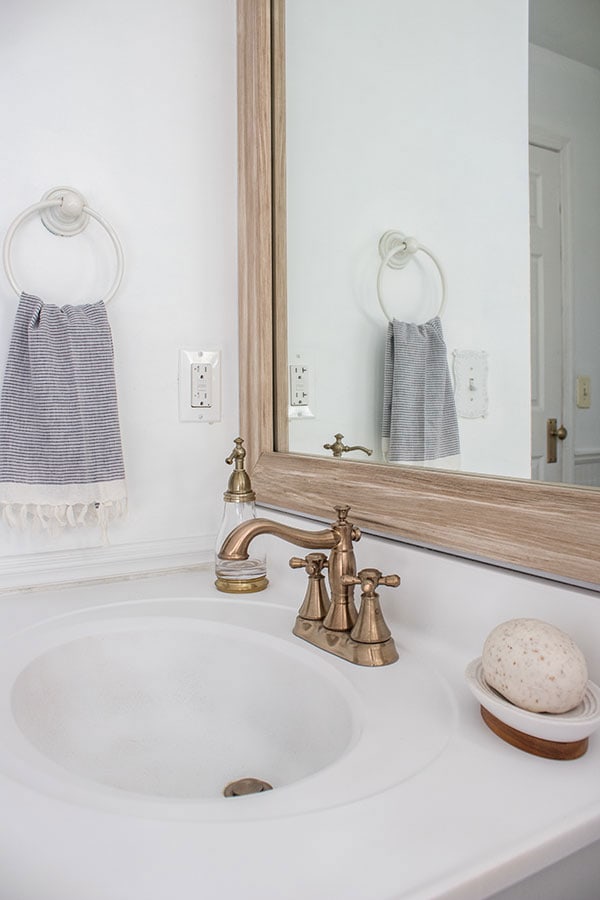
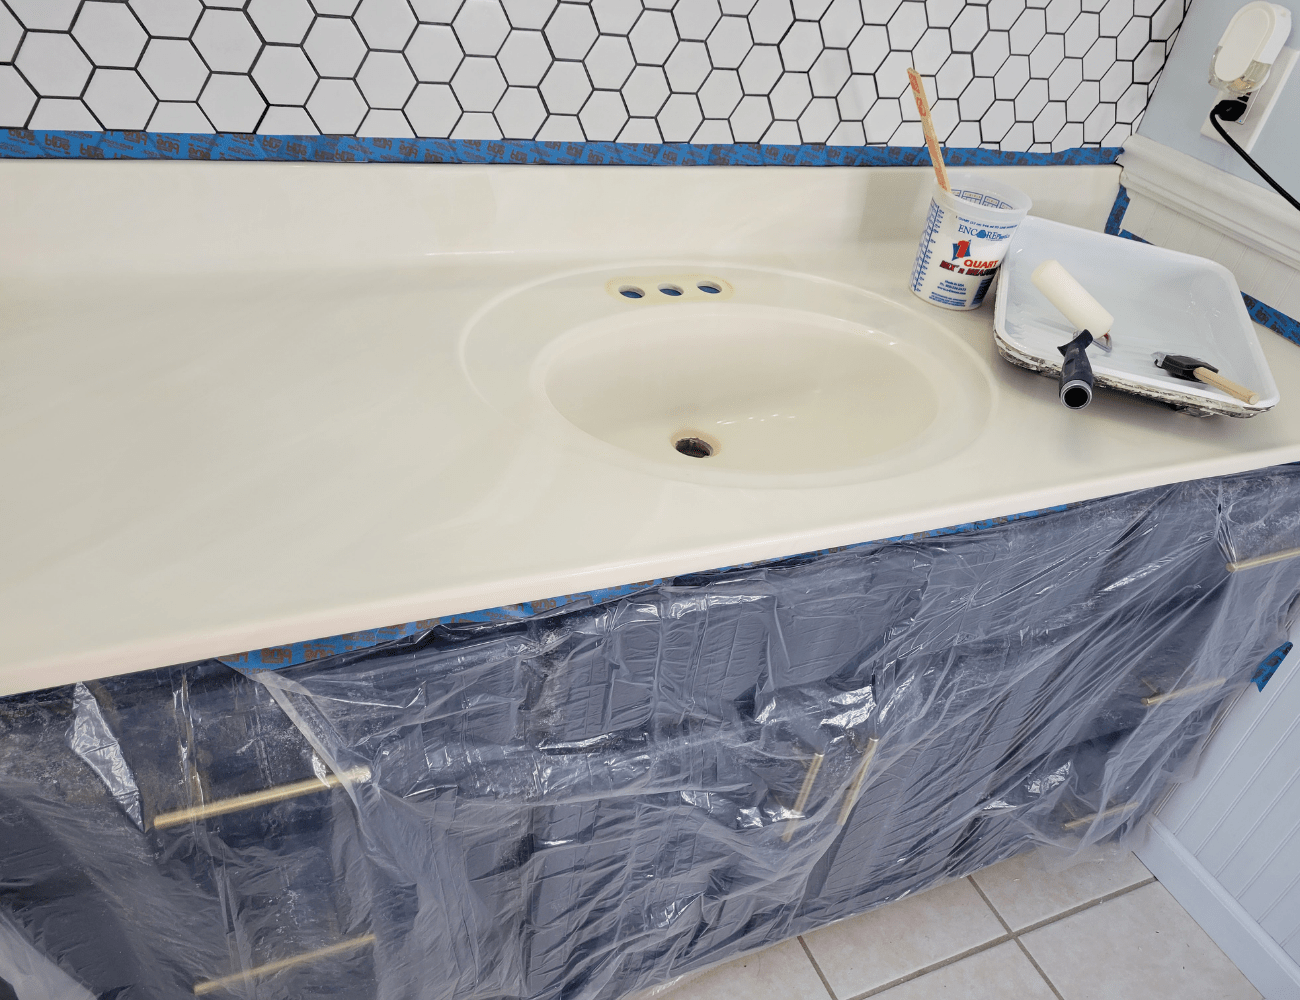
Are you tired of looking at your old, worn out bathroom sink? Refinishing it can give your bathroom a fresh new look without the cost of replacing it. Here are 10 amazing results you can achieve when refinishing your bathroom sink.Refinishing a Bathroom Sink: 10 Results
Refinishing a bathroom sink may seem like a daunting task, but with these top 10 tips, the process will be a breeze. From preparation to the final coat, these tips will ensure you achieve professional-looking results.Refinishing a Bathroom Sink: Top 10 Tips
If you're wondering how to refinish a bathroom sink, look no further. Follow these step-by-step instructions for a successful refinishing project: Step 1: Clean the Sink Clean the sink thoroughly with a mild cleaner to remove any dirt, grime, or soap scum. Step 2: Sand the Surface Using a fine grit sandpaper, lightly sand the surface of the sink to roughen it up and remove the glossy finish. Step 3: Wipe Down the Sink Wipe down the sink with a damp cloth to remove any dust from sanding. Step 4: Tape Off the Area Using painter's tape, carefully cover any areas you do not want to be refinished, such as the faucet or countertop. Step 5: Apply Primer Using a high-quality bonding primer, apply a thin coat to the entire surface of the sink. This will help the paint adhere better. Step 6: Let the Primer Dry Allow the primer to dry completely before moving on to the next step. Step 7: Apply the Paint Using a high-quality enamel paint, apply 2-3 thin coats to the sink, allowing each coat to dry completely before applying the next one. Step 8: Let the Paint Cure Once all coats of paint have been applied, let the sink cure for at least 24 hours before using it. Step 9: Remove the Tape Carefully remove the painter's tape from the sink. Step 10: Enjoy Your Newly Refinished Sink Admire your beautiful, newly refinished sink and enjoy the money you saved by doing it yourself.How to Refinish a Bathroom Sink
Refinishing your bathroom sink yourself not only saves you money, but it also gives you the satisfaction of completing a DIY project. With the right tools and materials, you can achieve professional-looking results without hiring a professional.DIY Bathroom Sink Refinishing
Following a step-by-step guide is crucial when refinishing a bathroom sink. By properly preparing and following the correct steps, you can avoid any mistakes and achieve the desired results.Refinishing a Bathroom Sink: Step-by-Step Guide
The key to a successful bathroom sink refinishing project is using high-quality products. Look for a bonding primer and enamel paint specifically designed for refinishing sinks, as well as a good quality brush or roller for application.Best Products for Refinishing a Bathroom Sink
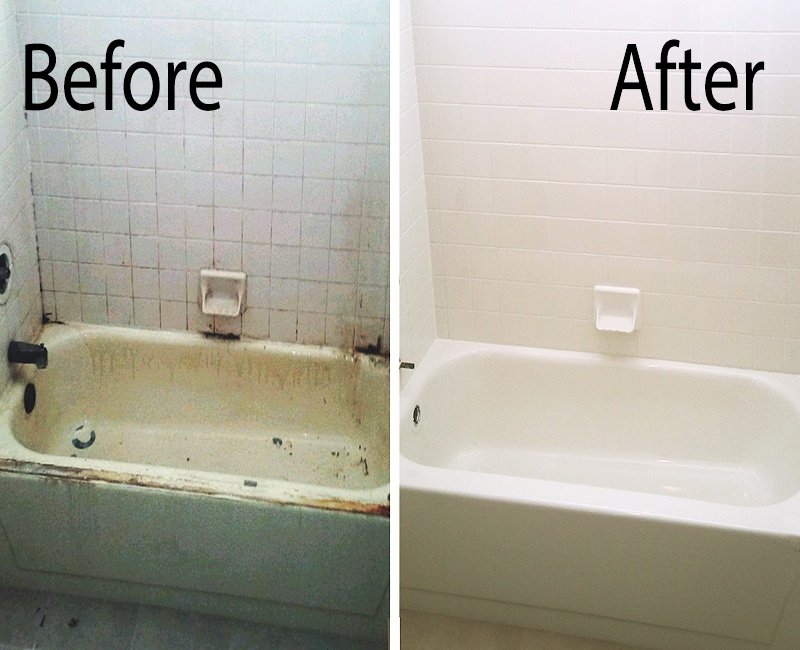
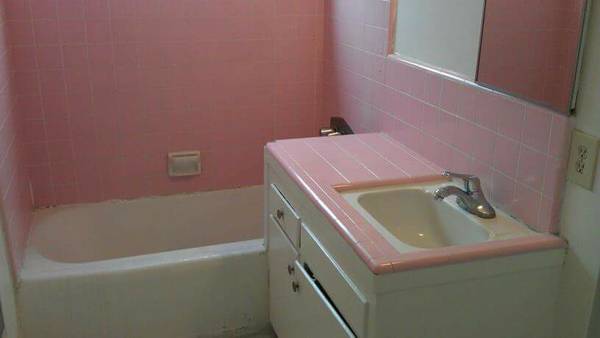
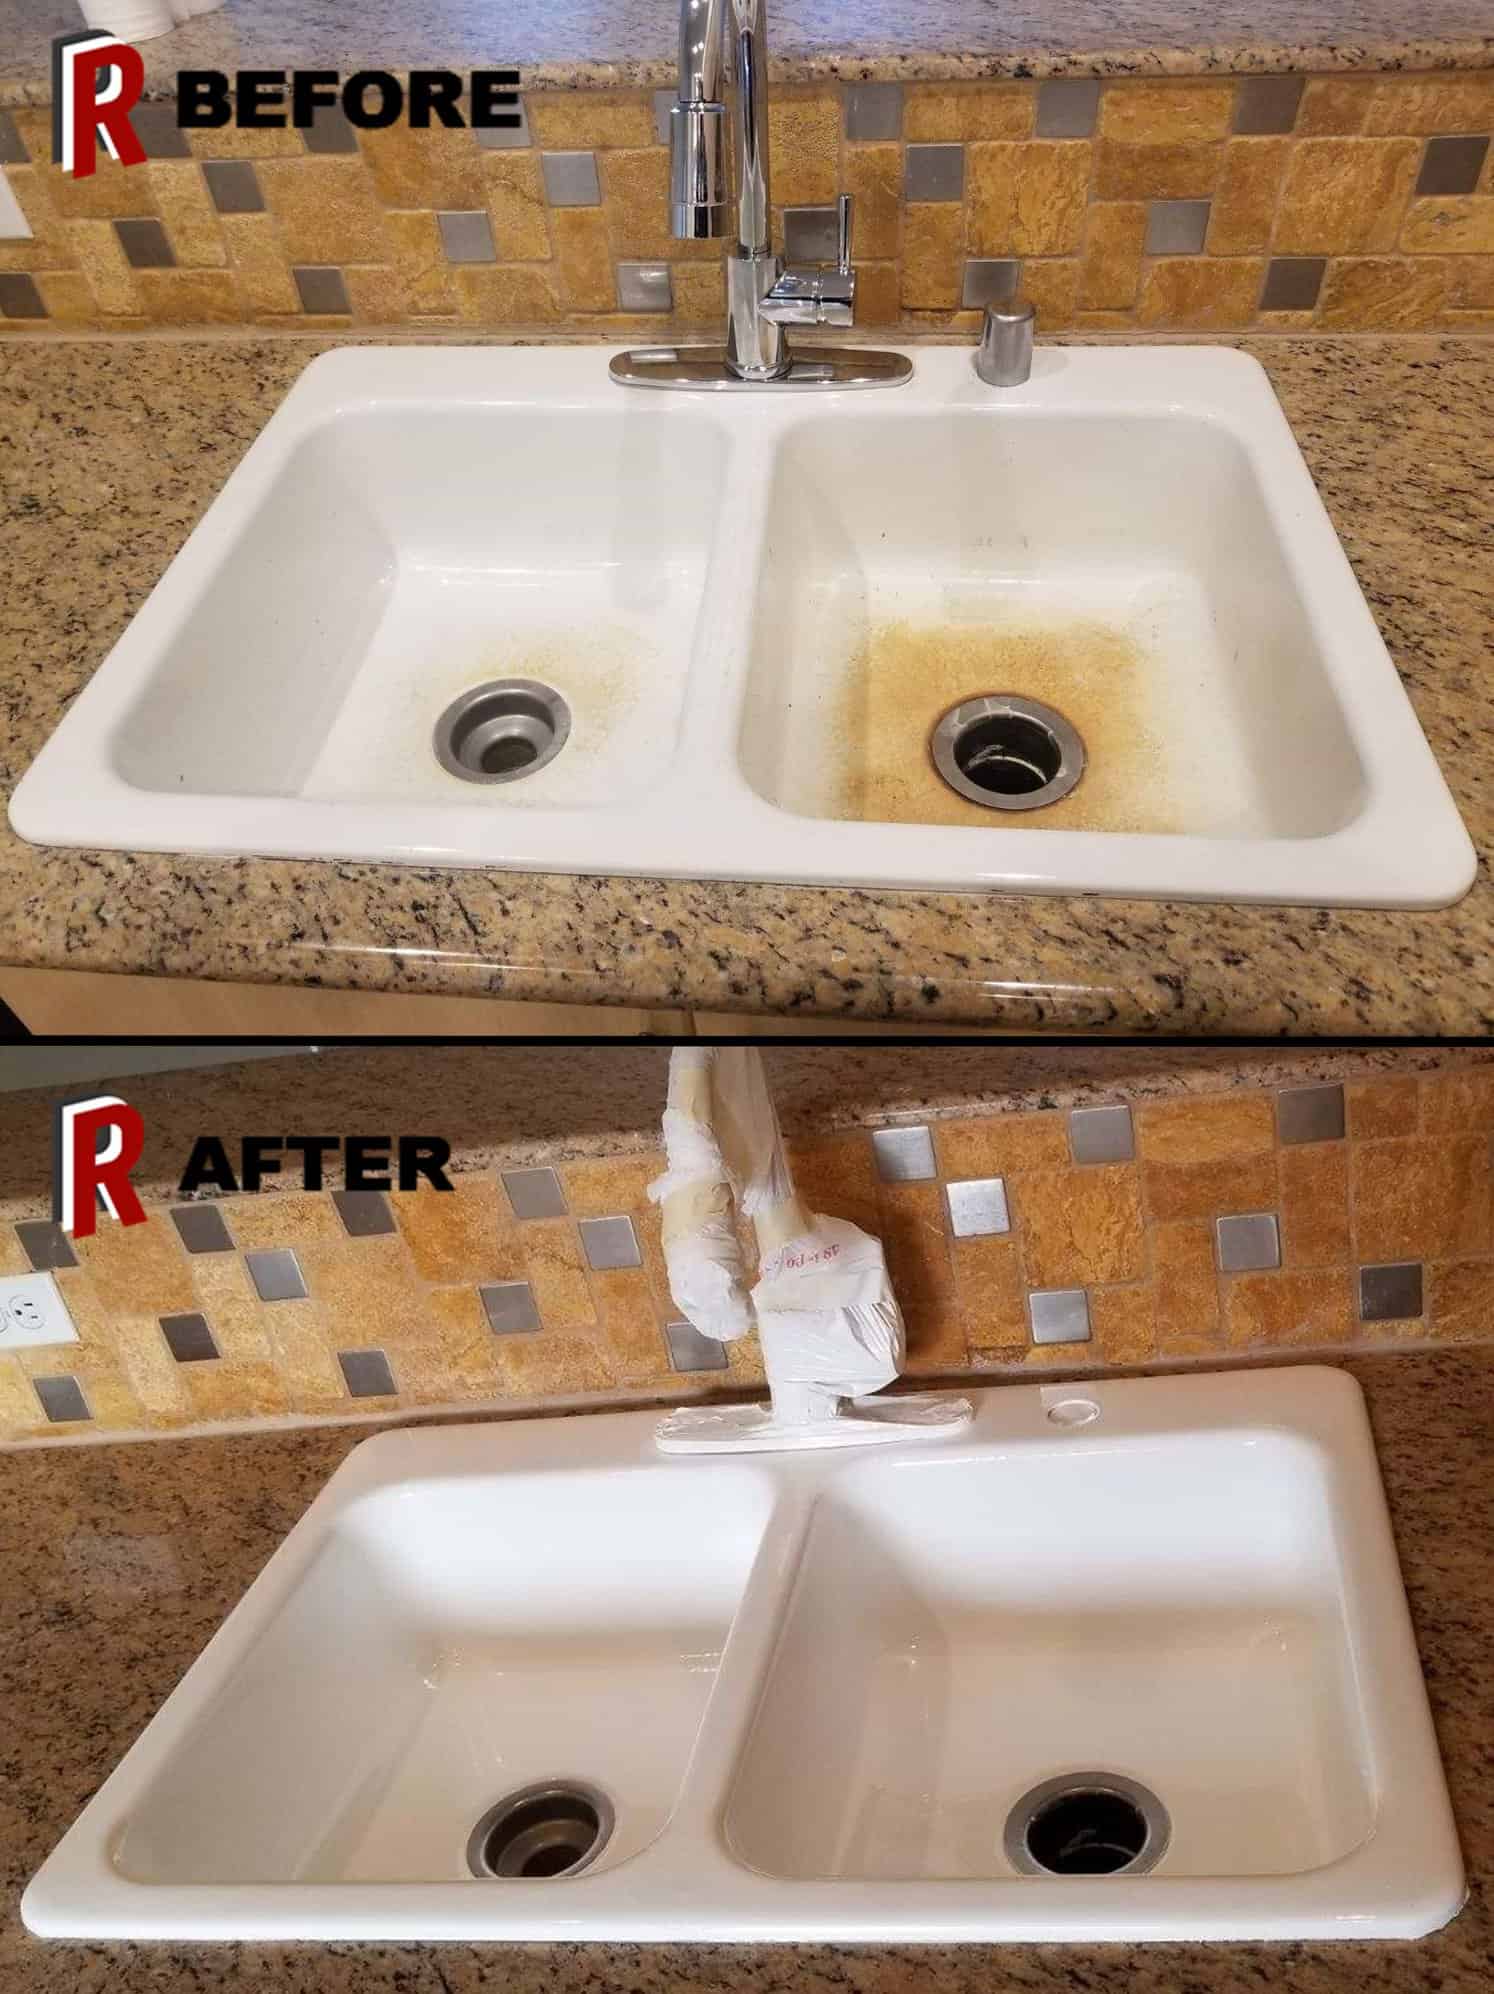
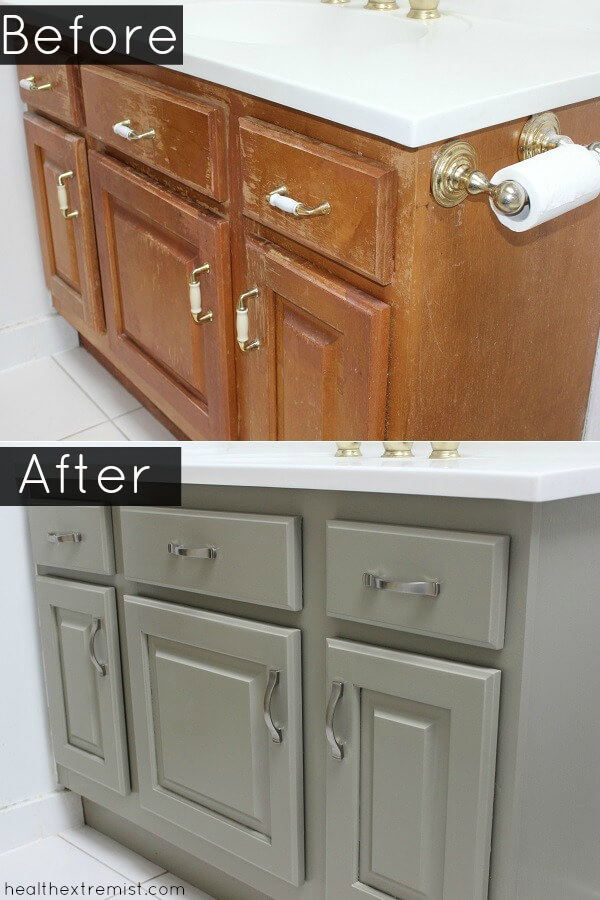
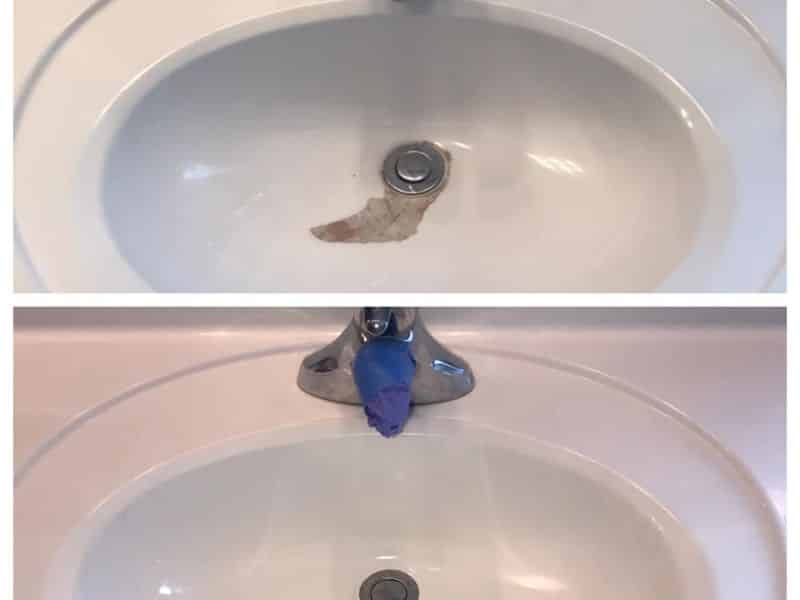
The transformation of your bathroom sink before and after refinishing can be dramatic. You'll be amazed at the difference a fresh coat of paint can make. Say goodbye to that old, outdated sink and hello to a beautiful, updated one.Refinishing a Bathroom Sink: Before and After
Refinishing a bathroom sink may seem simple, but there are some common mistakes that can ruin your project. Avoid these mistakes to ensure a successful refinishing job: • Rushing through the process without proper preparationRefinishing a Bathroom Sink: Common Mistakes to Avoid
• Not using high-quality products
• Applying too thick of coats
• Skipping the curing process
One of the main reasons people choose to refinish their bathroom sink is to save money. The cost of refinishing a sink can vary depending on the products you use, but it is significantly cheaper than replacing it. The time it takes to refinish a sink can also vary, but on average, it can take 2-3 days from start to finish.Refinishing a Bathroom Sink: Cost and Time Breakdown
Hiring a professional to refinish your bathroom sink can be costly, but it may be worth it if you're not confident in your DIY skills. However, with the right tools and knowledge, DIY refinishing can save you money and give you the satisfaction of completing a project on your own. In conclusion, refinishing a bathroom sink is a cost-effective and relatively easy way to give your bathroom a fresh new look. By following these tips and steps, you can achieve professional-looking results and enjoy your updated sink for years to come.Refinishing a Bathroom Sink: Professional vs. DIY
Why Refinishing Your Bathroom Sink is a Great Investment

The Benefits of Refinishing Your Bathroom Sink
 Refinishing your bathroom sink may not be the first thing that comes to mind when thinking about home renovations, but it is a small project that can make a big impact. Not only will it give your bathroom a fresh and updated look, but it can also save you a significant amount of money compared to replacing the entire sink.
Bathroom sink refinishing
involves repairing any chips or scratches, sanding down the surface, and applying a new coat of finish. This process can be done by a professional or as a DIY project with the right tools and materials.
Cost-Effective Solution
 One of the main reasons people choose to refinish their bathroom sink is because it is a cost-effective solution.
Refinishing
can be done for a fraction of the cost of replacing the entire sink, which can include hiring a plumber and purchasing a new sink and faucet. By refinishing your sink, you can give it a brand new look without breaking the bank.
Customization Options
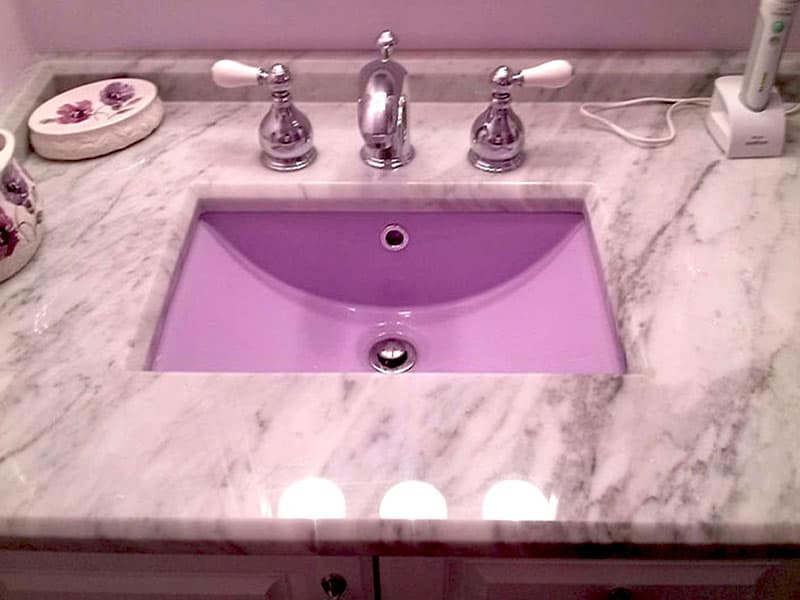
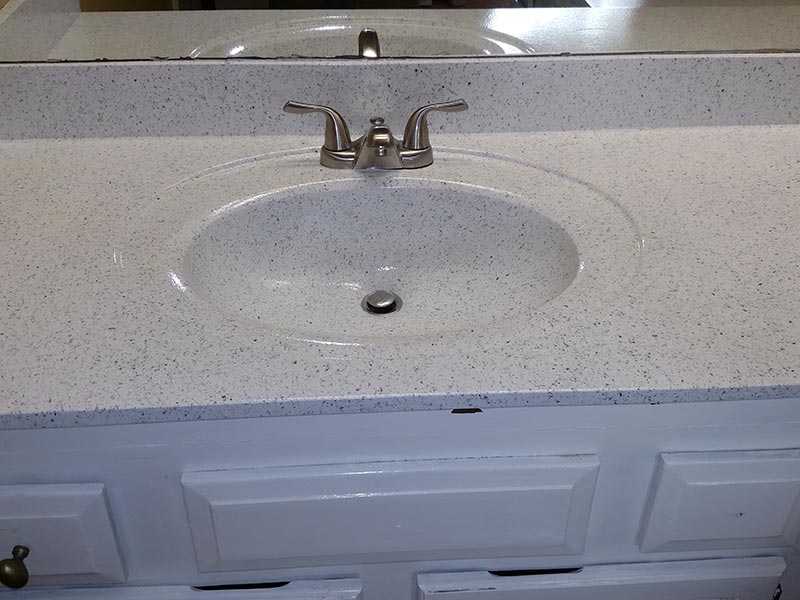
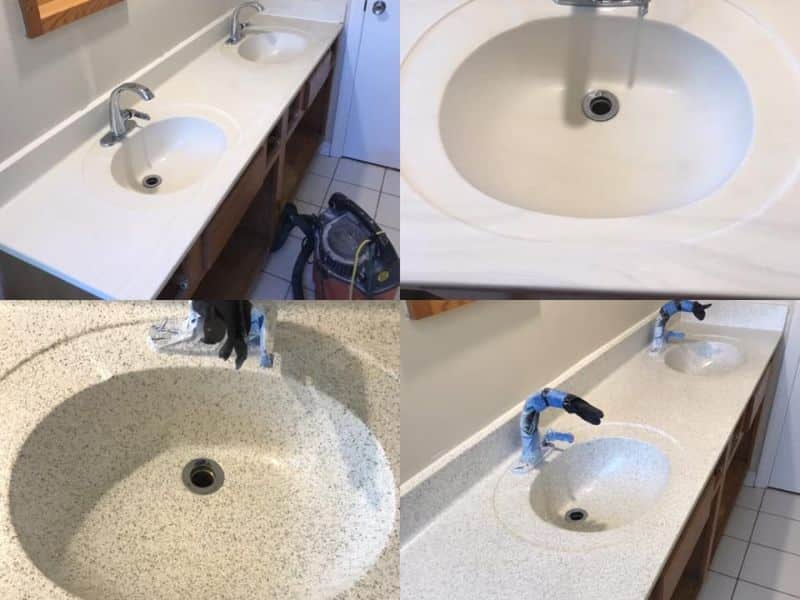 Another benefit of refinishing your bathroom sink is the ability to customize it to your liking. With a wide range of finishes and colors available, you can choose the perfect one to match your bathroom
décor
and personal style. You can also opt for a
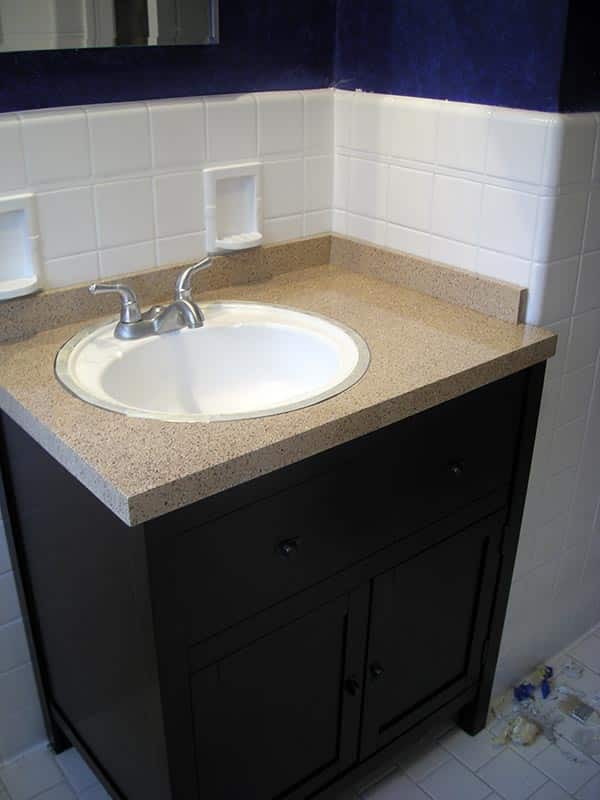
stone finish
to give your sink a luxurious and high-end look without the high price tag.
Quick and Easy Process
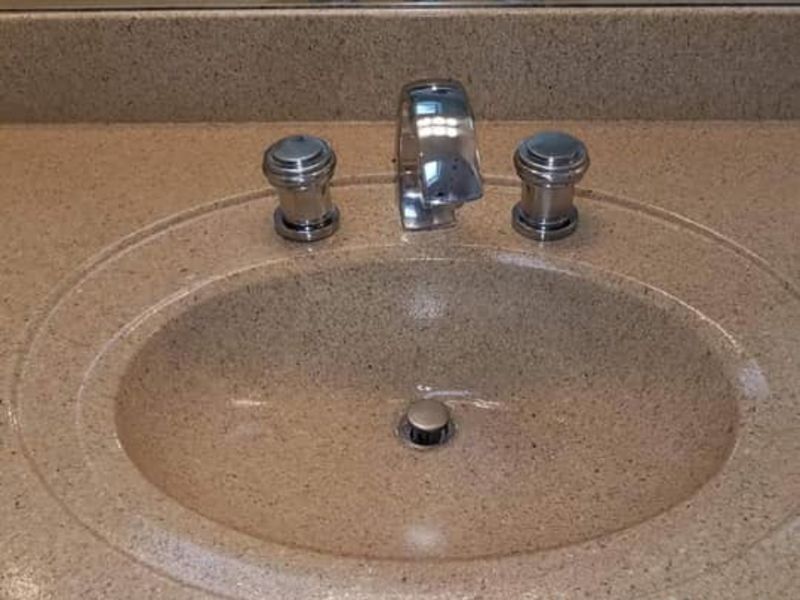 Compared to a full sink replacement,
refinishing
is a quick and easy process. It can typically be completed in one day, allowing you to use your bathroom sink again in no time. This is especially convenient for busy households or those with only one bathroom.
Long-Lasting Results
 When done correctly, refinishing your bathroom sink can provide long-lasting results. The new finish will protect the sink from further damage and extend its lifespan. It also makes cleaning and maintaining the sink easier, as the new finish will be more resistant to stains and scratches.
In Conclusion
 Refinishing your bathroom sink is a smart and budget-friendly way to update your bathroom
décor
and improve the overall look of your home. With a variety of customization options and long-lasting results, it is a great investment that will save you time and money in the long run. So why wait? Consider refinishing your bathroom sink today and see the transformation for yourself.


