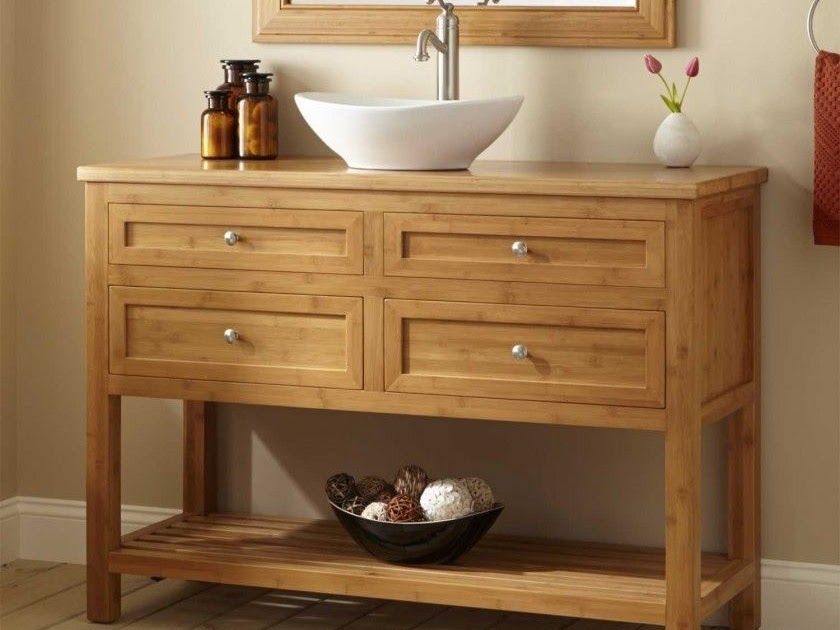
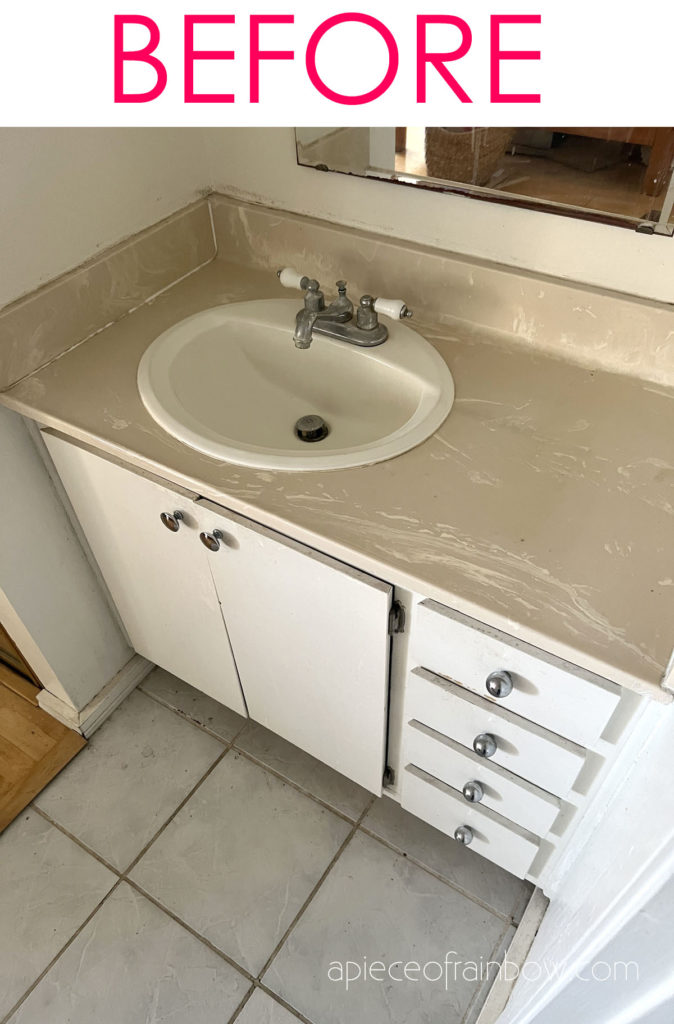
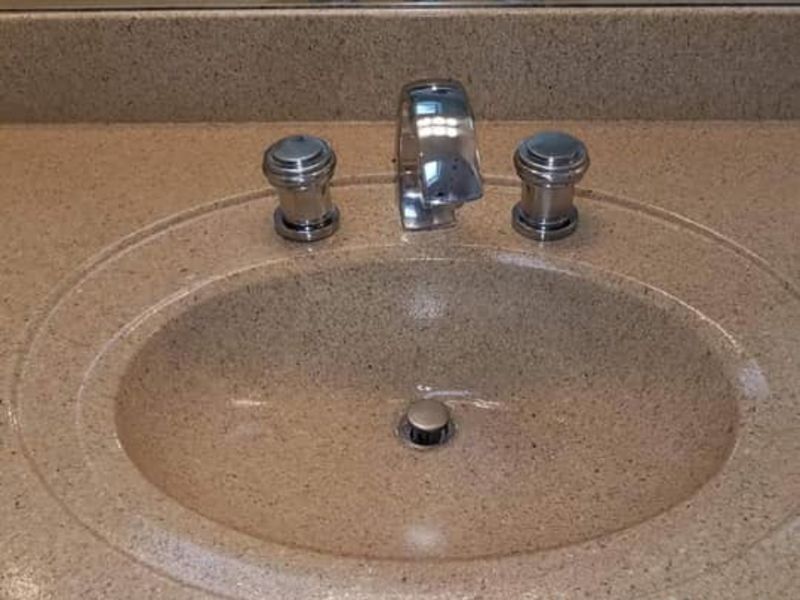
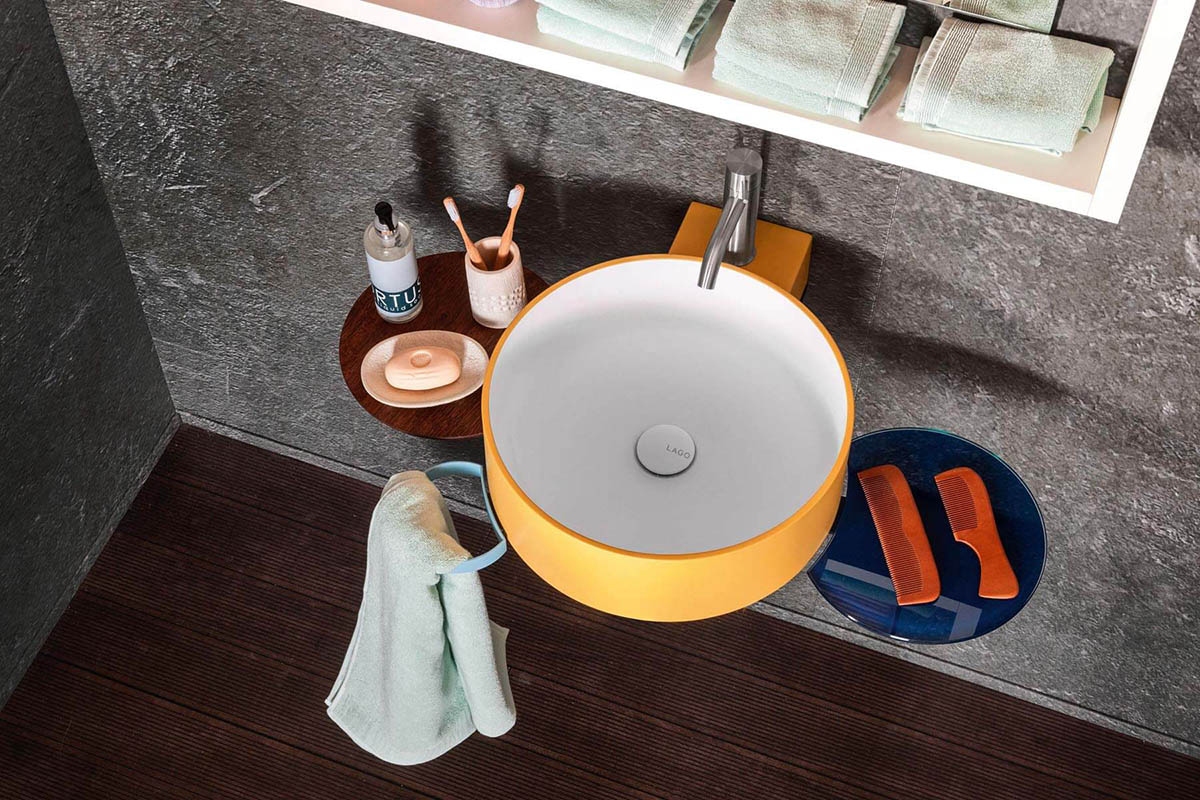
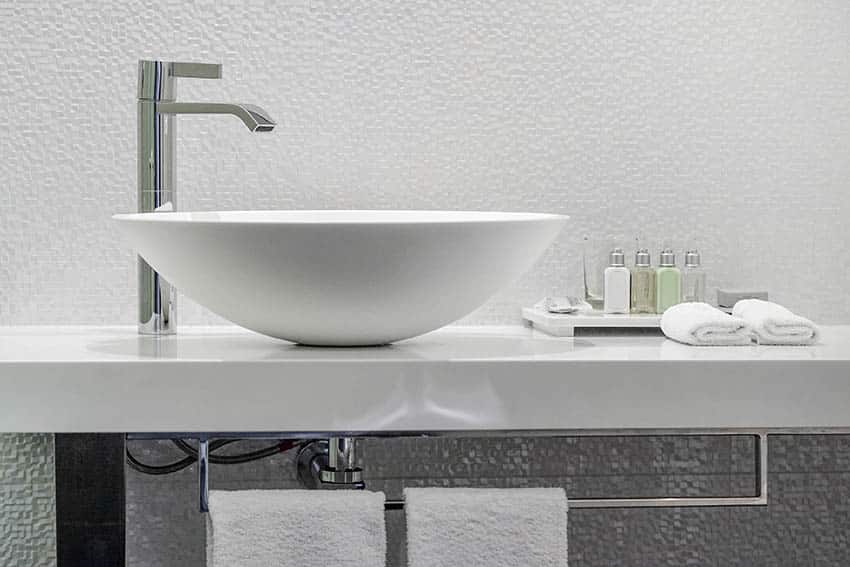
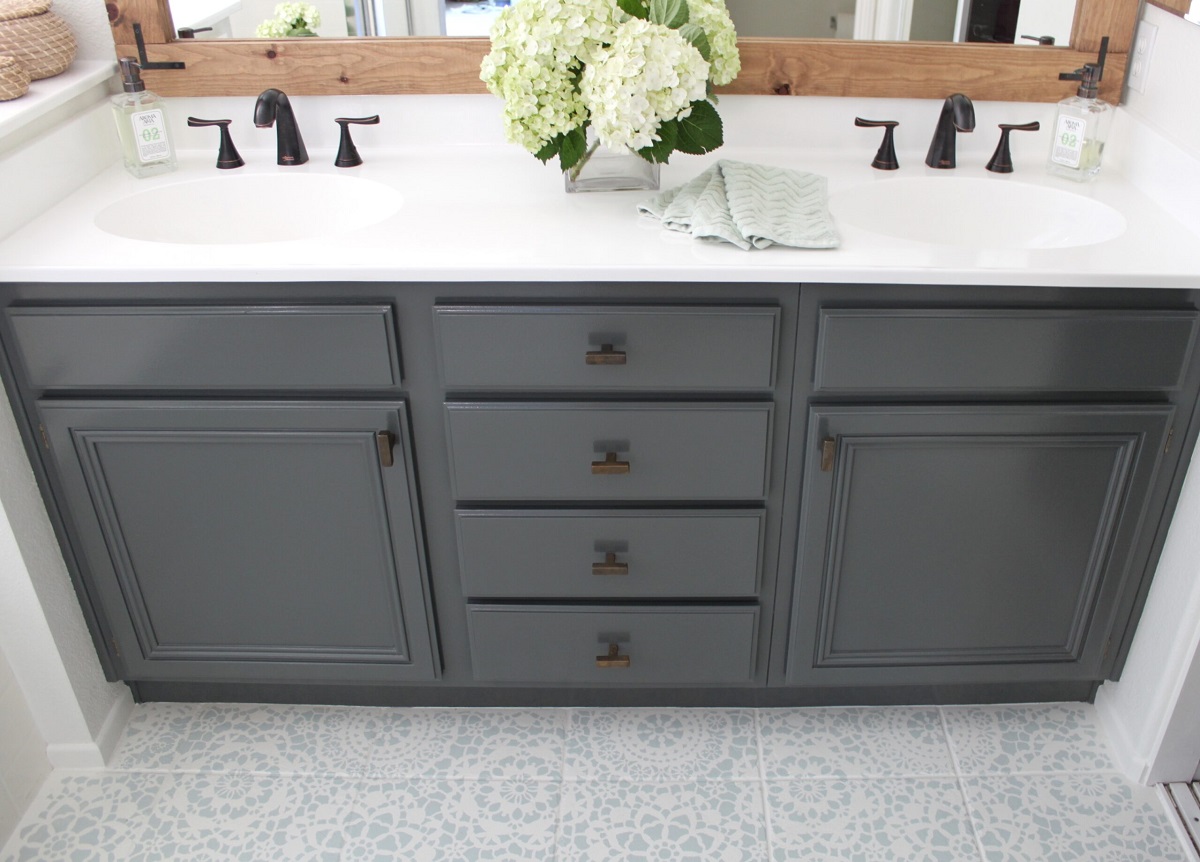
If your bathroom sink is looking tired and worn out, refinishing it can be a cost-effective way to give it a fresh new look. Not only is it a budget-friendly option, but it also saves you the hassle and expense of replacing the entire sink. Refinishing an old bathroom sink may seem like a daunting task, but with the right tools and techniques, it can be a simple and satisfying DIY project. Follow our step-by-step guide to learn how to refinish your old bathroom sink and give it a new lease on life.Refinishing an Old Bathroom Sink: A Step-by-Step Guide


Refinishing an Old Bathroom Sink: A Step-by-Step Guide


Before you begin, it's important to gather all the necessary materials. You'll need a refinishing kit (available at your local hardware store), a scrub brush, sandpaper, a drop cloth, and a face mask for protection. Once you have everything you need, follow these steps to refinish your old bathroom sink:How to Refinish an Old Bathroom Sink


How to Refinish an Old Bathroom Sink


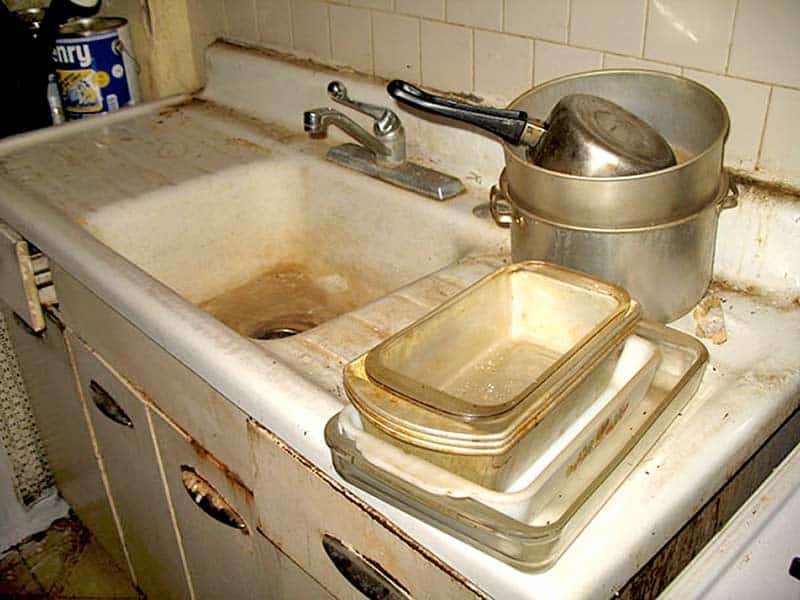


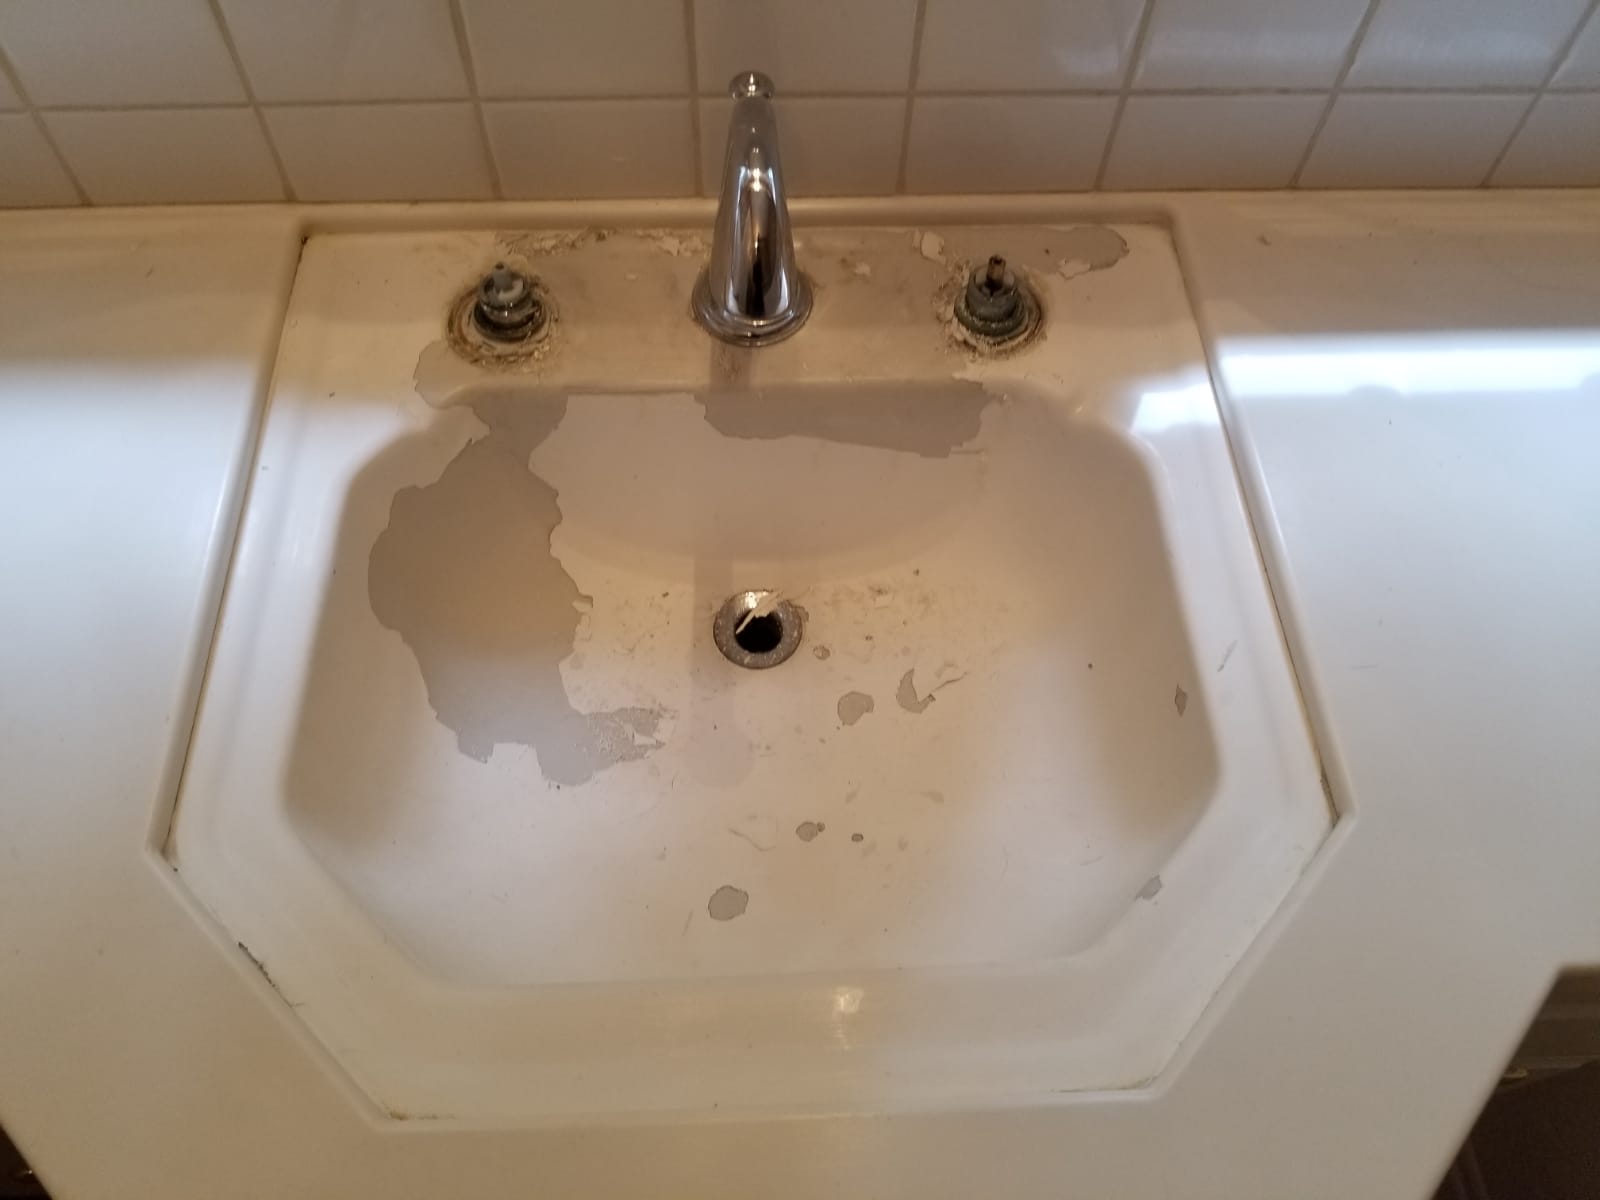
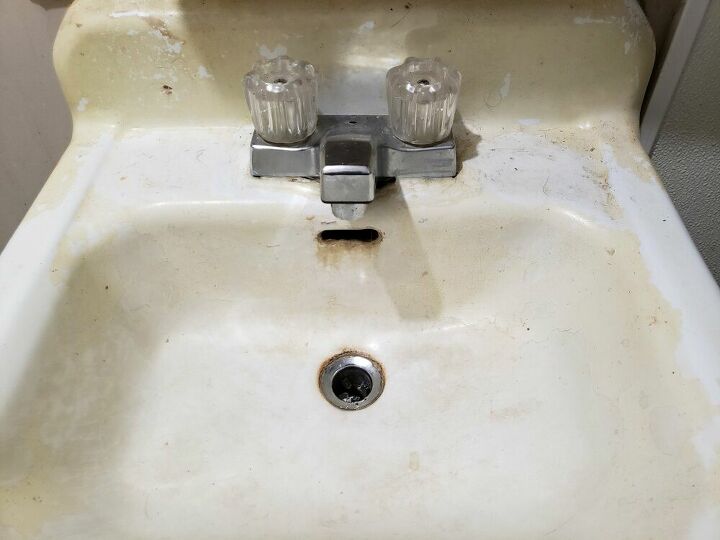
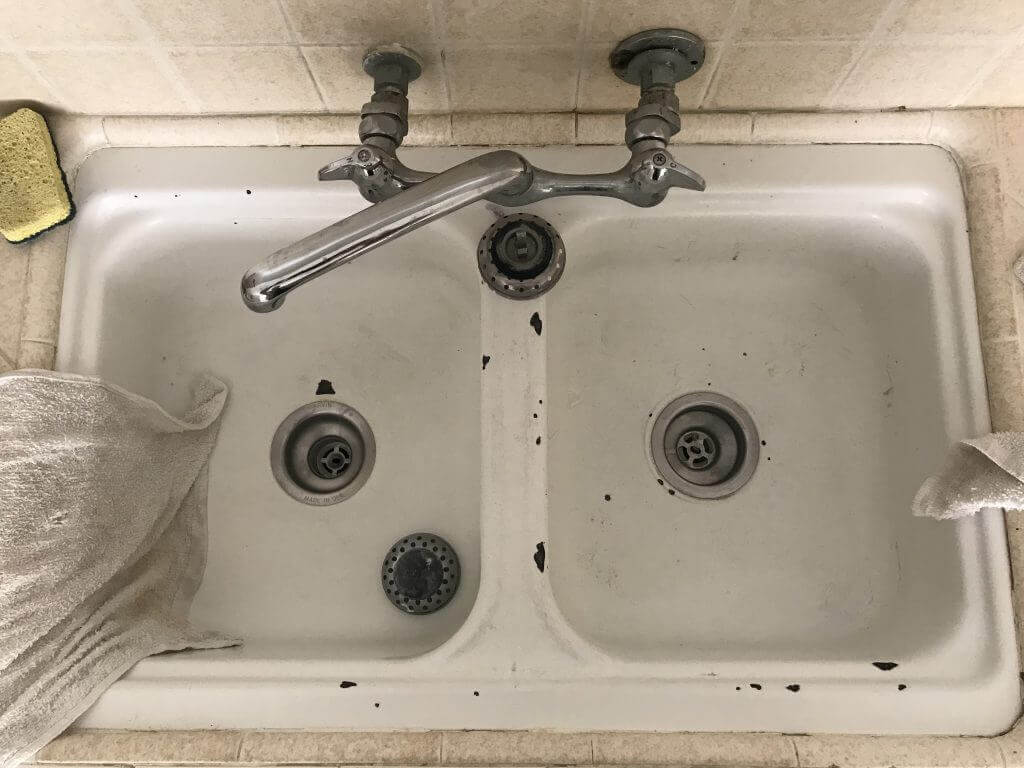
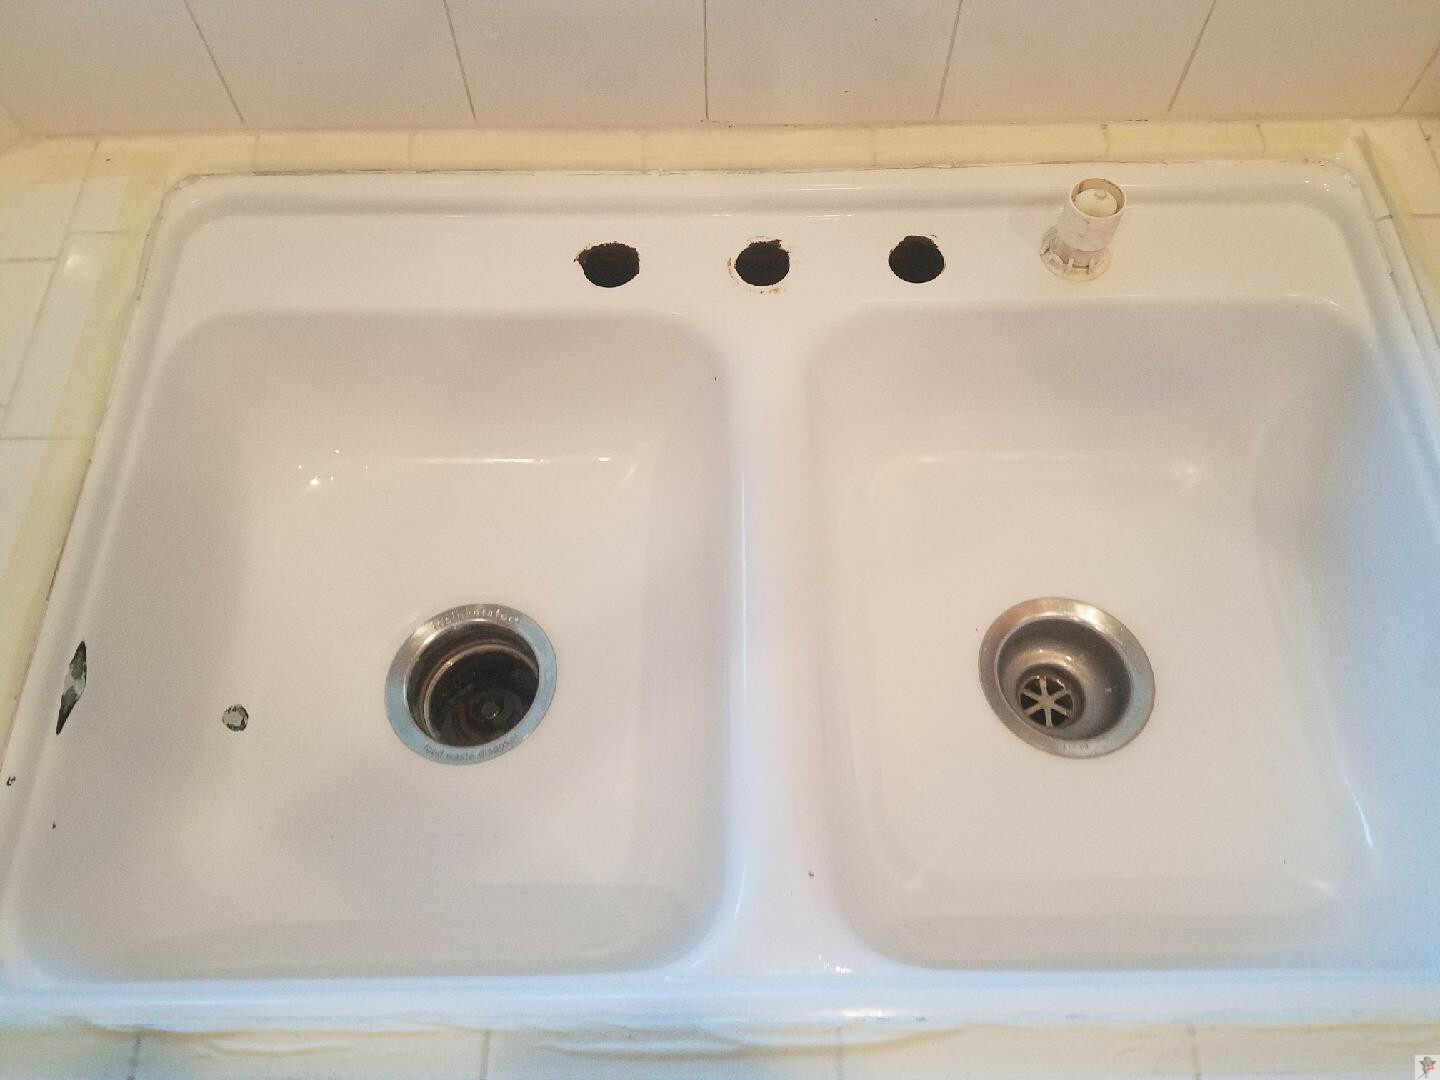
Start by cleaning the sink thoroughly to remove any dirt, grime, or soap scum. Use a scrub brush and a mild cleaner to scrub the sink's surface. Rinse it with water and dry it with a clean cloth. Next, use sandpaper to roughen up the surface of the sink. This will help the new finish adhere better. Be sure to wear a face mask to avoid inhaling any dust.Step 1: Prepare the Sink


DIY Bathroom Sink Refinishing: Tips and Tricks


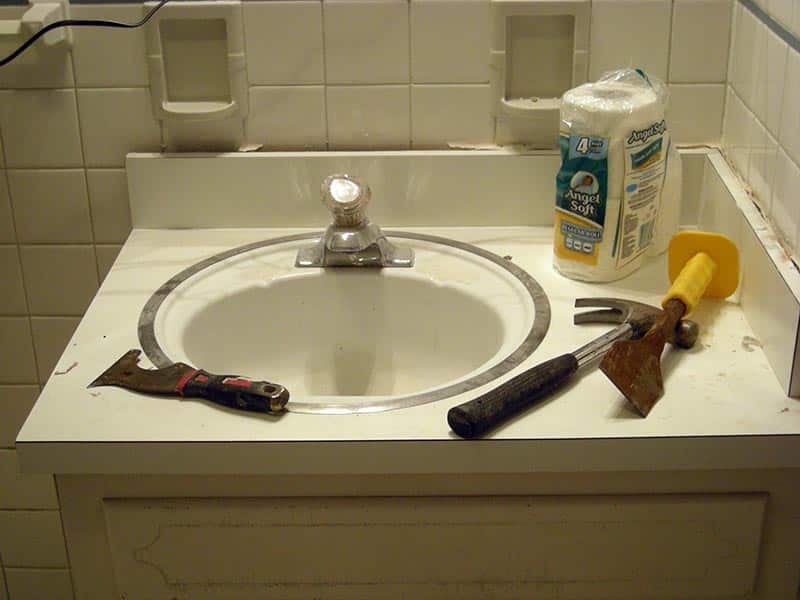
Before you start refinishing, make sure to protect the surrounding area. Lay down a drop cloth to catch any drips or spills, and cover any fixtures or cabinets with plastic sheets or painter's tape.Step 2: Protect the Surrounding Area


Refinishing an Old Bathroom Sink: What You Need to Know


Follow the instructions on the refinishing kit to mix and apply the refinisher. Use a brush to apply an even coat over the entire surface of the sink. Be sure to work quickly as the refinisher dries fast.Step 3: Apply the Refinisher


Refinishing an Old Bathroom Sink: Pros and Cons


Once you've applied a coat of refinisher, let it dry for the recommended time (usually 24 hours). Avoid using the sink during this time.Step 4: Let it Dry


How to Refinish an Old Bathroom Sink on a Budget


After the first coat has dried, lightly sand the sink's surface with fine-grit sandpaper. This will help smooth out any imperfections. Wipe away any dust and apply a second coat of refinisher. Repeat this process until you achieve your desired level of shine and smoothness.Step 5: Sand and Repeat

Refinishing an Old Bathroom Sink: Common Mistakes to Avoid

After applying the final coat, let the sink cure for at least 48 hours before using it. This will ensure the new finish is fully hardened and durable.Step 6: Let it Cure

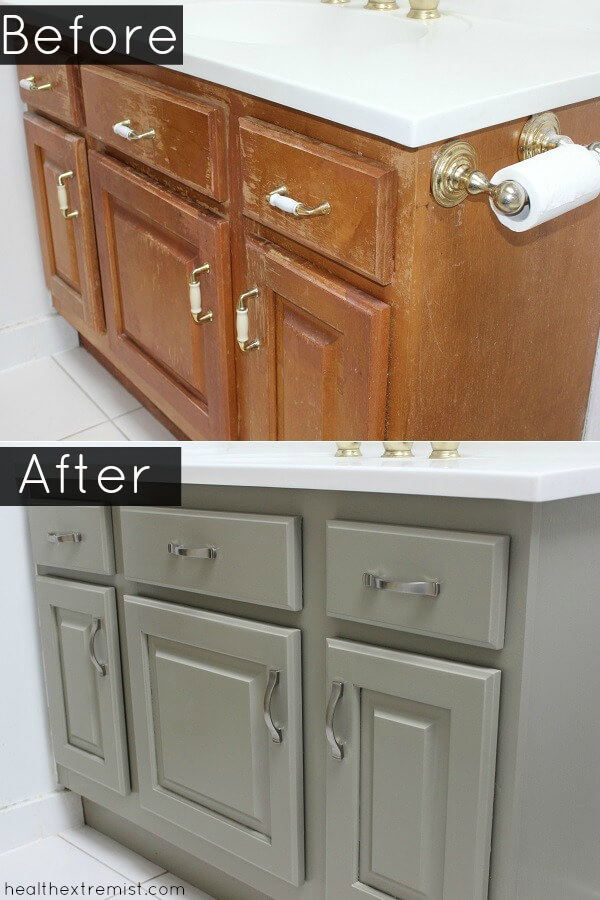
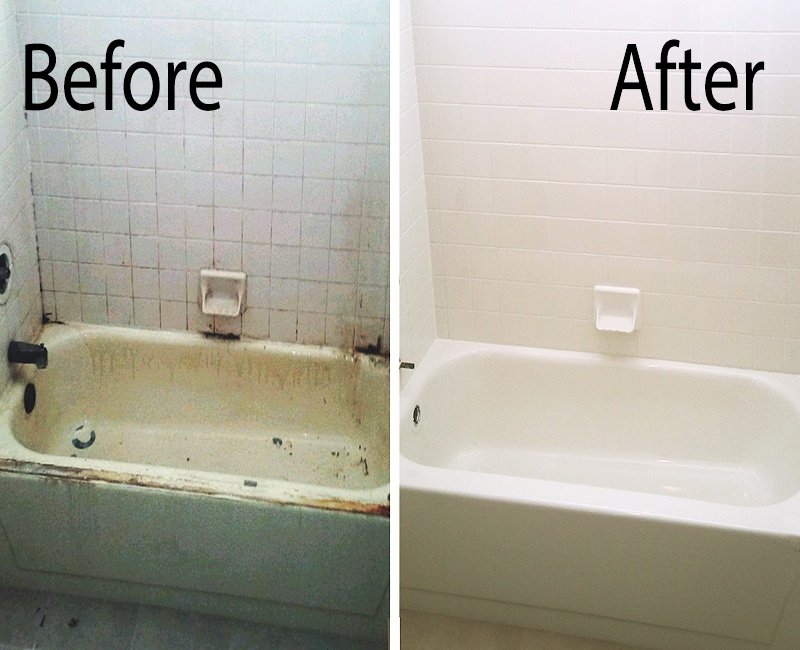
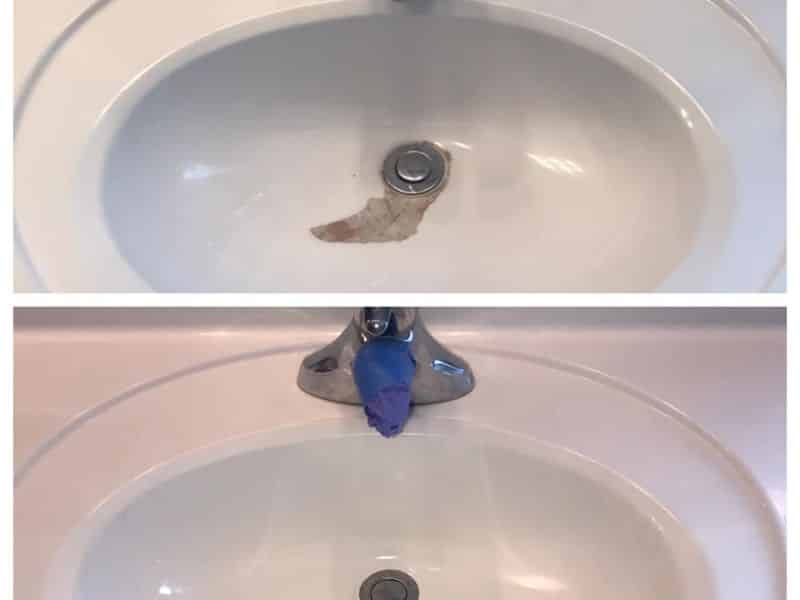
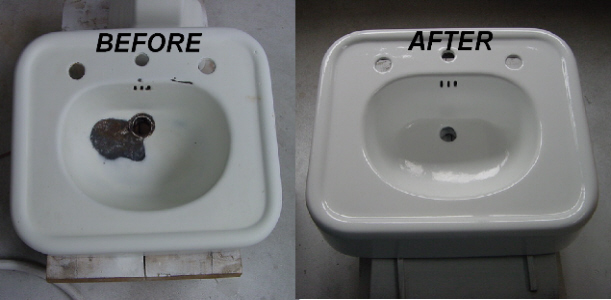
Refinishing an Old Bathroom Sink: Before and After Photos


Refinishing an old bathroom sink may seem straightforward, but there are a few tips and tricks that can help you achieve the best results:DIY Bathroom Sink Refinishing: Tips and Tricks


How to Choose the Right Refinishing Kit for Your Old Bathroom Sink


While refinishing an old bathroom sink is a great way to update its appearance, there are a few things to keep in mind:Refinishing an Old Bathroom Sink: What You Need to Know


Refinishing an Old Bathroom Sink: Professional vs. DIY

The Benefits of Refinishing Your Old Bathroom Sink
Why Should You Refinish Your Old Bathroom Sink?
 If you're looking to update your bathroom without breaking the bank, refinishing your old bathroom sink is a great place to start. Not only is it a cost-effective solution, but it also has several other benefits.
Enhance the Aesthetics
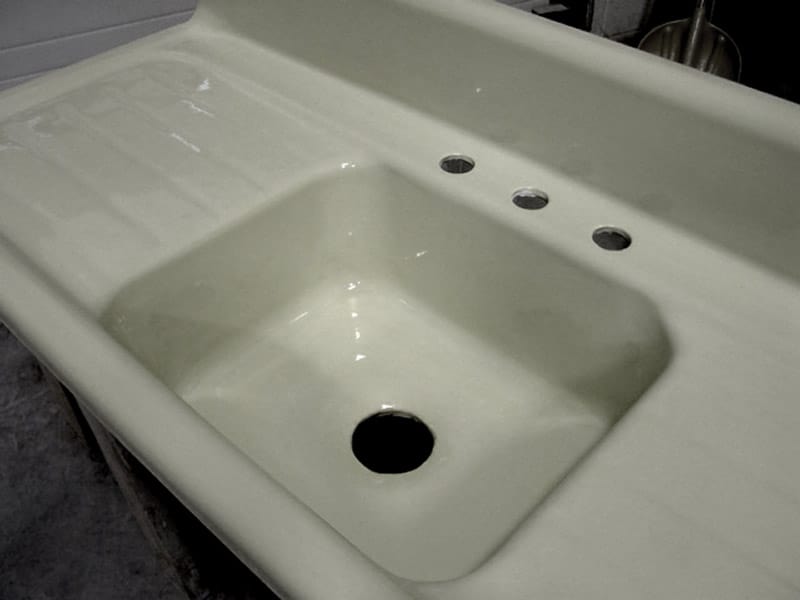
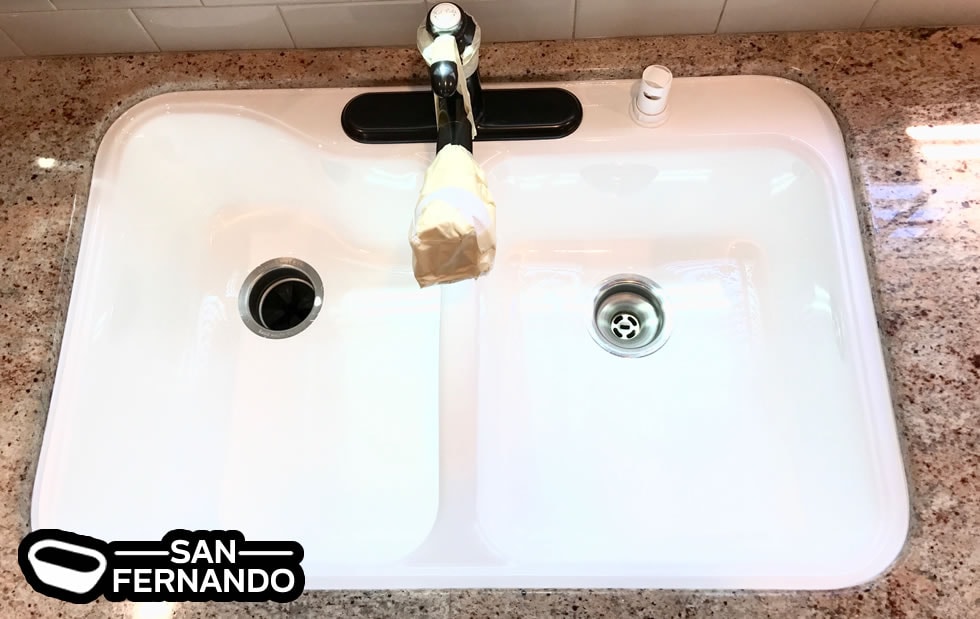
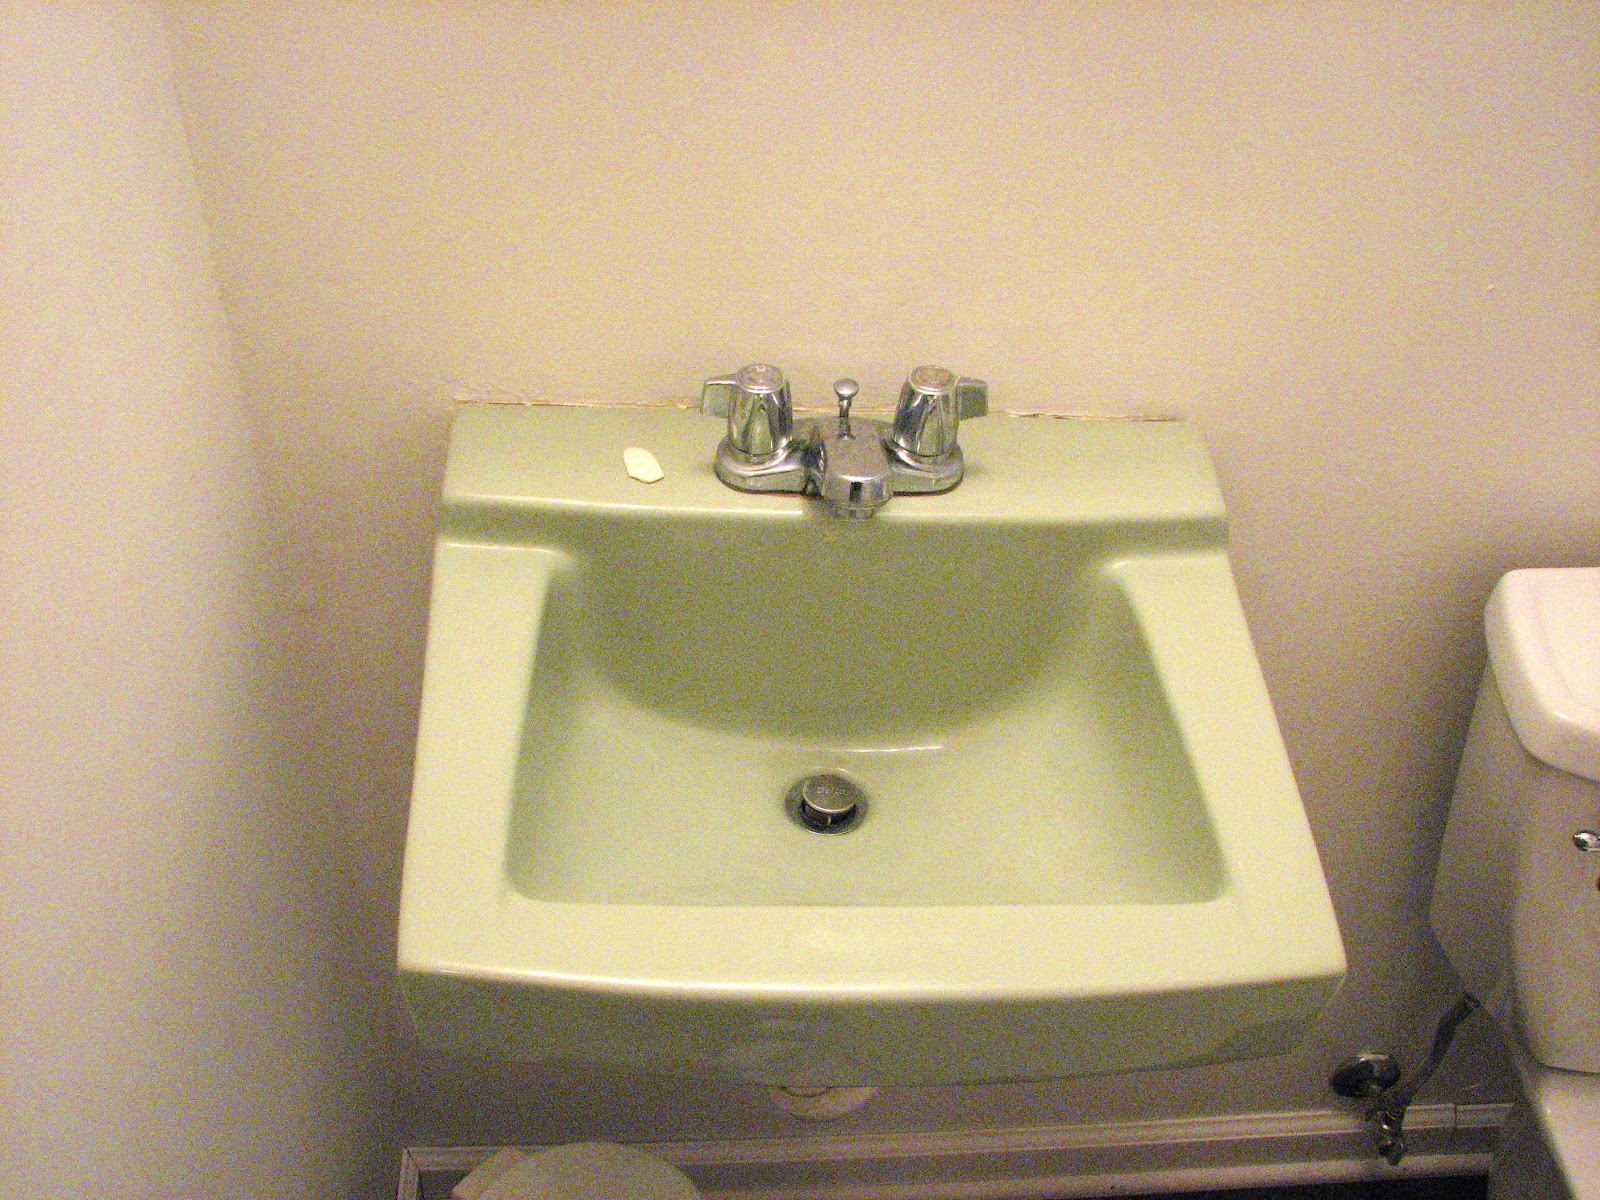
Over time, bathroom sinks can become worn and stained, making them look old and outdated. By refinishing your sink, you can restore its original shine and luster, giving your bathroom a fresh and modern look. You can even choose a different color or finish to better match your current design aesthetic.
Save Time and Money
Replacing a bathroom sink can be a time-consuming and expensive project. On the other hand, refinishing your old sink can be completed in just a few hours and at a fraction of the cost. Not only will you save money on materials and labor, but you also won't have to deal with the hassle of removing and installing a new sink.
Extend the Lifespan of Your Sink
Refinishing your old bathroom sink can also help to extend its lifespan. As sinks age, they can develop chips, cracks, and other damages that can lead to leaks and other issues. By refinishing your sink, you can repair any minor damages and prevent them from becoming larger problems in the future.
If you're looking to update your bathroom without breaking the bank, refinishing your old bathroom sink is a great place to start. Not only is it a cost-effective solution, but it also has several other benefits.
Enhance the Aesthetics
Over time, bathroom sinks can become worn and stained, making them look old and outdated. By refinishing your sink, you can restore its original shine and luster, giving your bathroom a fresh and modern look. You can even choose a different color or finish to better match your current design aesthetic.
Save Time and Money
Replacing a bathroom sink can be a time-consuming and expensive project. On the other hand, refinishing your old sink can be completed in just a few hours and at a fraction of the cost. Not only will you save money on materials and labor, but you also won't have to deal with the hassle of removing and installing a new sink.
Extend the Lifespan of Your Sink
Refinishing your old bathroom sink can also help to extend its lifespan. As sinks age, they can develop chips, cracks, and other damages that can lead to leaks and other issues. By refinishing your sink, you can repair any minor damages and prevent them from becoming larger problems in the future.
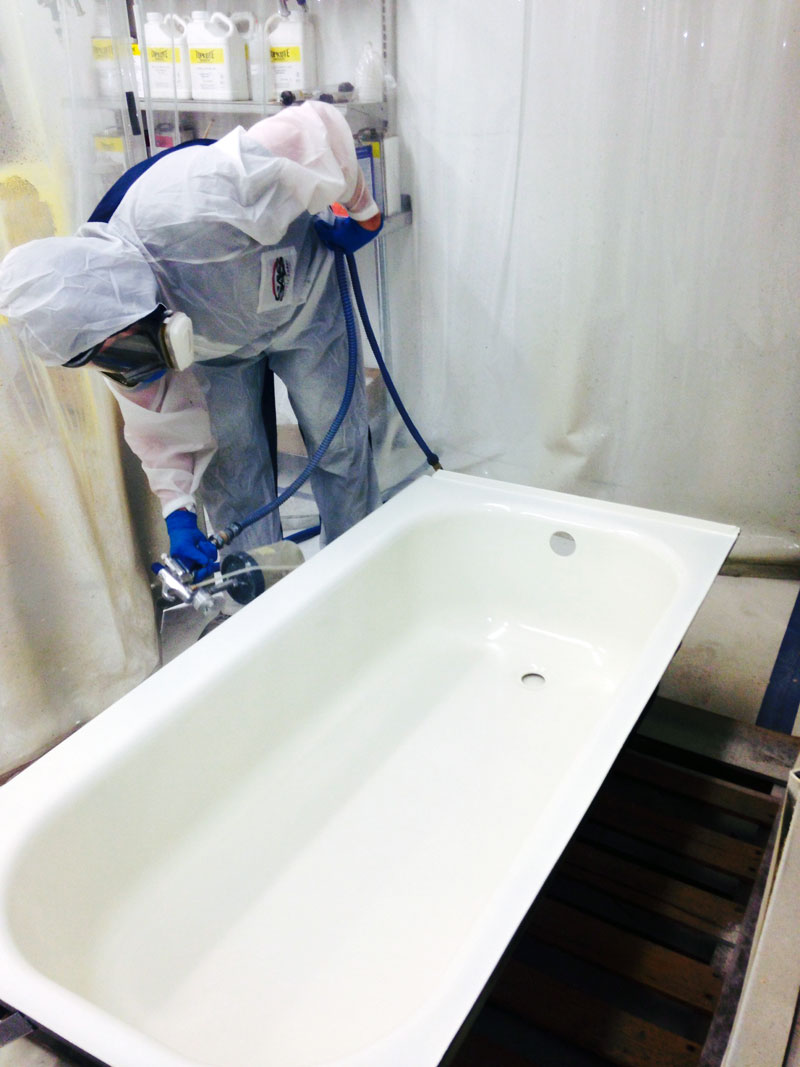
How Does the Refinishing Process Work?
 The process of refinishing an old bathroom sink involves several steps. First, the sink is thoroughly cleaned and any necessary repairs are made. Then, a special bonding agent is applied to ensure the new finish adheres properly. Finally, multiple layers of a durable, waterproof coating are applied to the sink, giving it a smooth and glossy finish.
Choose a Professional for Best Results
While DIY refinishing kits are available, it is recommended to hire a professional for the best results. They have the knowledge, experience, and specialized equipment to ensure your sink is refinished properly and will last for years to come.
The process of refinishing an old bathroom sink involves several steps. First, the sink is thoroughly cleaned and any necessary repairs are made. Then, a special bonding agent is applied to ensure the new finish adheres properly. Finally, multiple layers of a durable, waterproof coating are applied to the sink, giving it a smooth and glossy finish.
Choose a Professional for Best Results
While DIY refinishing kits are available, it is recommended to hire a professional for the best results. They have the knowledge, experience, and specialized equipment to ensure your sink is refinished properly and will last for years to come.
Final Thoughts
 Refinishing your old bathroom sink is a simple and cost-effective way to update the look of your bathroom. It can enhance the aesthetics, save time and money, and extend the lifespan of your sink. So if you're looking to give your bathroom a refresh, consider refinishing your old sink for a quick and easy transformation.