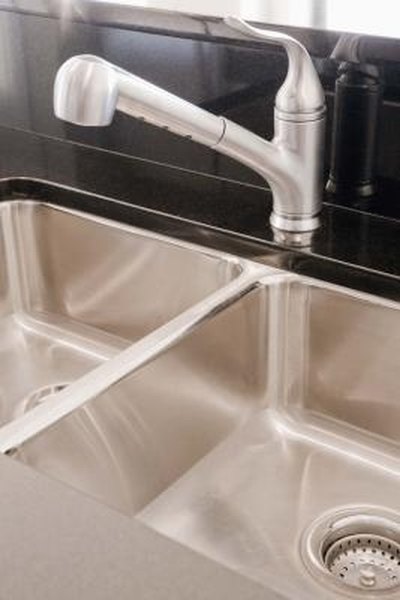
If you've noticed gaps or cracks in the caulking around your kitchen sink, don't worry – this is a common issue that can easily be fixed with some simple reapplication. Not only will reapplying caulking improve the appearance of your sink, but it will also help prevent leaks and water damage. In this guide, we'll show you how to properly reapply caulking on a kitchen sink to ensure a professional and long-lasting result.How to Reapply Caulking on a Kitchen Sink


How to Reapply Caulking on a Kitchen Sink


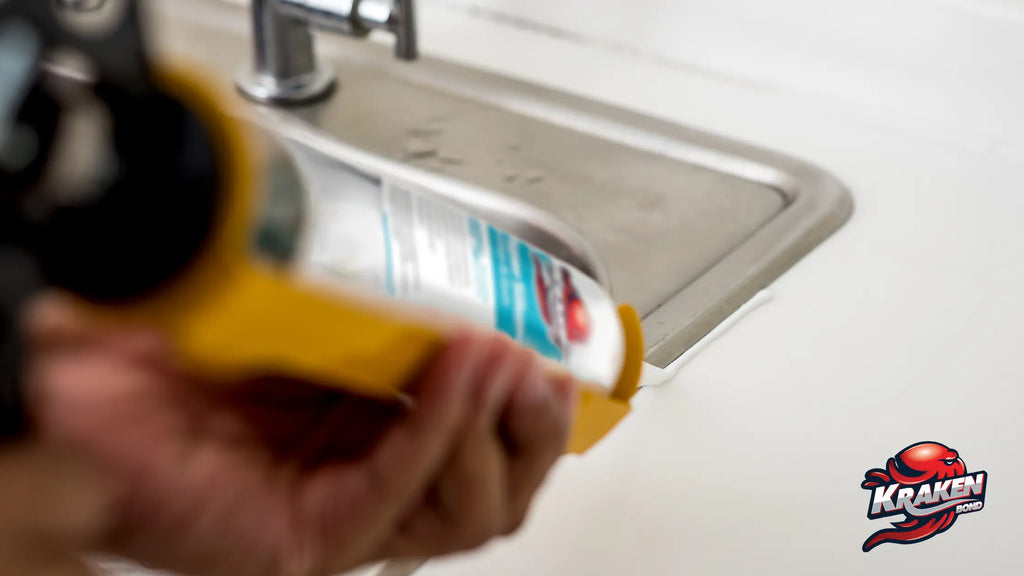
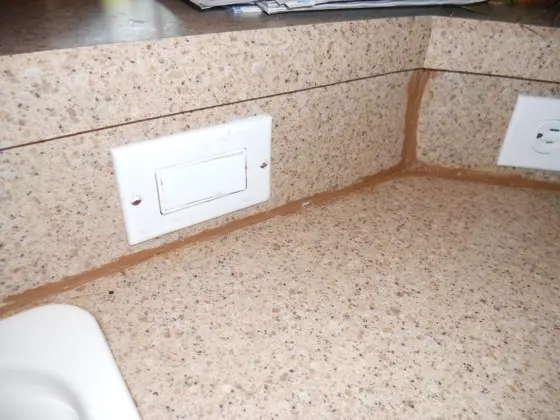
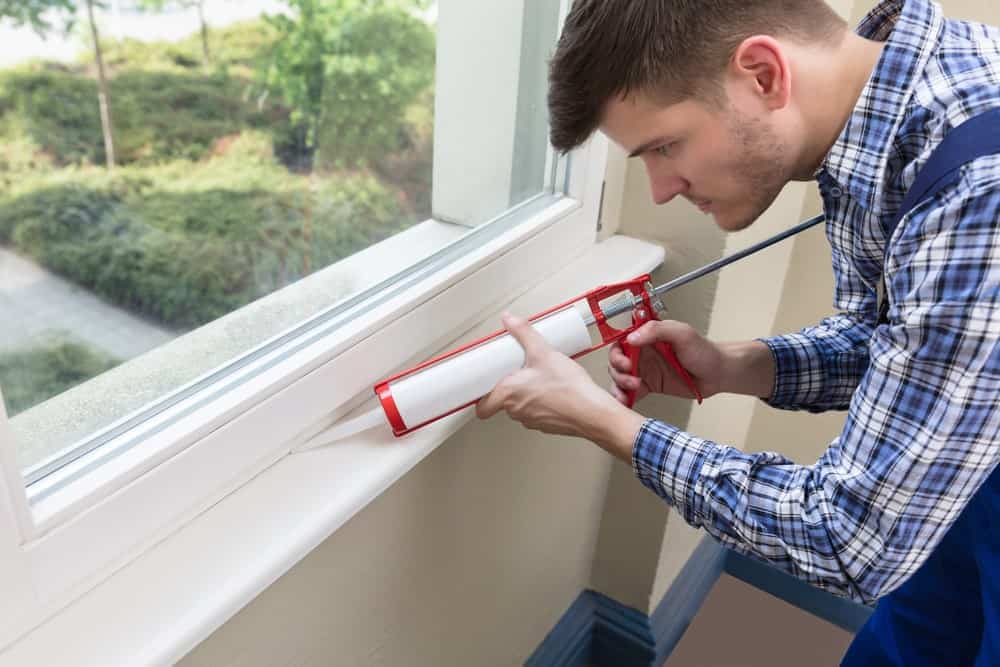
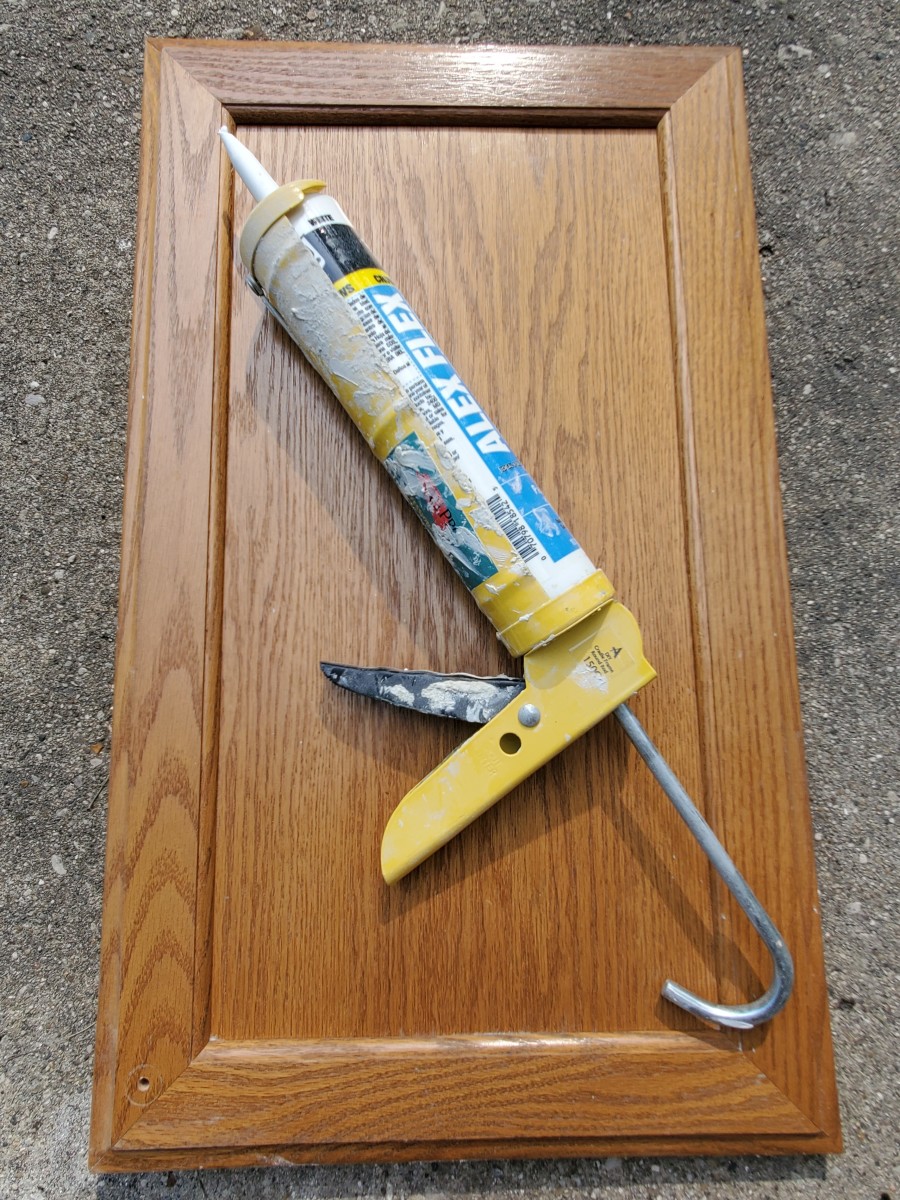
The first step in reapplying caulking on a kitchen sink is to remove the old caulking. Using a utility knife or a caulk remover tool, carefully cut along the edges of the caulk and peel it away from the sink and countertop. Be sure to remove all of the old caulking to ensure a clean surface for the new caulk to adhere to.How to Remove and Reapply Caulking on a Kitchen Sink

How to Remove and Reapply Caulking on a Kitchen Sink


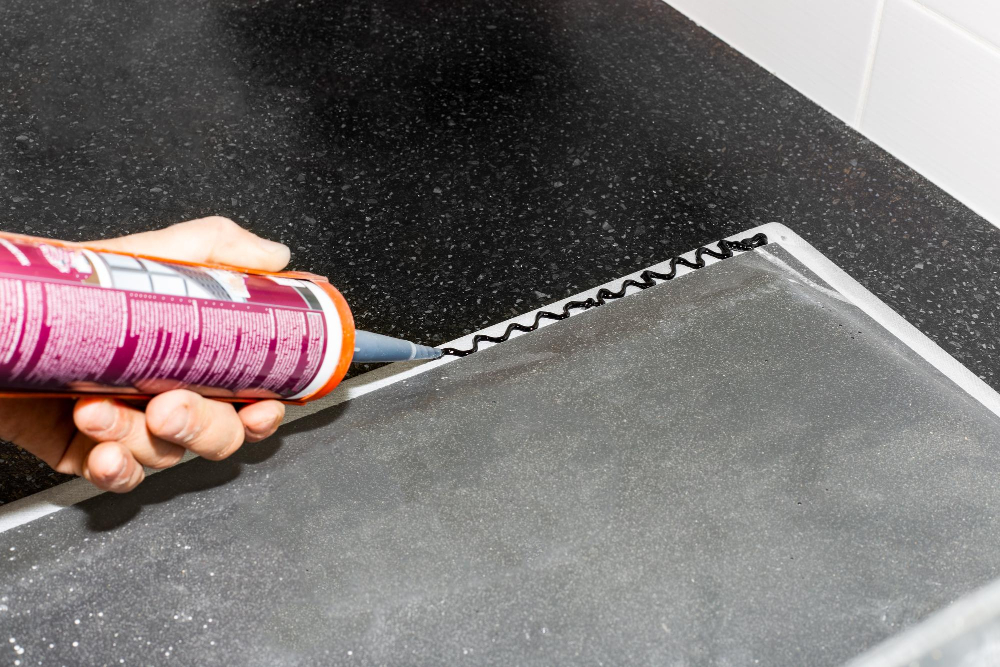
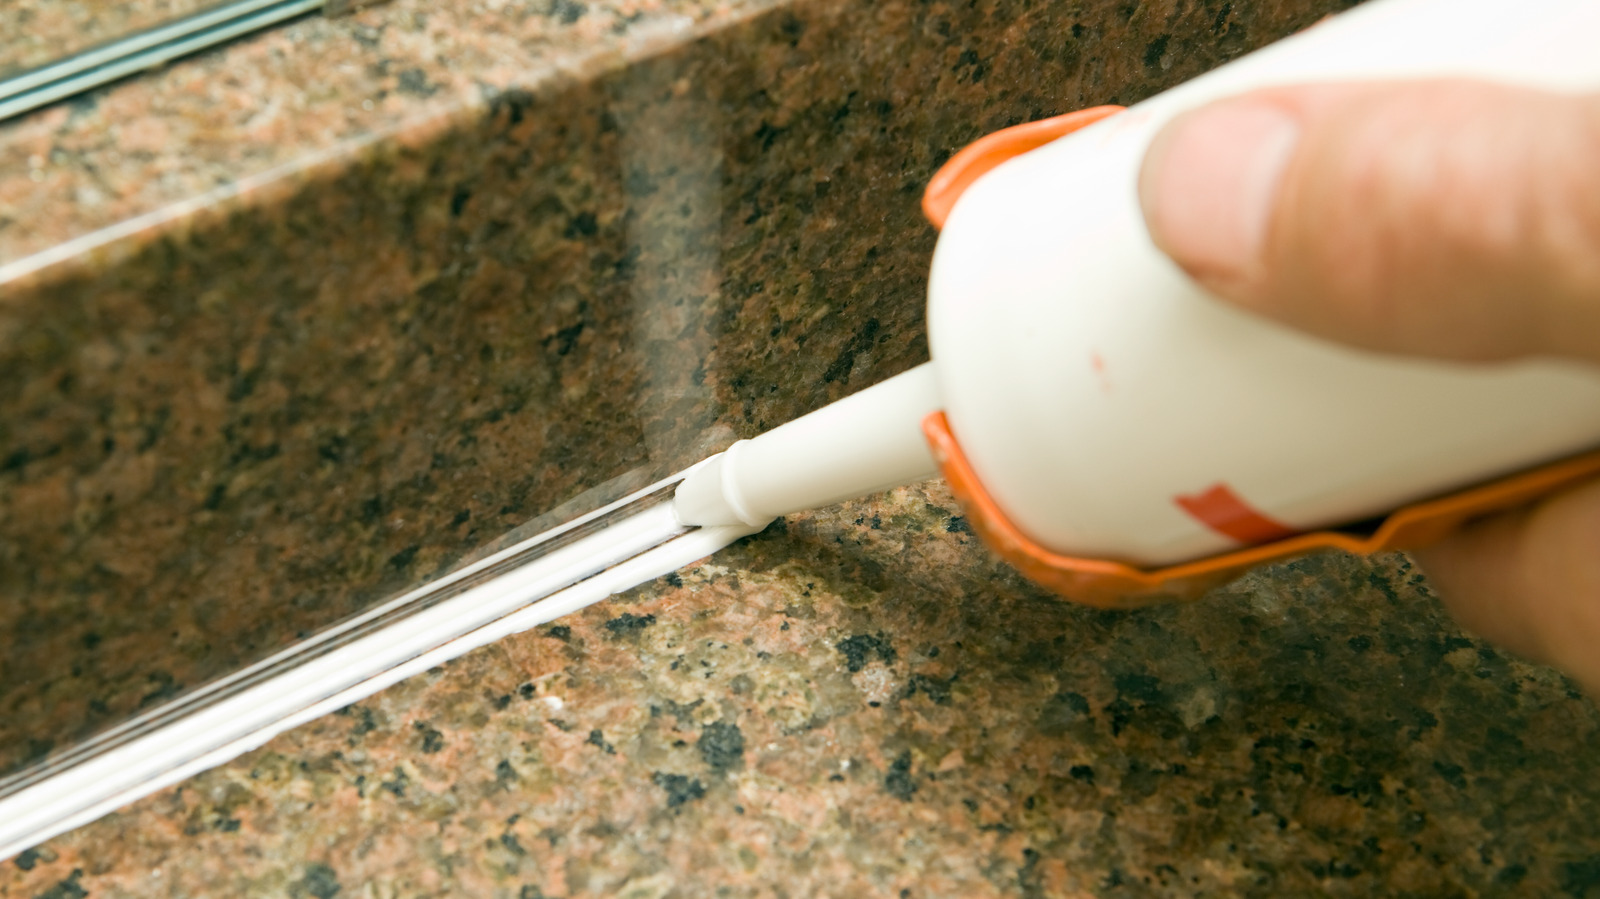
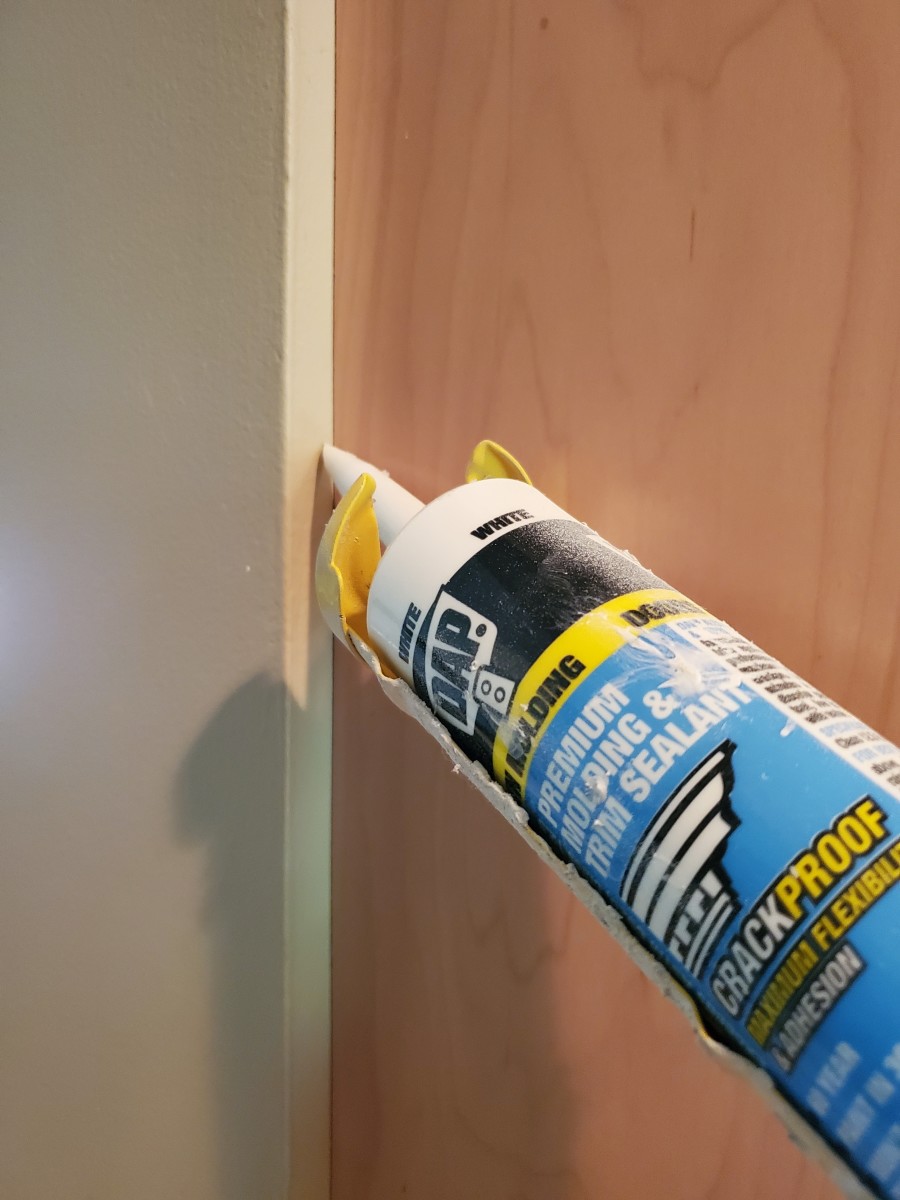
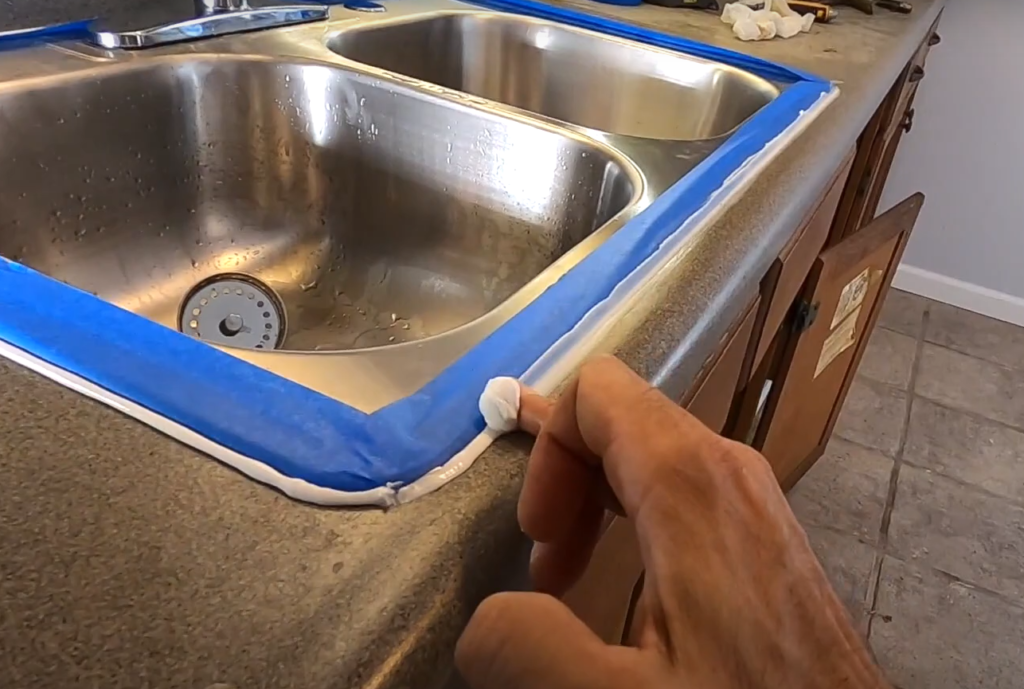
Before applying the new caulking, it is important to properly clean and prepare the surface. Use a mixture of equal parts water and white vinegar to remove any residue or buildup. Once the surface is clean and dry, follow these steps:Step-by-Step Guide for Reapplying Caulking on a Kitchen Sink


Step-by-Step Guide for Reapplying Caulking on a Kitchen Sink


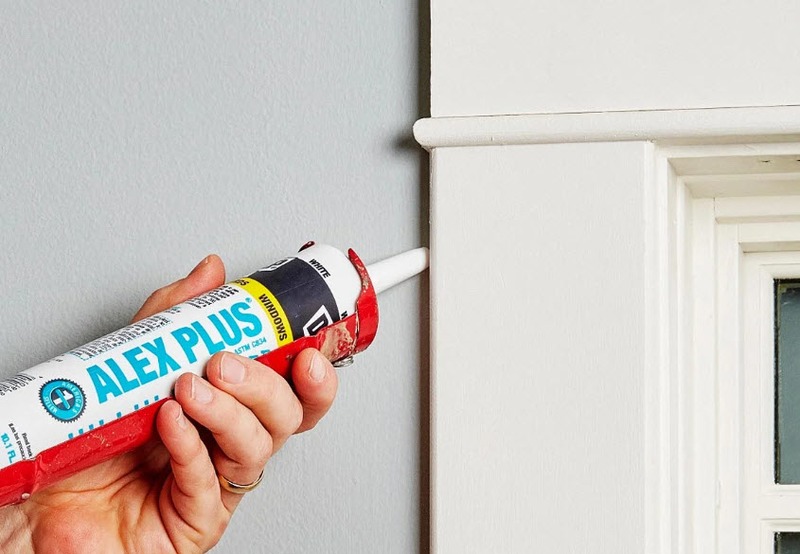
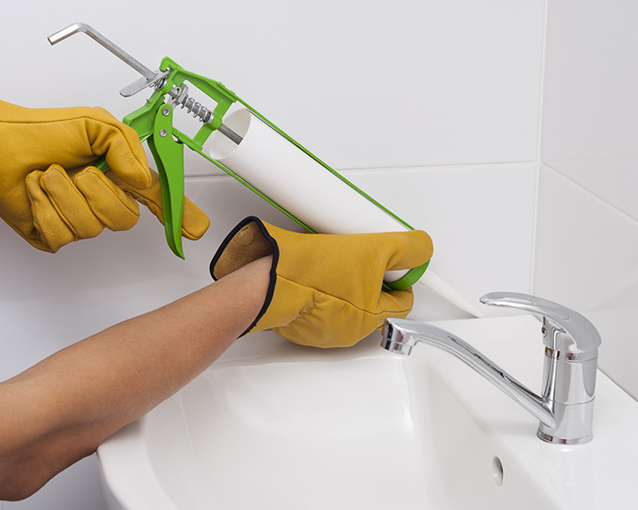
When it comes to choosing a caulking product for your kitchen sink, it is important to select one that is specifically designed for use in wet areas, such as bathrooms and kitchens. Look for a silicone-based caulk that is mold and mildew resistant for long-lasting results. Some recommended products include GE Silicone 2+ Kitchen & Bath Caulk and DAP Kwik Seal Ultra.Best Caulking Products for Reapplying on a Kitchen Sink

Best Caulking Products for Reapplying on a Kitchen Sink


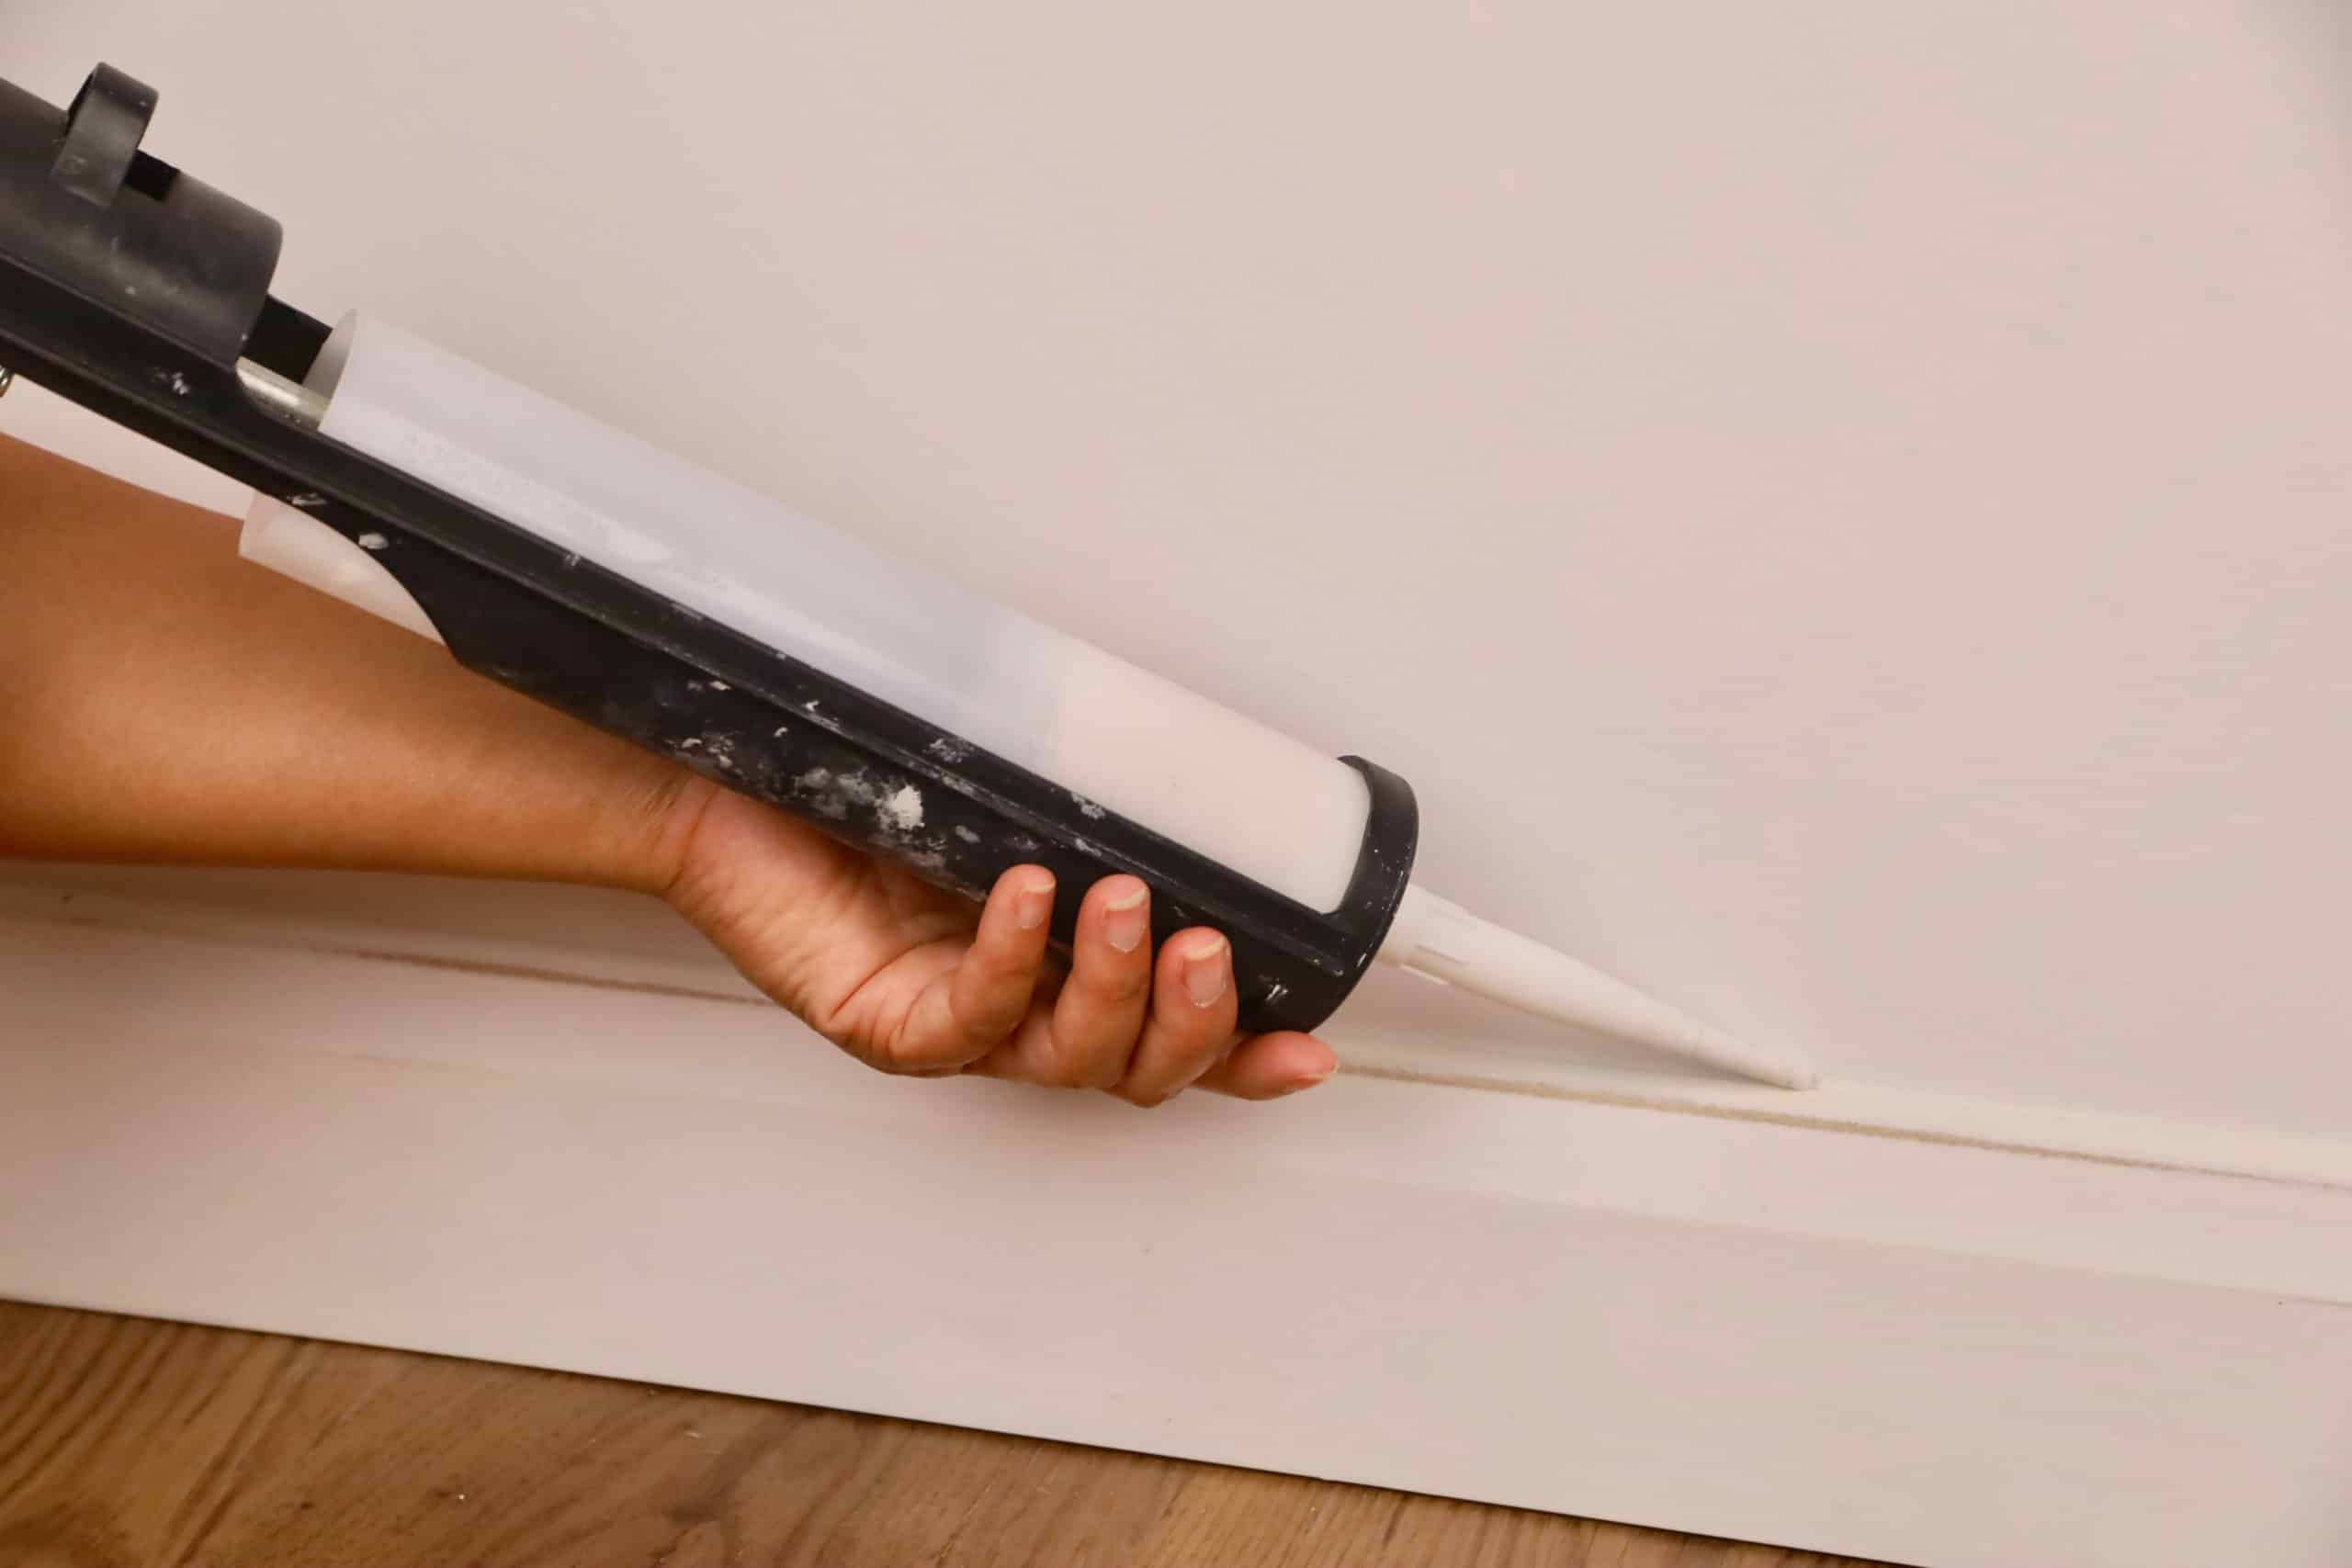
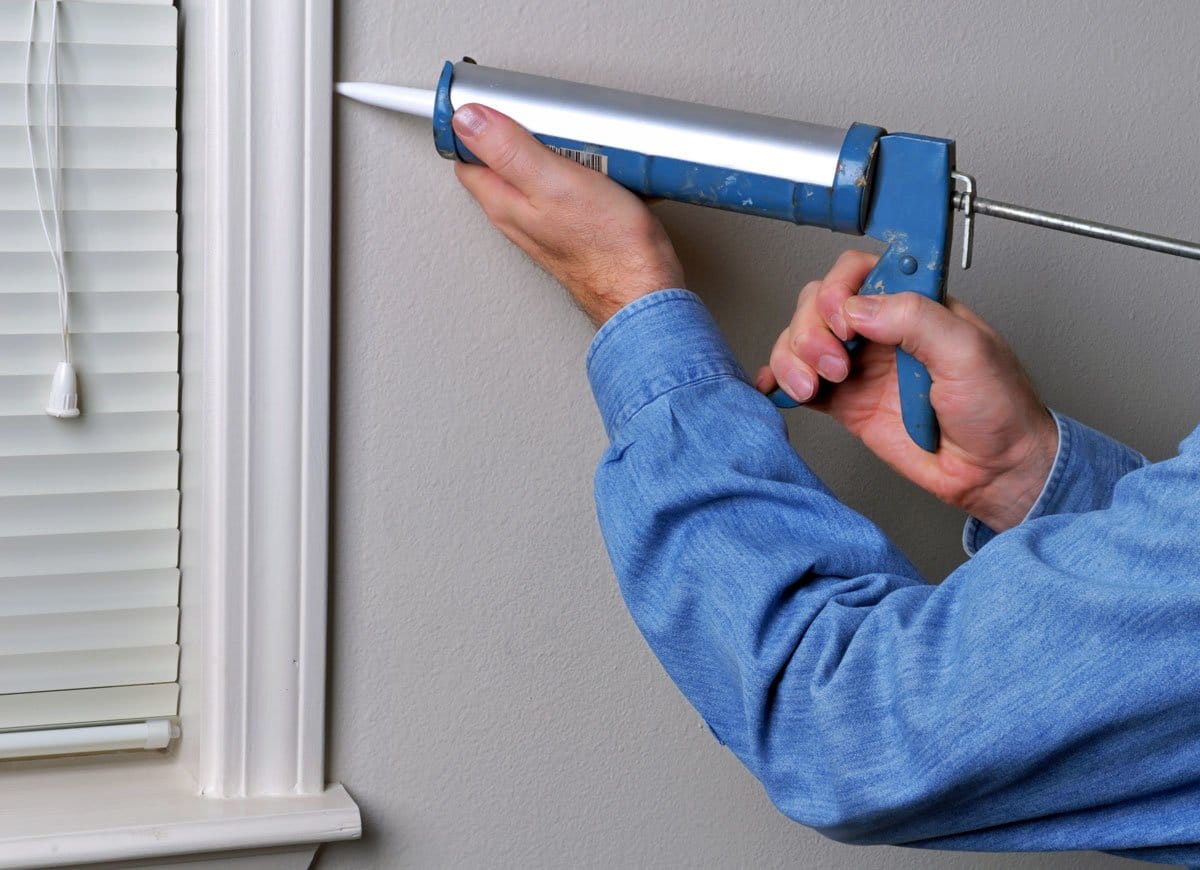
If you want your recaulking job to look like it was done by a professional, here are a few tips to keep in mind:Tips for a Professional-Looking Caulking Job on a Kitchen Sink
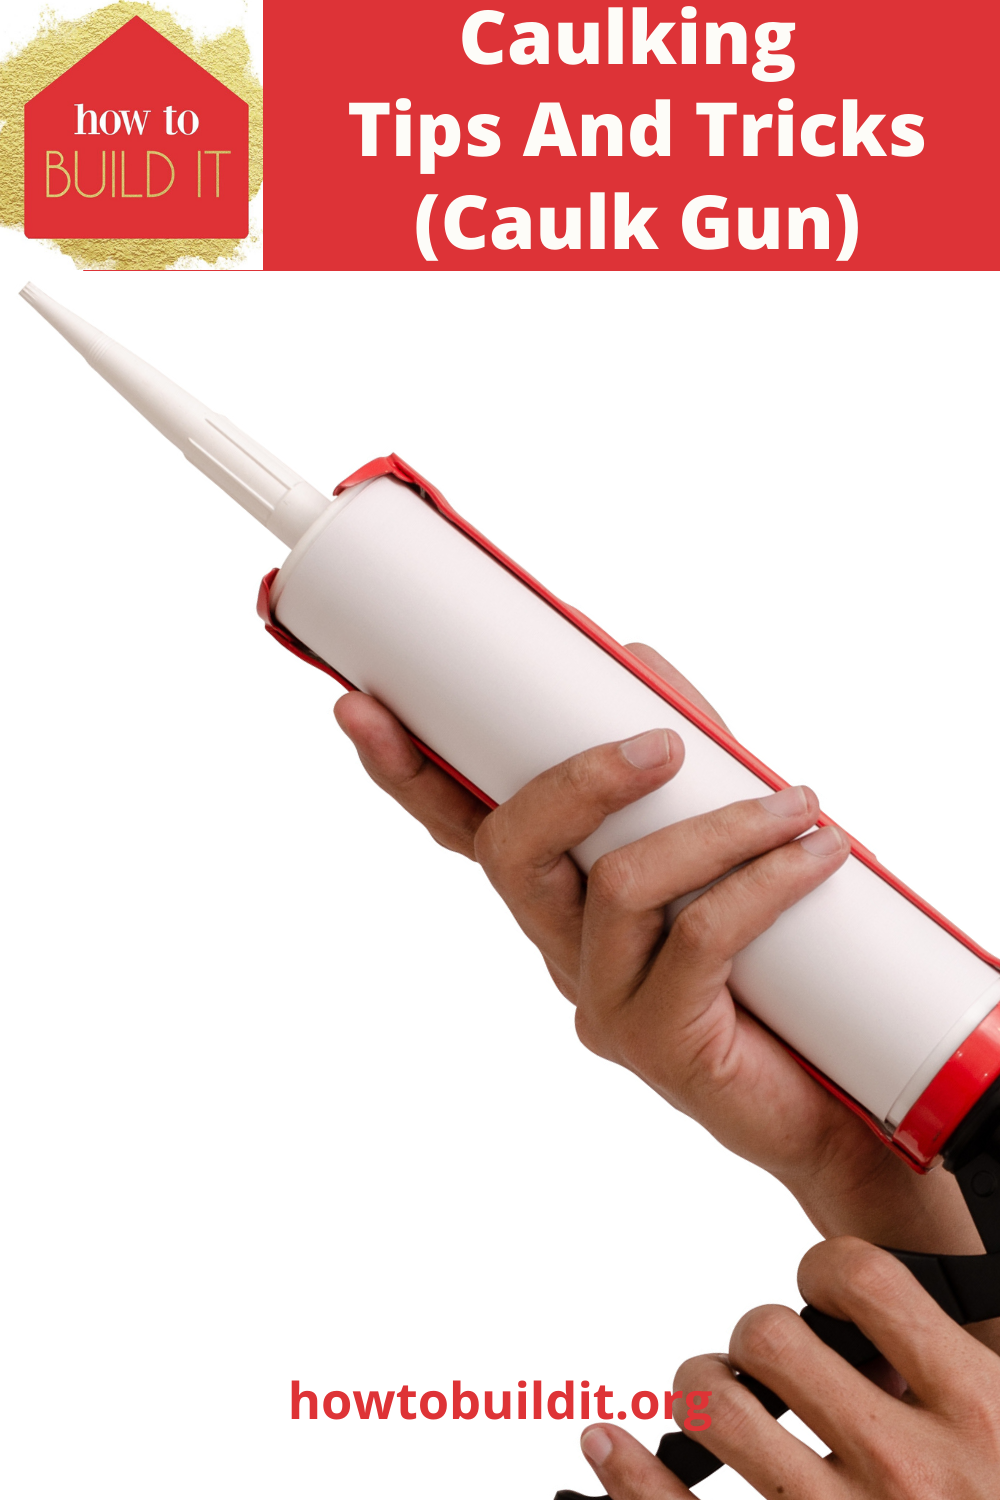


Tips for a Professional-Looking Caulking Job on a Kitchen Sink


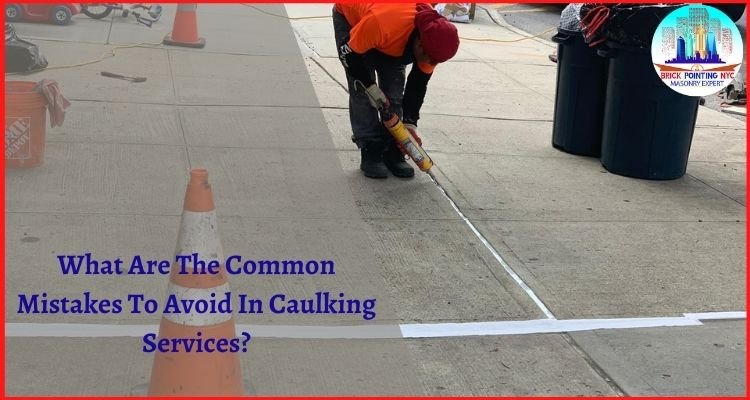
While reapplying caulking on a kitchen sink may seem like a simple task, there are some common mistakes that can lead to a less than ideal result. Be sure to avoid these mistakes to ensure a professional-looking finish:Common Mistakes to Avoid When Reapplying Caulking on a Kitchen Sink


Common Mistakes to Avoid When Reapplying Caulking on a Kitchen Sink


.png)
The frequency of reapplying caulking on a kitchen sink depends on several factors, such as the quality of the caulk used and how often the sink is used. In general, it is recommended to recaulk every 2-3 years to ensure a tight seal and prevent any potential water damage.How Often Should You Reapply Caulking on a Kitchen Sink?

How Often Should You Reapply Caulking on a Kitchen Sink?


Reapplying caulking on a kitchen sink can be a DIY task for those who are familiar with basic home improvement projects. However, if you are not confident in your skills or do not have the necessary tools, it may be best to hire a professional. They have the experience and expertise to ensure a clean and long-lasting result.DIY vs Hiring a Professional for Reapplying Caulking on a Kitchen Sink


DIY vs Hiring a Professional for Reapplying Caulking on a Kitchen Sink


Properly cleaning and preparing the surface before reapplying caulking is crucial for a successful result. Here's how to do it:How to Properly Clean and Prepare the Surface Before Reapplying Caulking on a Kitchen Sink

How to Properly Clean and Prepare the Surface Before Reapplying Caulking on a Kitchen Sink


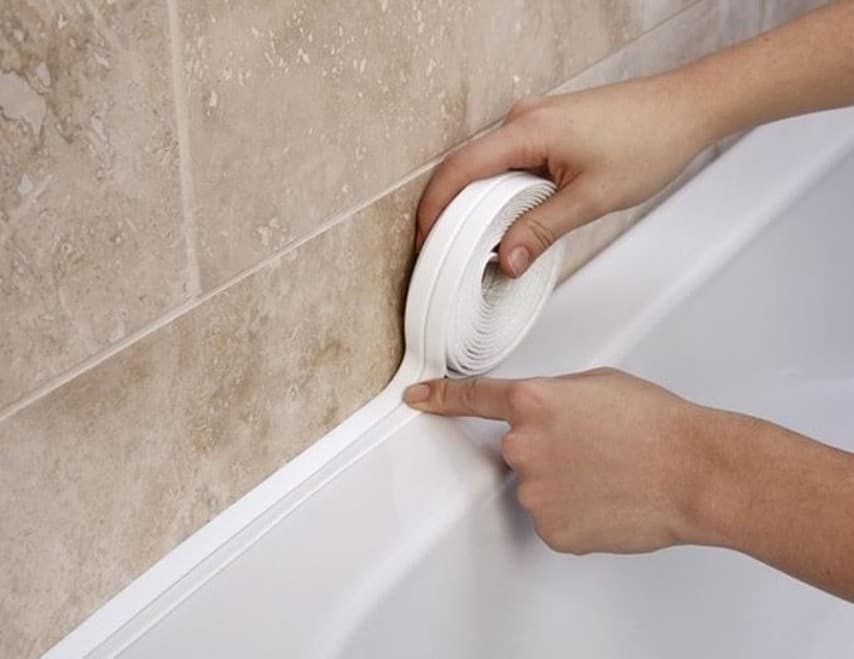
If you prefer not to use caulking, there are alternative methods for sealing a kitchen sink that can also provide a tight and waterproof seal. These include using a silicone adhesive or a silicone sealant tape. However, keep in mind that these methods may not be as long-lasting as caulking and may need to be reapplied more frequently. Reapplying caulking on a kitchen sink is a simple and effective way to improve the appearance and functionality of your sink. By following these tips and using the right products, you can achieve a professional-looking result that will last for years to come. Remember to regularly maintain and recaulk your sink to prevent any potential water damage and keep your kitchen looking its best.Alternative Methods for Sealing a Kitchen Sink Instead of Caulking


Alternative Methods for Sealing a Kitchen Sink Instead of Caulking


Why Reapplying Caulking Can Improve the Look and Functionality of Your Kitchen Sink

Protect Your Kitchen from Water Damage
 When it comes to maintaining a beautiful and functional kitchen, the condition of your sink is crucial. Over time, the caulking around your sink can become cracked, discolored, and moldy, compromising the integrity of your kitchen. By
reapplying caulking
around your kitchen sink, you can prevent water from seeping into cracks and causing damage to your countertops, cabinets, and even the floor beneath. This simple maintenance task can save you from costly repairs in the future and keep your kitchen looking its best.
When it comes to maintaining a beautiful and functional kitchen, the condition of your sink is crucial. Over time, the caulking around your sink can become cracked, discolored, and moldy, compromising the integrity of your kitchen. By
reapplying caulking
around your kitchen sink, you can prevent water from seeping into cracks and causing damage to your countertops, cabinets, and even the floor beneath. This simple maintenance task can save you from costly repairs in the future and keep your kitchen looking its best.
Improve Hygiene and Cleanliness
 The kitchen is often referred to as the heart of the home, and it's where we prepare and consume our food. Therefore, it's essential to keep this area as clean and hygienic as possible. Old and damaged caulking can harbor bacteria, mold, and mildew, making it difficult to clean and maintain a sanitary kitchen. By
reapplying caulking
, you can ensure that your sink is sealed properly, making it easier to clean and maintain a healthy environment for cooking and eating.
The kitchen is often referred to as the heart of the home, and it's where we prepare and consume our food. Therefore, it's essential to keep this area as clean and hygienic as possible. Old and damaged caulking can harbor bacteria, mold, and mildew, making it difficult to clean and maintain a sanitary kitchen. By
reapplying caulking
, you can ensure that your sink is sealed properly, making it easier to clean and maintain a healthy environment for cooking and eating.
Enhance the Aesthetic Appeal
 A well-maintained kitchen can significantly impact the overall look and feel of your home. A cracked or discolored caulking around your sink can be an eyesore and take away from the overall aesthetic appeal of your kitchen. By
reapplying caulking
, you can give your sink a fresh and clean look, instantly upgrading the appearance of your kitchen. Choose a caulking color that complements your kitchen's design to tie the entire space together and create a cohesive and stylish look.
A well-maintained kitchen can significantly impact the overall look and feel of your home. A cracked or discolored caulking around your sink can be an eyesore and take away from the overall aesthetic appeal of your kitchen. By
reapplying caulking
, you can give your sink a fresh and clean look, instantly upgrading the appearance of your kitchen. Choose a caulking color that complements your kitchen's design to tie the entire space together and create a cohesive and stylish look.
Protect Your Investment
 Investing in a high-quality kitchen sink is a significant expense, and you want to ensure that it lasts for years to come. The caulking around your sink plays a crucial role in protecting it from water damage and keeping it in good condition. By regularly
reapplying caulking
, you can extend the lifespan of your sink and protect your investment in your kitchen.
Investing in a high-quality kitchen sink is a significant expense, and you want to ensure that it lasts for years to come. The caulking around your sink plays a crucial role in protecting it from water damage and keeping it in good condition. By regularly
reapplying caulking
, you can extend the lifespan of your sink and protect your investment in your kitchen.
DIY or Hire a Professional?
 While
reapplying caulking
around your kitchen sink may seem like a simple task, it's essential to do it correctly to reap all its benefits. If you're confident in your DIY skills, you can follow a few simple steps to remove the old caulking and apply a new one. However, if you're unsure or don't have the time, it's best to hire a professional. They have the necessary tools and expertise to ensure that the caulking is applied correctly and will last for a long time.
In conclusion,
reapplying caulking
around your kitchen sink is a simple yet effective way to improve the look and functionality of your kitchen. It can protect your kitchen from water damage, enhance hygiene and cleanliness, enhance the aesthetic appeal, and protect your investment. Whether you choose to do it yourself or hire a professional, this maintenance task is essential for any homeowner looking to maintain a beautiful and functional kitchen. So don't wait any longer, grab your caulking gun and give your kitchen sink the attention it deserves.
While
reapplying caulking
around your kitchen sink may seem like a simple task, it's essential to do it correctly to reap all its benefits. If you're confident in your DIY skills, you can follow a few simple steps to remove the old caulking and apply a new one. However, if you're unsure or don't have the time, it's best to hire a professional. They have the necessary tools and expertise to ensure that the caulking is applied correctly and will last for a long time.
In conclusion,
reapplying caulking
around your kitchen sink is a simple yet effective way to improve the look and functionality of your kitchen. It can protect your kitchen from water damage, enhance hygiene and cleanliness, enhance the aesthetic appeal, and protect your investment. Whether you choose to do it yourself or hire a professional, this maintenance task is essential for any homeowner looking to maintain a beautiful and functional kitchen. So don't wait any longer, grab your caulking gun and give your kitchen sink the attention it deserves.
:max_bytes(150000):strip_icc()/Bright-Beach-House-Living-Room-589a537e5f9b5874eec9dbd6.png)