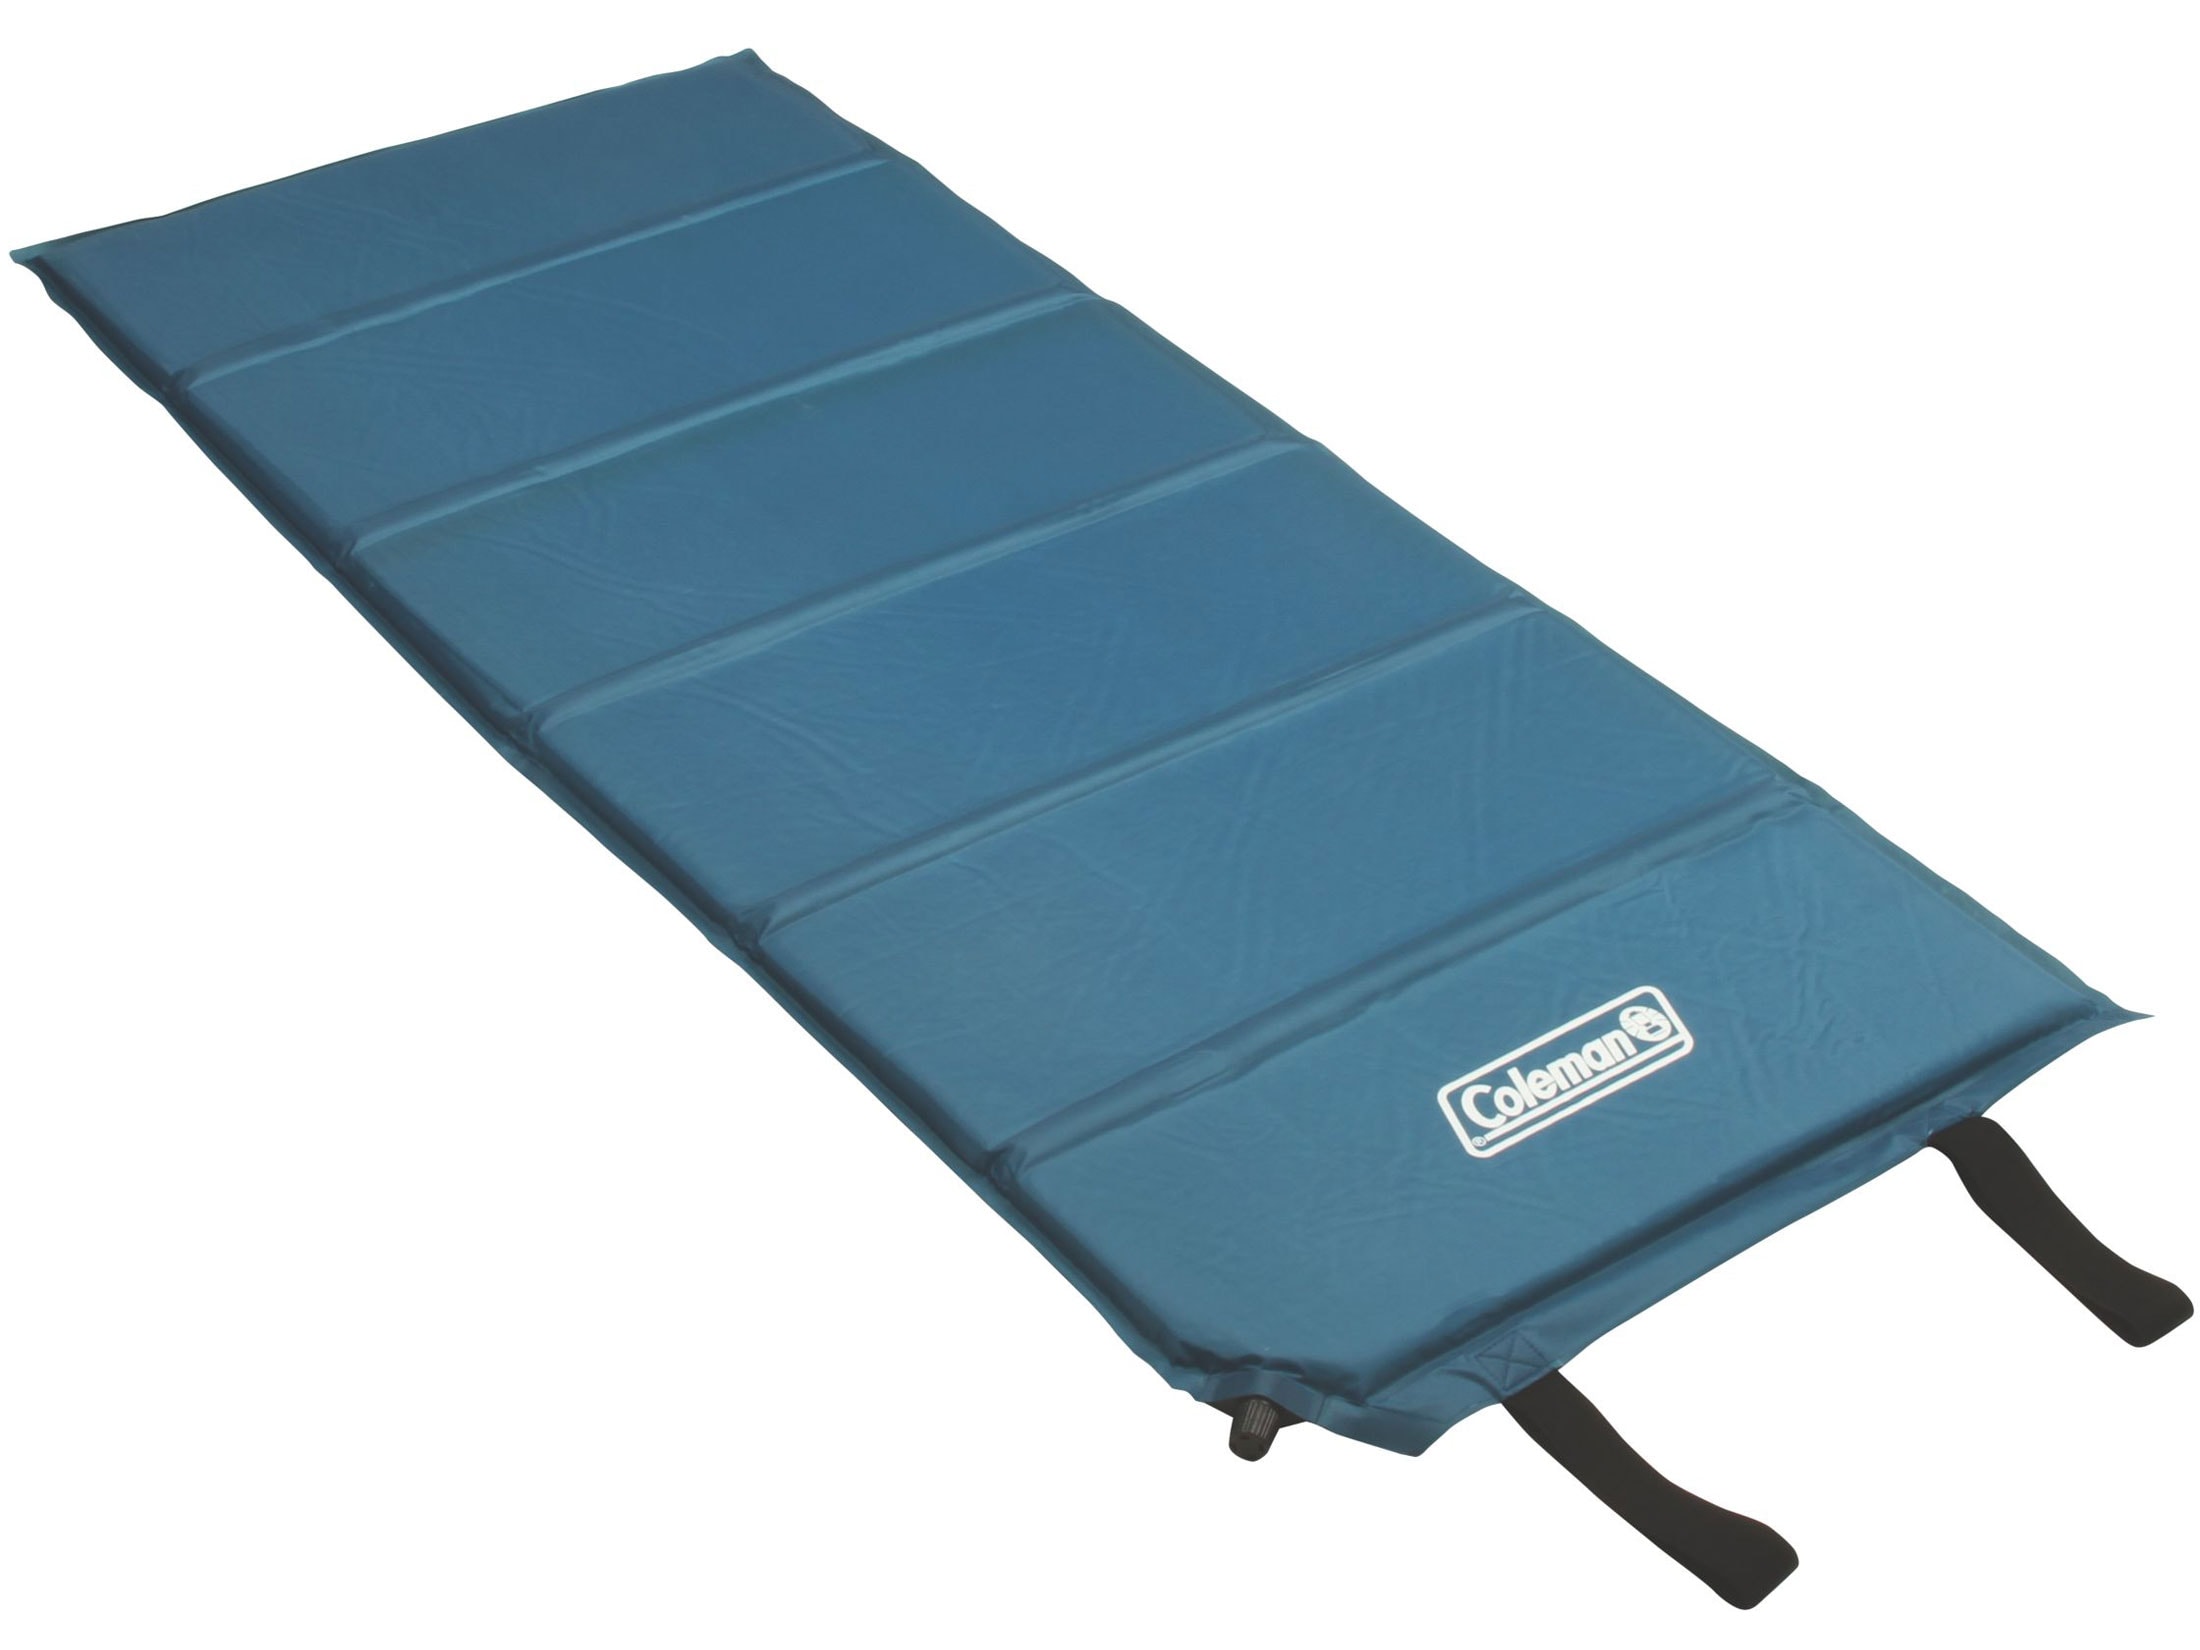
1. Use a Patch Kit Specifically Designed for Air Mattresses
If you have discovered a leak in your air mattress, the first thing you should do is invest in a patch kit designed specifically for air mattresses. These kits are easily available at most stores and are a quick and effective way to fix the leak. They usually include everything you need, such as adhesive, patches, and instructions.


1. Use a patch kit specifically designed for air mattresses


:max_bytes(150000):strip_icc()/best-air-mattresses-of-2022-tout-88d25ab3b4af45f8a49255f9814d8cec.jpg)


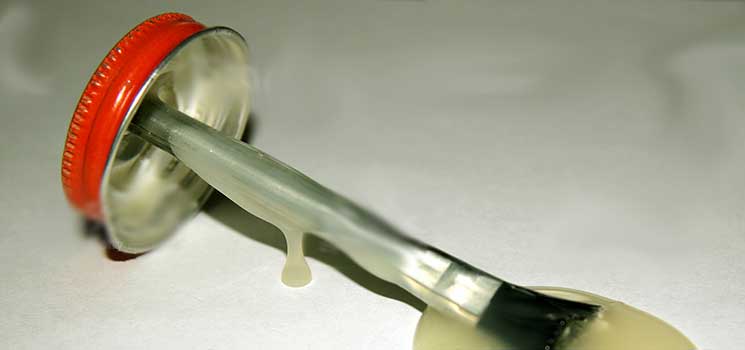
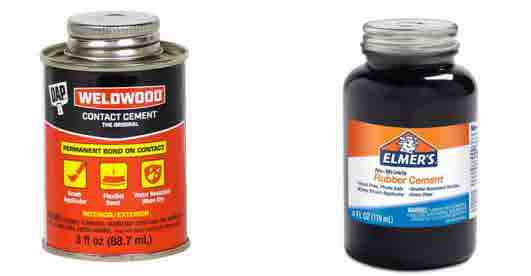
2. Apply a Layer of Rubber Cement to the Leak Area
Before applying the patch, it is important to clean and dry the area around the leak. Once the area is clean, use a small brush to apply a layer of rubber cement over the leak. This will help create a strong bond between the patch and the mattress, ensuring a secure and long-lasting fix.


2. Apply a layer of rubber cement to the leak area


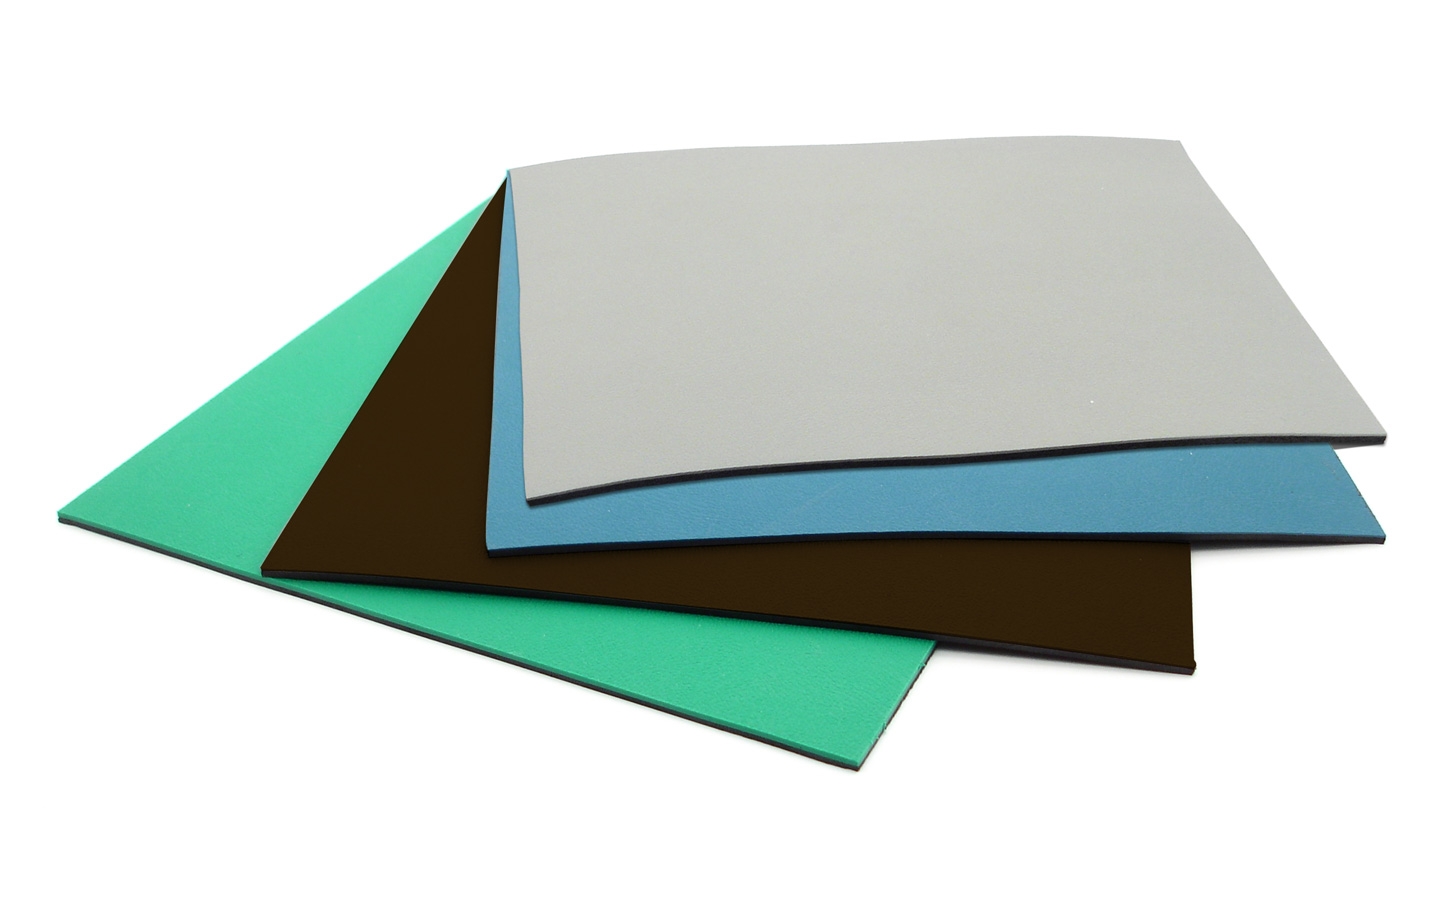
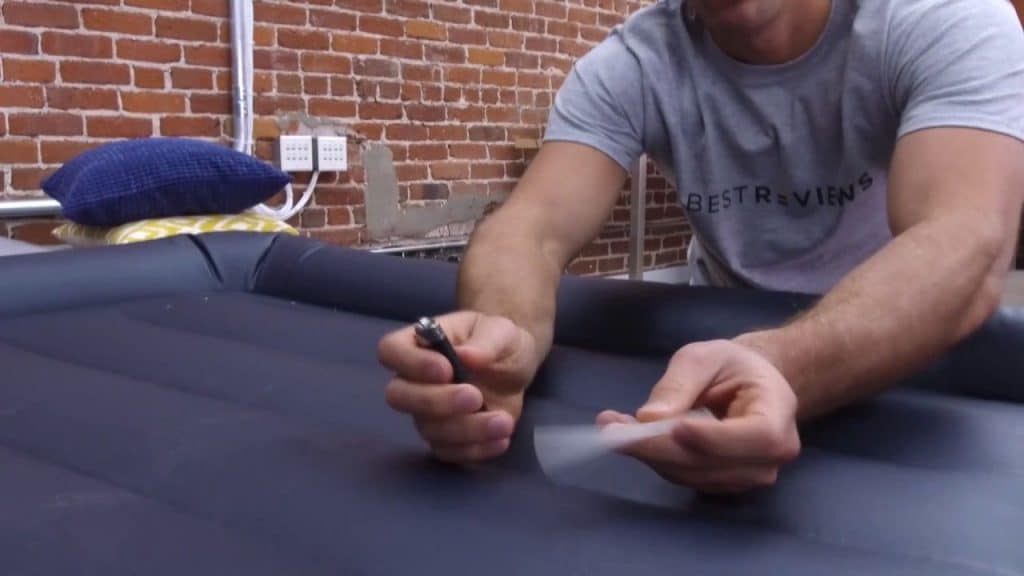
3. Cut a Piece of Patch from the Kit and Place it Over the Leak
Next, cut a piece of patch from the kit that is slightly larger than the leak. This will ensure that the entire area is covered and there are no gaps for air to escape. Place the patch over the leak, making sure it is centered and covers the entire damaged area.


3. Cut a piece of patch from the kit and place it over the leak


4. Press Down Firmly to Ensure a Strong Bond
To ensure the patch bonds properly with the mattress, press down firmly on the patch. Use your fingers to smooth out any air bubbles and make sure the patch is securely attached to the mattress. This will help prevent any air from escaping and keep your mattress fully inflated.


4. Press down firmly to ensure a strong bond


5. Let the Patch Dry for at Least an Hour Before Inflating the Mattress
Once the patch is securely attached, it is important to allow it to dry completely before inflating the mattress. This usually takes around an hour, but it is best to refer to the instructions on the patch kit for the recommended drying time. Inflating the mattress too soon could cause the patch to come loose and the leak to reopen.


5. Let the patch dry for at least an hour before inflating the mattress


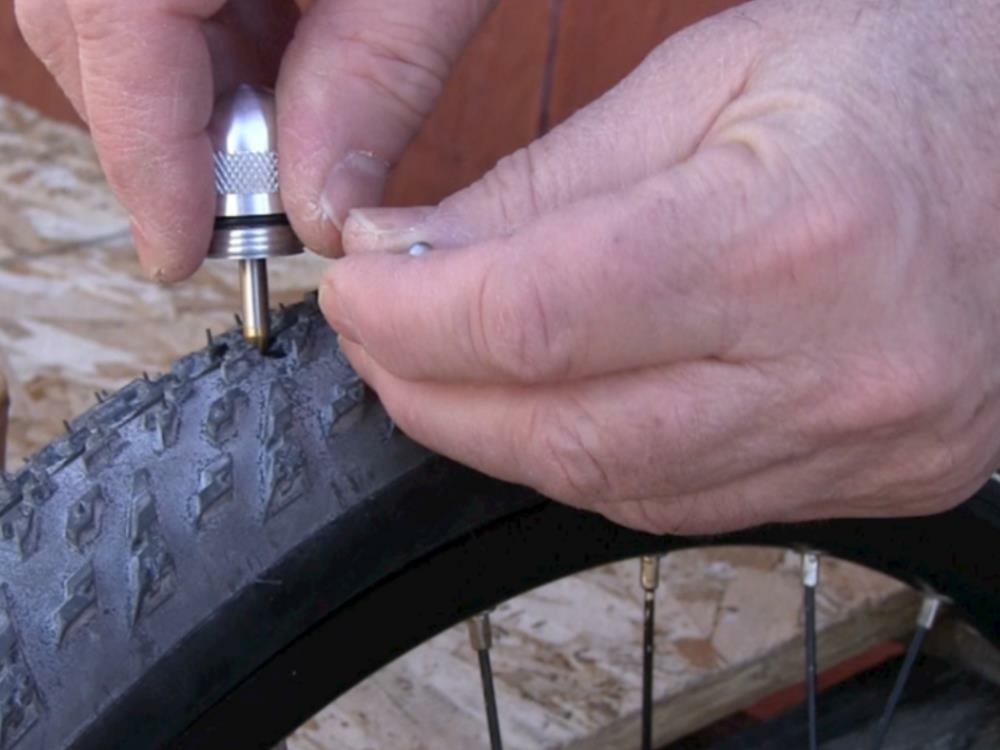
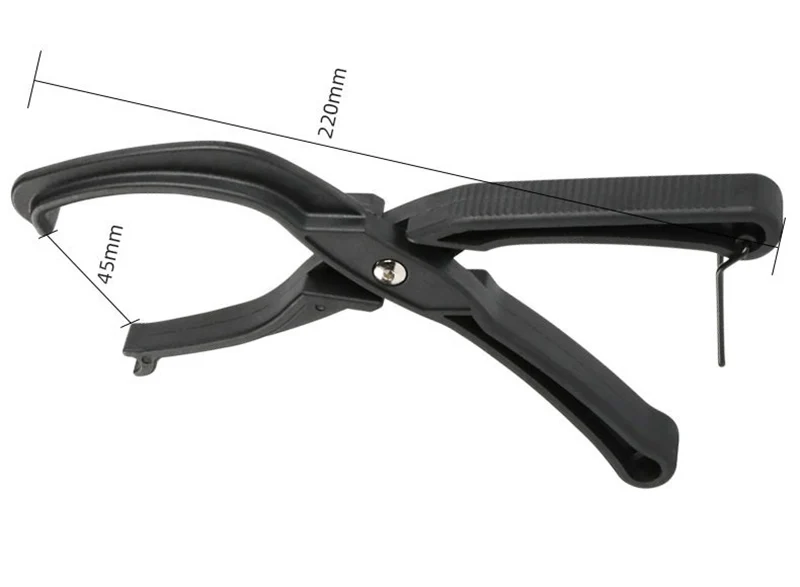
6. Use a Bicycle Tire Repair Kit as an Alternative
If you don't have a patch kit specifically designed for air mattresses, a bicycle tire repair kit can also be used as an alternative. The process is similar, with the only difference being the type of adhesive used. Make sure to clean and dry the area before applying the patch and follow the instructions on the kit.


6. Use a bicycle tire repair kit as an alternative


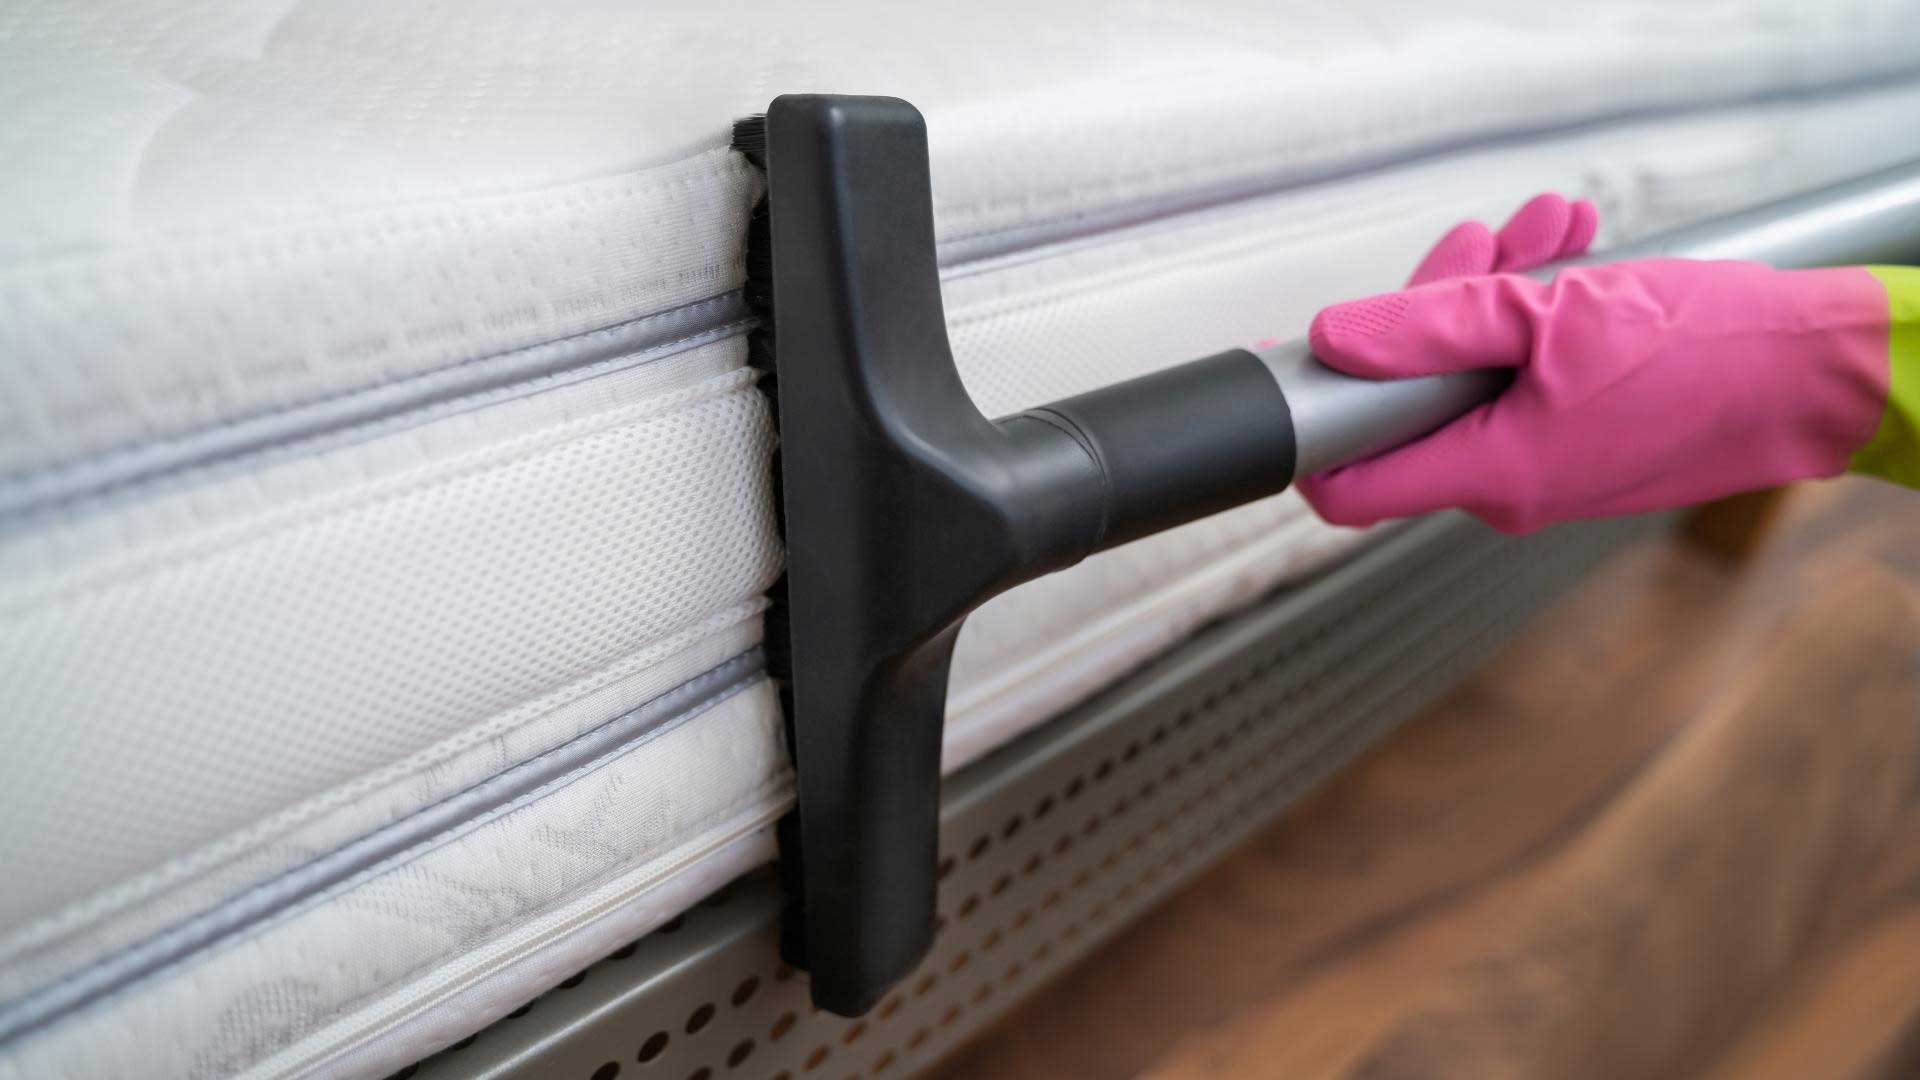
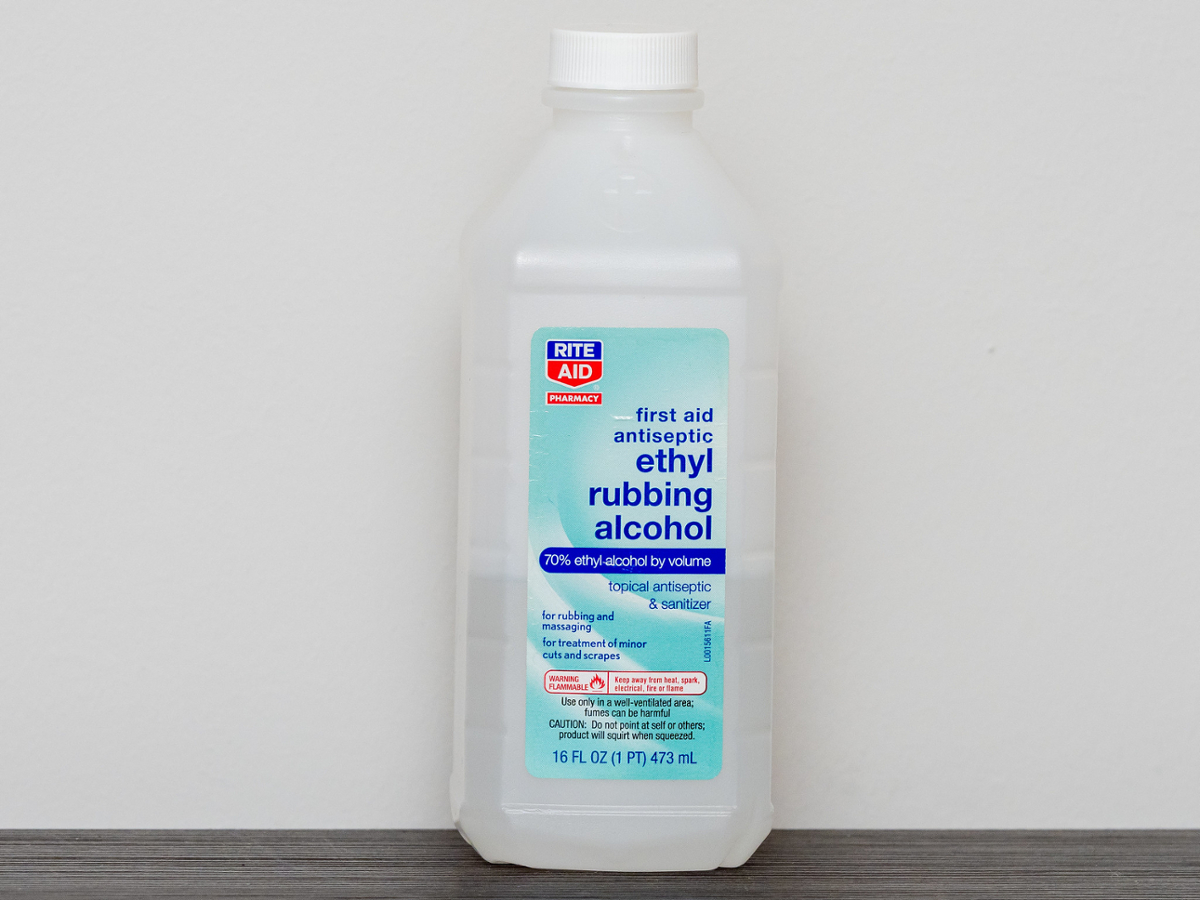
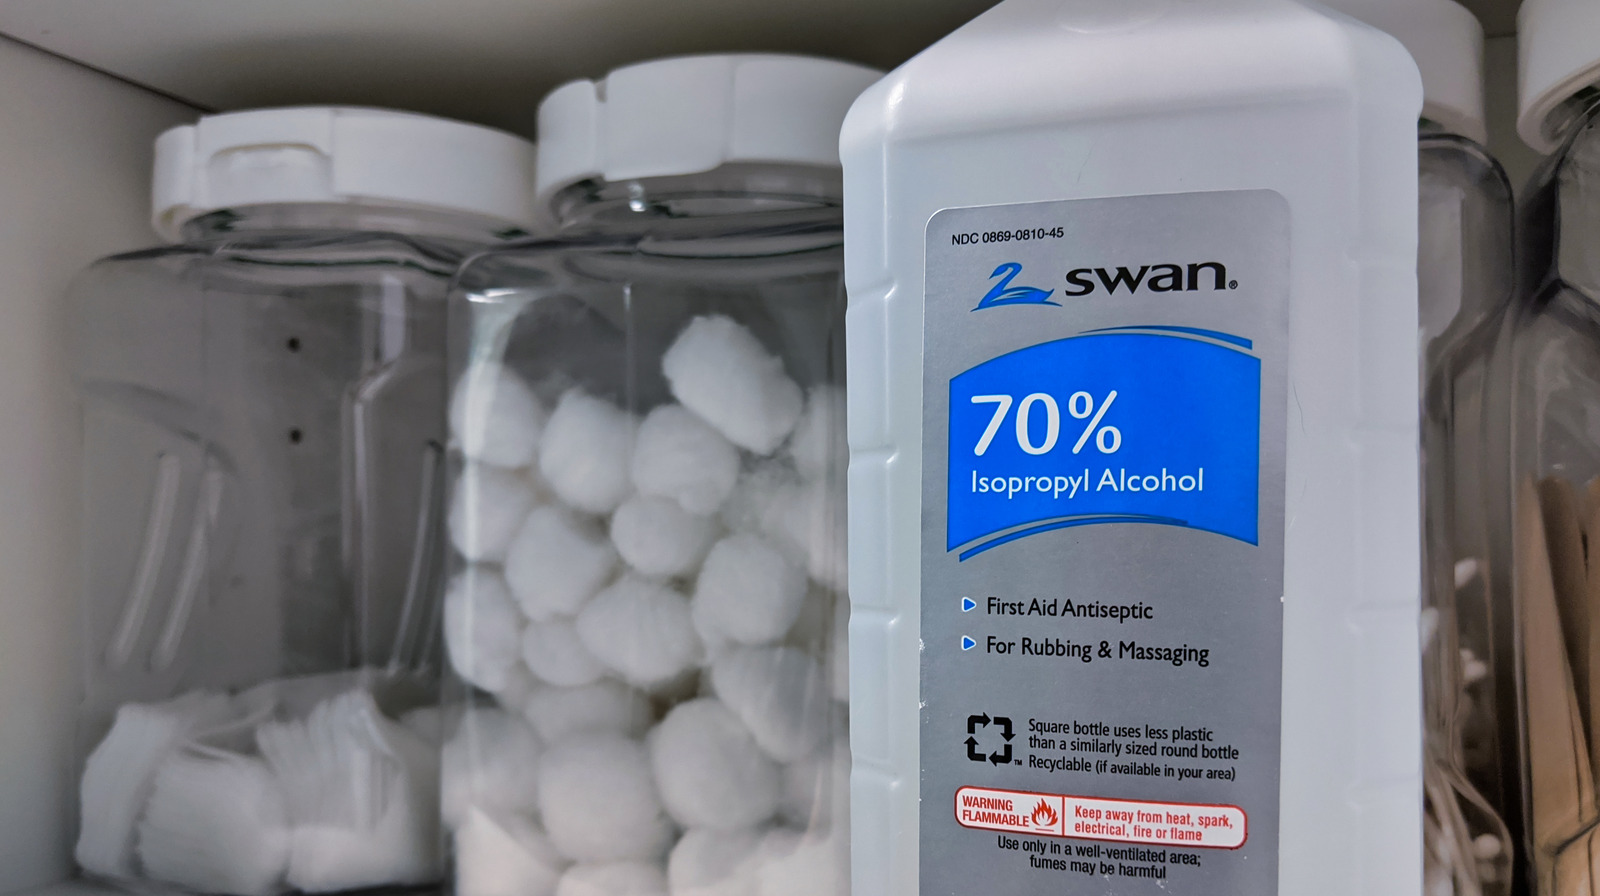
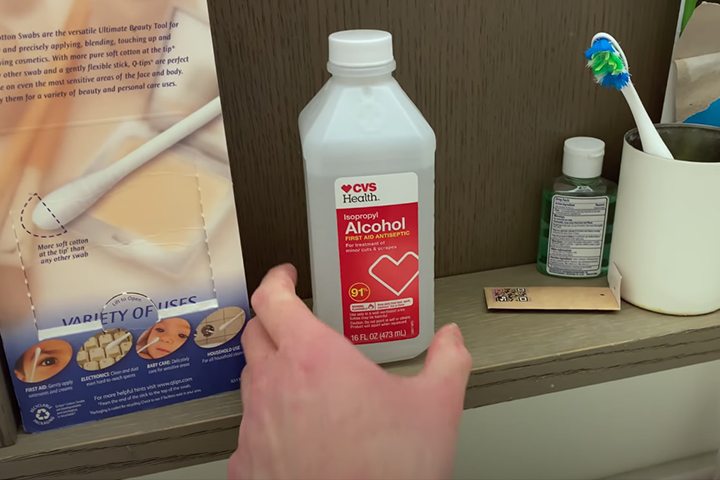
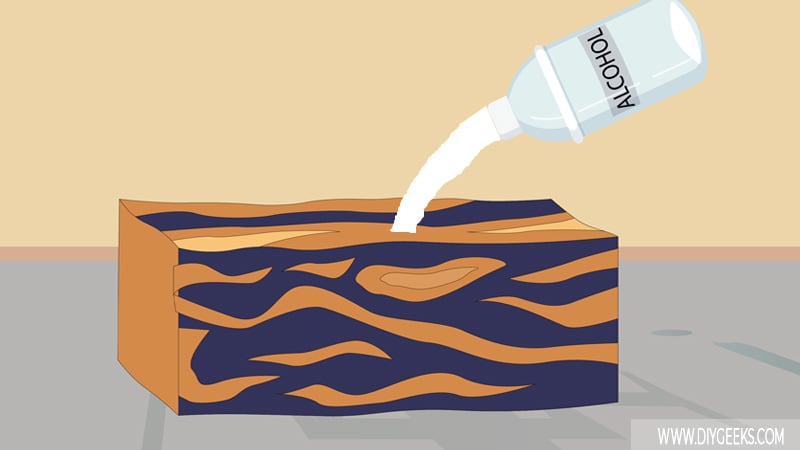
7. Clean the Leak Area with Rubbing Alcohol Before Applying the Patch
Before applying any adhesive or patch, it is important to clean the leak area thoroughly. This will remove any dirt or debris that could prevent the patch from bonding properly. Rubbing alcohol is a good option for cleaning as it dries quickly and leaves no residue.


7. Clean the leak area with rubbing alcohol before applying the patch


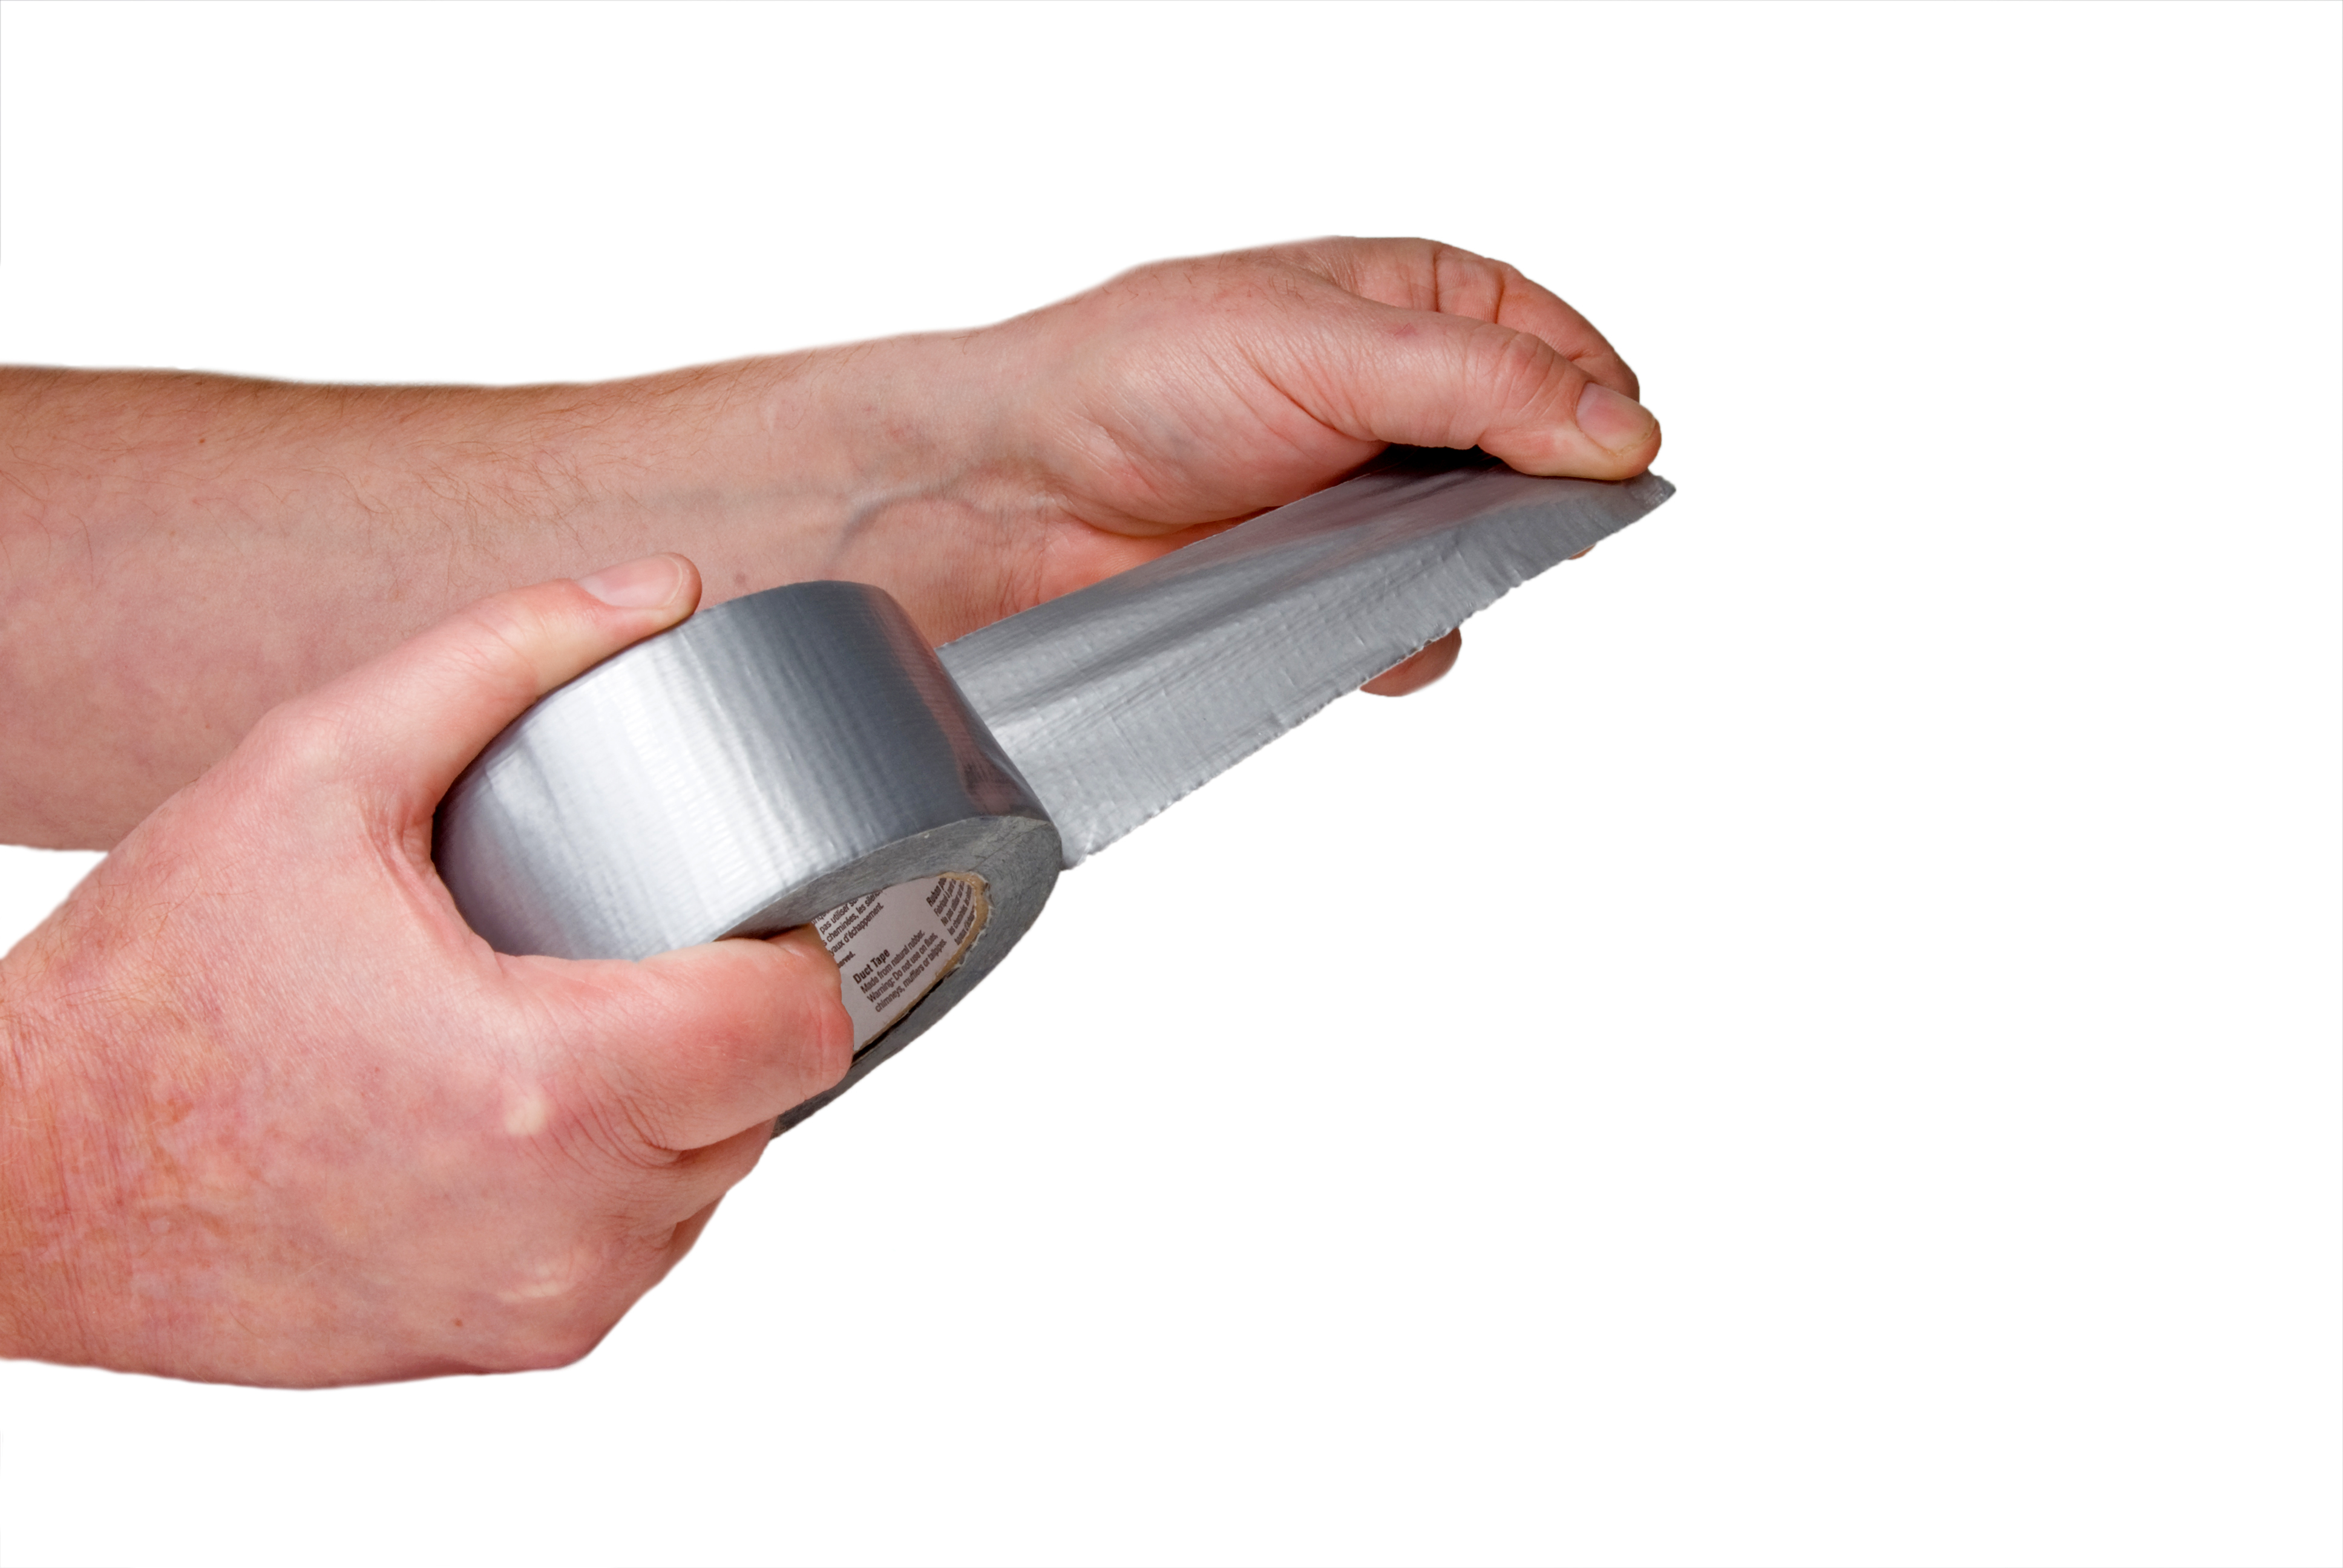
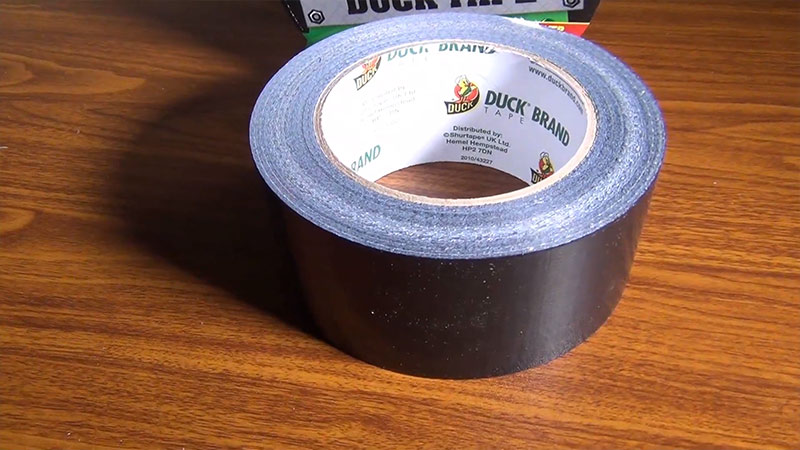
8. Use Duct Tape as a Temporary Fix
If you need a quick fix for your air mattress and don't have a patch kit or repair materials on hand, duct tape can be used as a temporary solution. Simply place a piece of duct tape over the leak, making sure it covers the entire damaged area. While this may not be a long-term fix, it can buy you some time until you can properly repair the leak.


8. Use duct tape as a temporary fix


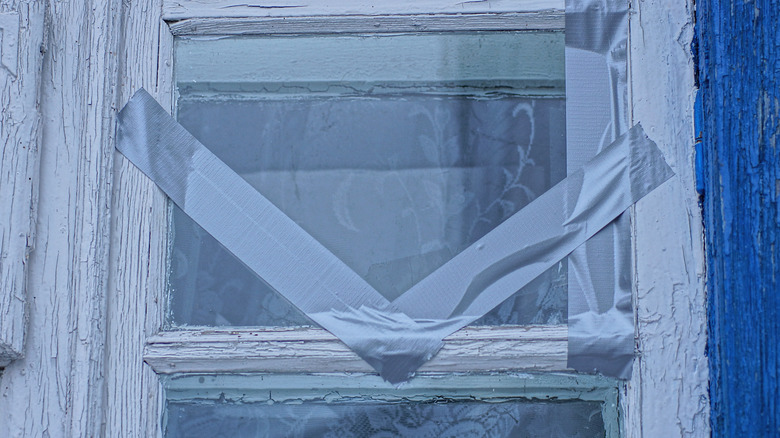

9. Place a Piece of Fabric or Cloth Over the Leak and Secure it with Duct Tape
If you don't have any adhesive or patching material, another temporary fix is to place a piece of fabric or cloth over the leak and secure it with duct tape. This will help prevent air from escaping and keep your mattress inflated until you can get a proper repair kit.


9. Place a piece of fabric or cloth over the leak and secure it with duct tape


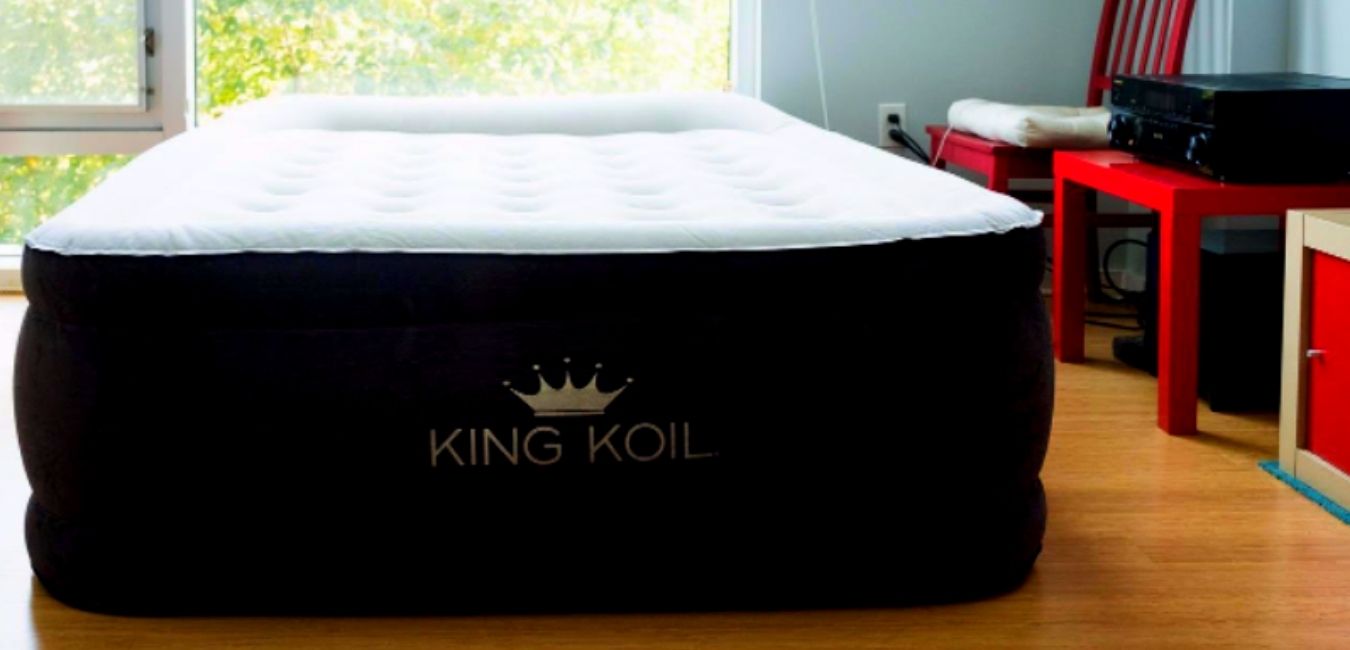
10. Invest in a High-Quality Air Mattress with Built-In Puncture Resistance
To avoid dealing with leaks and repairs in the future, it is worth investing in a high-quality air mattress with built-in puncture resistance. These mattresses are designed to be more durable and less prone to leaks, making them a worthwhile investment for frequent air mattress users.
With these quick and easy fixes, you can quickly repair a leak in your air mattress and get back to enjoying a good night's sleep. Remember to always follow the instructions on the patch kit or repair materials and take extra care to ensure a strong and secure bond between the patch and the mattress.


10. Invest in a high-quality air mattress with built-in puncture resistance


Why You Should Fix Your Air Mattress Leak Quickly

The Importance of Addressing Air Mattress Leaks
 When it comes to house design, every detail matters. This includes the small things, like an air mattress leak. While it may seem like a minor inconvenience, ignoring a leak in your air mattress can lead to bigger problems in the long run. Not only can it disrupt your sleep, but it can also cause damage to your mattress, making it less comfortable and durable. It's important to address the issue as soon as possible to avoid any further complications.
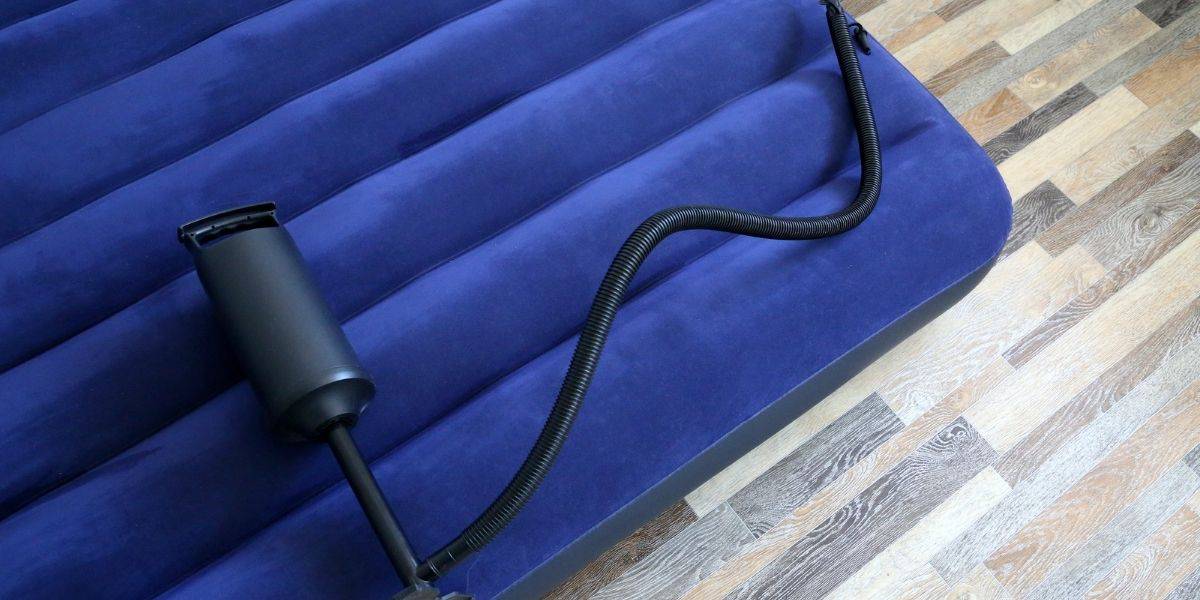
Quick and Easy Fixes for Air Mattress Leaks
 Fortunately, fixing a leak in your air mattress is a relatively simple task. The first step is to locate the leak. This can be done by inflating the mattress and listening for the sound of escaping air or by using a mixture of water and dish soap to find the bubbles where the leak is located. Once you've identified the leak, there are a few quick and easy fixes you can try.
One option is to use a
patch kit
specifically designed for air mattresses. These kits usually come with adhesive patches that can be applied directly to the leak for a quick and effective fix. Another option is to use
duct tape
to cover the leak. While this may not be the most aesthetically pleasing solution, it can provide a temporary fix until you can purchase a patch kit or replace the mattress.
Fortunately, fixing a leak in your air mattress is a relatively simple task. The first step is to locate the leak. This can be done by inflating the mattress and listening for the sound of escaping air or by using a mixture of water and dish soap to find the bubbles where the leak is located. Once you've identified the leak, there are a few quick and easy fixes you can try.
One option is to use a
patch kit
specifically designed for air mattresses. These kits usually come with adhesive patches that can be applied directly to the leak for a quick and effective fix. Another option is to use
duct tape
to cover the leak. While this may not be the most aesthetically pleasing solution, it can provide a temporary fix until you can purchase a patch kit or replace the mattress.
Preventing Future Leaks
 To prevent future leaks in your air mattress, it's important to take proper care of it. This includes properly inflating and deflating the mattress, avoiding sharp objects and rough surfaces, and storing it in a dry and clean area. It's also a good idea to regularly check for leaks and address them as soon as they are discovered.
In conclusion, while a leak in your air mattress may seem like a minor issue, it's important to address it quickly and effectively. By doing so, you can avoid further damage to your mattress and ensure a comfortable and restful night's sleep. Don't let a small leak disrupt your house design – take care of it promptly and enjoy a well-maintained living space.
To prevent future leaks in your air mattress, it's important to take proper care of it. This includes properly inflating and deflating the mattress, avoiding sharp objects and rough surfaces, and storing it in a dry and clean area. It's also a good idea to regularly check for leaks and address them as soon as they are discovered.
In conclusion, while a leak in your air mattress may seem like a minor issue, it's important to address it quickly and effectively. By doing so, you can avoid further damage to your mattress and ensure a comfortable and restful night's sleep. Don't let a small leak disrupt your house design – take care of it promptly and enjoy a well-maintained living space.