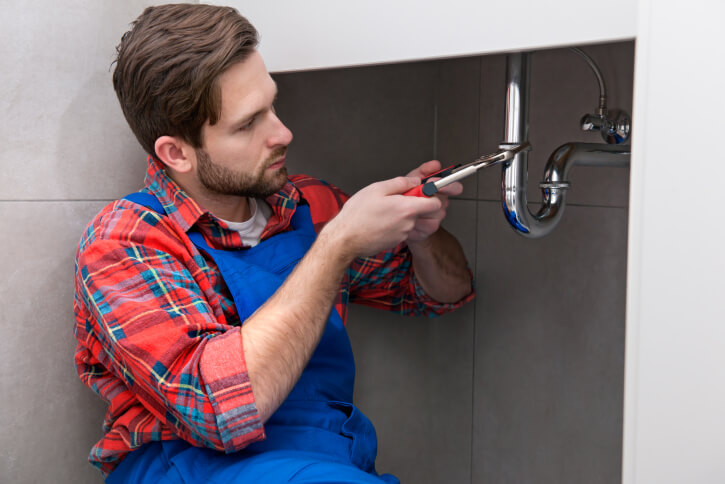
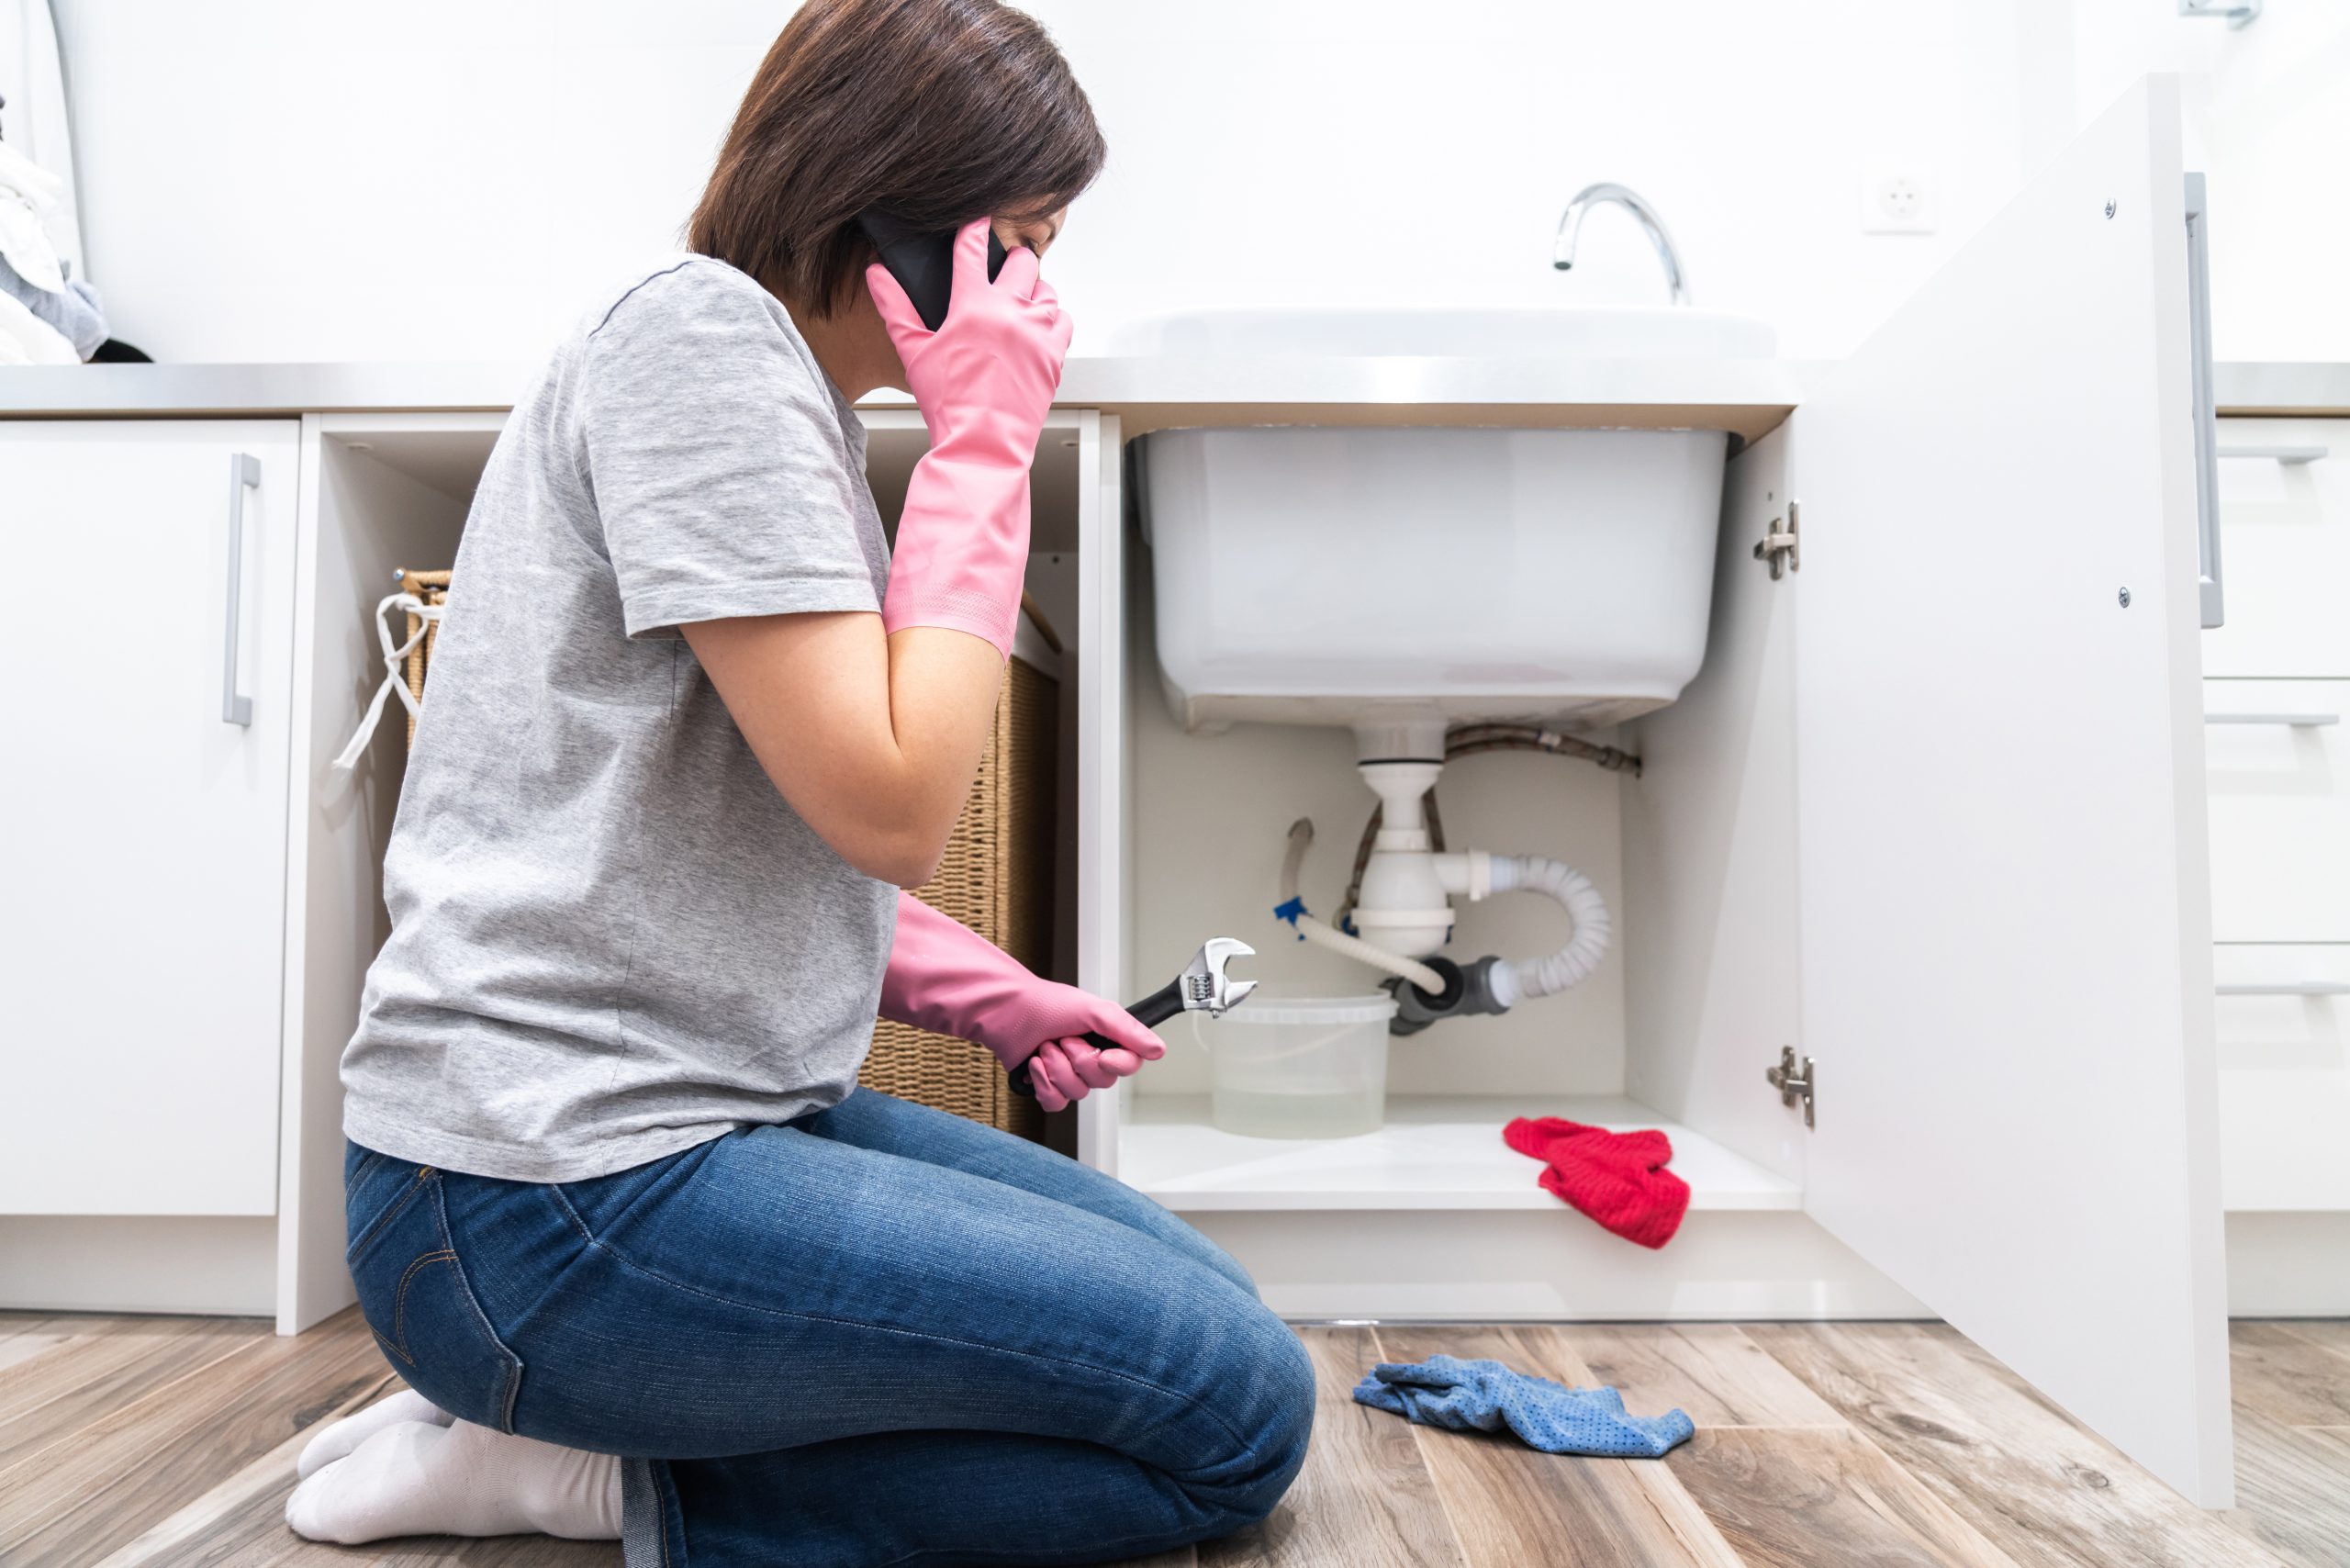
If you notice a constant dripping sound coming from under your kitchen sink, it's likely that you have a leak. Not only can this be annoying, but it can also lead to water damage and mold growth if left untreated. The good news is that fixing a leaky kitchen sink is a relatively simple task that you can do yourself. Follow these steps to get your sink back to working properly. Step 1: Turn off the water supply to the sink by closing the valves under the sink or shutting off the main water supply. This will prevent any further water damage. Step 2: Place a bucket or towel under the sink to catch any water that may still be in the pipes. Step 3: Unscrew the nuts that hold the pipes in place and carefully remove them. You may need a wrench or pliers to loosen them. Step 4: Inspect the pipes for any cracks or damage. If you find any, they will need to be replaced. If they are in good condition, clean them with a wire brush or cloth to remove any debris or buildup. Step 5: Apply plumber's tape to the threads of the pipes to create a tight seal. Step 6: Reattach the pipes and tighten the nuts. Turn the water supply back on and check for any leaks. If the leak persists, you may need to replace the pipes or call a professional plumber.How to Fix a Leaky Kitchen Sink


How to Fix a Leaky Kitchen Sink


If your kitchen sink drain is clogged, damaged, or simply worn out, it may be time to replace it. This may sound like a daunting task, but with the right tools and some basic plumbing knowledge, you can easily replace your kitchen sink drain in just a few steps. Step 1: Start by turning off the water supply to your sink. Then, use a wrench to remove the nut holding the drain in place. Step 2: Once the nut is removed, pull the drain out from the top of the sink. You may need to use pliers to get a better grip. Step 3: Remove any old putty or caulk from the sink and drain hole using a putty knife or scraper. Step 4: Apply a new layer of putty or caulk around the drain hole and insert the new drain. Tighten the nut from underneath the sink to secure it in place. Step 5: Turn the water supply back on and check for any leaks. If everything looks good, you're done!How to Replace a Kitchen Sink Drain


How to Replace a Kitchen Sink Drain

/how-to-install-a-sink-drain-2718789-hero-b5b99f72b5a24bb2ae8364e60539cece.jpg)


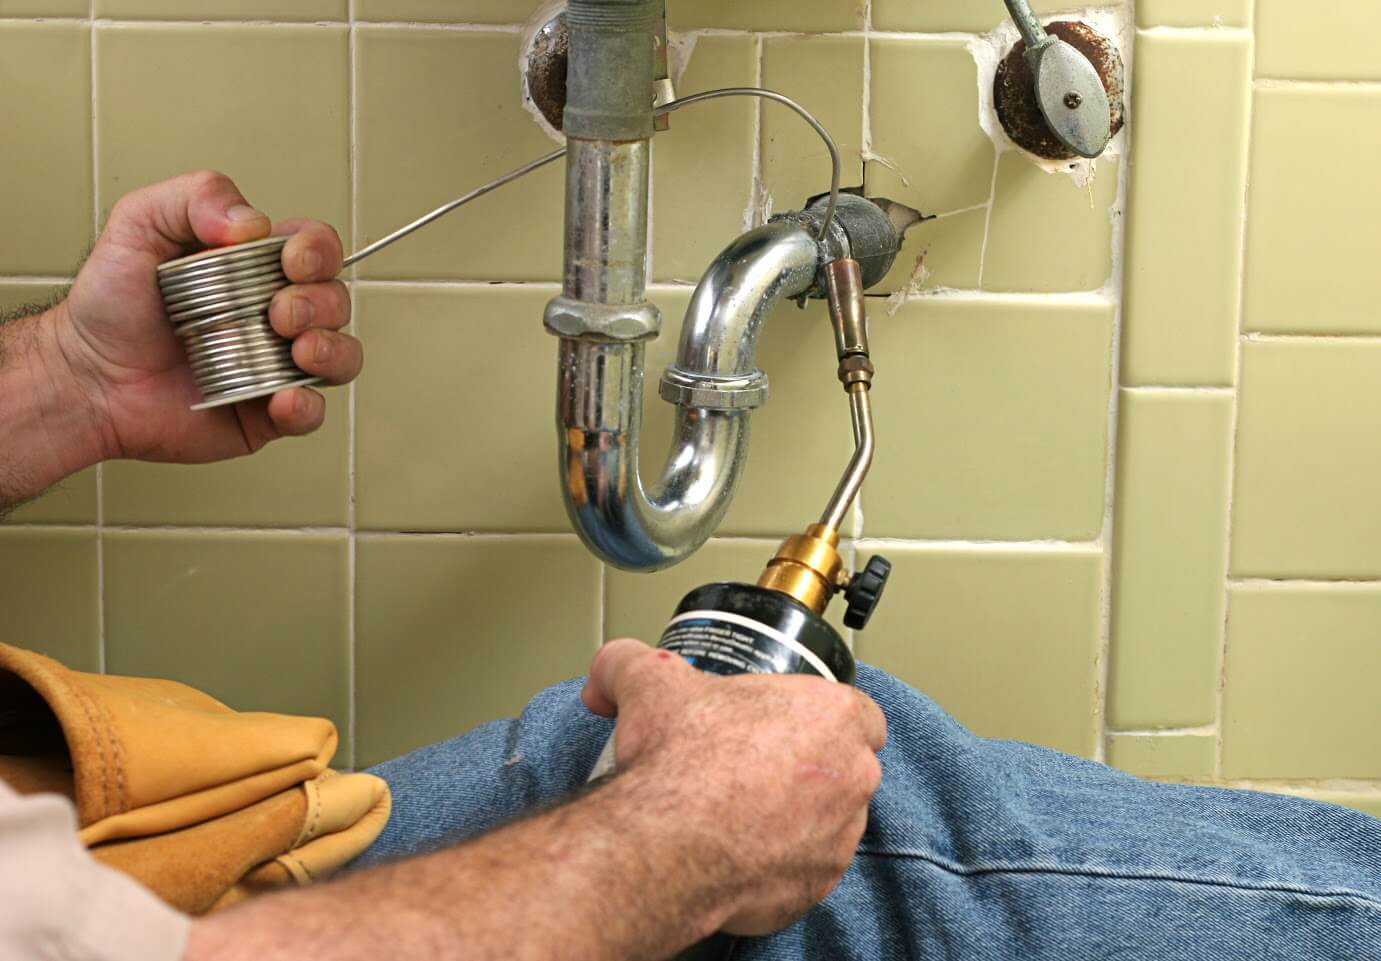
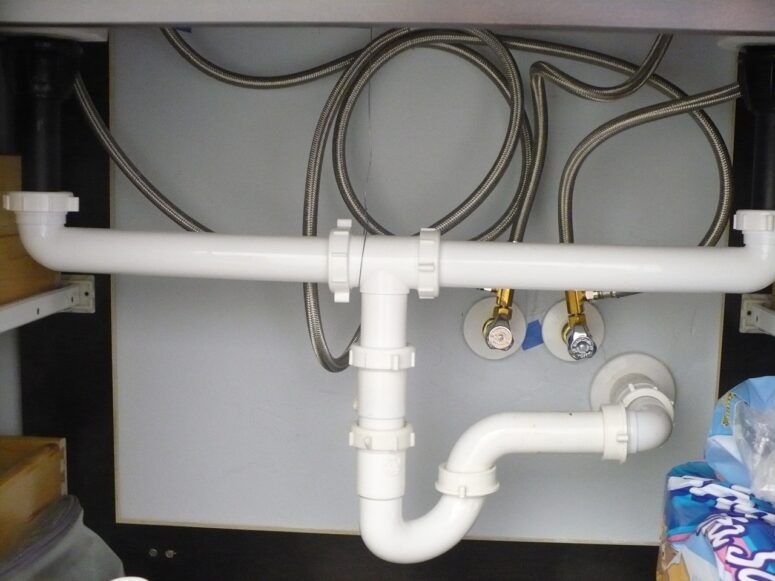
While the kitchen sink may seem like a simple fixture, there are actually many different components that work together to make it function properly. This means there are also many potential plumbing problems that can arise under the kitchen sink. Some of the most common issues include leaks, clogs, and damaged pipes. These problems can be caused by a variety of factors such as old age, wear and tear, or improper installation. If you're experiencing any of these issues, it's best to address them as soon as possible to prevent further damage.Common Plumbing Problems Under the Kitchen Sink


Common Plumbing Problems Under the Kitchen Sink


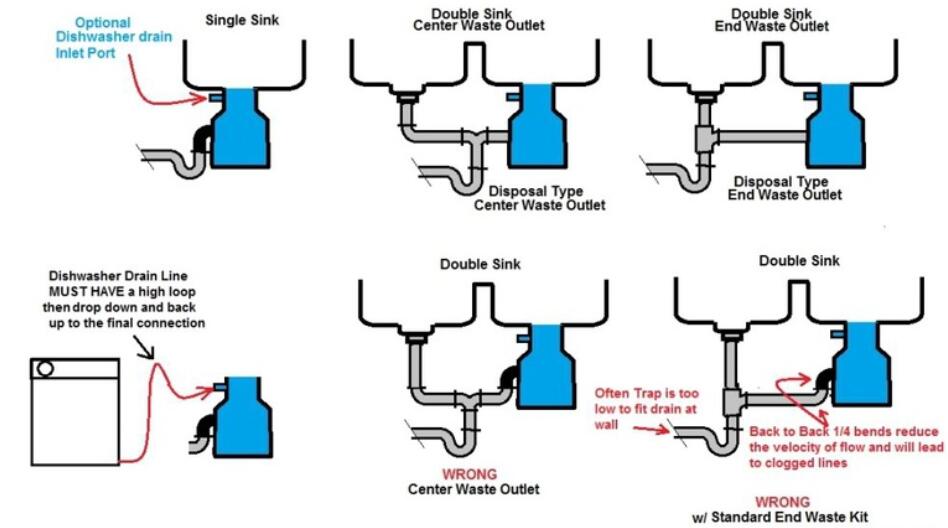
If you're installing a new kitchen sink, you'll also need to install a plumbing kit to connect the sink to the water supply and drain. This kit includes all the necessary pipes, fittings, and connectors to make sure your sink is properly connected and functioning. Here's how to install a kitchen sink plumbing kit: Step 1: Start by assembling the pipes and fittings according to the instructions provided. Make sure to use plumber's tape on all threaded connections to create a tight seal. Step 2: Install the drain assembly by attaching it to the bottom of the sink and tightening the nut from underneath. Step 3: Connect the water supply lines to the faucet and hot and cold water valves under the sink. Step 4: Attach the P-trap to the drain and make sure all connections are tight. Step 5: Turn on the water supply and check for any leaks. If everything looks good, you're all set!How to Install a Kitchen Sink Plumbing Kit

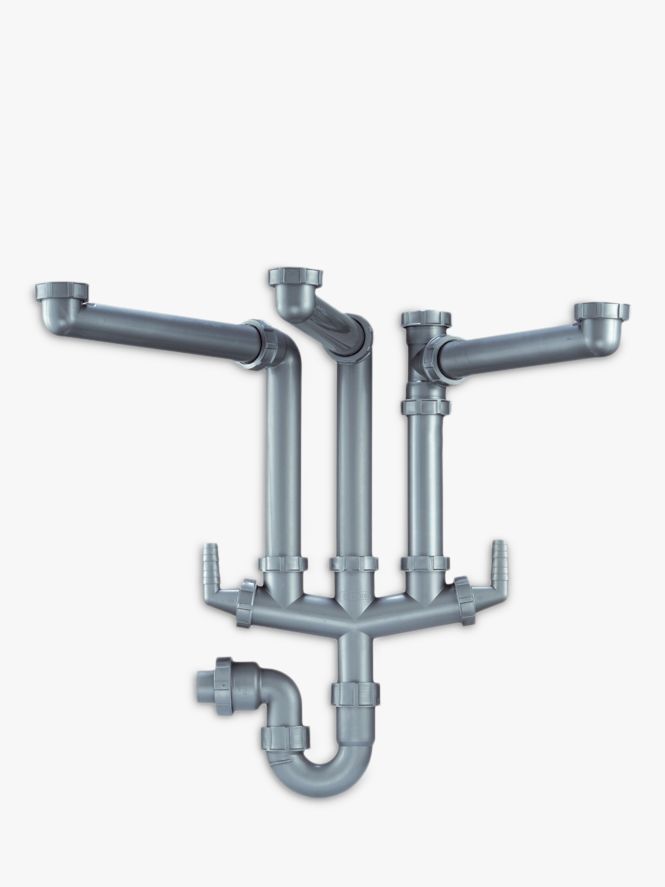
How to Install a Kitchen Sink Plumbing Kit


:max_bytes(150000):strip_icc()/how-to-install-a-sink-drain-2718789-hero-24e898006ed94c9593a2a268b57989a3.jpg)


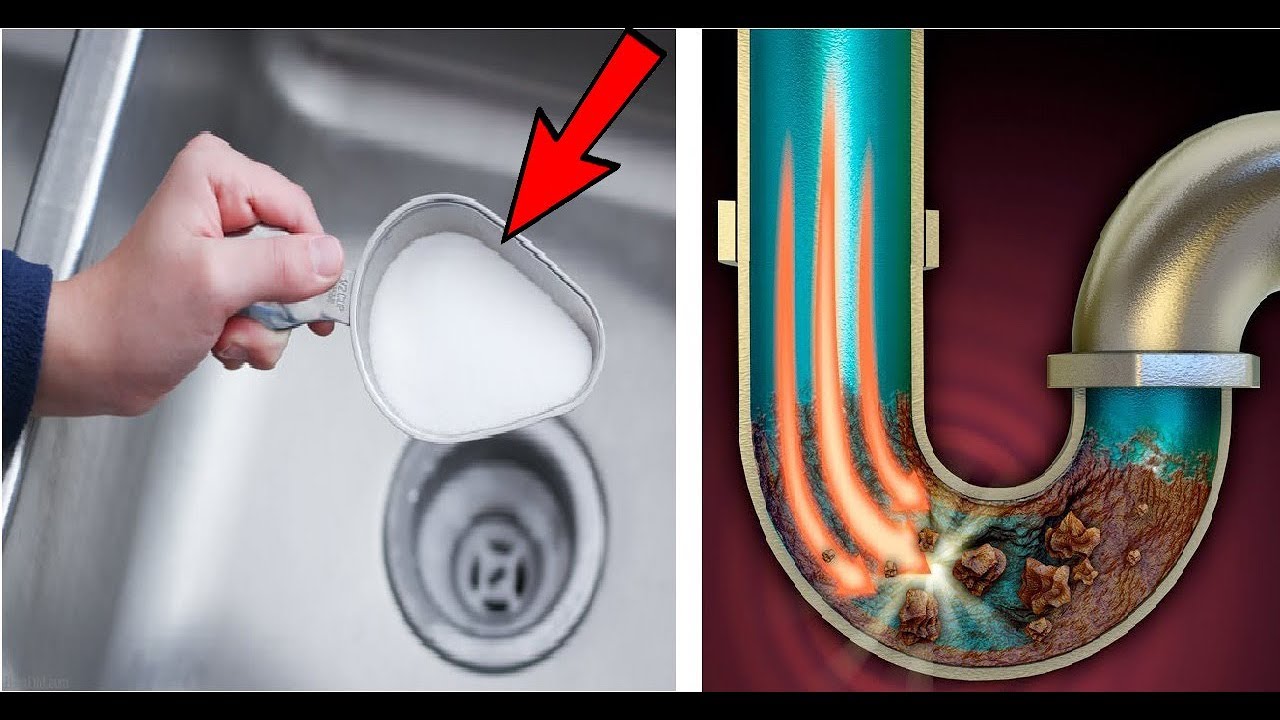
A clogged kitchen sink drain is a common problem that can be caused by a variety of factors such as food scraps, grease buildup, or foreign objects. Luckily, there are several methods you can try to unclog your kitchen sink drain before calling a plumber. Method 1: Boiling Water - Start by pouring a pot of boiling water down the drain. This can help dissolve any grease or buildup that may be causing the clog. Method 2: Plunger - Use a plunger to create suction and dislodge the clog. Make sure to cover the other drain in a double sink to create a good seal. Method 3: Baking Soda and Vinegar - Mix equal parts baking soda and vinegar and pour it down the drain. Let it sit for about 30 minutes, then follow with a pot of boiling water. Method 4: Plumbing Snake - If none of the above methods work, you may need to use a plumbing snake to physically remove the clog.How to Unclog a Kitchen Sink Drain


How to Unclog a Kitchen Sink Drain

:max_bytes(150000):strip_icc()/freshen-and-unclog-drain-with-baking-soda-1900466-22-bbf940b70afa4d5abef0c54da23b1d3f.jpg)
:max_bytes(150000):strip_icc()/how-to-unclog-a-kitchen-sink-2718799_sketch_FINAL-8c5caa805a69493ab22dfb537c72a1b7.png)


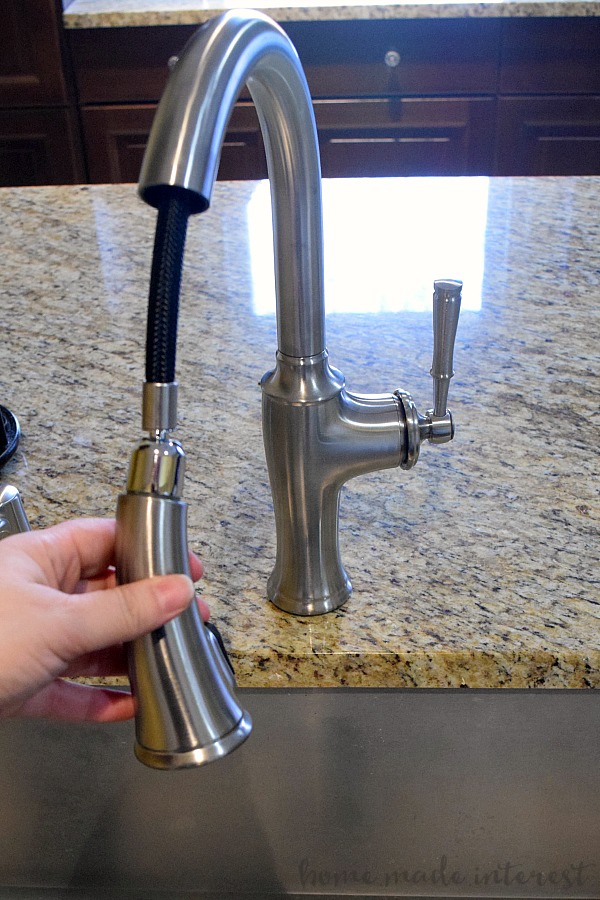
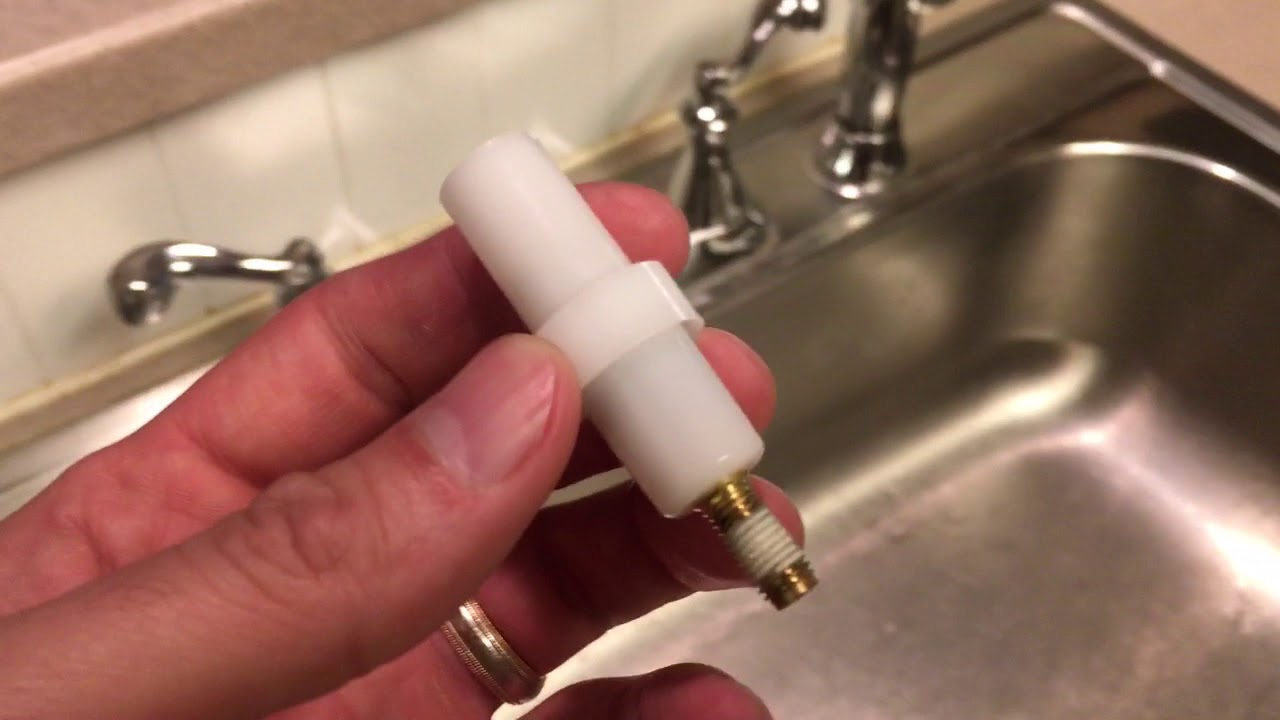
If your kitchen sink sprayer is not working properly, it could be due to a clog, a damaged hose, or a faulty diverter valve. Here's how to repair a kitchen sink sprayer: Step 1: Start by turning off the water supply to the sink and releasing any remaining pressure by pressing the sprayer handle. Step 2: Remove the sprayer head from the hose and clean it with a toothbrush and vinegar to remove any buildup. Step 3: If the hose is damaged, replace it with a new one. If the diverter valve is faulty, it will need to be replaced by a professional plumber. Step 4: Reattach the sprayer head and turn the water supply back on. Your sprayer should now be working properly.How to Repair a Kitchen Sink Sprayer


How to Repair a Kitchen Sink Sprayer


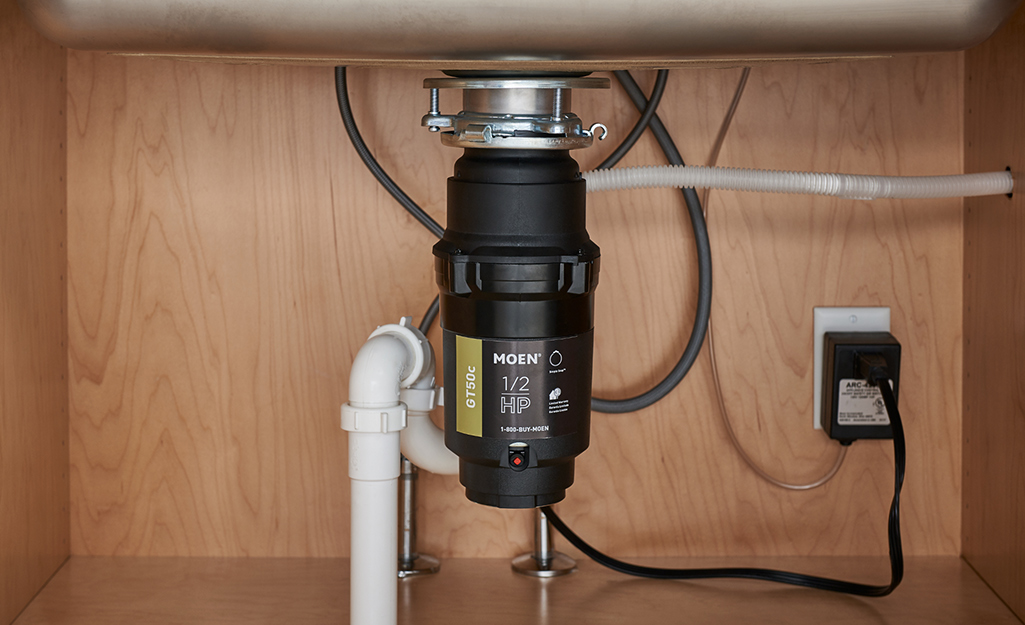
A garbage disposal can be a convenient addition to your kitchen sink, allowing you to easily dispose of food scraps without having to worry about clogs or bad smells. Here's how to install a garbage disposal in your kitchen sink: Step 1: Start by turning off the power to the kitchen and unplugging any nearby electrical appliances. Step 2: Remove the drain flange and install the mounting bracket according to the instructions provided. Step 3: Install the disposal unit by twisting it into place on the mounting bracket. Step 4: Connect the disposal unit to the dishwasher drain if needed. Step 5: Install the drain flange and attach the disposal unit to the sink drain. Step 6: Turn on the power to the kitchen and test the disposal to make sure it's working properly.How to Install a Garbage Disposal in a Kitchen Sink


How to Install a Garbage Disposal in a Kitchen Sink


/how-to-install-a-sink-drain-2718789-hero-24e898006ed94c9593a2a268b57989a3.jpg)
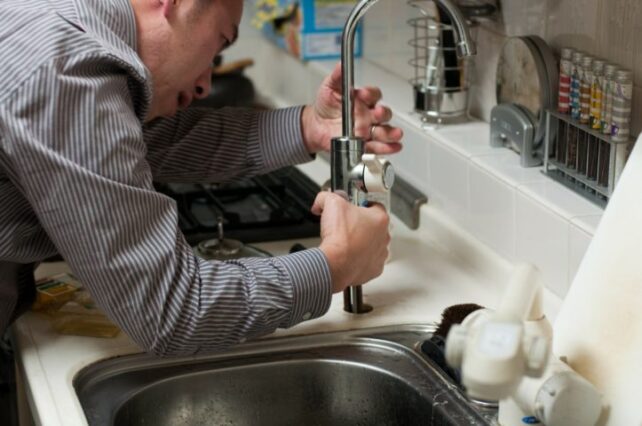
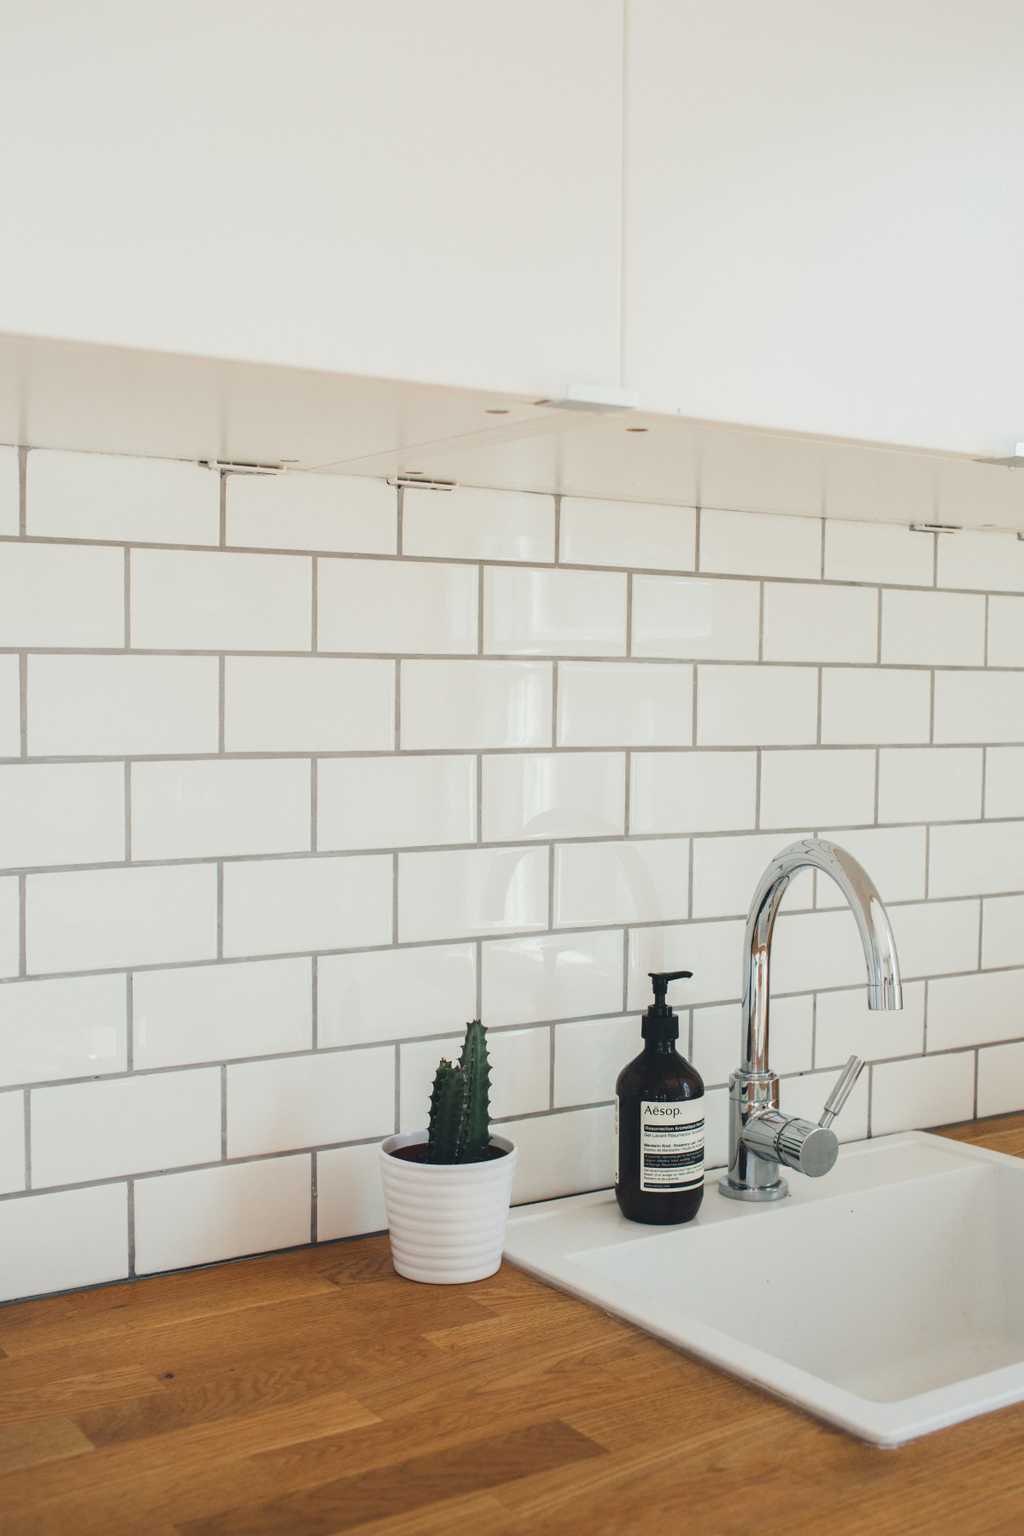
If your kitchen sink faucet is leaking or simply outdated, you may want to replace it with a new one. Here's how to replace a kitchen sink faucet: Step 1: Start by turning off the water supply to the sink. Step 2: Remove the old faucet by loosening the nuts that hold it in place. You may need a wrench or pliers to do this. Step 3: Clean the area where the new faucet will be installed and apply plumber's putty around the base of the faucet to create a seal. Step 4: Install the new faucet by attaching it to the sink and tightening the nuts from underneath. Step 5: Turn the water supply back on and check for any leaks. If everything looks good, you're done!How to Replace a Kitchen Sink Faucet


How to Replace a Kitchen Sink Faucet


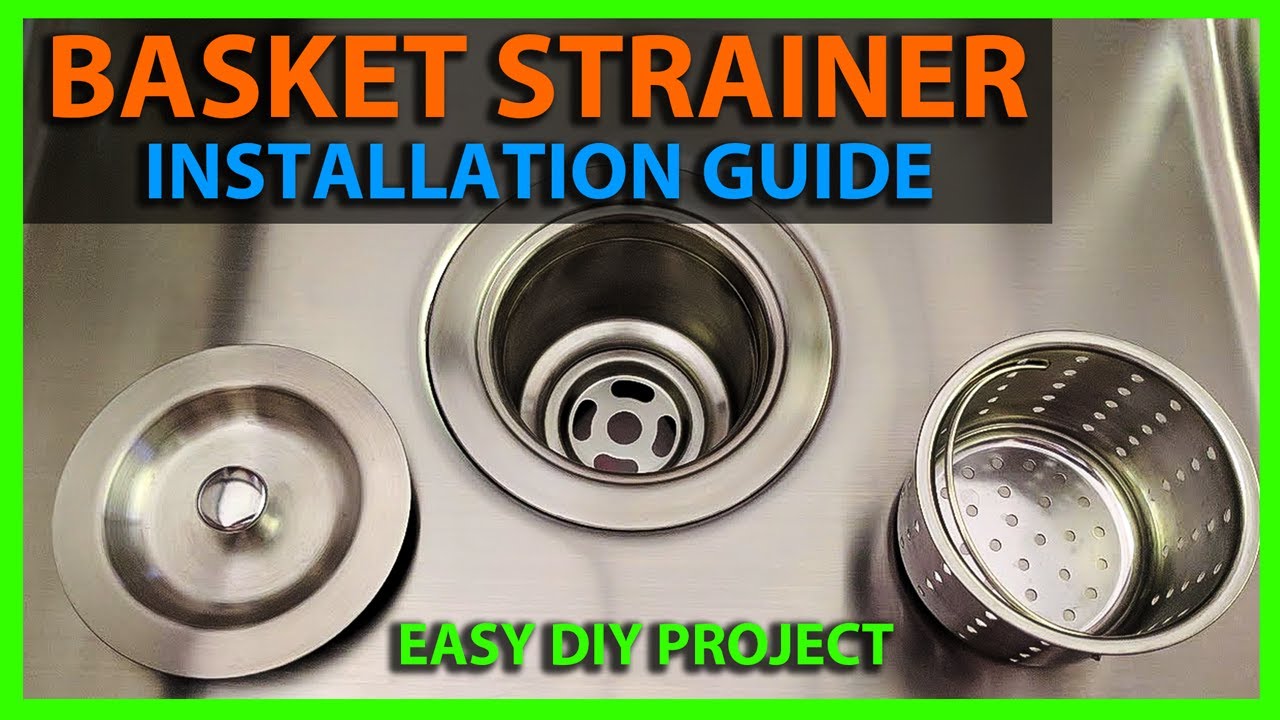
The kitchen sink strainer is an important component that prevents food scraps and other debris from clogging the drain. If your strainer is damaged or missing, it's important to replace it to prevent any future problems. Here's how to install a kitchen sink strainer: Step 1: Start by removing the old strainer by loosening the nut from underneath the sink and pulling it out from the top. Step 2: Clean the area around the drain and apply plumber's putty around the base of the new strainer. Step 3: Place the new strainer in the drain and tighten the nut from underneath to secure it in place. Step 4: Wipe away any excess putty and test the strainer by running water down the drain.How to Install a Kitchen Sink Strainer


How to Install a Kitchen Sink Strainer


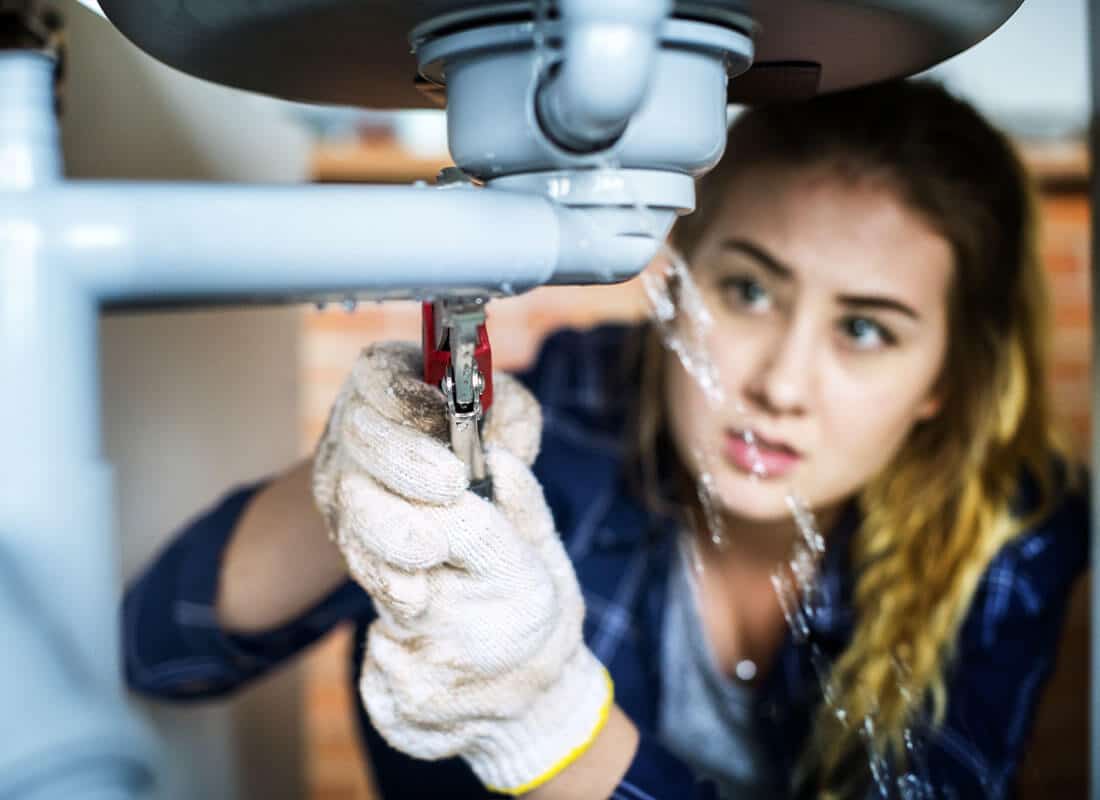
Is your kitchen sink sprayer leaking? This could be caused by a damaged hose or a faulty diverter valve. Here's how to fix a leaky kitchen sink sprayer: Step 1: Start by turning off the water supply to the sink. Step 2: Remove the sprayer head from the hose and clean it with a toothbrush and vinegar to remove any buildup. Step 3: If the hose is damaged, replace it with a new one. If the diverter valve is faulty, it will need to be replaced by a professional plumber. Step 4: Reattach the sprayer head and turn the water supply back on. Your sprayer should now be leak-free. With these helpful tips and easy-to-follow steps, you can tackle any plumbing problems that may arise under your kitchen sink. Remember to always turn off the water supply and use the appropriate tools and materials for the job. If you're ever unsure or uncomfortable with a task, it's best to call a professional plumber for assistance. Now, go fix that leaky sink and enjoy a fully functioning kitchen once again!How to Fix a Leaky Kitchen Sink Sprayer


How to Fix a Leaky Kitchen Sink Sprayer


The Importance of Proper Plumbing Under Your Kitchen Sink

Ensuring Functionality and Safety in Your Home
 When it comes to designing your dream home, the kitchen is often considered the heart of the house. It's where meals are prepared, memories are made, and friends and family gather. With such an important role, it's crucial to have a functional and safe kitchen. One aspect that is often overlooked is the plumbing under the kitchen sink. This small but essential area plays a significant role in the overall functionality and safety of your kitchen. Let's explore why proper plumbing under your kitchen sink is crucial.
Preventing Leaks and Water Damage
The key function of plumbing under the kitchen sink is to provide clean water for cooking, cleaning, and drinking, while also removing wastewater. When plumbing is not properly installed or maintained, it can lead to leaks and water damage. These issues can cause significant damage to your kitchen and affect the structural integrity of your home. It's essential to have a professional plumber install and regularly inspect your kitchen sink's plumbing to prevent any potential leaks and costly repairs.
Ensuring Proper Functionality
A well-functioning kitchen sink is essential for everyday tasks, such as washing dishes and cooking. When the plumbing under the sink is not properly installed, it can lead to issues with water flow and drainage. This can make tasks more challenging and time-consuming, leading to frustration and inconvenience. By investing in proper plumbing, you can ensure that your kitchen sink functions effectively, making your daily routine more efficient.
Promoting Health and Safety
The kitchen is where we prepare food, making it crucial to maintain a hygienic and safe environment. When plumbing is not adequately installed, it can lead to issues such as mold and mildew growth, which can negatively impact your health. Additionally, any leaks or standing water can create a slip and fall hazard, especially for young children or older adults. Proper plumbing under your kitchen sink can prevent these health and safety risks, providing you with peace of mind.
In conclusion, the plumbing under your kitchen sink may seem like a small detail, but it plays a vital role in the functionality and safety of your home. By investing in proper plumbing, you can prevent potential leaks and water damage, ensure the proper functionality of your kitchen sink, and promote a healthy and safe environment for you and your loved ones. Don't overlook this important aspect of house design and always consult a professional plumber for installation and maintenance.
When it comes to designing your dream home, the kitchen is often considered the heart of the house. It's where meals are prepared, memories are made, and friends and family gather. With such an important role, it's crucial to have a functional and safe kitchen. One aspect that is often overlooked is the plumbing under the kitchen sink. This small but essential area plays a significant role in the overall functionality and safety of your kitchen. Let's explore why proper plumbing under your kitchen sink is crucial.
Preventing Leaks and Water Damage
The key function of plumbing under the kitchen sink is to provide clean water for cooking, cleaning, and drinking, while also removing wastewater. When plumbing is not properly installed or maintained, it can lead to leaks and water damage. These issues can cause significant damage to your kitchen and affect the structural integrity of your home. It's essential to have a professional plumber install and regularly inspect your kitchen sink's plumbing to prevent any potential leaks and costly repairs.
Ensuring Proper Functionality
A well-functioning kitchen sink is essential for everyday tasks, such as washing dishes and cooking. When the plumbing under the sink is not properly installed, it can lead to issues with water flow and drainage. This can make tasks more challenging and time-consuming, leading to frustration and inconvenience. By investing in proper plumbing, you can ensure that your kitchen sink functions effectively, making your daily routine more efficient.
Promoting Health and Safety
The kitchen is where we prepare food, making it crucial to maintain a hygienic and safe environment. When plumbing is not adequately installed, it can lead to issues such as mold and mildew growth, which can negatively impact your health. Additionally, any leaks or standing water can create a slip and fall hazard, especially for young children or older adults. Proper plumbing under your kitchen sink can prevent these health and safety risks, providing you with peace of mind.
In conclusion, the plumbing under your kitchen sink may seem like a small detail, but it plays a vital role in the functionality and safety of your home. By investing in proper plumbing, you can prevent potential leaks and water damage, ensure the proper functionality of your kitchen sink, and promote a healthy and safe environment for you and your loved ones. Don't overlook this important aspect of house design and always consult a professional plumber for installation and maintenance.