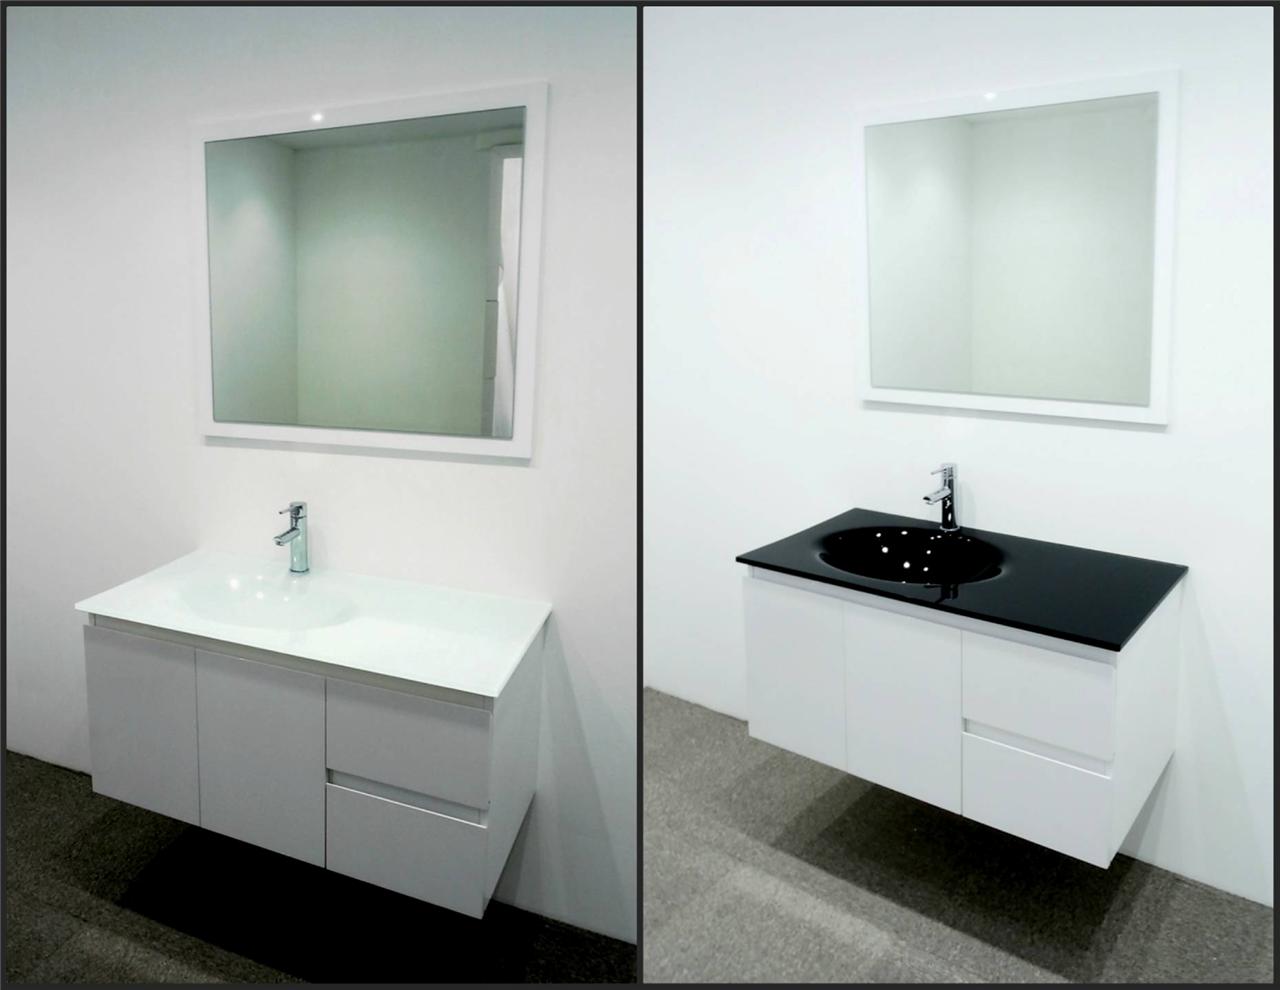
Installing an undermount sink in your kitchen is a great way to add both functionality and style to your space. Unlike traditional top-mount sinks, undermount sinks are mounted below the countertop, creating a seamless and sleek look. If you're planning to incorporate an undermount sink into your kitchen design, here's a step-by-step guide to help you through the installation process. Step 1: Measure and Prepare The first step in installing an undermount sink is to measure the dimensions of the sink and the countertop cutout. Make sure to also measure the depth of the sink and the space available in the cabinet below. Once you have the measurements, you can begin preparing the area by removing any existing sink and making sure the countertop is clean and free of any debris. Step 2: Create Support for the Sink Undermount sinks need proper support to ensure they stay in place and do not sag over time. To create this support, you'll need to build a wooden frame that will fit snugly around the sink. The frame should be built to fit the dimensions of the sink and secured in place with screws. This frame will provide the necessary support for the sink to sit on. Step 3: Apply Sealant Before placing the sink in the cutout, you'll need to apply a bead of silicone sealant around the edge of the frame. This will create a waterproof seal and prevent any leaks from occurring. Make sure to evenly spread the sealant around the frame before placing the sink on top. Step 4: Secure the Sink Once the sink is in place, you'll need to secure it to the underside of the countertop. This can be done with clips or brackets that come with the sink or by using epoxy adhesive. Make sure to follow the manufacturer's instructions for securing the sink properly. Step 5: Connect Plumbing With the sink securely in place, you can now connect the plumbing. This will involve attaching the drain and water supply lines to the sink. Make sure to use plumber's tape to ensure a tight seal and test for any leaks before moving on to the final step. Step 6: Seal the Edges To complete the installation, you'll need to seal the edges of the sink with silicone caulk. This will provide an extra layer of protection against water and prevent any debris from getting trapped in the gap between the sink and the countertop. Once the caulk has dried, your undermount sink installation is complete!Undermount Sink Installation: A Step-by-Step Guide
Choosing the right undermount sink for your kitchen is an important decision as it can affect both the functionality and style of your space. Here are some factors to consider when selecting the perfect undermount sink for your kitchen: 1. Size and Shape The size and shape of your undermount sink will depend on the size and layout of your kitchen. Larger kitchens can accommodate bigger, deeper sinks while smaller kitchens may require a more compact option. The shape of the sink can also add a unique design element to your space. Consider options like rectangular, oval, or even square-shaped sinks to find the best fit for your kitchen. 2. Material Undermount sinks come in a variety of materials to suit different styles and budgets. Stainless steel and porcelain are popular choices for their durability and easy maintenance. For a more luxurious option, consider a granite or marble undermount sink. 3. Depth The depth of your undermount sink will also impact its functionality. Deeper sinks are great for washing large pots and pans, but may not be as comfortable for shorter individuals. Consider your own needs and habits in the kitchen to determine the ideal depth for your undermount sink. 4. Number of Bowls Undermount sinks come in single, double, and even triple bowl options. Consider your kitchen tasks and how many bowls would best suit your needs. For example, if you do a lot of hand-washing, a double bowl sink may be more convenient. 5. Style and Finish Undermount sinks can come in a variety of finishes, from shiny stainless steel to matte white porcelain. Consider the overall style of your kitchen and choose a finish that complements it. You can also opt for a unique design, such as a hammered copper or patterned sink, to add a statement piece to your kitchen.How to Choose the Right Undermount Sink for Your Kitchen
Remodeling your kitchen with an undermount sink can be a daunting task, but with proper planning, it can be a smooth and successful process. Here are 10 tips to keep in mind when planning a kitchen remodel with an undermount sink: 1. Set a Budget Before you start any remodeling project, it's important to determine your budget. This will help guide your decisions and ensure you don't overspend. 2. Consider Your Space Undermount sinks require a solid surface countertop, such as granite or quartz, to be installed properly. Make sure your space can accommodate this before committing to an undermount sink. 3. Determine Your Needs Think about your daily tasks in the kitchen and what you need from your sink. This will help you choose the right size, depth, and number of bowls for your undermount sink. 4. Research Different Styles Take the time to research and explore different undermount sink styles and finishes before making a decision. This will ensure you choose the best fit for your kitchen. 5. Plan for Plumbing and Electrical If you're changing the location of your sink, make sure to plan for any necessary plumbing and electrical work. This will save you time and money in the long run. 6. Create a Timeline Remodeling a kitchen can be a time-consuming process, so it's important to create a timeline and stick to it. This will help you stay on track and ensure the project is completed in a timely manner. 7. Hire a Professional If you're not confident in your own remodeling skills, consider hiring a professional to install your undermount sink. This will ensure it is done properly and save you from any potential mistakes. 8. Coordinate with Other Design Elements Your undermount sink should complement the rest of your kitchen design. Make sure to coordinate with other elements, such as faucets and cabinet hardware, to create a cohesive look. 9. Plan for Maintenance Undermount sinks require proper maintenance to keep them looking and functioning their best. Make sure to plan for this in your kitchen remodel and have the necessary cleaning supplies on hand. 10. Be Patient Kitchen remodels can be stressful, but try to be patient throughout the process. In the end, you'll have a beautiful and functional kitchen with an undermount sink as the centerpiece.10 Tips for Planning a Kitchen Remodel with an Undermount Sink
As with any design element, undermount sinks come with their own set of pros and cons. Here are some things to consider when deciding if an undermount sink is right for your kitchen: Pros: - Aesthetically pleasing and creates a seamless look - Easy to clean and maintain - Provides more countertop space - Can increase the value of your home Cons: - More expensive than top-mount sinks - Can be difficult to install properly - Requires a solid surface countertop - May not be as durable as other sink optionsThe Pros and Cons of Undermount Sinks in the Kitchen
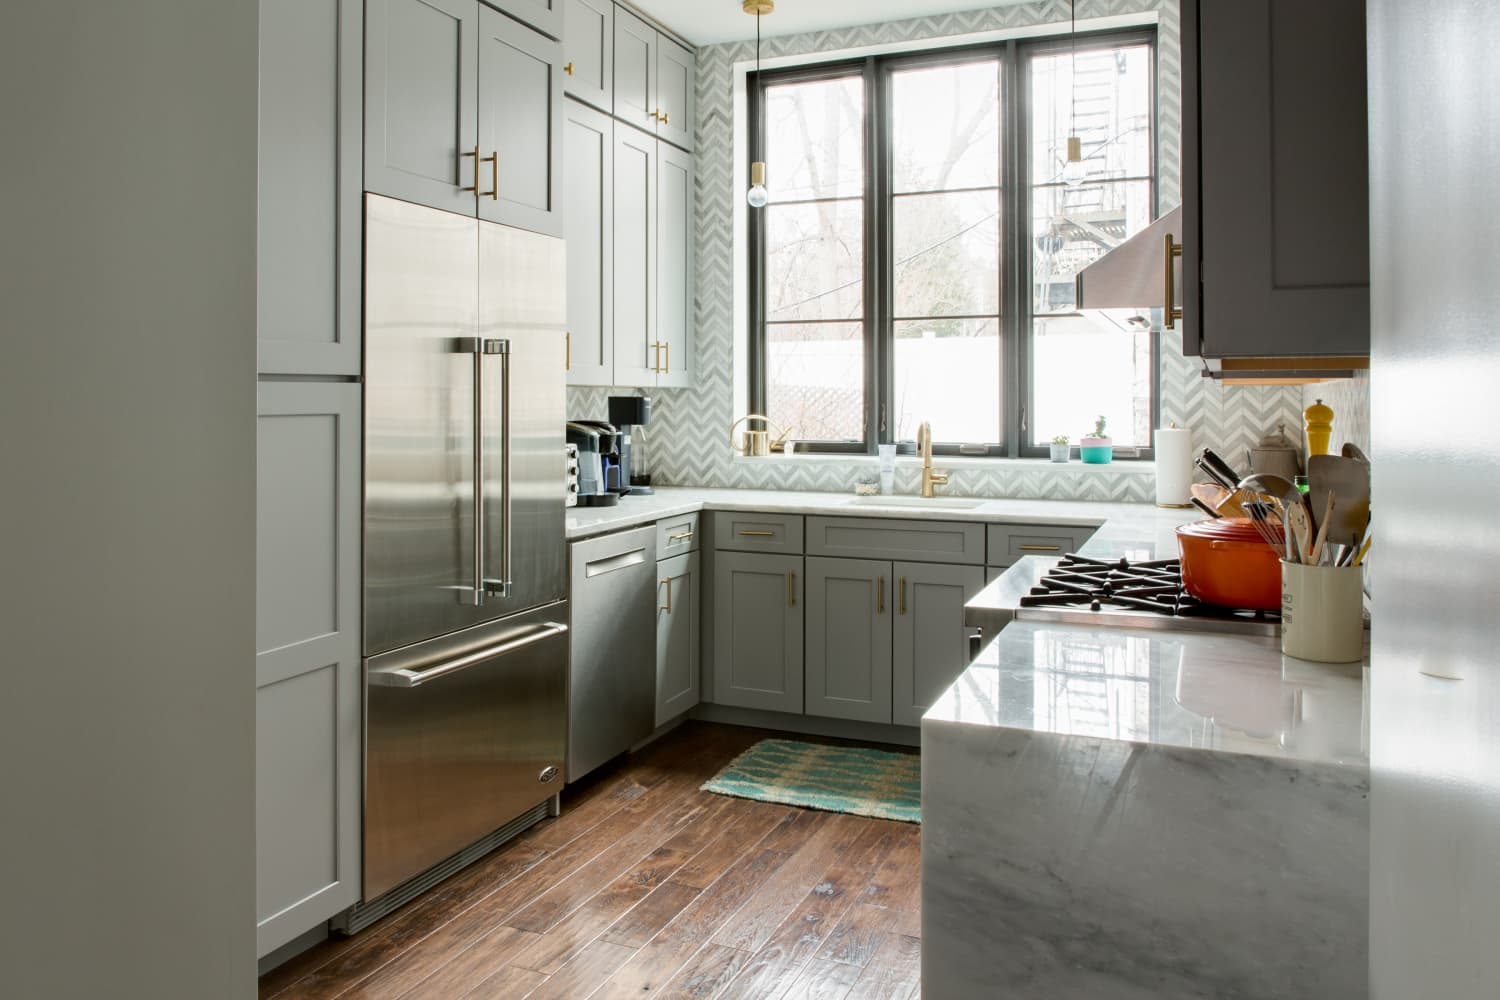
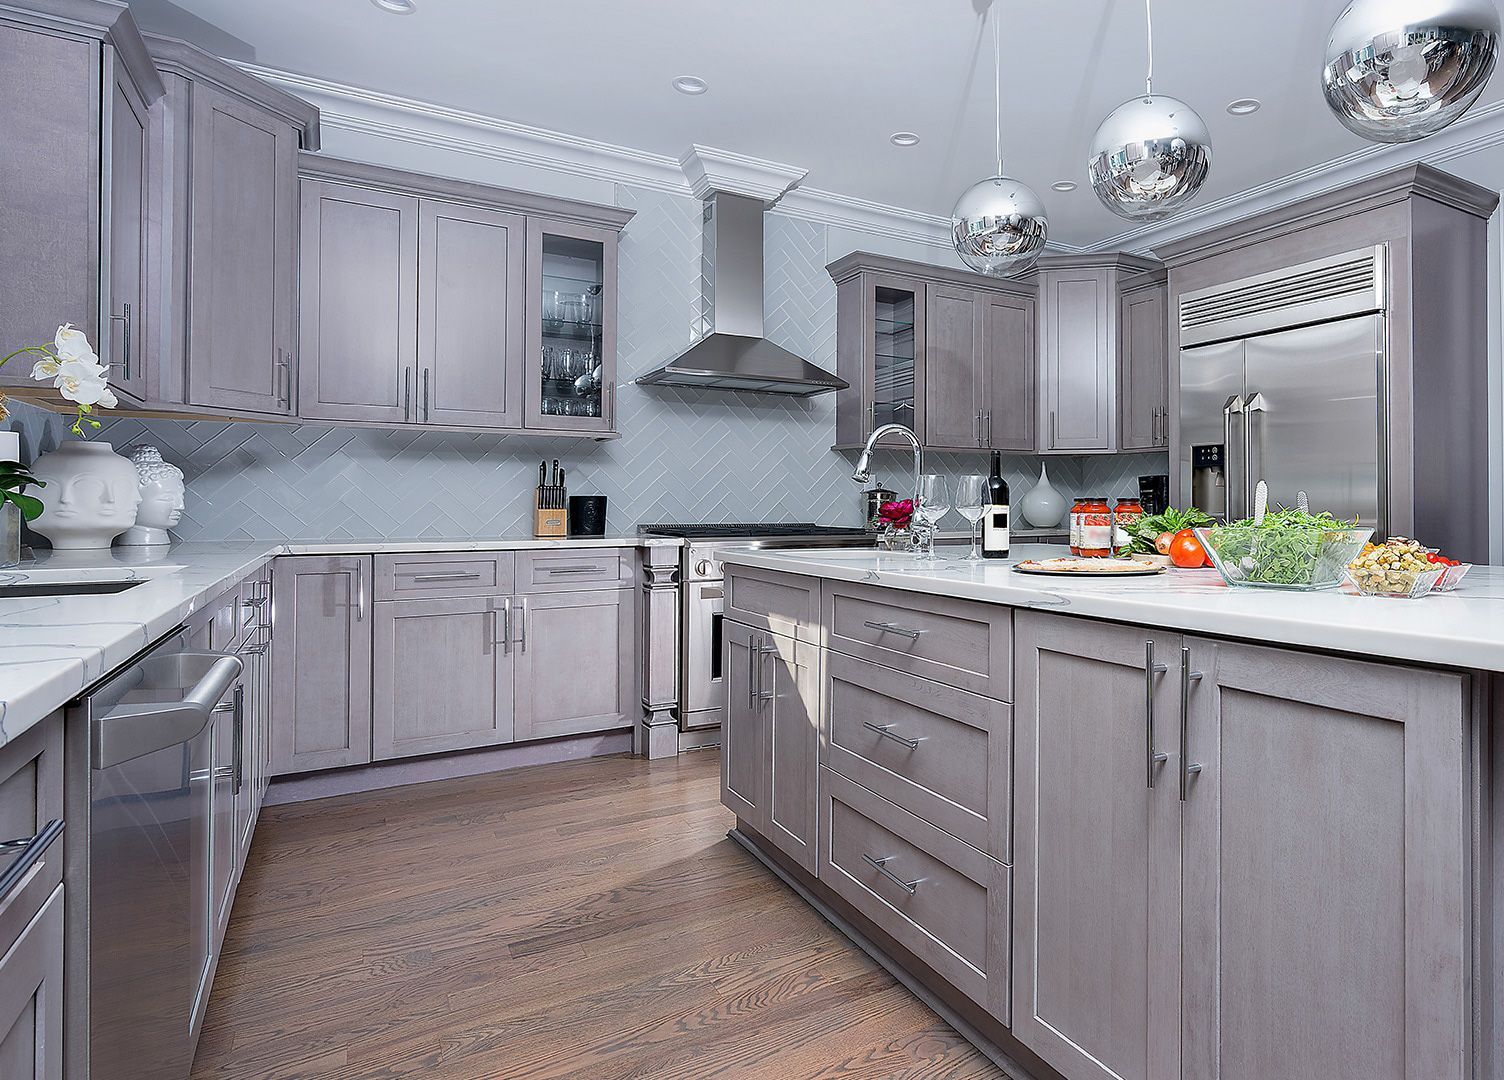
When designing a kitchen with an undermount sink, there are a few key things to keep in mind to ensure a successful and functional space: 1. Layout The layout of your kitchen will determine the placement of your sink. Make sure to consider the flow of your space and how you will use the sink in your daily tasks. 2. Storage Undermount sinks take up less space than top-mount sinks, providing more room for storage in your cabinets. Plan for this extra space when designing your kitchen layout. 3. Countertop Material Undermount sinks work best with solid surface countertops, such as granite or quartz. Consider the material and color of your countertop to ensure it complements your sink. 4. Faucet Placement The placement of your faucet is important to consider when designing a kitchen with an undermount sink. Make sure it is easily accessible and not too close to the edge of the sink to avoid splashing.Designing a Kitchen with an Undermount Sink: Things to Consider
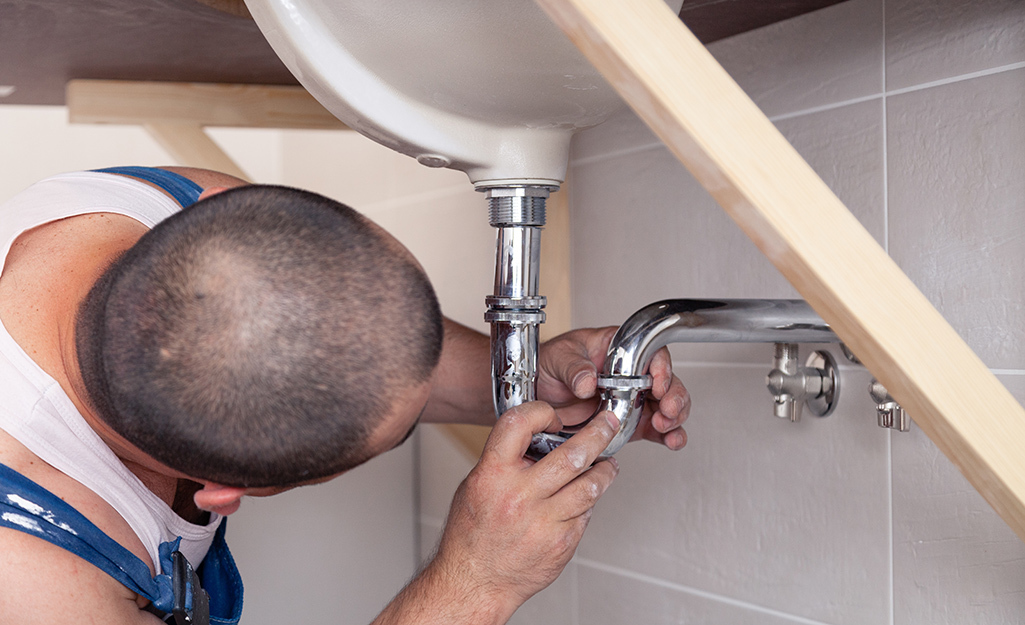
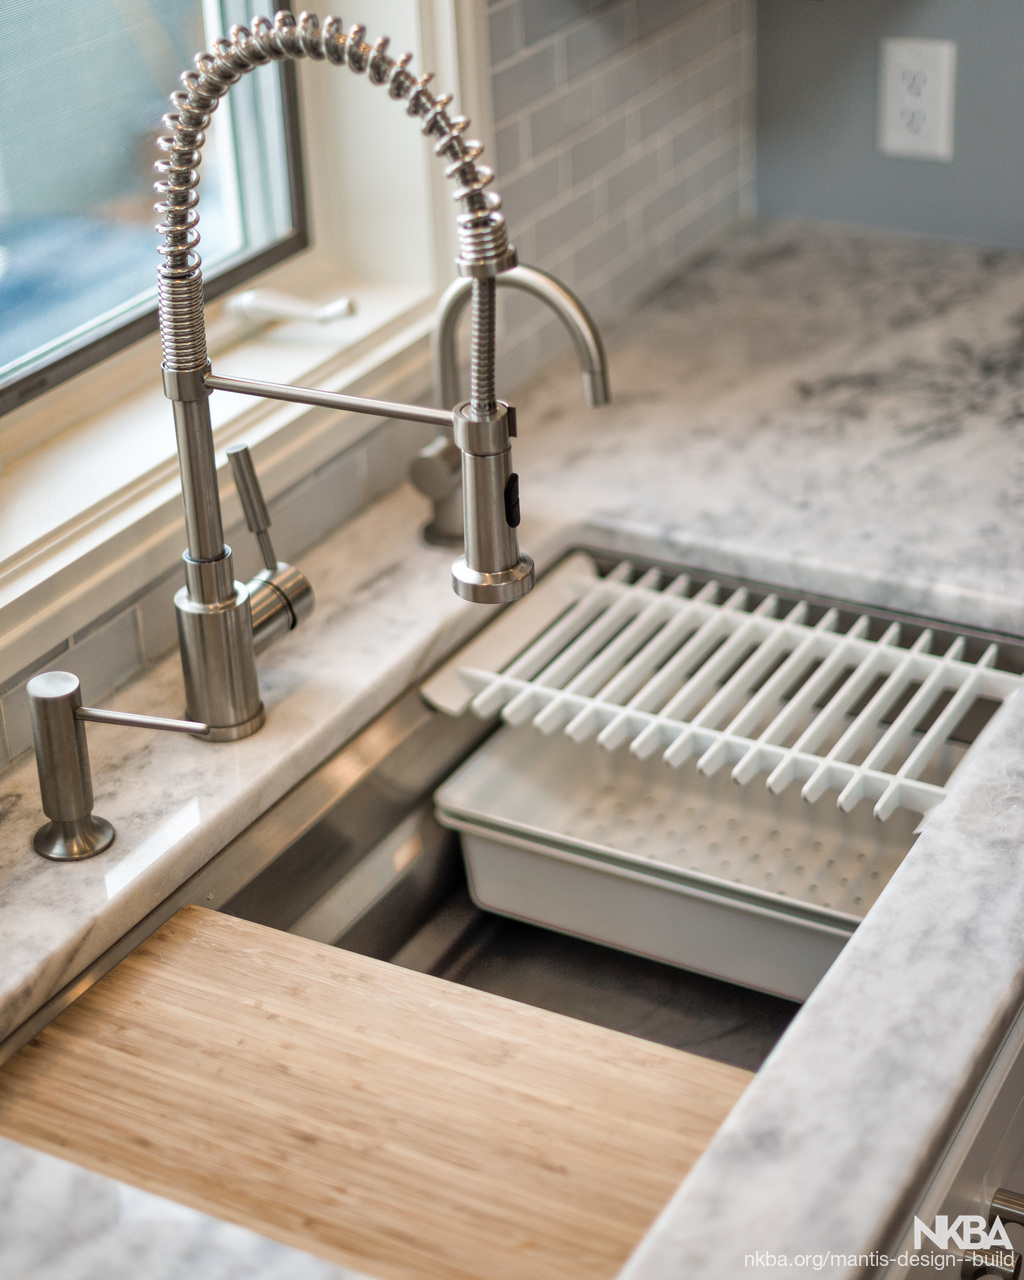
Undermount sinks are a great way to maximize space in your kitchen. Here are some tips for getting the most out of your undermount sink: 1. Use Sink Accessories There are many accessories available for undermount sinks, such as cutting boards and colanders, that can help you make the most of the available space. 2. Install a Garbage Disposal Adding a garbage disposal to your undermount sink can save you valuable space in your kitchen. It eliminates the need for a separate trash bin and keeps your space looking clean and clutter-free. 3. Opt for a Deep Sink A deeper sink can provide more space for washing and soaking dishes, as well as storing dirty dishes out of sight.Maximizing Space in Your Kitchen with an Undermount Sink
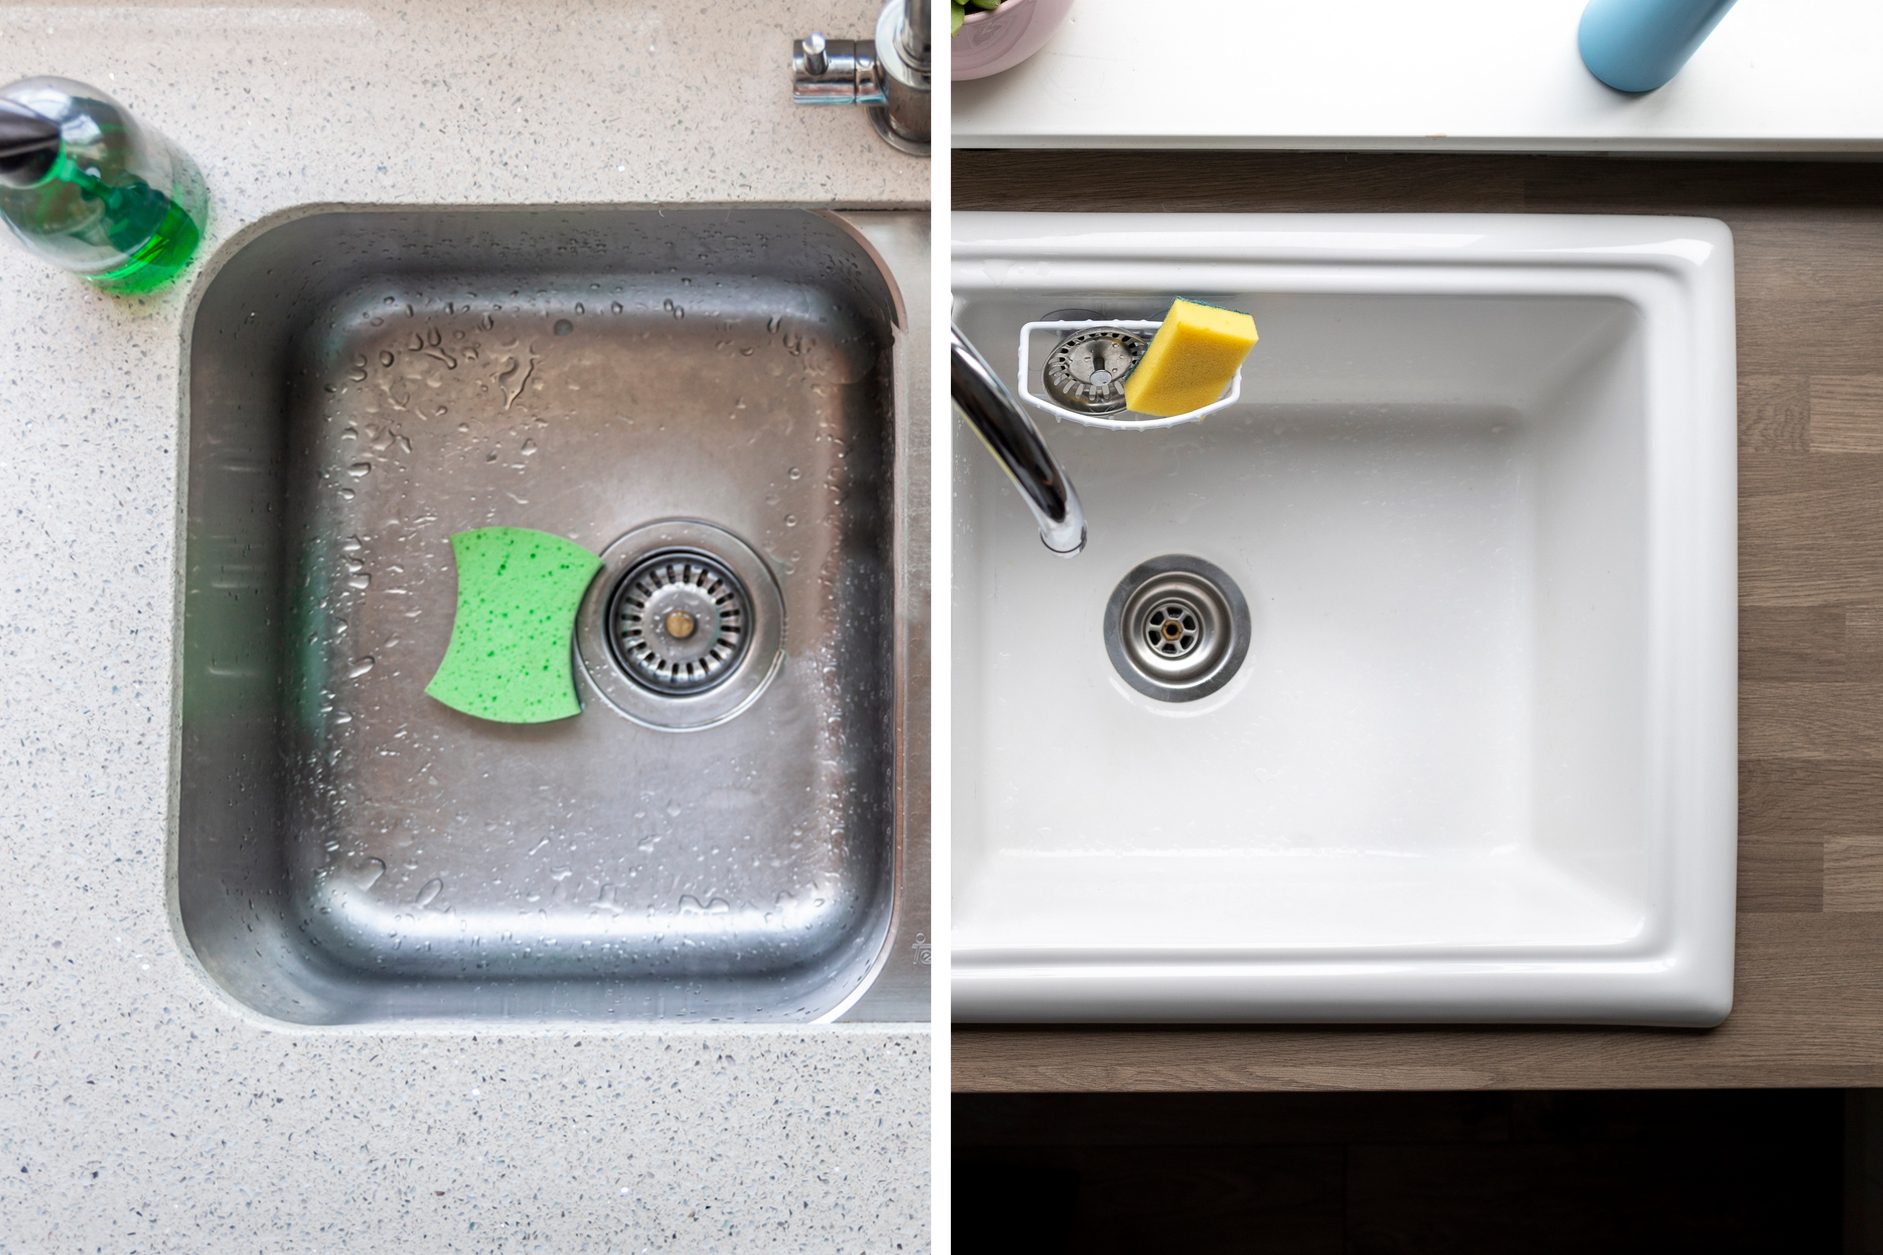
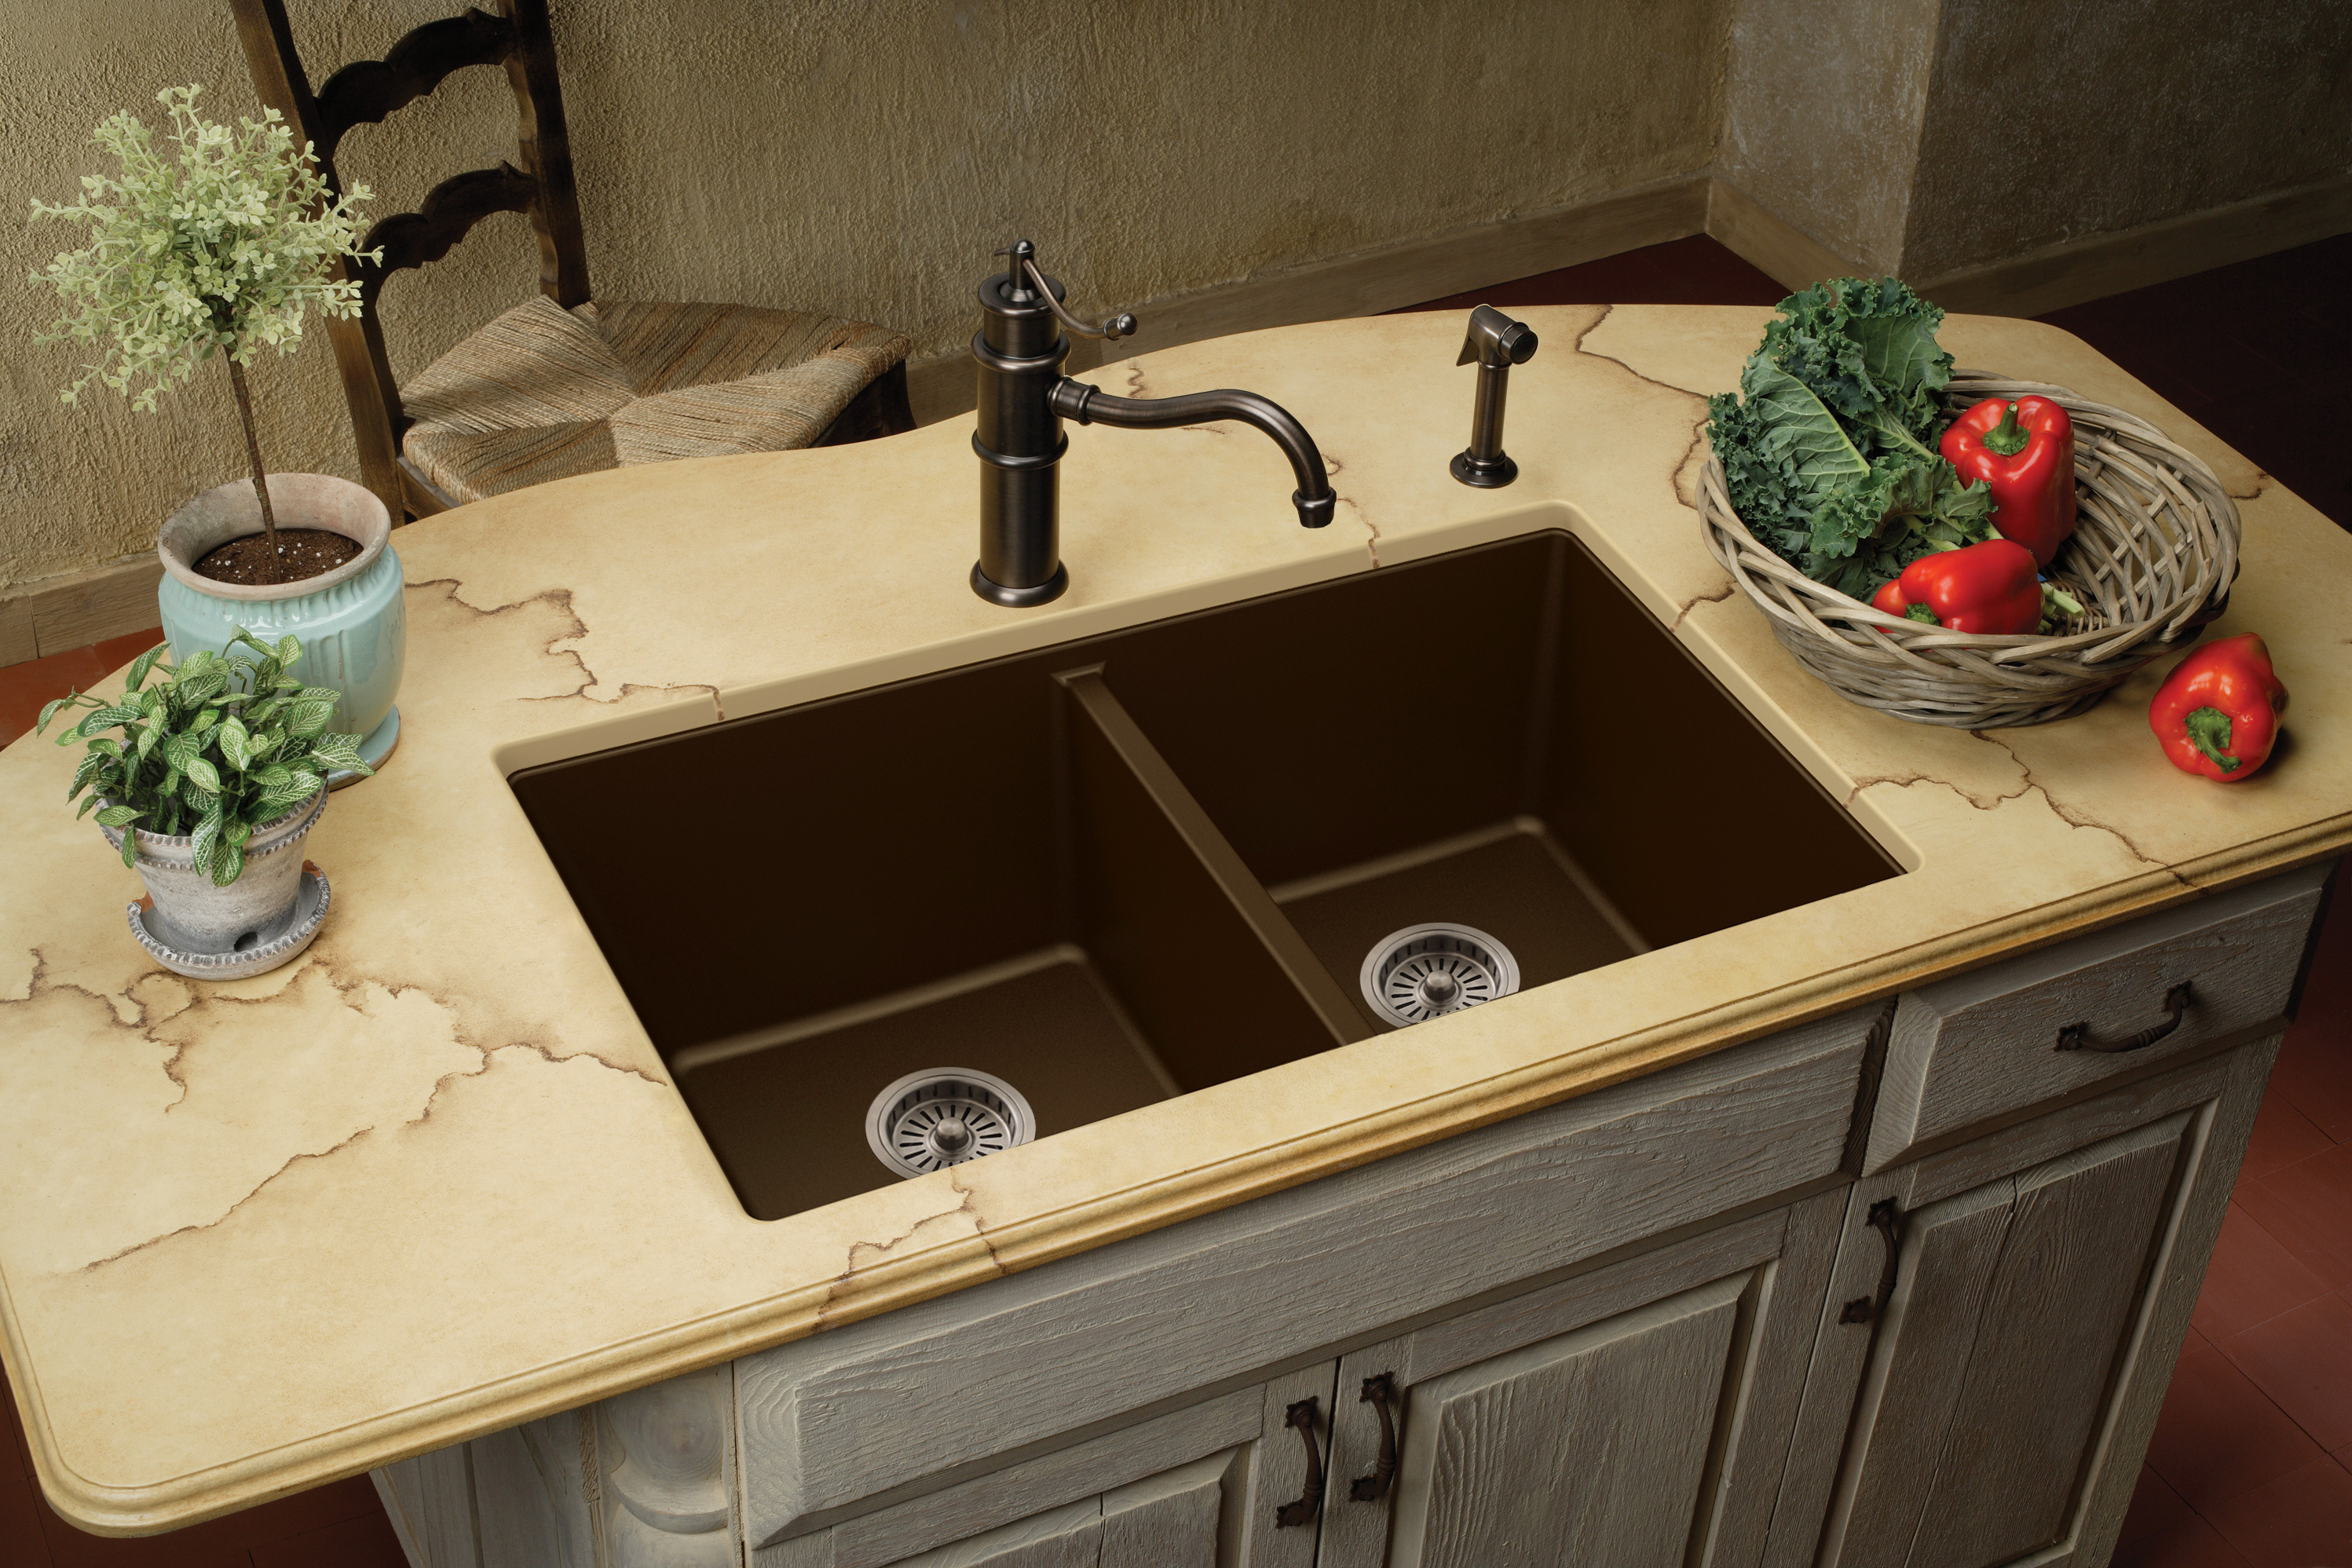
Undermount sinks come in a variety of materials, each with their own benefits and drawbacks. Here are some of the best materials to choose from for your undermount kitchen sink: 1. Stainless Steel Stainless steel is a popular choice for its durability and affordability. It is also easy to clean and can complement a variety of kitchen styles. 2. Porcelain Porcelain sinks are known for their classic and timeless look. They are also durable and resistant to scratches and stains. 3. Granite Granite sinks are a luxurious and elegant option for undermount sinks. They are durable and come in a variety of colors and patterns. 4. Cast Iron Cast iron sinks are known for their durability and heat resistance. They are also available in a range of colors and styles.The Best Materials for Undermount Kitchen Sinks
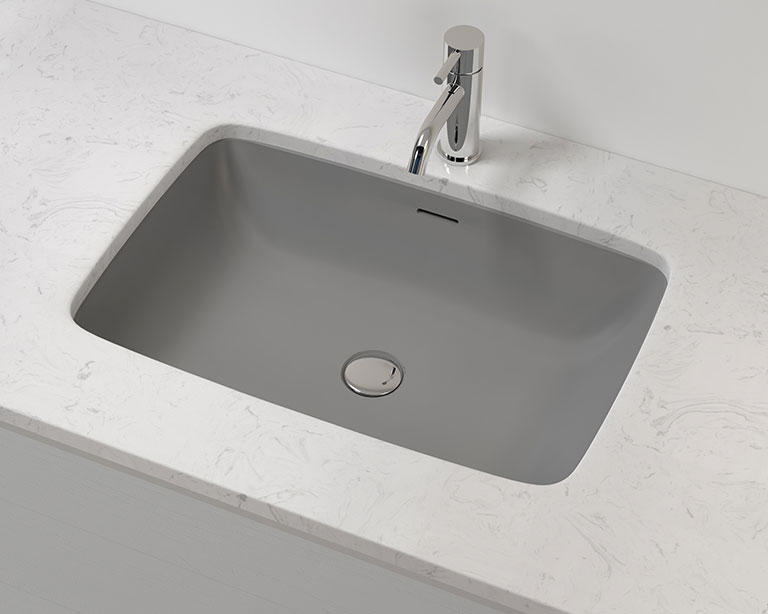
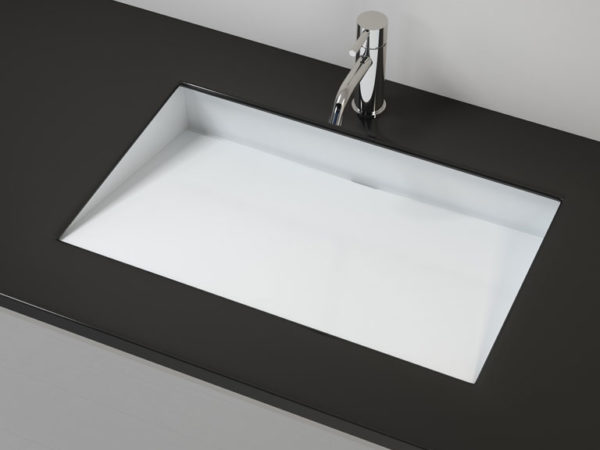
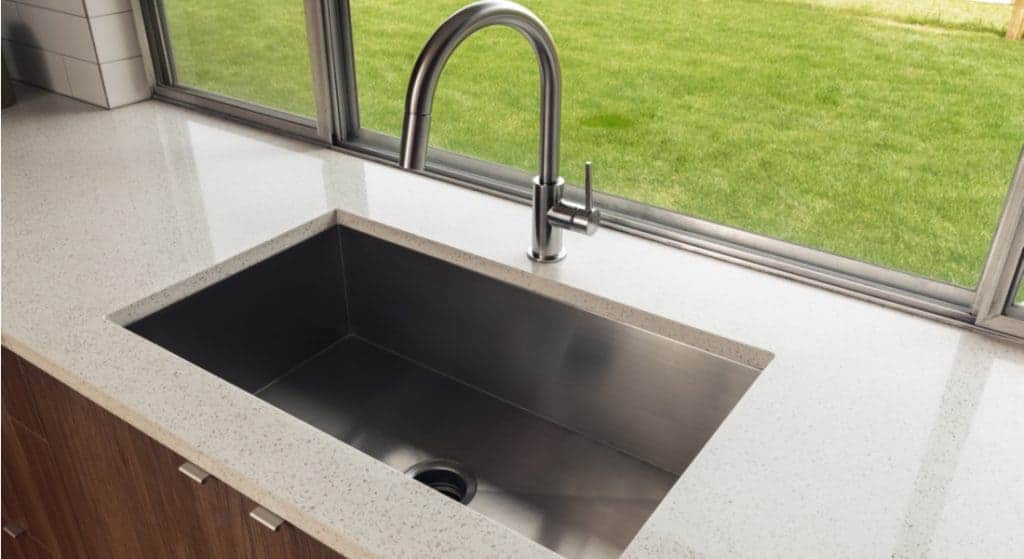
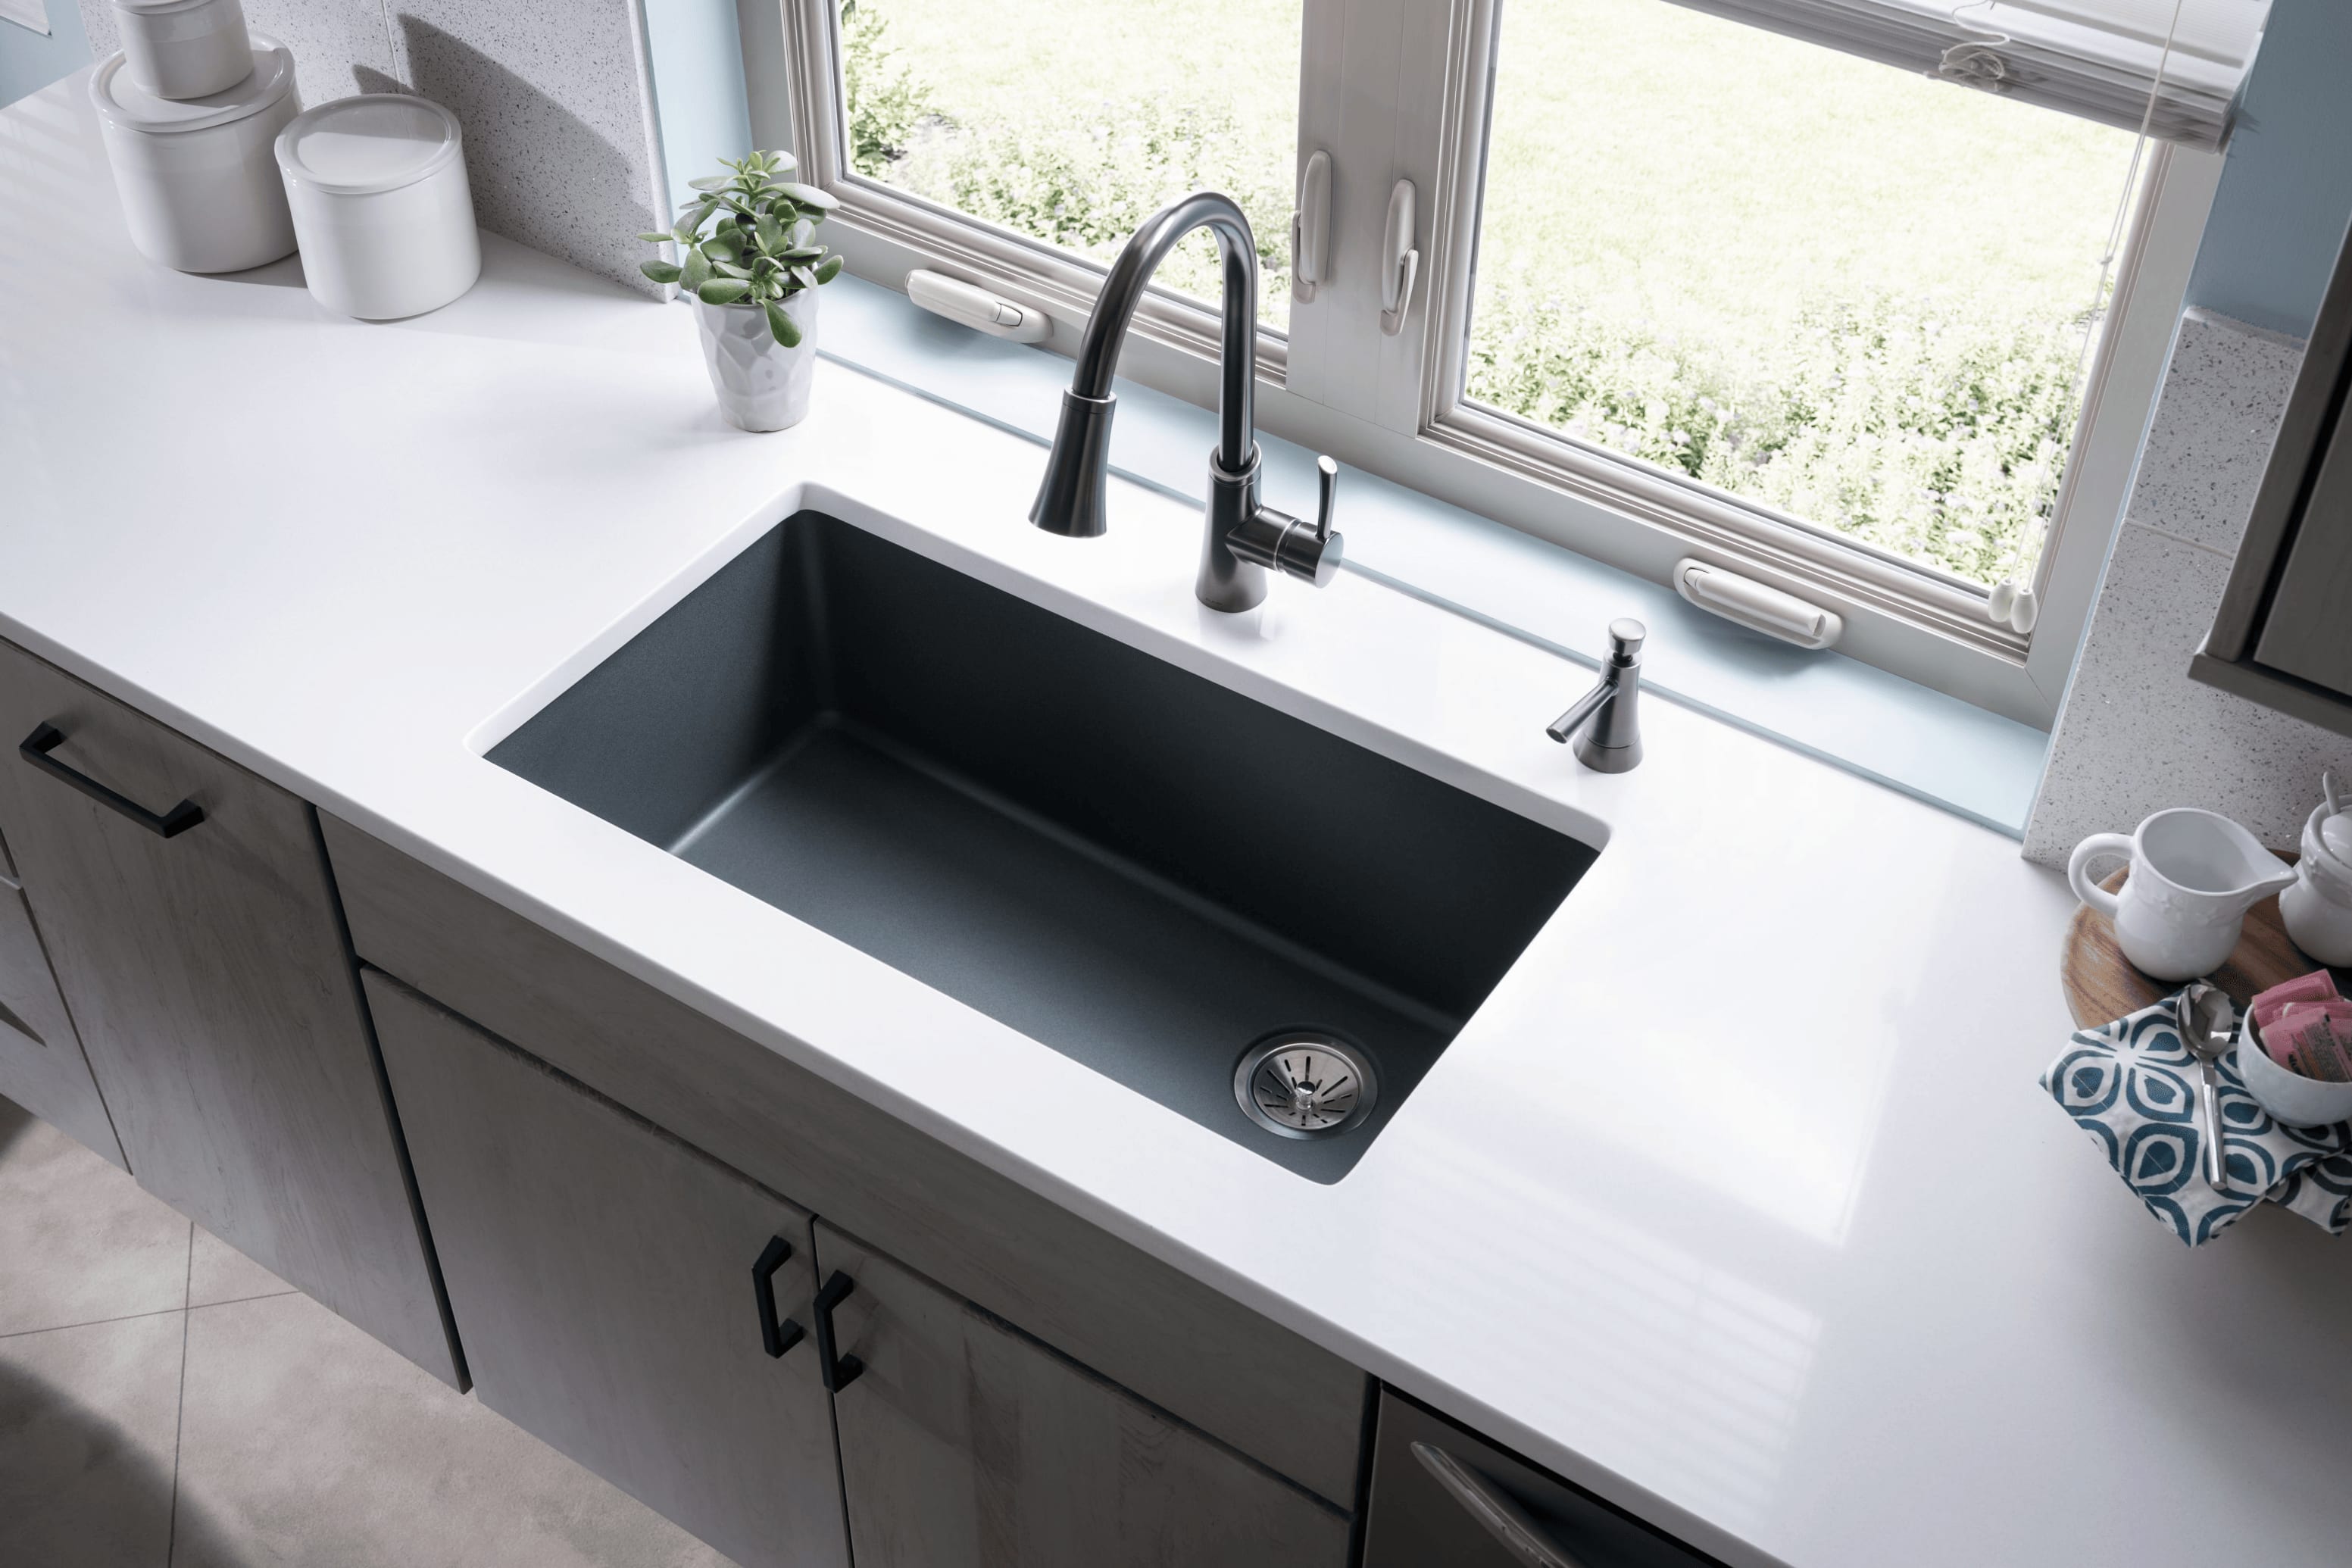
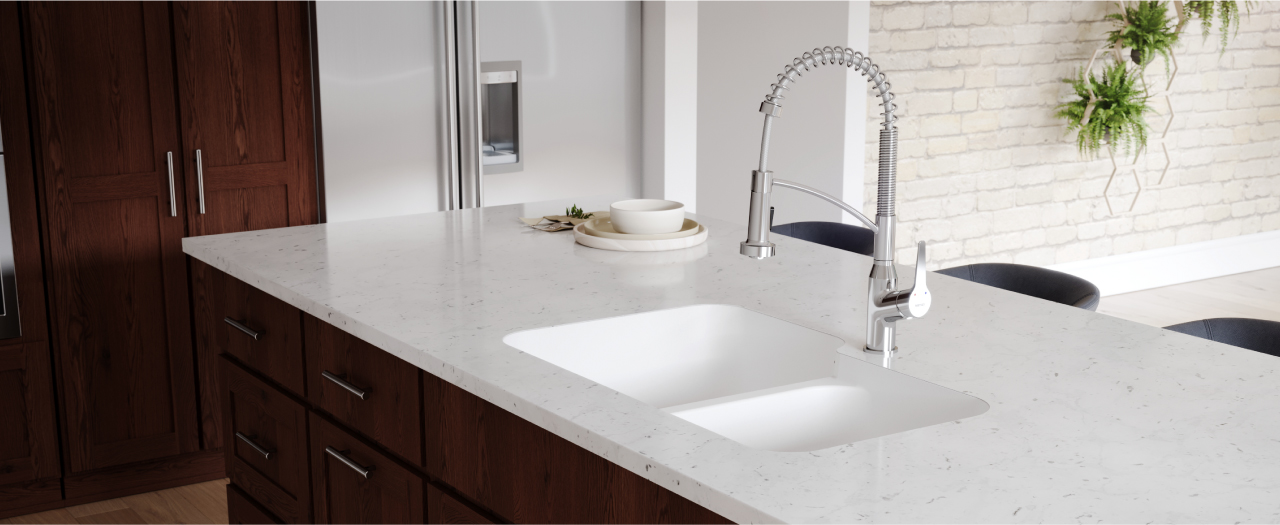
One of the main benefits of undermount sinks is their ability to create a seamless and sleek look in your kitchen. Here are some tips for achieving this seamless look: 1. Choose a Matching Countertop Selecting a countertop material that matches or complements your undermount sink will create a cohesive and seamless look in your kitchen. 2. Opt for an Undermount Faucet Undermount faucets are installed directly into the countertop, creating a seamless and modern look with your undermount sink. 3. Hide the Sink Lip Make sure the sink lip is hidden under the countertop to create a flush and seamless transition between the sink and the countertop.Creating a Seamless Look with an Undermount Sink in Your Kitchen
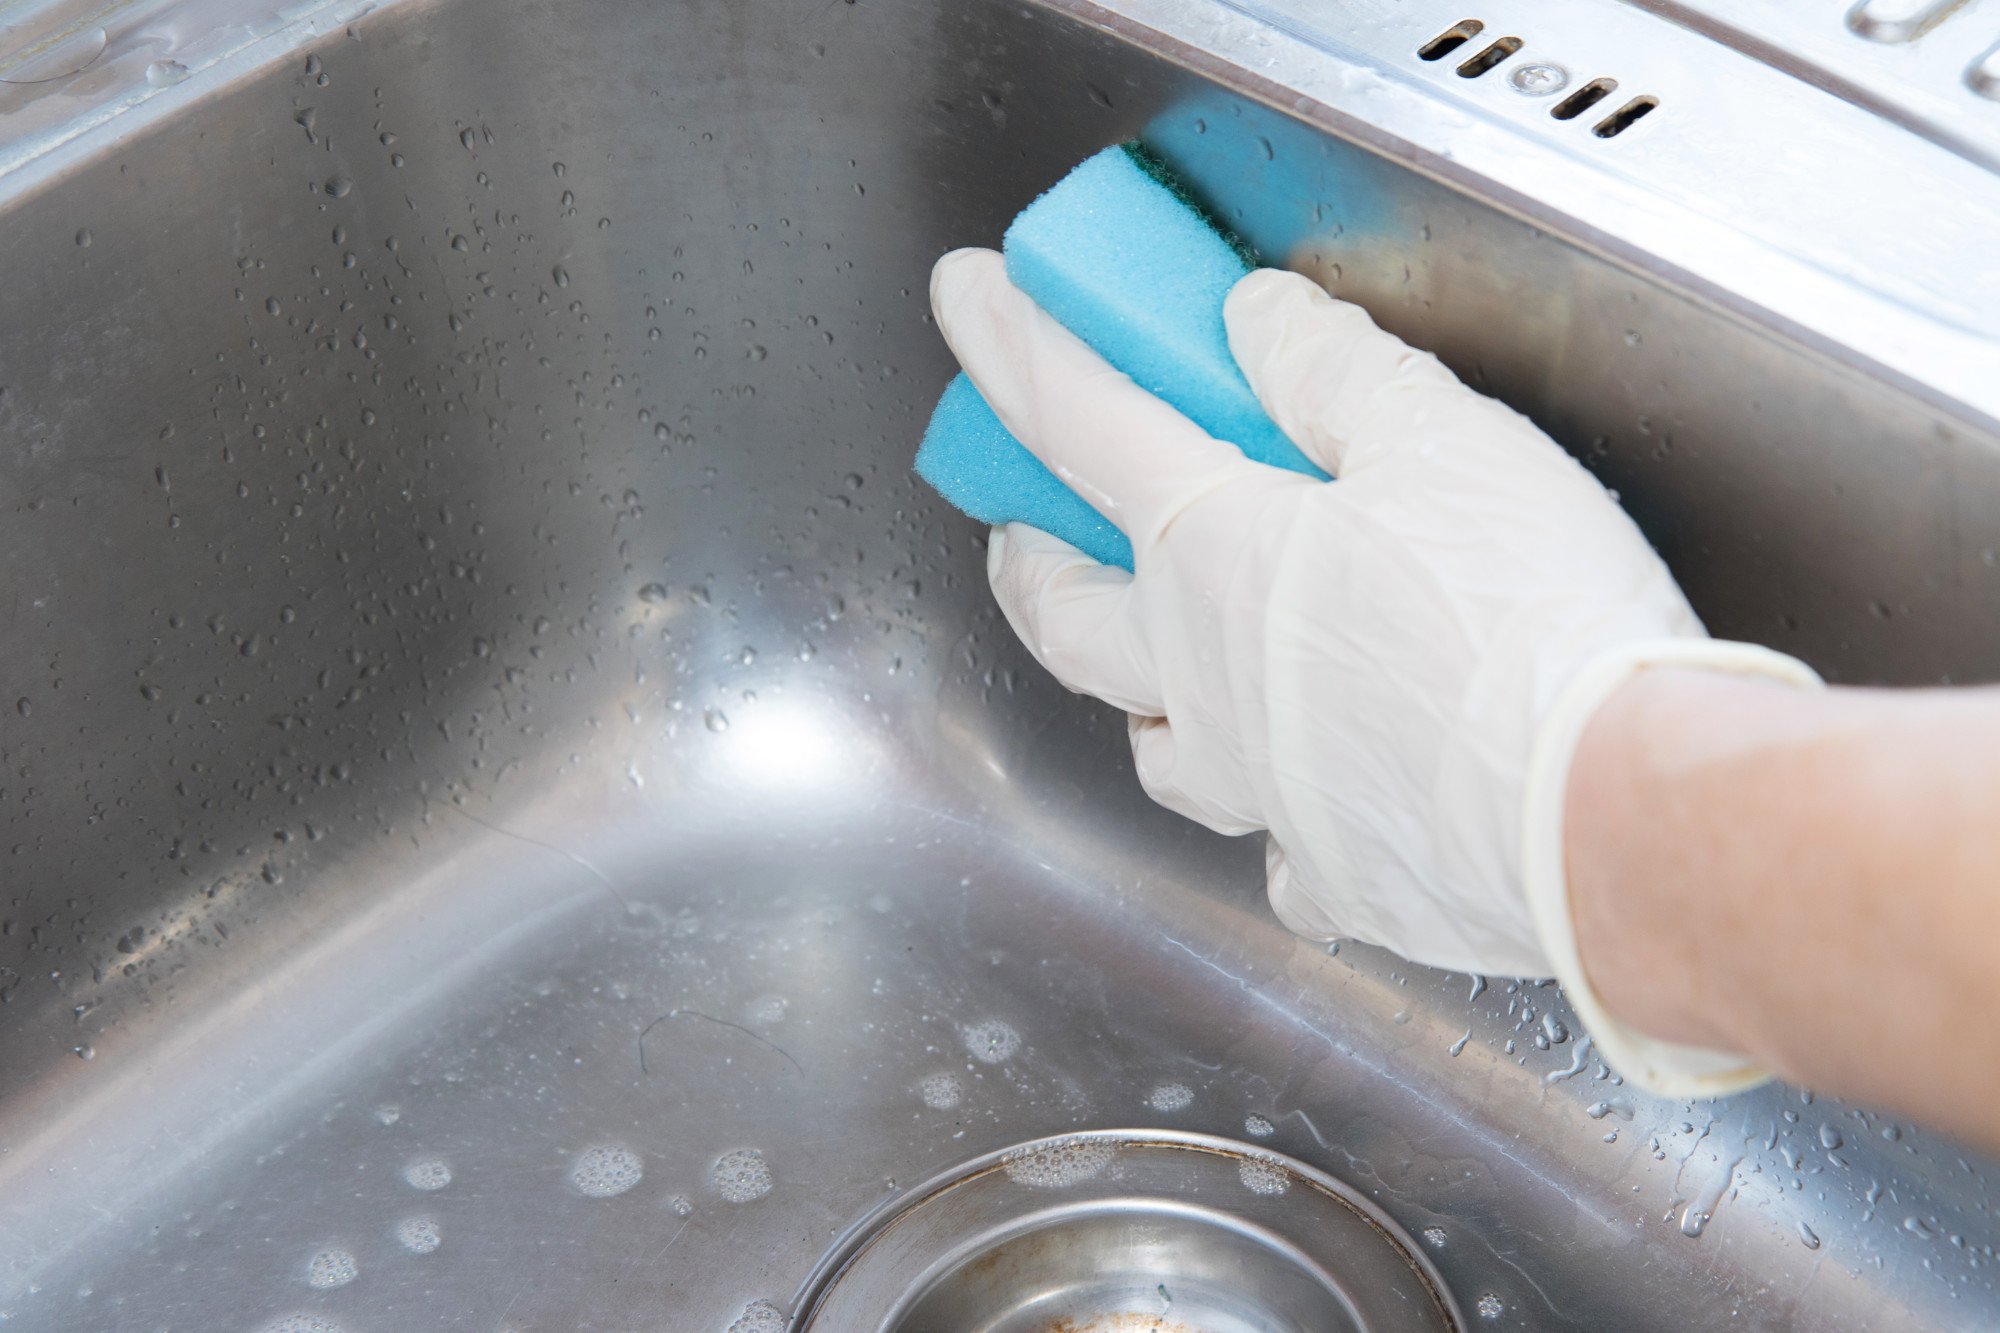
Proper cleaning and maintenance is key to keeping your undermount sink looking and functioning its best. Here are some tips for cleaning and maintaining your undermount sink: 1. Use the Right Products Avoid using harsh chemicals or abrasive cleaners on your undermount sink, as they can cause damage. Stick to gentle, non-toxic cleaners and avoid using steel wool or scouring pads. 2. Rinse After Use After using your sink, make sure to rinse it with warm water and wipe it dry with a clean cloth. This will prevent any water spots or buildup from forming. 3. Avoid Heavy Impact Undermount sinks are not as durable as other sink options, so be careful when placing heavy objects in the sink to avoid damage.How to Properly Clean and Maintain an Undermount Sink in Your Kitchen
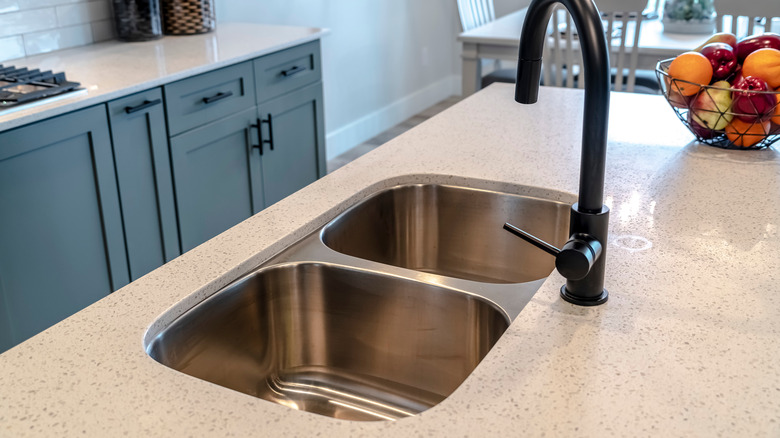
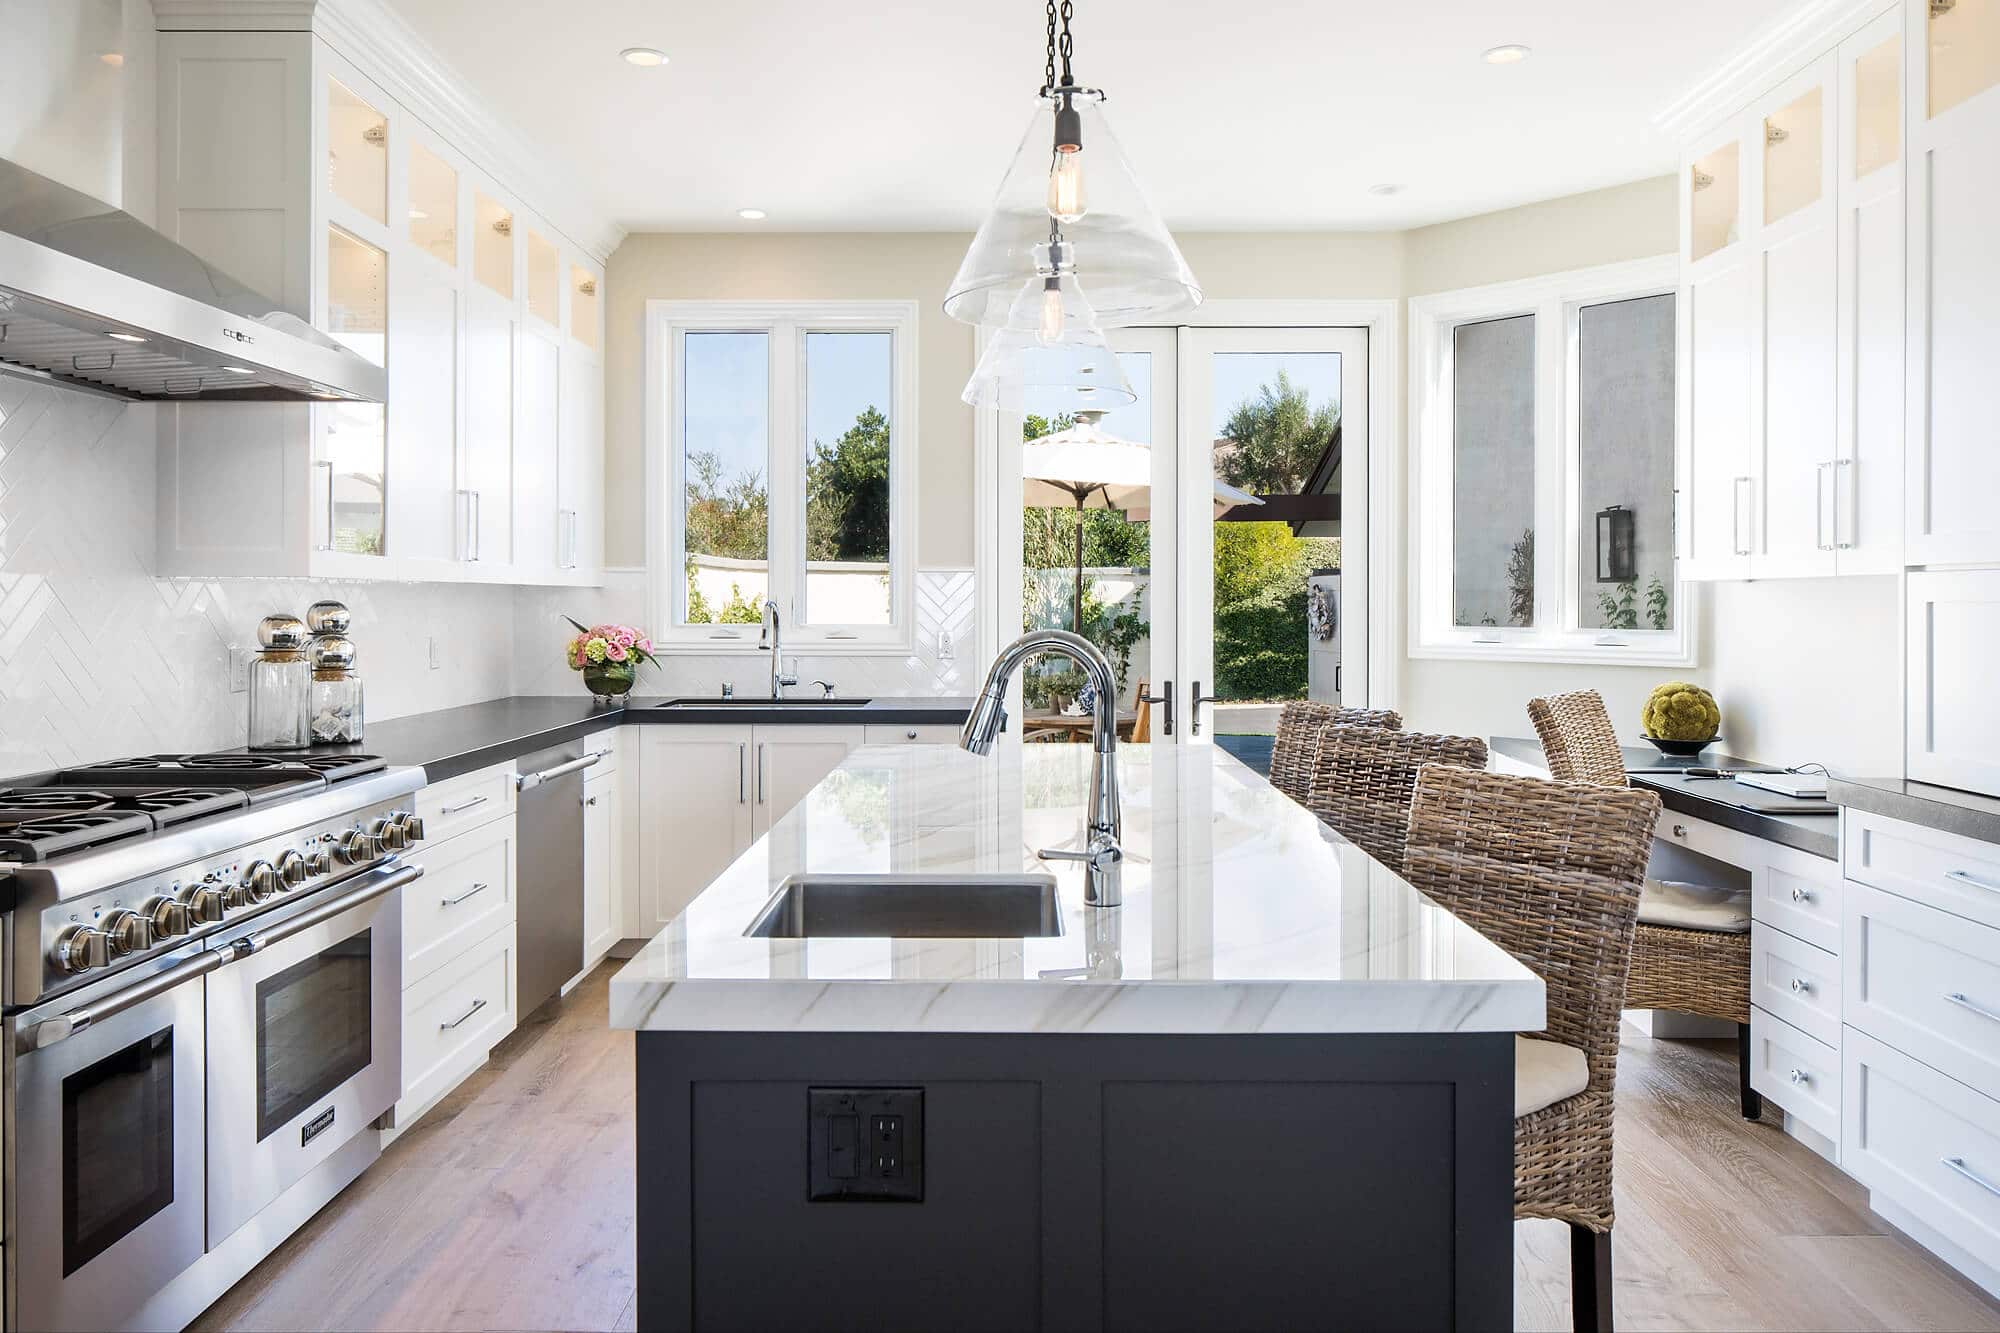
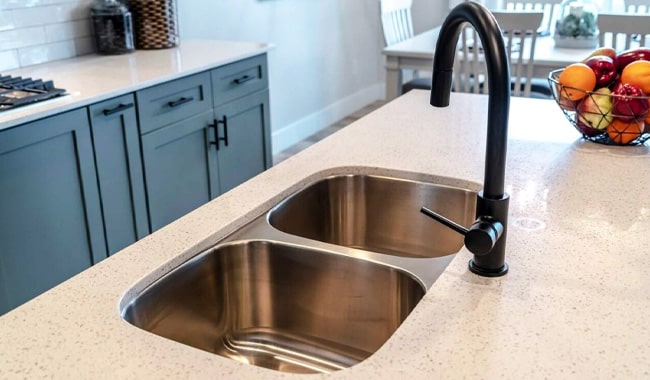
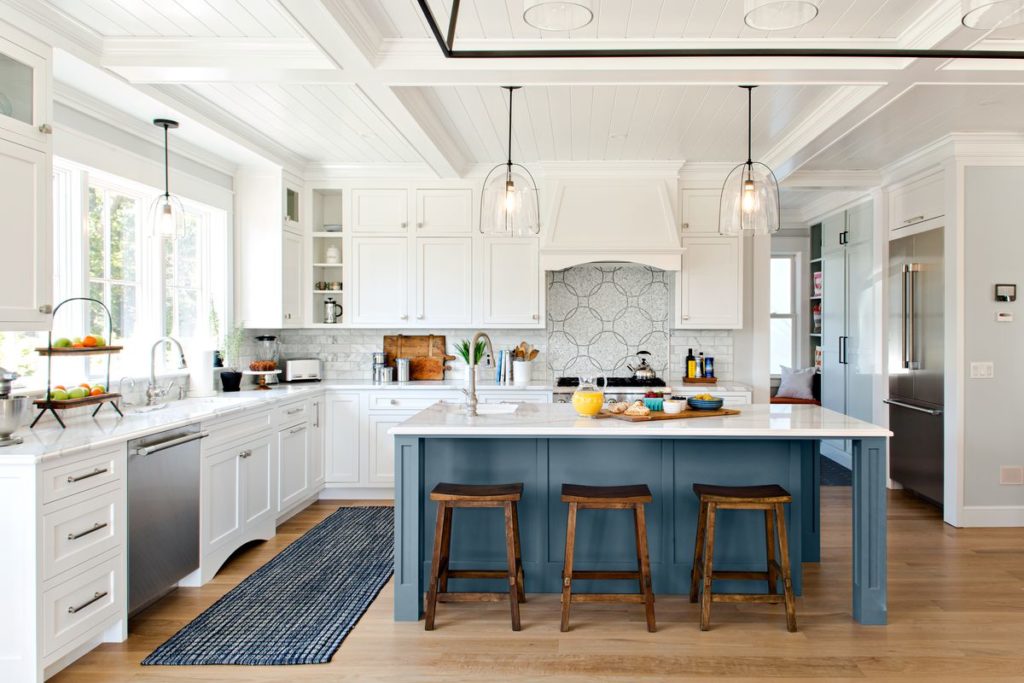
Undermount sinks can also be incorporated into kitchen islands for added functionality and style. Here are some tips for incorporating an undermount sink into your kitchen island design: 1. Plan for PlumbingIncorporating an Undermount Sink into Your Kitchen Island Design
Why Choose an Undermount Sink for Your Kitchen?

Maximize Space and Cleanliness
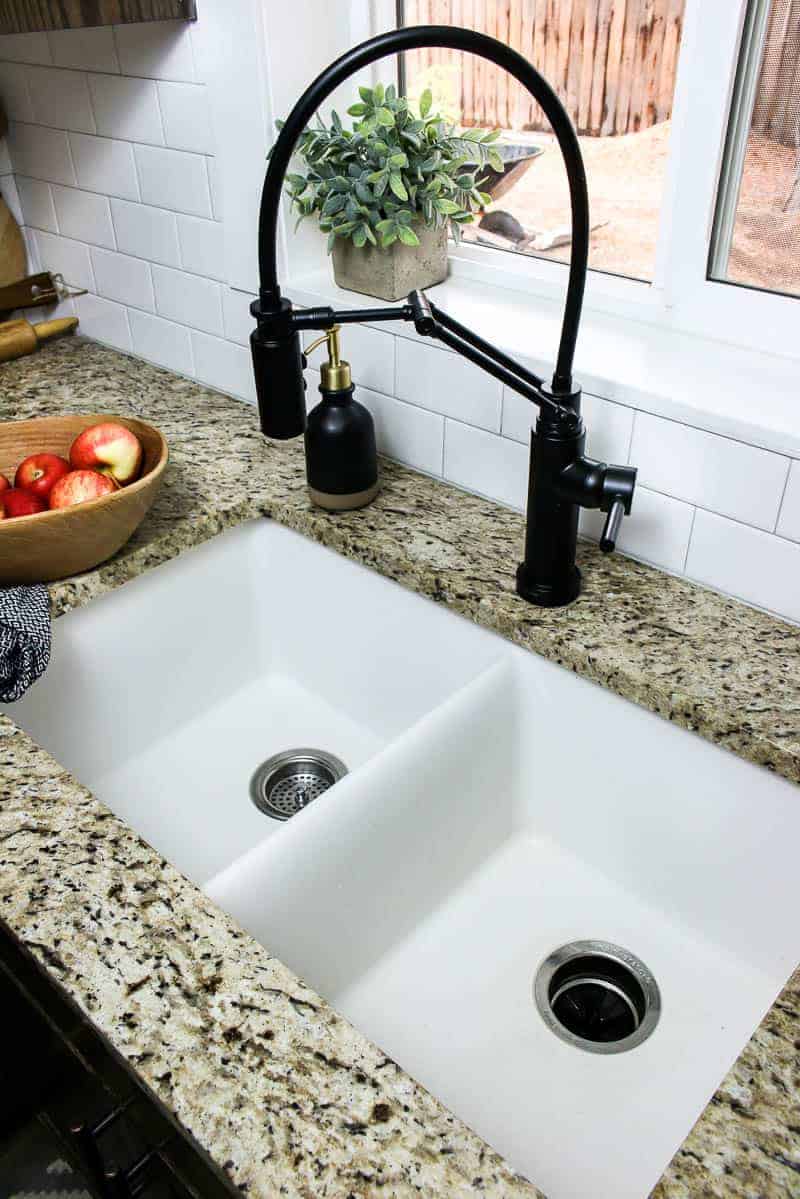
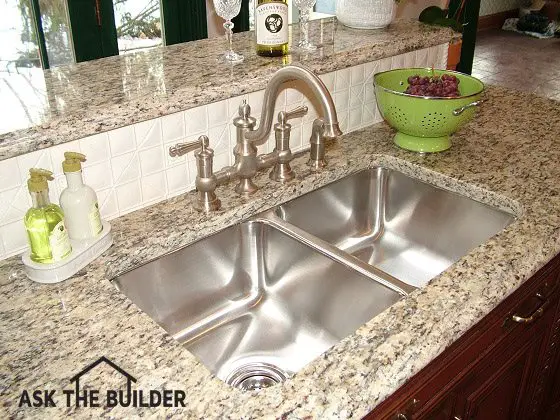
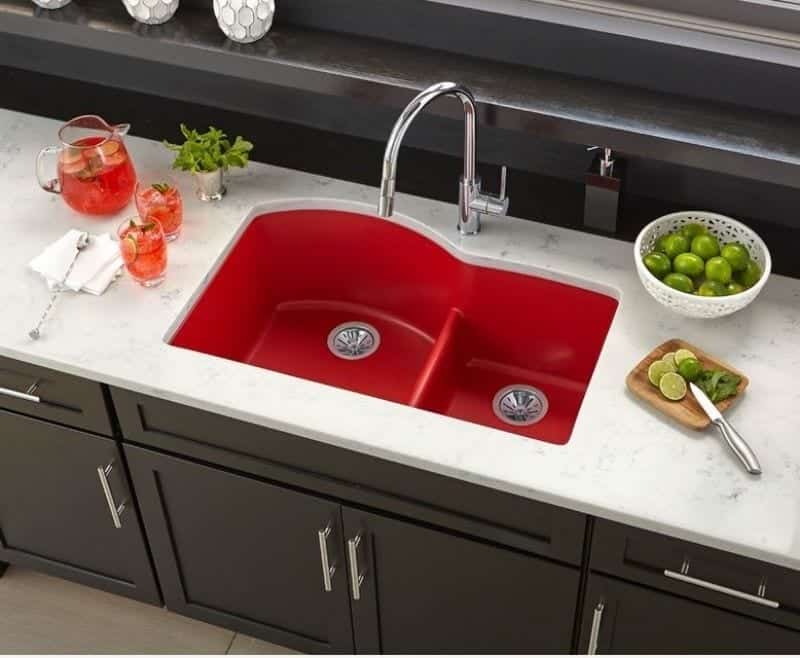 When planning a kitchen, one of the most important factors to consider is the type of sink you want. While there are various options available, an undermount sink is a popular choice for many homeowners. This type of sink is installed underneath the countertop, creating a seamless and clean look. The lack of a visible rim or lip means that crumbs and spills can easily be wiped into the sink, making clean-up a breeze. This also allows for more counter space, making it perfect for smaller kitchens where every inch counts.
Stylish and Versatile Design
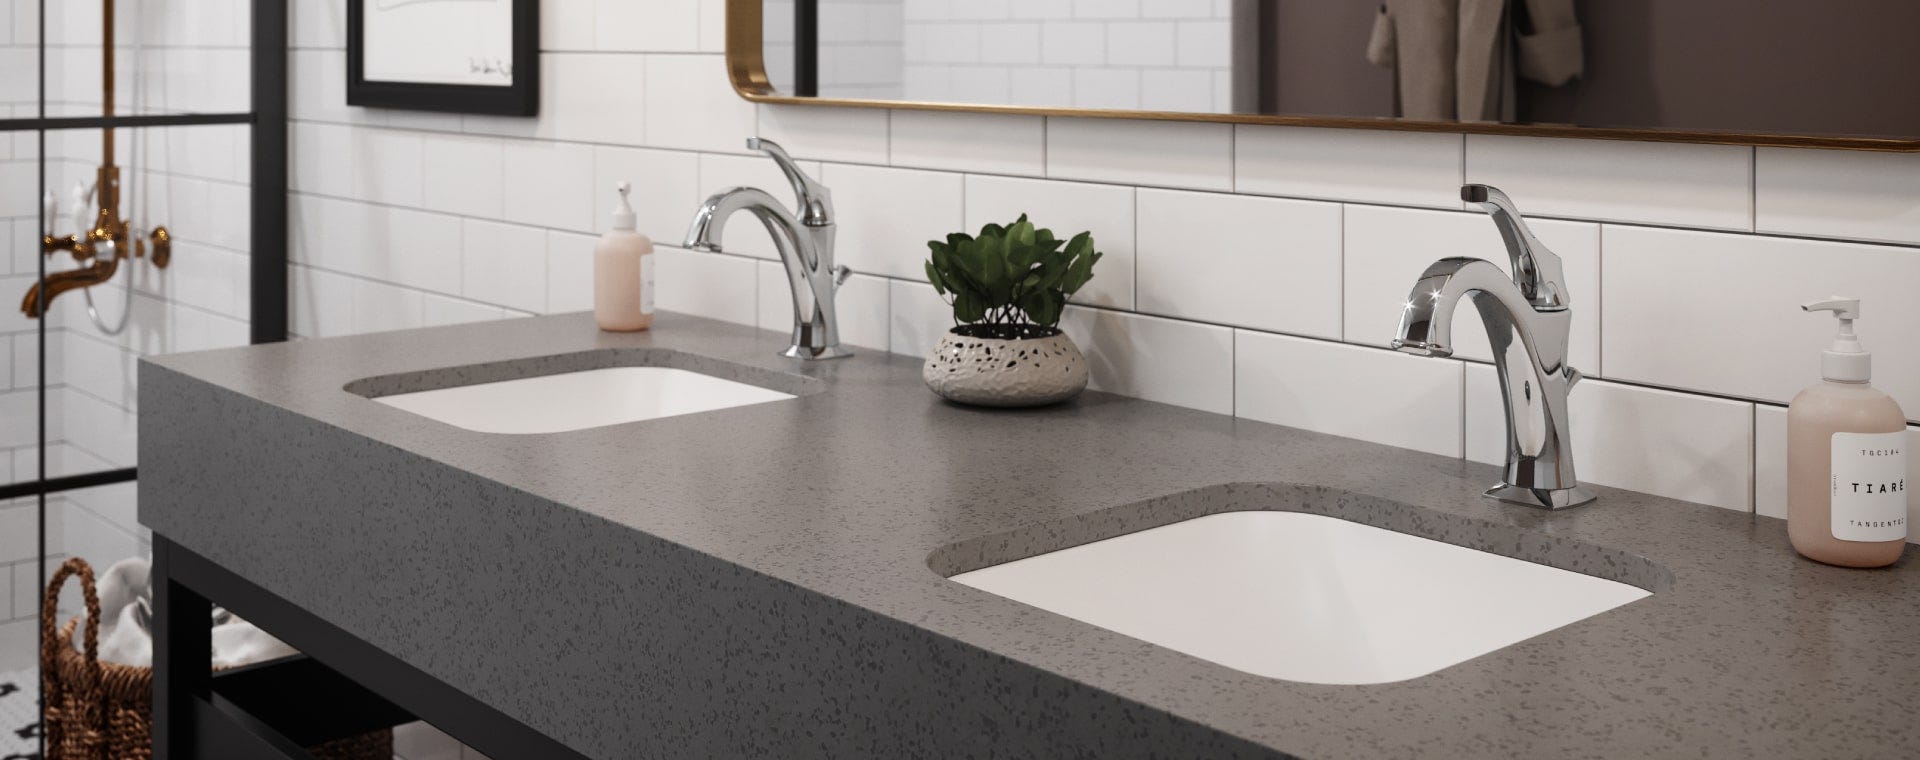
 Undermount sinks come in a variety of materials, including stainless steel, granite, and porcelain, making it easy to find one that matches your kitchen's style. The sleek and seamless design adds a touch of elegance and modernity to any kitchen. Furthermore, undermount sinks come in different shapes and sizes, allowing you to customize it to your specific needs and preferences.
Perfect for Busy Kitchens
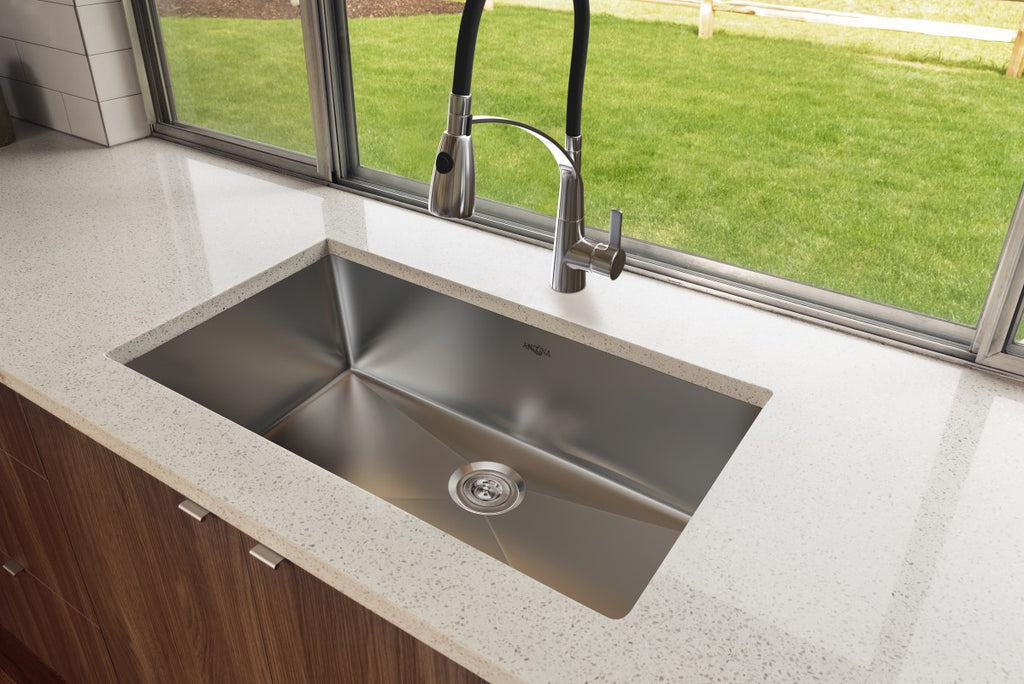 For those who love to cook and spend a lot of time in the kitchen, an undermount sink is the perfect choice. The lack of a rim or lip means that you can easily sweep food scraps and debris directly into the sink without any obstructions. This makes prepping and cleaning up after meals much more efficient, saving you time and effort.
Durable and Long-Lasting
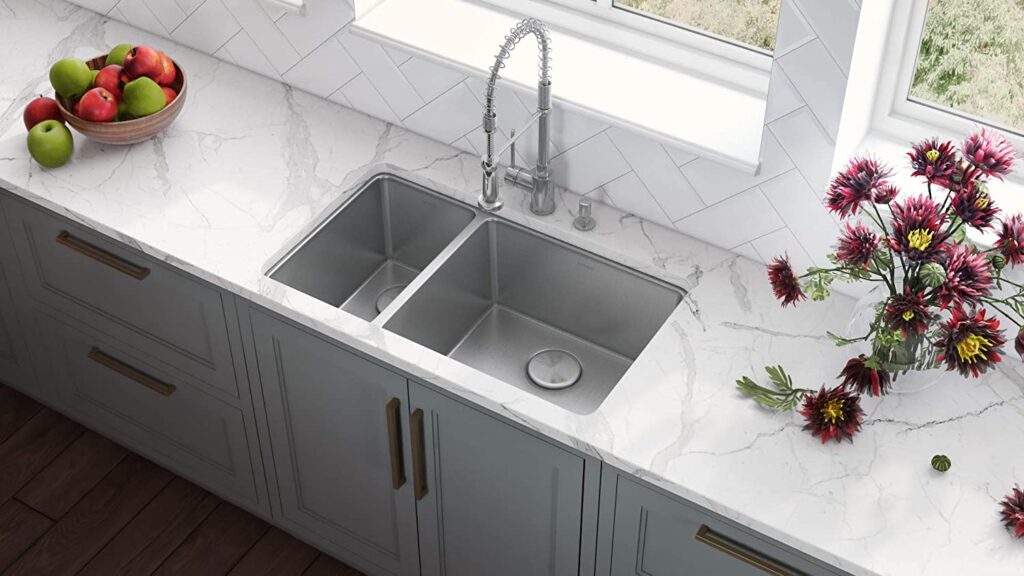 Undermount sinks are known for their durability and longevity. Since they are installed directly into the countertop, they are less prone to damage and wear and tear. This makes them a great investment for your kitchen, as they can withstand daily use and still maintain their sleek and stylish appearance.
Easy Installation and Maintenance
 Contrary to popular belief, undermount sinks are relatively easy to install. With the help of a professional, your kitchen can be transformed with a new undermount sink in no time. Additionally, their seamless design means that there are no crevices or edges for dirt and grime to accumulate, making cleaning and maintenance a breeze.
In conclusion, an undermount sink is a practical and stylish choice for any kitchen. With its space-saving design, versatility, and durability, it is no wonder that it is a popular option among homeowners. So, when planning your kitchen, be sure to consider an undermount sink for a sleek and functional design.


:no_upscale()/cdn.vox-cdn.com/uploads/chorus_asset/file/19495086/drain_0.jpg)









/cdn.vox-cdn.com/uploads/chorus_image/image/65889507/0120_Westerly_Reveal_6C_Kitchen_Alt_Angles_Lights_on_15.14.jpg)









:max_bytes(150000):strip_icc()/close-up-of-a-kitchen-sink-140668619-5887c3fd5f9b58bdb36a5854.jpg)





















:max_bytes(150000):strip_icc()/Chuck-Schmidt-Getty-Images-56a5ae785f9b58b7d0ddfaf8.jpg)


