Air mattresses are a convenient and comfortable option for sleeping on the go, whether you're camping or hosting guests in your home. However, they are not immune to wear and tear, and one of the most common issues with air mattresses is a leak along the seam. If you find yourself with a deflated air mattress and a frustrating leak, don't worry - we've got you covered. In this article, we'll discuss the top 10 ways to patch an air mattress on the seam.Introduction


How to Patch an Air Mattress Seam


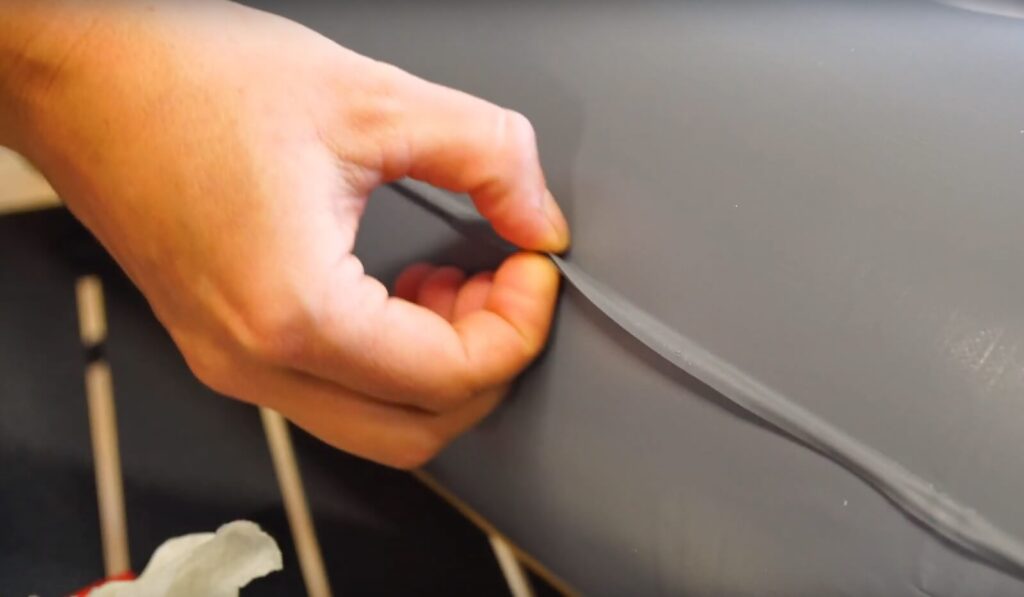
The first step in patching an air mattress seam is to locate the leak. This can be done by inflating the mattress and running your hand along the seams, feeling for any escaping air. Once you have found the leak, you can begin the patching process.How to Patch an Air Mattress Seam


Best Way to Repair an Air Mattress Seam


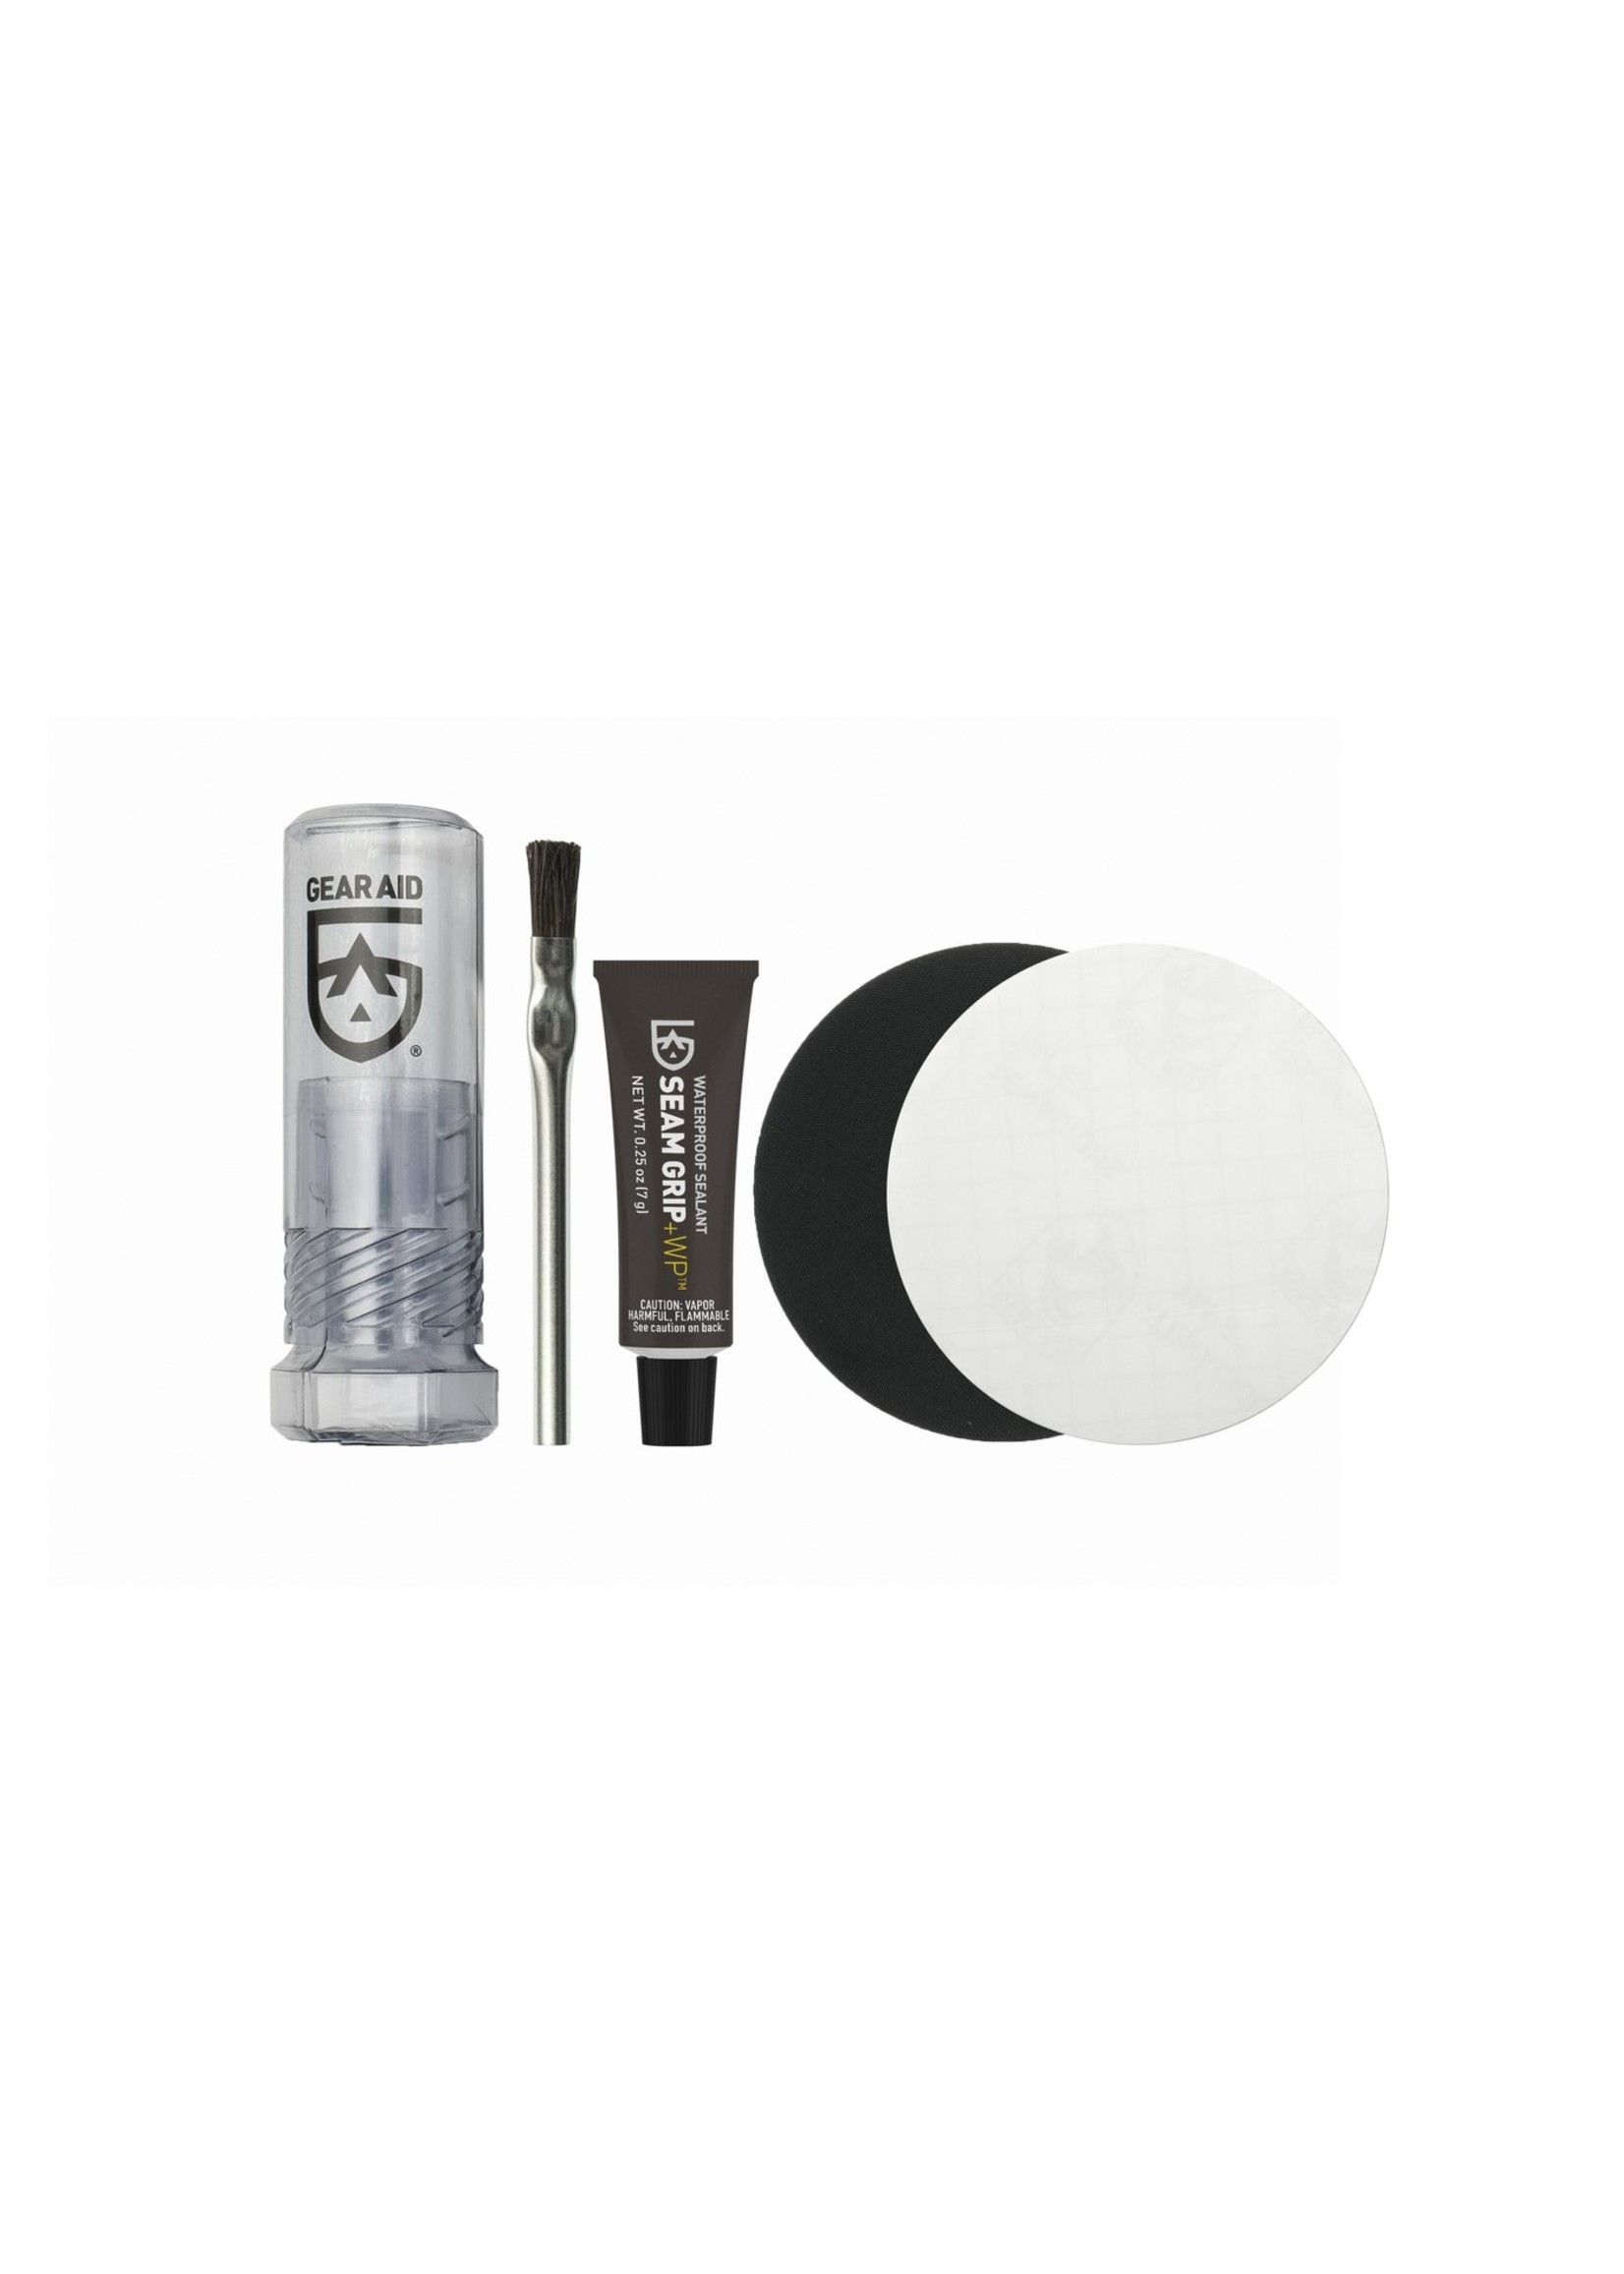
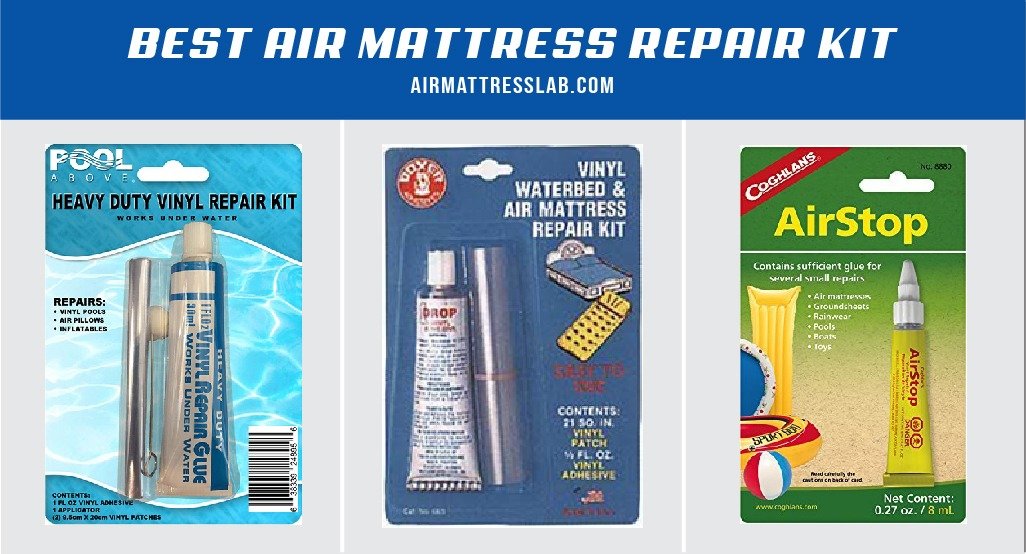
The best way to repair an air mattress seam is by using a patch kit specifically designed for air mattress repairs. These kits typically include a patch and adhesive, which can effectively seal the leak and prevent further damage.Best Way to Repair an Air Mattress Seam


DIY Air Mattress Seam Patch


If you don't have a patch kit on hand, you can also create a DIY patch using items you likely have at home. First, clean the area around the leak with rubbing alcohol. Next, cut a piece of duct tape or electrical tape to fit over the leak, and press it firmly onto the mattress. This temporary fix should hold until you can properly patch the seam.DIY Air Mattress Seam Patch


Quick Fix for a Leaky Air Mattress Seam


If you need a quick fix for a leaky air mattress seam, try using a hot glue gun. First, clean the area around the leak with rubbing alcohol. Then, apply a thin layer of hot glue over the leak and let it dry completely. This should provide a temporary seal until you can properly patch the seam.Quick Fix for a Leaky Air Mattress Seam


Seam Sealing an Air Mattress


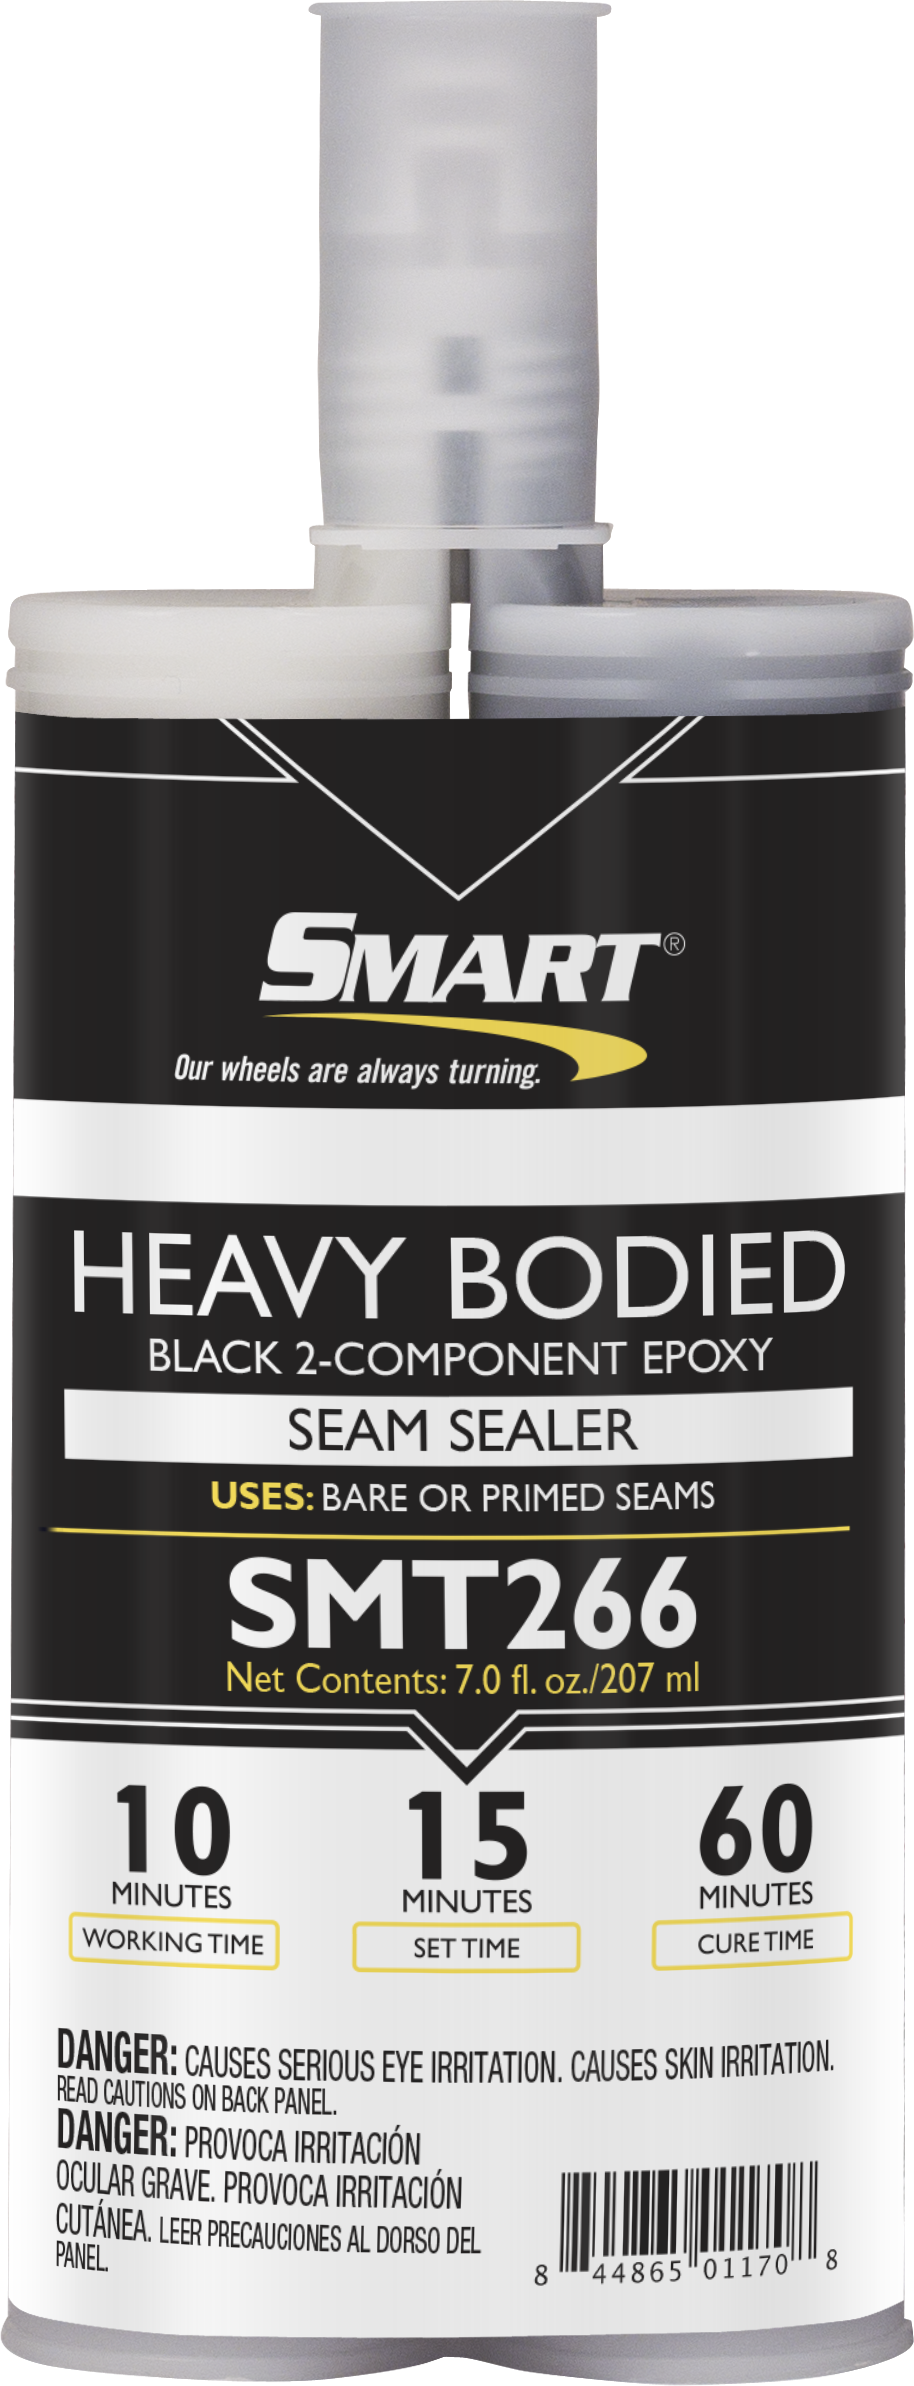
Seam sealing is a preventive measure that can help prolong the life of your air mattress. This involves using a waterproof sealant, such as Flex Seal, along the seams of the mattress. This will help prevent leaks from occurring in the first place.Seam Sealing an Air Mattress


Seam Tape for Air Mattress Repair


Another option for repairing an air mattress seam is to use seam tape. This is a transparent adhesive tape that can be applied directly over the leak. It is a quick and easy fix, but keep in mind that it may not provide a permanent solution.Seam Tape for Air Mattress Repair


Using a Patch Kit for Air Mattress Seam Repair


If you have a patch kit specifically designed for air mattress repairs, follow the instructions provided to properly patch the seam. This usually involves cleaning the area, applying adhesive, and placing the patch over the leak. Make sure to follow the instructions carefully for the best results.Using a Patch Kit for Air Mattress Seam Repair


Seam Glue for Air Mattress Patching


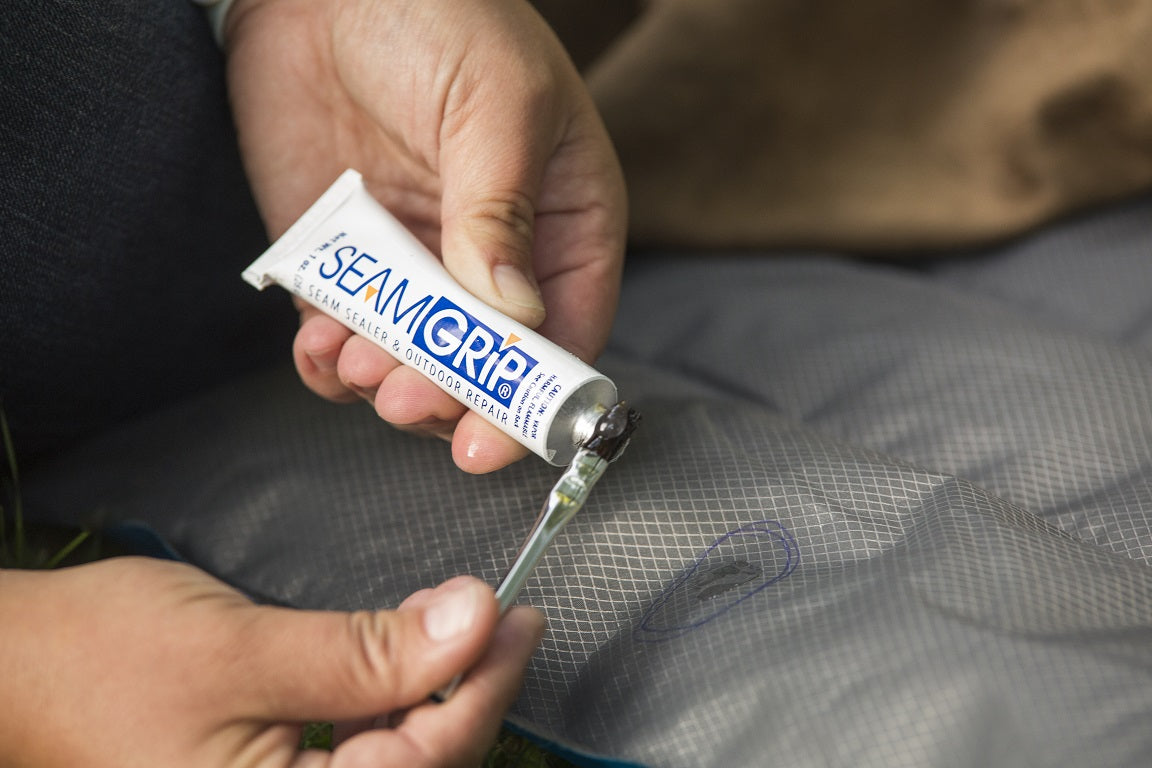
Another option for patching an air mattress seam is to use seam glue. This specialized glue is designed to bond to the material of an air mattress and create a strong seal. Apply a thin layer of seam glue over the leak and let it dry completely before using the mattress again.Seam Glue for Air Mattress Patching


How to Find a Leak in an Air Mattress Seam


If you're having trouble locating a leak in your air mattress seam, try using a mixture of dish soap and water. Inflate the mattress and mix a small amount of dish soap with water in a spray bottle. Spray the mixture over the seams, and if you see any bubbles forming, you have found the leak.How to Find a Leak in an Air Mattress Seam


Preventing Air Mattress Seam Leaks


Patching an Air Mattress on the Seam: A Simple Solution for a Common Problem

Why an Air Mattress Seam is Vulnerable to Tears
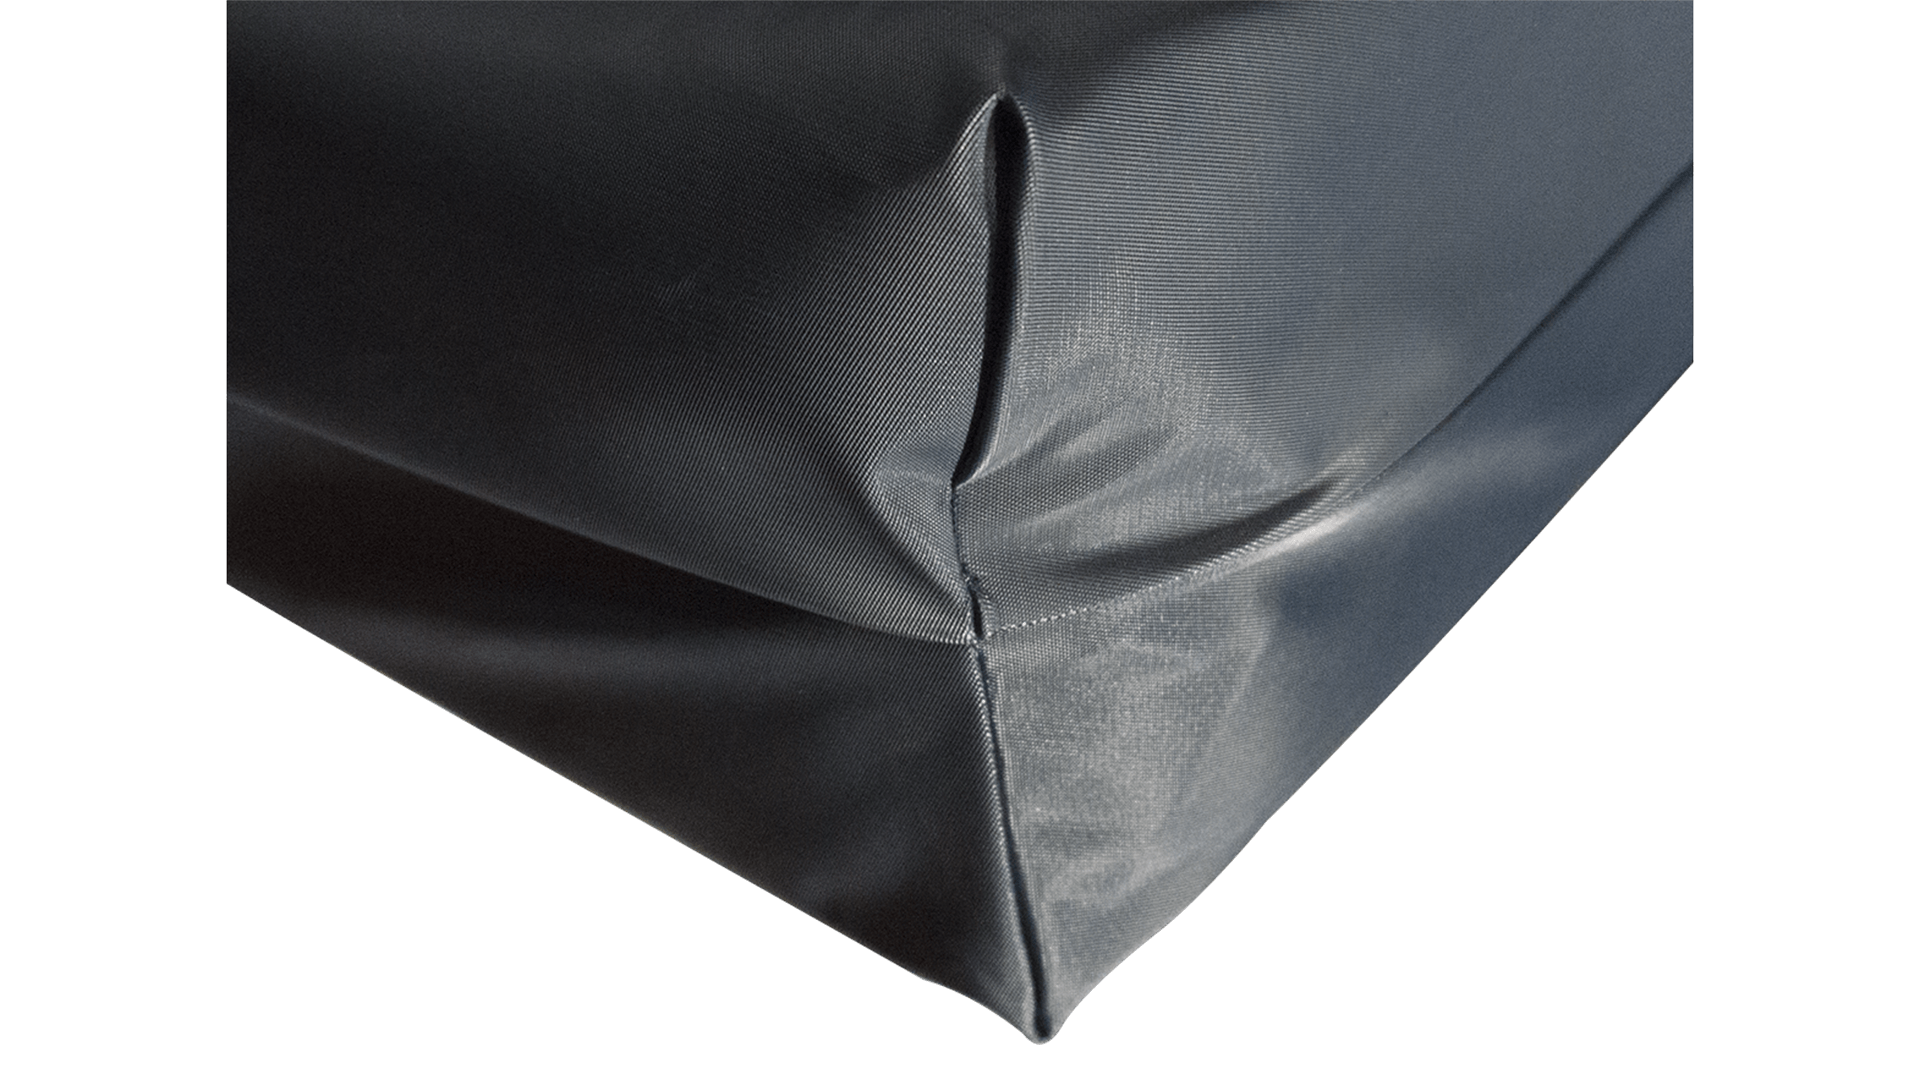
 Air mattresses are a popular and convenient bedding option for guests, campers, and even as a temporary solution for unexpected visitors. However, they are also known for their susceptibility to tears and punctures, especially along the seams. This is because the seams are the weakest point of the mattress, where the fabric is joined together. Constantly inflating, deflating, and moving the mattress can put strain on the seams, leading to tears and leaks.
The Importance of Patching the Seam
 A leaky air mattress can be a nuisance, causing discomfort and disrupting sleep. It can also be a safety hazard, especially for young children or elderly individuals who may have difficulty getting in and out of a deflated mattress. Additionally, consistently replacing air mattresses can be costly and wasteful. Therefore, it is crucial to address the issue of a torn seam as soon as possible to prevent further damage and ensure the longevity of your air mattress.
A Step-by-Step Guide to Patching an Air Mattress Seam
 Patching an air mattress seam may seem like a daunting task, but it is actually a simple process that can be done at home with a few basic materials. Here is a step-by-step guide to help you patch your air mattress seam and restore it to its former comfort and functionality.
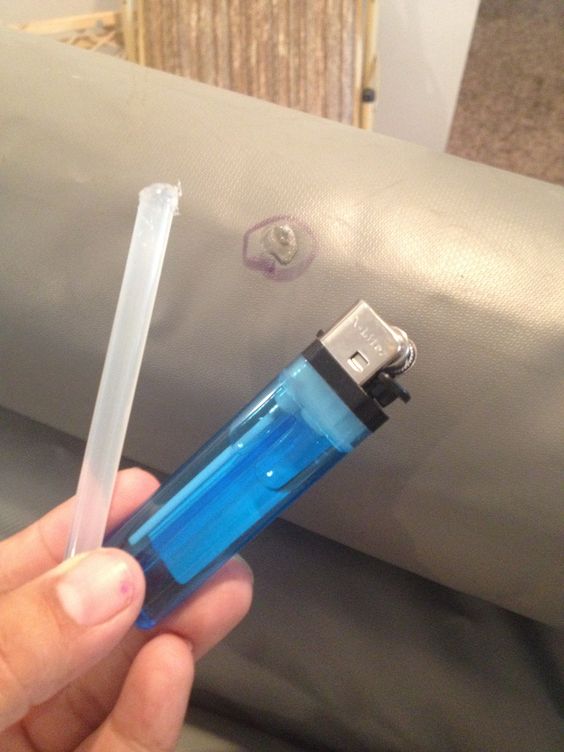
Step 1: Identify the Leak
The first step is to locate the exact location of the leak. This can be done by inflating the mattress and listening for the sound of air escaping or by spraying a mixture of water and dish soap onto the mattress and looking for bubbles.
Step 2: Clean and Dry the Area
Once you have identified the leak, clean the area around it with rubbing alcohol to remove any dirt or debris. Then, dry the area completely with a clean cloth.
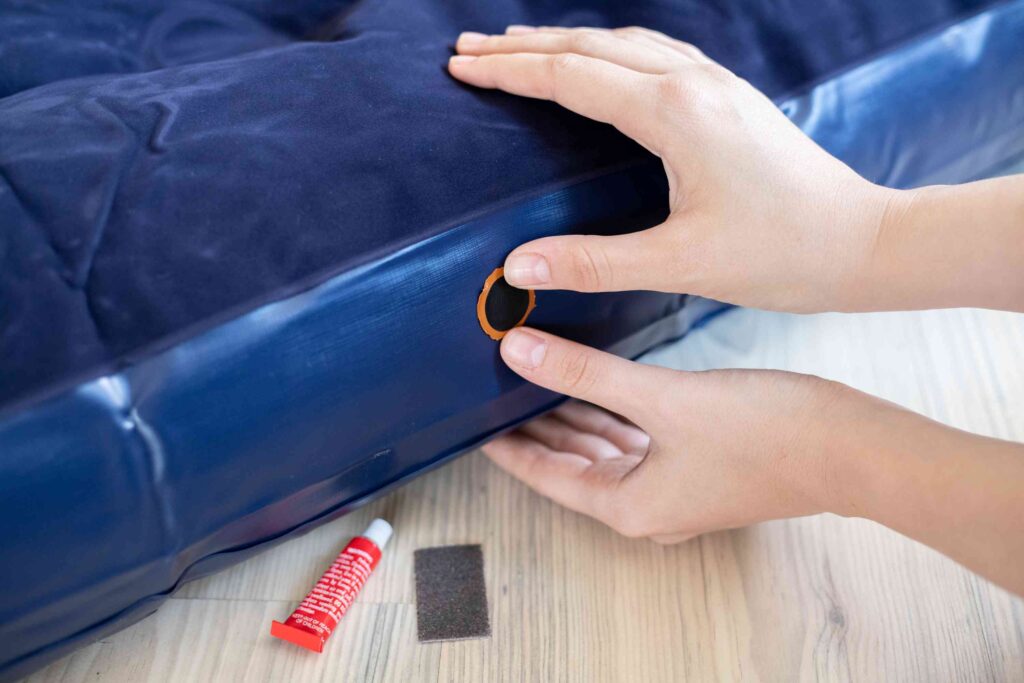
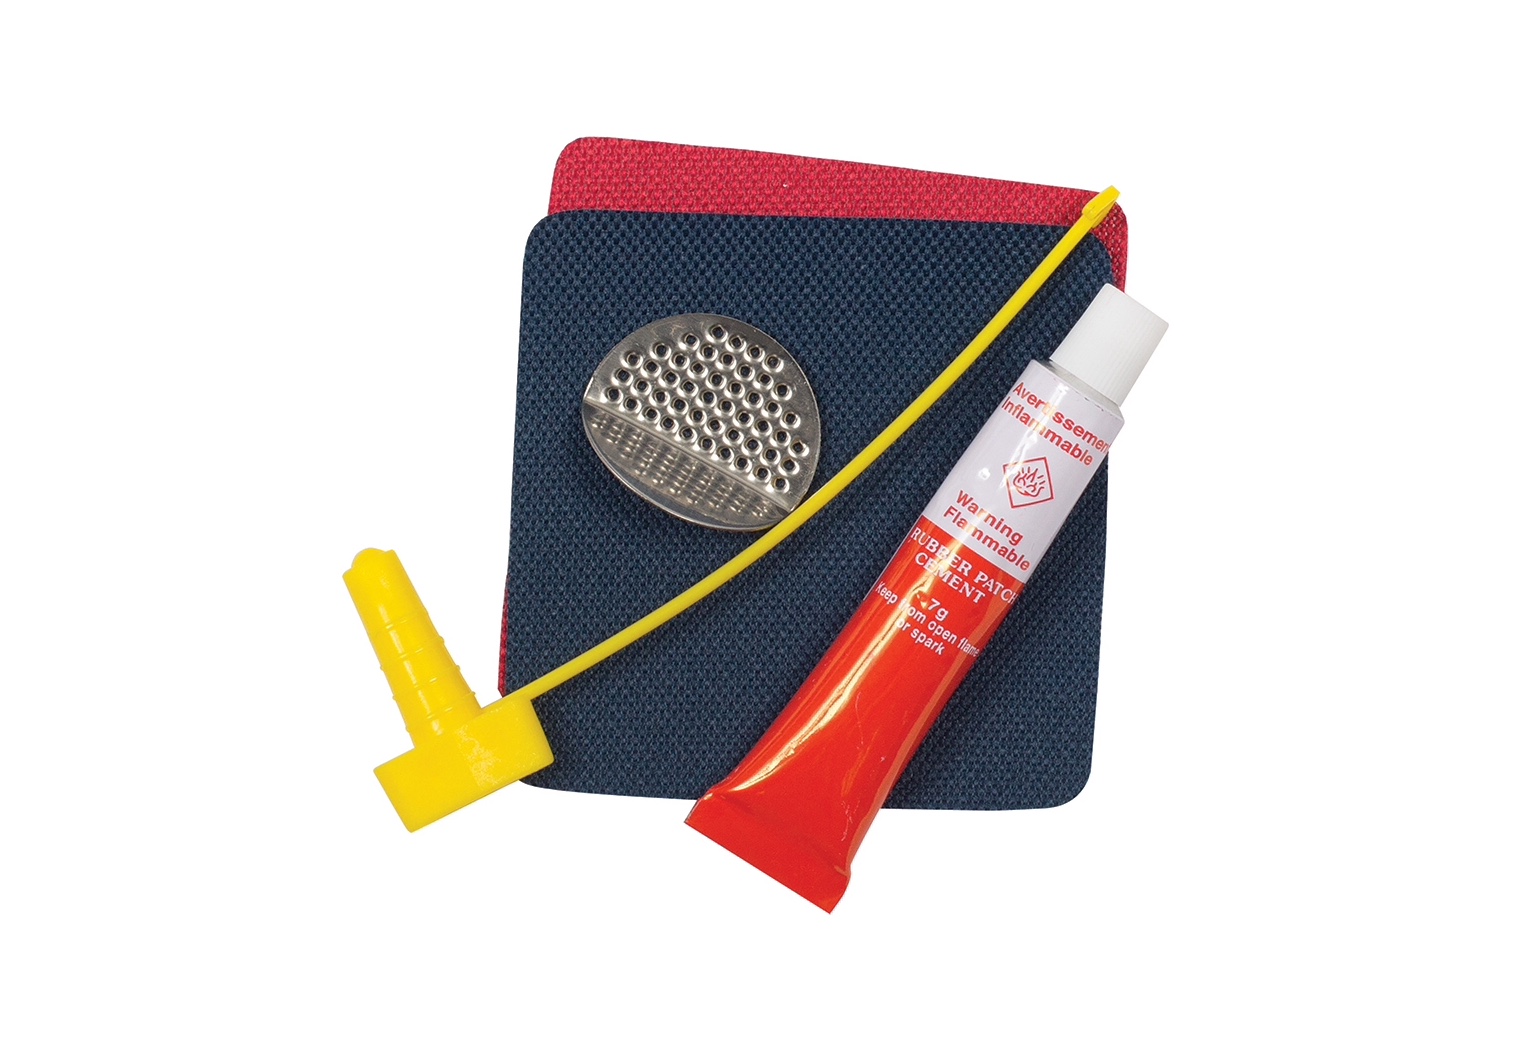
Step 3: Prepare the Patch
Cut a piece of
patch material
that is slightly larger than the tear in your air mattress seam. You can use a repair kit specifically designed for air mattresses or a piece of
heavy-duty adhesive tape
.
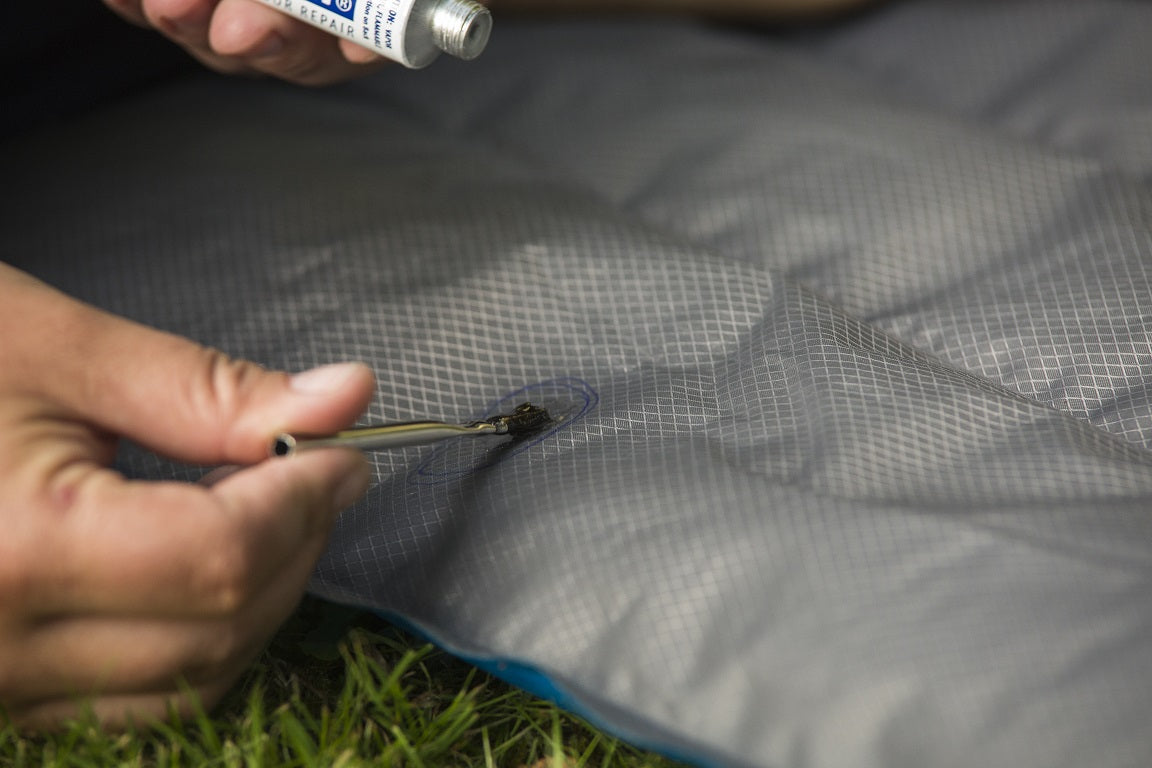
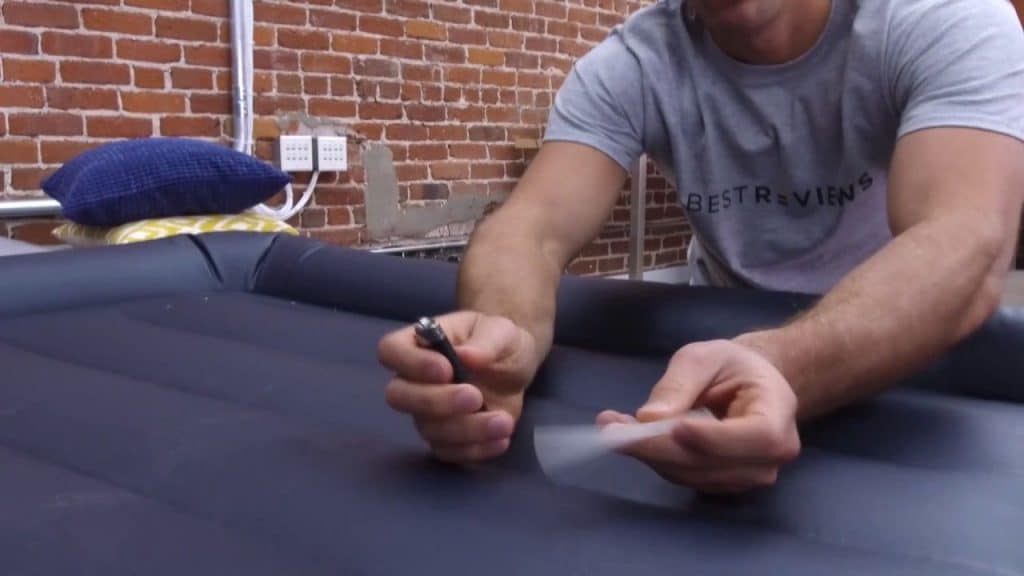
Step 4: Apply the Patch
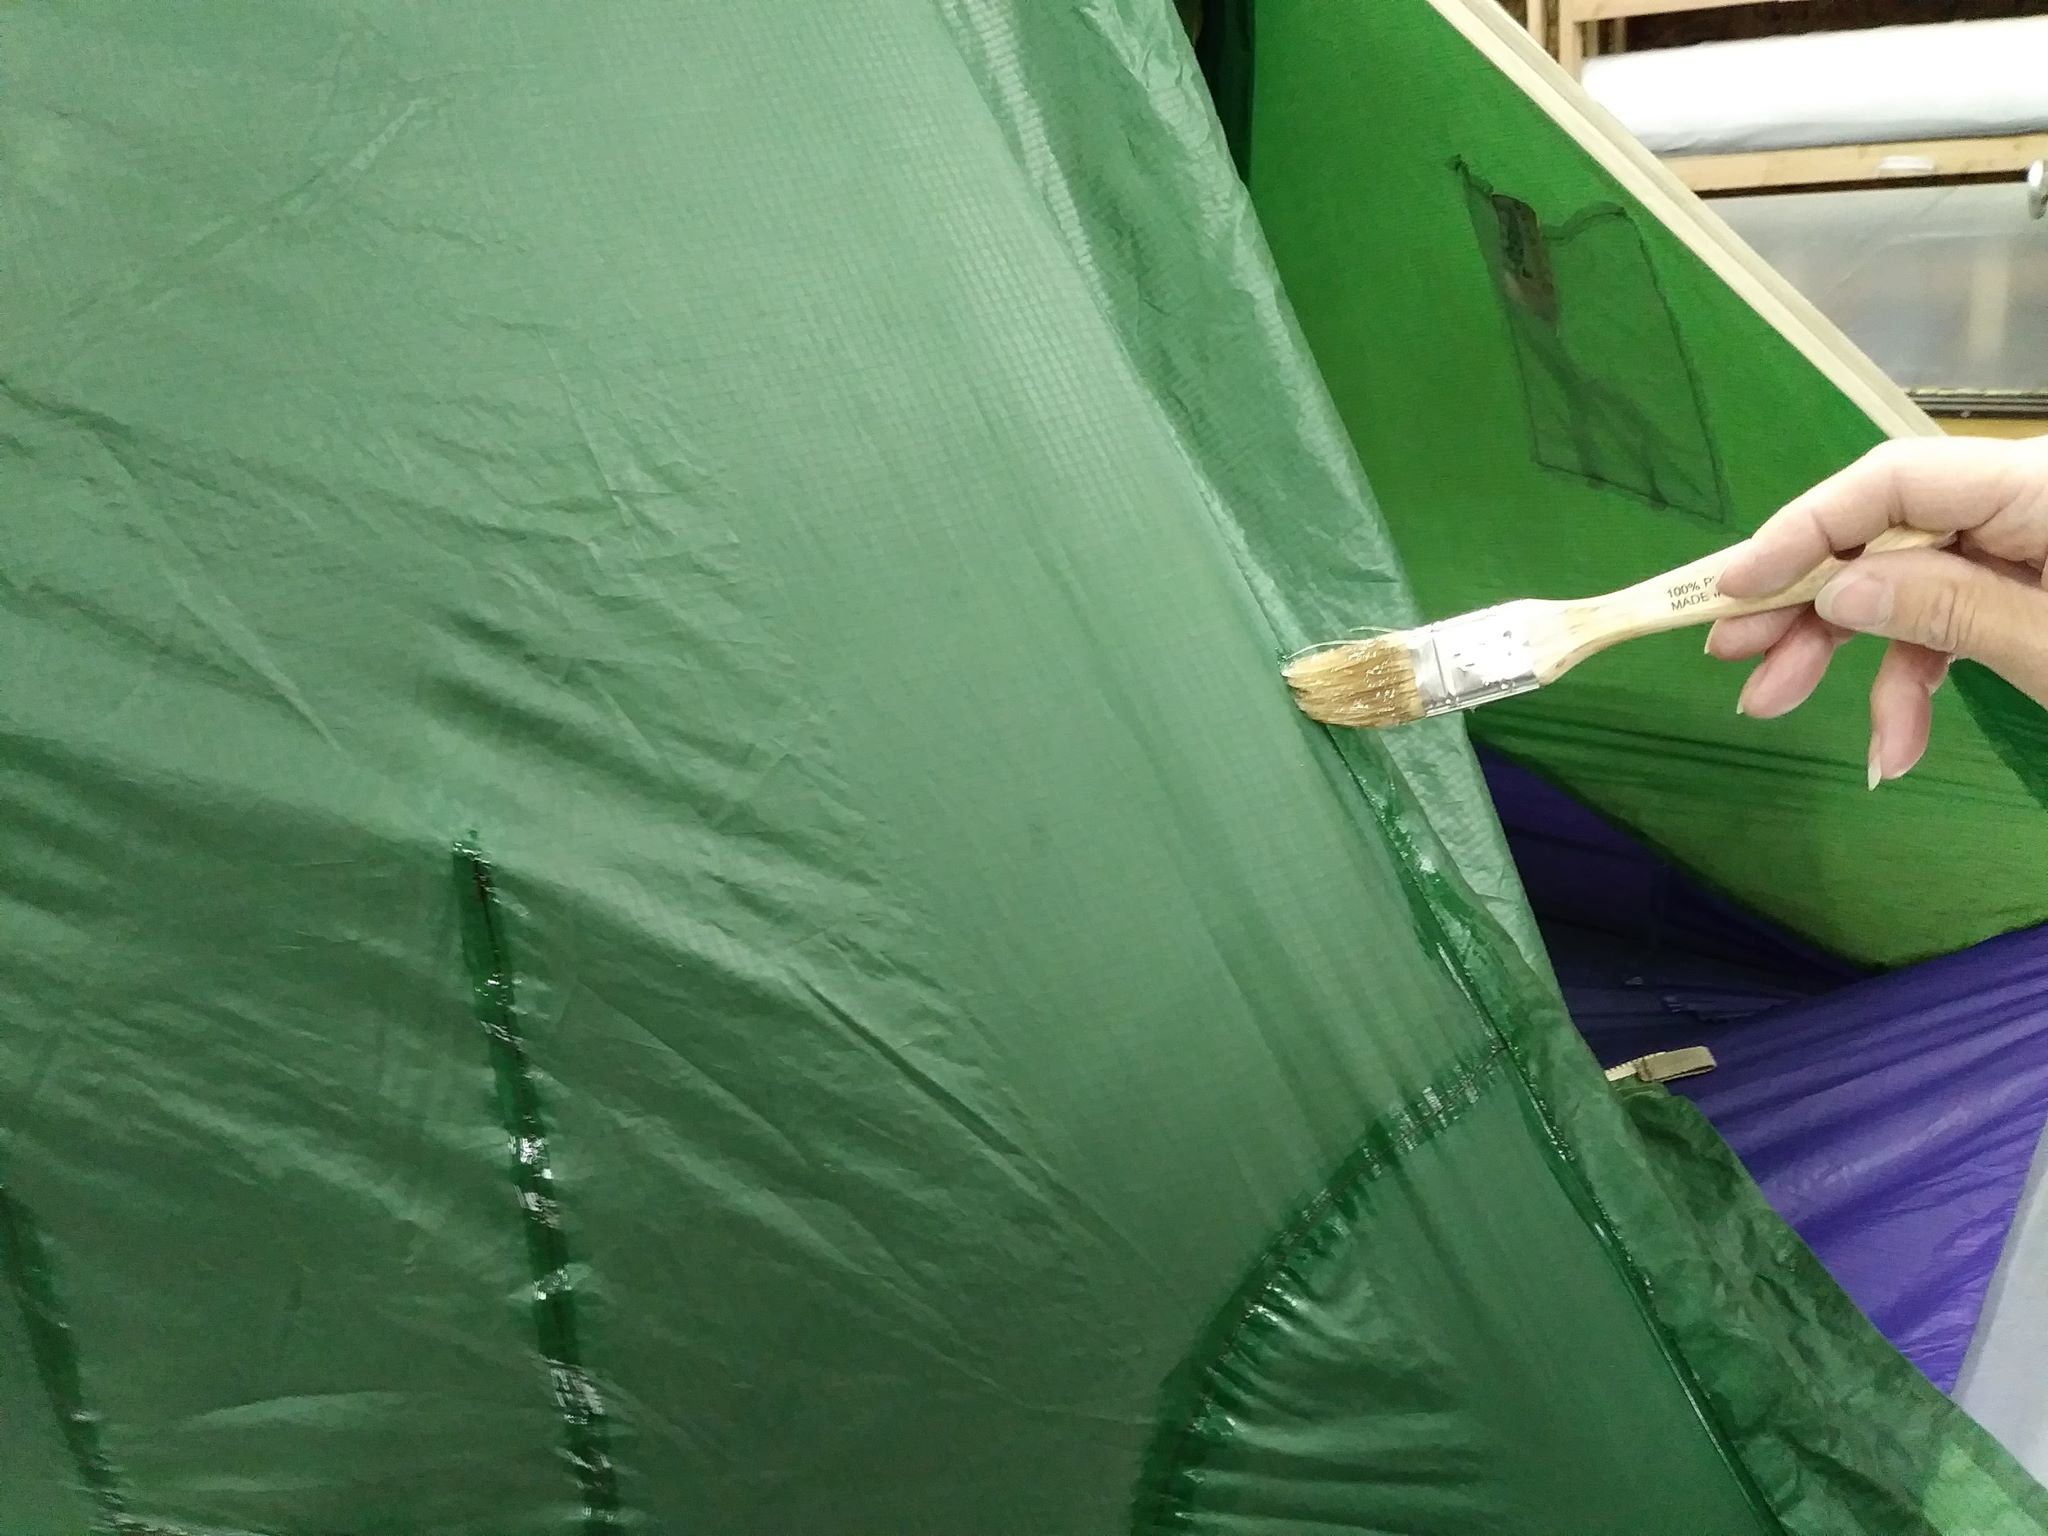
Apply a thin layer of
adhesive
to the patch material and the area around the tear. Press the patch firmly onto the tear and smooth out any wrinkles or bubbles. Allow the adhesive to dry completely according to the manufacturer's instructions.
Step 5: Reinforce the Patch (Optional)
For added strength and durability, you can also reinforce the patch by applying a second layer of adhesive and
patch material
on top of the first layer. This will create a stronger bond and ensure that the patch stays in place.
Step 6: Test the Repair
After the adhesive has dried, inflate the air mattress and check for any signs of leaking. If the patch holds and there are no more leaks, you have successfully repaired your air mattress seam.
Patching an air mattress seam may seem like a daunting task, but it is actually a simple process that can be done at home with a few basic materials. Here is a step-by-step guide to help you patch your air mattress seam and restore it to its former comfort and functionality.
Step 1: Identify the Leak
The first step is to locate the exact location of the leak. This can be done by inflating the mattress and listening for the sound of air escaping or by spraying a mixture of water and dish soap onto the mattress and looking for bubbles.
Step 2: Clean and Dry the Area
Once you have identified the leak, clean the area around it with rubbing alcohol to remove any dirt or debris. Then, dry the area completely with a clean cloth.
Step 3: Prepare the Patch
Cut a piece of
patch material
that is slightly larger than the tear in your air mattress seam. You can use a repair kit specifically designed for air mattresses or a piece of
heavy-duty adhesive tape
.
Step 4: Apply the Patch
Apply a thin layer of
adhesive
to the patch material and the area around the tear. Press the patch firmly onto the tear and smooth out any wrinkles or bubbles. Allow the adhesive to dry completely according to the manufacturer's instructions.
Step 5: Reinforce the Patch (Optional)
For added strength and durability, you can also reinforce the patch by applying a second layer of adhesive and
patch material
on top of the first layer. This will create a stronger bond and ensure that the patch stays in place.
Step 6: Test the Repair
After the adhesive has dried, inflate the air mattress and check for any signs of leaking. If the patch holds and there are no more leaks, you have successfully repaired your air mattress seam.
Conclusion
:max_bytes(150000):strip_icc()/81QHm8NXr2L._AC_SL1500_1-17bafdc326cf4922b0d8acca4d9b5639.jpg) Patching an air mattress seam may seem like a daunting task, but with the right materials and a little bit of patience, it can easily be done at home. By following these simple steps, you can save money and extend the life of your air mattress. Don't let a torn seam ruin your comfort and convenience, patch it up and get back to enjoying a good night's sleep.
Patching an air mattress seam may seem like a daunting task, but with the right materials and a little bit of patience, it can easily be done at home. By following these simple steps, you can save money and extend the life of your air mattress. Don't let a torn seam ruin your comfort and convenience, patch it up and get back to enjoying a good night's sleep.