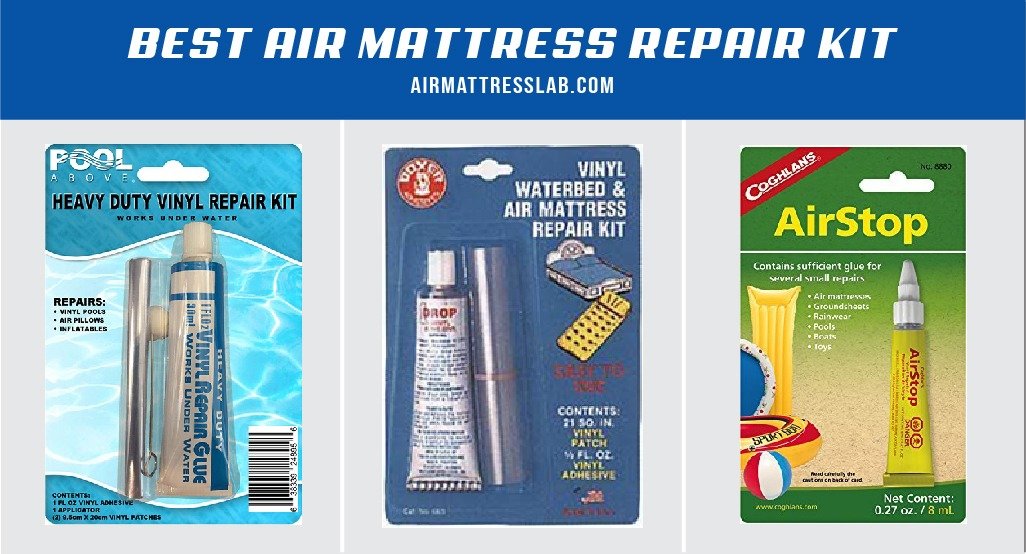
How to Patch an Air Mattress Seam
If you have ever experienced waking up in the middle of the night to a deflated air mattress, you know just how frustrating it can be. The culprit? A pesky seam leak. But fear not, with the right tools and techniques, you can easily patch an air mattress seam and get a good night's sleep once again.


How to Patch an Air Mattress Seam


Best Way to Repair an Air Mattress Seam
When it comes to repairing an air mattress seam, the best method will vary depending on the type of mattress you have and the size of the leak. Some mattresses may require a more intricate repair, while others can be fixed quickly and easily. The key is to determine the best approach for your specific situation.

Best Way to Repair an Air Mattress Seam


DIY Air Mattress Seam Patching
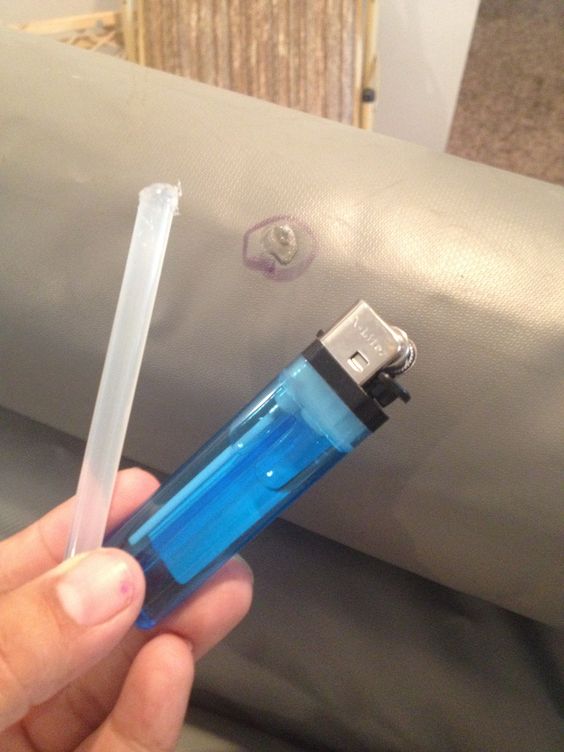
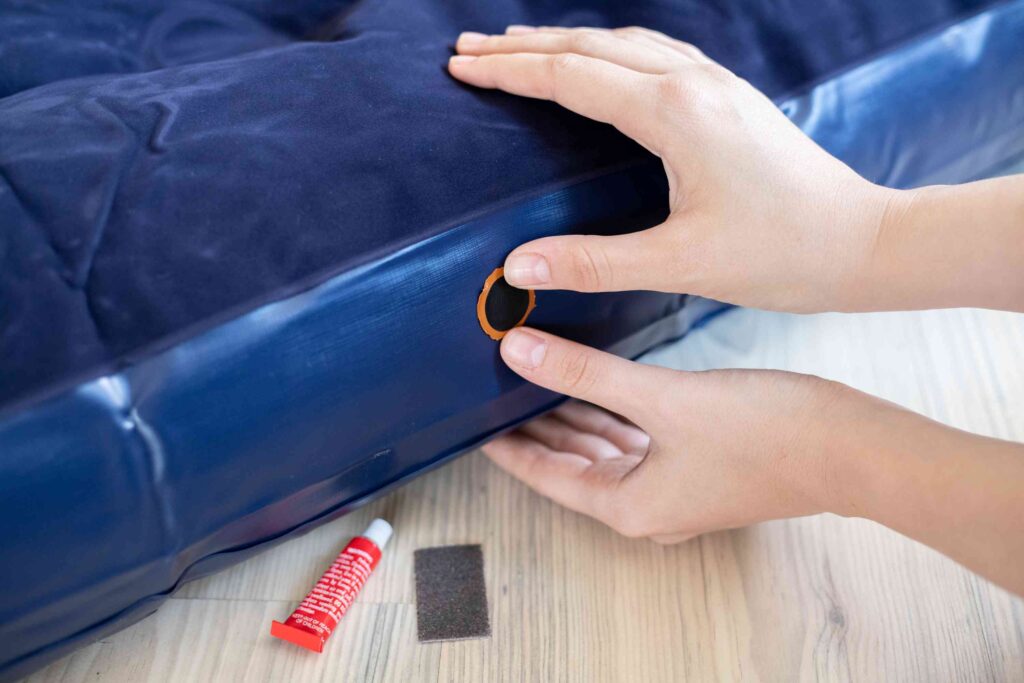
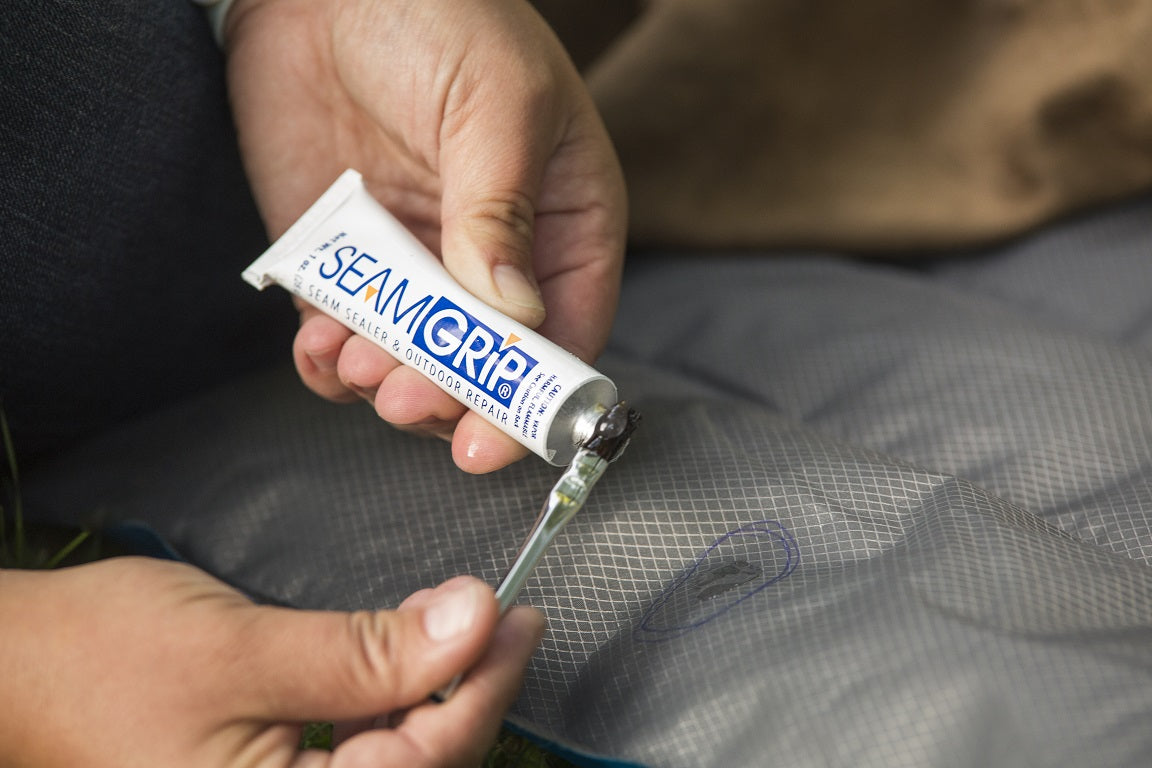
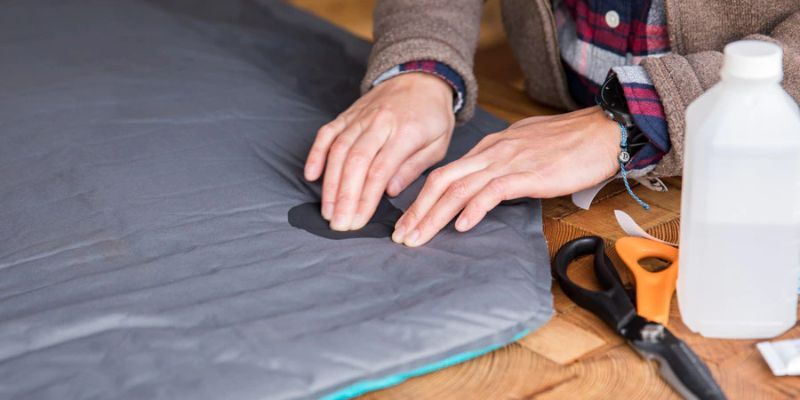
If you're a fan of DIY projects, patching an air mattress seam is a great opportunity to put your skills to the test. The first step is to locate the leak. This can be done by inflating the mattress and listening for any hissing sounds or by using soapy water to identify bubbles where the air is escaping.
Once you have located the leak, clean and dry the area around it. Cut a piece of patching material (such as a vinyl repair kit or duct tape) slightly larger than the size of the leak. Apply a layer of seam glue to the patch and place it over the leak, pressing down firmly. Allow it to dry completely before using the mattress again.


DIY Air Mattress Seam Patching


Quick and Easy Air Mattress Seam Repair
If you're looking for a quick and easy solution to fixing a leaky air mattress seam, you may want to consider using seam tape. This self-adhesive tape is specifically designed for repairing seams on air mattresses and can be found at most outdoor or camping stores.
To use, simply clean and dry the area around the leak, then apply the tape directly over the seam. Press down firmly to ensure a secure bond. It's important to note that this method may not work for larger or more complex leaks, so it's best to reserve this technique for smaller holes.


Quick and Easy Air Mattress Seam Repair


Seam Sealing for Air Mattresses
If you have a new air mattress or are looking to prevent leaks before they happen, seam sealing may be the best option for you. Seam sealers are products designed to strengthen and waterproof seams, making them less prone to leaking.
To use, simply apply the seam sealer to the seams of your air mattress, following the product's instructions. Be sure to allow the sealer to dry completely before using the mattress. This method can be a great preventive measure for future leaks.
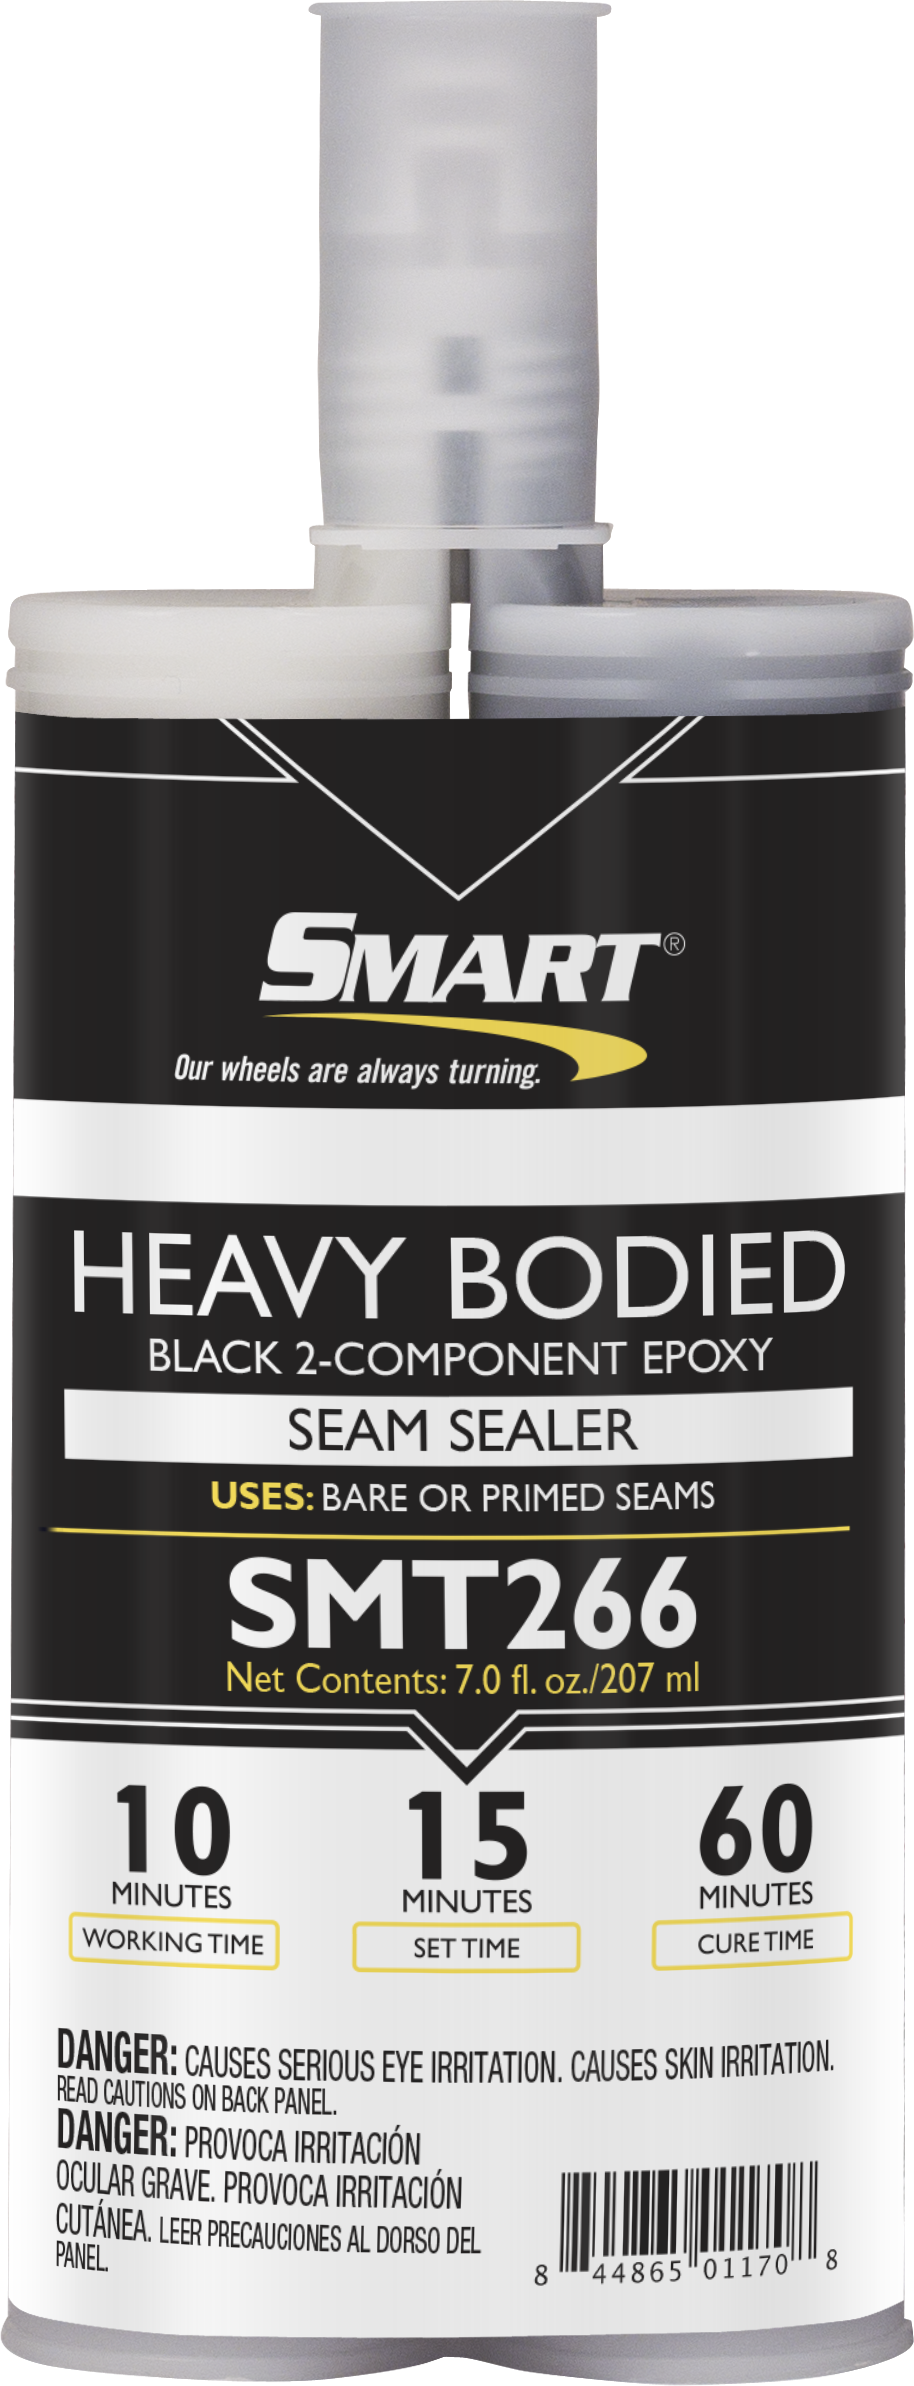

Seam Sealing for Air Mattresses


Fixing a Leaky Air Mattress Seam
For larger or more complex leaks, you may need to take a more involved approach to fixing your air mattress seam. This method involves using a patch kit specifically designed for air mattresses.
First, identify the leak and clean and dry the area around it. Cut a piece of patching material from the kit (usually a vinyl or rubber material) and apply a layer of seam glue to one side. Place the patch over the leak and press down firmly. Allow it to dry completely before using the mattress again.


Fixing a Leaky Air Mattress Seam


Seam Tape for Air Mattress Repair
Similar to using seam tape for quick and easy repairs, you can also use it as a preventive measure. Applying seam tape to the seams of your air mattress before any leaks occur can help strengthen and reinforce the seams, making them less likely to tear or leak in the future.
This method is especially useful for air mattresses that are used frequently or for extended periods of time. Simply clean and dry the seams, then apply the tape according to the product's instructions.


Seam Tape for Air Mattress Repair


Using a Patch Kit for Air Mattress Seam Repair
If you have a puncture or tear in your air mattress, a patch kit is your best bet for a secure and lasting repair. These kits come with all the necessary materials and instructions for fixing larger holes or tears in your mattress.
Begin by identifying the leak and cleaning and drying the area thoroughly. Then, cut a piece of patching material from the kit and apply a layer of seam glue to one side. Place the patch over the leak and press down firmly. Allow it to dry completely before using the mattress again.

Using a Patch Kit for Air Mattress Seam Repair


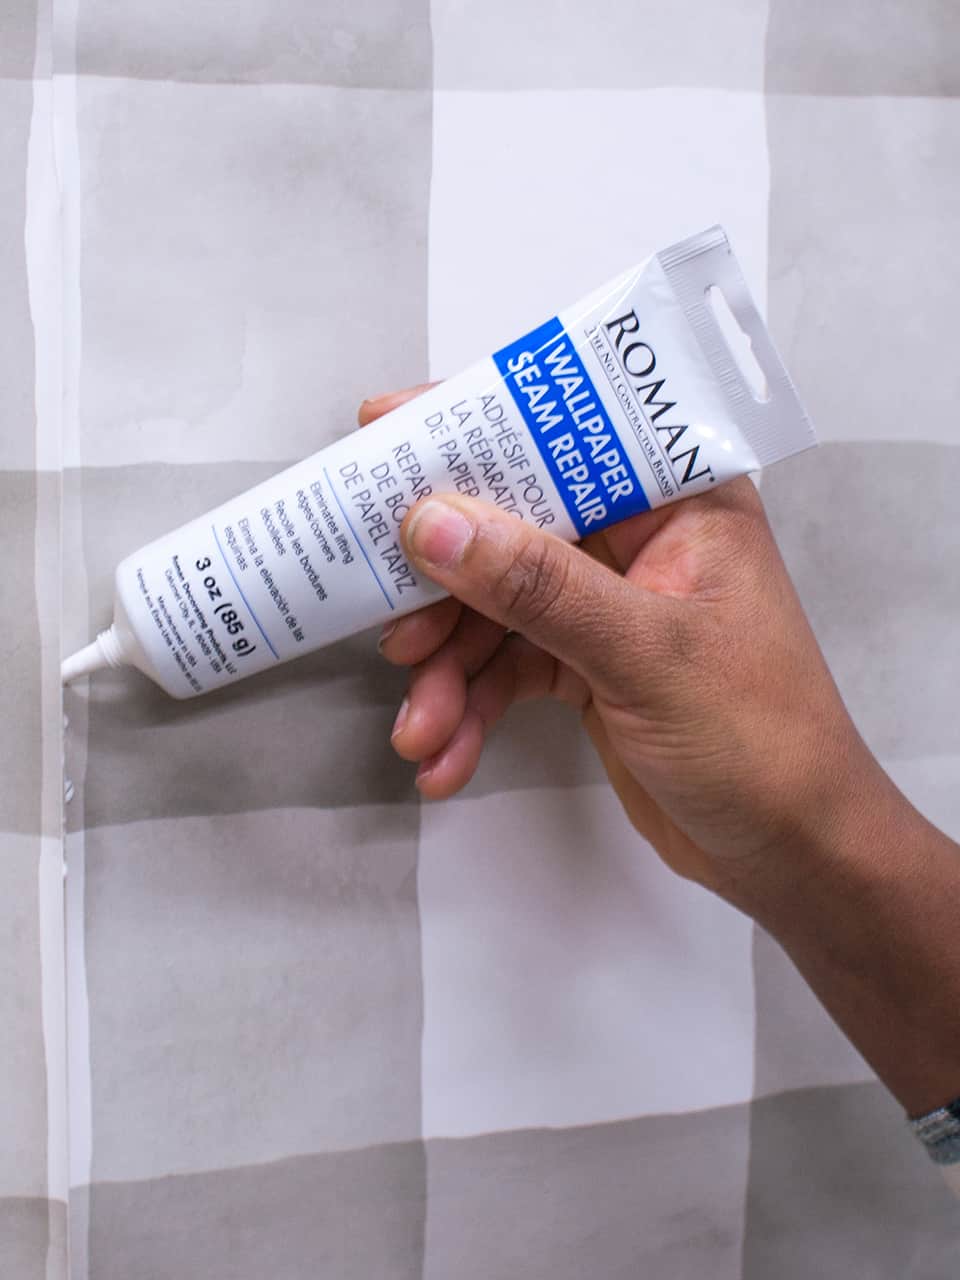
Seam Glue for Air Mattress Patching
When it comes to patching an air mattress seam, having a strong and reliable seam glue is essential. This adhesive is specifically designed to bond materials used in air mattresses and can provide a long-lasting and secure repair.
To use, simply clean and dry the area around the leak, apply a layer of glue to both the patch and the mattress, and press them together firmly. Allow the glue to dry completely before using the mattress again. This method can be used with any type of patching material.

Seam Glue for Air Mattress Patching


:max_bytes(150000):strip_icc()/81QHm8NXr2L._AC_SL1500_1-17bafdc326cf4922b0d8acca4d9b5639.jpg)

Tips for Patching an Air Mattress Seam
While patching an air mattress seam can be a simple and straightforward process, there are a few tips and tricks that can make it even easier:
• Use a clean, dry cloth to wipe away any excess glue or patching material after the repair is complete.
• If using a patch kit, be sure to follow the instructions carefully and allow the patch to dry completely before using the mattress.
• For larger or more complex leaks, consider using multiple layers of patching material or a stronger adhesive for added durability.
• To prevent future leaks, always thoroughly clean and dry your air mattress before storing it away.
By following these tips and using the appropriate tools and techniques, you can easily patch an air mattress seam and ensure a good night's sleep for years to come.


Tips for Patching an Air Mattress Seam


Patching an Air Mattress Seam: Tips and Tricks for a Perfect Fix

Why Do You Need to Patch an Air Mattress Seam?
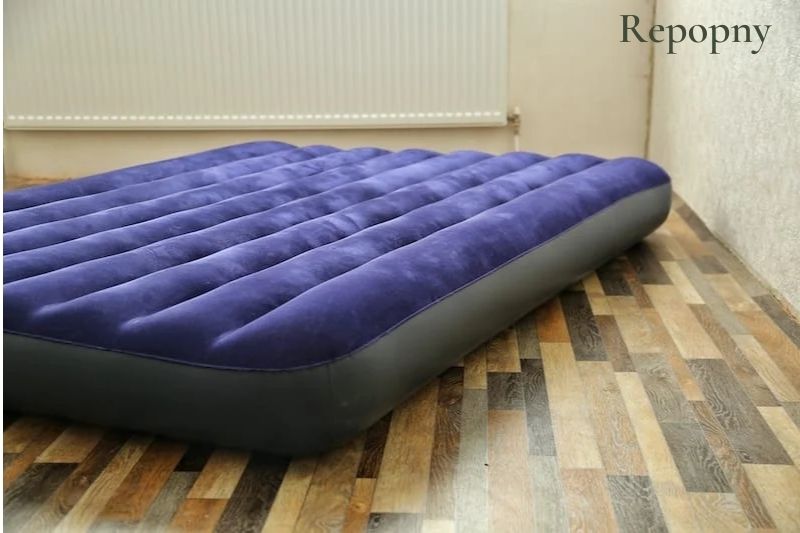
 Air mattresses are a popular choice for temporary or occasional sleeping arrangements. They are easy to set up, compact for storage, and provide a comfortable sleeping surface. However, just like any other inflatable item, air mattresses are prone to leaks and tears. One of the most common issues with air mattresses is a damaged seam, which can cause the air to leak out and leave you sleeping on a deflated mattress. Patching the seam is a quick and cost-effective solution to extend the life of your air mattress and ensure a comfortable night's sleep.
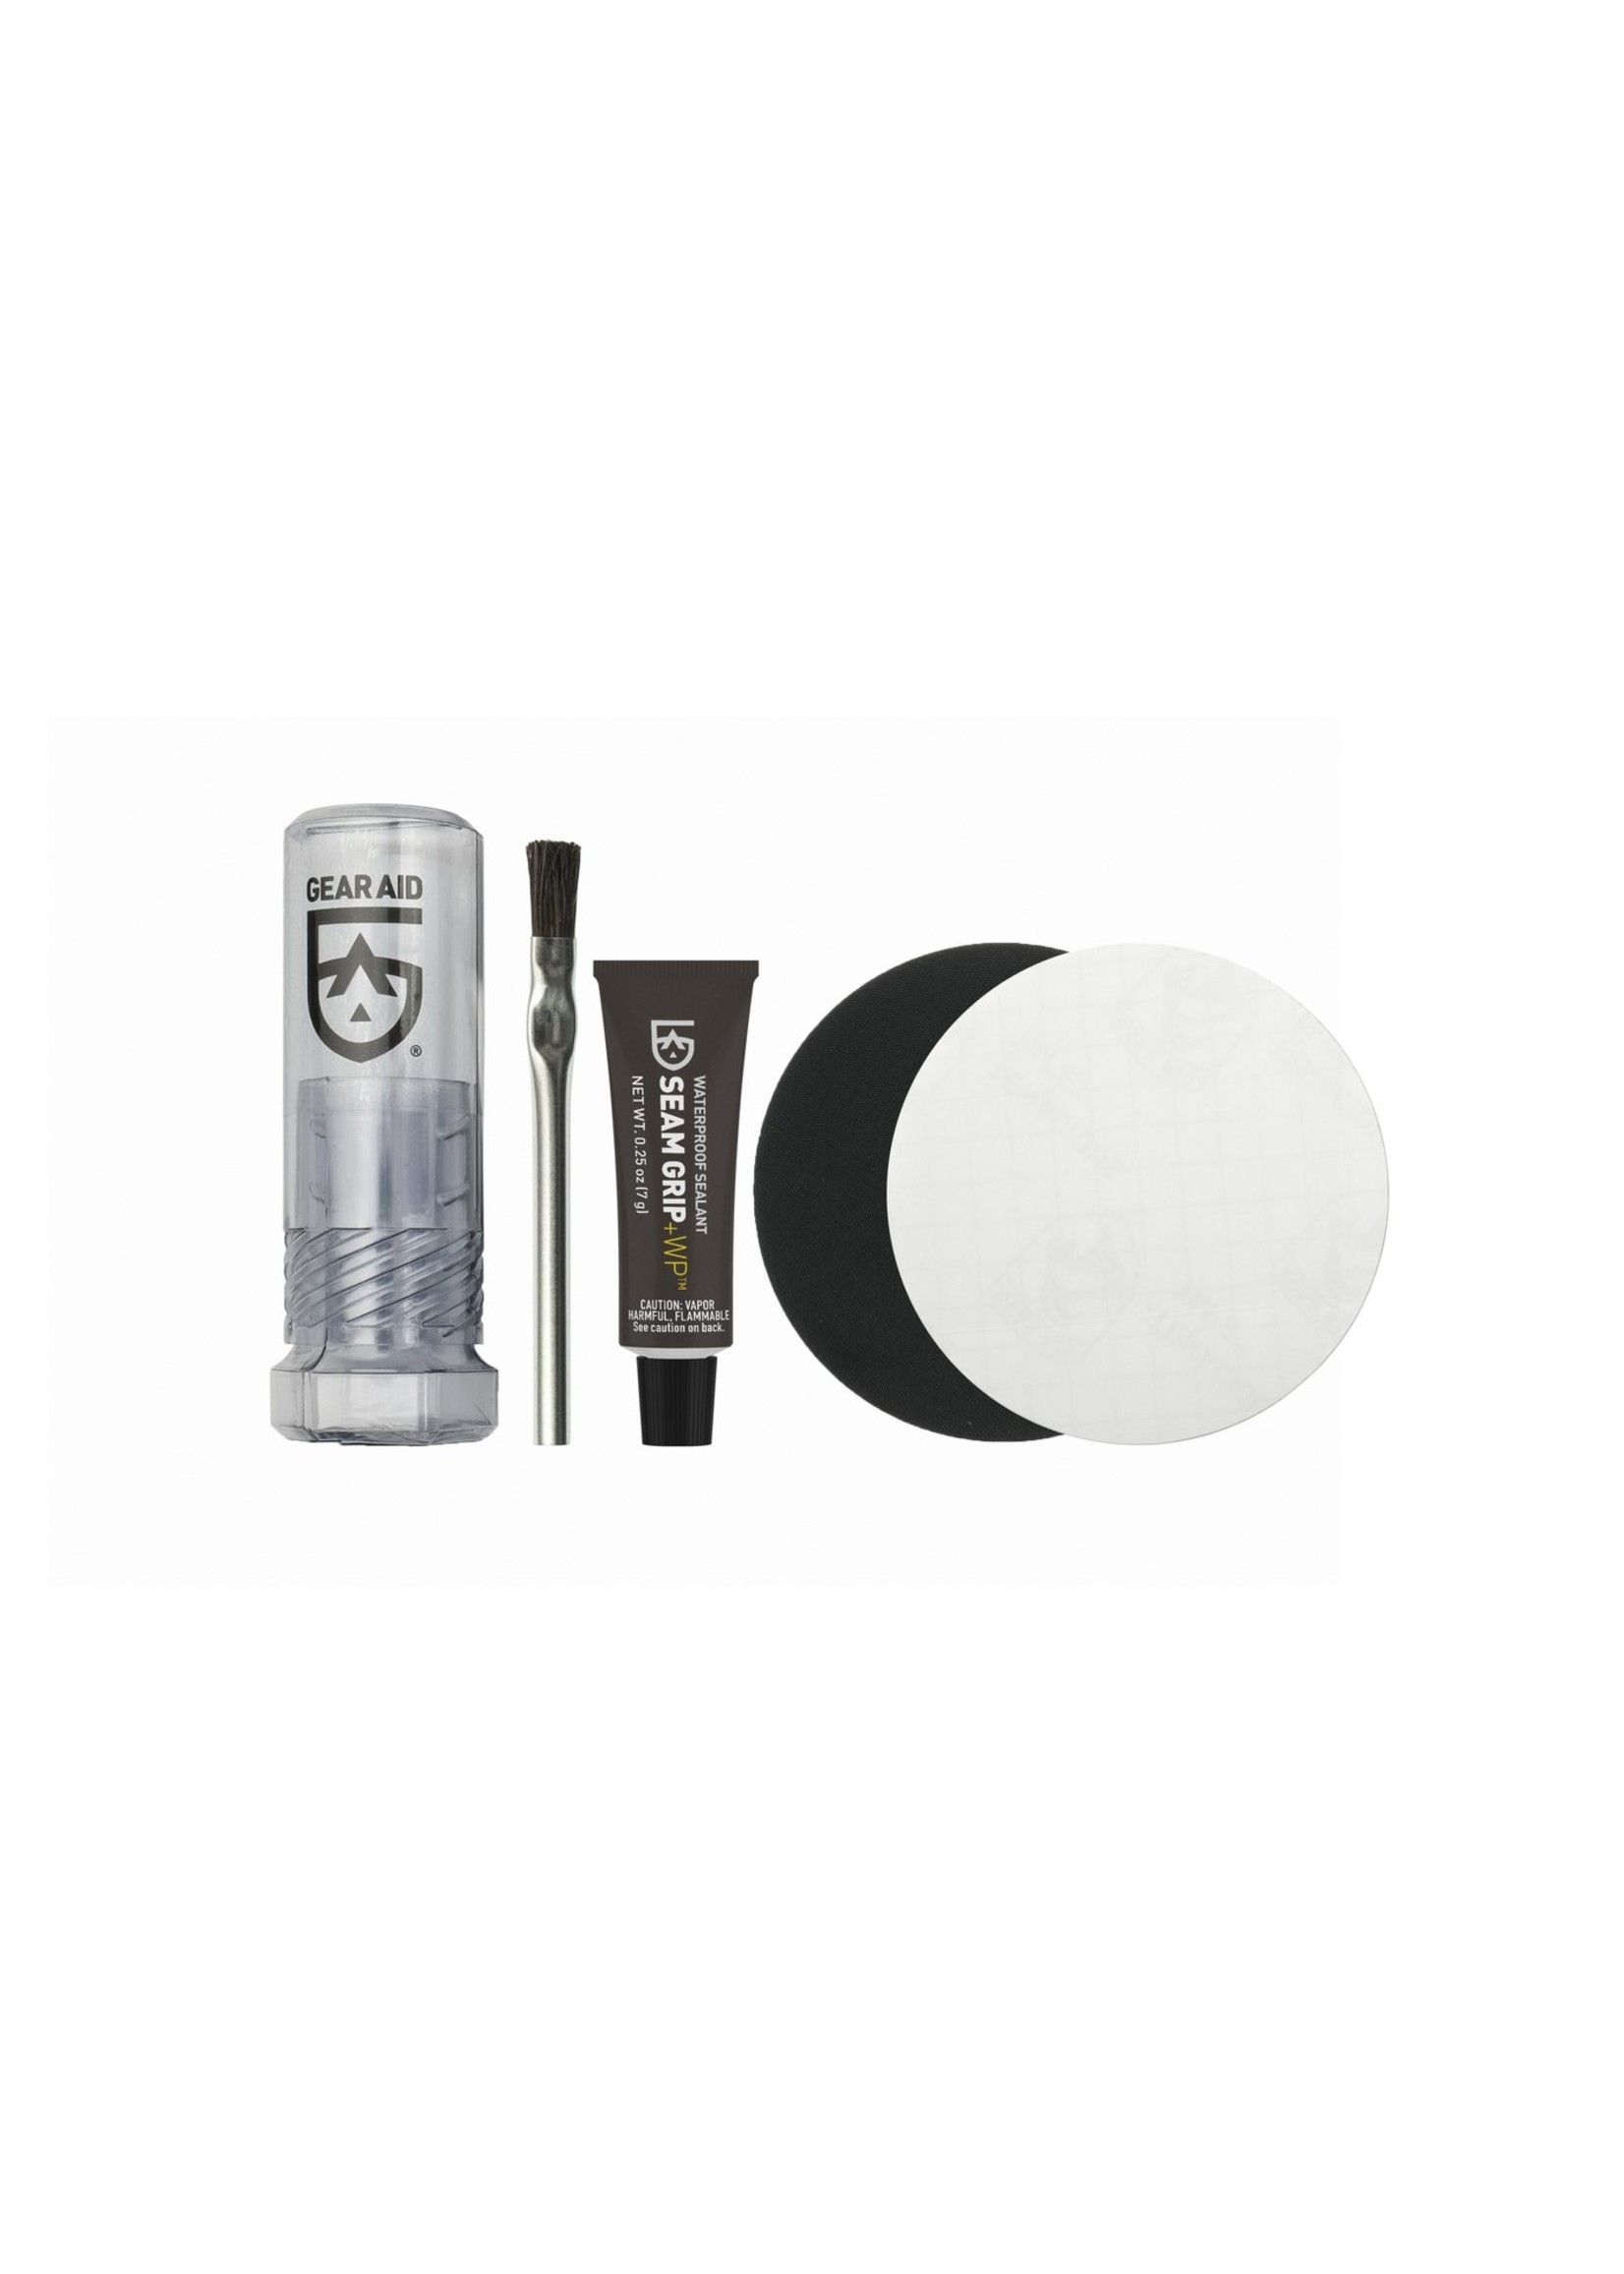
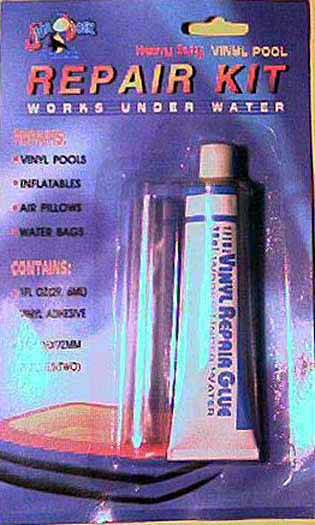
What You Will Need
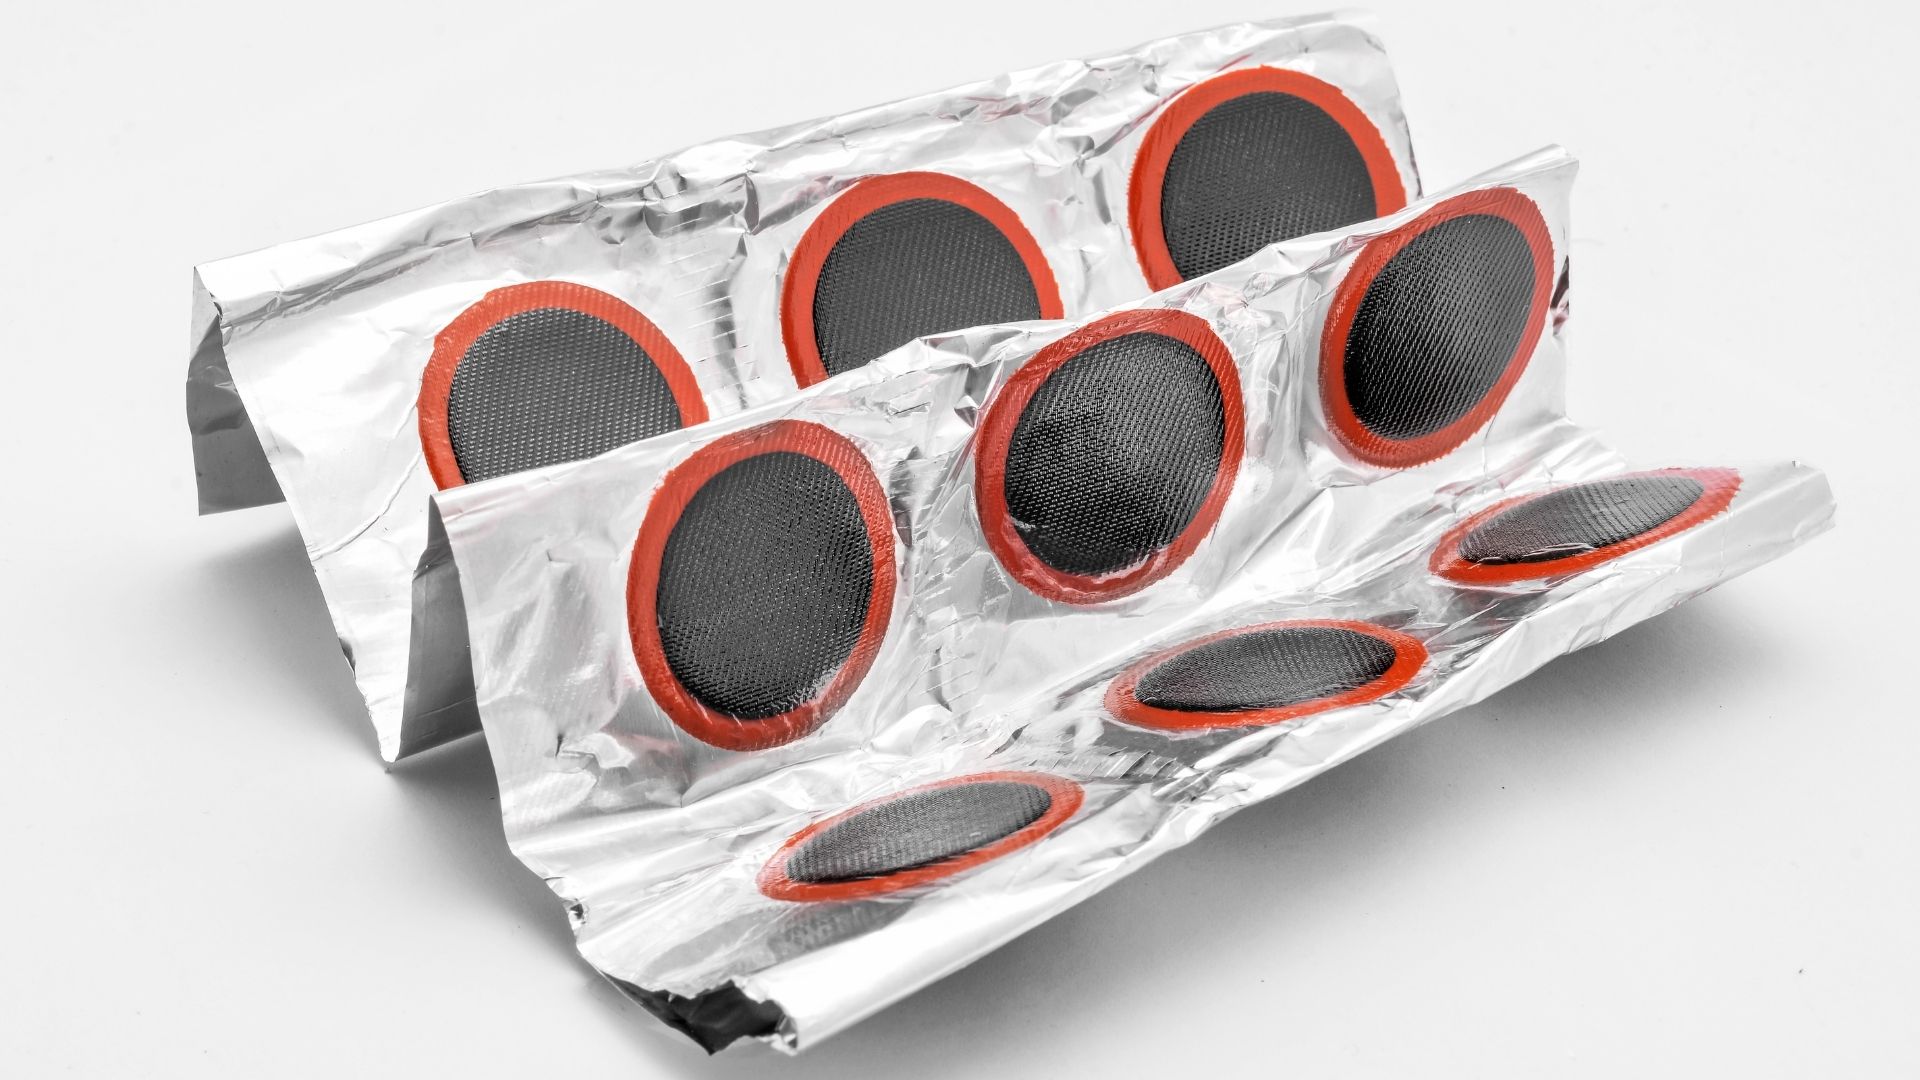
 Before you begin patching your air mattress seam, make sure you have all the necessary materials on hand. This includes a patch kit specifically designed for air mattresses, scissors, rubbing alcohol, and a clean cloth. It is important to use a patch kit made specifically for air mattresses as it will have the necessary adhesive and material to withstand the pressure of the air inside the mattress.
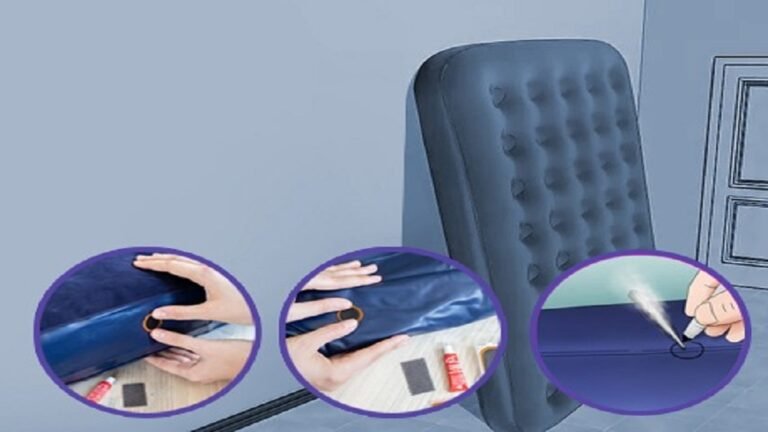
Step-by-Step Guide
 Step 1:
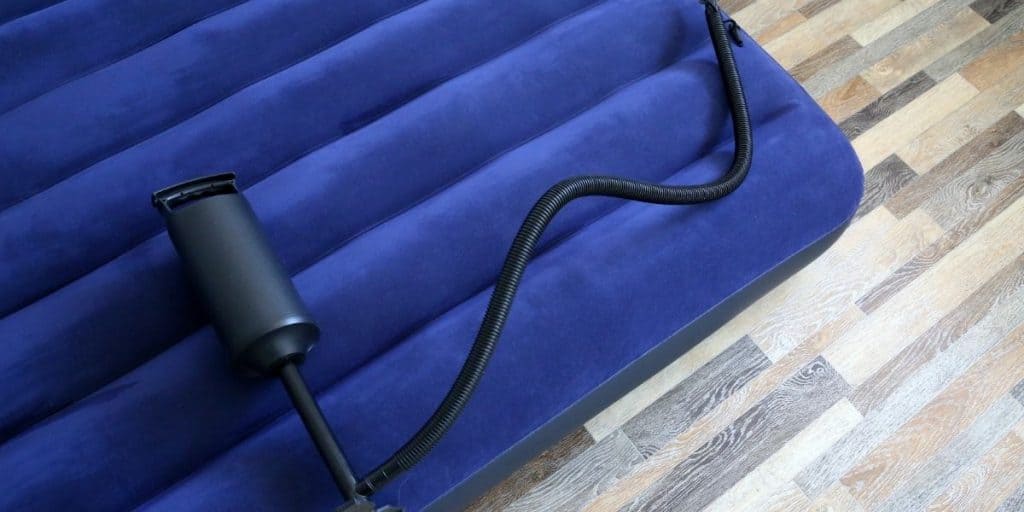
Find the leak - The first step in patching your air mattress seam is to locate the leak. Inflate the mattress fully and listen for any hissing or feel for any escaping air. You can also use a spray bottle with soapy water and spray it over the mattress to look for bubbles, which indicate a leak.
Step 2:
Clean the area - Once you have found the leak, clean the area around it with rubbing alcohol and a clean cloth. This will remove any dirt or debris and ensure the adhesive will bond properly.
Step 3:
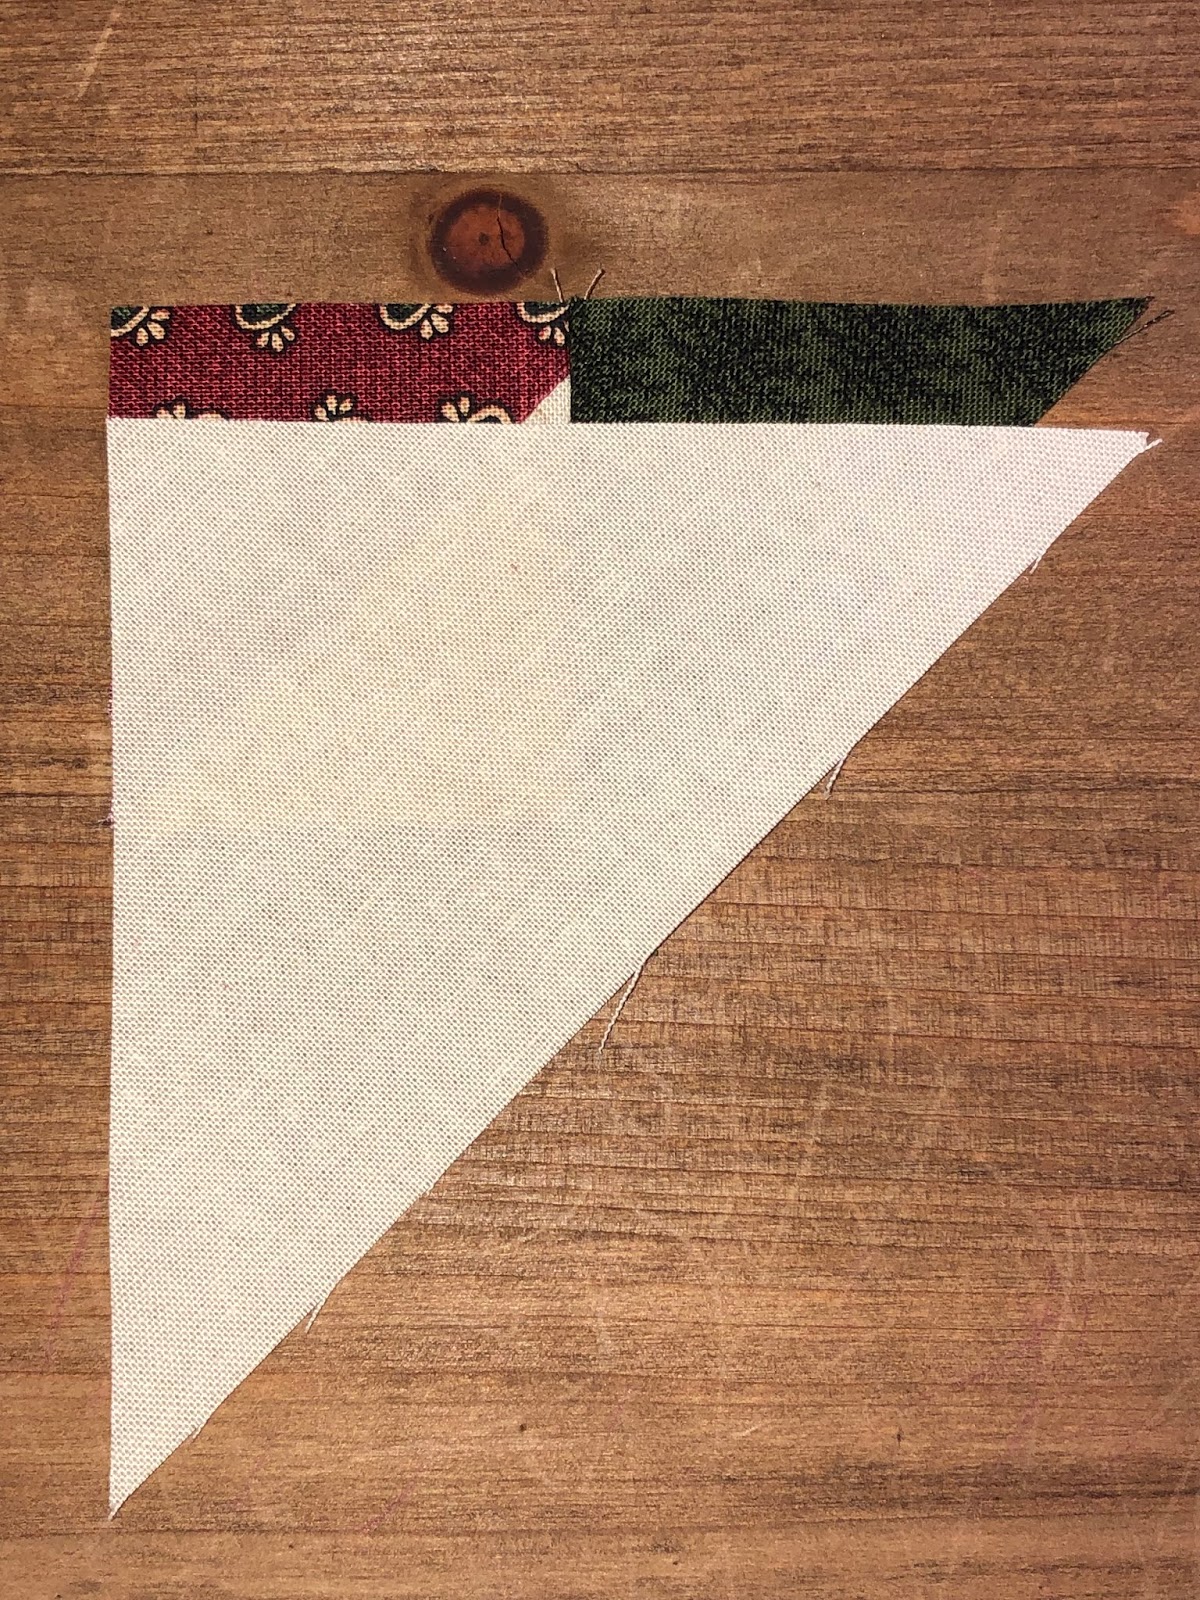
Cut the patch - Use scissors to cut a patch from the patch kit that is slightly larger than the damaged area.
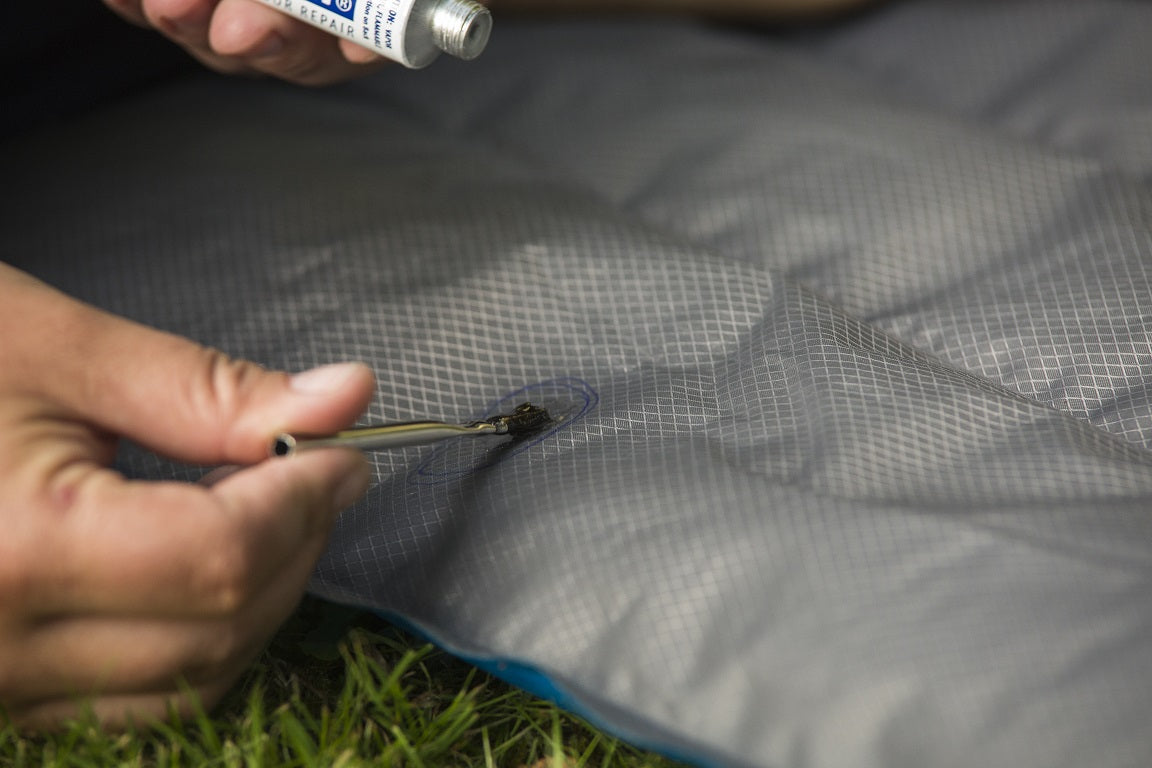
Step 4:
Apply adhesive - Apply a thin layer of adhesive around the damaged area, making sure to cover it completely.
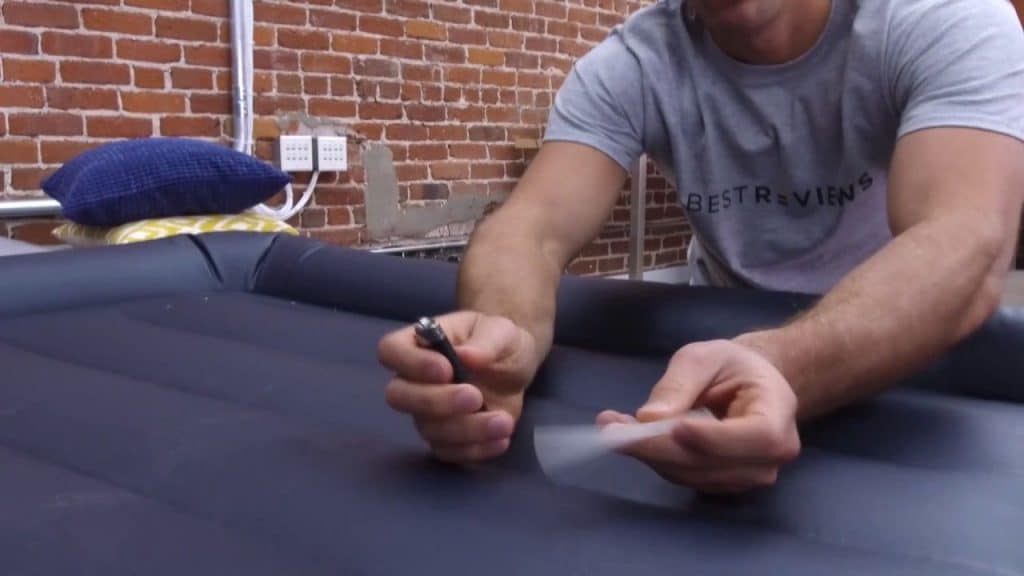
Step 5:
Place the patch - Carefully place the patch over the damaged area, pressing down firmly to ensure it is completely adhered.
Step 6:
Let it dry - Allow the patch to dry completely before inflating the mattress again. This usually takes about an hour, but check the instructions on your patch kit for specific drying times.
Step 7:
Reinforce the patch - For extra reinforcement, you can place a second patch on the inside of the mattress.
Step 1:
Find the leak - The first step in patching your air mattress seam is to locate the leak. Inflate the mattress fully and listen for any hissing or feel for any escaping air. You can also use a spray bottle with soapy water and spray it over the mattress to look for bubbles, which indicate a leak.
Step 2:
Clean the area - Once you have found the leak, clean the area around it with rubbing alcohol and a clean cloth. This will remove any dirt or debris and ensure the adhesive will bond properly.
Step 3:
Cut the patch - Use scissors to cut a patch from the patch kit that is slightly larger than the damaged area.
Step 4:
Apply adhesive - Apply a thin layer of adhesive around the damaged area, making sure to cover it completely.
Step 5:
Place the patch - Carefully place the patch over the damaged area, pressing down firmly to ensure it is completely adhered.
Step 6:
Let it dry - Allow the patch to dry completely before inflating the mattress again. This usually takes about an hour, but check the instructions on your patch kit for specific drying times.
Step 7:
Reinforce the patch - For extra reinforcement, you can place a second patch on the inside of the mattress.
Tips and Tricks
 - If your patch kit does not come with adhesive, you can use a strong, waterproof glue such as Super Glue or E6000.
- For larger or multiple leaks, you may need to use more than one patch.
- Make sure the patch is completely dry before inflating the mattress again to avoid any air bubbles.
- If the leak is near a seam, reinforce the patch with a strip of duct tape to prevent it from peeling off.
- If your patch kit does not come with adhesive, you can use a strong, waterproof glue such as Super Glue or E6000.
- For larger or multiple leaks, you may need to use more than one patch.
- Make sure the patch is completely dry before inflating the mattress again to avoid any air bubbles.
- If the leak is near a seam, reinforce the patch with a strip of duct tape to prevent it from peeling off.
Conclusion
 By following these simple steps, you can easily patch an air mattress seam and extend the life of your mattress. Regularly checking for and repairing any leaks will ensure you always have a comfortable and fully-inflated air mattress for your guests or camping trips. Remember to always use a patch kit specifically designed for air mattresses and follow the instructions carefully for a secure and long-lasting fix.