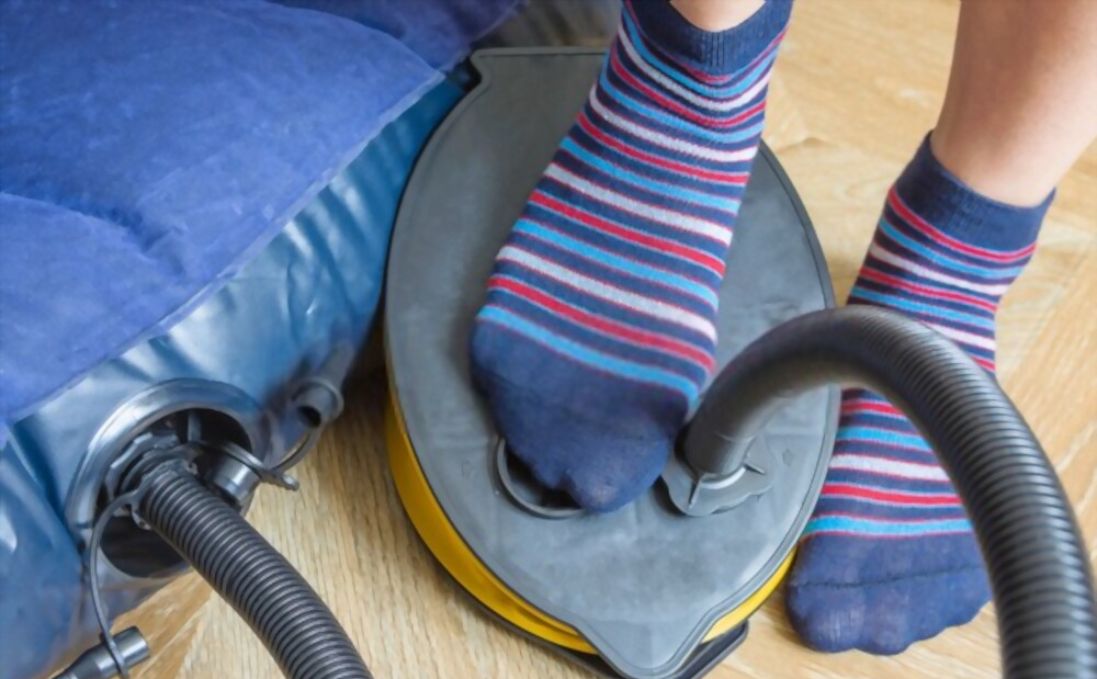
Discovering a hole in your air mattress can be a frustrating experience, especially if you were looking forward to a good night's sleep. But fear not, patching a hole in an air mattress is a simple task that can be done in just a few minutes. Here's how to do it: Step 1: Identify the Location of the Leak The first step is to find the location of the hole. This can be done by inflating the air mattress and listening for the sound of escaping air or by using a mixture of dish soap and water. Apply the mixture to the mattress and watch for bubbles to form, indicating the location of the leak. Step 2: Gather Your Materials To patch the hole, you will need a patch kit, which can be purchased from most outdoor or camping stores. The kit typically includes a patch, adhesive, and sandpaper. Step 3: Prepare the Surface Before applying the patch, it's important to ensure that the surface is clean and dry. Use the sandpaper included in the patch kit to roughen up the area around the hole. This will help the adhesive bond better. Step 4: Apply the Patch Apply a thin layer of the adhesive to both the patch and the area around the hole. Then, carefully place the patch over the hole, pressing down firmly to ensure it sticks. Smooth out any wrinkles or bubbles that may have formed. Step 5: Allow Time to Dry It's important to allow the adhesive to dry completely before using the air mattress. This can take anywhere from 2-24 hours, depending on the type of adhesive used. Check the instructions on your patch kit for specific drying times.1. How to Patch a Hole in an Air Mattress


1. How to Patch a Hole in an Air Mattress


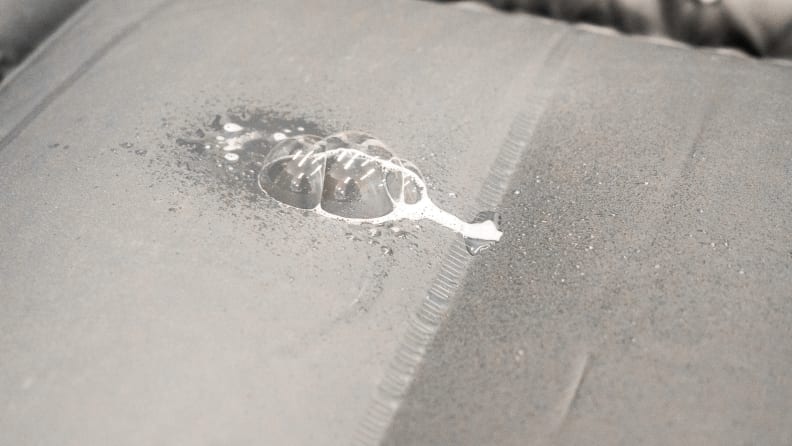

Whether you're camping, hosting guests, or simply using an air mattress as your primary bed, a leak can quickly put a damper on your plans. But with the right tools and techniques, patching a leak in your air mattress is a breeze. Here's how: Step 1: Find the Leak The first step is to locate the leak. As mentioned earlier, this can be done by listening for the sound of escaping air or by using a mixture of dish soap and water. Remember to thoroughly dry the area before proceeding to the next step. Step 2: Use a Patch Kit A patch kit is the most effective way to repair a leak in an air mattress. These kits come with all the necessary materials and instructions to help you patch the hole quickly and easily. Step 3: Prepare the Area Before applying the patch, make sure the area is clean and dry. Use the sandpaper included in the patch kit to roughen up the surface around the hole. This will help the adhesive bond better and create a stronger seal. Step 4: Apply the Patch Apply a thin layer of adhesive to the patch and the area around the hole. Then, carefully place the patch over the hole and press down firmly. Smooth out any wrinkles or bubbles that may have formed. Step 5: Allow Time to Dry It's important to let the patch dry completely before using the air mattress. This can take anywhere from 2-24 hours, depending on the type of adhesive used. Check the instructions on your patch kit for specific drying times.2. Air Mattress Repair: How to Patch a Leak


2. Air Mattress Repair: How to Patch a Leak


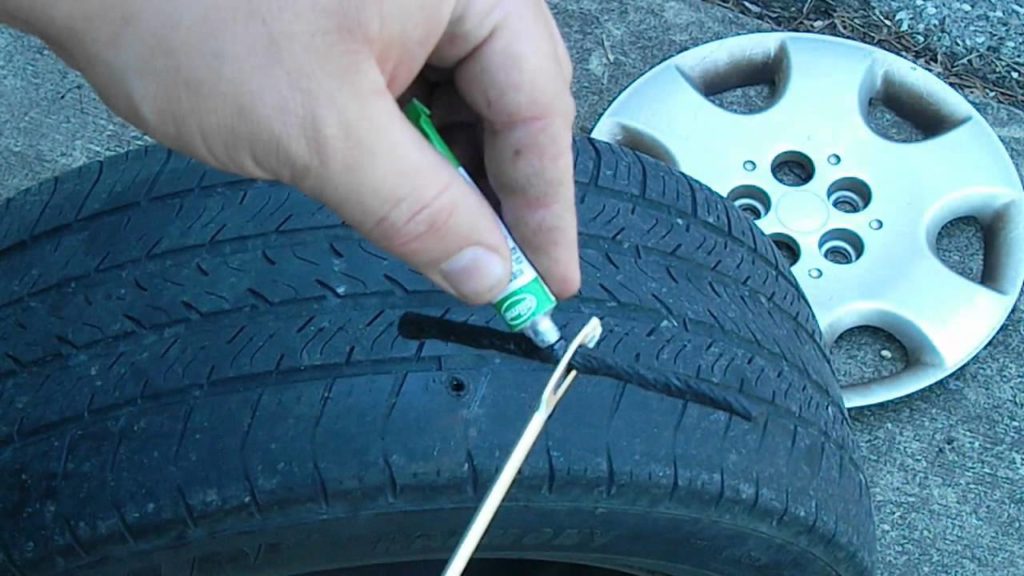
When you need to fix a hole in your air mattress quickly, there are a few methods you can try before reaching for a patch kit. Here are some quick and easy ways to patch a leak in your air mattress: 1. Use Duct Tape If you don't have a patch kit on hand, duct tape can be a temporary solution. Simply cut a piece of duct tape large enough to cover the hole and press it onto the mattress. Keep in mind that this may not provide a long-term solution, but it can buy you some time until you can properly patch the leak. 2. Toothpaste and a Patch This may sound like an odd combination, but toothpaste can be used as a temporary patch for small holes. Apply a small amount of toothpaste to the hole and then place a patch on top. Leave it to dry for a few hours before using the mattress. 3. Use a Tire Patch Kit If you have a tire patch kit on hand, this can also be used to patch an air mattress. The process is similar to using a regular patch kit, but the adhesive may be stronger, providing a more durable repair.3. Quick and Easy Air Mattress Patching


3. Quick and Easy Air Mattress Patching


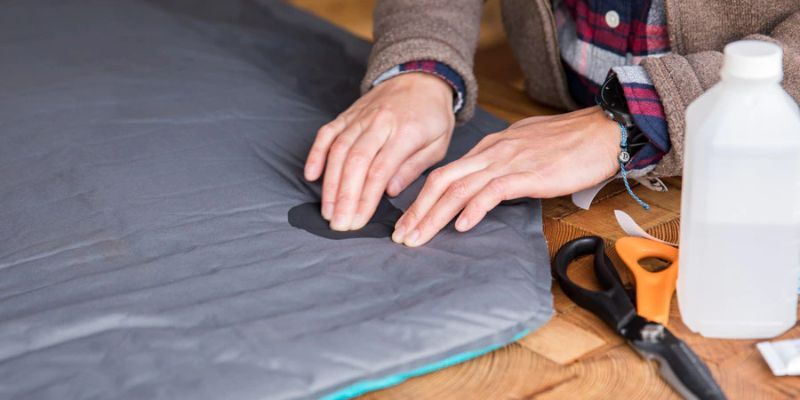

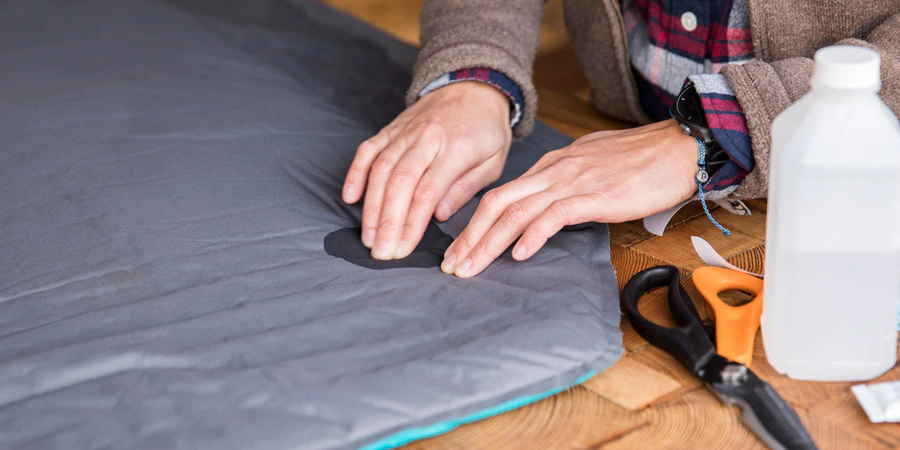
If you're feeling crafty and want to try a DIY approach to patching your air mattress, here's a step-by-step guide to help you out: Step 1: Gather Your Materials For this DIY patch, you will need a piece of vinyl or plastic material, scissors, and a strong adhesive, such as rubber cement or vinyl repair glue. Step 2: Cut the Material Cut a piece of the vinyl or plastic material to a size slightly larger than the hole in your air mattress. Step 3: Prepare the Surface Make sure the area around the hole is clean and dry. Use sandpaper to roughen up the area, then wipe it clean with a damp cloth. Step 4: Apply the Adhesive Apply a thin layer of adhesive to the patch and the area around the hole. Step 5: Attach the Patch Carefully place the patch over the hole and press down firmly. Smooth out any wrinkles or bubbles that may have formed. Step 6: Allow Time to Dry As with other patching methods, it's important to allow the adhesive to dry completely before using the air mattress.4. DIY Air Mattress Patching: Step-by-Step Guide


4. DIY Air Mattress Patching: Step-by-Step Guide


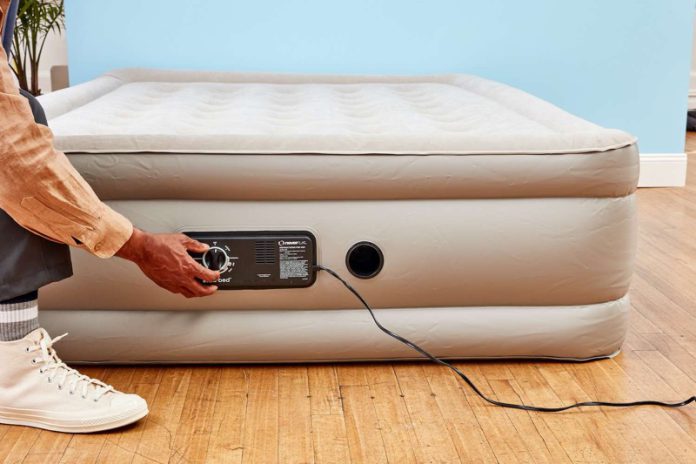
:max_bytes(150000):strip_icc()/81QHm8NXr2L._AC_SL1500_1-17bafdc326cf4922b0d8acca4d9b5639.jpg)

When it comes to patching an air mattress, having the right products can make all the difference. Here are some of the best products to use for patching an air mattress: 1. Tear-Aid Repair Patch This self-adhesive patch is specifically designed for repairing tears in vinyl material, making it perfect for air mattresses. 2. Vinyl Repair Glue This strong adhesive is perfect for patching larger holes and tears in vinyl air mattresses. 3. Rubber Cement Rubber cement is another strong adhesive that can be used to patch holes in air mattresses. It can also be used for DIY patches, as mentioned earlier. 4. Duct Tape As mentioned before, duct tape can be a quick and easy temporary solution for small holes in air mattresses.5. Best Products for Patching an Air Mattress


5. Best Products for Patching an Air Mattress


While patching an air mattress may seem like a simple task, there are a few tips and tricks that can help ensure a successful repair: 1. Follow the Instructions If you're using a patch kit, make sure to read and follow the instructions carefully. This will ensure that you use the right materials and techniques for a proper repair. 2. Clean and Dry the Area Thoroughly Before applying the patch, make sure the area is completely clean and dry. This will help the adhesive bond better and create a stronger seal. 3. Use a Support System If your air mattress has a larger hole or tear, you can use a support system, such as a piece of cardboard or another flat object, to reinforce the patch and make it more secure. 4. Apply Pressure After applying the patch, make sure to apply pressure and smooth out any wrinkles or bubbles. This will help the patch adhere better and create a stronger seal.6. Tips for Successfully Patching an Air Mattress


6. Tips for Successfully Patching an Air Mattress


While patching an air mattress may seem like a straightforward task, there are some common mistakes that can lead to a less-than-perfect repair. Here are some mistakes to avoid: 1. Not Cleaning the Area Properly Skipping the step of cleaning and drying the area thoroughly can lead to the patch not adhering properly, resulting in a leaky air mattress. 2. Using the Wrong Materials Using the wrong type of adhesive or patch material can also lead to an unsuccessful repair. Make sure to use materials specifically designed for repairing air mattresses. 3. Not Allowing Enough Drying Time Rushing to use the air mattress before the patch has had enough time to dry can cause the patch to come loose and the leak to reappear. 4. Not Applying Enough Pressure Applying pressure and smoothing out the patch is crucial for a successful repair. Skipping this step can result in a weak seal and a leaky air mattress.7. Common Mistakes to Avoid When Patching an Air Mattress


7. Common Mistakes to Avoid When Patching an Air Mattress


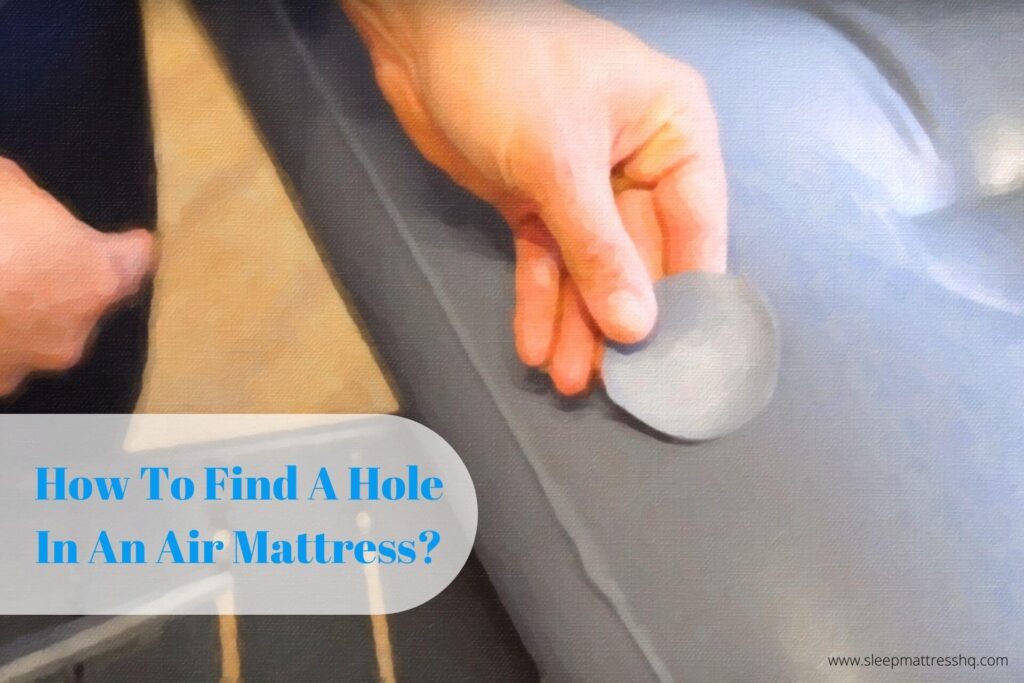
Knowing how to find and patch a hole in an air mattress is a valuable skill for anyone who owns an air mattress. Here's a quick guide to help you through the process: 1. Find the Leak As mentioned before, you can use a mixture of dish soap and water or simply listen for the sound of escaping air to locate the leak. 2. Gather Your Materials Make sure you have all the necessary materials, such as a patch kit or DIY materials, before starting the repair process. 3. Prepare the Area Clean and dry the area around the hole, and make sure to roughen up the surface with sandpaper for a better bond. 4. Apply the Patch Follow the instructions on your chosen patching method to apply the patch, making sure to apply enough pressure and smooth out any wrinkles or bubbles.8. How to Find and Patch a Hole in an Air Mattress


8. How to Find and Patch a Hole in an Air Mattress


Patching an air mattress is a simple task, but there are a few things you should know before attempting to do it yourself: 1. The Type of Material Matters Not all air mattresses are made of the same material, so make sure to use a patch and adhesive that are suitable for the type of material your mattress is made of. 2. The Size of the Hole Matters The size and location of the hole can also affect the type of patch and adhesive you should use. Larger holes may require a support system or multiple patches for a strong seal. 3. Properly Maintaining Your Air Mattress Can Help Prevent Leaks Regularly cleaning and properly storing your air mattress can help prevent leaks and prolong its lifespan. Avoid placing the mattress on rough or sharp surfaces, and make sure to fully inflate and deflate it before storing.9. Air Mattress Patching: What You Need to Know


9. Air Mattress Patching: What You Need to Know
If you're in a pinch and need to patch a hole in your air mattress quickly, duct tape can be a temporary solution. Here's how to do it: Step 1: Clean and Dry the Area Make sure the area around the hole is clean and dry before applying the duct tape. Step 2: Cut a Piece of Duct Tape Cut a piece of duct tape large enough to cover the hole, with a little extra on each side for a secure seal. Step 3: Cover the Hole Place the duct tape over the hole and press down firmly to ensure it sticks. Step 4: Reinforce the Patch If the hole is larger, you can place additional pieces of duct tape around the edges of the first piece to create a stronger seal. Step 5: Allow Time to Dry While this may not be a long-term solution, allowing the duct tape to dry for a few hours can help create a stronger seal and prevent the patch from peeling off. With these tips and techniques, patching a hole in an air mattress should be a breeze. Remember to properly maintain your air mattress to prevent leaks and always use the appropriate materials for a successful repair. Happy sleeping!10. Step-by-Step Guide for Patching an Air Mattress with Duct Tape
10. Step-by-Step Guide for Patching an Air Mattress with Duct Tape


How to Patch a Hole in an Air Mattress

Introduction
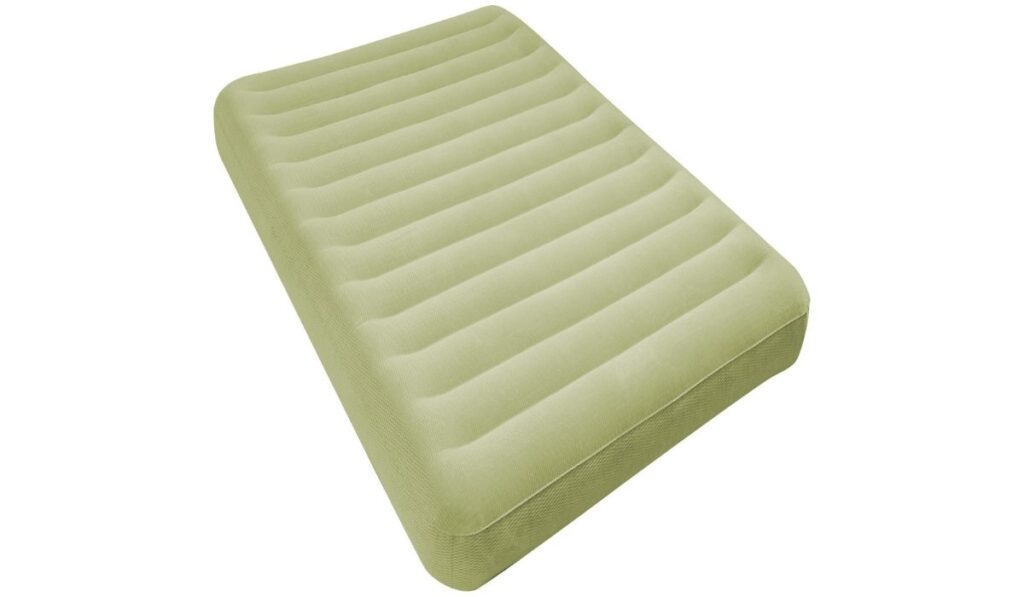
 An air mattress is a convenient and comfortable option for accommodating guests or for camping trips. However, it is not uncommon for an air mattress to develop a hole or tear over time. This can be frustrating and may lead to the urge to simply throw away the mattress and buy a new one. But fear not, with the right tools and techniques, patching a hole in an air mattress is a simple and cost-effective solution. In this article, we will guide you through the process of
patching a hole in an air mattress
and getting your mattress back to its fully functional state.
An air mattress is a convenient and comfortable option for accommodating guests or for camping trips. However, it is not uncommon for an air mattress to develop a hole or tear over time. This can be frustrating and may lead to the urge to simply throw away the mattress and buy a new one. But fear not, with the right tools and techniques, patching a hole in an air mattress is a simple and cost-effective solution. In this article, we will guide you through the process of
patching a hole in an air mattress
and getting your mattress back to its fully functional state.
Gather the Materials
 Before you begin, make sure you have all the necessary materials. You will need a patch kit, which typically includes a patch, adhesive, and sometimes sandpaper. You can also purchase these items separately if you do not have a patch kit. Additionally, you will need rubbing alcohol, a clean cloth, and scissors. Once you have all the materials, you are ready to begin.
Locate the Hole
 The first step is to identify where the hole is located. Sometimes it may be obvious, but other times it may be more difficult to pinpoint. To find the hole, you can try inflating the mattress and listening for any hissing sounds. If this doesn't work, you can also use a small cup of soapy water and apply it to the mattress. The escaping air will create bubbles, indicating the location of the hole.
Clean and Prep the Area
 Once you have located the hole, clean the area around it with rubbing alcohol and a clean cloth. This will ensure that the adhesive sticks properly and creates a strong bond. Next, use the sandpaper to gently rough up the surface of the mattress around the hole. This will help the adhesive adhere better.
Apply the Patch
 Now it's time to apply the patch. If you are using a patch kit, follow the instructions provided. If you are using separate materials, apply a thin layer of adhesive to the patch and the area around the hole. Then, carefully place the patch over the hole, pressing down firmly. Make sure there are no wrinkles or air bubbles under the patch.
Let it Dry
 Allow the patch to dry completely before using the mattress again. This can take anywhere from 24 to 48 hours, so be patient. Avoid putting any weight or pressure on the patch during this time to ensure it sets properly.
Final Thoughts
 Patching a hole in an air mattress is a quick and easy solution to extend the life of your mattress. With the right materials and techniques, you can have your air mattress back to its fully functional state in no time. Remember to always have a patch kit on hand for any future mishaps and you'll be prepared to tackle any holes that may arise.