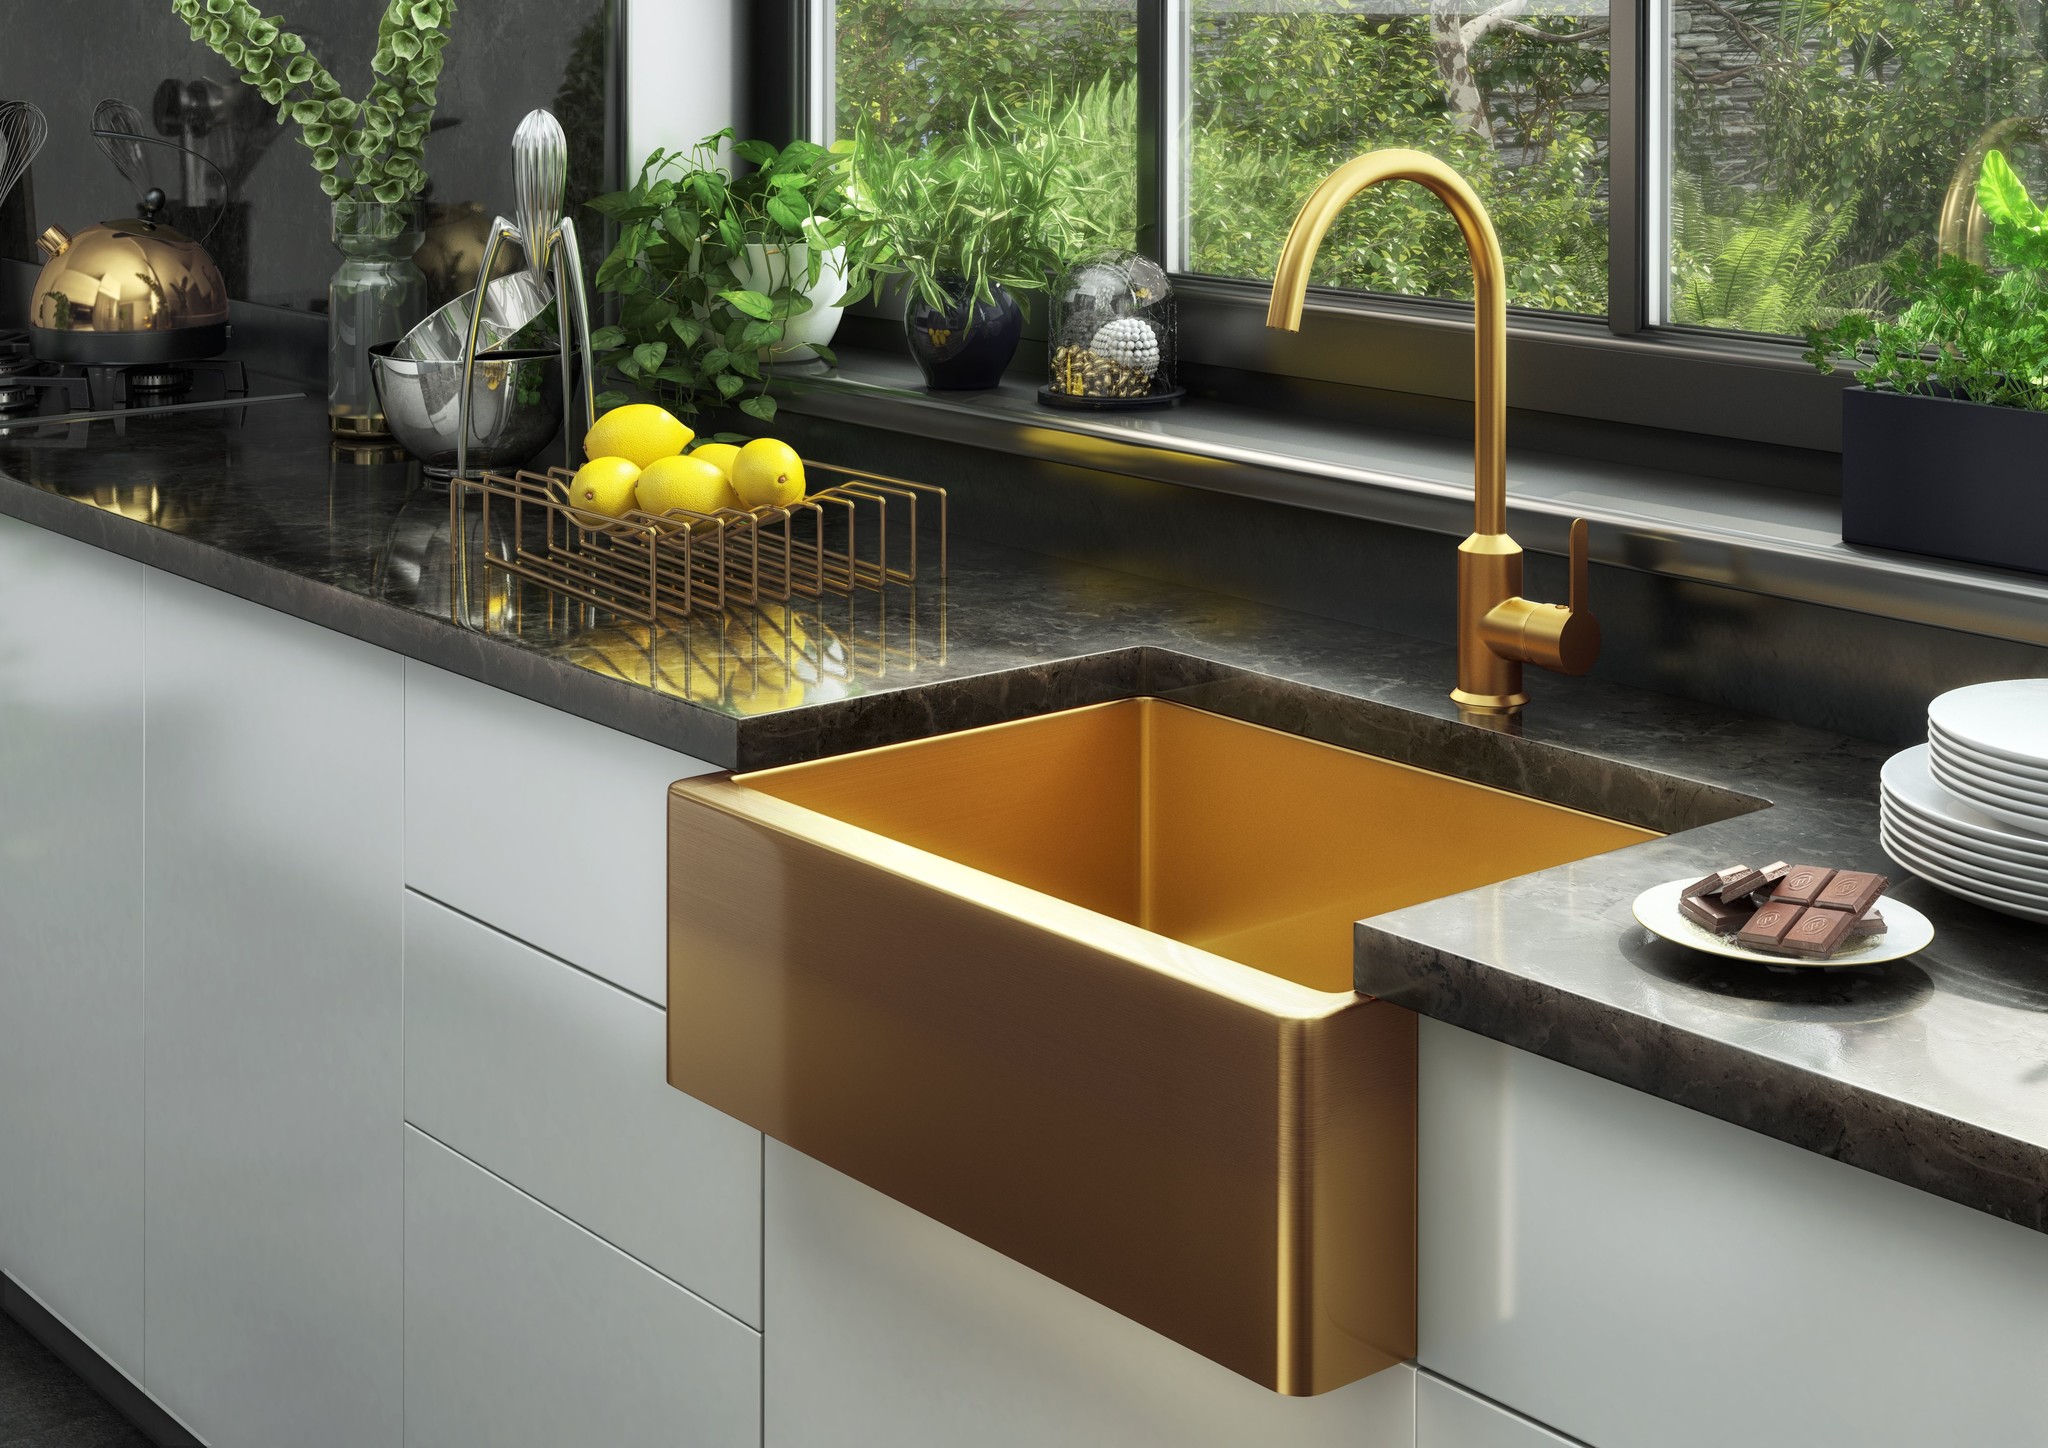
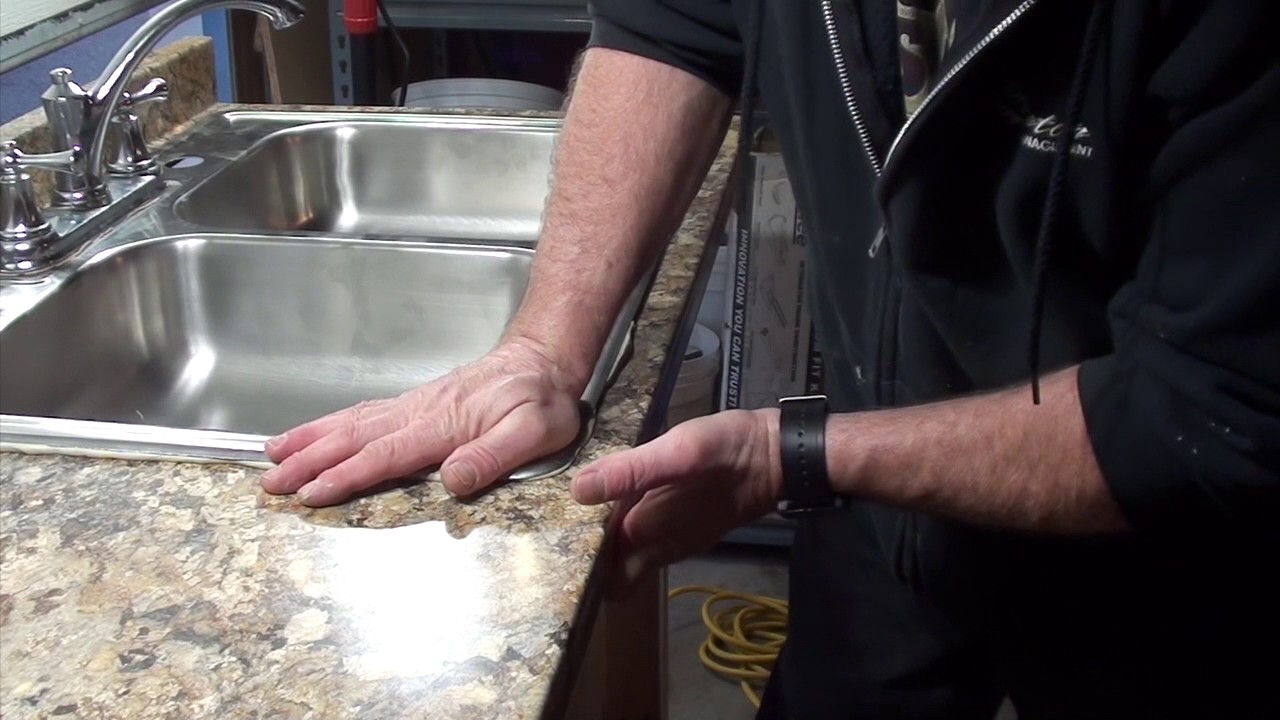
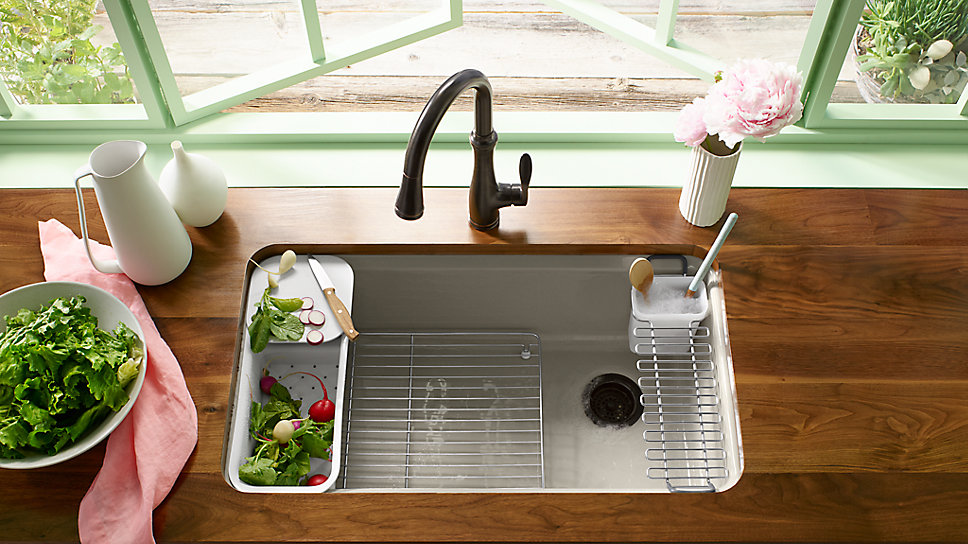
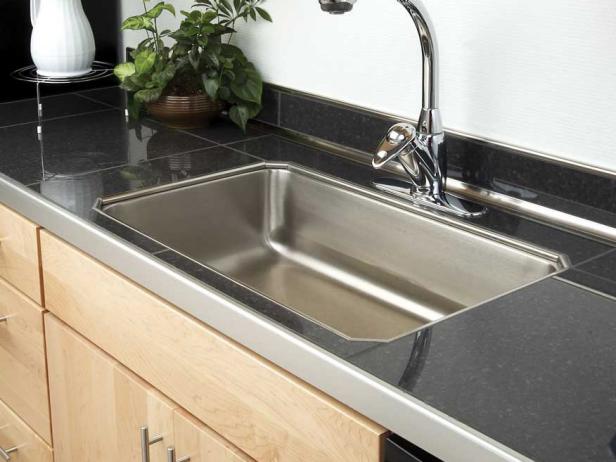
Making a kitchen sink with tile can be a fun and creative DIY project that will add a unique touch to your kitchen. Not only is it a cost-effective option compared to buying a new sink, but it also allows you to customize the design and style to match your personal taste. Here is a step-by-step guide on how to make a kitchen sink with tile. Firstly, gather all the necessary materials for the project. This includes tiles of your choice, adhesive, grout, a tile cutter, a trowel, and a sponge. Once you have everything, you can start the process of creating your own tile kitchen sink. Begin by measuring the dimensions of your sink and countertop to determine how many tiles you will need. Make sure to add a few extra tiles in case of any mistakes or breakages. Next, prepare the surface by cleaning and sanding it to ensure a smooth and even base for the tiles. Apply a layer of adhesive using a trowel, making sure to cover the entire surface. Now, it's time to start placing the tiles. Start from the center of the sink and work your way outwards, using spacers to keep the tiles evenly spaced. Use a tile cutter to trim any tiles that need to fit around the edges. Once all the tiles are in place, allow the adhesive to dry according to the manufacturer's instructions. Then, remove the spacers and fill in the gaps between the tiles with grout. Use a damp sponge to wipe off any excess grout and smooth out the surface. Finally, let the grout dry completely before sealing the tiles with a grout sealer. This will help protect the tiles from moisture and stains. Your new tile kitchen sink is now complete and ready to use. Make sure to regularly clean and maintain it to keep it looking its best.1. How to Make a Kitchen Sink with Tile: A Step-by-Step Guide


1. How to Make a Kitchen Sink with Tile: A Step-by-Step Guide


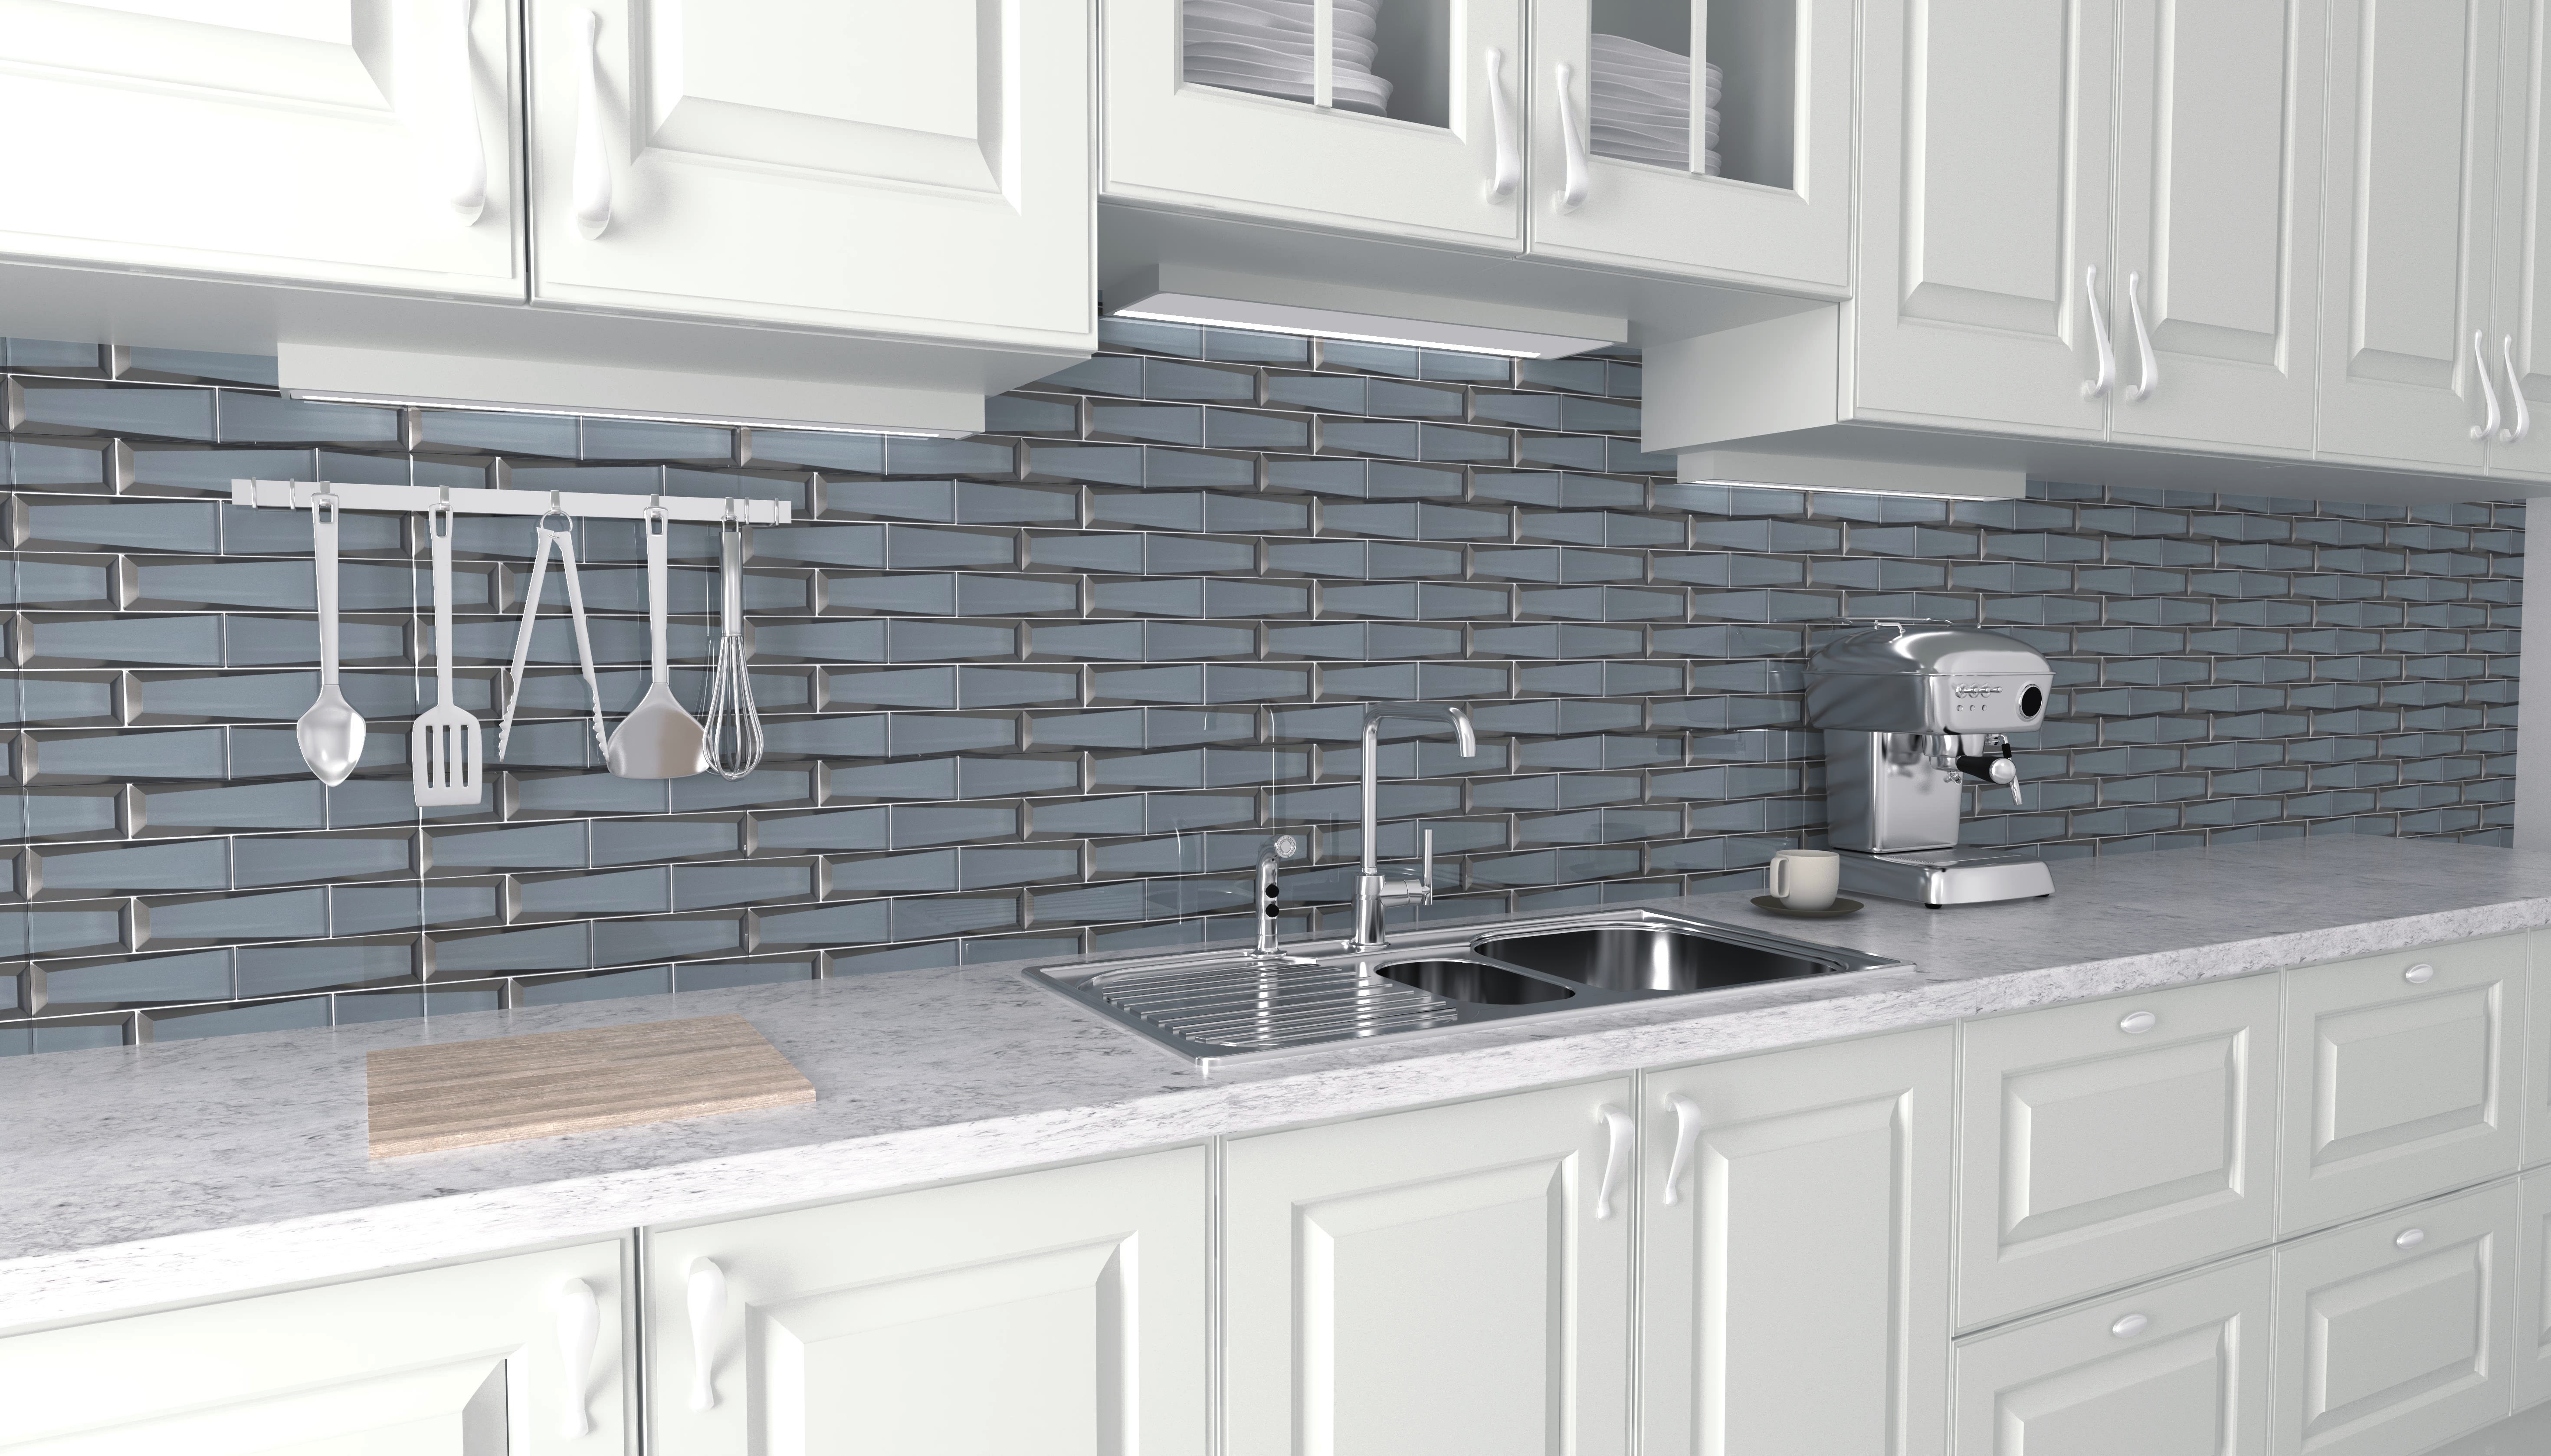
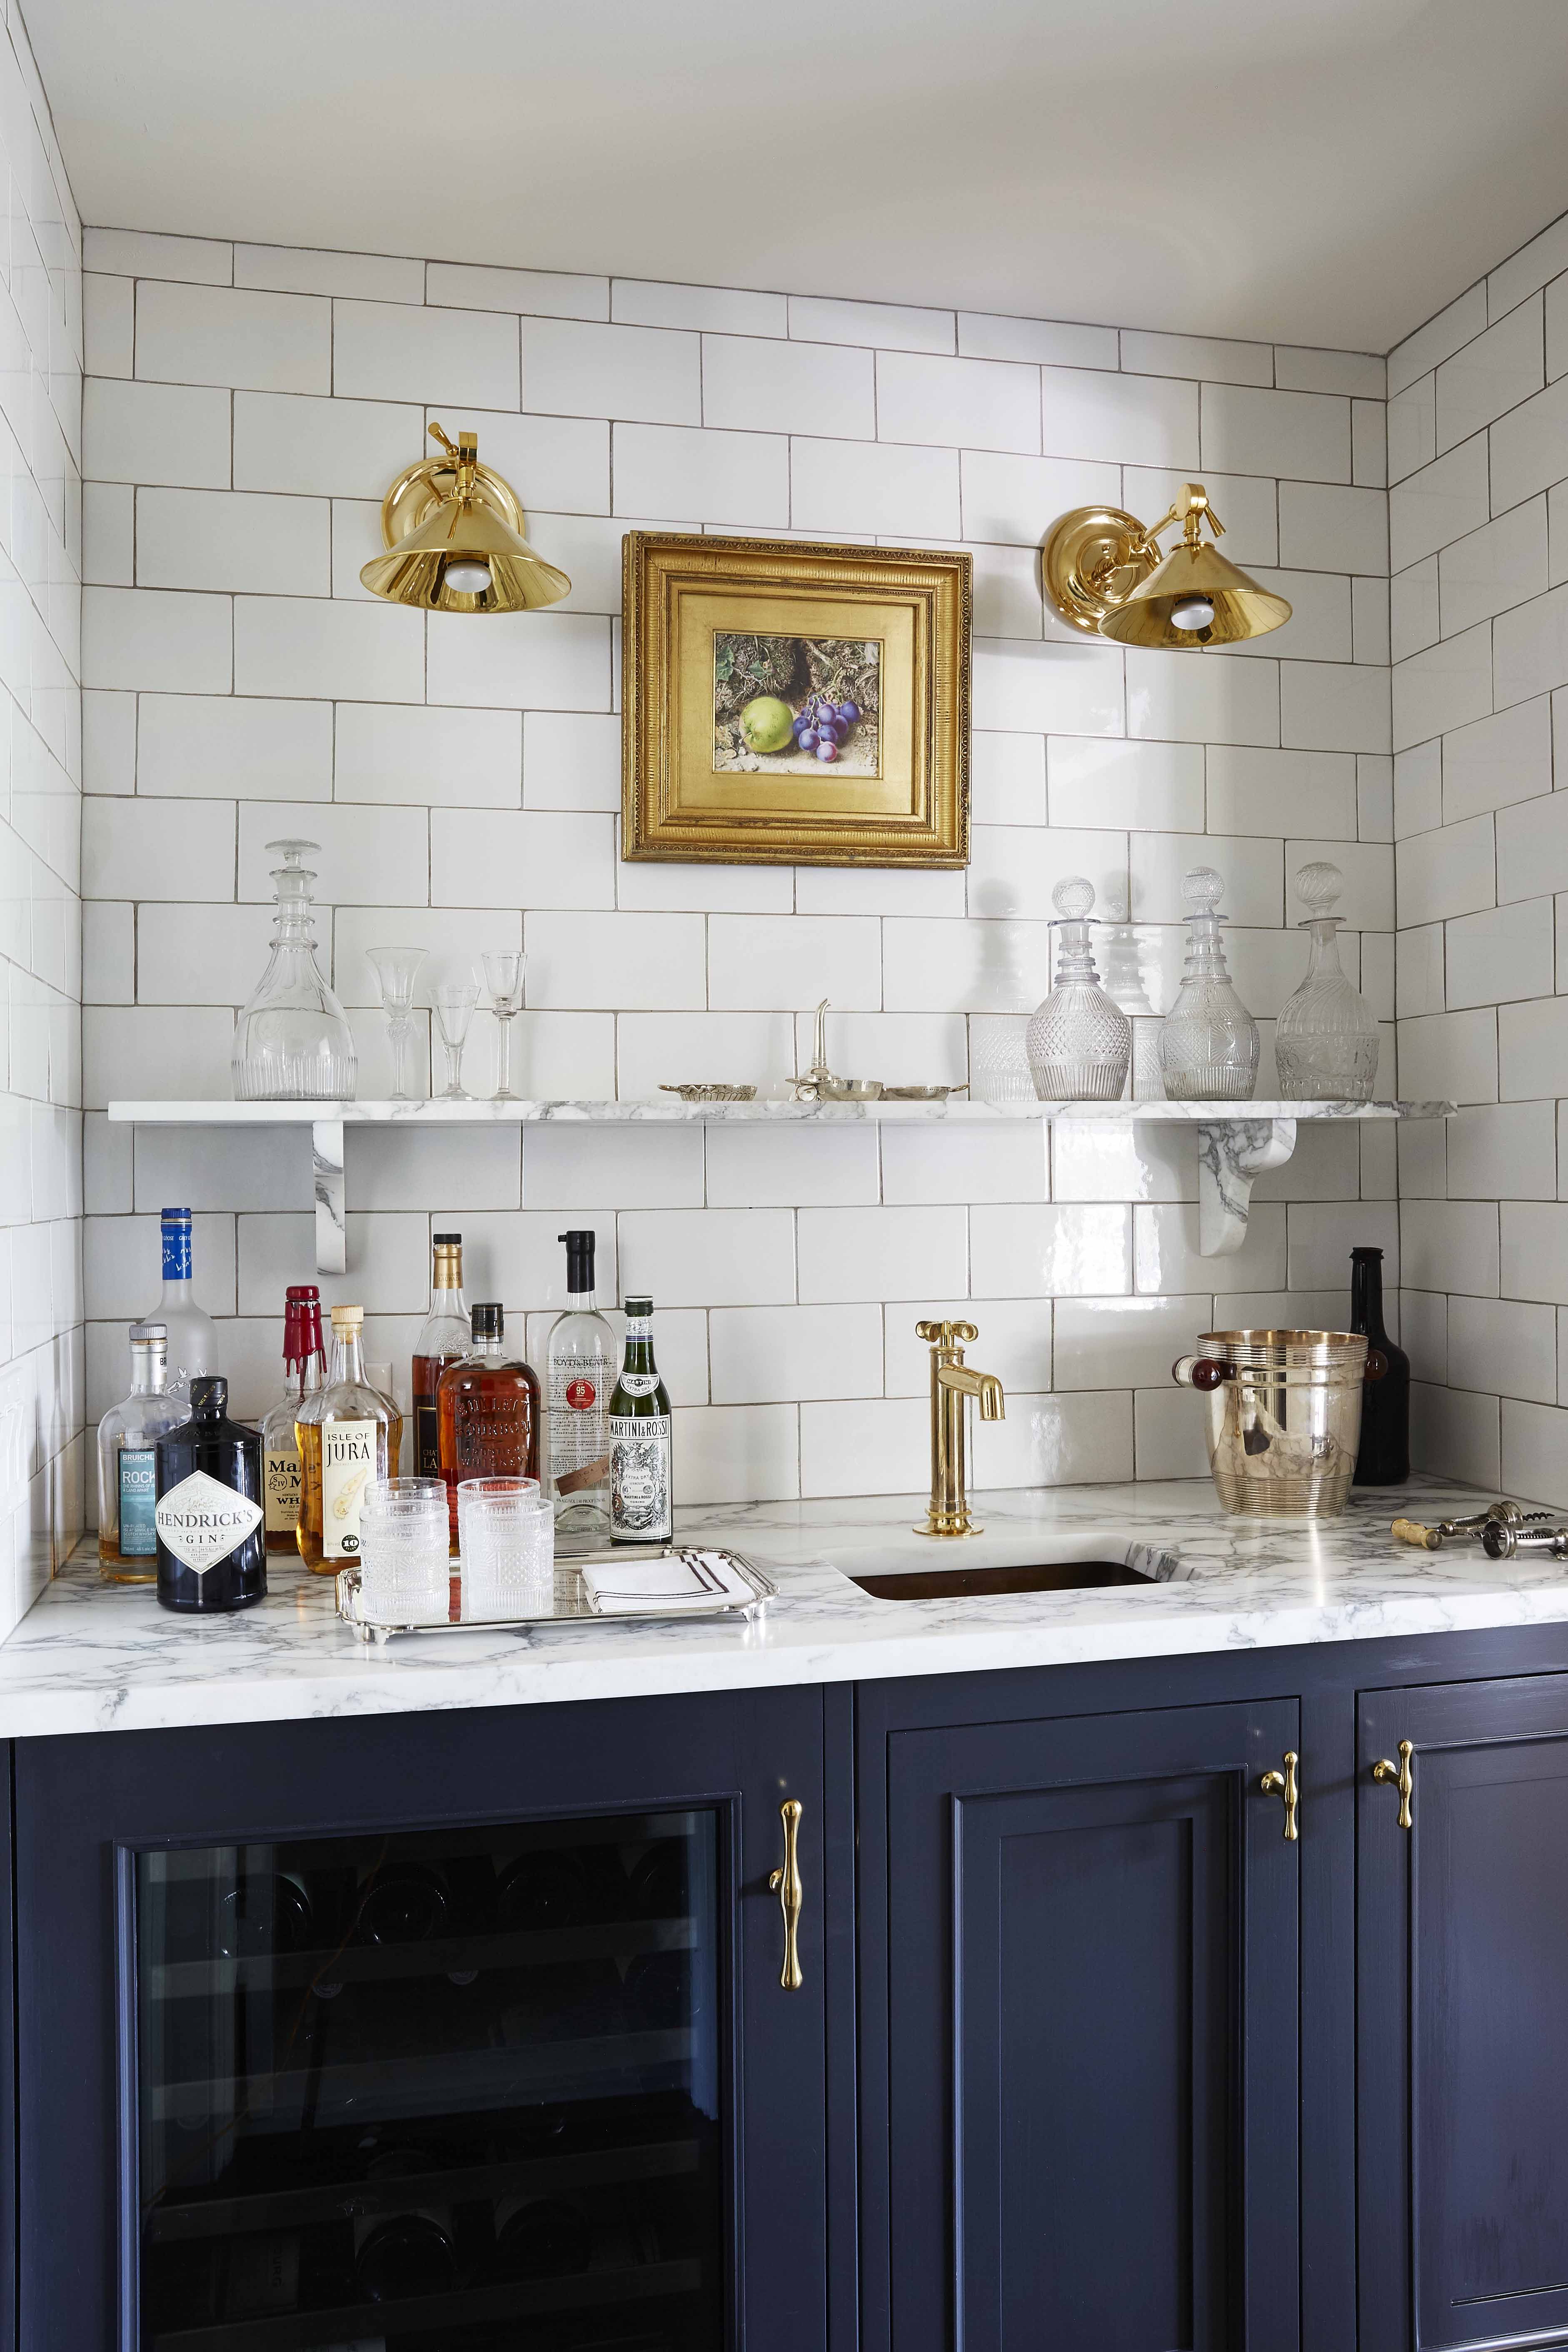
A tile backsplash is a great way to add a pop of color and personality to your kitchen sink area. It also serves as a protective barrier against water and food splashes, making it not only aesthetically pleasing but also functional. Here's how you can create a DIY kitchen sink tile backsplash. Start by choosing the right tiles for your backsplash. You can opt for a cohesive look by using the same tiles as your kitchen sink or mix and match different colors and patterns for a unique design. Make sure to measure the area to determine the number of tiles needed. Clean and prepare the wall surface by sanding and wiping it down with a damp cloth. Then, apply the adhesive using a trowel, making sure to cover the entire area where the tiles will be placed. Begin placing the tiles from the bottom of the backsplash and work your way up, using spacers to maintain an even spacing between the tiles. Use a tile cutter to trim any tiles that need to fit around outlets or corners. Once all the tiles are in place, let the adhesive dry completely. Then, remove the spacers and fill in the gaps between the tiles with grout. Wipe off any excess grout with a damp sponge and allow it to dry. Finally, seal the grout with a grout sealer to protect it from stains and moisture. Your DIY kitchen sink tile backsplash is now complete and ready to enhance the look of your kitchen.2. DIY Kitchen Sink Tile Backsplash


2. DIY Kitchen Sink Tile Backsplash


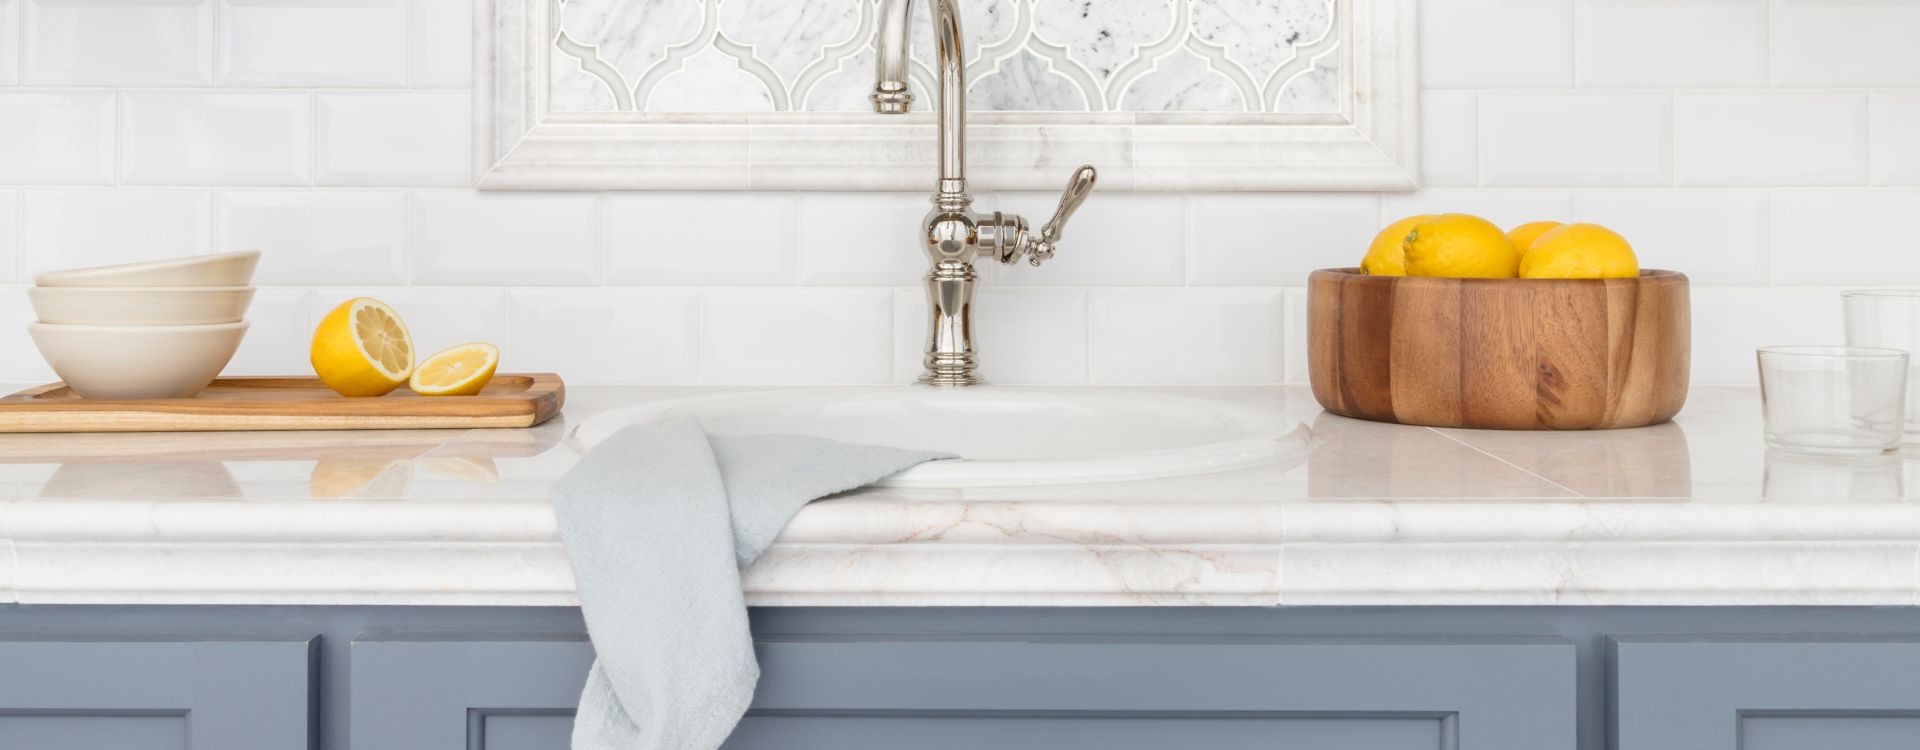
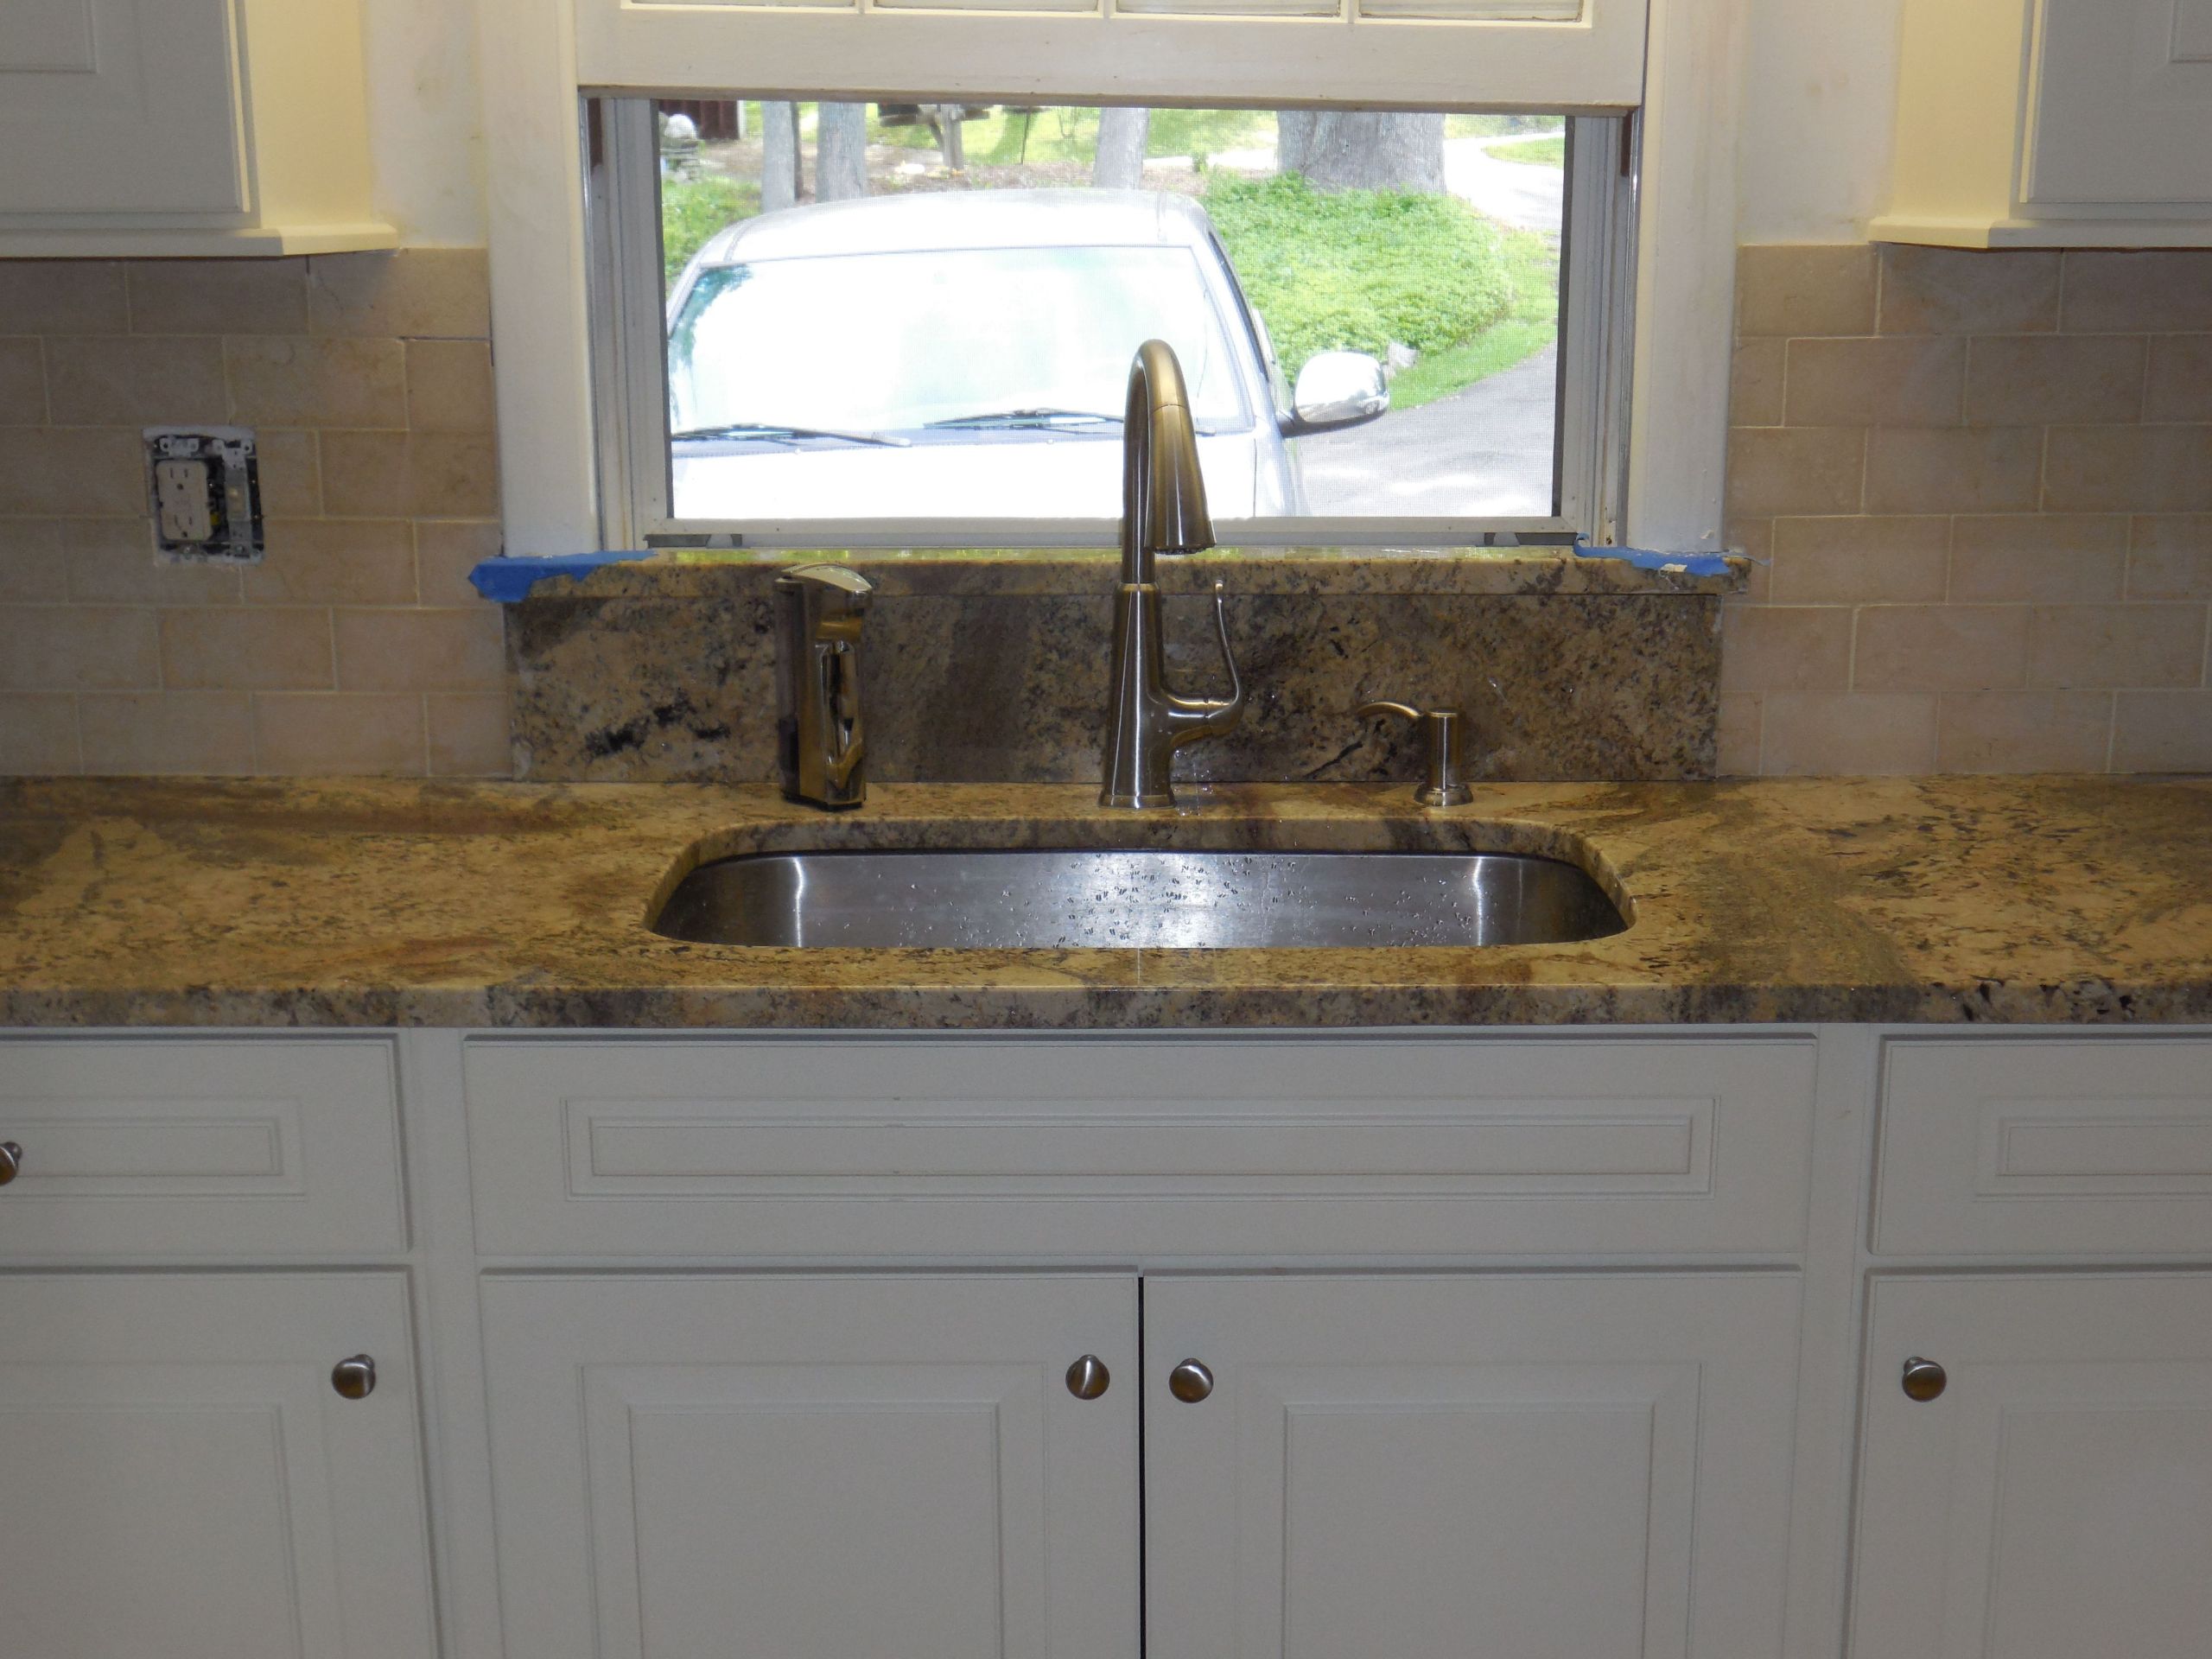


Installing a tile backsplash in your kitchen sink area is a simple and budget-friendly way to upgrade your kitchen's look. With the right tools and materials, you can easily complete this project in a day. Here's how to install a tile backsplash in your kitchen sink. Start by choosing the tiles for your backsplash. Consider the color and pattern of your kitchen sink and countertops to ensure a cohesive look. Measure the area to determine the number of tiles needed. Next, prepare the wall surface by cleaning and sanding it. Apply a layer of adhesive using a trowel, making sure to cover the entire area where the tiles will be placed. Begin placing the tiles, starting from the bottom of the backsplash and working your way up. Use spacers to maintain an even spacing between the tiles and a tile cutter to trim any tiles that need to fit around outlets or corners. Once all the tiles are in place, allow the adhesive to dry completely. Then, remove the spacers and fill in the gaps between the tiles with grout. Use a damp sponge to wipe off any excess grout and let it dry. Finally, seal the grout with a grout sealer to protect it from stains and moisture. Your new tile backsplash is now installed and ready to add a touch of elegance to your kitchen sink area.3. How to Install a Tile Backsplash in Your Kitchen Sink

3. How to Install a Tile Backsplash in Your Kitchen Sink


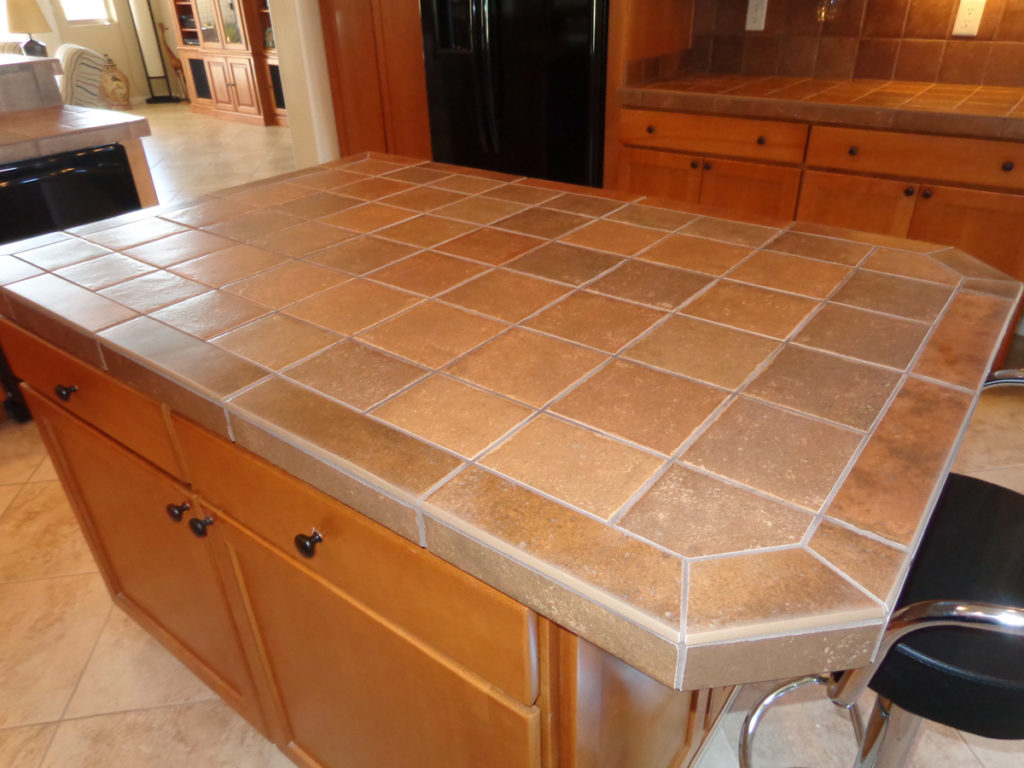
Tiling a kitchen sink countertop is a great way to give your kitchen a fresh and updated look. It's also a cost-effective option compared to replacing the entire countertop. Here's a step-by-step guide on how to tile a kitchen sink countertop. Firstly, gather all the necessary materials, including tiles, adhesive, grout, a tile cutter, trowel, and sponge. Measure the dimensions of your countertop to determine the number of tiles needed. Next, prepare the surface by cleaning and sanding it to ensure a smooth and even base for the tiles. Apply a layer of adhesive using a trowel, making sure to cover the entire surface. Start placing the tiles from the center of the countertop, working your way outwards. Use spacers to maintain an even spacing between the tiles and a tile cutter to trim any tiles that need to fit around the edges. Once all the tiles are in place, allow the adhesive to dry completely. Then, remove the spacers and fill in the gaps between the tiles with grout. Wipe off any excess grout with a damp sponge and let it dry. Finally, seal the grout with a grout sealer to protect it from stains and moisture. Your new tile kitchen sink countertop is now complete and ready to impress.4. How to Tile a Kitchen Sink Countertop


4. How to Tile a Kitchen Sink Countertop


Choosing the right tiles for your kitchen sink is crucial in creating a functional and visually appealing space. With a wide variety of options available, it can be overwhelming to decide on the best tiles for your kitchen sink. Here's a guide to help you choose the perfect tiles. Porcelain and ceramic tiles are popular choices for kitchen sinks due to their durability, water resistance, and versatility in design. They come in a variety of shapes, sizes, and colors, making it easy to find the perfect match for your kitchen. Natural stone tiles, such as marble and granite, are also great options for kitchen sinks. They add a touch of elegance and sophistication to the space, but they do require more maintenance compared to porcelain and ceramic tiles. Mosaic tiles are another popular choice for kitchen sinks. They come in a variety of materials, including glass, ceramic, and stone, and can create a unique and eye-catching look. However, they may be more difficult to clean and maintain compared to larger tiles. Consider your personal style and the overall look of your kitchen when choosing the best tiles for your kitchen sink. With the right tiles, you can create a beautiful and functional space that you will love.5. The Best Tiles for Kitchen Sinks: A Guide


5. The Best Tiles for Kitchen Sinks: A Guide


A tile mosaic kitchen sink is a creative and unique way to add personality to your kitchen. It involves using small tiles to create a larger design, resulting in a beautiful and eye-catching piece. Here's how you can make a tile mosaic kitchen sink. Start by choosing the design and colors for your mosaic. You can opt for a simple pattern or get creative with a more intricate design. Make sure to measure the area to determine the number of tiles needed. Next, prepare the surface by cleaning and sanding it. Apply a layer of adhesive using a trowel, making sure to cover the entire area where the mosaic will be placed. Begin placing the tiles, following your chosen design. Use spacers to maintain an even spacing between the tiles and a tile cutter to trim any tiles that need to fit around edges or corners. Once all the tiles are in place, allow the adhesive to dry completely. Then, remove the spacers and fill in the gaps between the tiles with grout. Use a damp sponge to wipe off any excess grout and let it dry. Finally, seal the grout with a grout sealer to protect it from stains and moisture. Your new tile mosaic kitchen sink is now complete and ready to be the focal point of your kitchen.6. How to Make a Tile Mosaic Kitchen Sink


6. How to Make a Tile Mosaic Kitchen Sink


If your kitchen sink is old and worn out, replacing it with tile can be a great option. Not only will it give your kitchen a fresh look, but it's also a more cost-effective solution compared to buying a new sink. Here's how you can replace a kitchen sink with tile. Start by removing the old sink and countertop. Then, clean and prepare the area by sanding and wiping it down with a damp cloth. Measure the dimensions of the sink and countertop to determine the number of tiles needed. Next, apply adhesive to the area using a trowel, making sure to cover the entire surface. Begin placing the tiles, starting from the center and working your way outwards. Use spacers to maintain an even spacing between the tiles and a tile cutter to trim any tiles that need to fit around the edges. Once all the tiles are in place, allow the adhesive to dry completely. Then, remove the spacers and fill in the gaps between the tiles with grout. Use a damp sponge to wipe off any excess grout and let it dry. Finally, seal the grout with a grout sealer to protect it from stains and moisture. Your new tile kitchen sink is now installed and ready to be used.7. How to Replace a Kitchen Sink with Tile


7. How to Replace a Kitchen Sink with Tile


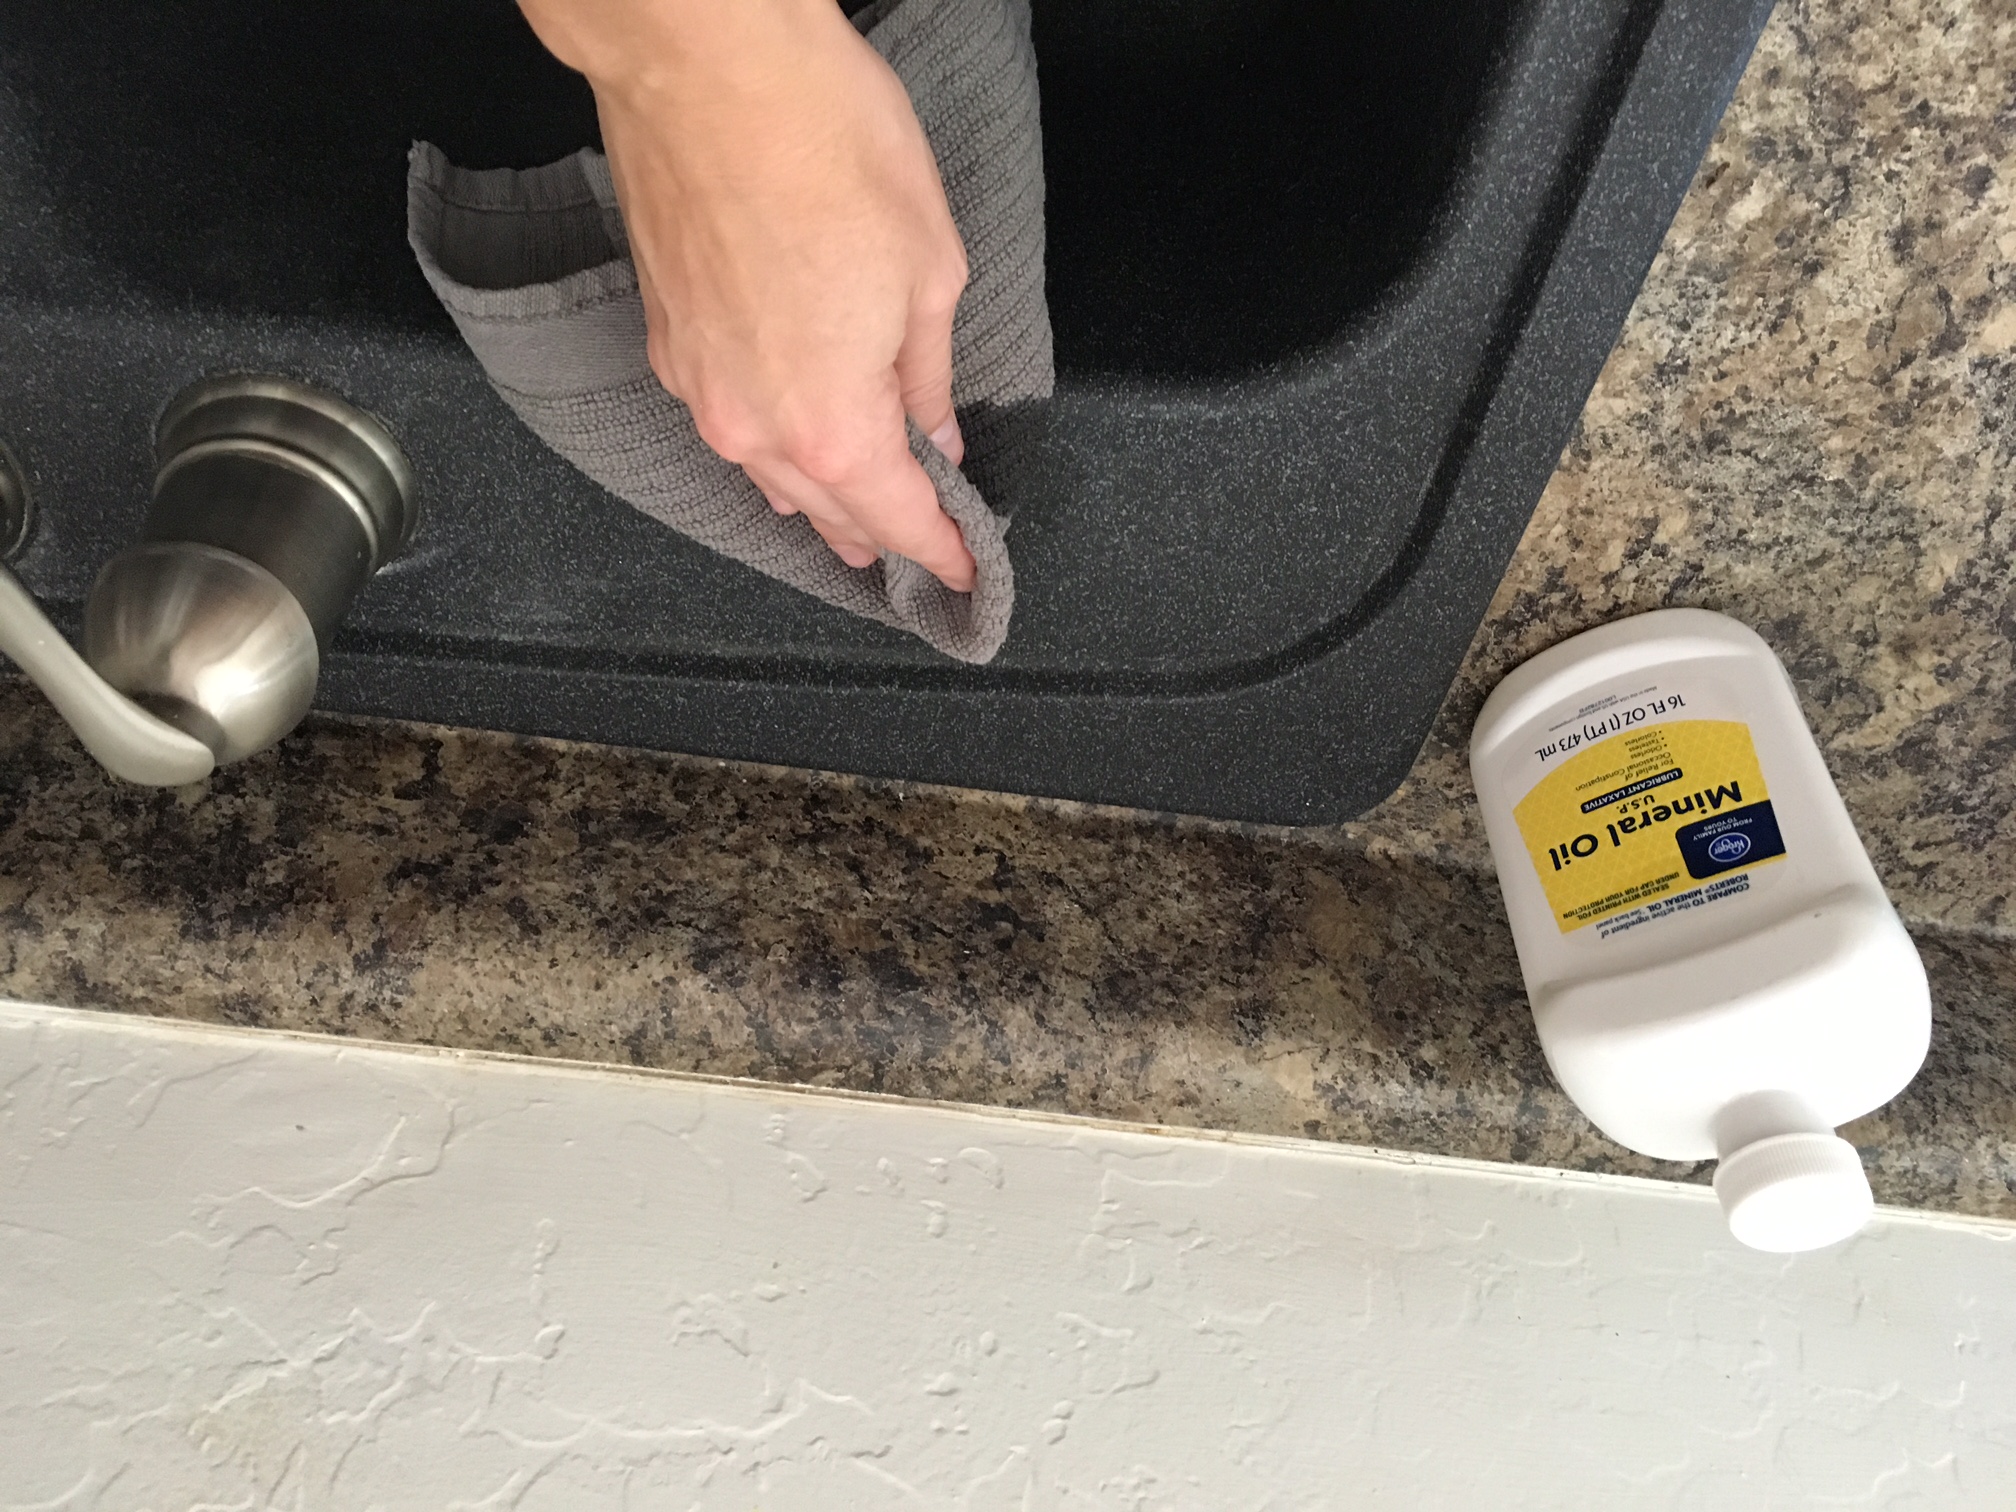
Cleaning and maintaining your tile kitchen sink is crucial in keeping it looking its best and prolonging its lifespan. Here are some tips on how to clean and maintain a tile kitchen sink. Regularly wipe down the surface of the sink with a mild cleaner and warm water to remove any dirt, grime, or stains. Avoid using harsh chemicals or abrasives that can damage the tiles. To keep the grout clean, mix equal parts of baking soda and water to form a paste. Apply it to the grout lines and scrub with a soft-bristled brush. Rinse with warm water and dry with a clean cloth. For tougher stains, you can use a mixture of equal parts white vinegar and water. Let it sit for a few minutes before scrubbing with a brush and rinsing with warm water. Make sure to regularly seal the grout to protect it from moisture and stains. You can use a commercial grout sealer or a mixture of equal parts water and white vinegar. With proper cleaning and maintenance, your tile kitchen sink will continue to look beautiful and function well for years to come.8. How to Clean and Maintain a Tile Kitchen Sink


8. How to Clean and Maintain a Tile Kitchen Sink


Designing a kitchen sink with tile allows you to get creative and add a personal touch to your kitchen. Here are some tips to help you design a beautiful and functional kitchen sink with tile. Consider the overall style and color scheme of your kitchen when choosing the tiles. You can opt for a cohesive look by using the same tiles as your countertops, or create contrast with different colors and patterns. Choose a tile size and shape that best fits your sink and countertop. Larger tiles can create a sleek and modern look, while smaller tiles can add texture and dimension. You can also incorporate different tile materials, such as glass or stone, to add visual interest to your kitchen sink area. Don't be afraid to get creative and experiment with different layouts and patterns. You can create a herringbone or chevron design for a unique look or use different colored tiles to create a mosaic. Take your time when designing your tile kitchen sink and have fun with it. The end result will be a beautiful and customized space that you will love.9. How to Design a Kitchen Sink with Tile


9. How to Design a Kitchen Sink with Tile


Choosing the right tile for your kitchen sink is crucial in creating a functional and visually appealing space. With so many options available, it's important to consider factors such as durability, water resistance, and maintenance. Here's how to choose the right tile for your kitchen sink. Porcelain and ceramic tiles are popular choices for kitchen sinks due to their durability and water resistance. They are also easy to clean and maintain. Natural stone tiles, such as marble and granite, add a touch of elegance but require more maintenance. Consider the size and shape of your sink and countertop when choosing the tile. Larger tiles can create a sleek and modern look, while smaller tiles can add texture and dimension. Take into account the overall style and color scheme of your kitchen. You can opt for a cohesive look by using the same tiles as your countertops or add contrast with different colors and patterns. Think about your personal style and the design you want to achieve. You can get creative with different layouts and patterns or mix and match different tile materials.10. How to Choose the Right Tile for Your Kitchen Sink

10. How to Choose the Right Tile for Your Kitchen Sink


:max_bytes(150000):strip_icc()/Basic-kitchen-sink-types-1821207_color_rev-0b539306b9ef4236a136624ad2a89a4c.jpg)


How to Make a Kitchen Sink with Tile: A Creative and Functional Addition to Your Kitchen Design

Tile: The Versatile and Stylish Choice for Your Kitchen Sink
 When it comes to designing your dream kitchen, every detail matters. From the cabinets to the countertops, each element plays a crucial role in creating a functional and aesthetically pleasing space. One often overlooked aspect of kitchen design is the sink. However, with the rise in popularity of tile as a material for kitchen sinks, it's time to give this essential feature the attention it deserves. In this article, we will guide you through the process of making a kitchen sink with tile, and show you how to incorporate this versatile and stylish option into your overall kitchen design.
The Benefits of Choosing a Tile Sink
 There are many benefits to choosing a tile sink for your kitchen. First and foremost, tile is a durable and long-lasting material, making it perfect for high-traffic areas like the kitchen. It is also water-resistant and easy to clean, making it a practical choice for a sink. Additionally, tile comes in a variety of colors, patterns, and textures, giving you endless options for customization and personalization. Whether you prefer a sleek and modern look or a more traditional and rustic feel, there is a tile option to suit your style.
Step-by-Step Guide to Making a Tile Kitchen Sink
 Step 1: Choose Your Tile
The first step in making a tile kitchen sink is selecting the tile you want to use. Consider the overall design of your kitchen and choose a tile that complements the existing elements. You can opt for a classic subway tile, a bold mosaic pattern, or a neutral solid color – the choice is yours.
Step 2: Measure and Prepare the Sink Area
Once you have chosen your tile, it's time to measure the area where you want to install the sink. Make sure to account for any fixtures or pipes that may be in the way. Once you have the measurements, prepare the area by removing any old sink and cleaning the surface thoroughly.
Step 3: Create a Template
Using the measurements you took, create a template on a piece of cardboard or paper. This template will serve as a guide for cutting the tile to fit the sink area correctly.
Step 4: Cut the Tile
Using the template, cut the tile to fit the sink area. Make sure to use a tile cutter and score the tile before breaking it to ensure a clean cut. If you are using multiple tiles, make sure to account for grout lines and leave space for them.
Step 5: Install the Tile
Once all the tiles are cut, it's time to install them. Apply tile adhesive to the sink area and carefully place the tiles, starting from the bottom and working your way up. Make sure to use spacers to ensure even spacing between tiles. Once all the tiles are in place, allow the adhesive to dry completely.
Step 6: Grout and Seal
After the adhesive has dried, remove the spacers and fill in the gaps between the tiles with grout. Wipe away any excess grout with a damp cloth and allow it to dry. Once the grout is dry, seal the tiles to protect them from water and stains.
Step 1: Choose Your Tile
The first step in making a tile kitchen sink is selecting the tile you want to use. Consider the overall design of your kitchen and choose a tile that complements the existing elements. You can opt for a classic subway tile, a bold mosaic pattern, or a neutral solid color – the choice is yours.
Step 2: Measure and Prepare the Sink Area
Once you have chosen your tile, it's time to measure the area where you want to install the sink. Make sure to account for any fixtures or pipes that may be in the way. Once you have the measurements, prepare the area by removing any old sink and cleaning the surface thoroughly.
Step 3: Create a Template
Using the measurements you took, create a template on a piece of cardboard or paper. This template will serve as a guide for cutting the tile to fit the sink area correctly.
Step 4: Cut the Tile
Using the template, cut the tile to fit the sink area. Make sure to use a tile cutter and score the tile before breaking it to ensure a clean cut. If you are using multiple tiles, make sure to account for grout lines and leave space for them.
Step 5: Install the Tile
Once all the tiles are cut, it's time to install them. Apply tile adhesive to the sink area and carefully place the tiles, starting from the bottom and working your way up. Make sure to use spacers to ensure even spacing between tiles. Once all the tiles are in place, allow the adhesive to dry completely.
Step 6: Grout and Seal
After the adhesive has dried, remove the spacers and fill in the gaps between the tiles with grout. Wipe away any excess grout with a damp cloth and allow it to dry. Once the grout is dry, seal the tiles to protect them from water and stains.
Incorporating Your Tile Sink into Your Kitchen Design
 Now that your tile sink is installed and sealed, it's time to incorporate it into your overall kitchen design. You can tie in the sink with your backsplash, countertops, or even your floor tiles. The possibilities are endless, and a tile sink adds a unique and creative touch to any kitchen design.
In Conclusion
 A tile kitchen sink is a functional and stylish addition to any kitchen design. With its durability, versatility, and endless customization options, it's no wonder tile is becoming a popular choice for sinks. By following these simple steps, you can make your own tile sink and add a unique touch to your dream kitchen. So why settle for a standard stainless steel sink when you can make a statement with a beautiful tile sink?
/cloudfront-us-east-1.images.arcpublishing.com/dmn/GAISQZZF2RBILFFJGLX4BCKGAY.jpg)


