Recording music in your living room can be a convenient and cost-effective option for many musicians. However, it's crucial to consider the acoustics of your space to ensure high-quality recordings. Here are some tips to help you improve your living room recording acoustics and take your music to the next level.1. How to Improve Your Living Room Recording Acoustics


1. How to Improve Your Living Room Recording Acoustics
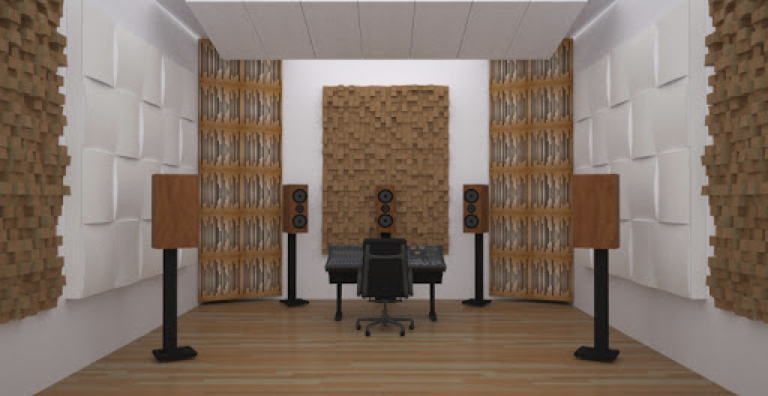


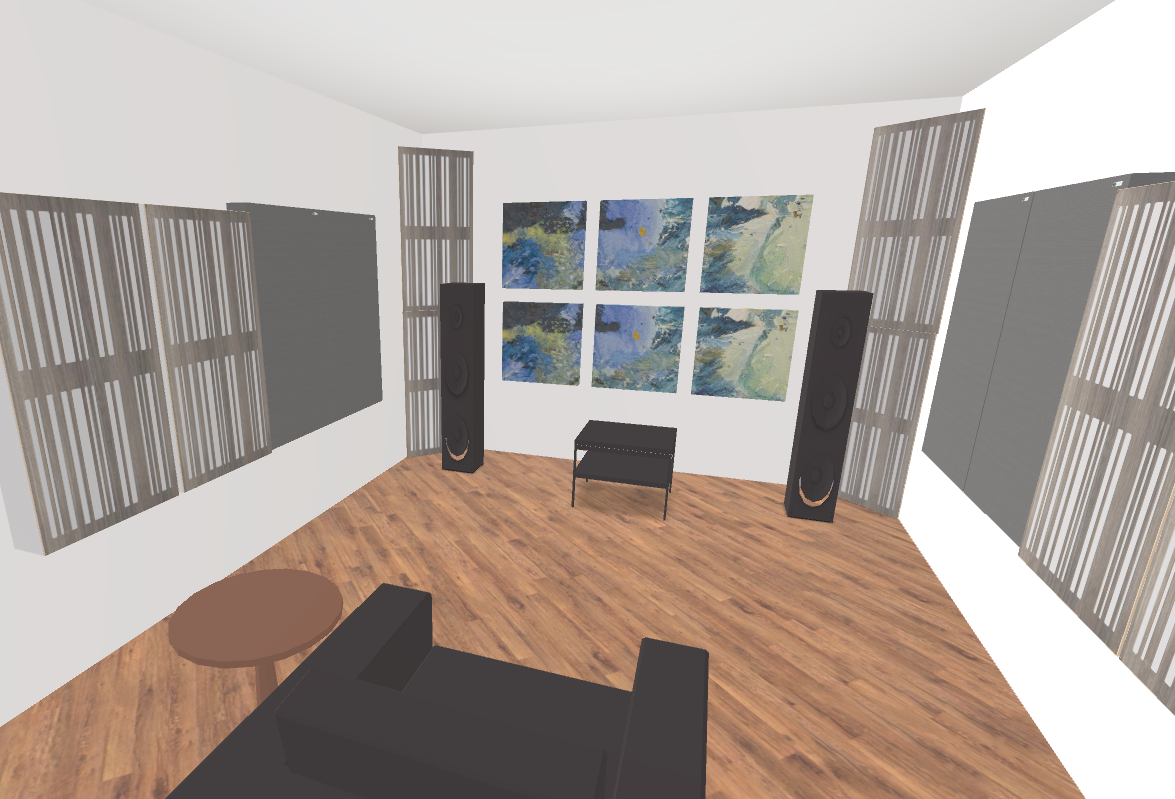
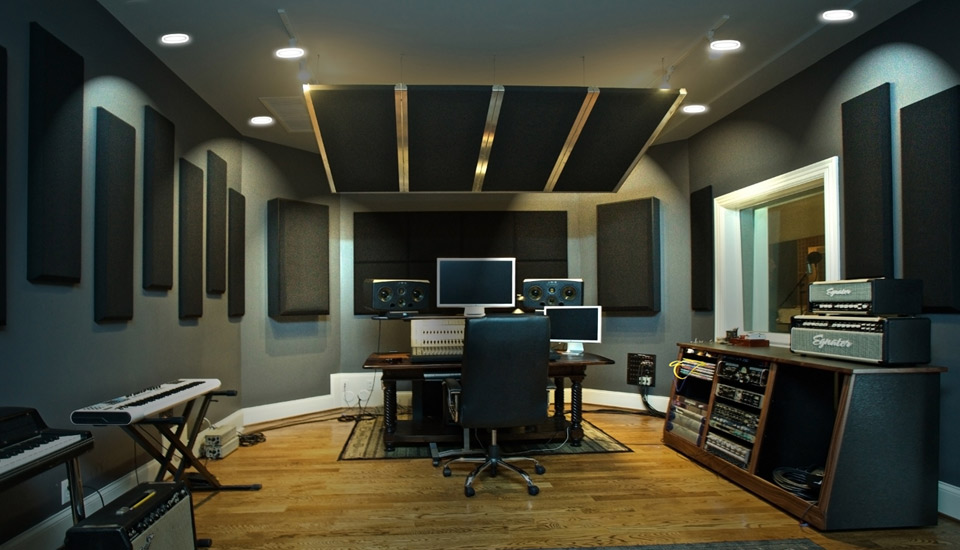
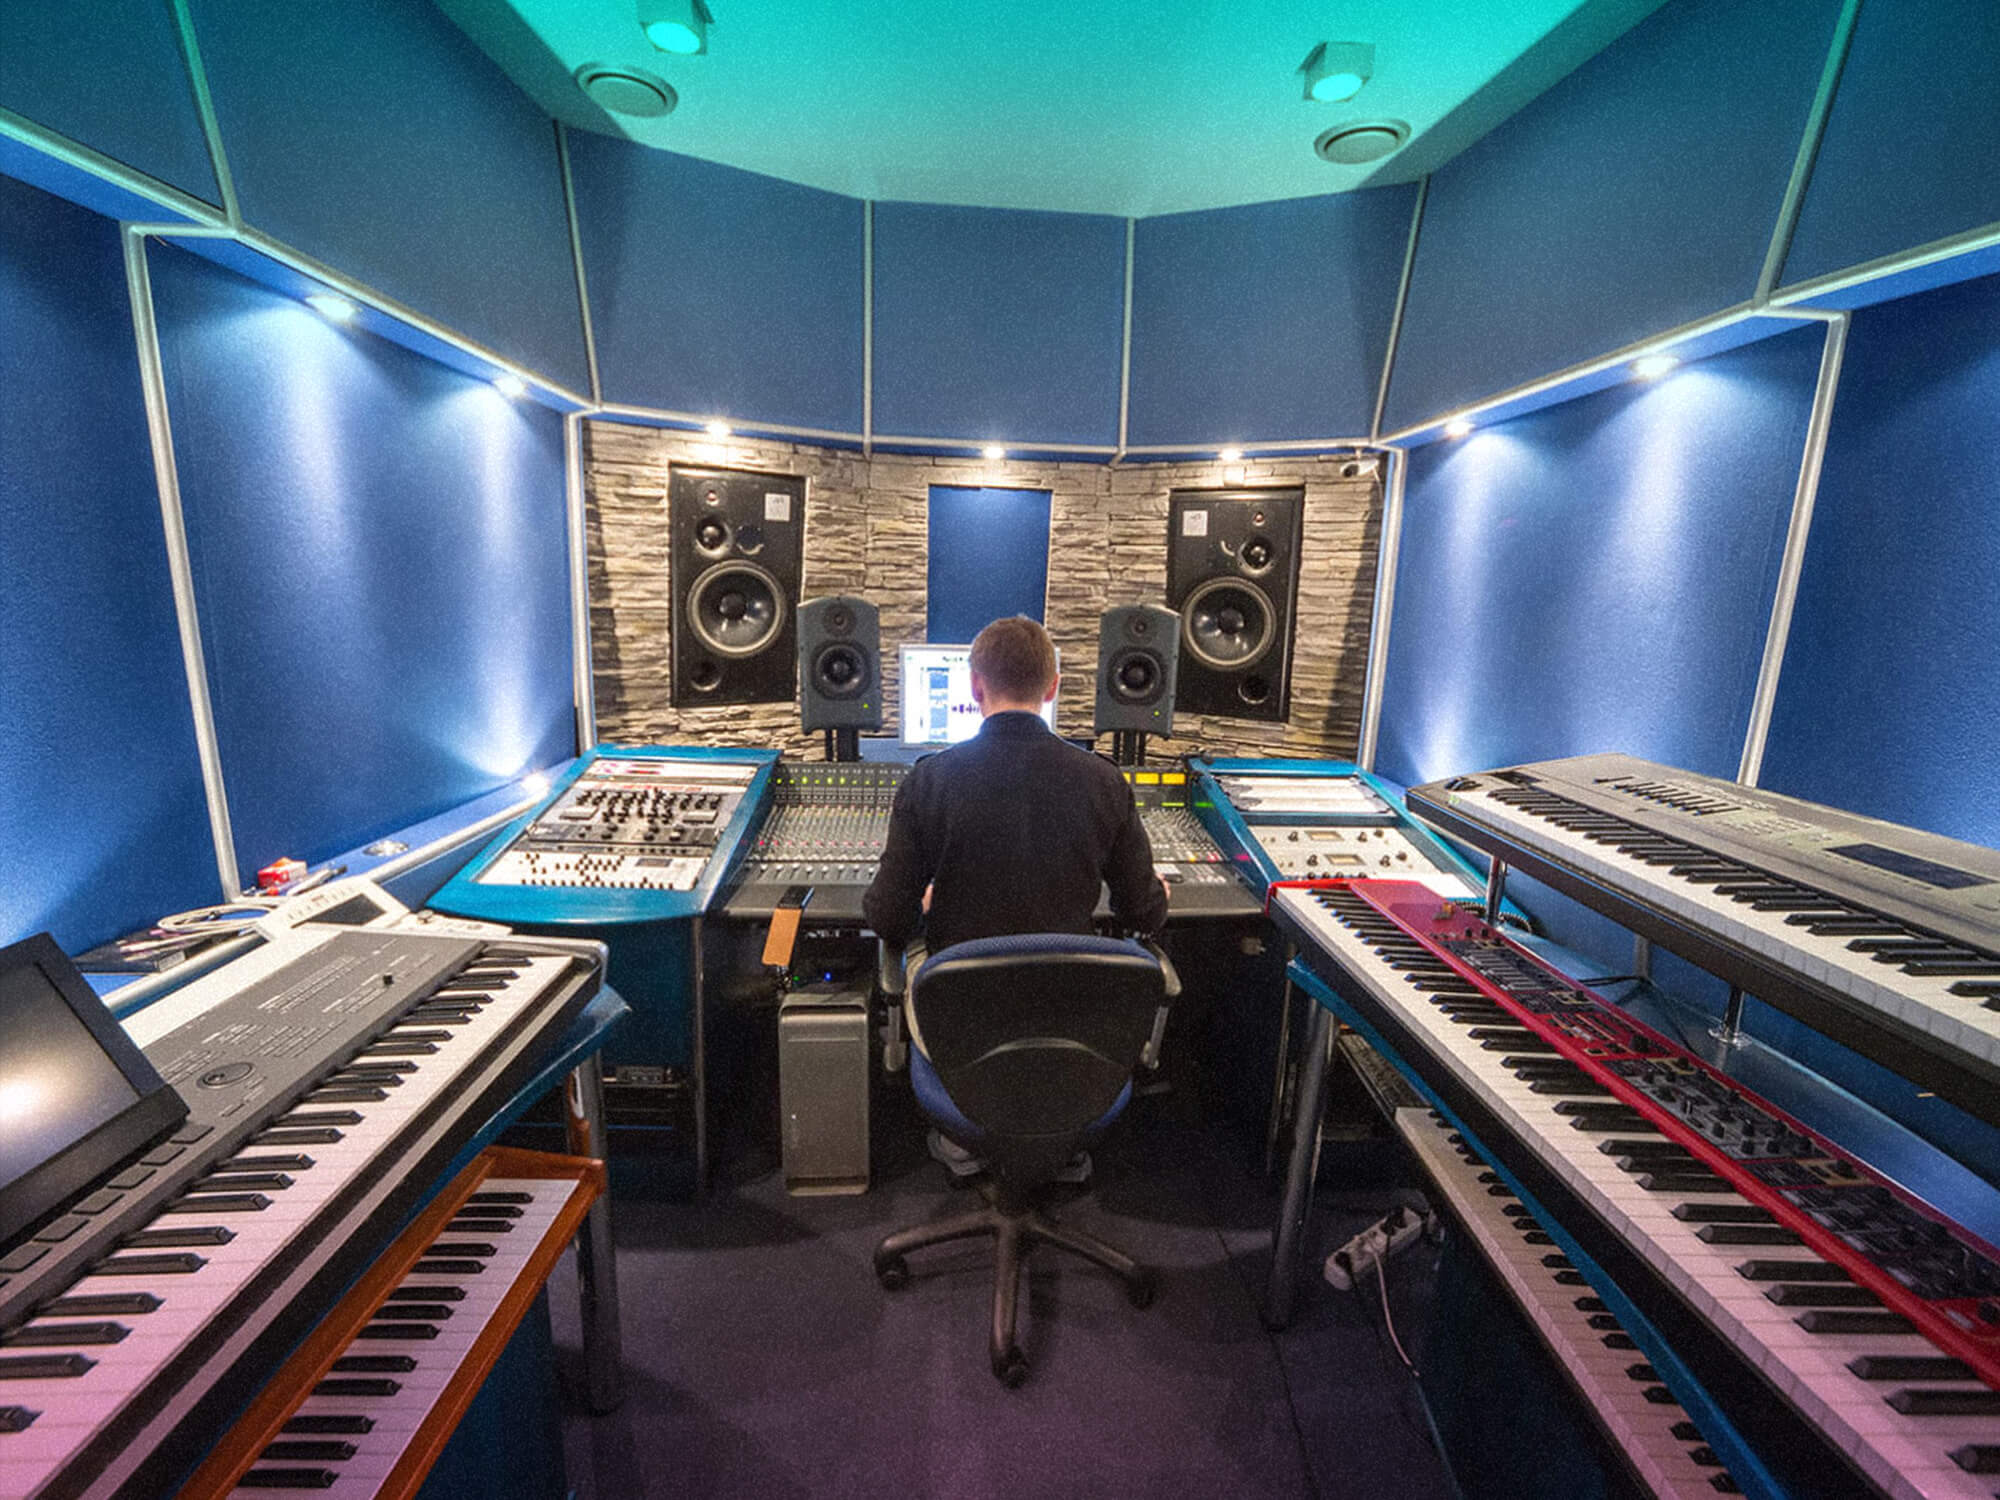
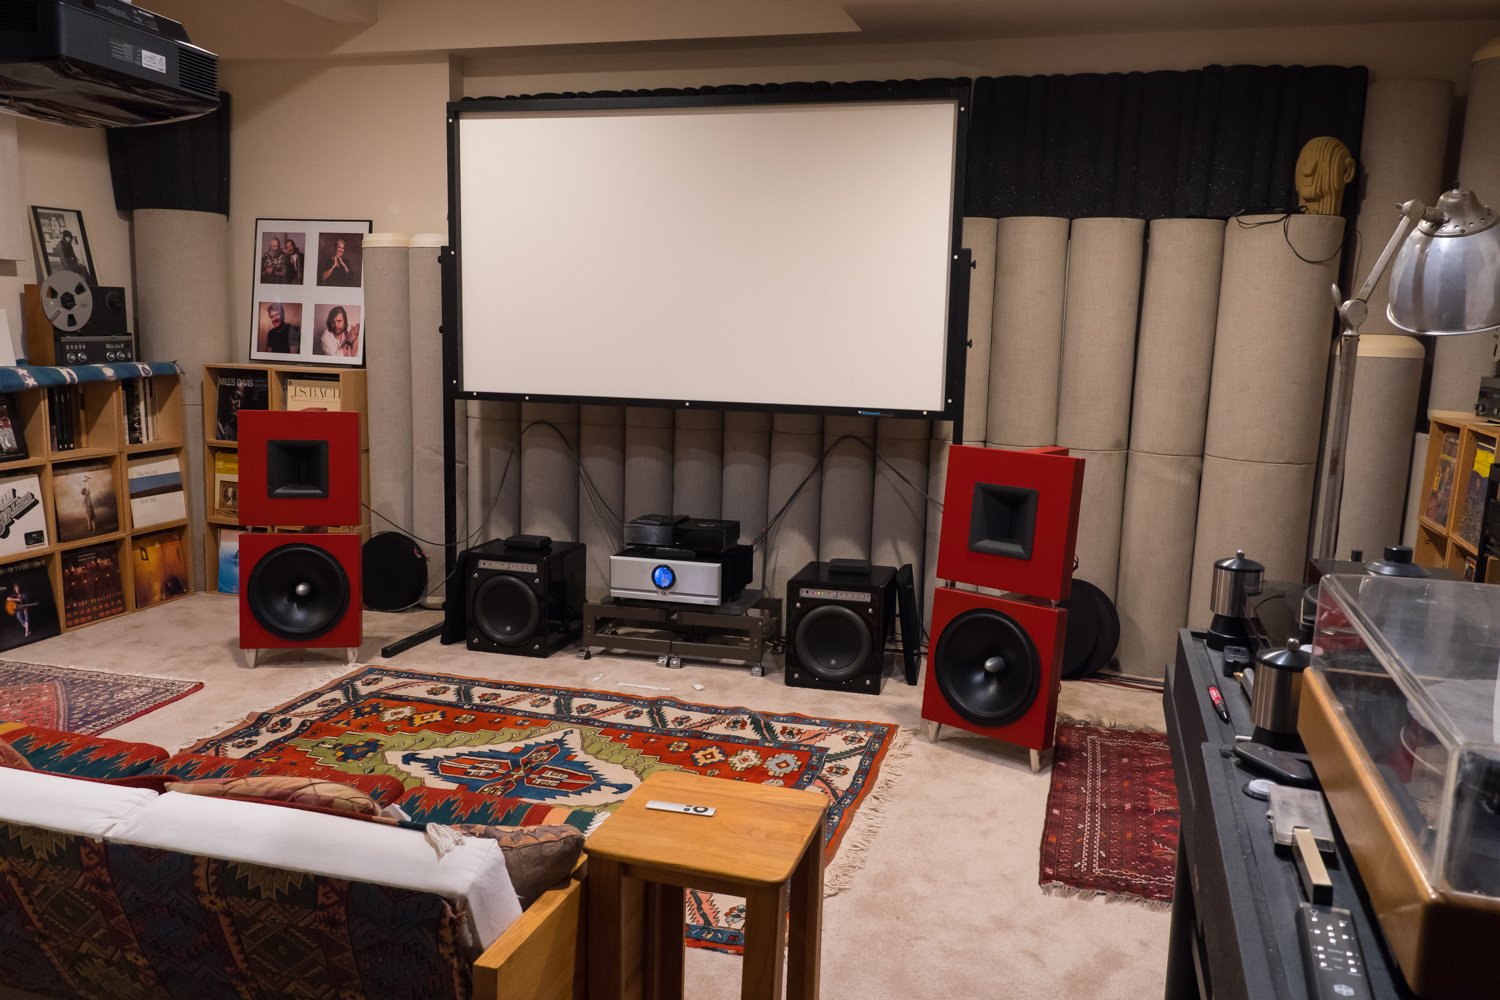
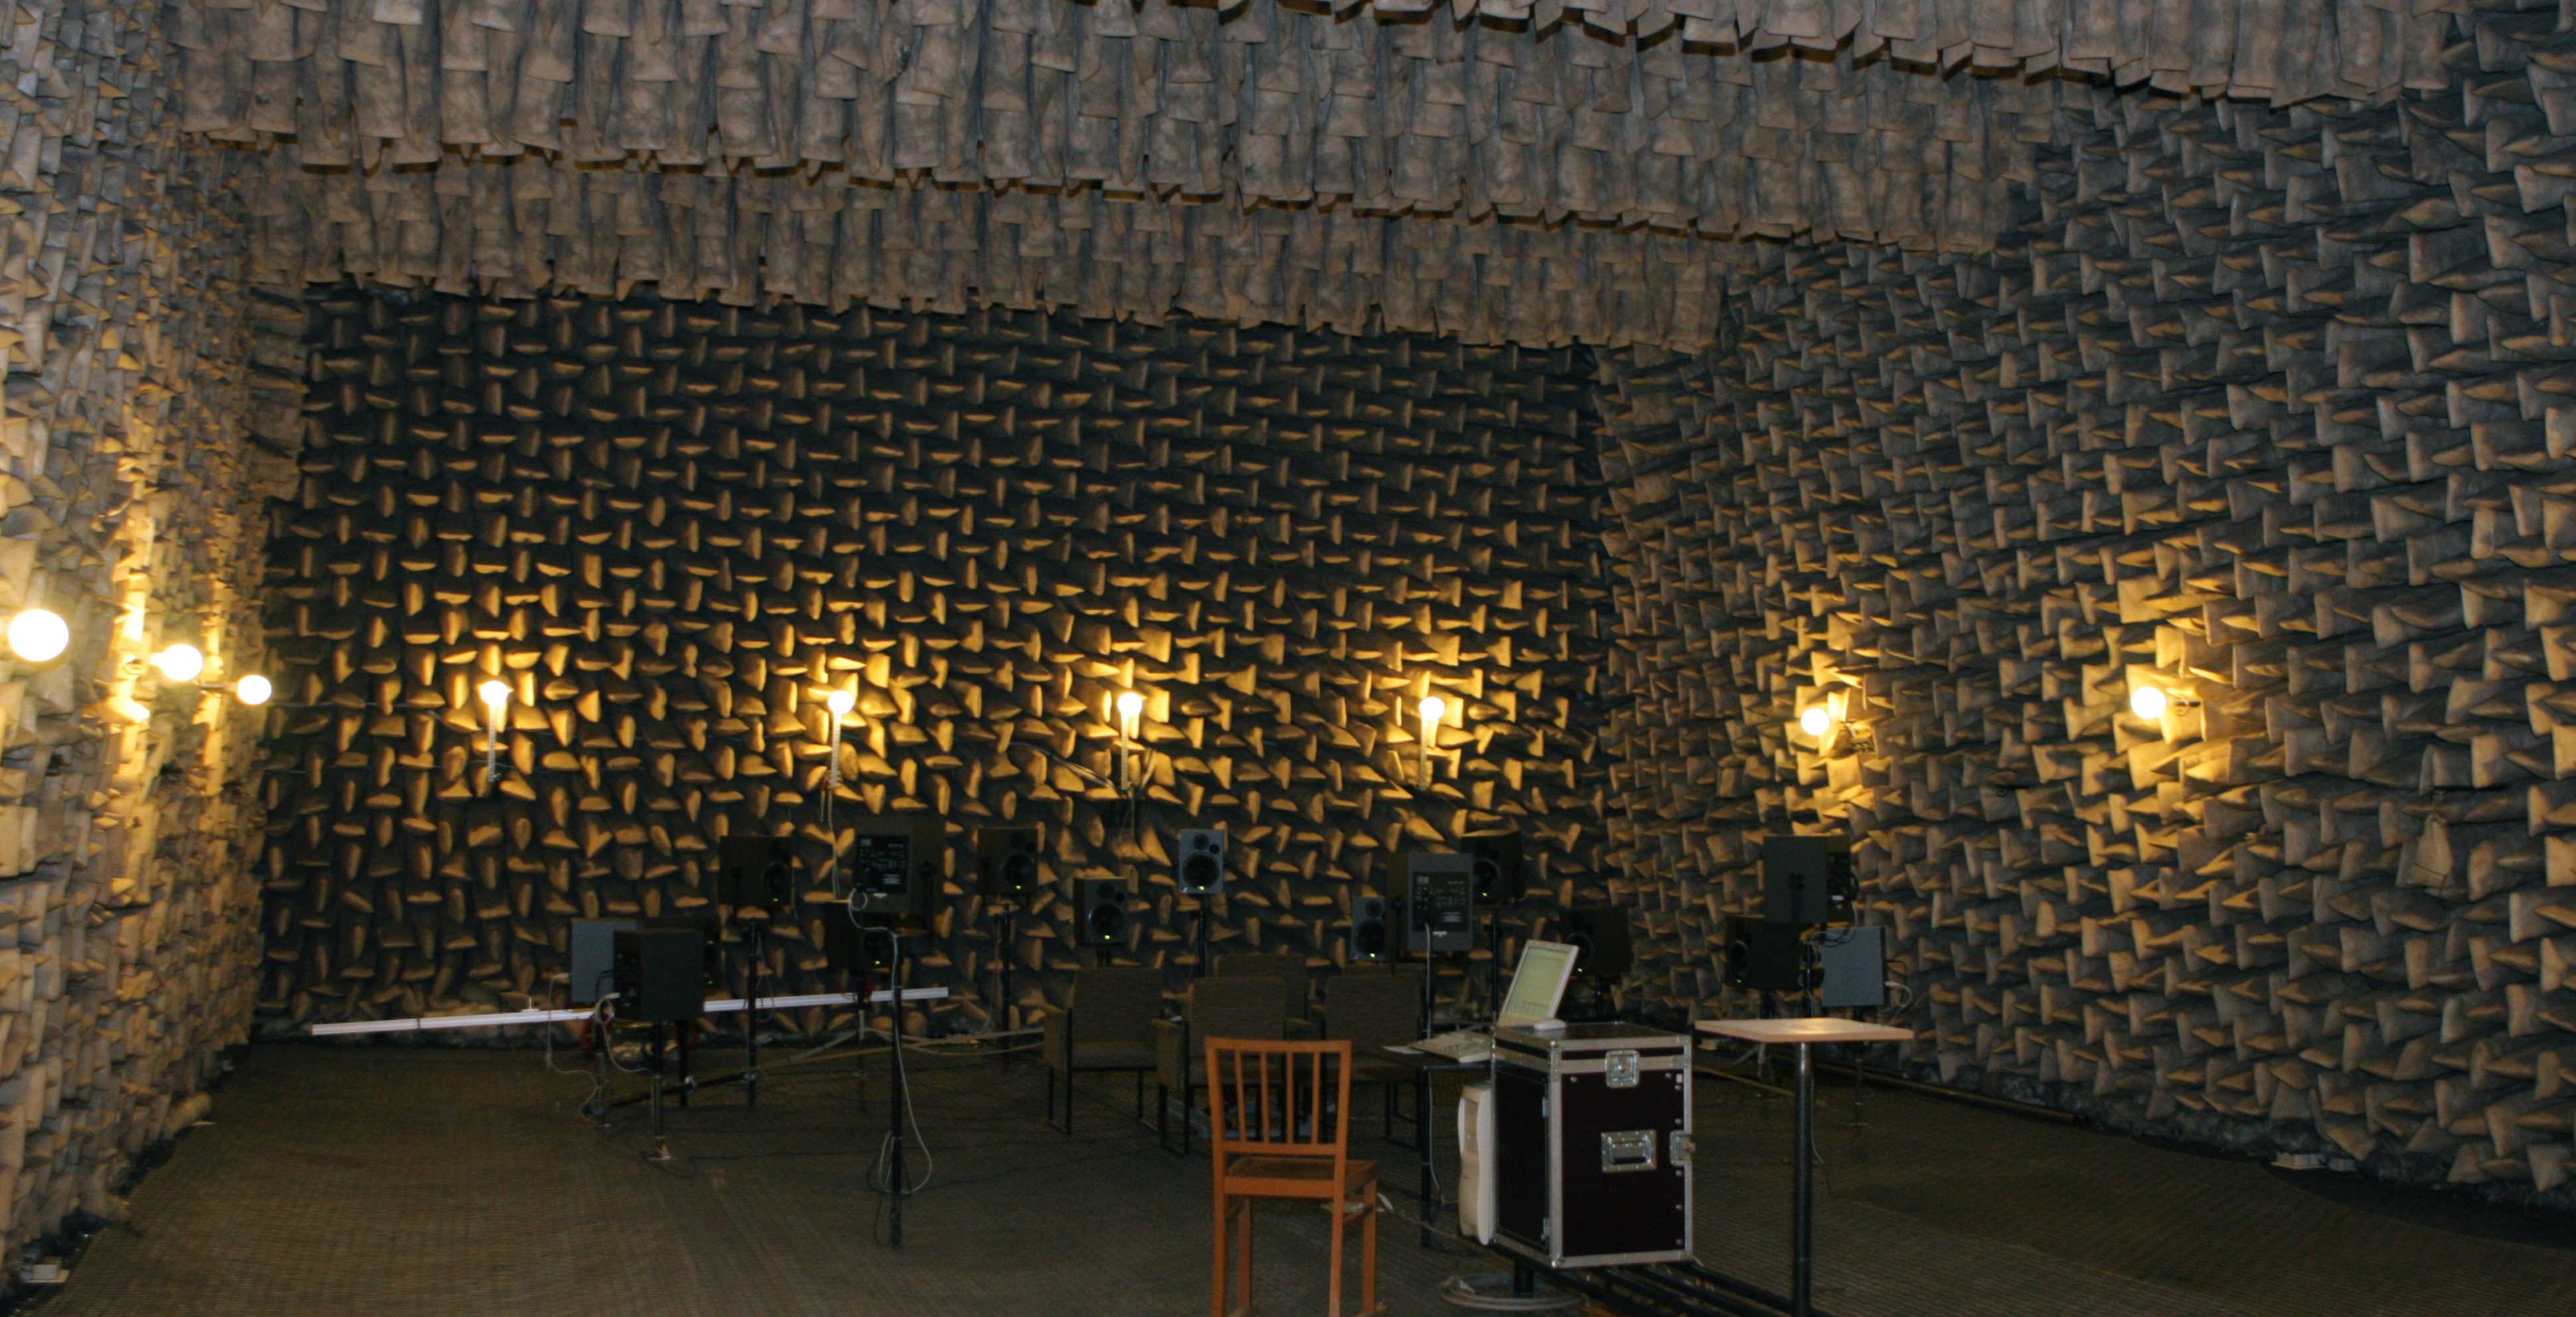
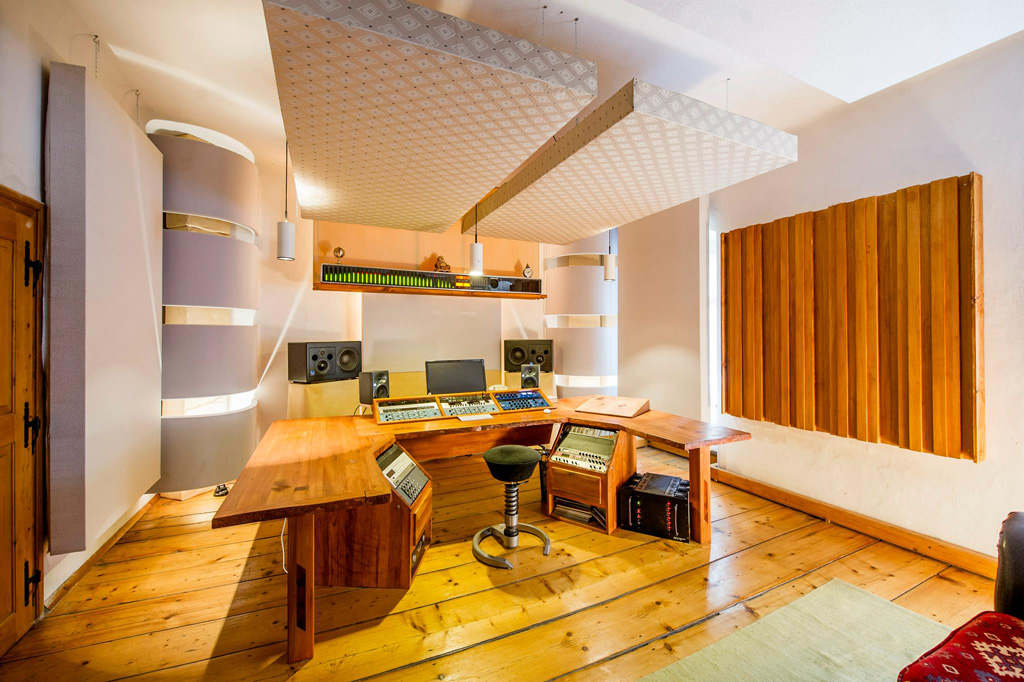
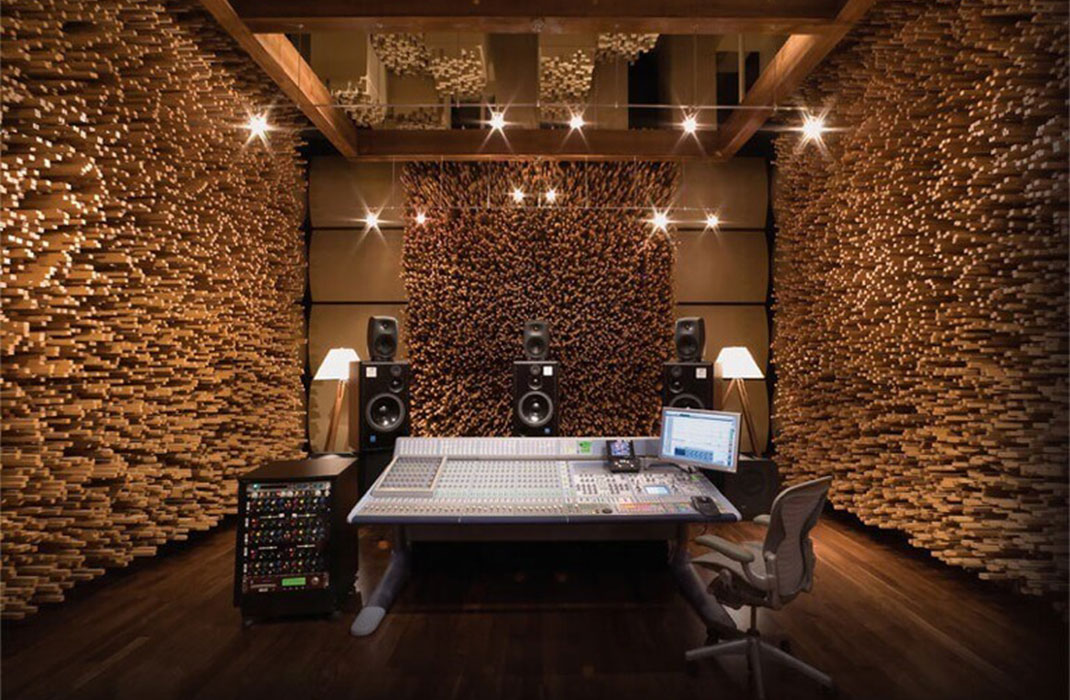
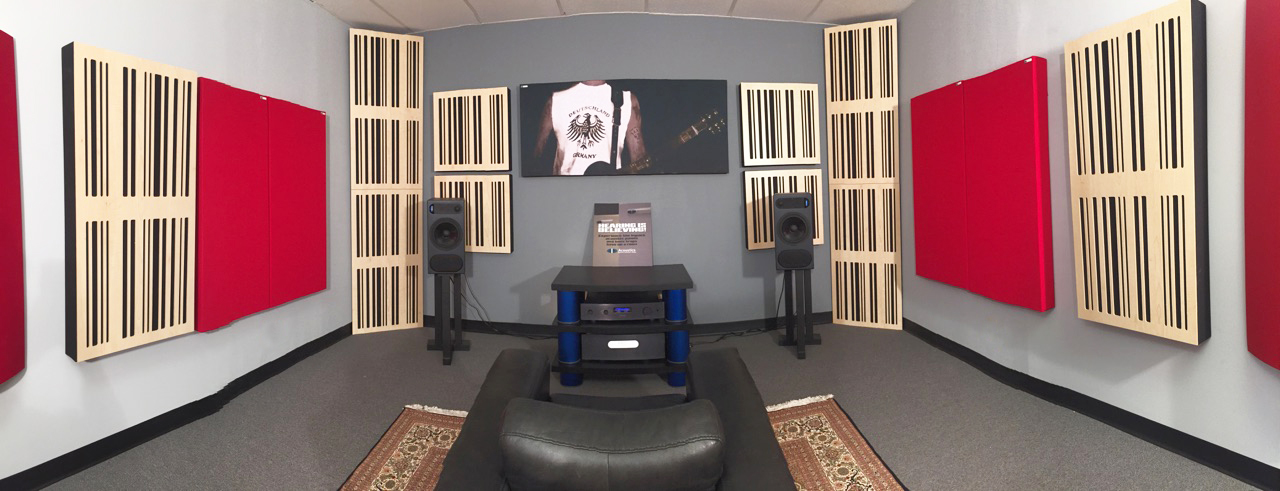
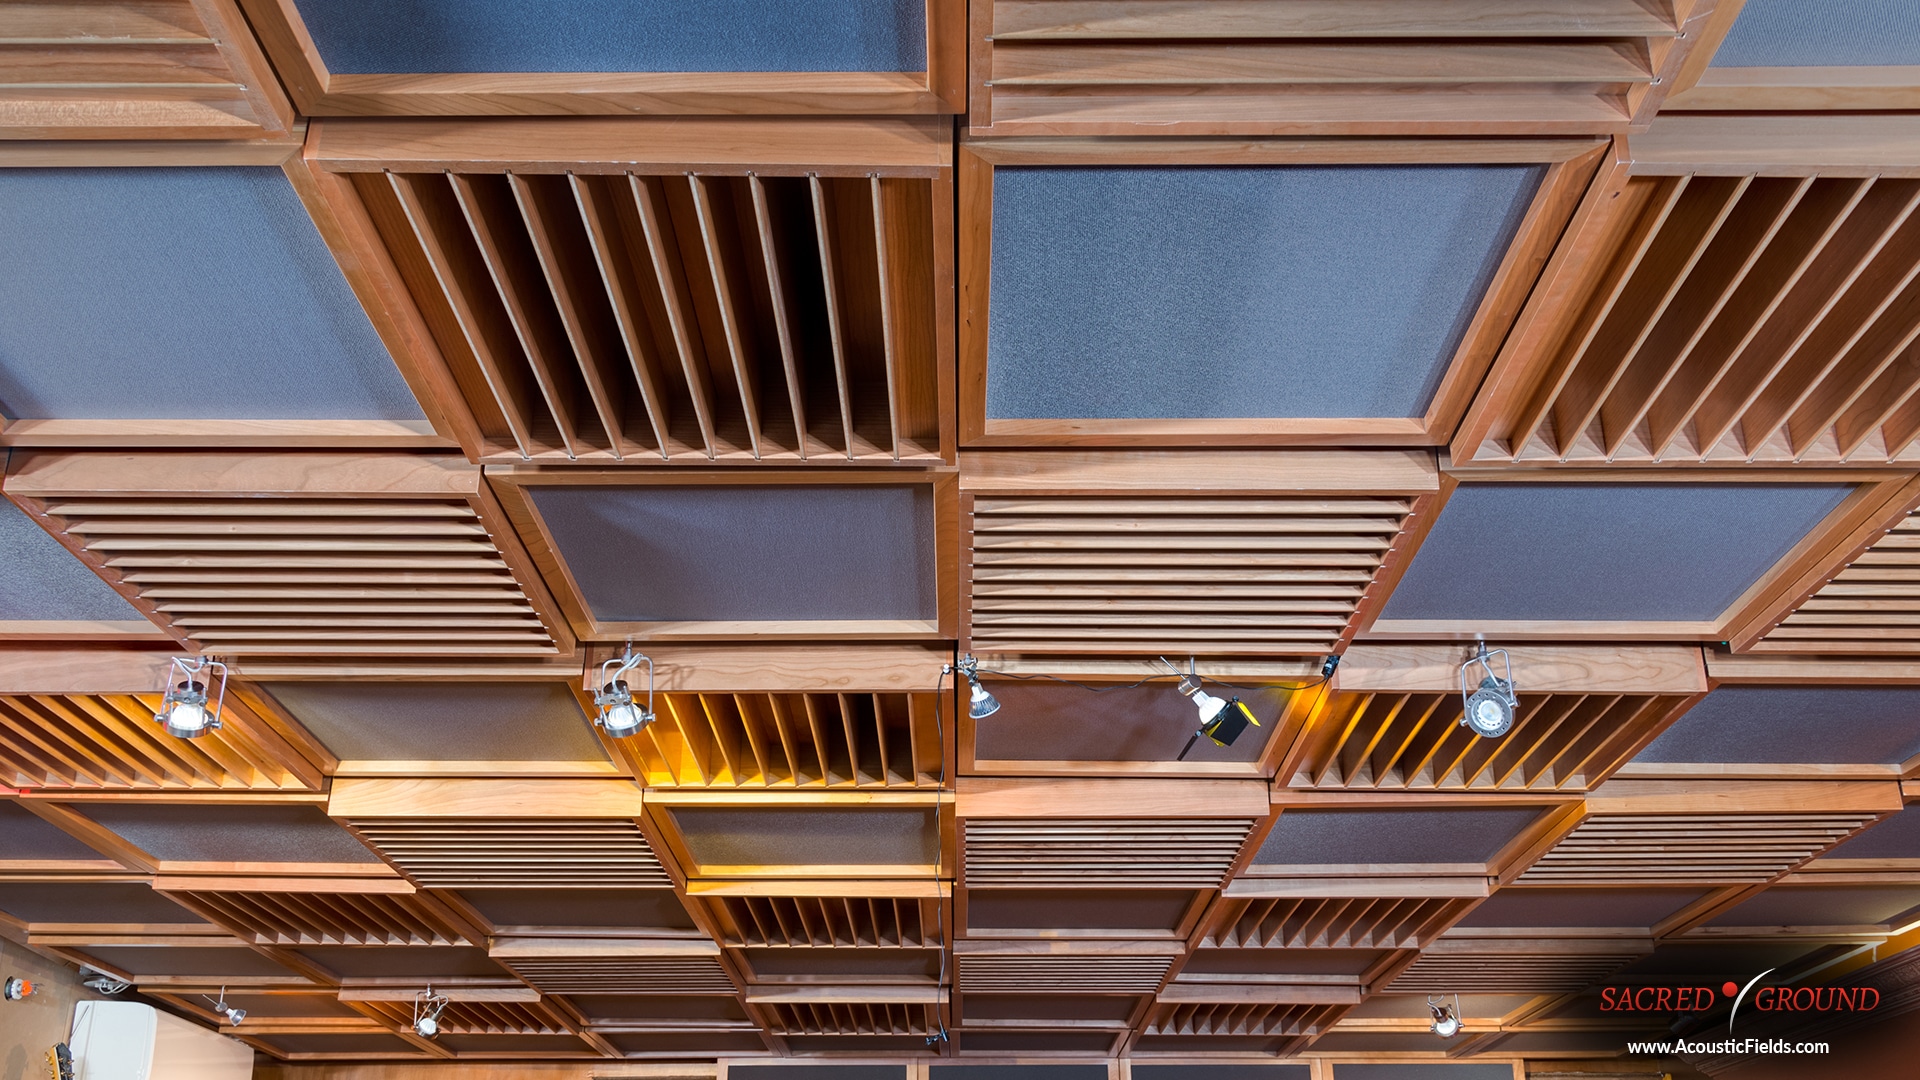
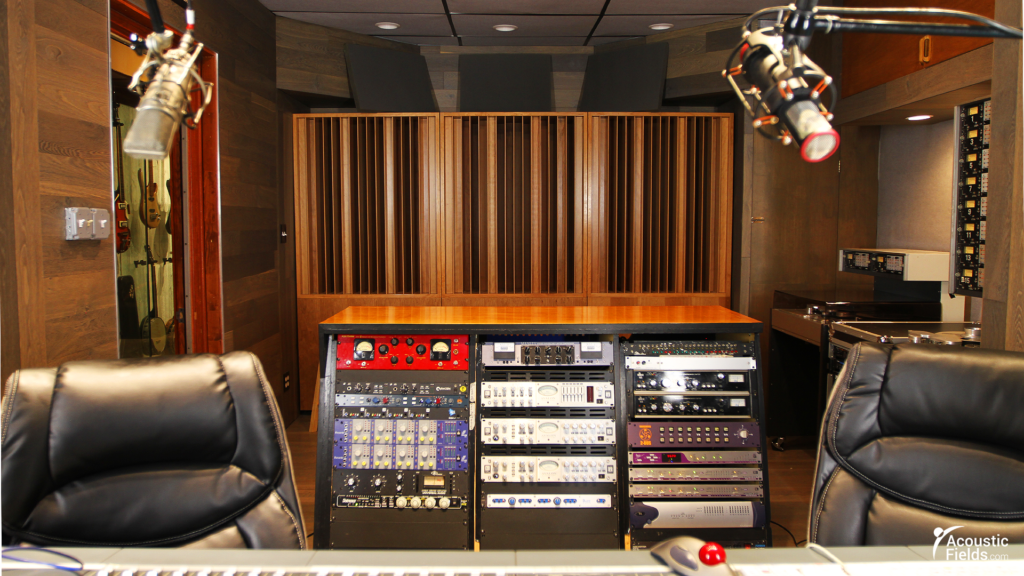
One of the first things you'll need to do when setting up your living room recording studio is to invest in acoustic treatment. This can include materials such as acoustic panels, bass traps, and diffusers, which help control sound reflections and improve the overall sound quality of your recordings. Make sure to research and choose the best acoustic treatment for your specific space and needs.2. The Best Acoustic Treatment for Your Living Room Recording Studio


2. The Best Acoustic Treatment for Your Living Room Recording Studio


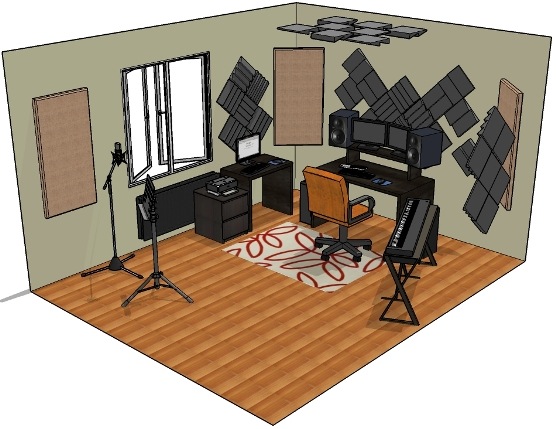
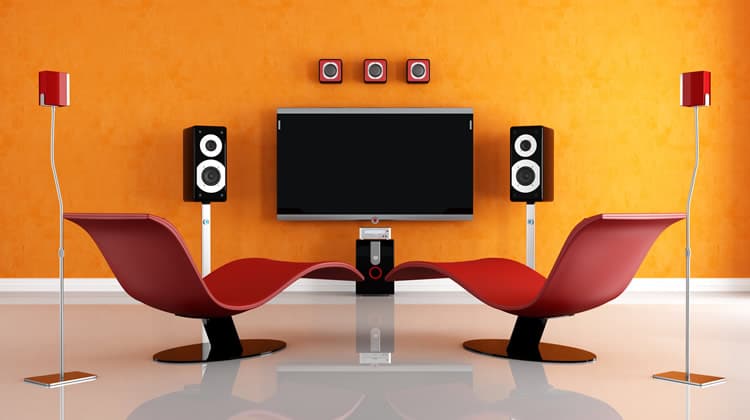
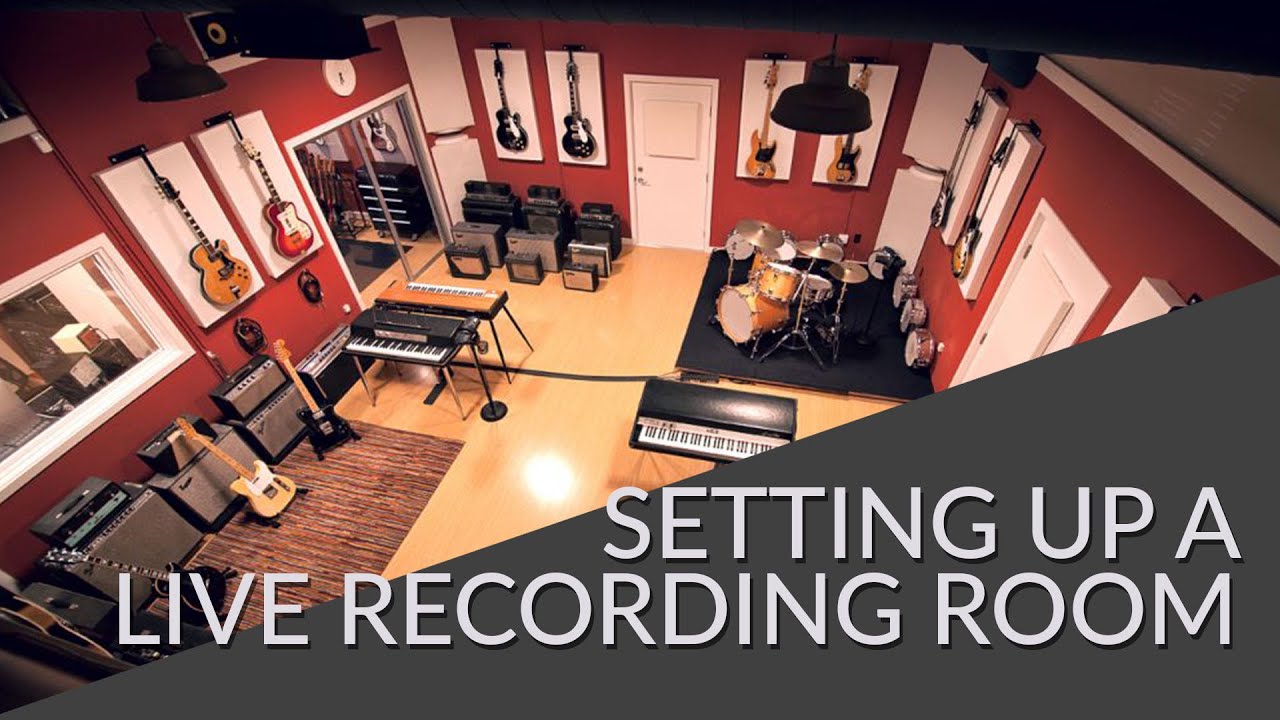
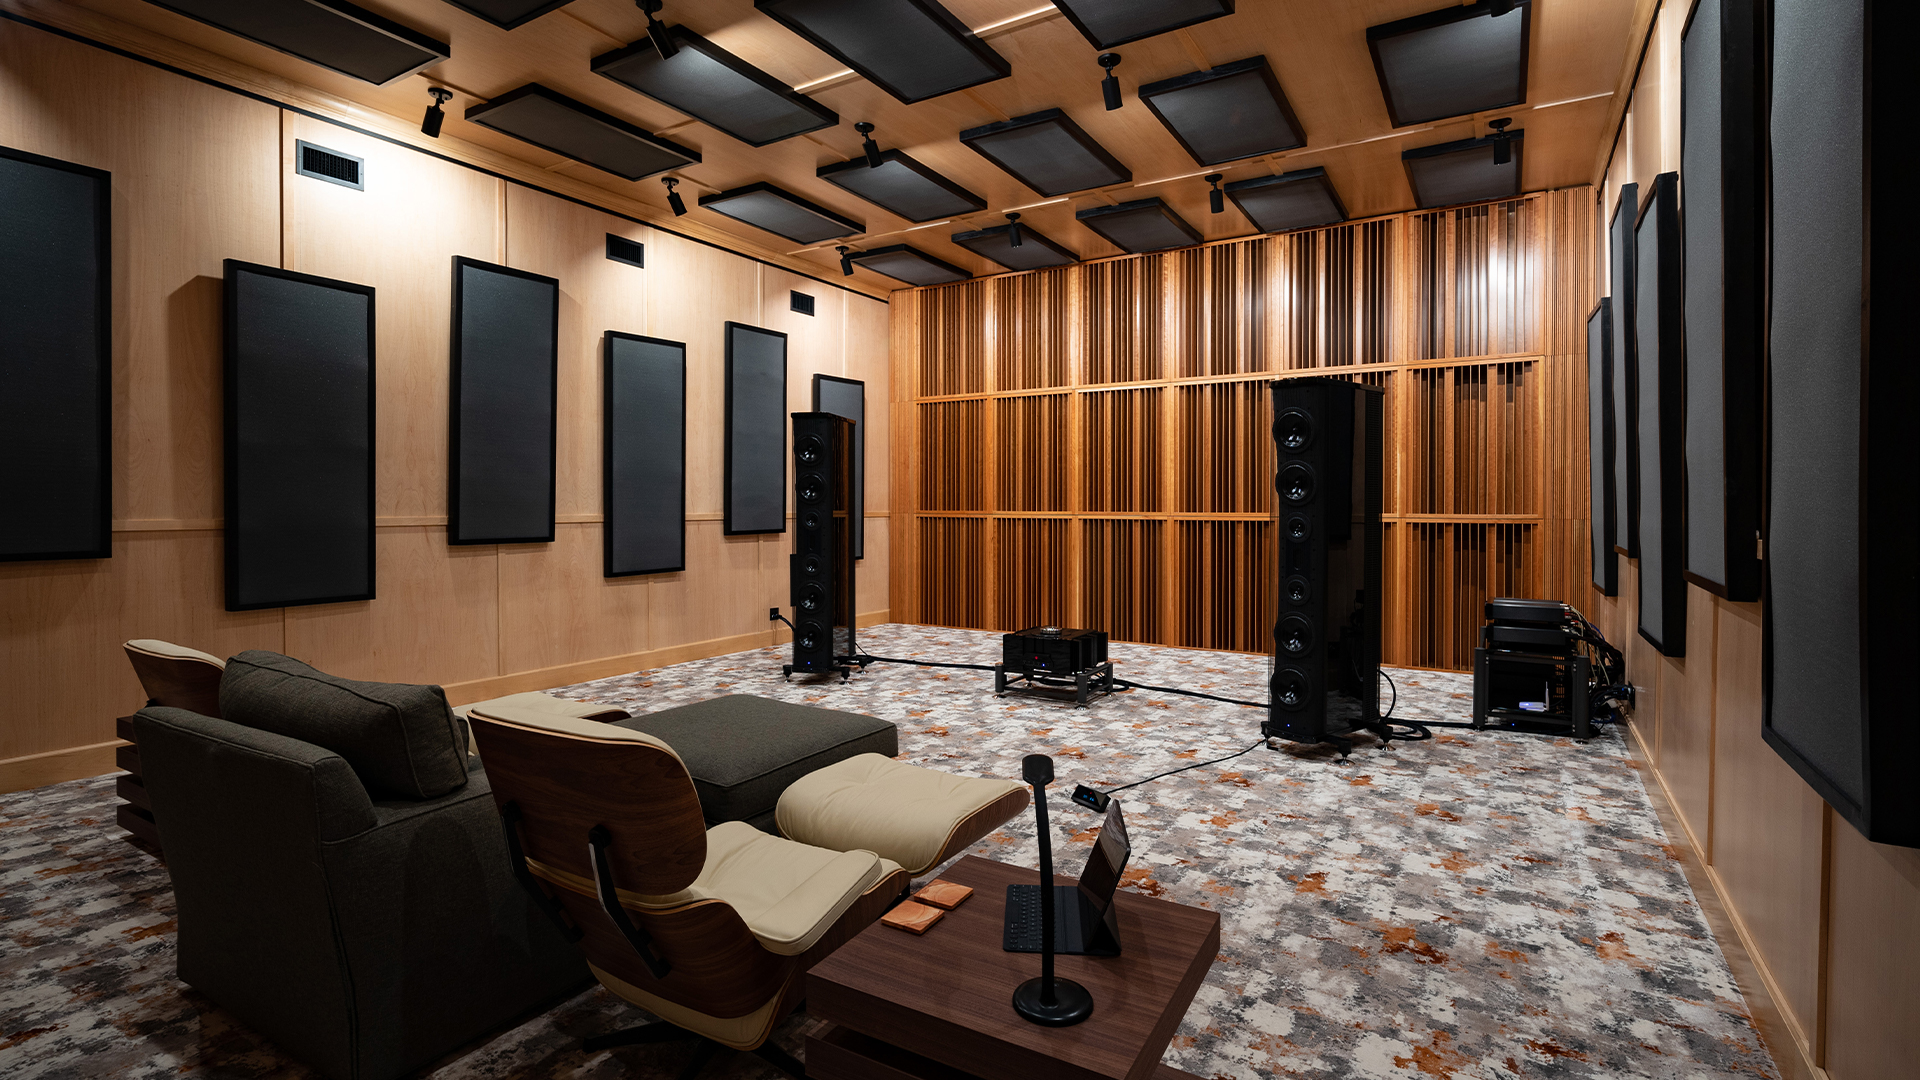
When it comes to recording acoustics, the layout and setup of your living room can make a significant difference. Start by finding the best spot for your recording equipment, such as near a corner or against a wall. You can also experiment with different furniture arrangements to find the best sound for your recordings.3. Tips for Setting Up Your Living Room for Optimal Recording Acoustics


3. Tips for Setting Up Your Living Room for Optimal Recording Acoustics

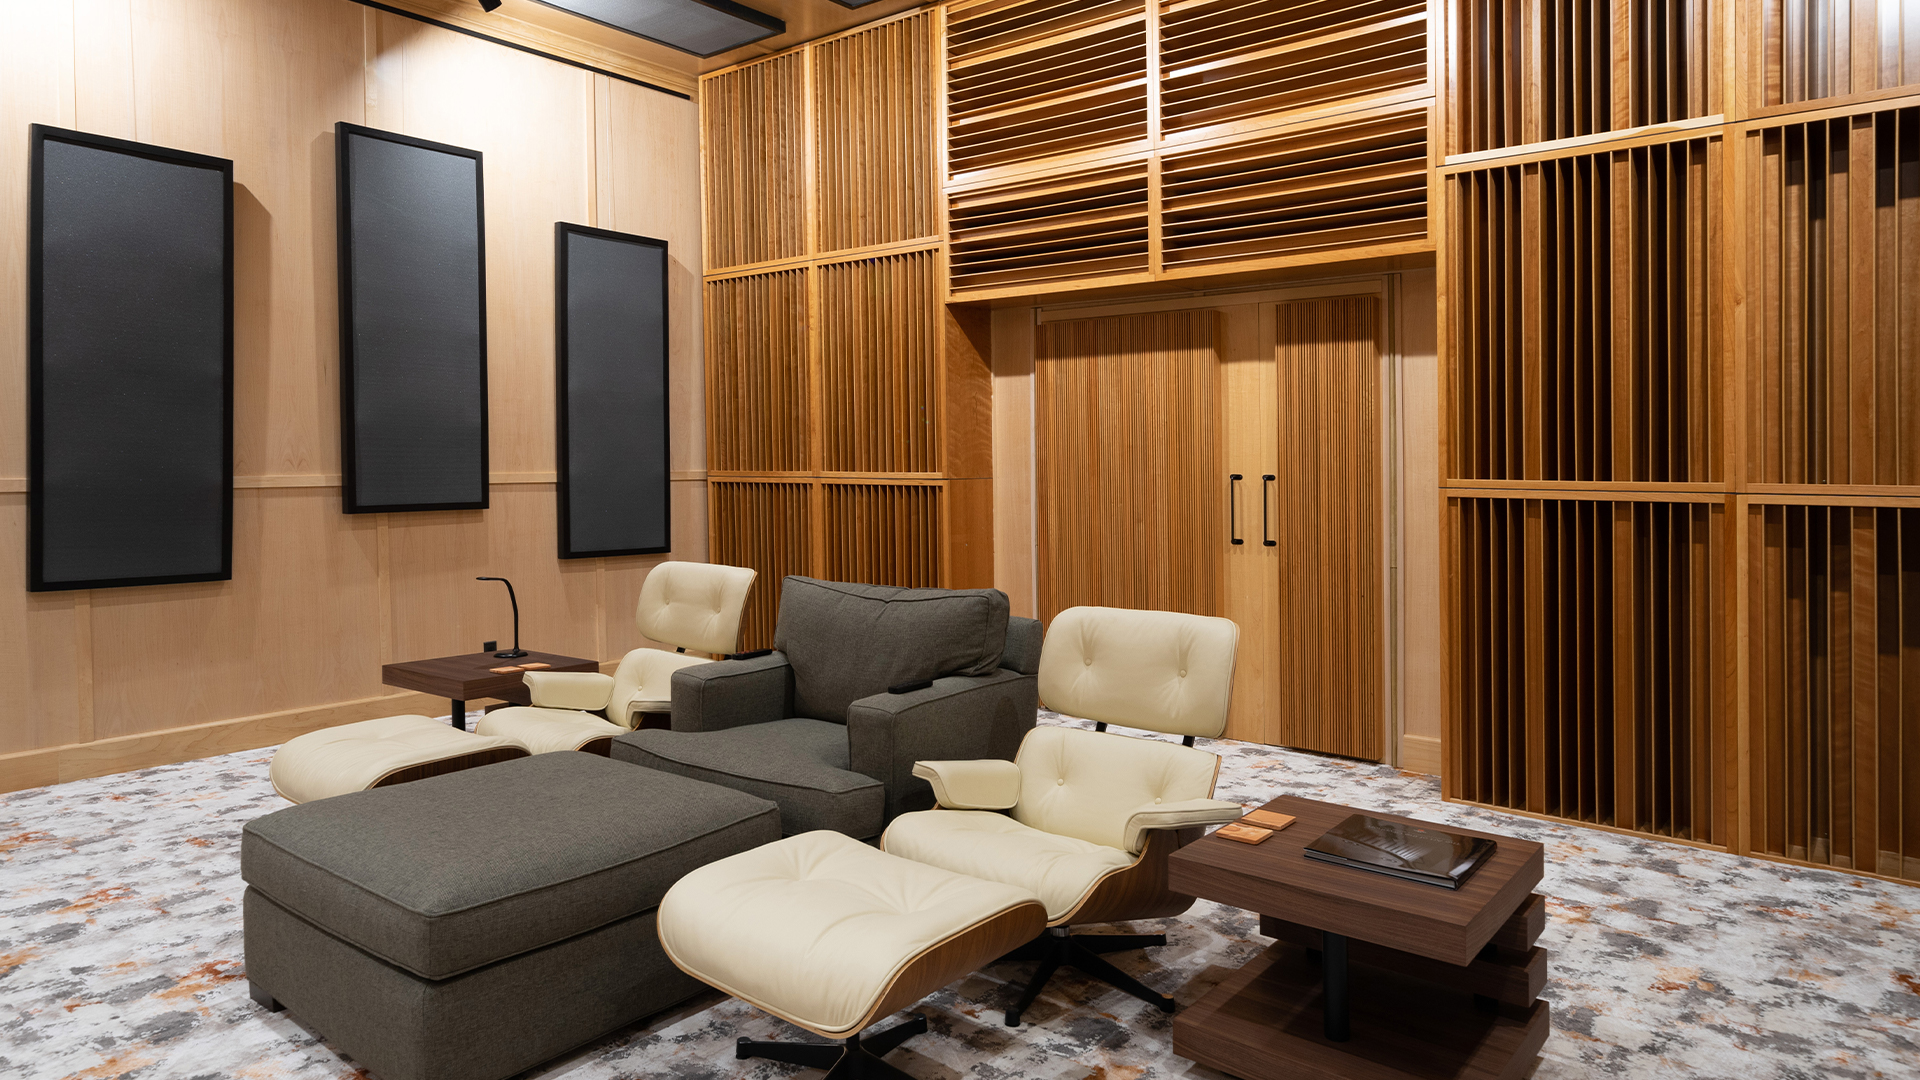
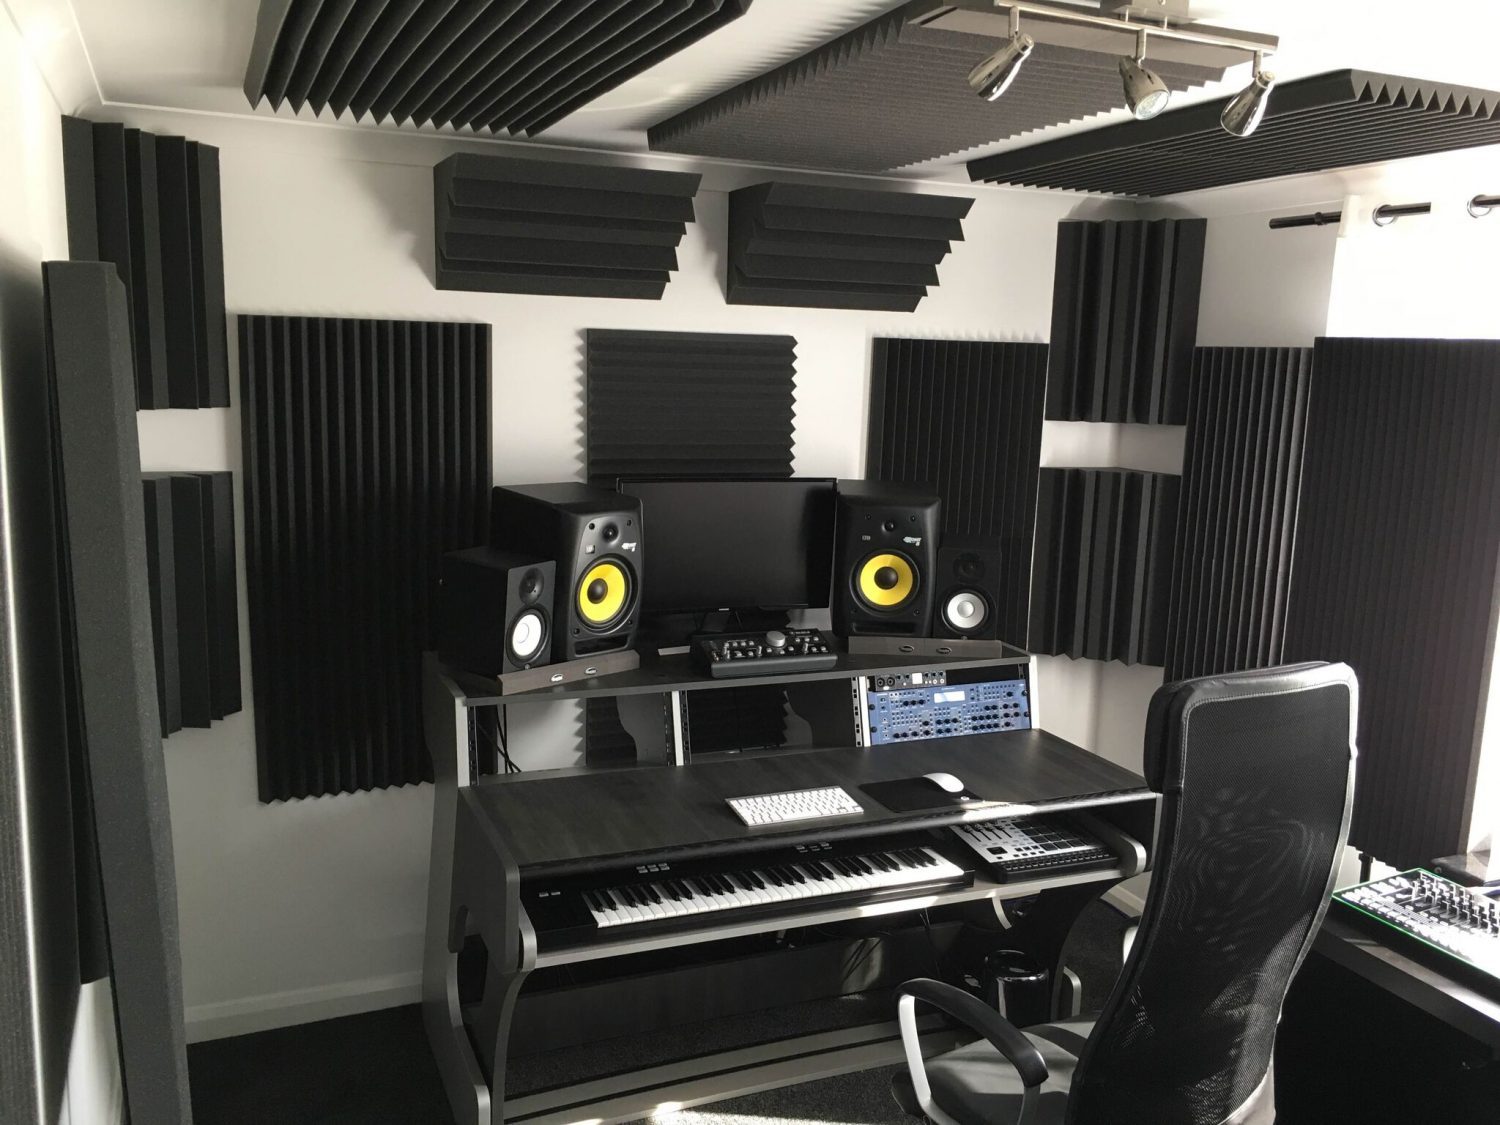
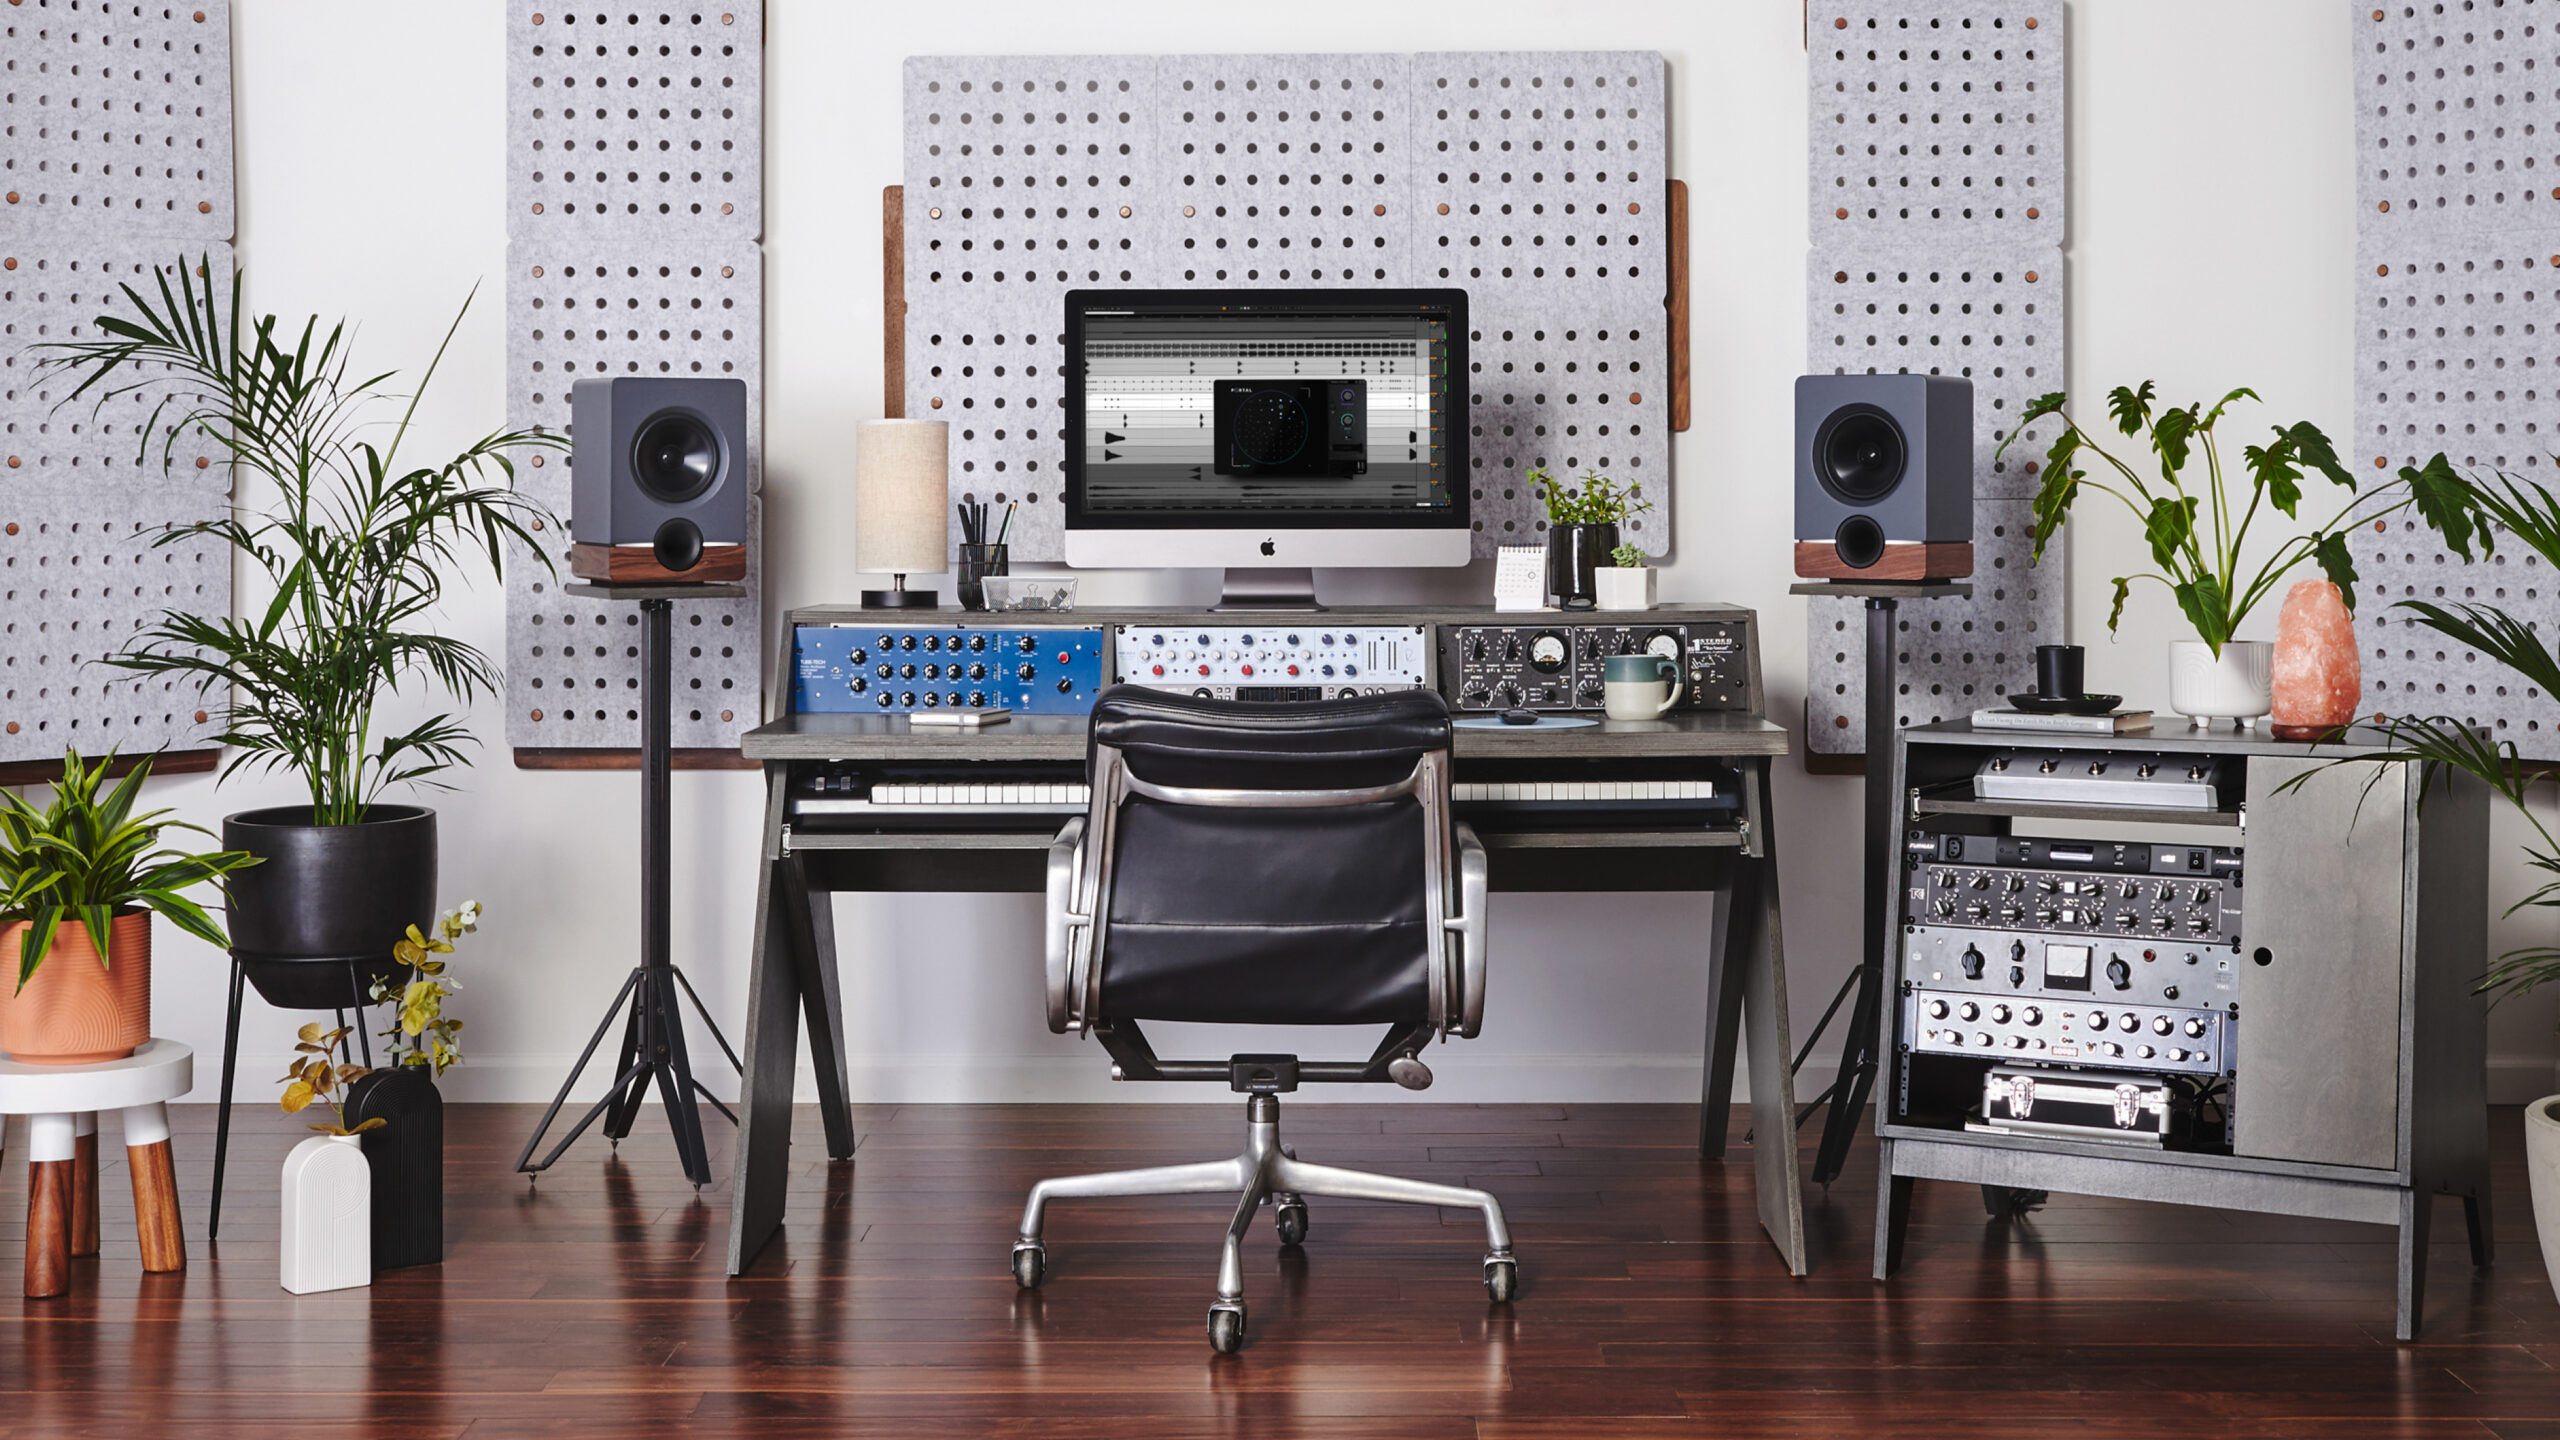
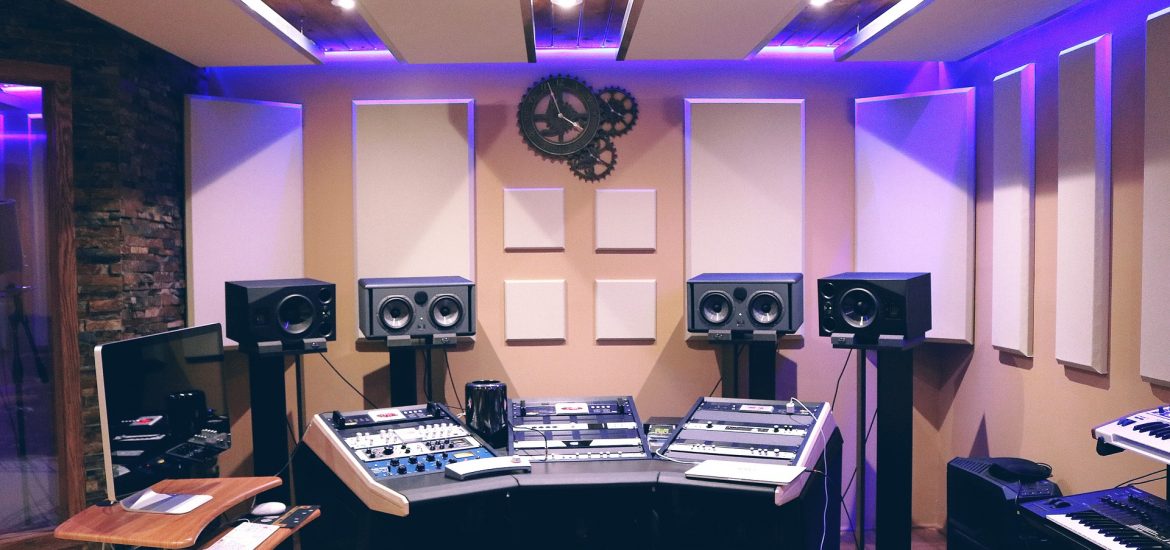
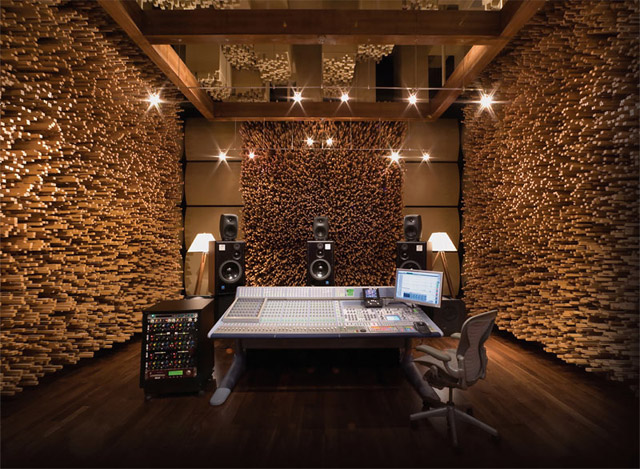
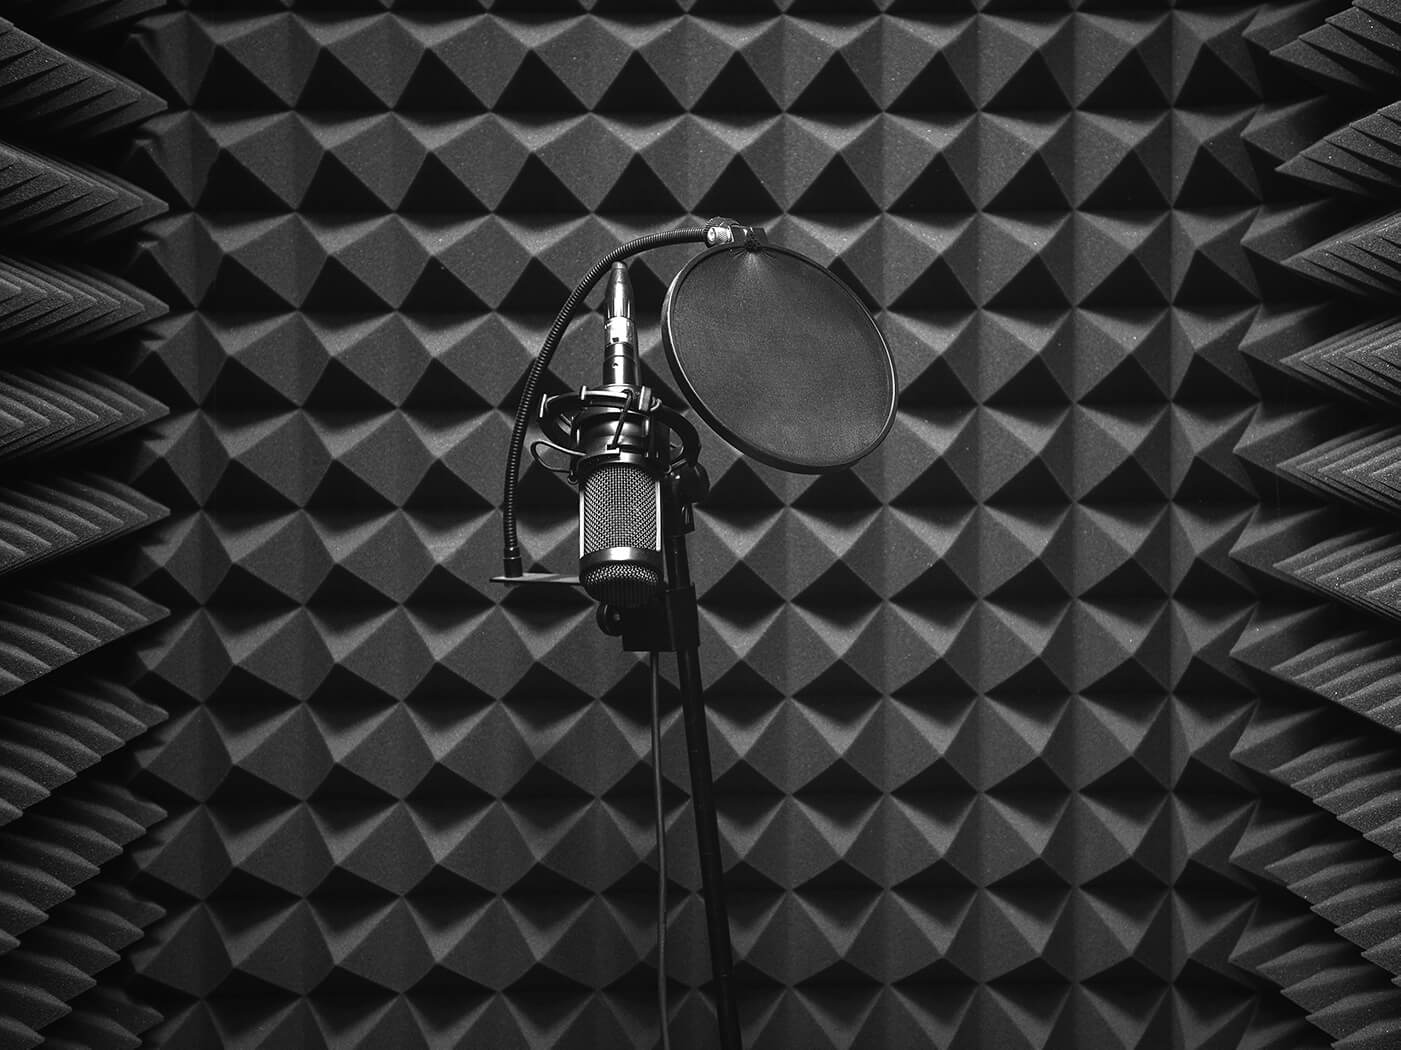
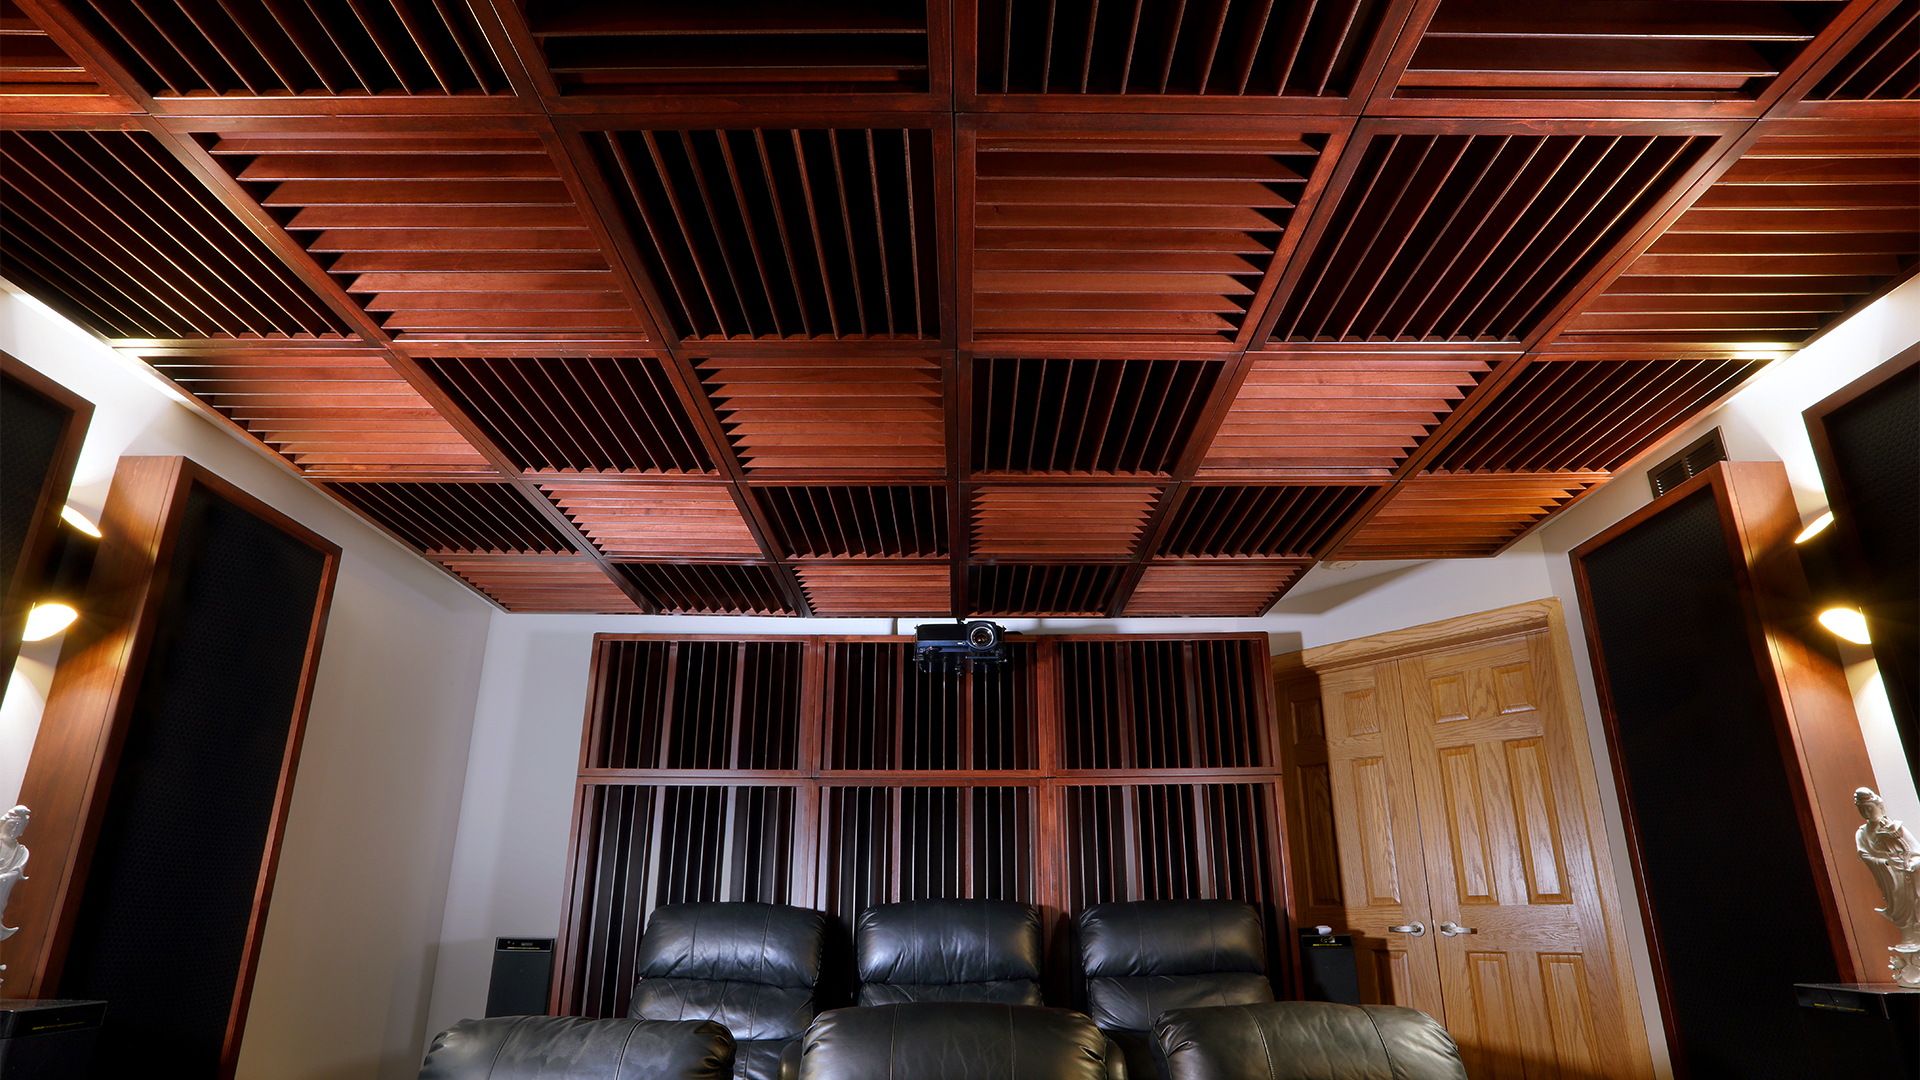
Acoustic panels are an essential part of any living room recording studio. They help absorb and diffuse sound reflections, reducing unwanted echoes and reverb. Placing acoustic panels on the walls and ceiling can significantly improve the acoustics of your space and make your recordings sound more professional.4. The Importance of Acoustic Panels in Your Living Room Recording Space


4. The Importance of Acoustic Panels in Your Living Room Recording Space


If you're on a budget, there are plenty of DIY acoustic treatment options that you can try. For example, you can make your own acoustic panels using materials like wood, insulation, and fabric. You can also use bookshelves, rugs, and even egg cartons to help absorb and diffuse sound in your living room recording space.5. DIY Acoustic Treatment Ideas for Your Living Room Recording Studio


5. DIY Acoustic Treatment Ideas for Your Living Room Recording Studio


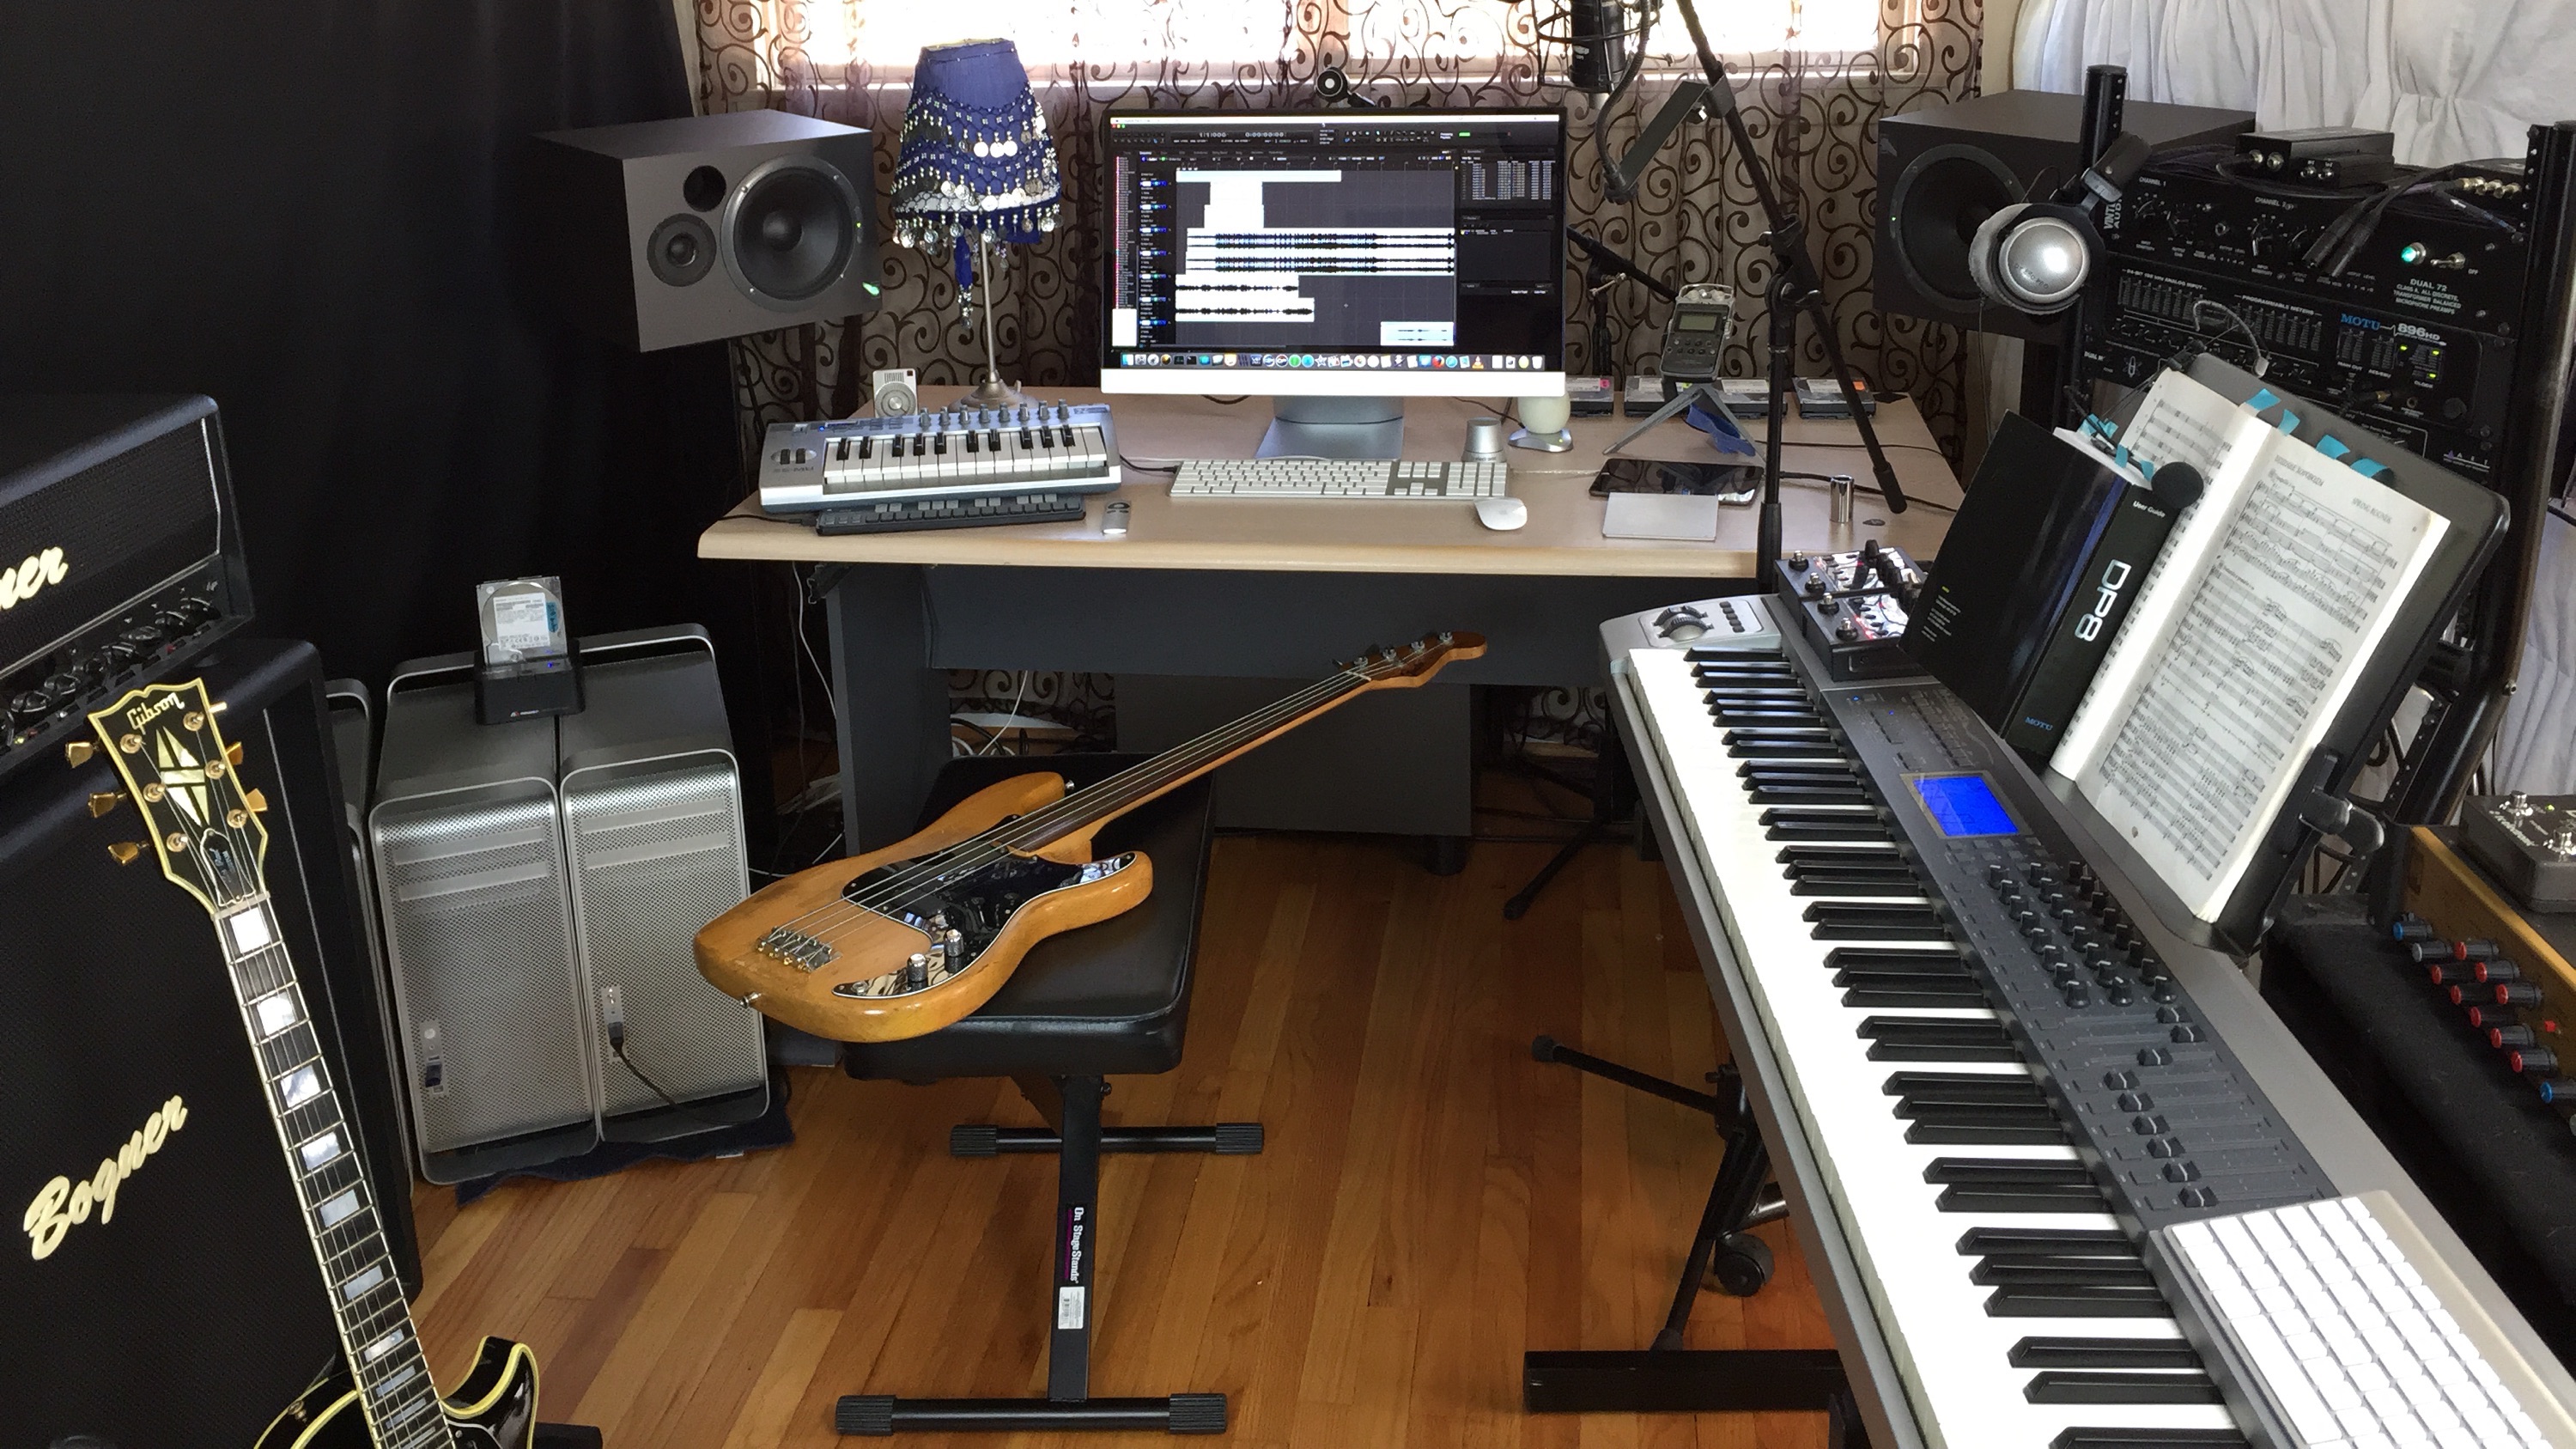
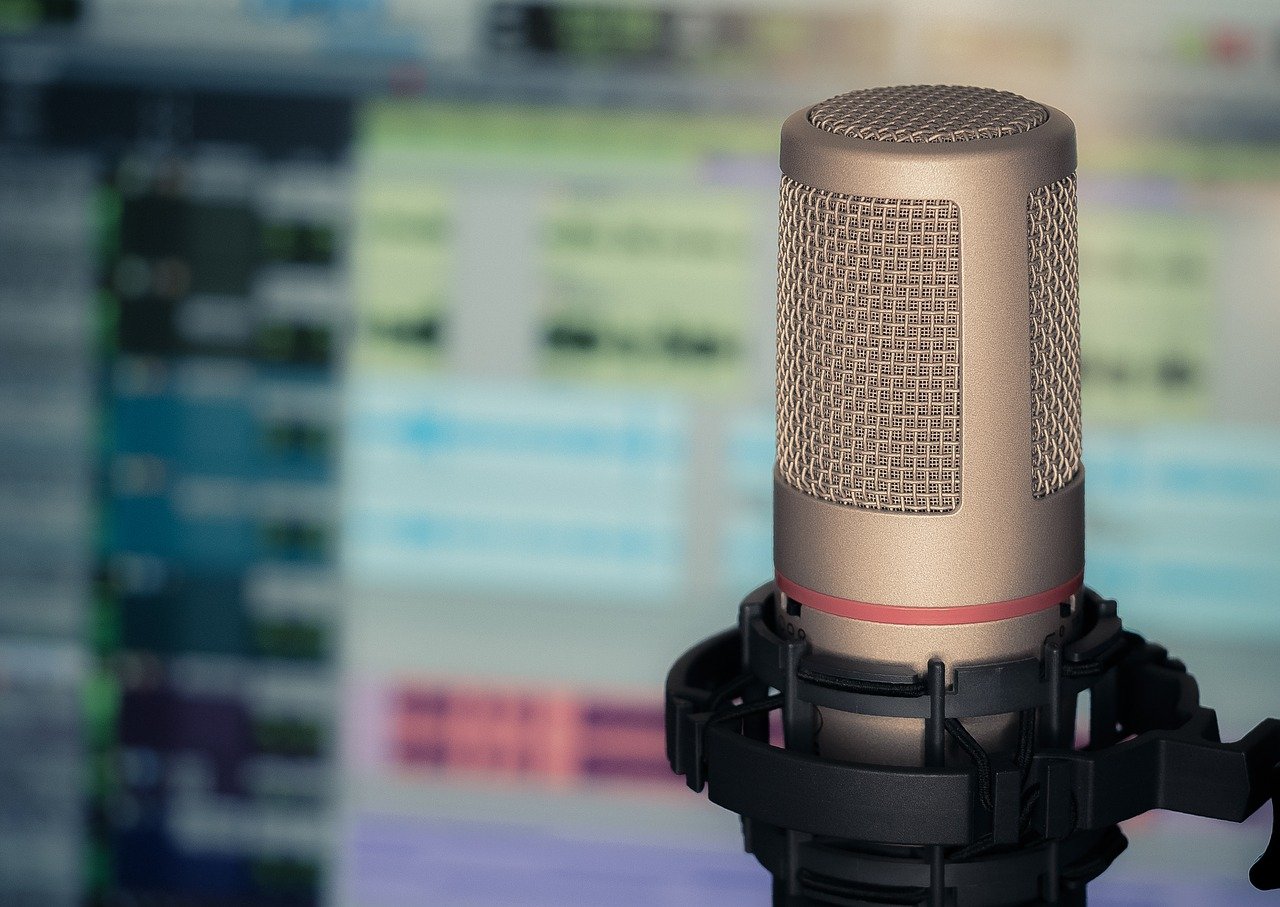
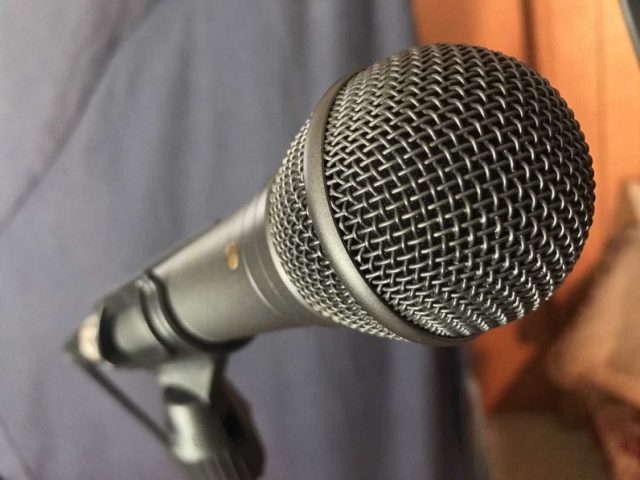
The type of microphone you use can also have a significant impact on your recordings' sound quality. Consider the type of music you'll be recording and choose a microphone that best suits your needs. Make sure to also experiment with microphone placement to find the best sound for your living room recording acoustics.6. Choosing the Right Microphone for Your Living Room Recording Acoustics
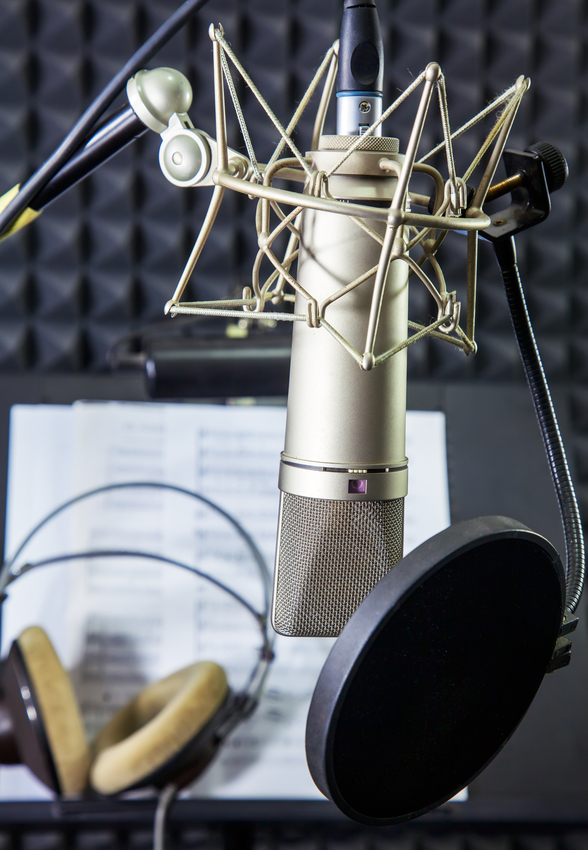
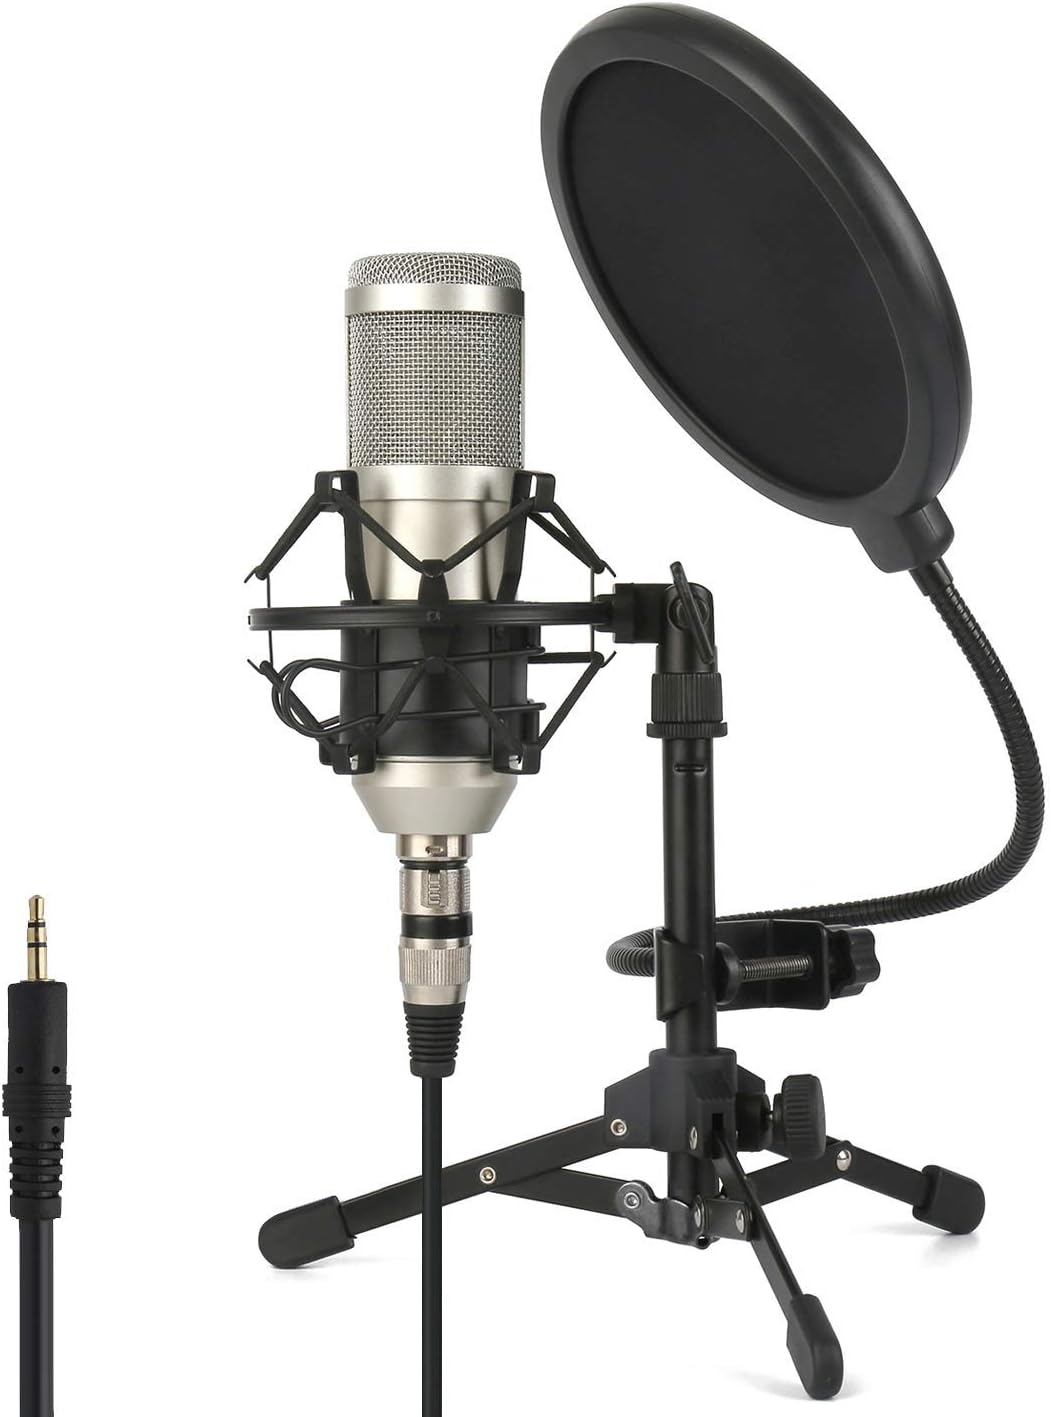

6. Choosing the Right Microphone for Your Living Room Recording Acoustics


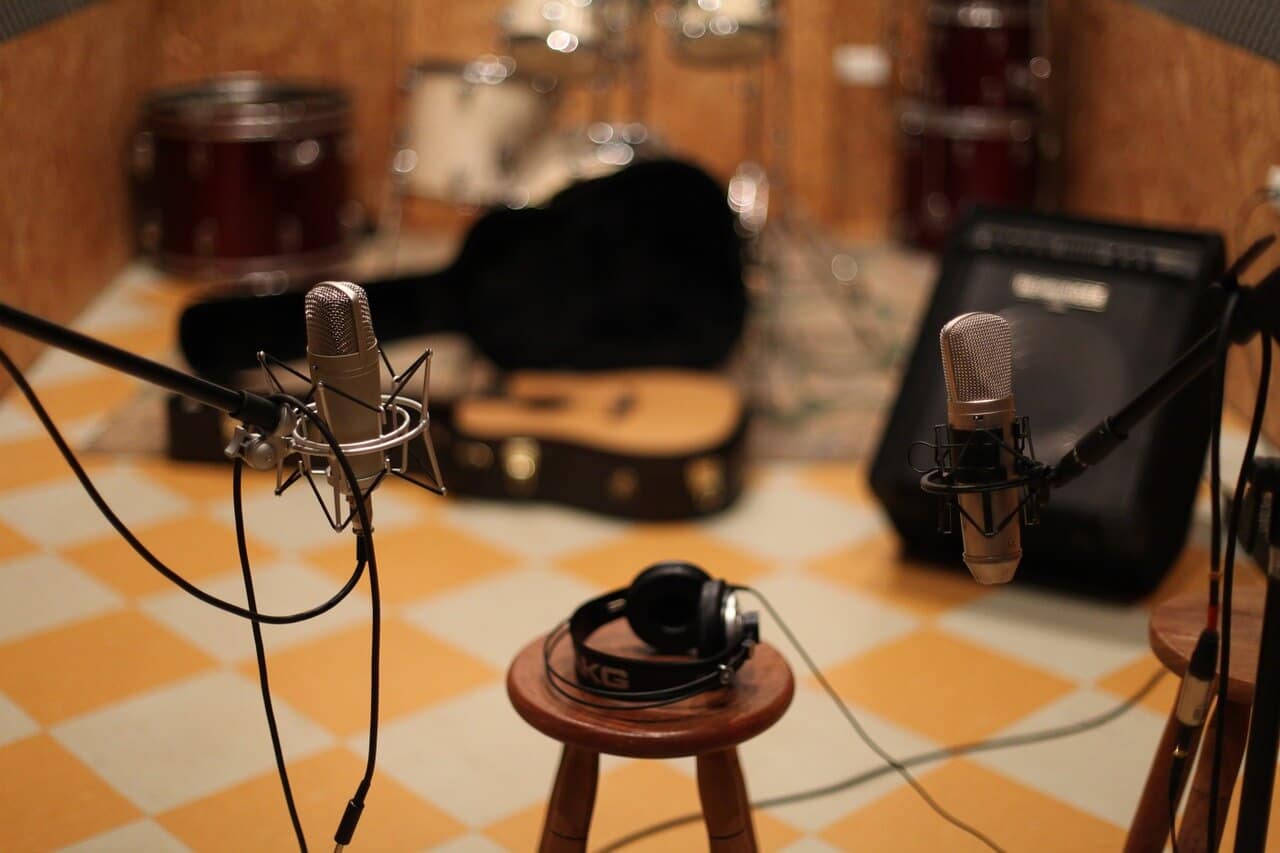


Furniture can play a crucial role in your living room recording acoustics. Heavy, solid pieces of furniture can help absorb sound reflections, while lighter pieces can help diffuse them. Experiment with different furniture placements and types to find the best sound for your recordings.7. How to Use Furniture to Improve Your Living Room Recording Acoustics


7. How to Use Furniture to Improve Your Living Room Recording Acoustics


The size of your living room can also affect the acoustics of your recordings. Smaller rooms tend to have more noticeable echoes and reverb, while larger rooms can cause sound to feel distant and thin. Consider using room dividers or changing the layout of your furniture to create a more suitable recording space.8. The Impact of Room Size on Your Living Room Recording Acoustics


8. The Impact of Room Size on Your Living Room Recording Acoustics


When setting up your living room recording studio, there are some common mistakes that you should avoid. These include placing your recording equipment too close to walls, using low-quality cables, and not properly treating your space with acoustic materials. Take the time to research and ensure you're setting up your studio correctly.9. Common Mistakes to Avoid in Your Living Room Recording Acoustics


9. Common Mistakes to Avoid in Your Living Room Recording Acoustics

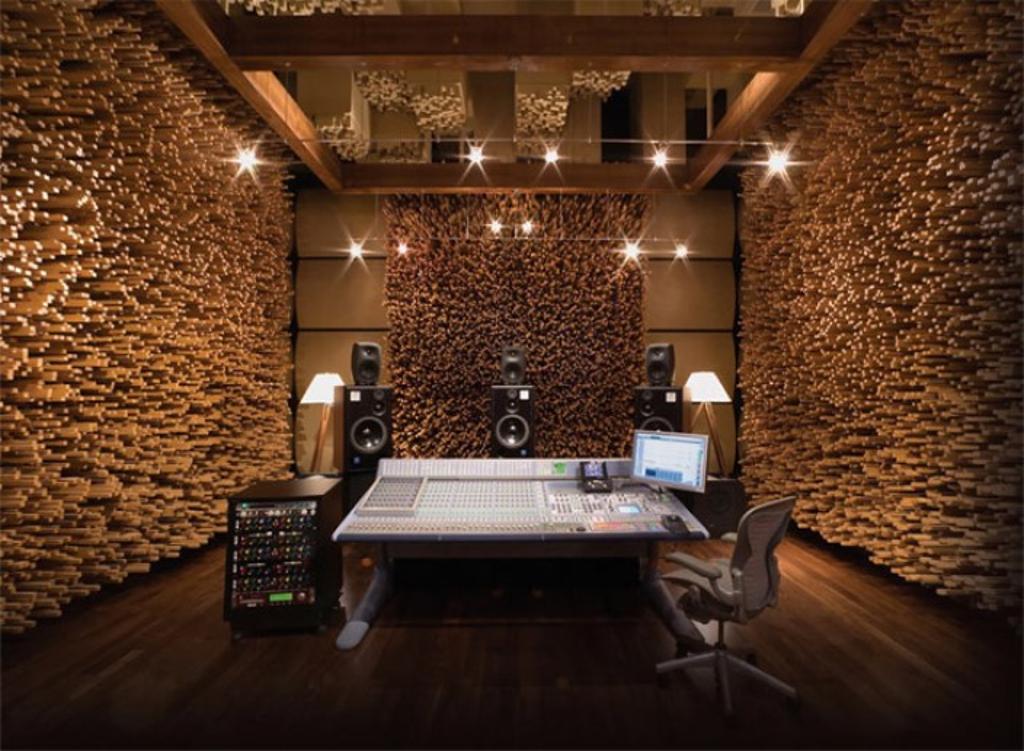


Diffusers are an excellent addition to any living room recording space. They help break up sound reflections and create a more even sound throughout the room. Diffusers also add depth and character to recordings, making them sound more professional and polished. Consider adding diffusers to your space to take your recordings to the next level.10. The Benefits of Using Diffusers in Your Living Room Recording Space


10. The Benefits of Using Diffusers in Your Living Room Recording Space


Creating a Harmonious and Professional Recording Space in Your Living Room

The Importance of Acoustics in Your Home Recording Studio
 When it comes to recording music or podcasts in your living room, having the right
acoustics
is crucial for achieving a professional sound. Acoustics refers to the way sound waves travel and interact with the surfaces in a room. Every room has its own unique
acoustic
properties, and understanding how to manipulate them can greatly improve the quality of your recordings.
When it comes to recording music or podcasts in your living room, having the right
acoustics
is crucial for achieving a professional sound. Acoustics refers to the way sound waves travel and interact with the surfaces in a room. Every room has its own unique
acoustic
properties, and understanding how to manipulate them can greatly improve the quality of your recordings.
Assessing Your Living Room's Acoustics
 The first step in creating a professional recording space in your living room is to assess its
acoustics
. One way to do this is by clapping your hands in different areas of the room and listening for any echoes or reverberation. If you hear a lot of echoes, it means your living room has too many hard surfaces, such as walls, floors, and furniture, that are reflecting sound waves. This can result in a muddy and unintelligible sound in your recordings.
The first step in creating a professional recording space in your living room is to assess its
acoustics
. One way to do this is by clapping your hands in different areas of the room and listening for any echoes or reverberation. If you hear a lot of echoes, it means your living room has too many hard surfaces, such as walls, floors, and furniture, that are reflecting sound waves. This can result in a muddy and unintelligible sound in your recordings.
Improving Your Living Room's Acoustics
 To improve the
acoustics
in your living room, you can add soft and absorbent materials, such as curtains, carpets, and acoustic panels. These materials help to absorb sound waves, reducing echoes and creating a more balanced and clear sound. Placing these materials strategically in your living room can also help to create a designated recording area, separating it from the rest of the room and minimizing outside noise.
To improve the
acoustics
in your living room, you can add soft and absorbent materials, such as curtains, carpets, and acoustic panels. These materials help to absorb sound waves, reducing echoes and creating a more balanced and clear sound. Placing these materials strategically in your living room can also help to create a designated recording area, separating it from the rest of the room and minimizing outside noise.
Utilizing Furniture and Room Layout for Better Acoustics
 In addition to adding soft materials, you can also utilize your furniture and room layout to improve the
acoustics
in your living room. For example, placing your recording equipment and desk against a wall can help to reduce sound reflections. You can also experiment with different furniture arrangements to find the best setup for your recordings.
In addition to adding soft materials, you can also utilize your furniture and room layout to improve the
acoustics
in your living room. For example, placing your recording equipment and desk against a wall can help to reduce sound reflections. You can also experiment with different furniture arrangements to find the best setup for your recordings.
Consider Professional Help
 If you are serious about creating a professional recording space in your living room, it may be worth considering hiring a professional to help with the
acoustics
of your room. They can provide expert advice and even install specialized acoustic treatments to optimize your living room for recording.
If you are serious about creating a professional recording space in your living room, it may be worth considering hiring a professional to help with the
acoustics
of your room. They can provide expert advice and even install specialized acoustic treatments to optimize your living room for recording.
Final Thoughts
 Creating a harmonious and professional recording space in your living room is not as difficult as it may seem. By understanding the
acoustics
of your room and making some simple changes, you can greatly improve the quality of your recordings. So next time you sit down to record in your living room, take some time to assess and optimize your
acoustics
for a truly professional sound.
Creating a harmonious and professional recording space in your living room is not as difficult as it may seem. By understanding the
acoustics
of your room and making some simple changes, you can greatly improve the quality of your recordings. So next time you sit down to record in your living room, take some time to assess and optimize your
acoustics
for a truly professional sound.