1. Kitchen Sink Waste Disposal: How to Connect to Your Soil Stack
Connecting your kitchen sink waste to your soil stack is an essential part of any plumbing system. This ensures that the waste from your sink is properly disposed of and does not cause any issues with your drainage system. In this guide, we will walk you through the steps on how to connect your kitchen sink waste to your soil stack, making the process easy and hassle-free.


1. Kitchen Sink Waste Disposal: How to Connect to Your Soil Stack


/how-to-install-a-sink-drain-2718789-hero-24e898006ed94c9593a2a268b57989a3.jpg)


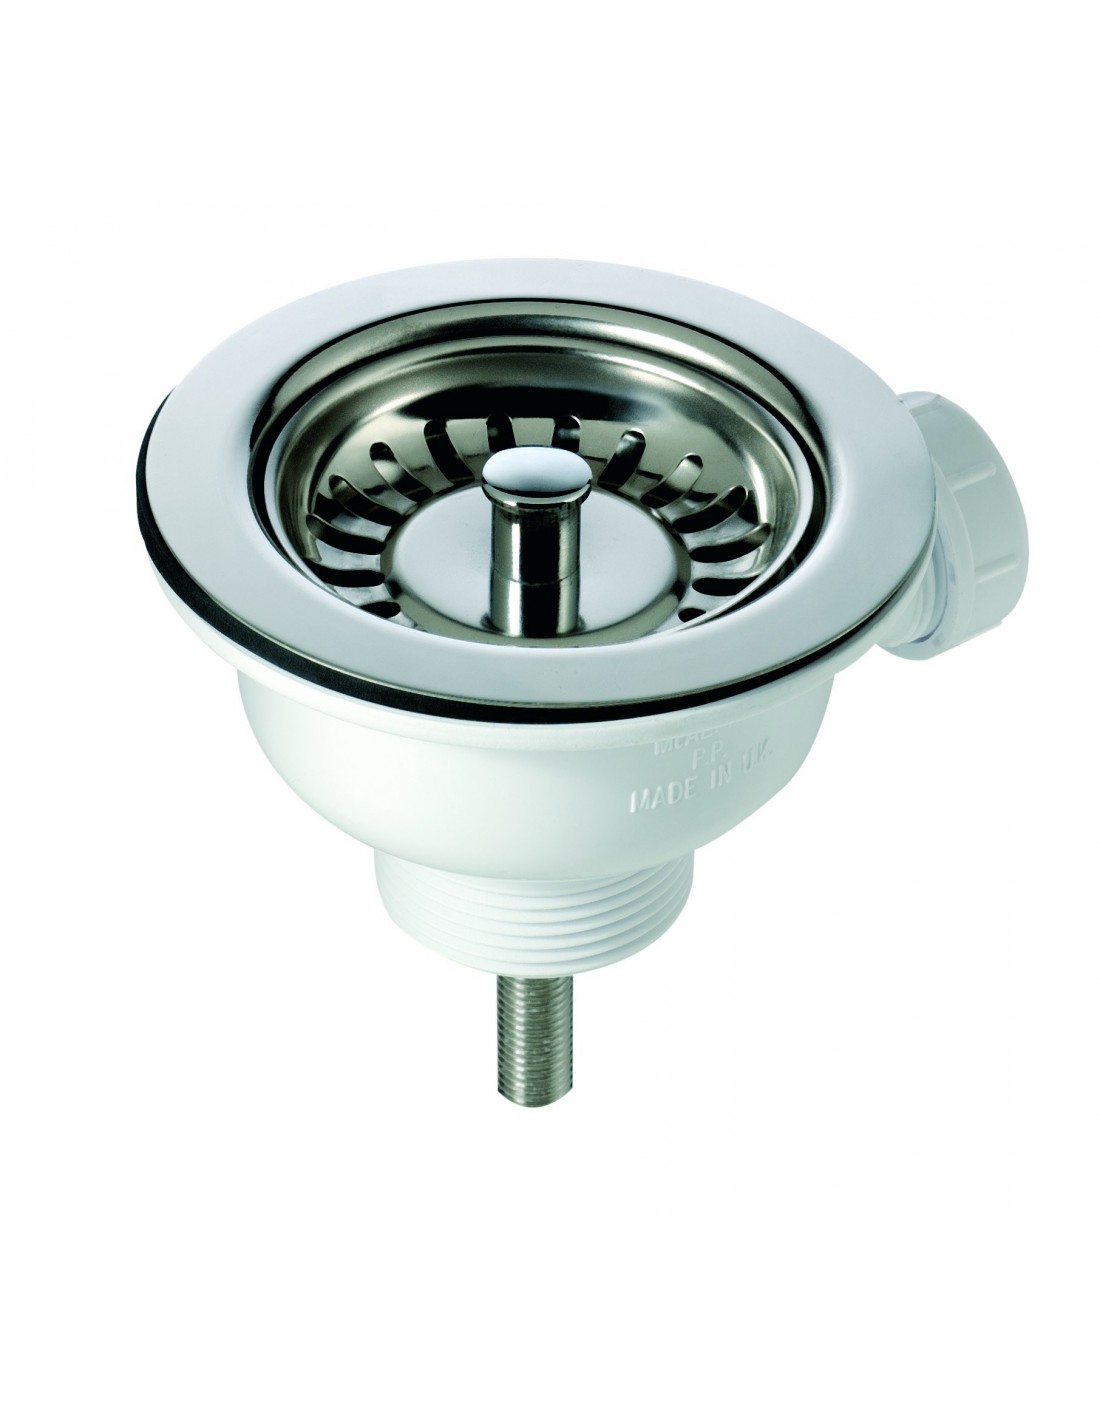
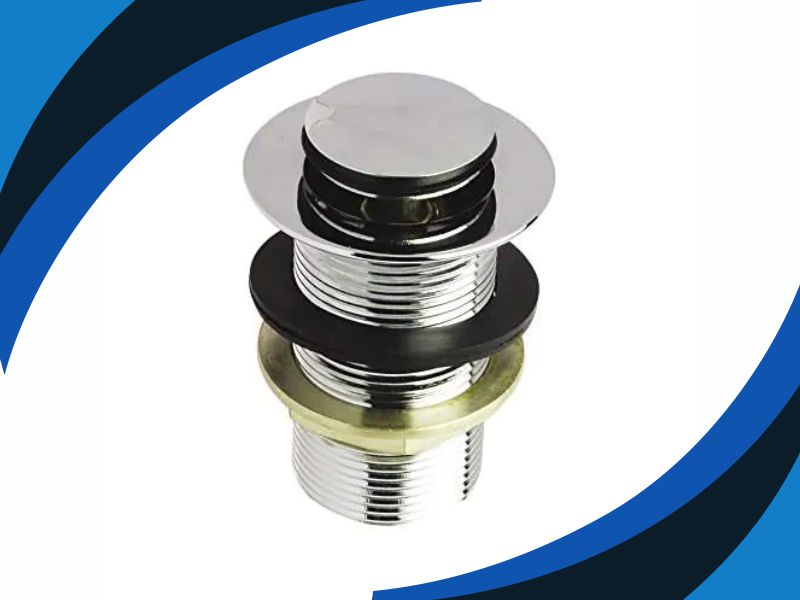
2. How to Install a Kitchen Sink Waste Pipe
Before you can connect your kitchen sink waste to your soil stack, you need to have a proper waste pipe installed. This is usually done during the installation of your kitchen sink, but if you are replacing an old sink or installing a new one, you will need to install a waste pipe first. This is a relatively simple process that involves connecting the waste pipe to the sink drain and routing it towards the soil stack.


2. How to Install a Kitchen Sink Waste Pipe
:max_bytes(150000):strip_icc()/how-to-install-a-sink-drain-2718789-hero-24e898006ed94c9593a2a268b57989a3.jpg)


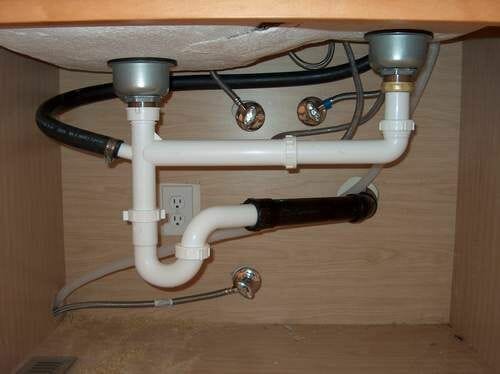


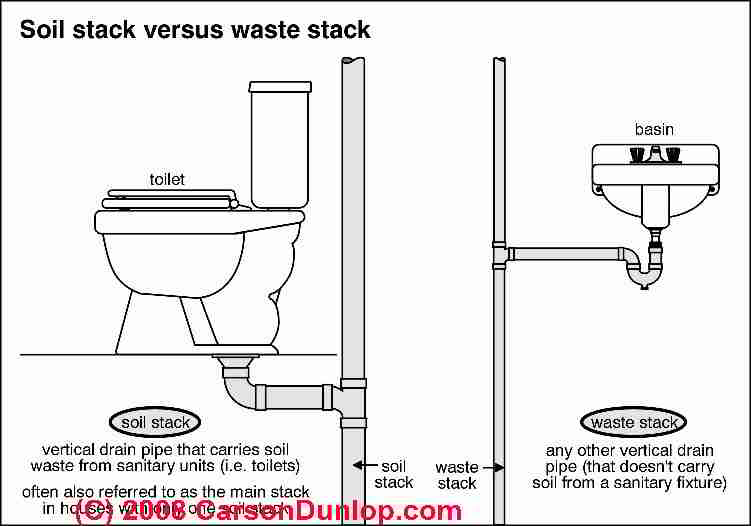
3. Connecting a Kitchen Sink Waste to a Soil Pipe
The next step is to connect the waste pipe from your kitchen sink to the soil pipe. The soil pipe is a vertical pipe that carries waste from your entire household and connects to the main sewer line. You will need to cut a hole in the soil pipe and attach a fitting that will connect to the waste pipe from your sink. This fitting can be a T-junction or a Y-junction, depending on your plumbing setup.


3. Connecting a Kitchen Sink Waste to a Soil Pipe


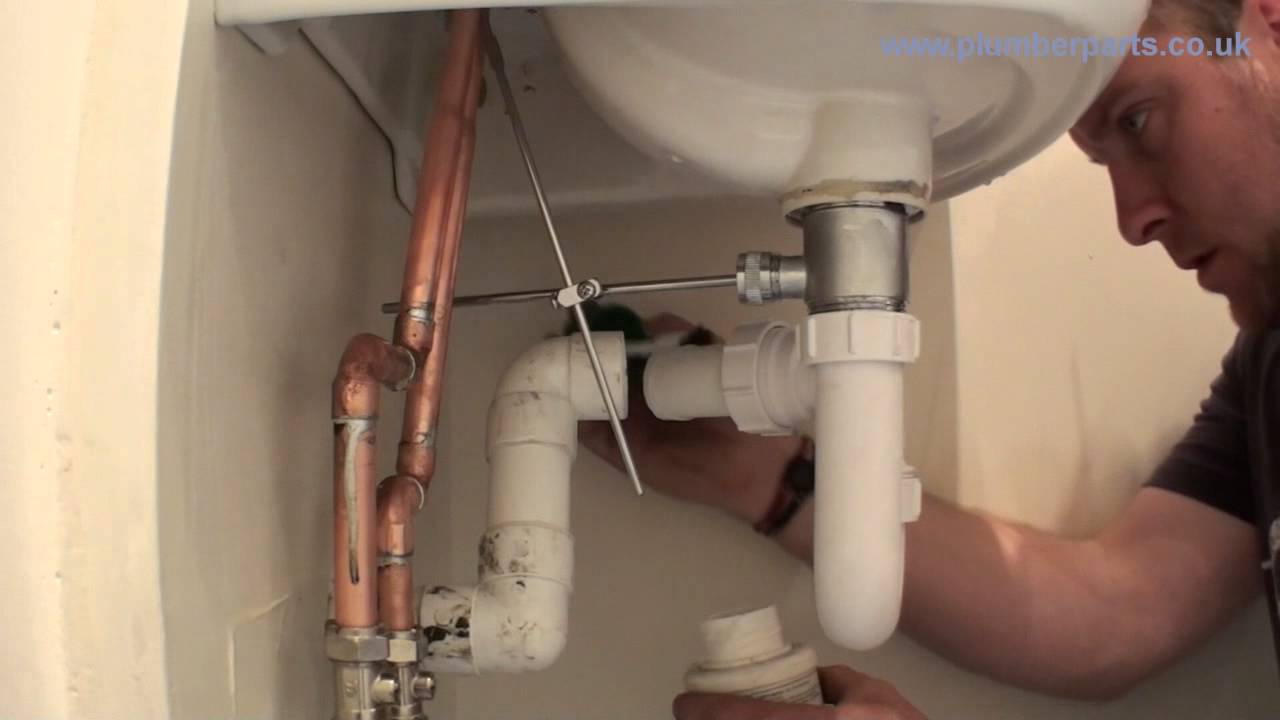


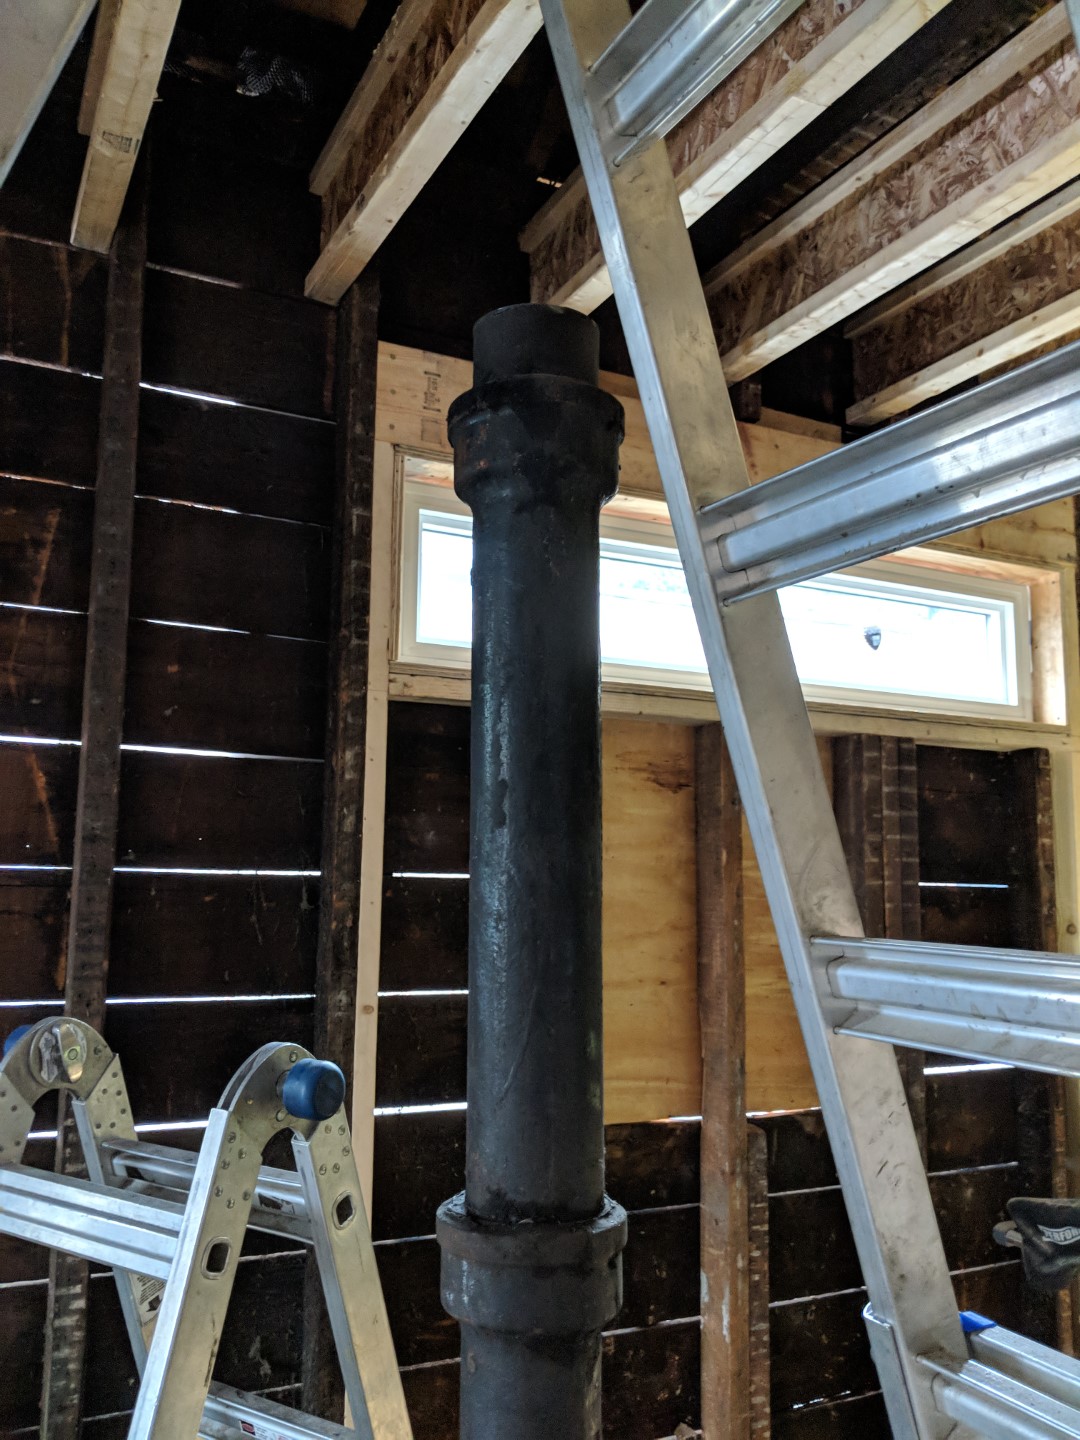
4. How to Connect a Kitchen Sink Waste to a Soil Stack
Once the waste pipe is connected to the soil pipe, the next step is to connect it to the soil stack. The soil stack is a vertical pipe that extends above your roof and allows for proper ventilation of the plumbing system. You will need to attach a fitting to the soil stack and connect it to the waste pipe from your sink. This fitting can be a bend or a T-junction, depending on the angle of the soil stack.


4. How to Connect a Kitchen Sink Waste to a Soil Stack
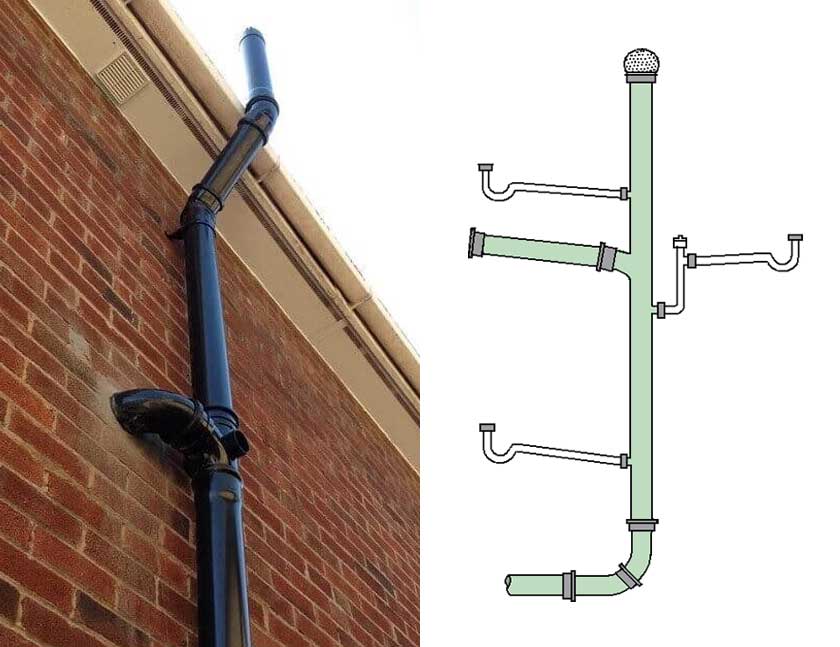


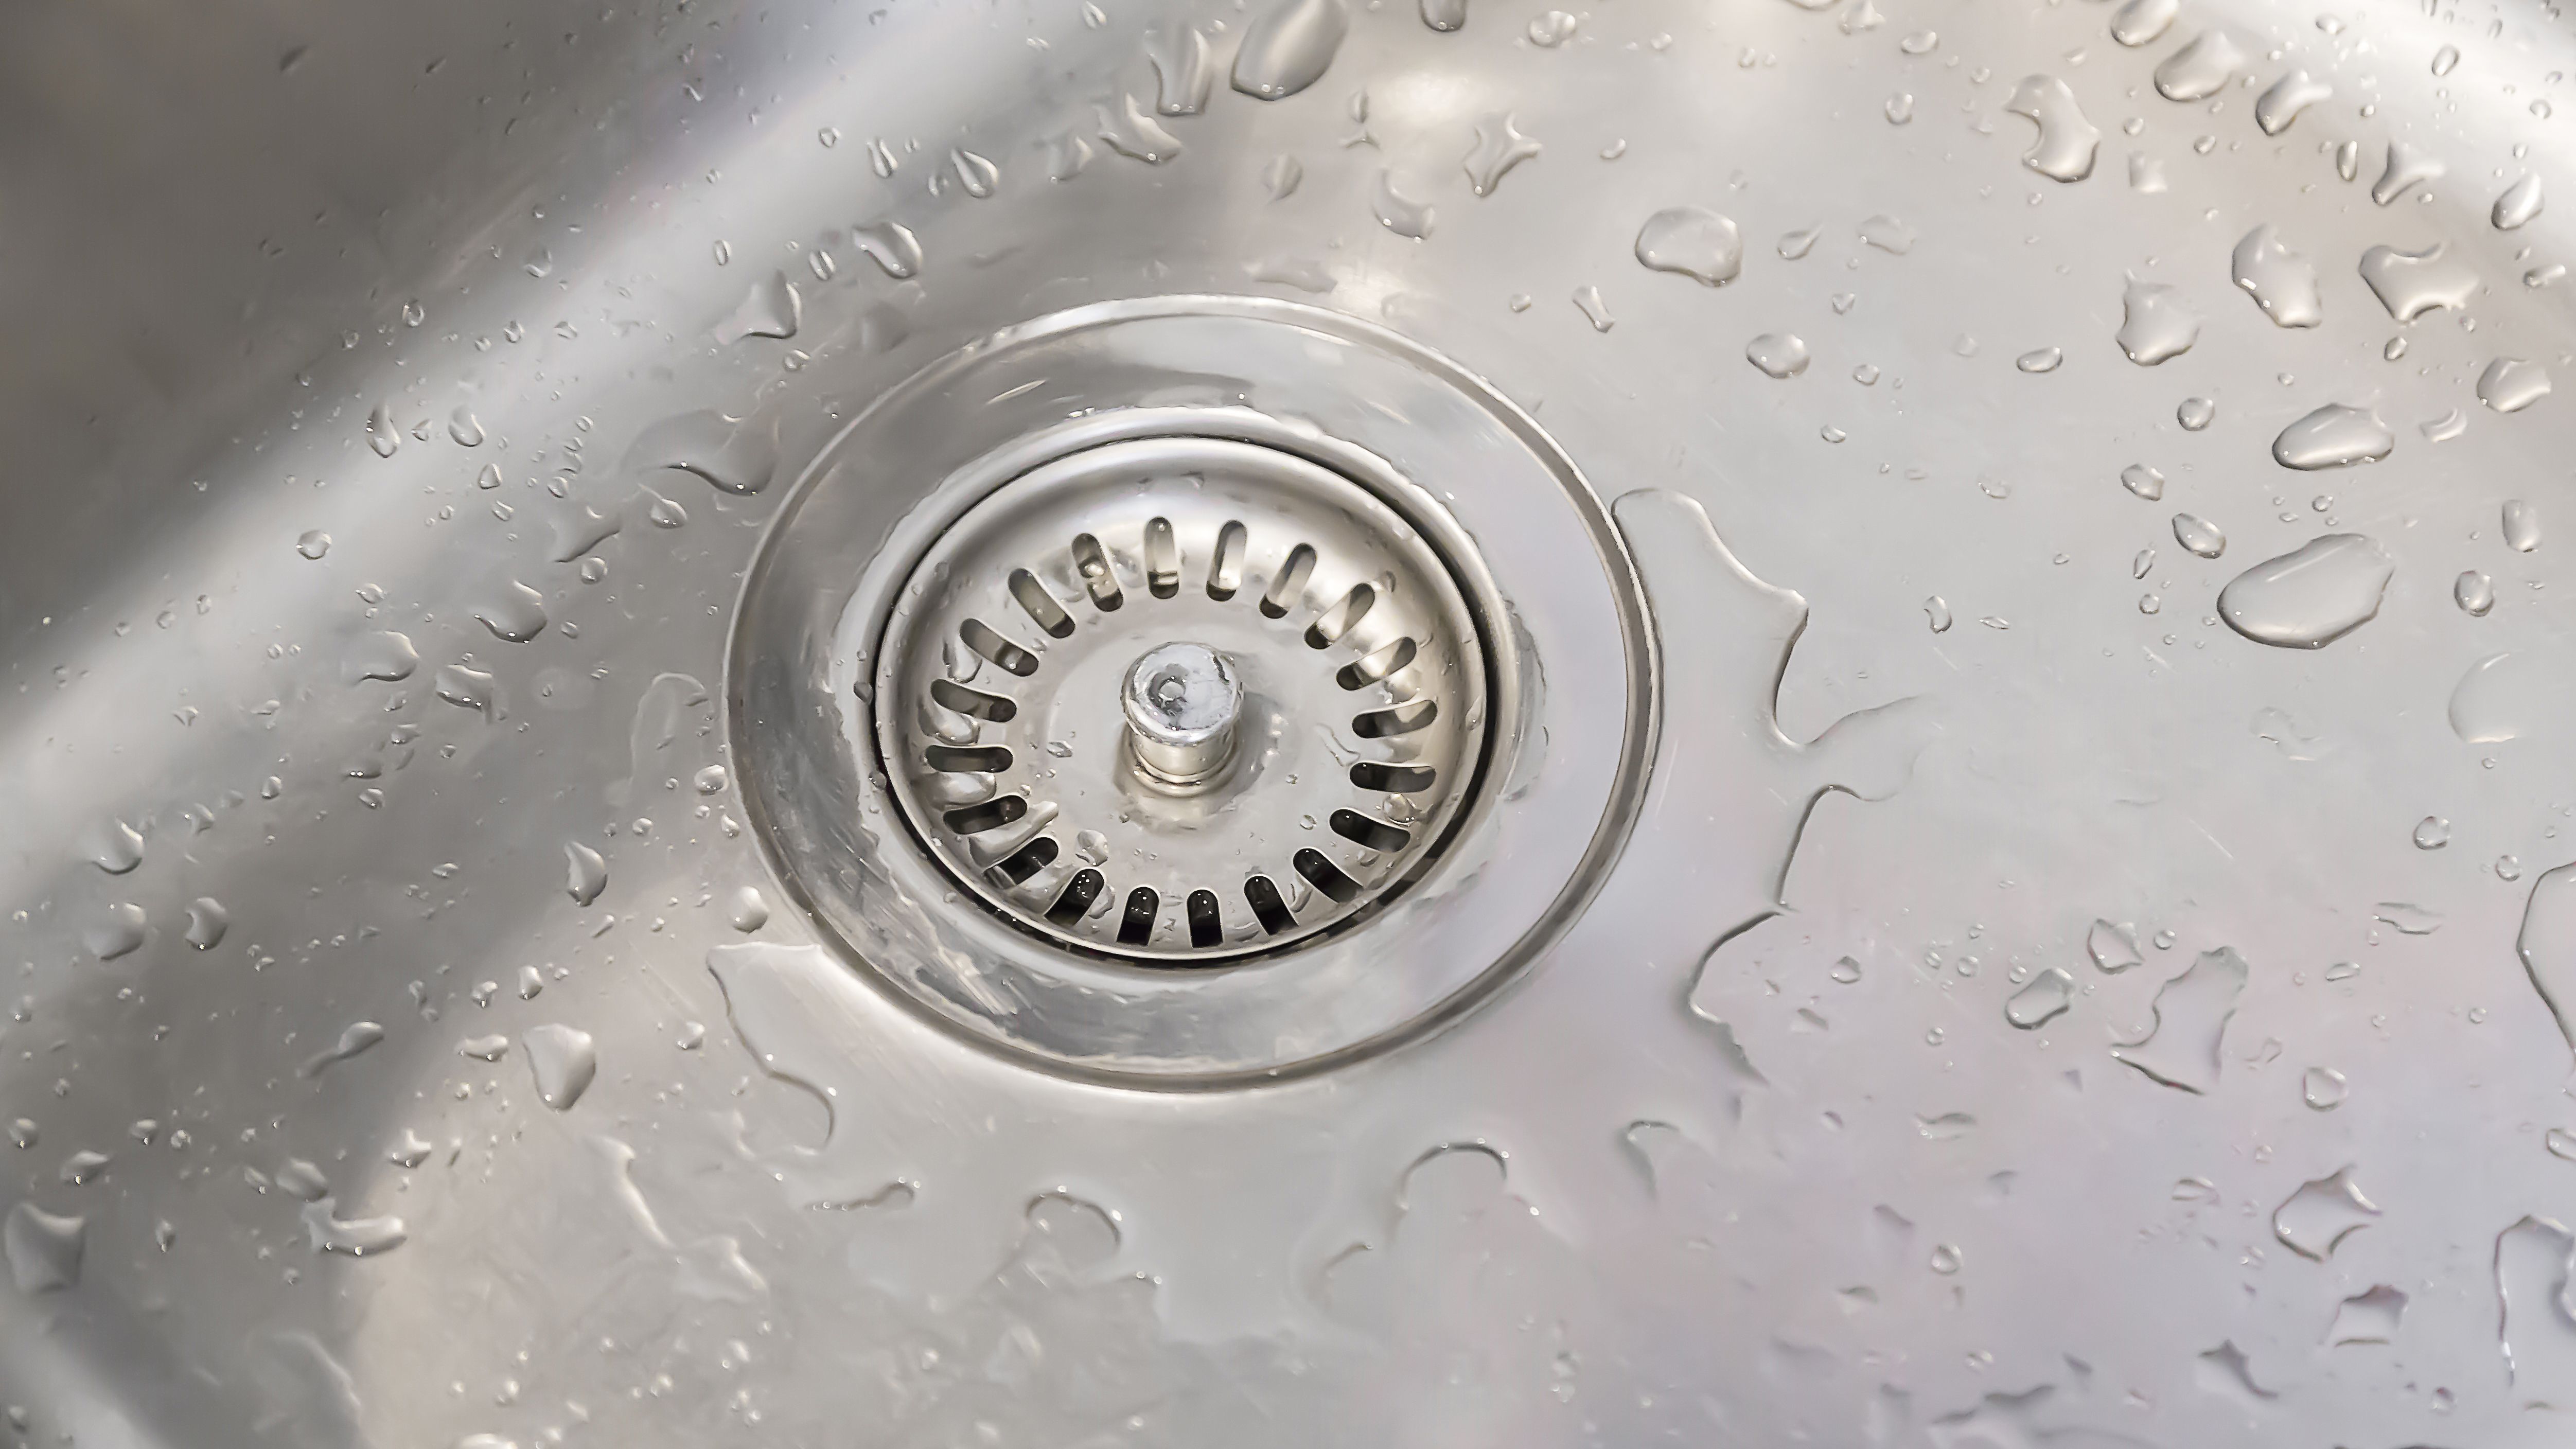
5. Kitchen Sink Waste into Soil Stack: A Step-by-Step Guide
Now that all the necessary connections have been made, it's time to test your newly installed kitchen sink waste into the soil stack. First, make sure that all the connections are tight and secure. Then, run water down your sink drain and observe if it flows smoothly into the soil stack. If you notice any leaks or blockages, you may need to adjust the connections or call a plumber for assistance.


5. Kitchen Sink Waste into Soil Stack: A Step-by-Step Guide


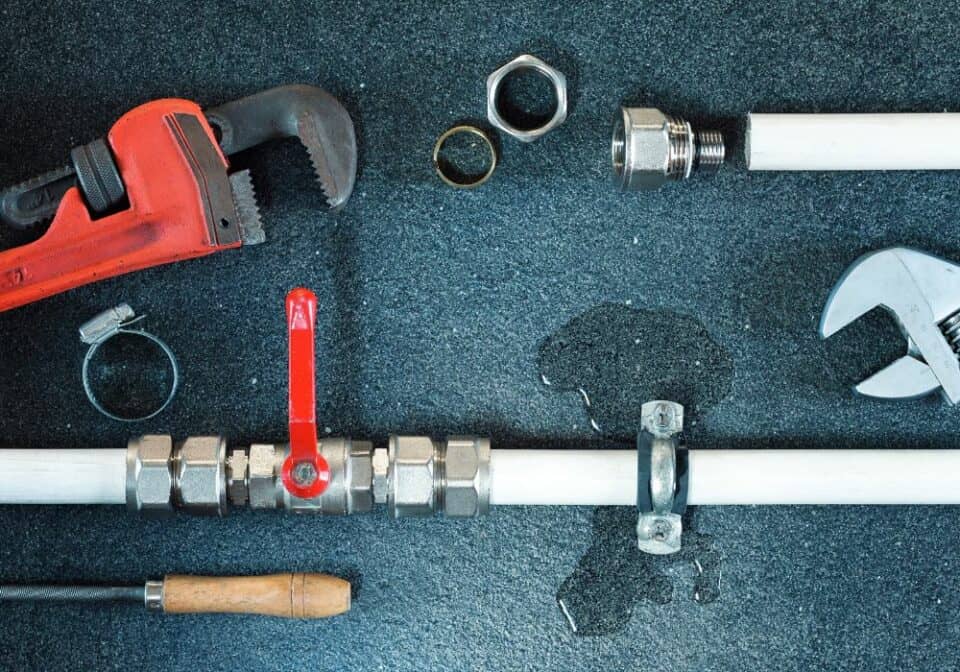
6. How to Connect a Kitchen Sink Waste to a Soil Stack: Tips and Tricks
If you are unsure about how to connect your kitchen sink waste to your soil stack, here are some helpful tips and tricks to keep in mind:
• Use quality materials: It is essential to use high-quality materials for your plumbing connections to ensure they are durable and long-lasting.
• Measure twice, cut once: Double-check your measurements before cutting any pipes to avoid any mistakes that could lead to leaks or blockages.
• Seek professional help: If you are not confident in your plumbing skills, it is best to consult a professional plumber to ensure the connections are done correctly.


6. How to Connect a Kitchen Sink Waste to a Soil Stack: Tips and Tricks


7. Kitchen Sink Waste Disposal: Connecting to Your Soil Stack Made Easy
Now that you know the steps and tips for connecting your kitchen sink waste to your soil stack, the process should be easy and straightforward. With the right tools and materials, you can have your waste disposal system up and running in no time. Remember to always follow safety precautions and seek professional help if needed.

7. Kitchen Sink Waste Disposal: Connecting to Your Soil Stack Made Easy


8. Kitchen Sink Waste into Soil Stack: What You Need to Know
When connecting your kitchen sink waste to your soil stack, there are a few things you should keep in mind:
• Proper ventilation: It is crucial to have proper ventilation in your plumbing system to avoid the buildup of harmful gases.
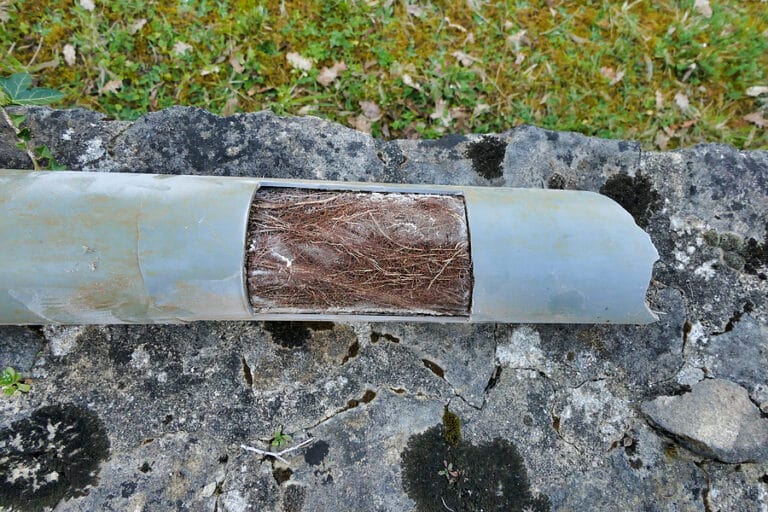
• Regular maintenance: Make sure to regularly check your connections and pipes for any leaks or blockages to prevent any major issues in the future.
• Follow building codes: Before starting any plumbing work, make sure to check with your local building codes to ensure you are following the correct guidelines.

8. Kitchen Sink Waste into Soil Stack: What You Need to Know


9. How to Install a Kitchen Sink Waste into a Soil Stack
If you are installing a kitchen sink waste into a soil stack for the first time, it may seem like a daunting task. However, by following the steps and tips mentioned above, you can easily install your waste disposal system without any hassle. Just remember to be patient and take your time to ensure everything is done correctly.

9. How to Install a Kitchen Sink Waste into a Soil Stack


10. Connecting a Kitchen Sink Waste to a Soil Stack: Common Mistakes to Avoid
When connecting your kitchen sink waste to your soil stack, there are some common mistakes that you should avoid:
• Incorrect measurements: As mentioned before, it is crucial to double-check your measurements before cutting any pipes to avoid any mistakes.
• Using low-quality materials: It is essential to use high-quality materials for your plumbing connections to prevent any leaks or damages in the future.
• Ignoring safety precautions: Always wear protective gear and follow safety precautions when working with plumbing tools and materials to avoid any accidents or injuries.
In conclusion, connecting your kitchen sink waste to your soil stack is an important step in maintaining a functional plumbing system. By following the steps and tips provided in this guide, you can easily install your waste disposal system and ensure it runs smoothly for years to come.
10. Connecting a Kitchen Sink Waste to a Soil Stack: Common Mistakes to Avoid
Reducing Waste and Improving Sustainability: How to Turn Kitchen Sink Waste into Soil Stack

The kitchen is often considered the heart of the home, a place where meals are prepared and memories are made. Unfortunately, it is also a major source of household waste. According to the Environmental Protection Agency, food waste makes up more than 20% of the waste in landfills. But what if there was a way to reduce this waste and even turn it into something useful for your home? That's where the concept of turning kitchen sink waste into soil stack comes in.
Kitchen sink waste refers to the scraps and leftovers from food preparation and cleaning, such as fruit and vegetable peels, eggshells, and coffee grounds. These items, if not disposed of properly, can contribute to the growing problem of food waste in landfills. However, with a little creativity and some simple steps, you can turn this waste into a valuable resource for your garden.
The process of turning kitchen sink waste into soil stack is known as composting , and it has been around for centuries. Composting is the natural decomposition of organic materials, which results in a nutrient-rich soil amendment called compost. This compost can then be used to nourish and improve the health of your garden soil.

The first step in composting is to designate a spot in your backyard for a compost bin . This can be a simple structure made from wood pallets or a purchased bin specifically designed for composting. Next, you will need to collect your kitchen sink waste in a small container and add it to the compost bin. It's important to remember to only add organic materials to your compost bin, as non-organic items can disrupt the composting process and potentially harm your plants.
Once you have added your kitchen sink waste to the compost bin, you will need to mix it with other organic materials, such as yard waste, to create a balanced compost pile. This mixture of both "green" (high in nitrogen) and "brown" (high in carbon) materials will help speed up the composting process. Some examples of "brown" materials include dried leaves, twigs, and shredded paper, while "green" materials can include grass clippings, vegetable scraps, and coffee grounds.

As your compost pile grows, it's important to mix and aerate it regularly to ensure proper decomposition. You can do this by turning the pile with a pitchfork or shovel. Depending on the size of your compost pile and the materials used, it can take anywhere from a few weeks to a few months for the waste to fully decompose into compost. Once it has reached a dark, crumbly texture, it is ready to be used in your garden.
By turning your kitchen sink waste into soil stack through composting, you are not only reducing the amount of waste in landfills, but also creating a sustainable source of nutrients for your garden. Not only is this beneficial for the environment, but it can also save you money on buying fertilizers and other soil amendments. So next time you're in the kitchen, think twice before you throw away those food scraps and start composting instead.

In conclusion , turning kitchen sink waste into soil stack is a simple and effective way to reduce waste and improve the sustainability of your home. With just a few easy steps, you can turn your kitchen waste into a valuable resource for your garden. So why not give composting a try and see the benefits for yourself?