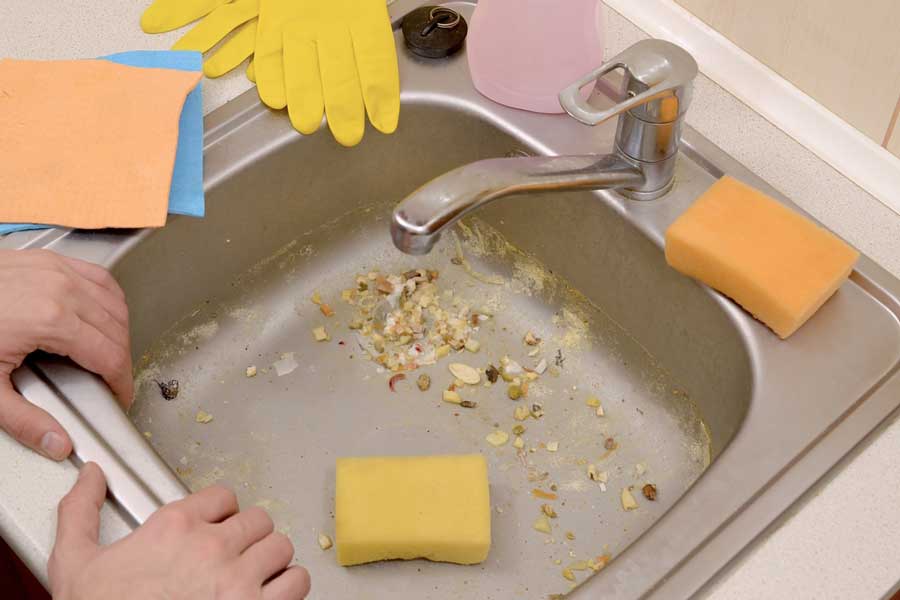
How to Install a Kitchen Sink Waste
If you're looking to upgrade your kitchen sink, one important component to consider is the waste or drain system. A properly installed kitchen sink waste not only ensures efficient water drainage, but also helps prevent clogs and leaks. In this guide, we'll walk you through the steps of installing a kitchen sink waste and give you tips for a successful installation.
Step-by-Step Guide for Installing a Kitchen Sink Waste
Before you begin, make sure to gather all the necessary tools and materials for the installation. This includes a screwdriver, plumber's putty, plumber's wrench, and the waste assembly kit. Once you have everything on hand, follow these steps:
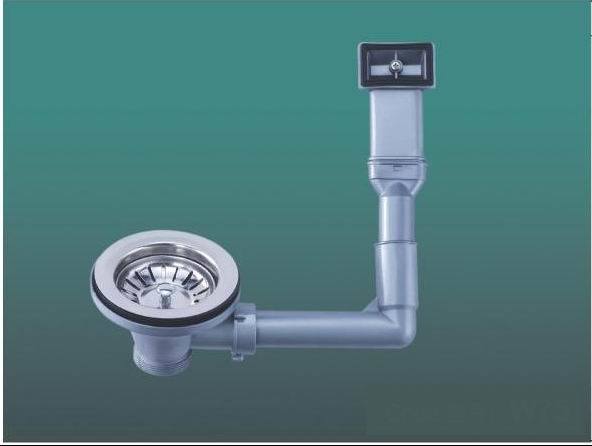
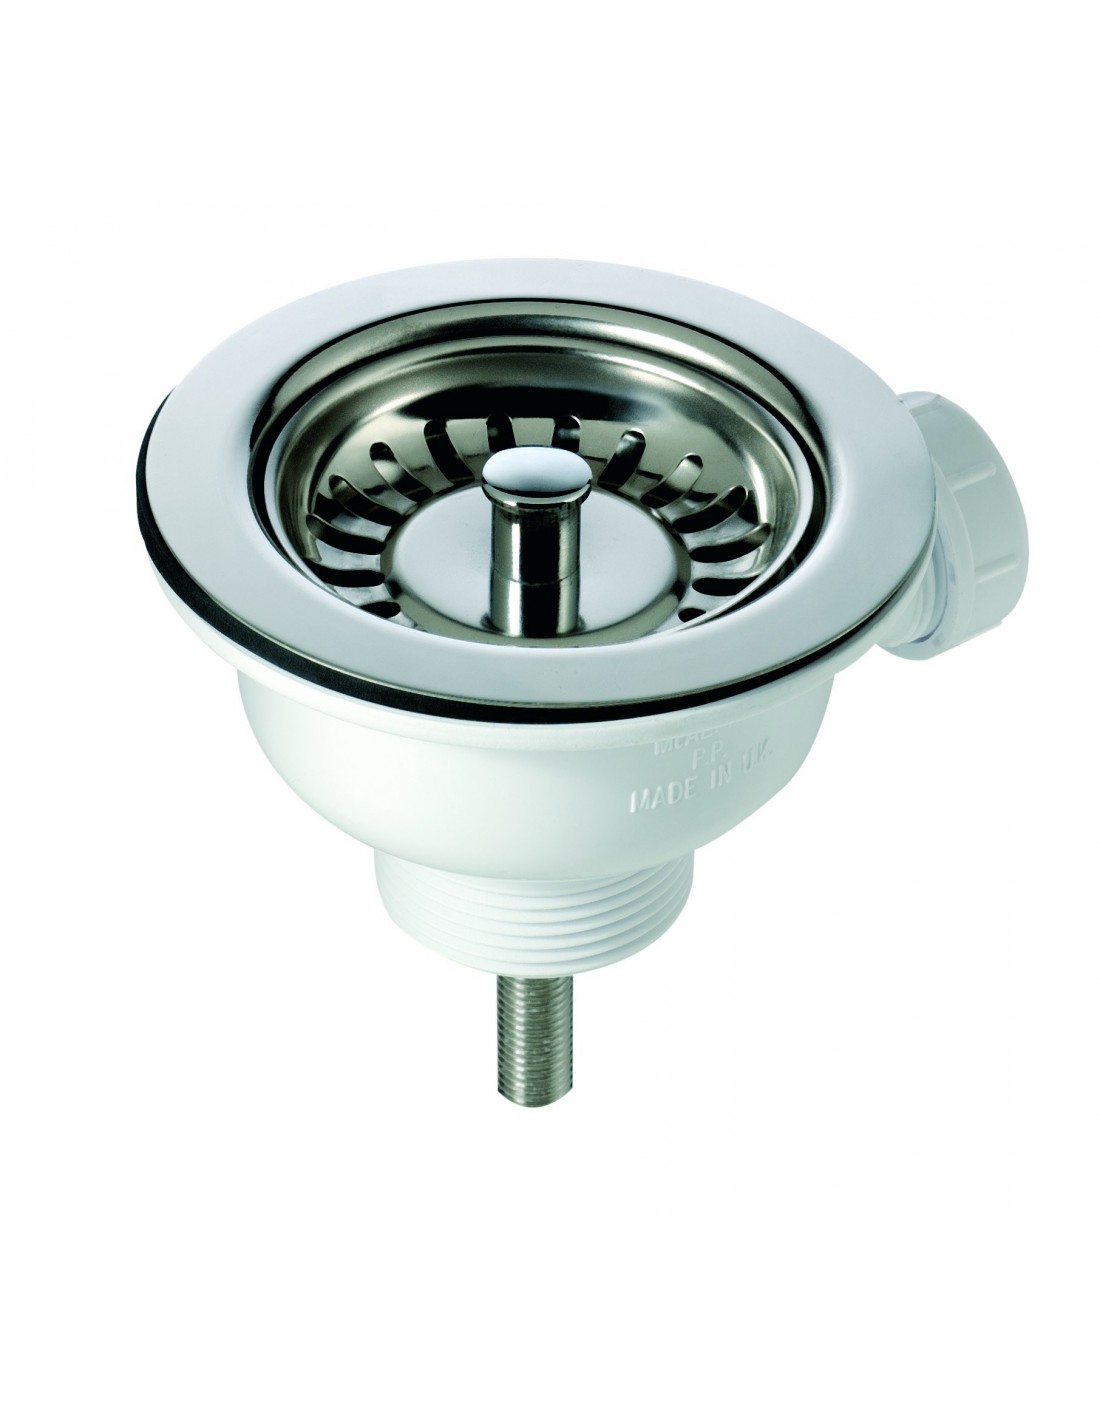
Step 1: Start by assembling the waste kit according to the manufacturer's instructions. This usually involves connecting the sink strainer to the waste pipe and attaching the tailpiece to the drain hole in the sink.
Step 2: Apply a generous amount of plumber's putty around the flange of the sink strainer. This will help create a watertight seal when the strainer is installed in the sink.
Step 3: Place the sink strainer in the drain hole and secure it in place with the provided mounting hardware. Use a screwdriver to tighten the screws and ensure a snug fit.
Step 4: Next, connect the waste pipe to the tailpiece and tighten it with a plumber's wrench. Make sure the connections are secure to prevent leaks.
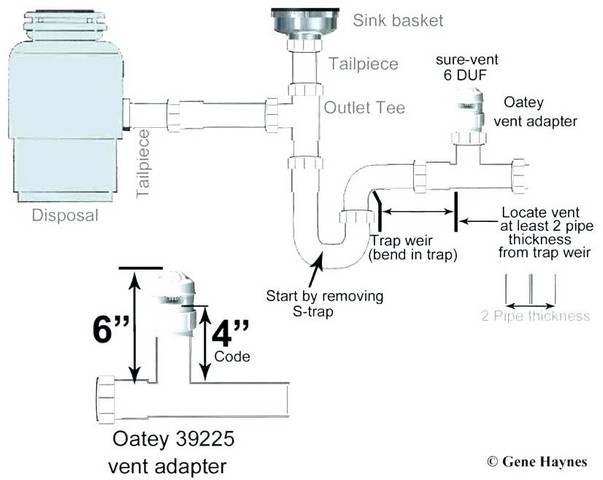
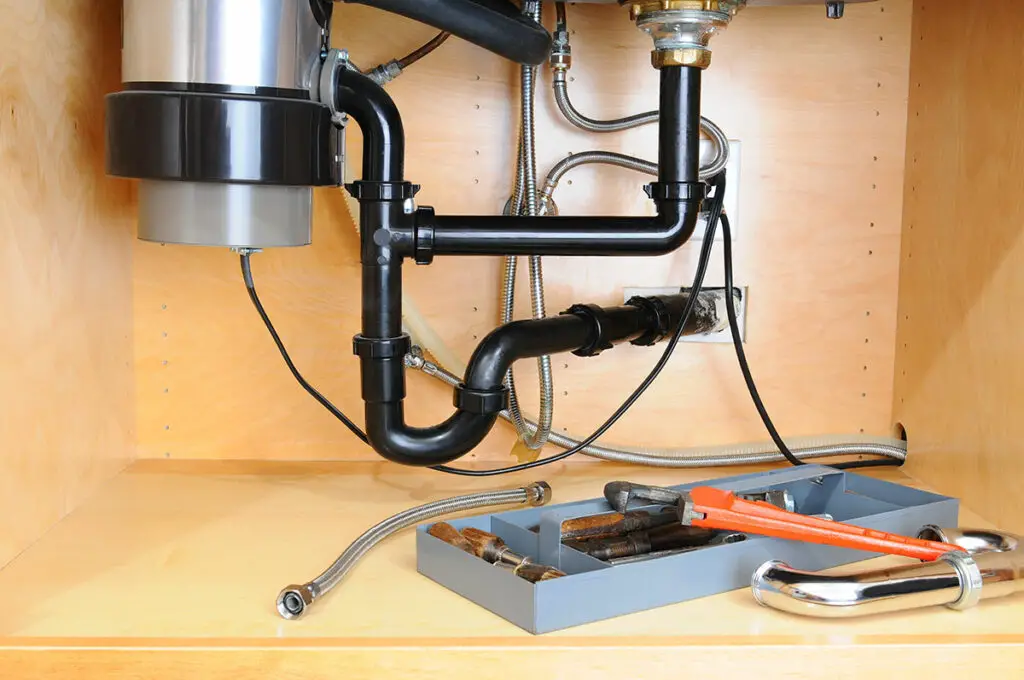
Step 5: Once the waste assembly is installed, attach the P-trap to the waste pipe. The P-trap is a curved pipe that helps prevent sewer gases from entering your home. Make sure to tighten all connections.
Step 6: Turn on the water supply and check for any leaks. If everything looks good, you're all set!
DIY Kitchen Sink Waste Installation
While it's possible to install a kitchen sink waste on your own, it's important to keep in mind that this is a relatively complex plumbing project. If you're not confident in your DIY skills, it's best to hire a professional plumber to do the job. However, if you're up for the challenge, make sure to carefully follow the instructions provided by the manufacturer and take your time during the installation process.
Tools Needed for Installing a Kitchen Sink Waste
The tools needed for a kitchen sink waste installation may vary depending on the specific waste kit you purchase, but in general, you will need the following:
Screwdriver - for tightening screws and connections
Plumber's putty - for creating a watertight seal
Plumber's wrench - for tightening pipes and connections
Hacksaw - for cutting pipes if necessary
Common Mistakes to Avoid When Installing a Kitchen Sink Waste
While installing a kitchen sink waste may seem straightforward, there are some common mistakes that can lead to issues down the line. Here are a few mistakes to avoid during the installation process:
Not using enough plumber's putty - This can result in leaks around the sink strainer.
Incorrectly aligning the waste pipe and tailpiece - This can also lead to leaks and poor drainage.
Not tightening connections properly - Loose connections can cause leaks and even damage your sink and cabinets.
Tips for a Successful Kitchen Sink Waste Installation
To ensure a successful kitchen sink waste installation, here are a few tips to keep in mind:
Read the instructions carefully - Make sure to follow the manufacturer's instructions for your specific waste kit.
Take your time - Rushing through the installation can lead to mistakes and issues down the line.
Use the right tools - Using the correct tools will make the installation process much easier and more efficient.
Choosing the Right Kitchen Sink Waste for Your Installation
There are several types of kitchen sink wastes available, including standard wastes and basket strainer wastes. When choosing the right one for your installation, consider the size and style of your sink, as well as your personal preferences.
Standard wastes - These are the most common type of kitchen sink wastes and are typically used with sinks that have a built-in overflow.
Basket strainer wastes - These wastes feature a basket that can be emptied when needed, making them a good choice for sinks without an overflow.
Professional vs. DIY Kitchen Sink Waste Installation: Which is Right for You?
Deciding whether to hire a professional plumber or do the installation yourself ultimately depends on your level of experience and confidence. If you're not familiar with plumbing projects, it's best to hire a professional to ensure the job is done correctly and to avoid any potential issues in the future.
How to Troubleshoot Common Issues with Kitchen Sink Waste Installation
If you encounter any issues with your kitchen sink waste installation, here are some troubleshooting tips:
Leaking connections - Check all connections and tighten them if necessary. If the leak persists, you may need to replace the washer or gasket.
Slow drainage - This could be caused by a clog in the waste pipe or P-trap. Use a plunger or a plumbing snake to clear the blockage.
Unpleasant odors - If you smell sewer gases coming from your sink, the issue could be with the P-trap. Make sure it is properly installed and the connections are tight.
Cost Breakdown for Installing a Kitchen Sink Waste
The cost of installing a kitchen sink waste will depend on various factors such as the type of waste kit, the complexity of the installation, and the labor rates in your area. On average, a professional installation can cost anywhere from $150 to $300. DIY installation may be cheaper, but keep in mind the potential costs of fixing any mistakes or issues that may arise.
Kitchen Sink Waste Install: A Crucial Step in House Design

The Importance of Proper Kitchen Sink Waste Installation
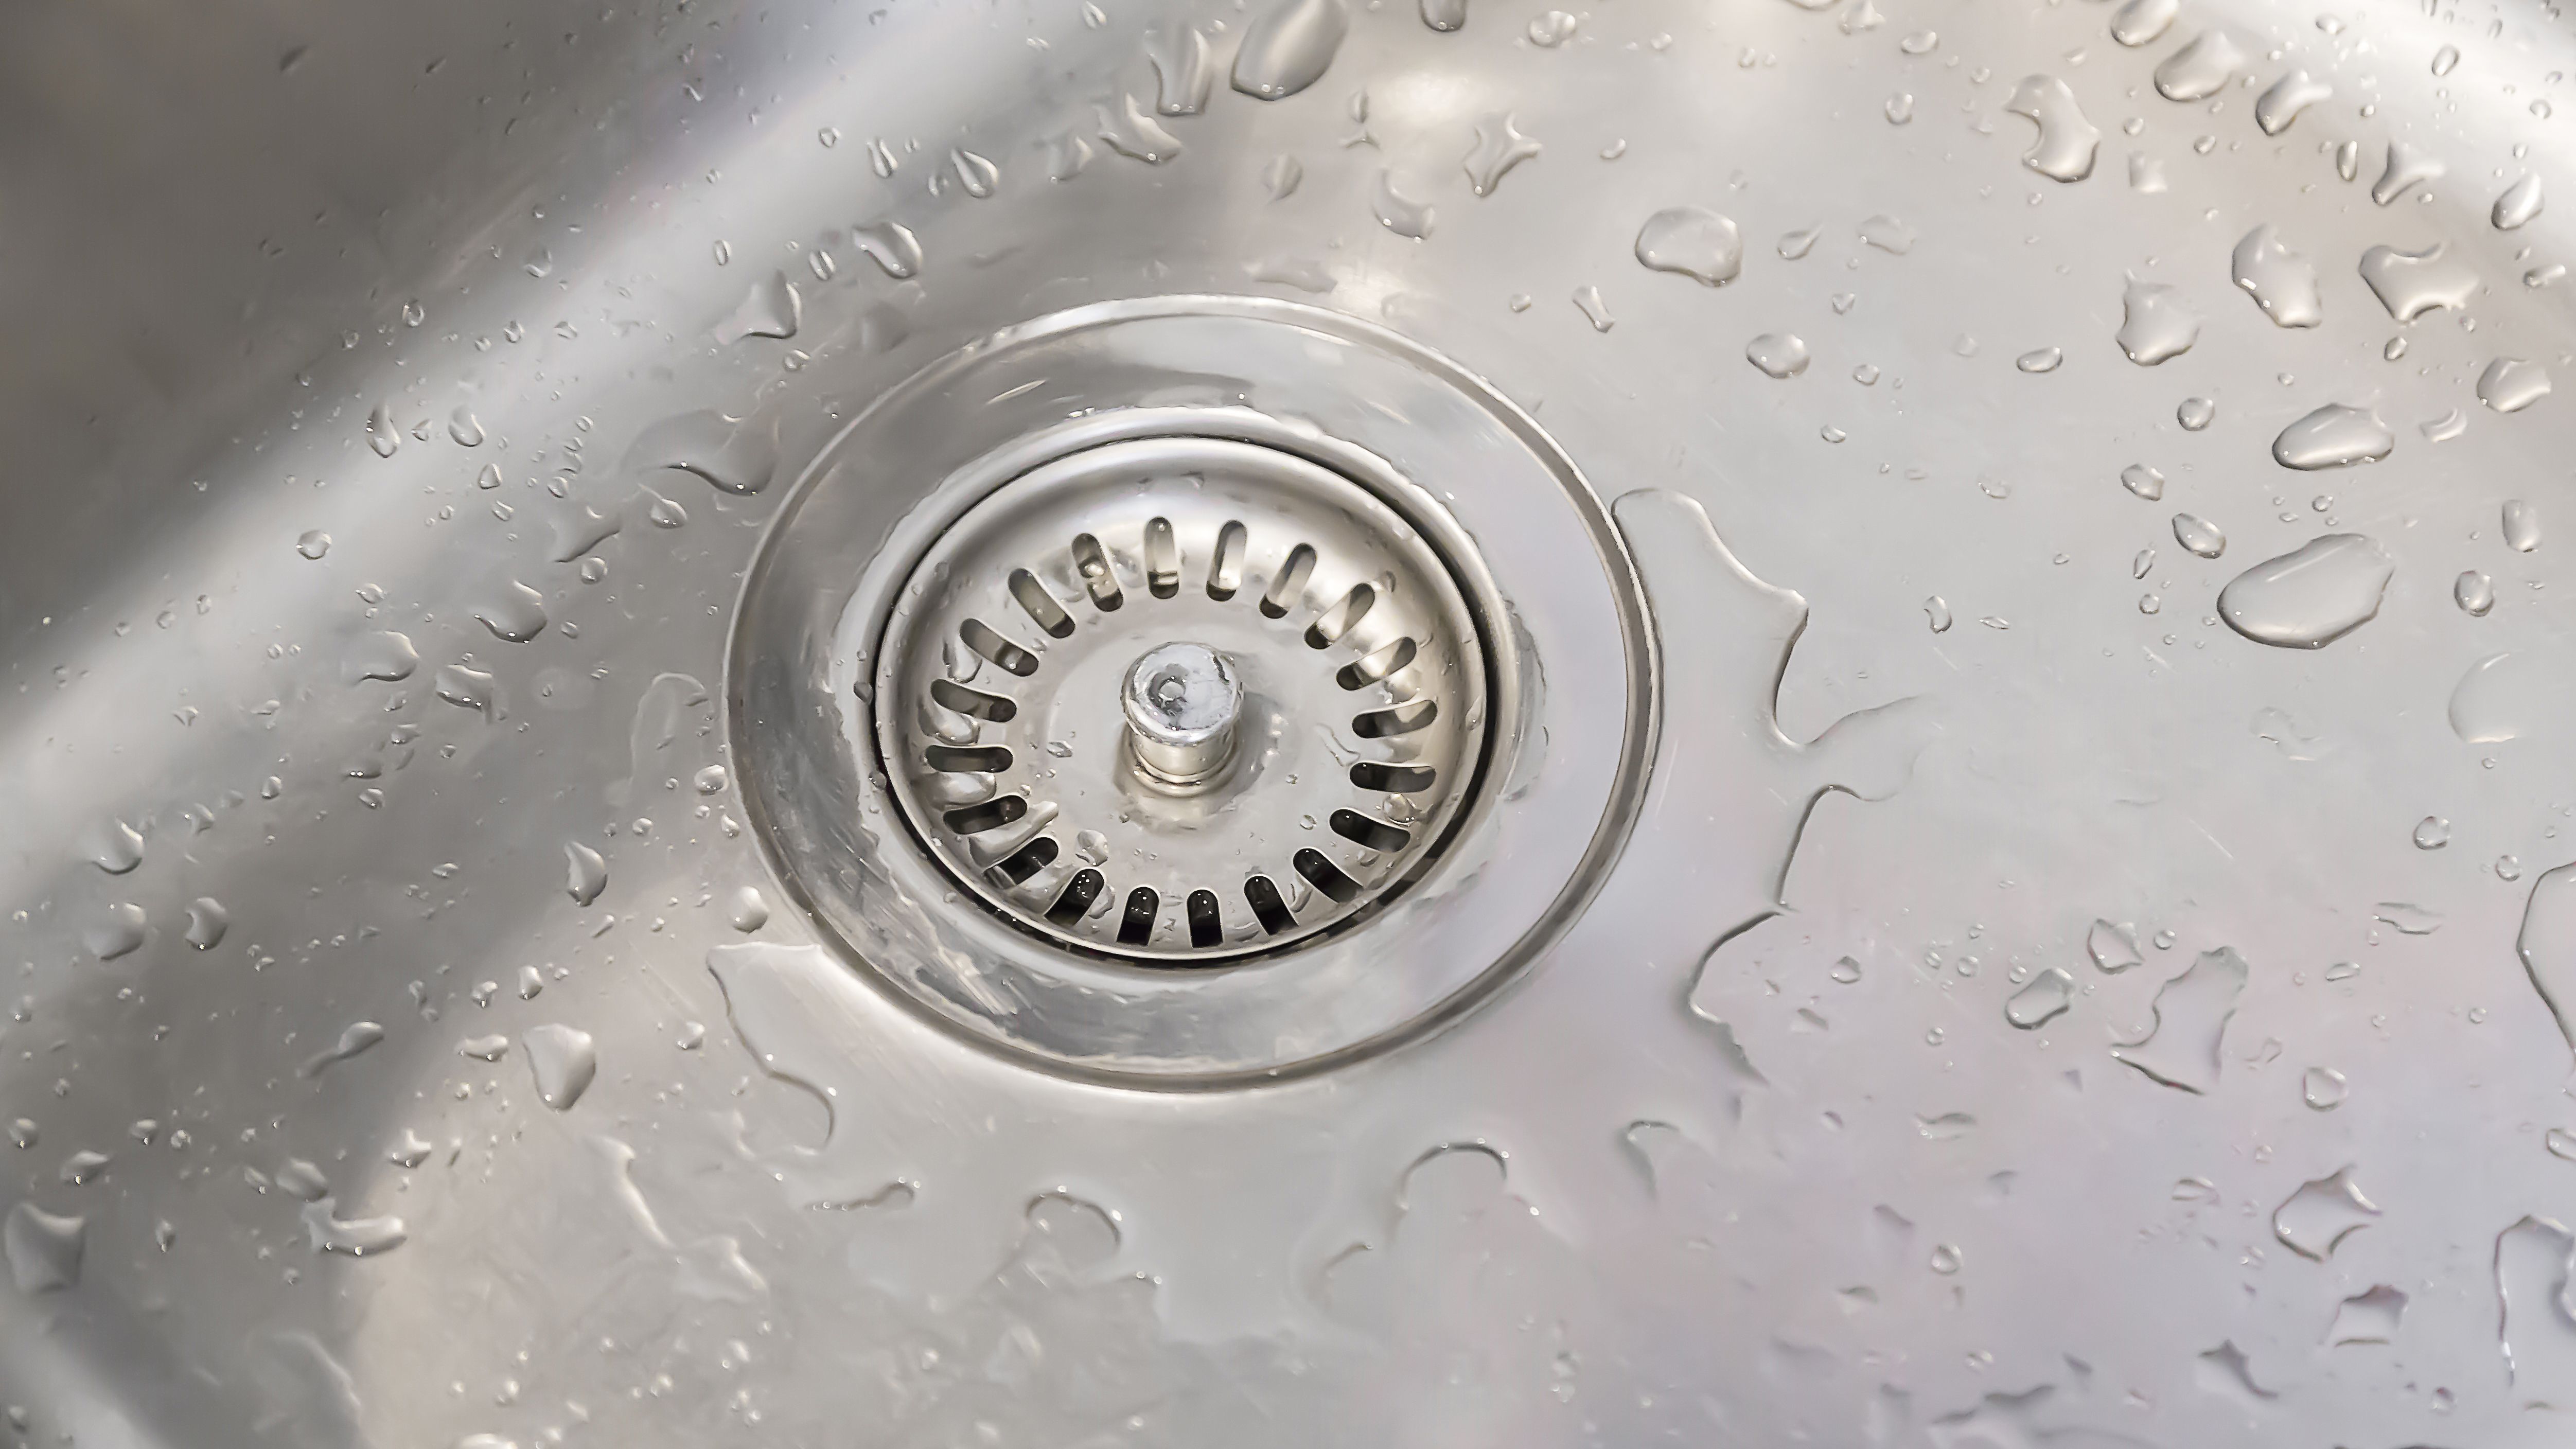 When it comes to designing a house, every detail matters. From the color of the walls to the type of flooring, homeowners want everything to be perfect. However, one aspect that is often overlooked is the installation of the kitchen sink waste. While it may seem like a small detail, it plays a crucial role in the overall functionality and aesthetic of the kitchen.
Kitchen sink waste
refers to the system that connects the sink to the main drainage system of the house. It is responsible for disposing of wastewater and preventing clogs and leaks. A properly installed kitchen sink waste ensures that your kitchen remains clean, hygienic, and functional. It also helps to maintain the structural integrity of your home by preventing water damage.
Common Mistakes in Kitchen Sink Waste Installation
 One of the most common mistakes in kitchen sink waste installation is improper alignment. This can result in leaks, clogs, and foul odors. Another mistake is using low-quality materials, which can lead to frequent repairs and replacements. Inexperienced installers may also overlook the importance of proper ventilation, which can cause slow drainage and a buildup of bacteria.
Proper installation
of the kitchen sink waste involves precise measurements, using high-quality materials, and ensuring proper alignment and ventilation. It is a job best left to professionals who have the necessary skills and experience to do it correctly.


:no_upscale()/cdn.vox-cdn.com/uploads/chorus_asset/file/19495086/drain_0.jpg)
















/how-to-install-a-sink-drain-2718789-hero-24e898006ed94c9593a2a268b57989a3.jpg)






/various-jars-by-sink-in-kitchen-at-home-678911665-5a766bdf119fa800373bc97b.jpg)
