How to Fix a Kitchen Sink Sprayer That Won't Turn Off
If you've ever experienced a kitchen sink sprayer that won't turn off, you know how frustrating it can be. Not only does it waste water, but it can also make a mess in your kitchen. But before you call a plumber, try these simple steps to fix the issue yourself.
Step 1: Check the Water Pressure
The first thing to do when your kitchen sink sprayer won't turn off is to check the water pressure. If it's too high, it can cause the sprayer to stay on. To adjust the water pressure, locate the water supply valves under your sink and make sure they are fully open. If the water pressure is still too high, you may need to install a water pressure regulator.
Step 2: Clean the Sprayer Nozzle
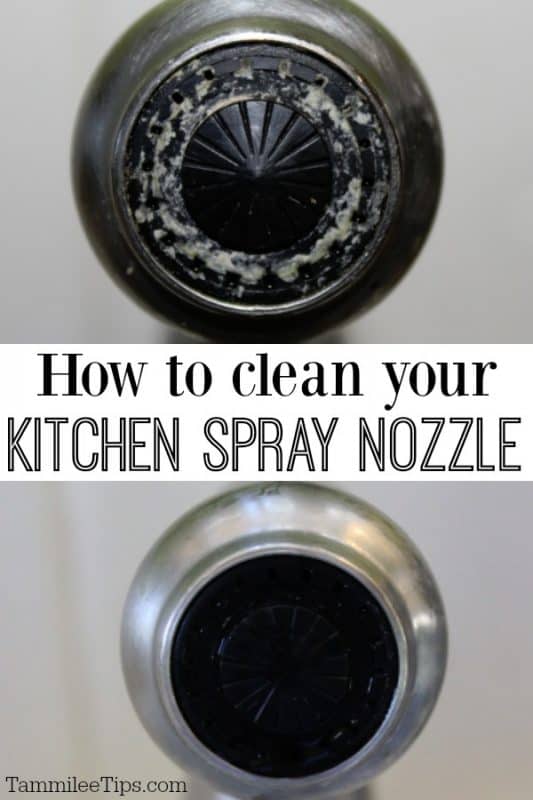
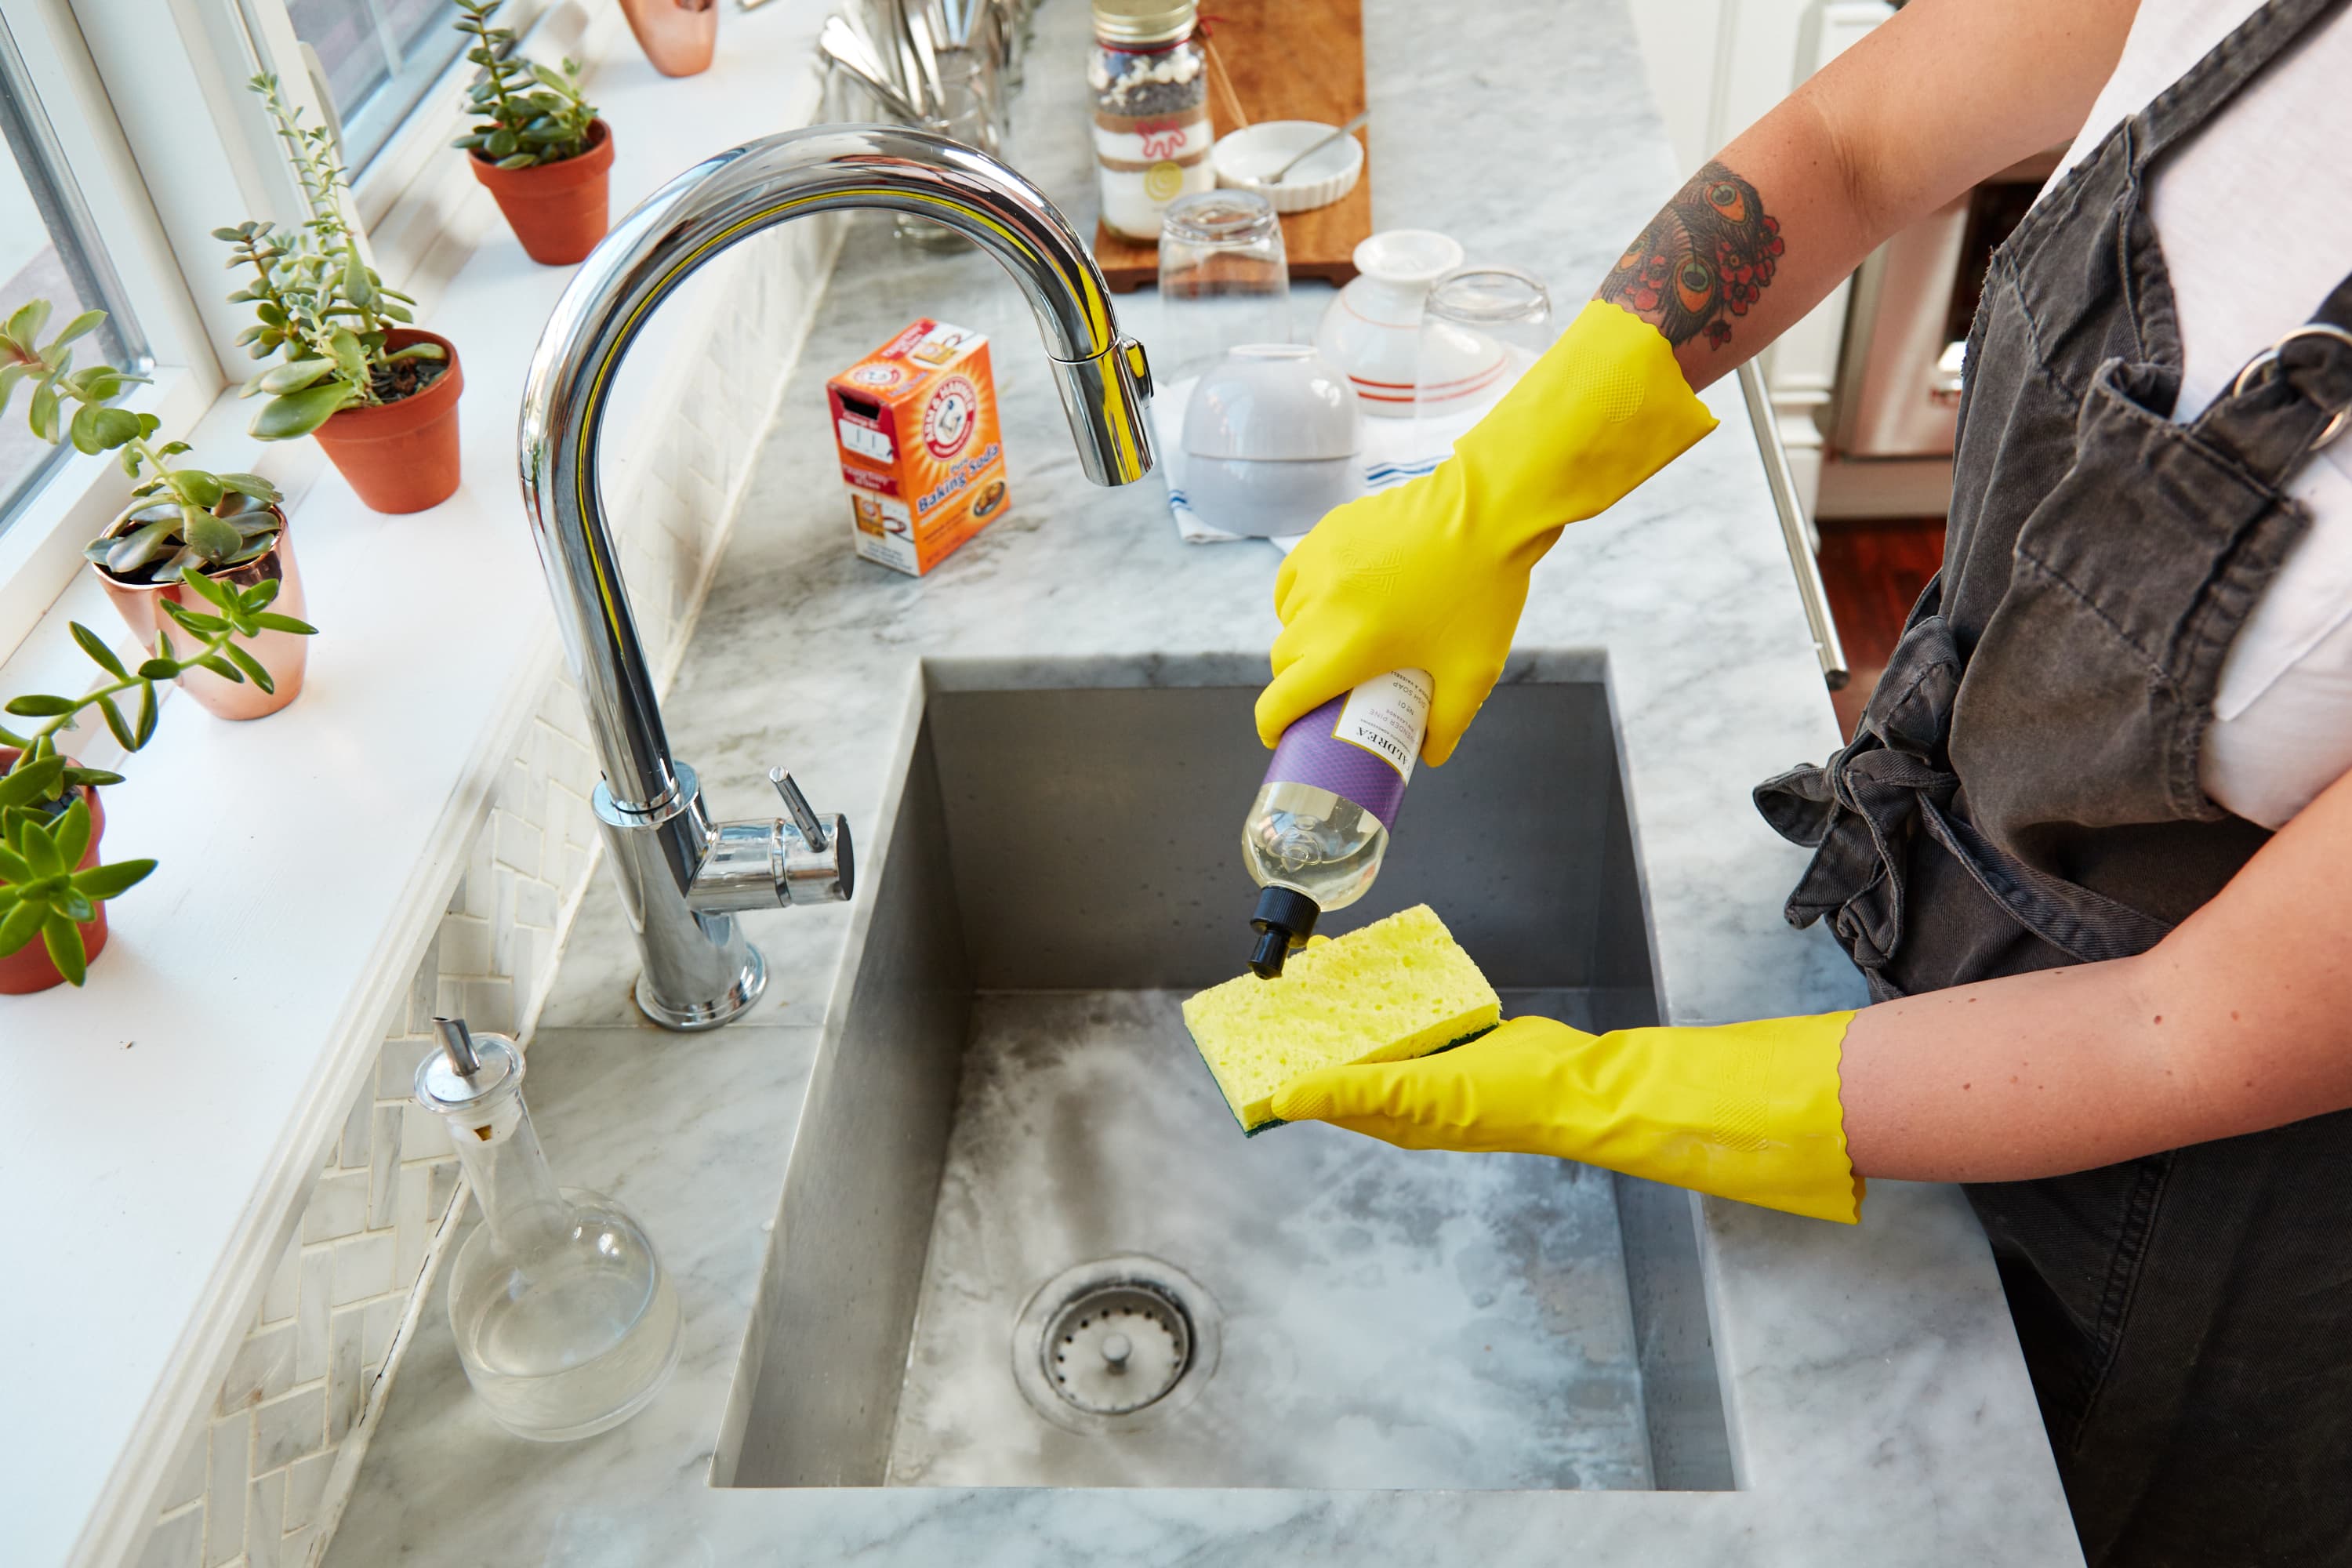
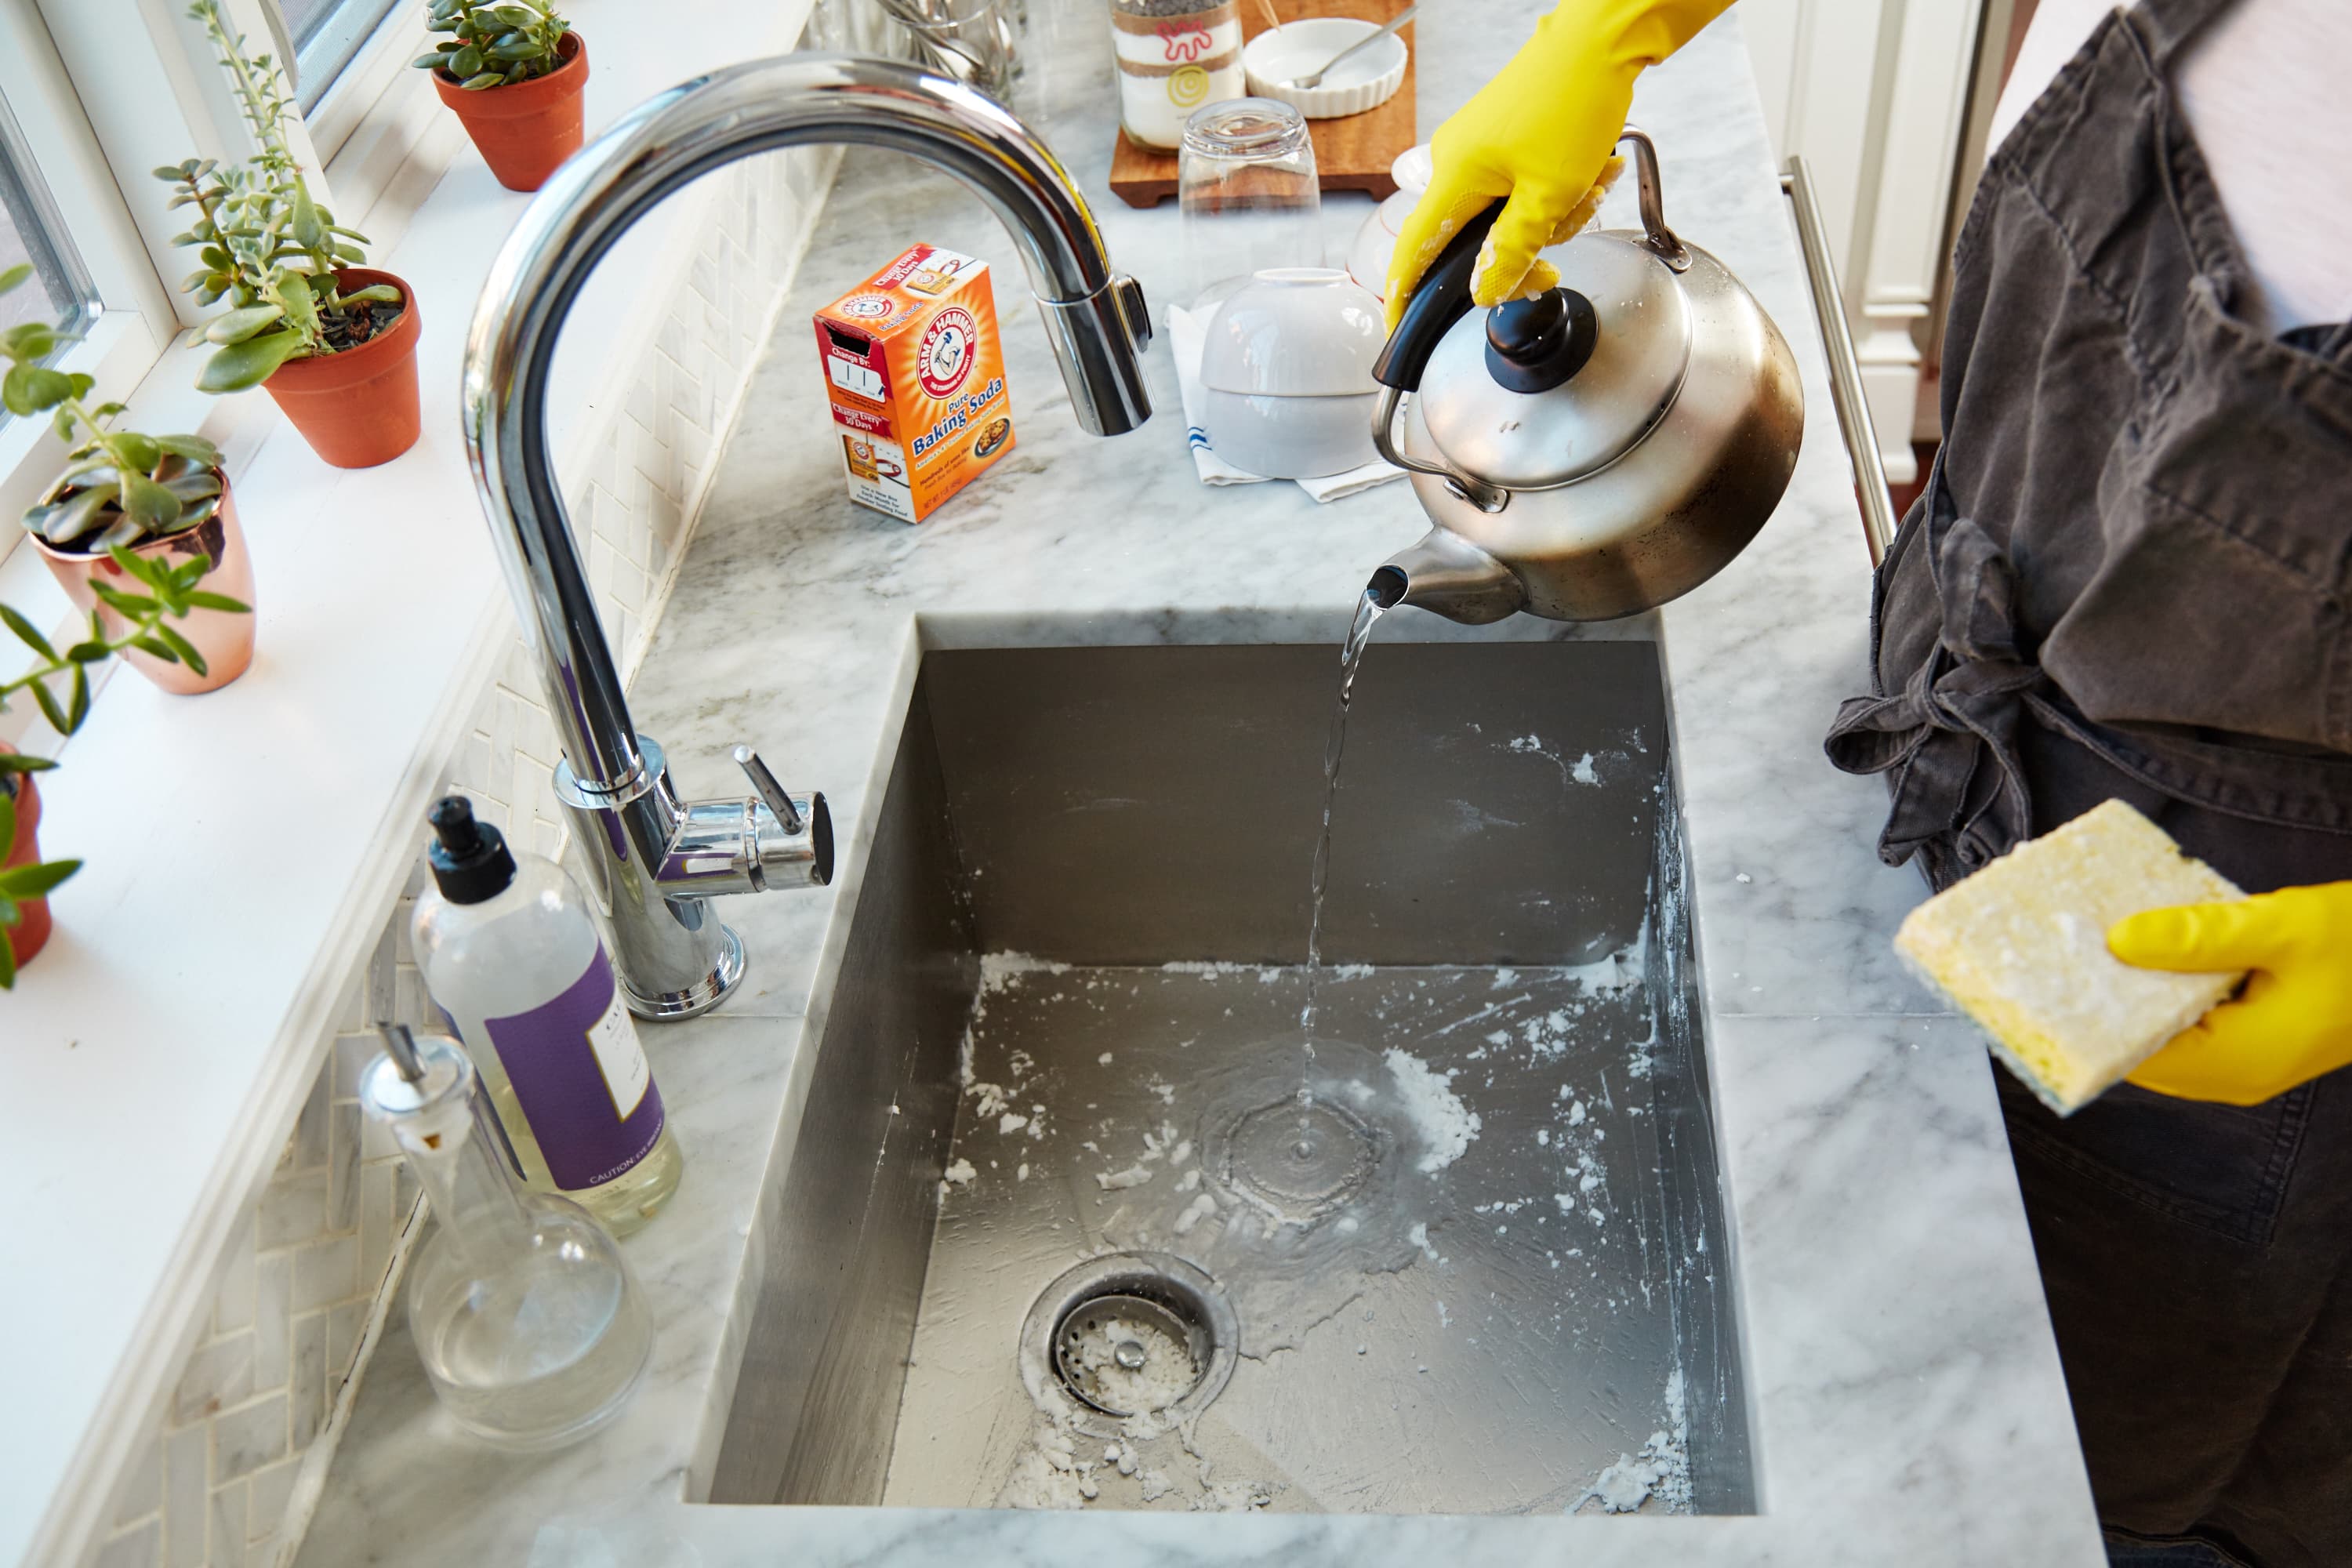
If the water pressure is not the issue, the next step is to clean the sprayer nozzle. Over time, mineral deposits and debris can build up in the sprayer nozzle, causing it to clog and stay on. To clean it, remove the sprayer nozzle from the hose and soak it in a solution of equal parts water and vinegar for 30 minutes. Rinse it off and reattach it to the hose.
Step 3: Check the Diverter Valve
If your kitchen sink has a spray and stream function, there is a diverter valve located inside the faucet that controls the water flow. If this valve is stuck, it can cause the sprayer to stay on. To check and fix the diverter valve, you will need to disassemble the faucet and clean or replace the valve.
Step 4: Replace the Sprayer Head
If the above steps do not solve the issue, it may be time to replace the sprayer head. Over time, the sprayer head can wear out and become damaged, causing it to stay on. You can find replacement sprayer heads at your local hardware store or online. Make sure to choose one that is compatible with your sink and hose.
How to Replace a Kitchen Sink Sprayer
Replacing a kitchen sink sprayer may seem like a daunting task, but it is actually a simple process that can save you time and money. Follow these steps to replace your kitchen sink sprayer in no time.
Step 1: Purchase a Replacement Sprayer
Before you begin, make sure to purchase a replacement sprayer that is compatible with your sink and hose. You can find these at your local hardware store or online.
Step 2: Turn Off the Water Supply
Before you start any work, make sure to turn off the water supply to your sink. This can be done by turning off the water supply valves located under your sink.
Step 3: Detach the Old Sprayer
If your old sprayer is still attached, you will need to detach it from the hose. Most sprayers will unscrew easily, but if it is stuck, you may need to use pliers to twist it off.
Step 4: Attach the New Sprayer
Once the old sprayer is removed, attach the new one by screwing it onto the hose. Make sure it is securely fastened.
Step 5: Turn On the Water Supply
After the new sprayer is attached, turn the water supply back on and test the sprayer to ensure it is working properly.
How to Install a Kitchen Sink Sprayer
If you've recently purchased a new kitchen sink sprayer or are looking to upgrade your current one, you may be wondering how to install it. While it may seem intimidating, it is a simple process that can be done in just a few steps.
Step 1: Gather Your Tools
Before you start, make sure to have all the necessary tools on hand. This may include an adjustable wrench, Teflon tape, and pliers.
Step 2: Turn Off the Water Supply
As with any plumbing project, it is important to turn off the water supply before you begin. This can be done by turning off the water supply valves located under your sink.
Step 3: Remove the Old Sprayer
If you have an old sprayer that needs to be replaced, you will need to remove it first. This can usually be done by unscrewing it from the hose.
Step 4: Install the New Sprayer
Take the new sprayer and wrap Teflon tape around the threads to ensure a tight seal. Screw the new sprayer onto the hose and use pliers to tighten it if necessary.
Step 5: Test the Sprayer
After installation, turn the water supply back on and test the sprayer to make sure it is working properly.
How to Clean a Kitchen Sink Sprayer Nozzle
Over time, mineral deposits and debris can build up in the nozzle of your kitchen sink sprayer, causing it to clog or spray unevenly. To keep your sprayer working properly, it is important to clean the nozzle regularly. Follow these steps to clean your sprayer nozzle.
Step 1: Remove the Nozzle
To clean the nozzle, you will need to remove it from the hose. Most nozzles can be unscrewed by hand, but if it is stuck, you may need to use pliers to twist it off.
Step 2: Soak in Vinegar
In a bowl or container, mix equal parts water and vinegar. Soak the nozzle in this solution for 30 minutes to loosen any mineral deposits or debris.
Step 3: Scrub with a Toothbrush
After soaking, use an old toothbrush to gently scrub the inside and outside of the nozzle. This will help remove any remaining buildup.
Step 4: Rinse and Reattach
Rinse the nozzle with water and then reattach it to the hose. Test the sprayer to make sure it is working properly.
How to Troubleshoot a Kitchen Sink Sprayer
If your kitchen sink sprayer is not working as it should, there are a few common issues that you can troubleshoot before calling a plumber. Follow these steps to troubleshoot your kitchen sink sprayer.
Step 1: Check the Water Pressure
If your sprayer is not working at all, the first thing to check is the water pressure. Make sure the water supply valves are fully open and adjust the water pressure if necessary.
Step 2: Clean the Nozzle
If the water pressure is fine, but the sprayer is clogged or spraying unevenly, it may just need to be cleaned. Soak the nozzle in a solution of equal parts water and vinegar for 30 minutes, then scrub with a toothbrush and rinse.
Step 3: Check the Diverter Valve
If your sink has a spray and stream function, the issue may be with the diverter valve inside the faucet. Disassemble the faucet and clean or replace the valve if necessary.
Step 4: Inspect the Hose
If the water is coming out of the hose but not the sprayer, there may be a kink or blockage in the hose. Inspect it and remove any obstructions or replace the hose if necessary.
How to Adjust the Water Pressure on a Kitchen Sink Sprayer
If you find that the water pressure on your kitchen sink sprayer is too high or too low, you can easily adjust it to your liking. Follow these steps to adjust the water pressure on your kitchen sink sprayer.
Step 1: Locate the Water Supply Valves
The first step is to locate the water supply valves under your sink. These are usually located near the back of the sink, near the wall.
Step 2: Adjust the Valves
If you want to increase the water pressure, turn the valves counterclockwise. If you want to decrease the water pressure, turn the valves clockwise.
Step 3: Test the Sprayer
After adjusting the water pressure, test the sprayer to make sure it is to your liking. If it is still too high or too low, continue to adjust the valves until it is just right.
How to Unclog a Kitchen Sink Sprayer
If your kitchen sink sprayer is clogged, it can be frustrating to use and may not work at all. Luckily, unclogging it is a simple process that can be done at home. Follow these steps to unclog your kitchen sink sprayer.
Step 1: Check for Obstructions
The first thing to do is to check for any obstructions in the sprayer nozzle. This can be done by removing the sprayer head and inspecting it for debris or buildup.
Step 2: Soak the Nozzle
If there is buildup, soak the nozzle in a solution of equal parts water and vinegar for 30 minutes. This will help loosen the debris and make it easier to clean.
Step 3: Scrub and Rinse
After soaking, use an old toothbrush to scrub the inside and outside of the nozzle. Rinse it with water and reattach it to the hose.
Step 4: Test the Sprayer
Test the sprayer to make sure it is working properly. If the issue persists, you may need to replace the nozzle or the hose.
How to Replace a Kitchen Sink Sprayer Hose
If your kitchen sink sprayer hose is leaking or damaged, it may need to be replaced. While this may seem like a daunting task, it is actually a simple process that can save you time and money. Follow these steps to replace your kitchen sink sprayer hose.
Step 1: Turn Off the Water Supply
Before you begin, make sure to turn off the water supply to your sink. This can be done by turning off the water supply valves located under your sink.
Step 2: Detach the Old Hose
If your old hose is still attached, you will need to detach it from the sprayer and the water supply. This can usually be done by unscrewing it by hand or using pliers.
Step 3: Install the New Hose
Take the new hose and attach it to the sprayer and the water supply. Make sure it is securely fastened.
Step 4: Turn On the Water Supply
After the new hose is attached, turn the water supply back on and test the sprayer to ensure it is working properly.
How to Fix a Leaking Kitchen Sink Sprayer
A leaking kitchen sink sprayer can be a nuisance and can also waste water. Luckily, fixing it is a simple process that can be done at home. Follow these steps to fix a leaking kitchen sink sprayer.
Step 1: Check for Loose Connections
The first thing to do is to check for any loose connections in the sprayer hose or nozzle. Make sure everything is securely fastened.
Step 2: Replace the Gasket
If there are no loose connections, the issue may be with the gasket inside the sprayer. You can purchase a replacement gasket at your local hardware store and replace it yourself.
Step 3: Tighten the Nut
If the gasket is not the issue, the nut that connects the sprayer to the hose may be loose. Use pliers to tighten the nut and stop the leak.
Step 4: Replace the Sprayer Head
If the above steps do not fix the issue, it may be time to replace the sprayer head. Over time, the sprayer head can wear out and become damaged, causing it to leak. You can find replacement sprayer heads at your local hardware store or online.
How to Remove a Kitchen Sink Sprayer Head
If you need to remove your kitchen sink sprayer head for cleaning, replacement, or other reasons, it can be done easily in just a few steps. Follow these steps to remove your kitchen sink sprayer head.
Step 1: Turn Off the Water Supply
Before you begin, make sure to turn off the water supply to your sink. This can be done by turning off the water supply valves located under your sink.
Step 2: Locate the Nut
The Benefits of Installing a Kitchen Sink Sprayer Air System

Efficiency and Convenience
 If you're looking to upgrade your kitchen design, one feature you may want to consider is a
kitchen sink sprayer air
system. This innovative system combines the functionality of a traditional
kitchen sink sprayer
with the added benefit of an air gap. This means that instead of relying on water pressure, the sprayer uses air to create a powerful and efficient stream of water. This stream of water is perfect for filling pots and pans, rinsing dishes, and even cleaning your sink. With a
kitchen sink sprayer air
system, you can say goodbye to weak water pressure and hello to a more efficient and convenient kitchen experience.
Improved Health and Safety
 One of the main advantages of a
kitchen sink sprayer air
system is its ability to improve the health and safety of your home. Traditional
kitchen sink sprayers
are prone to leaks, which can lead to mold and mildew growth in your kitchen. With a
kitchen sink sprayer air
system, this risk is greatly reduced as the air gap prevents any water from being siphoned back into your sink. This not only protects your health but also prevents any potential damage to your kitchen cabinets and countertops.
Enhanced Design and Aesthetics
 In addition to its functionality and health benefits, a
kitchen sink sprayer air
system can also enhance the overall design and aesthetics of your kitchen. These systems are available in a variety of styles and finishes, making it easy to find one that complements your existing kitchen fixtures. A
kitchen sink sprayer air
system not only adds a modern touch to your kitchen, but it also frees up valuable counter space by eliminating the need for a separate
kitchen sink sprayer
unit.
Easy Installation and Maintenance
 Installing a
kitchen sink sprayer air
system is a relatively simple process that can be done by a professional or even by yourself if you're handy. Once installed, these systems require little maintenance, making them a hassle-free addition to your kitchen. With routine cleaning and occasional replacement of the air gap, your
kitchen sink sprayer air
system will continue to function efficiently for years to come.
In conclusion, a
kitchen sink sprayer air
system offers numerous benefits for your kitchen design. Its efficiency, health and safety advantages, aesthetic appeal, and ease of installation and maintenance make it a valuable addition to any home. Consider upgrading to a
kitchen sink sprayer air
system and experience the convenience and modernity it brings to your kitchen.




/25089301983_c5145fe85d_o-58418ef15f9b5851e5f392b5.jpg)


/25089301983_c5145fe85d_o-58418ef15f9b5851e5f392b5.jpg)















:max_bytes(150000):strip_icc()/how-to-unclog-a-kitchen-sink-2718799_sketch_FINAL-8c5caa805a69493ab22dfb537c72a1b7.png)
