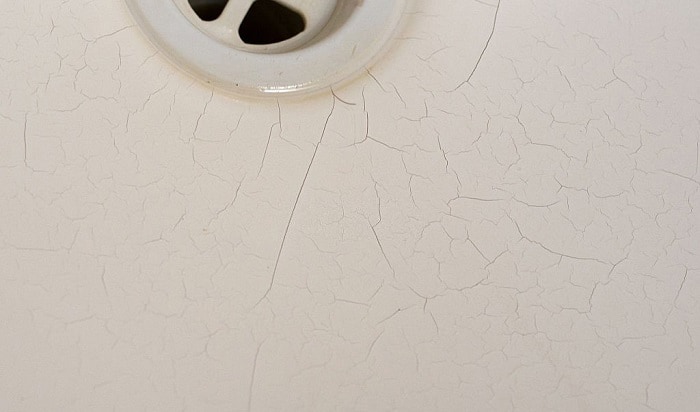
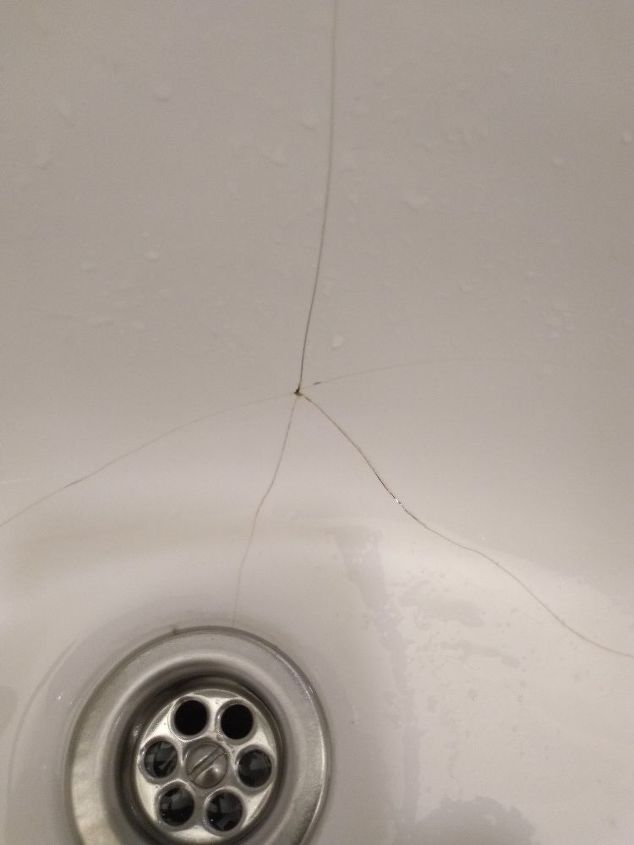
The kitchen sink is an essential part of any household, and a porcelain sink adds a touch of elegance to any kitchen. However, with frequent use, it is common for the porcelain near the drain to become chipped or damaged. But don't worry, with the right techniques and tools, you can easily repair your porcelain sink and make it look as good as new. Here are the top 10 main kitchen sink porcelain repair tips for the area near the drain.Porcelain Sink Repair: A Guide to Fixing Your Kitchen Sink Near the Drain
The first step in repairing your porcelain sink is to assess the damage. Take a close look at the area near the drain and determine the extent of the damage. Is it a small chip or a larger crack? This will help you determine the best method for repair.1. Assess the Damage
Before you begin the repair process, make sure you have all the necessary materials on hand. This includes a porcelain repair kit, sandpaper, masking tape, and a clean cloth.2. Gather Your Materials
Using a mild soap and water, clean the damaged area near the drain. Make sure to remove any dirt or debris that could interfere with the repair process. Dry the area completely with a clean cloth.3. Clean the Area
Using sandpaper, gently sand the damaged area to create a smooth surface for the repair material to adhere to. Be careful not to sand too hard, as this can damage the surrounding porcelain.4. Sand the Area
Using the repair kit, mix the repair material according to the instructions. Then, carefully apply the material to the damaged area, filling in any chips or cracks. Smooth out the surface with a clean cloth.5. Apply the Repair Material
Allow the repair material to dry completely, following the instructions on the repair kit. This may take a few hours, so be patient and avoid using the sink during this time.6. Let it Dry
Once the repair material is dry, use sandpaper again to smooth out the surface and create an even finish. Be gentle to avoid damaging the repair.7. Sand the Surface
If the damage was extensive, you may need to apply a second coat of the repair material to achieve a seamless finish. Follow the instructions on the repair kit and allow the second coat to dry completely.8. Apply a Second Coat (If Necessary)
If you used masking tape to protect the surrounding area, carefully remove it once the repair material is completely dry. This will reveal a clean and smooth repair.9. Remove Masking Tape
To give your porcelain sink a shiny finish, use a porcelain polish and a clean cloth to buff the repaired area. This will help blend the repair in with the rest of the porcelain and make it less noticeable. With these top 10 main kitchen sink porcelain repair tips, you can easily fix any damage near the drain and keep your sink looking beautiful for years to come. Remember to always follow the instructions on your repair kit and be patient during the drying process. Your porcelain sink will be as good as new in no time.10. Polish the Surface
Kitchen Sink Porcelain Repair Near Drain: Essential Tips for Maintaining a Beautiful and Functional Kitchen

The Kitchen Sink: More Than Just a Functional Fixture
 The kitchen sink is often considered the workhorse of the kitchen, used for everything from washing dishes to preparing food. But it is also an essential element of the kitchen design, adding both style and functionality to the space. When it comes to choosing the right sink for your kitchen, there are many factors to consider. From the material to the size and placement, every detail matters. One important aspect that often gets overlooked is the drain and the potential for porcelain repair near it. In this article, we will discuss the importance of maintaining your kitchen sink and provide tips for repairing porcelain near the drain to keep your kitchen looking beautiful and functional.
The Importance of Maintaining Your Kitchen Sink
 The kitchen sink endures a lot of wear and tear on a daily basis. Whether it's hot water, harsh chemicals, or heavy pots and pans, your sink is constantly exposed to various elements. Over time, this can lead to cracks, chips, and stains, especially near the drain where food particles and debris can get trapped. Not only does this affect the appearance of your sink, but it can also impact its functionality. A damaged sink can make washing dishes and food preparation more difficult and even lead to plumbing issues. That's why it's essential to properly maintain your kitchen sink, including repairing any porcelain damage near the drain.
Tips for Repairing Porcelain Near the Drain
 If you notice any cracks, chips, or stains near the drain of your kitchen sink, it's important to address them as soon as possible. Here are some tips for repairing porcelain near the drain:
1. Clean the Area Thoroughly:
Before attempting any repairs, make sure to clean the area around the drain thoroughly. Use a mild detergent and warm water to remove any dirt, grime, or food particles that may be trapped in the porcelain.
2. Use a Porcelain Repair Kit:
There are many porcelain repair kits available on the market that are specifically designed for repairing small cracks and chips. These kits typically include a filler, adhesive, and paint that match the color of your sink.
3. Apply the Filler:
Follow the instructions on the repair kit and carefully apply the filler to the damaged area. Use a small brush or toothpick to ensure precision.
4. Let it Dry:
Allow the filler to dry completely before moving on to the next step. This may take a few hours, so be patient.
5. Sand and Paint:
Once the filler is dry, use fine-grit sandpaper to smooth out any rough areas. Then, use the paint included in the repair kit to cover the filled area and blend it with the rest of the sink.
Conclusion
 In conclusion, the kitchen sink is not only a functional fixture but also an essential element of the overall kitchen design. Properly maintaining your sink, including repairing any porcelain damage near the drain, is crucial for both its appearance and functionality. By following these tips, you can keep your kitchen sink looking beautiful and working efficiently for years to come. Remember, if the damage is extensive or you are unsure about attempting repairs yourself, it's always best to consult a professional.


