Are you looking to install a new kitchen sink in your St Paul home? Look no further! Kitchen sink installation can be a daunting task, but with the right information and resources, you can easily tackle this project and give your kitchen a fresh new look. In this guide, we will go over the top 10 things you need to know about kitchen sink installation in St Paul. So let's dive in!Kitchen Sink Installation St Paul: A Comprehensive Guide

Kitchen Sink Installation St Paul


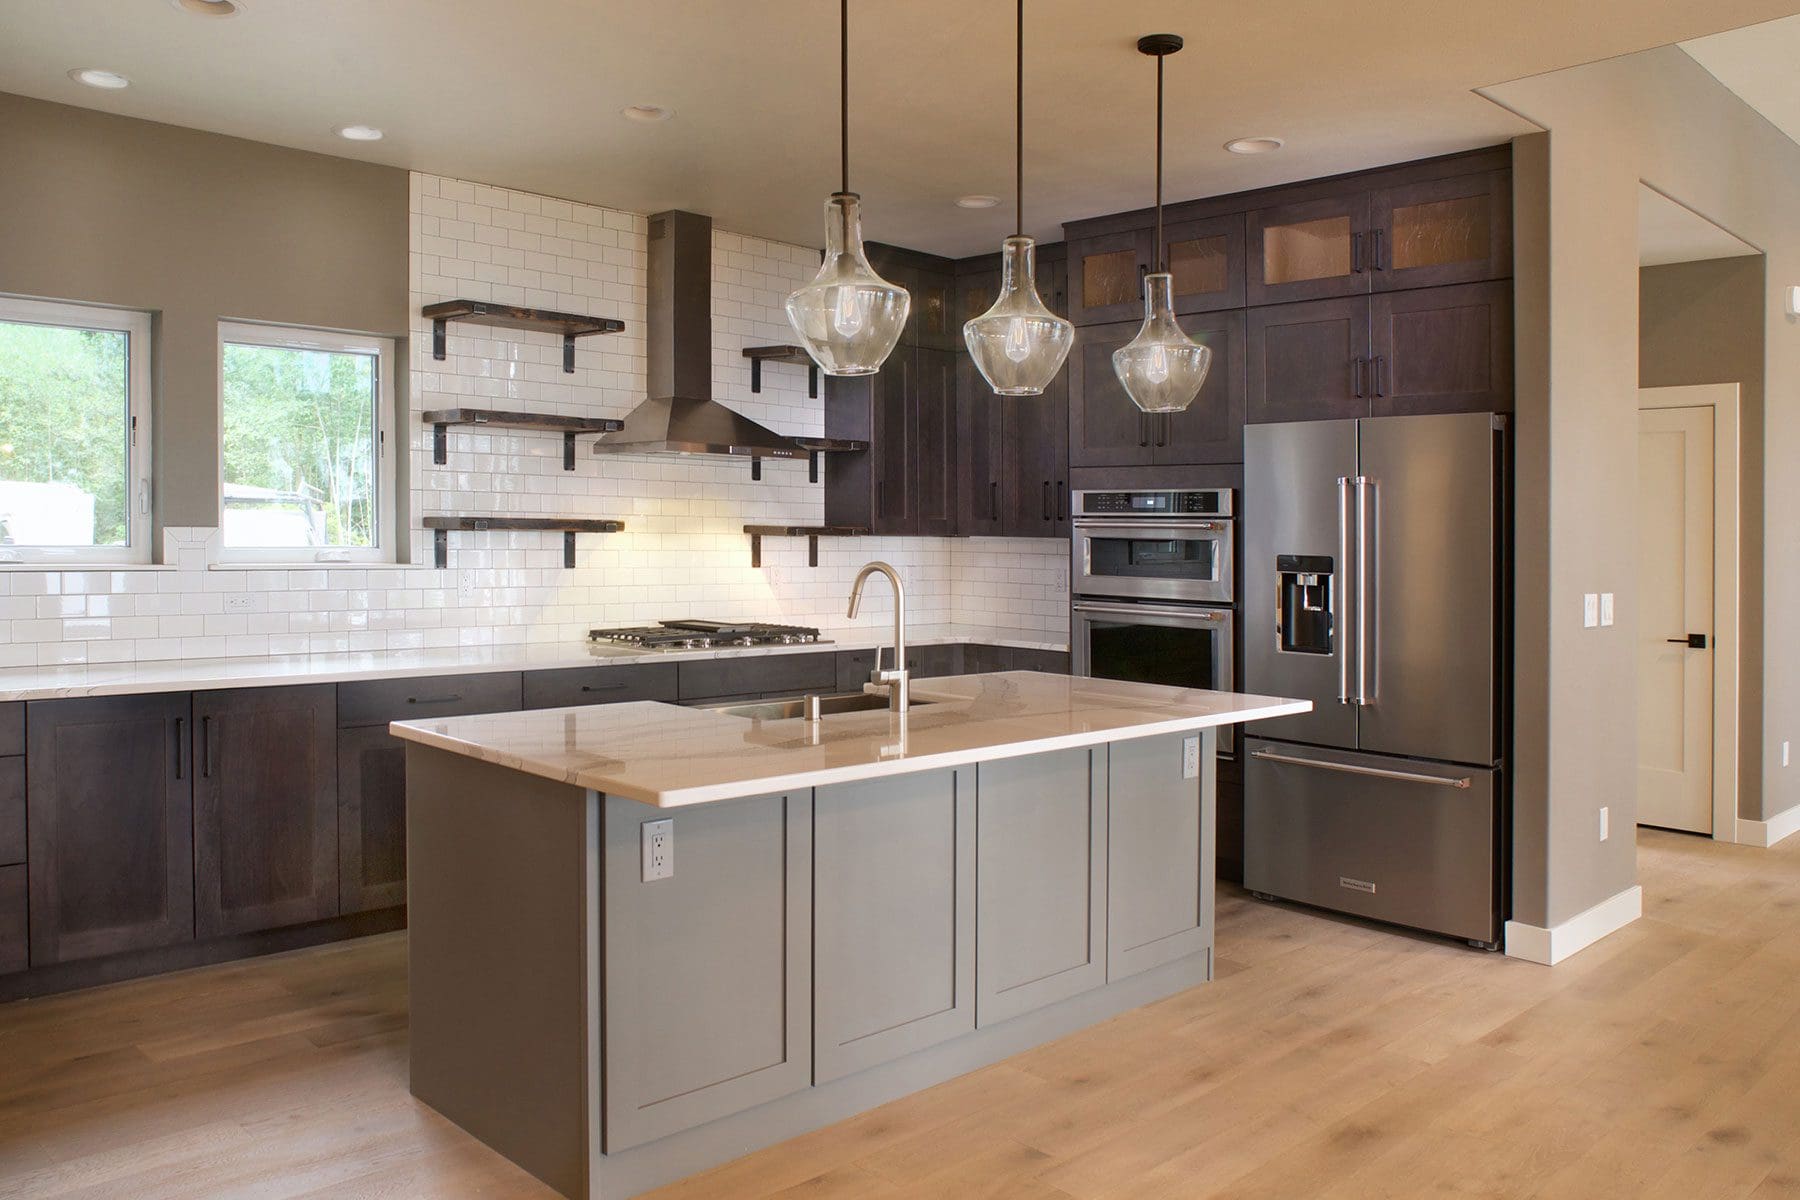
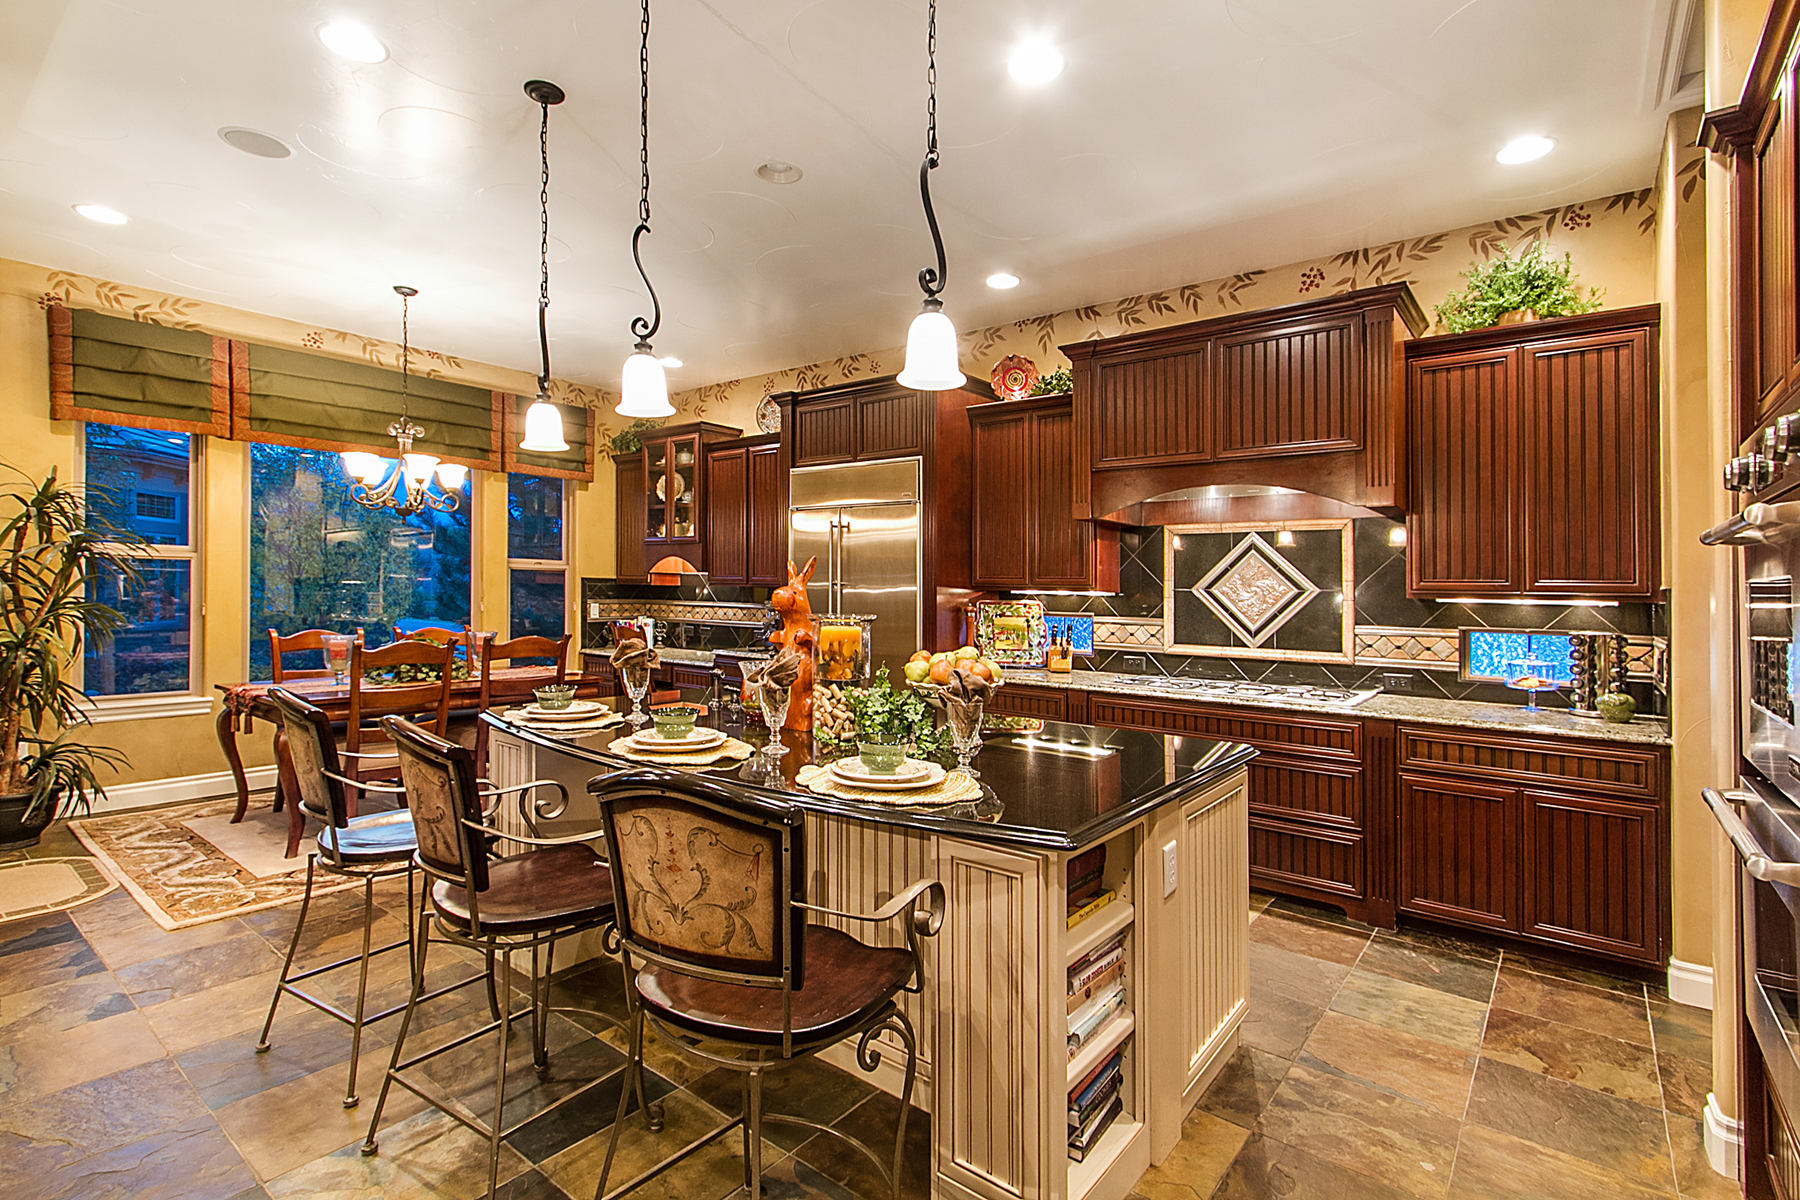
Before we get into the details of kitchen sink installation in St Paul, let's first understand what it entails. Kitchen sink installation is the process of replacing an old sink or installing a new one in your kitchen. This can involve replacing the entire sink or just the basin. Now, let's take a closer look at the top 10 things you need to know about this process.Kitchen Sink Installation: What You Need to Know


Kitchen Sink Installation


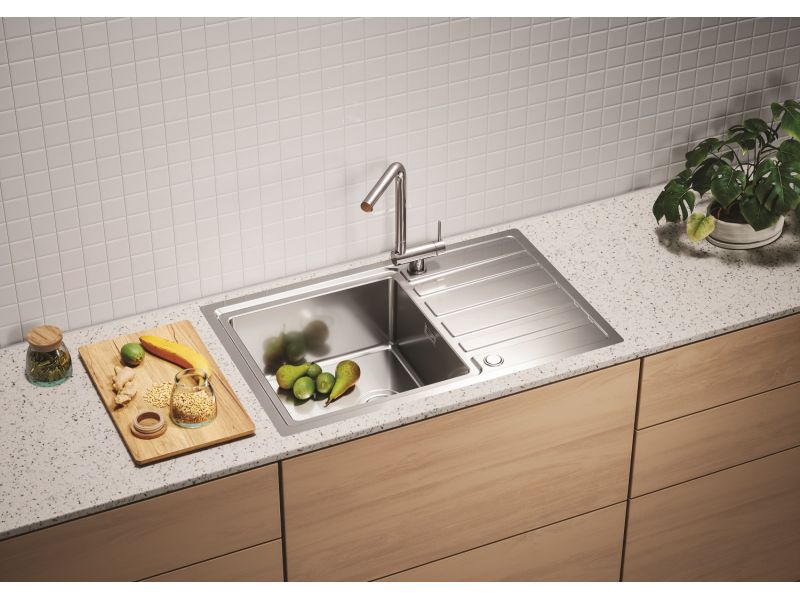

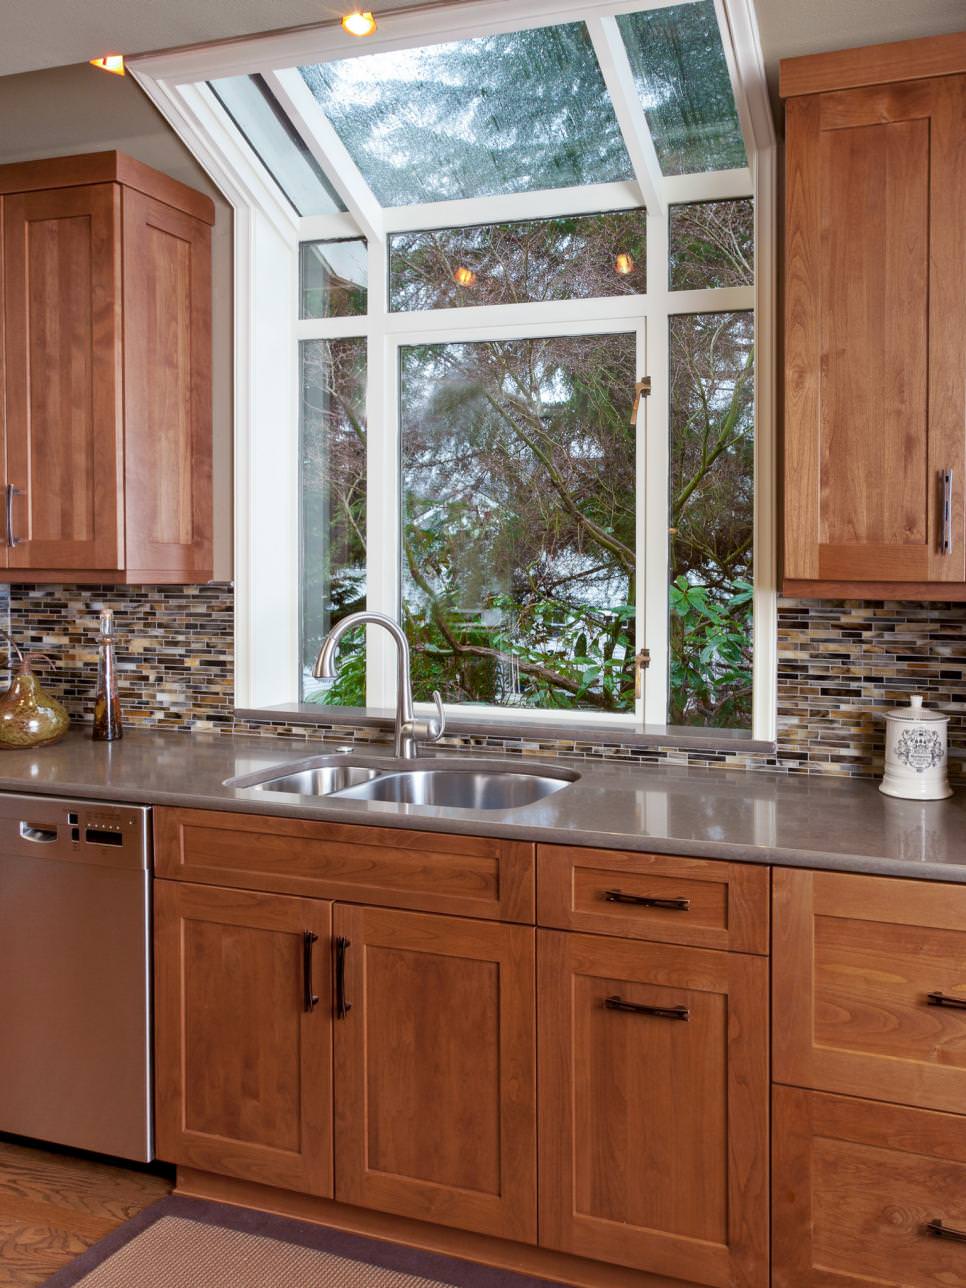
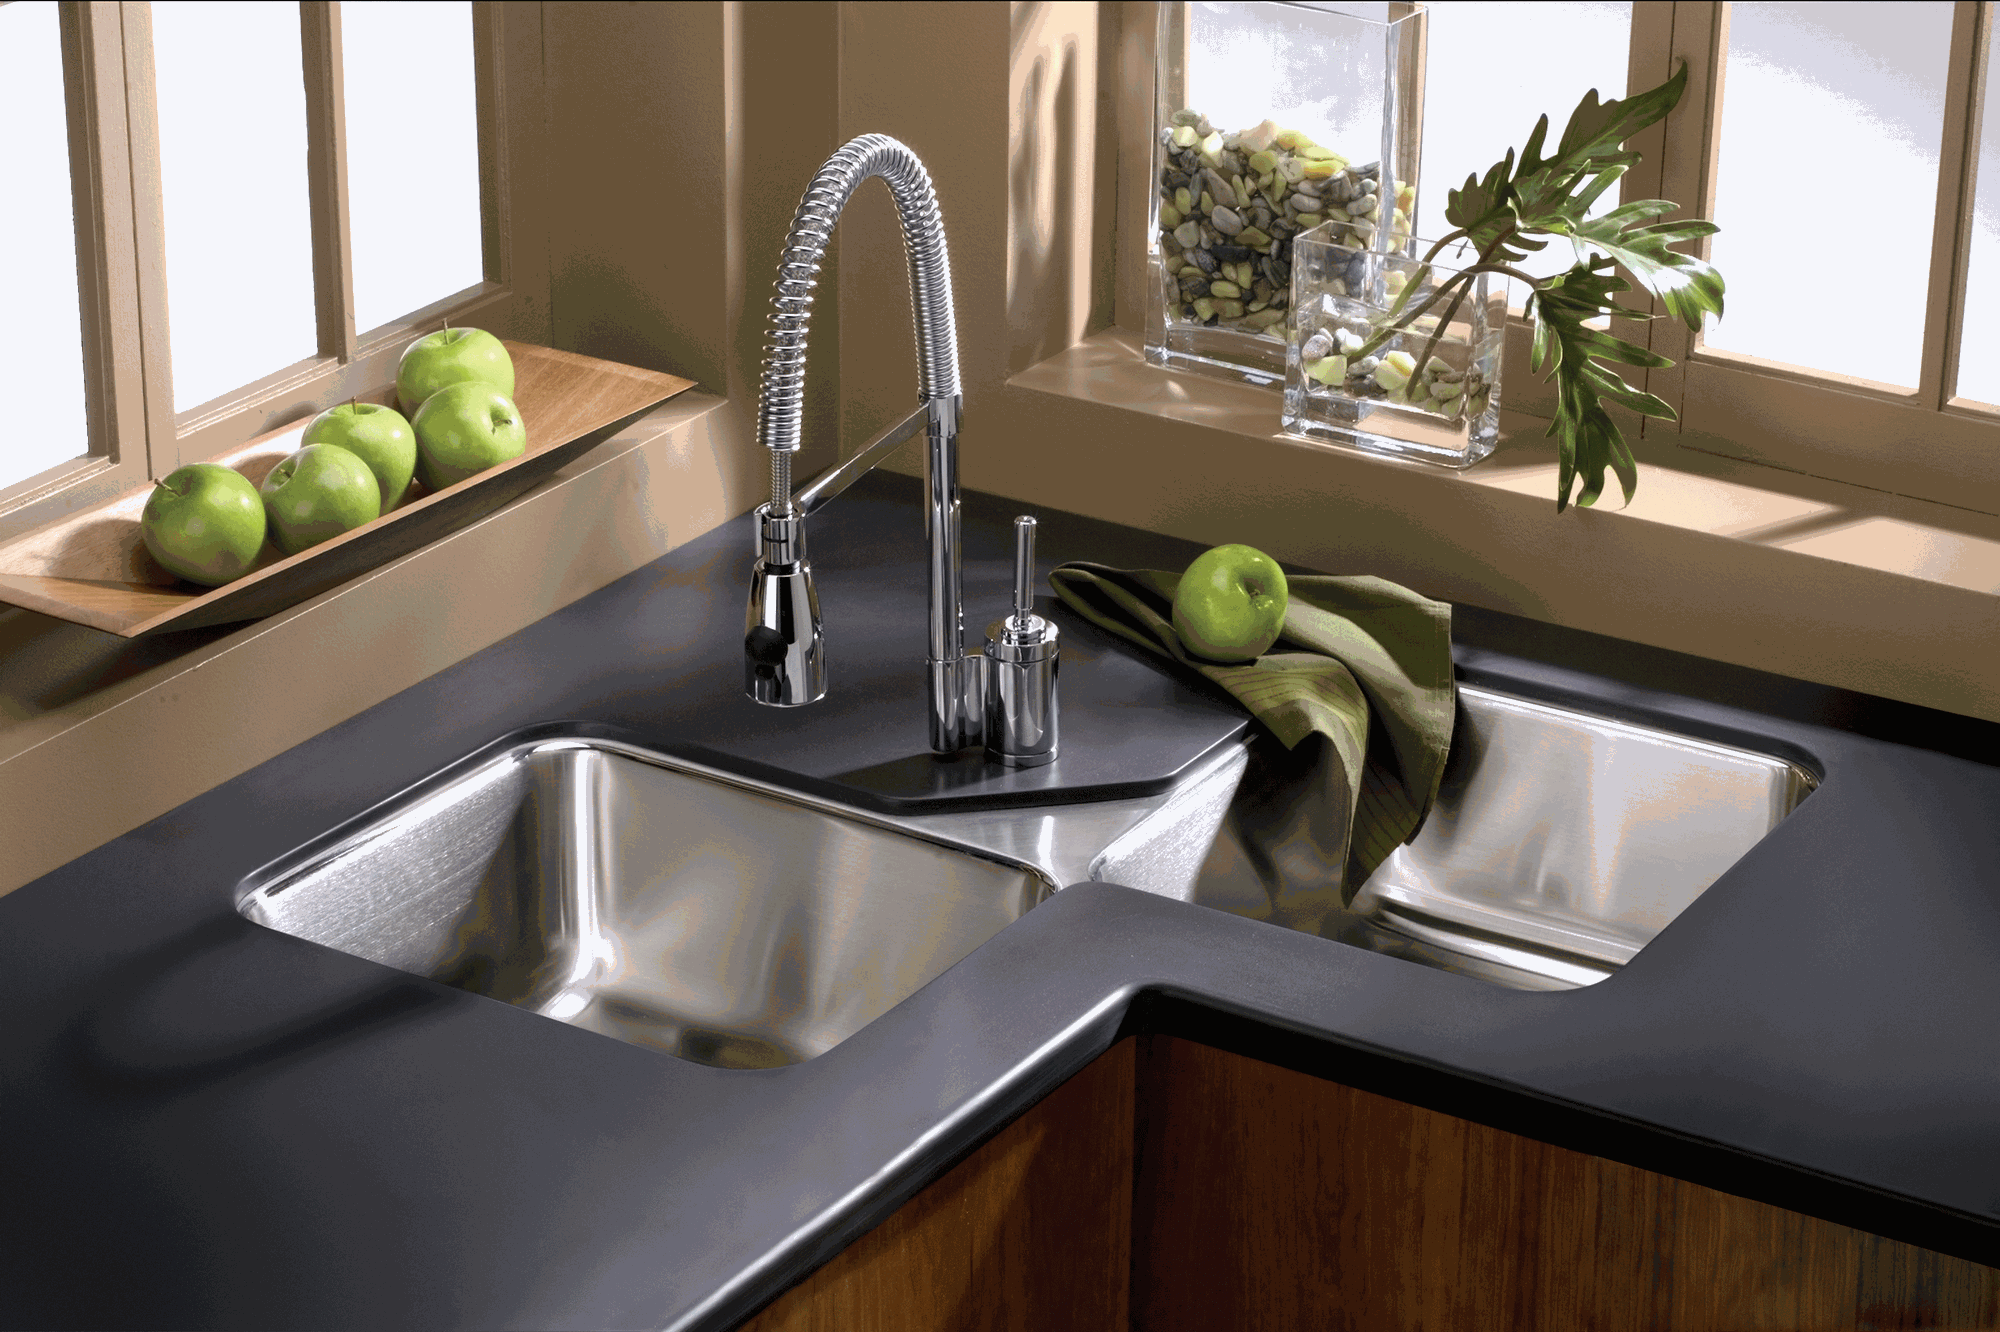
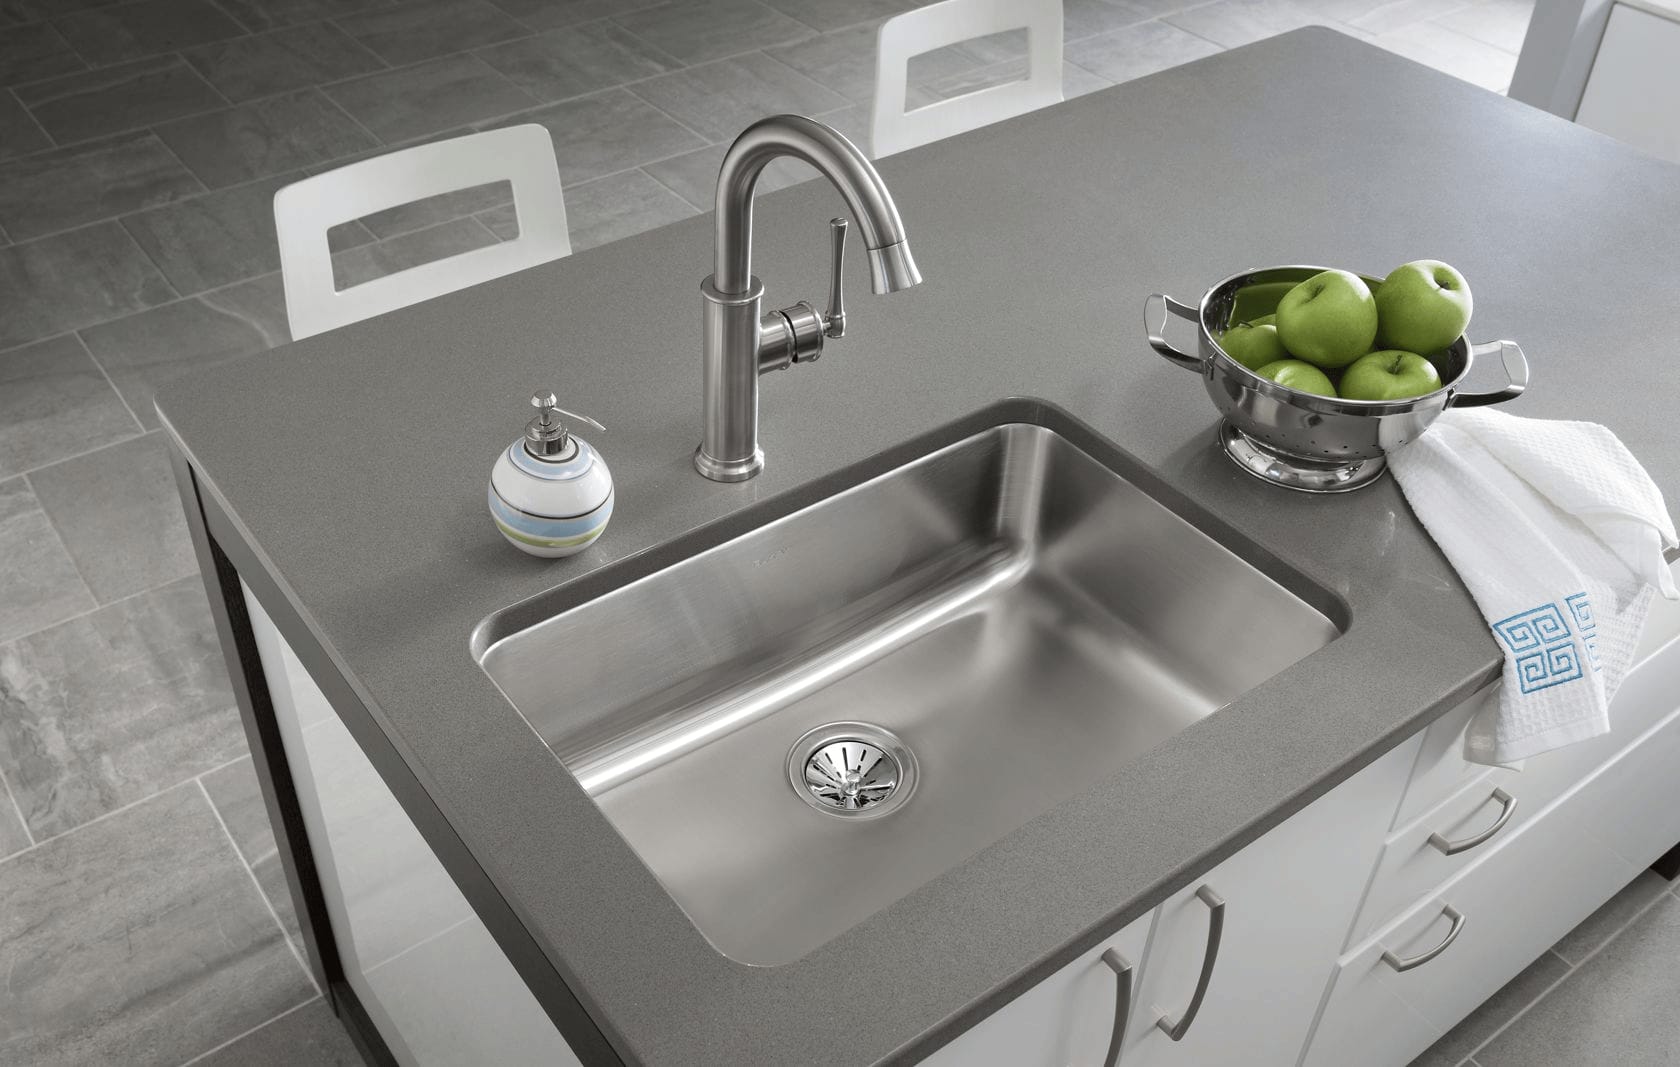
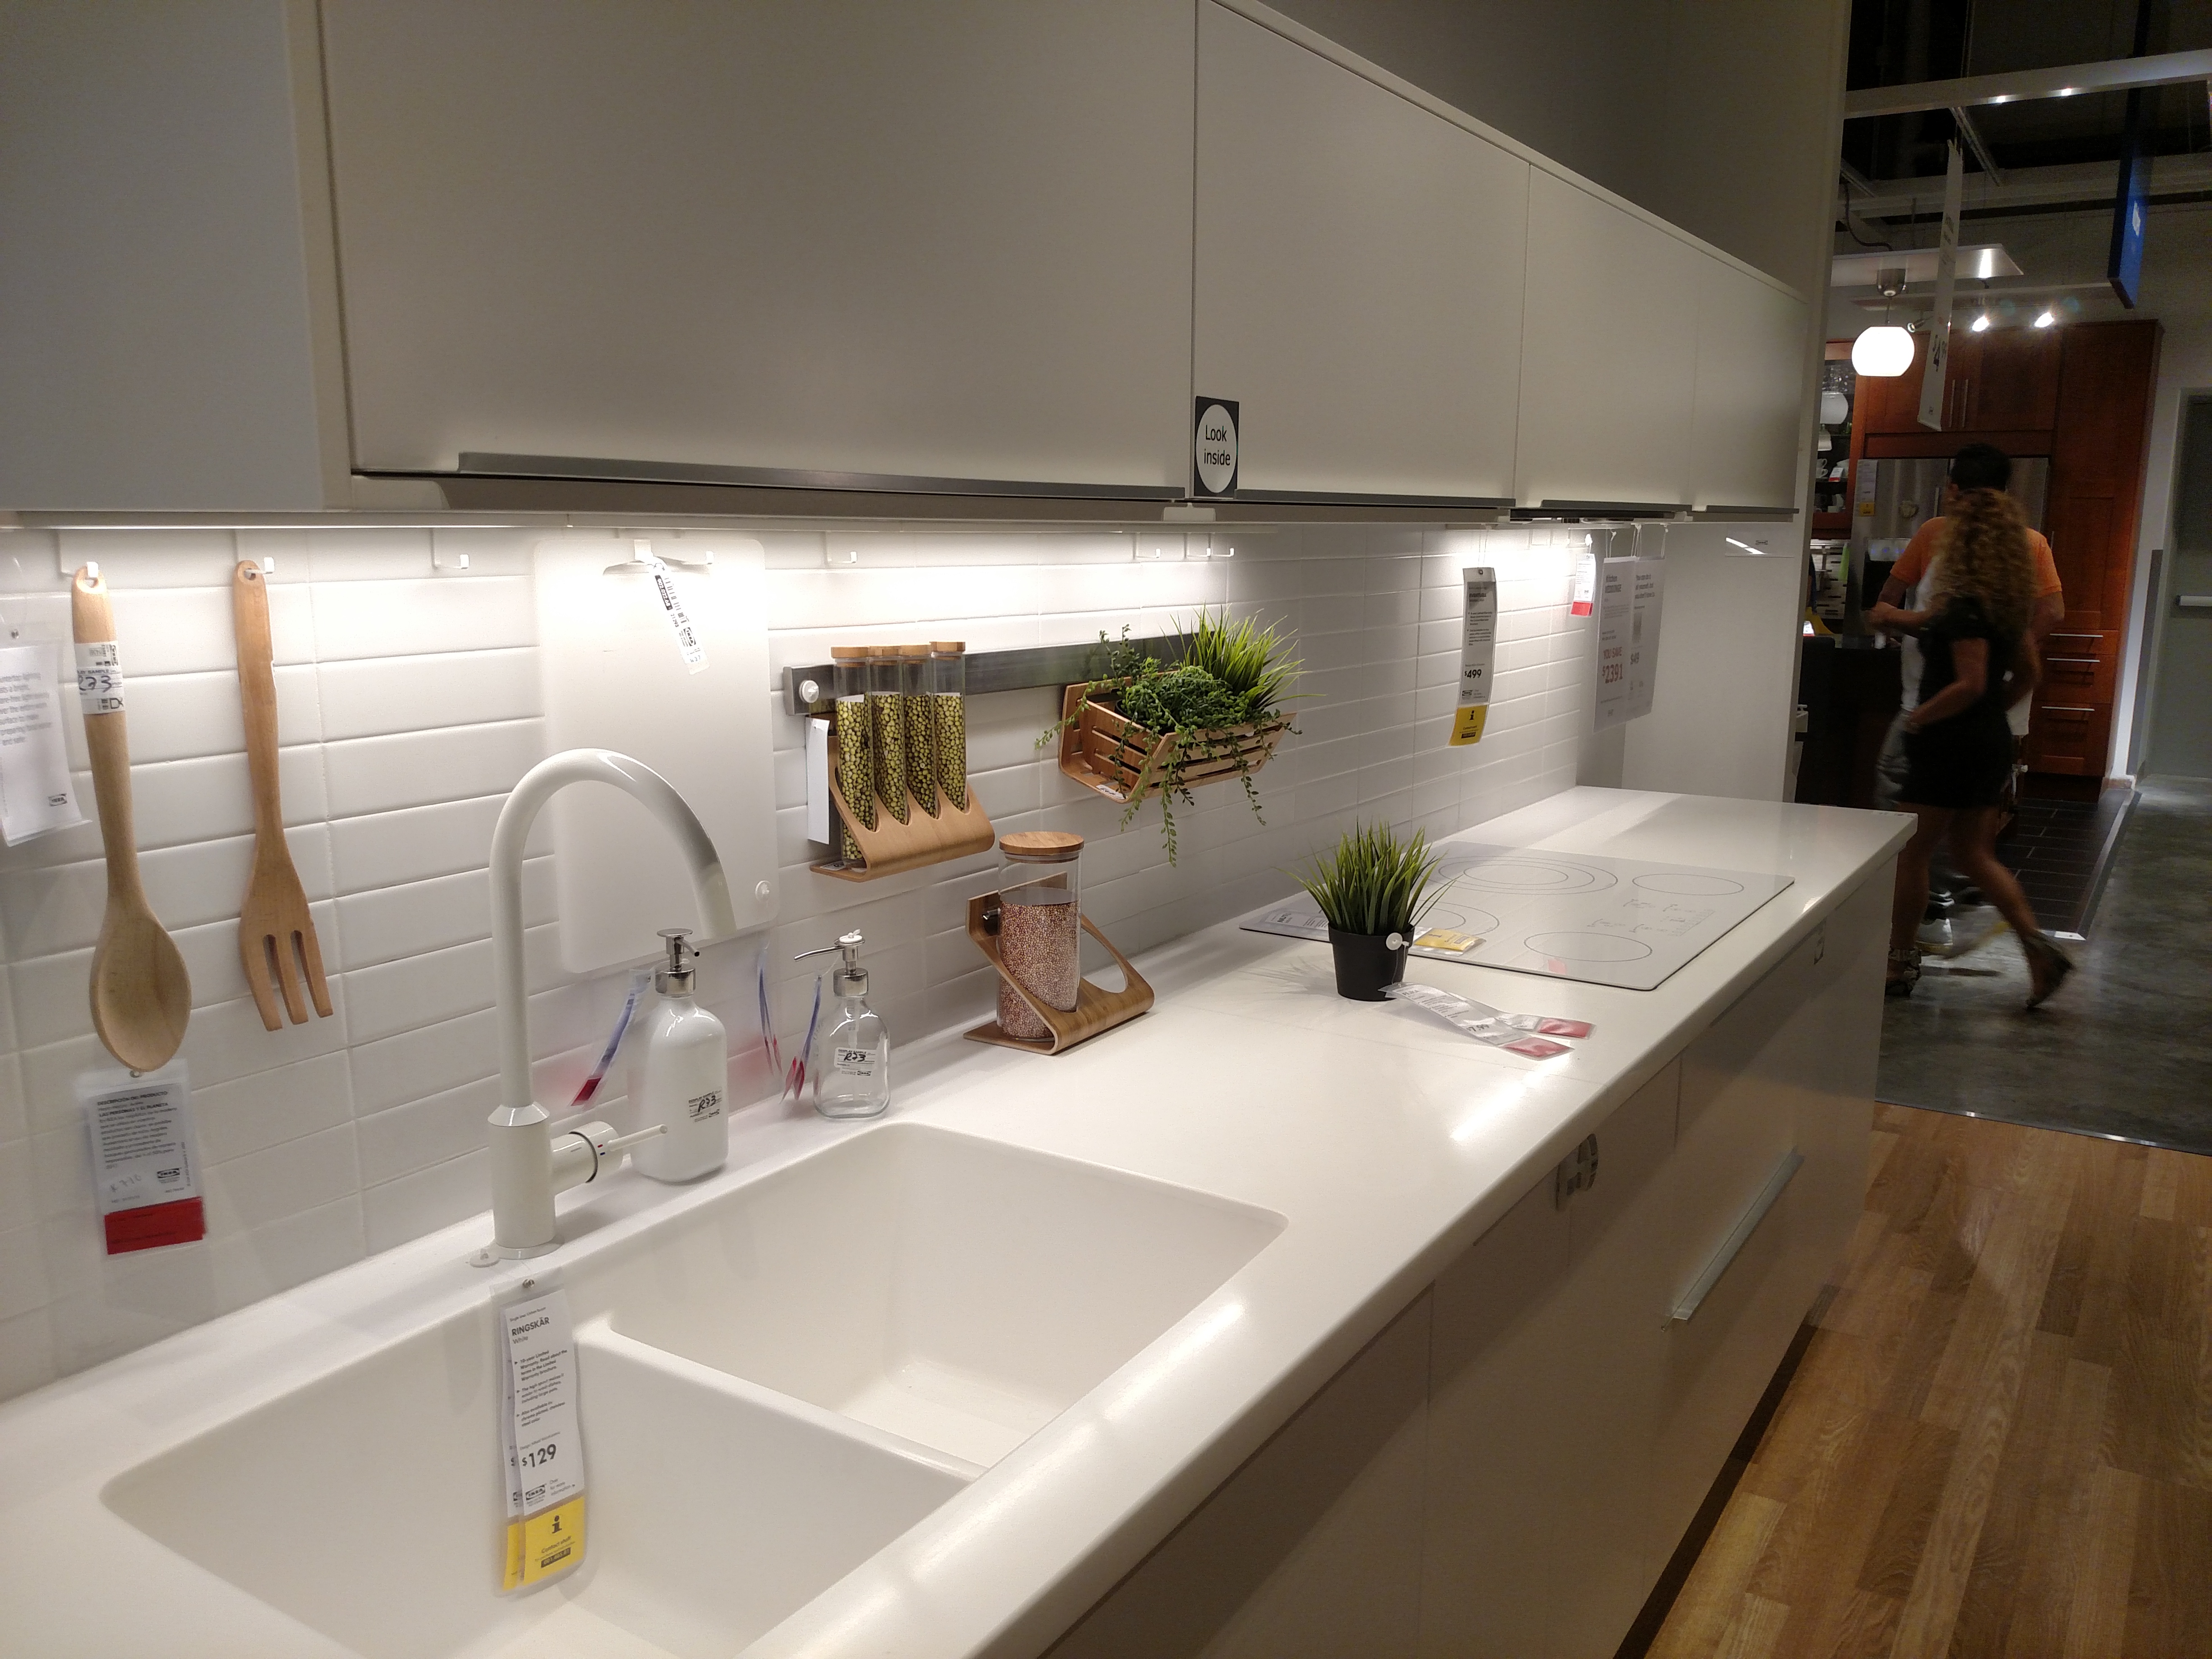
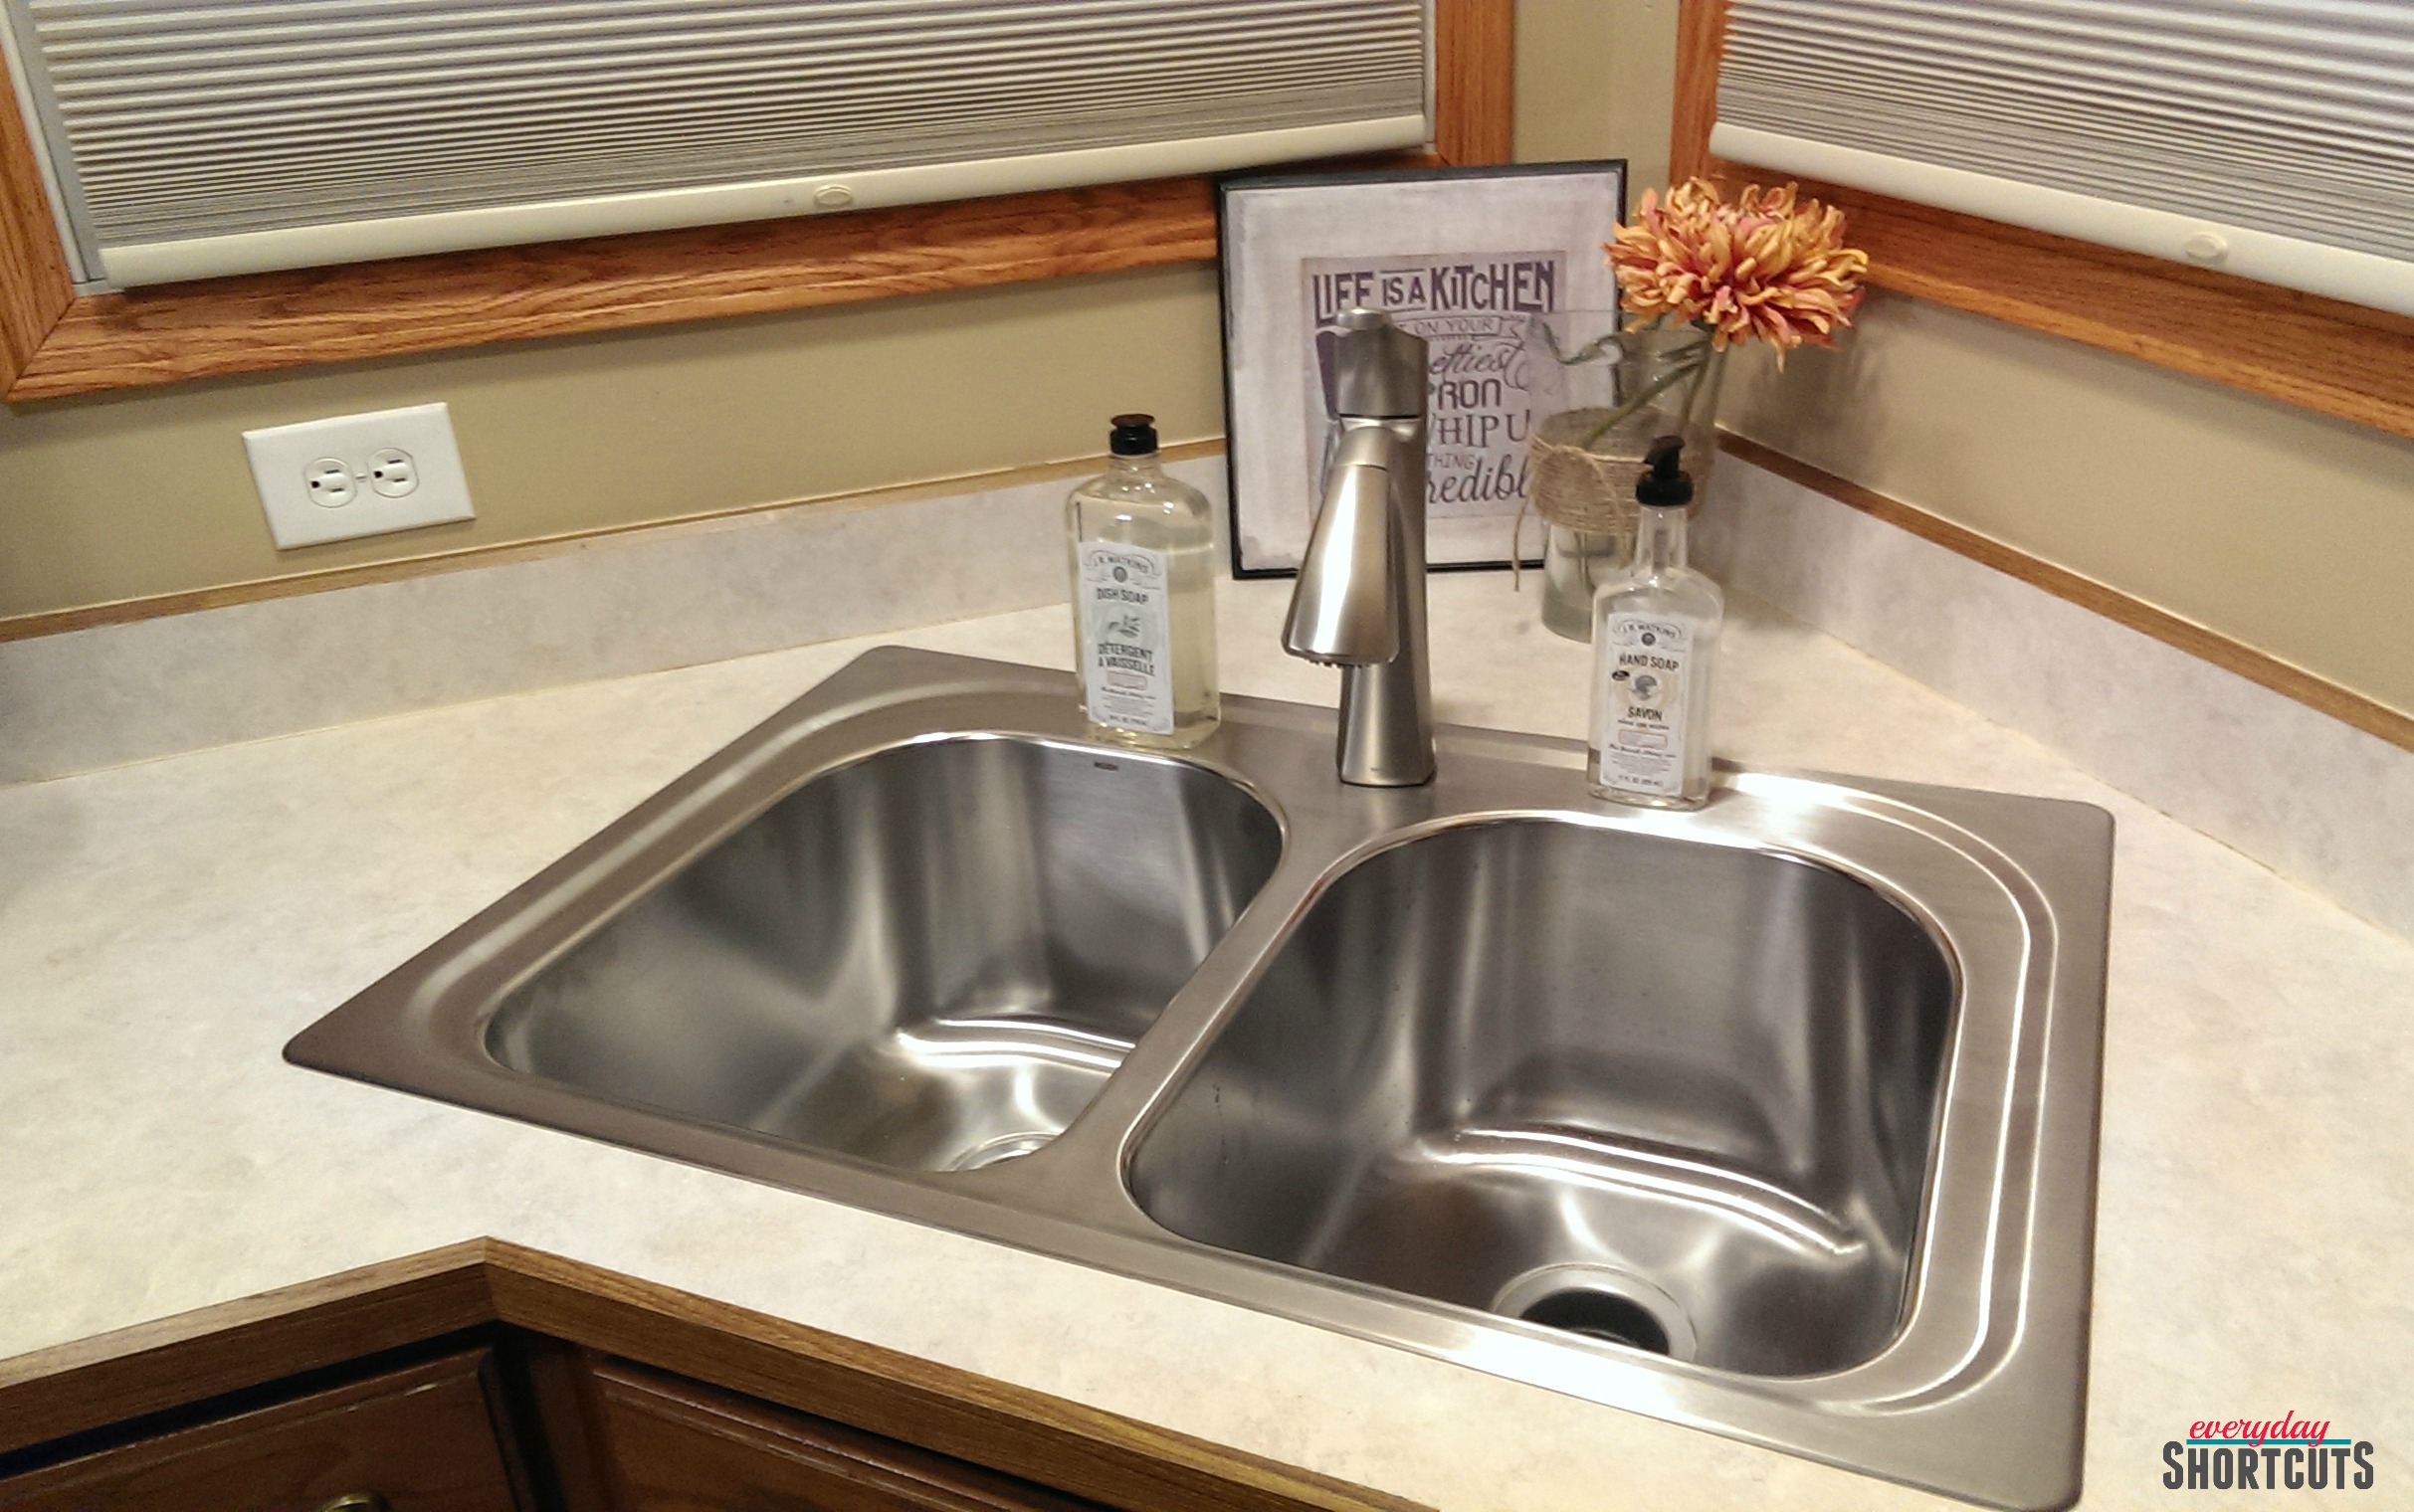
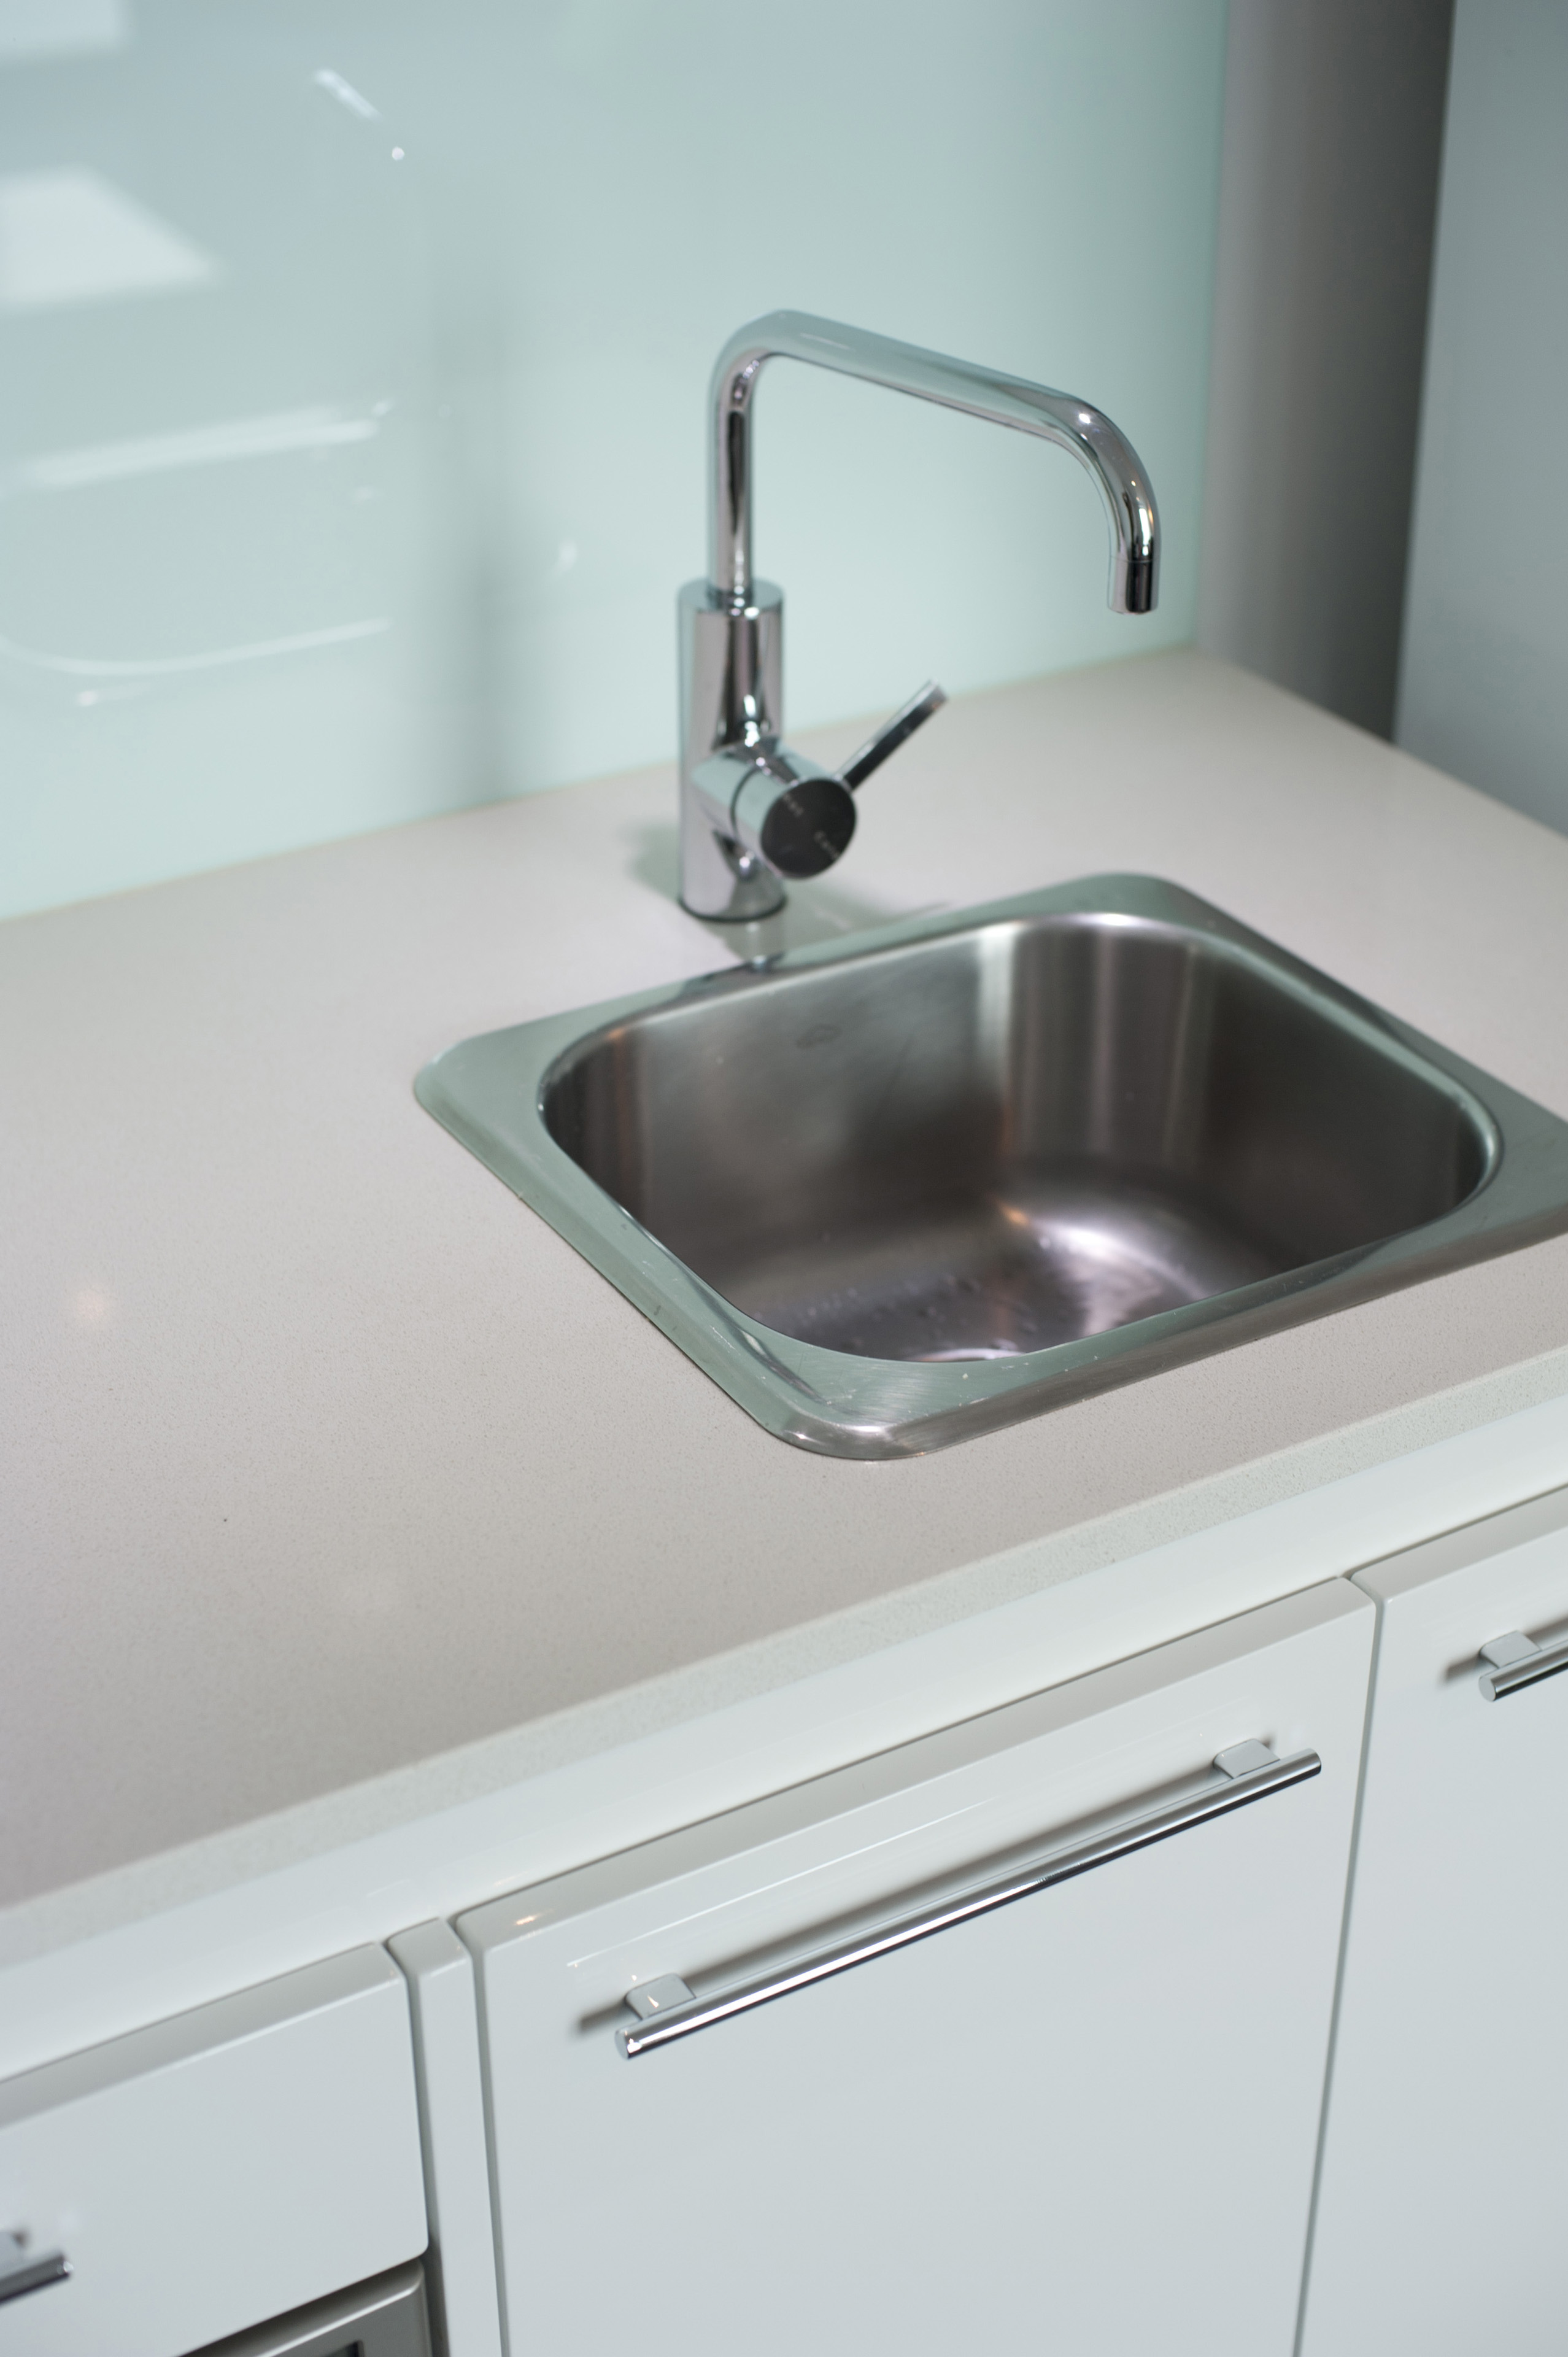
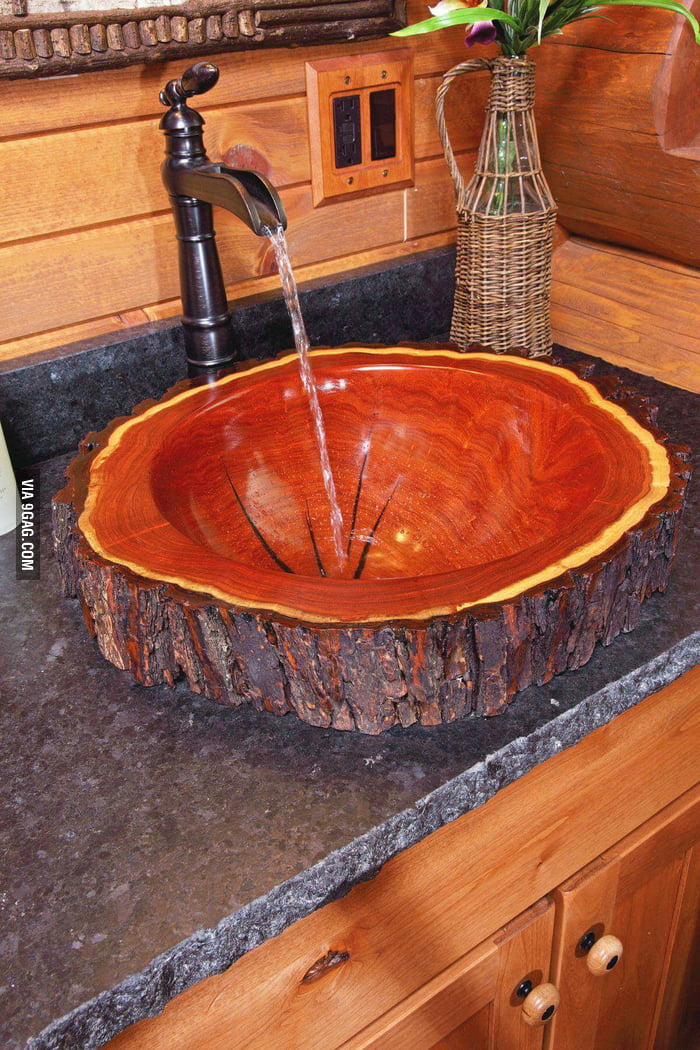
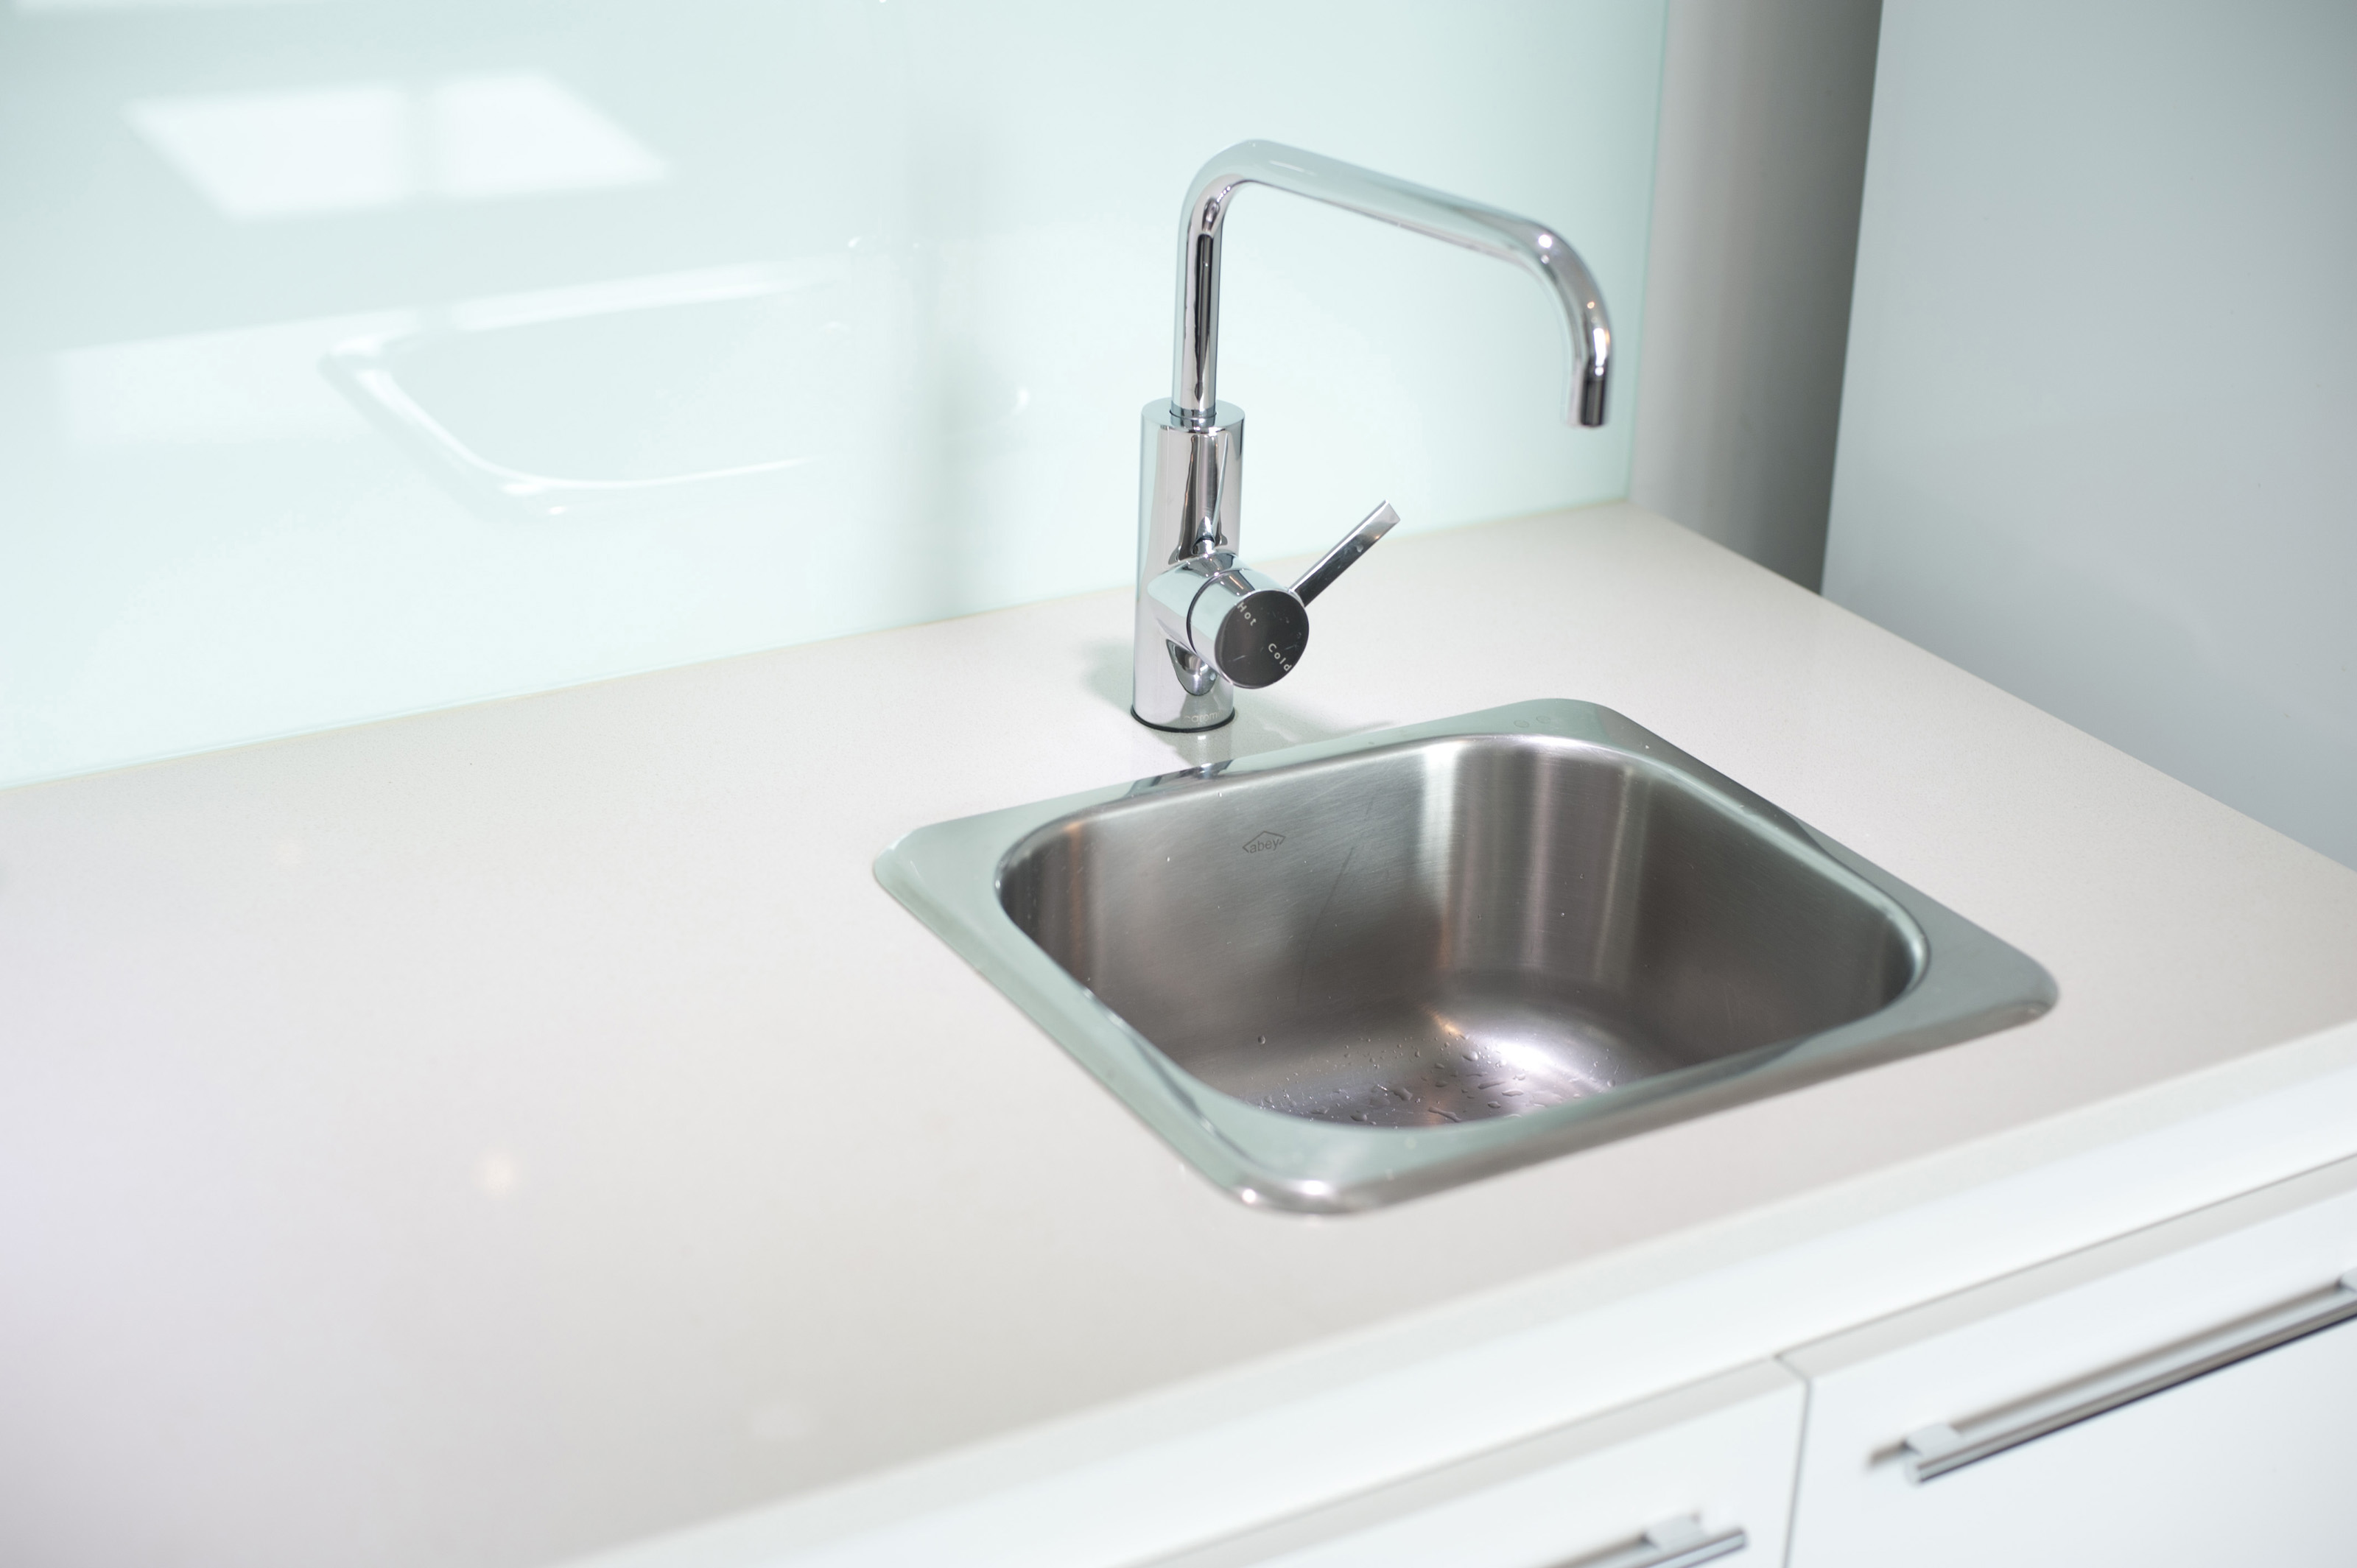
The first step in kitchen sink installation is choosing the right sink for your space. There are various types of sinks available, such as top mount, undermount, and farmhouse sinks. Consider the overall style of your kitchen and the functionality you need to determine which type of sink will work best for you.1. Choosing the Right Sink


St Paul


Before making any purchases, it's crucial to measure your space accurately. You'll need to measure the width and depth of the sink cabinet, as well as the dimensions of your new sink. This will ensure a perfect fit and save you from any last-minute surprises.2. Measuring Your Space


Kitchen Sink

/interiors-of-the-kitchen-126173645-5835288f5f9b58d5b1b96af2.jpg)

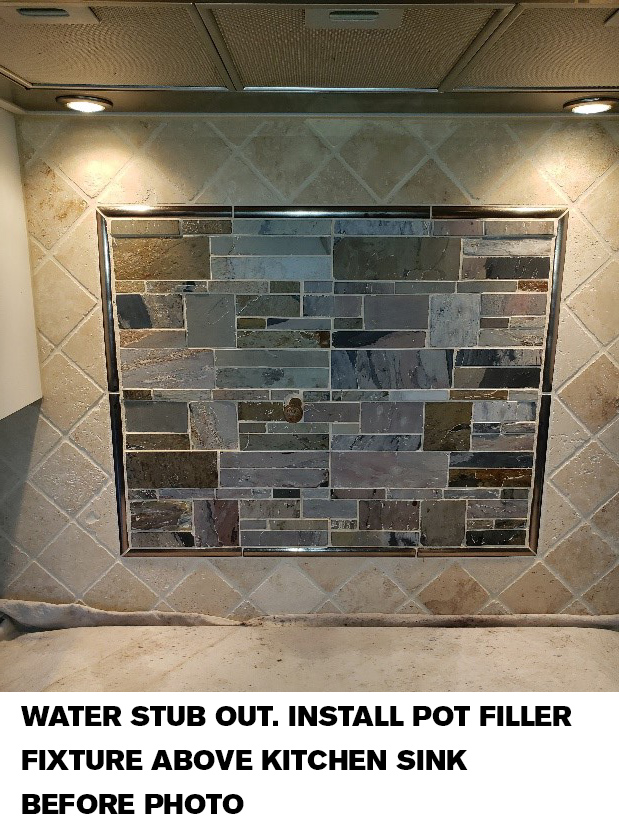
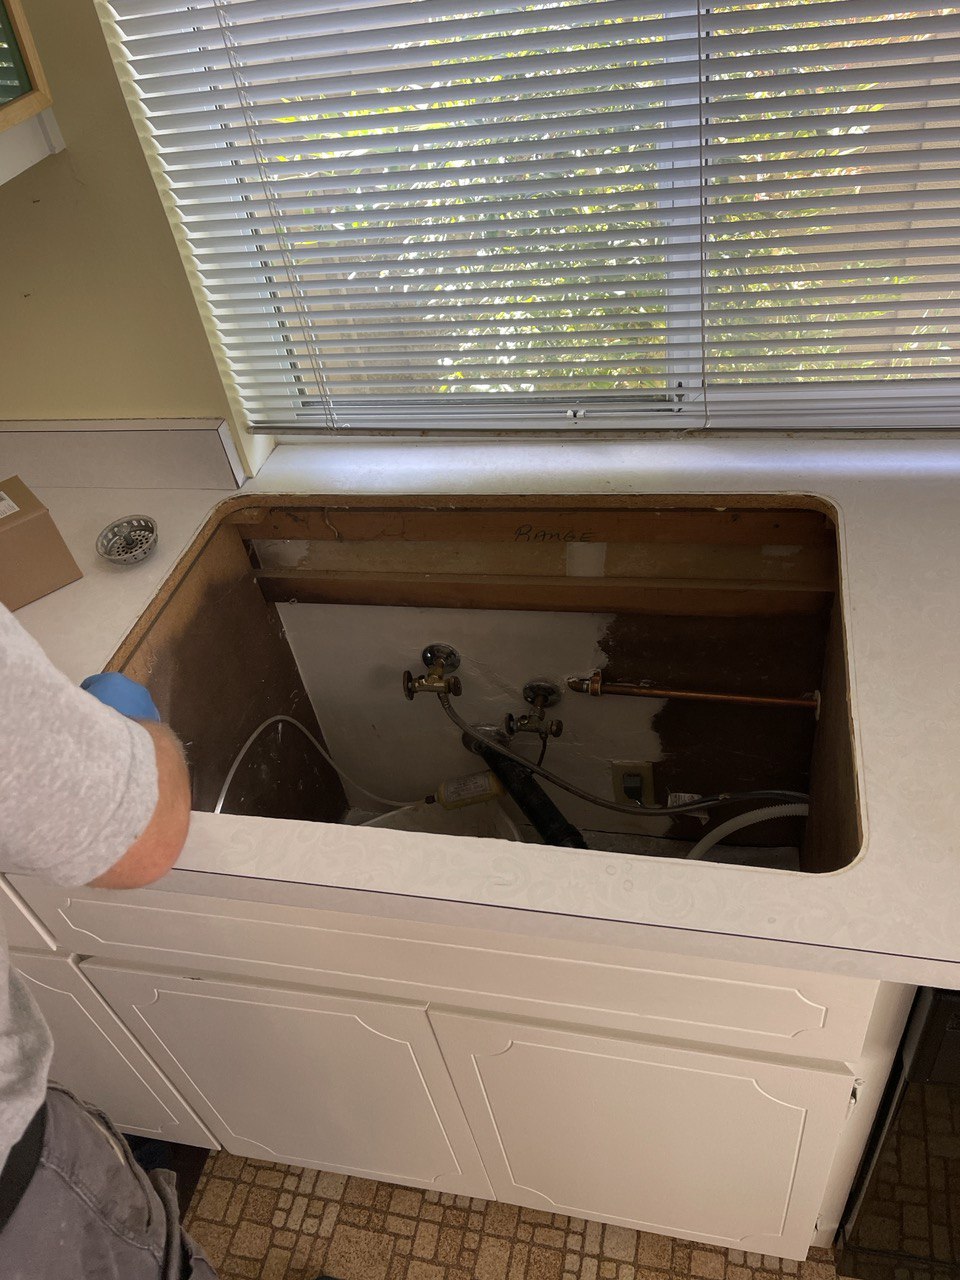
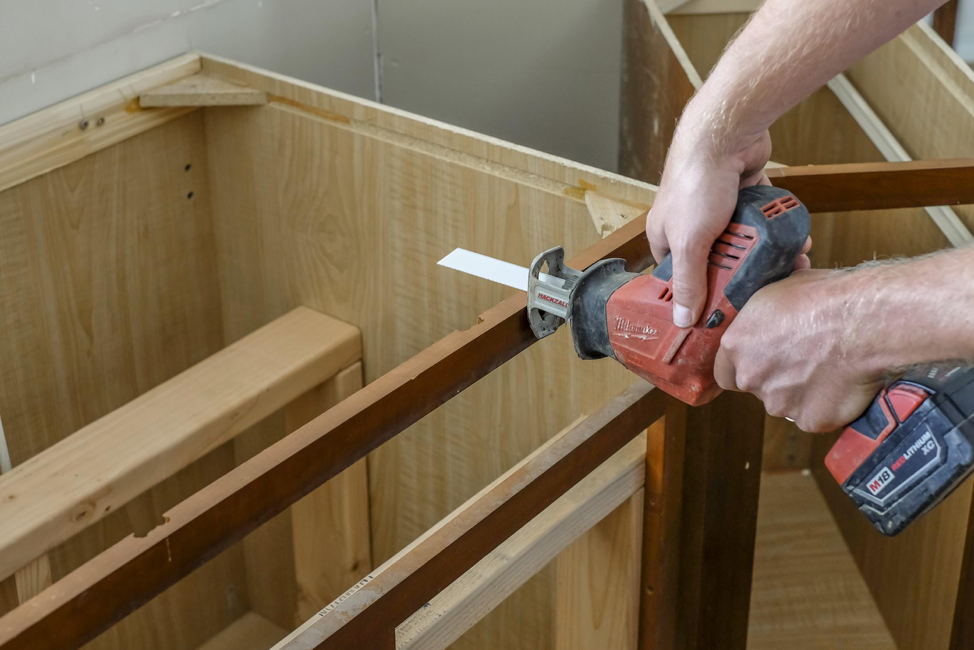
Once you have your sink and have measured your space, it's time to prepare for installation. This involves removing the old sink, disconnecting the plumbing, and cleaning out the area. It's essential to turn off the water supply before removing the old sink to avoid any unwanted leaks.3. Preparing for Installation


Installation


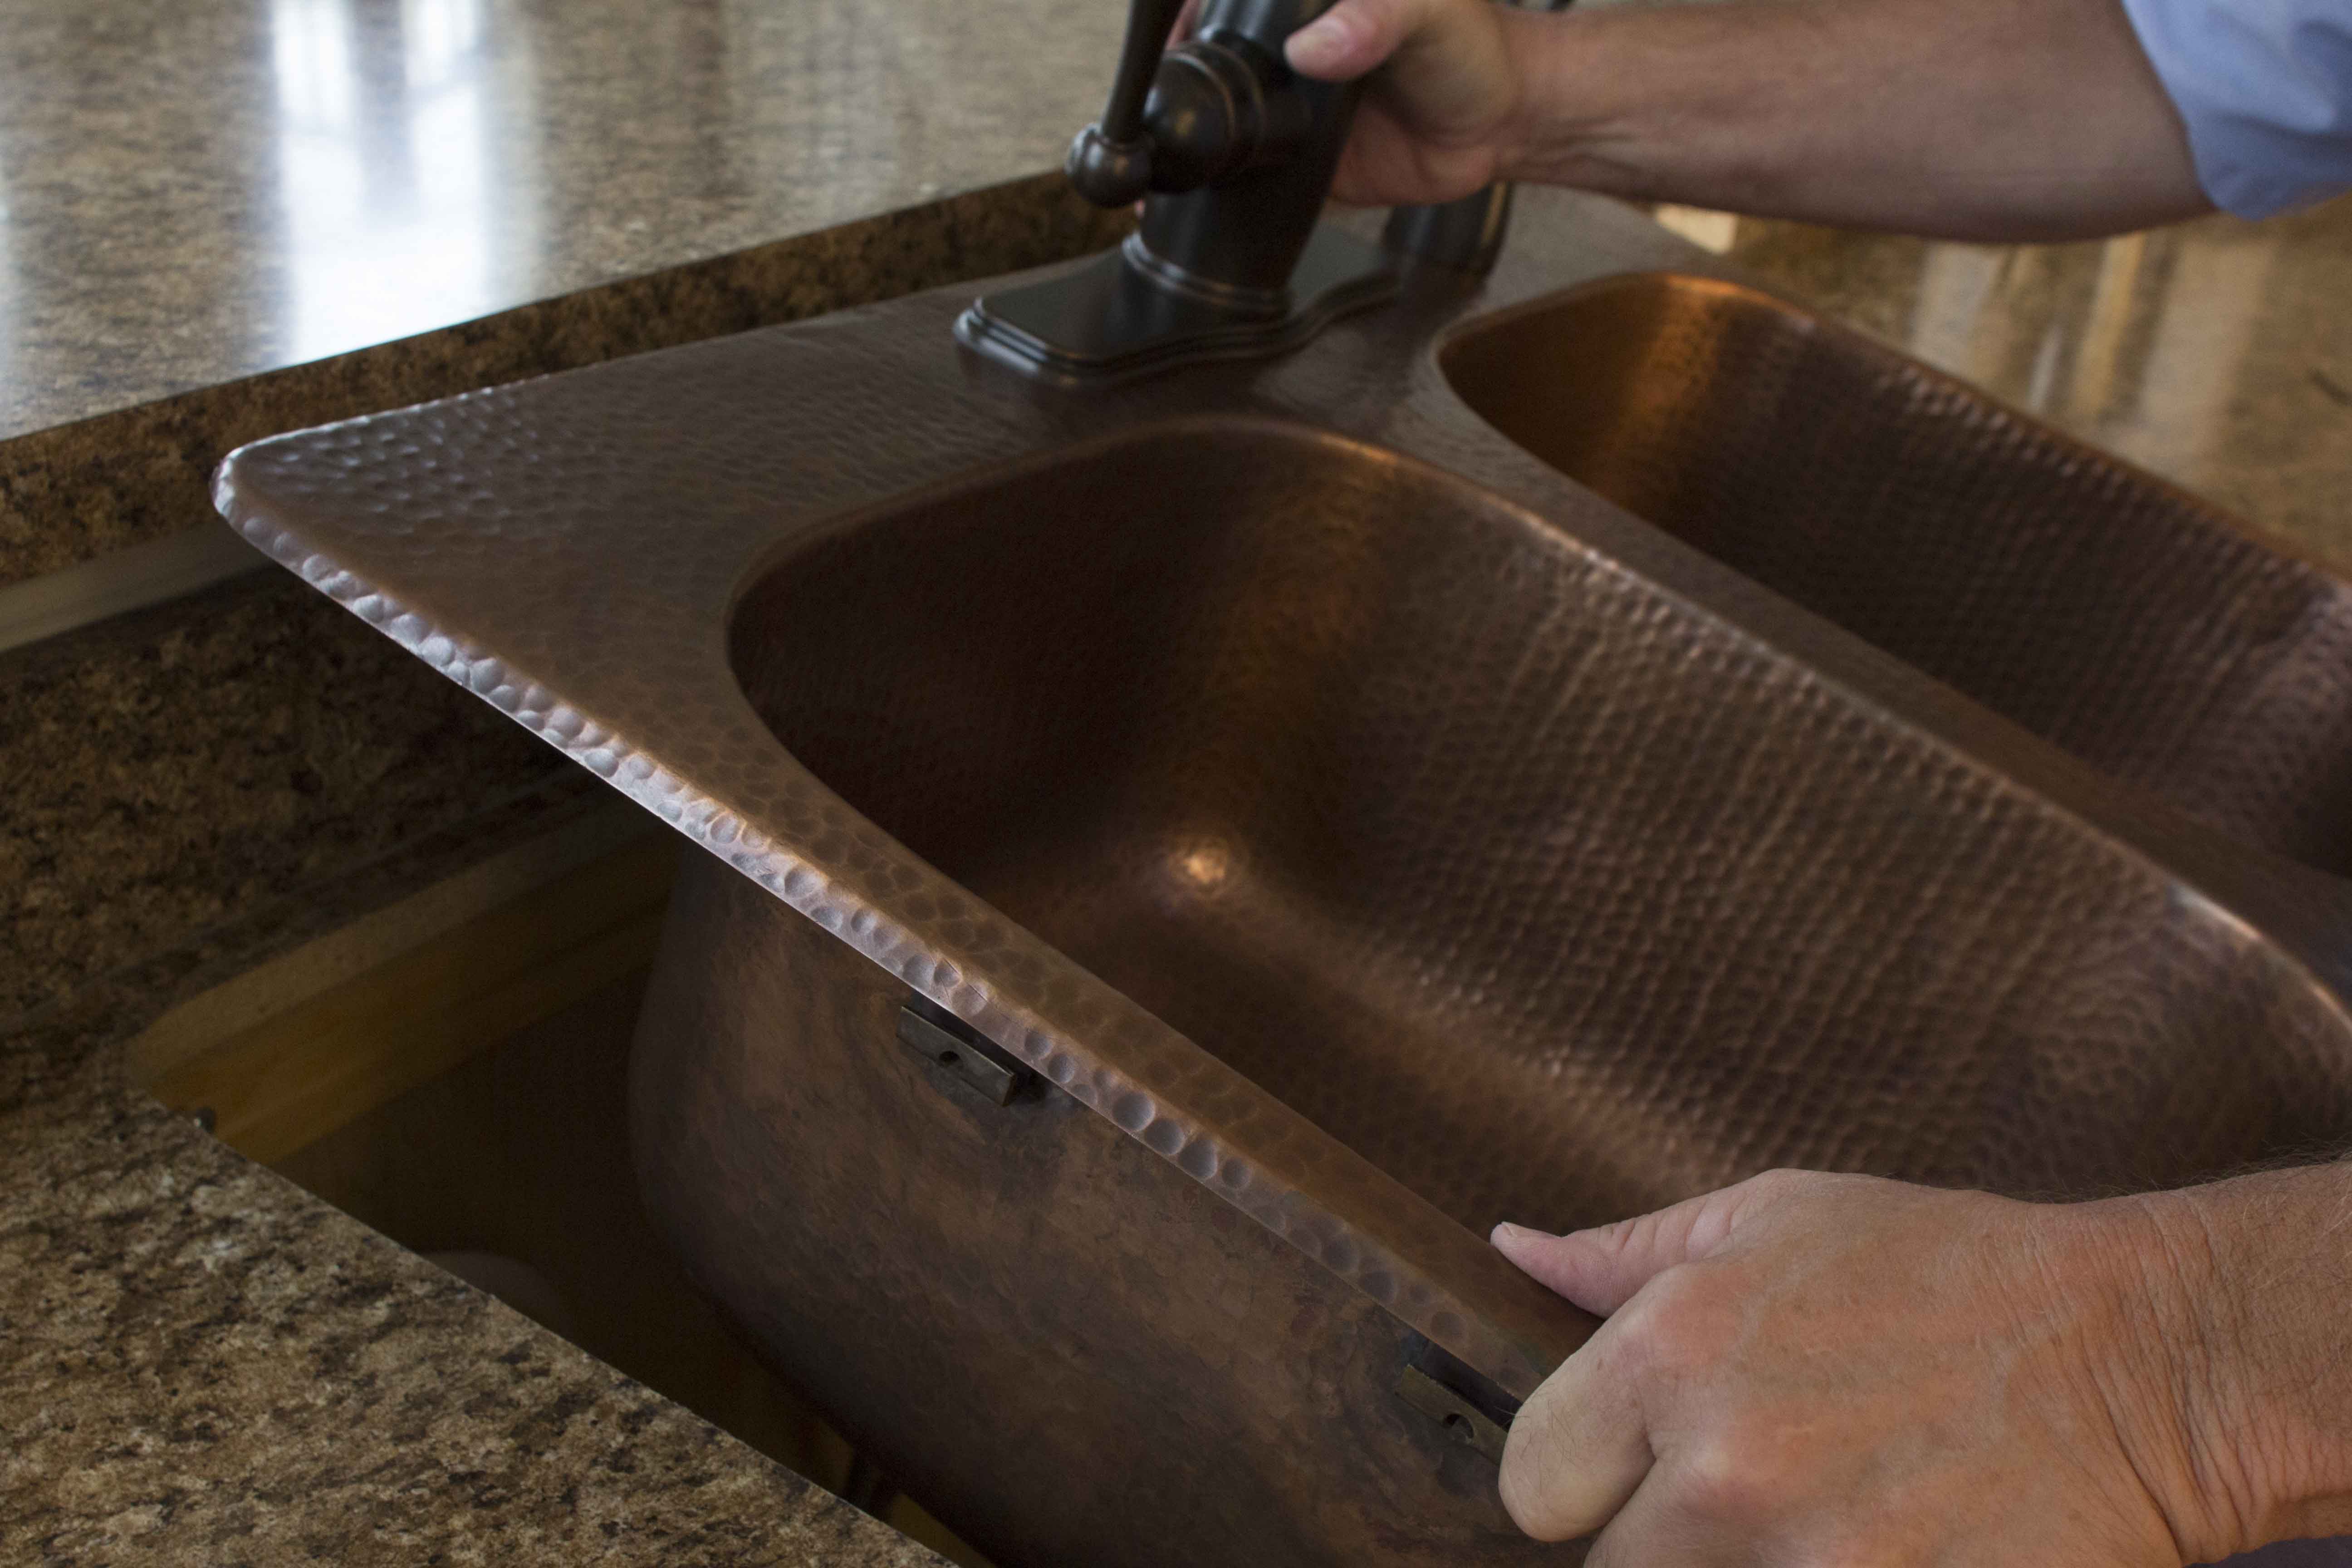
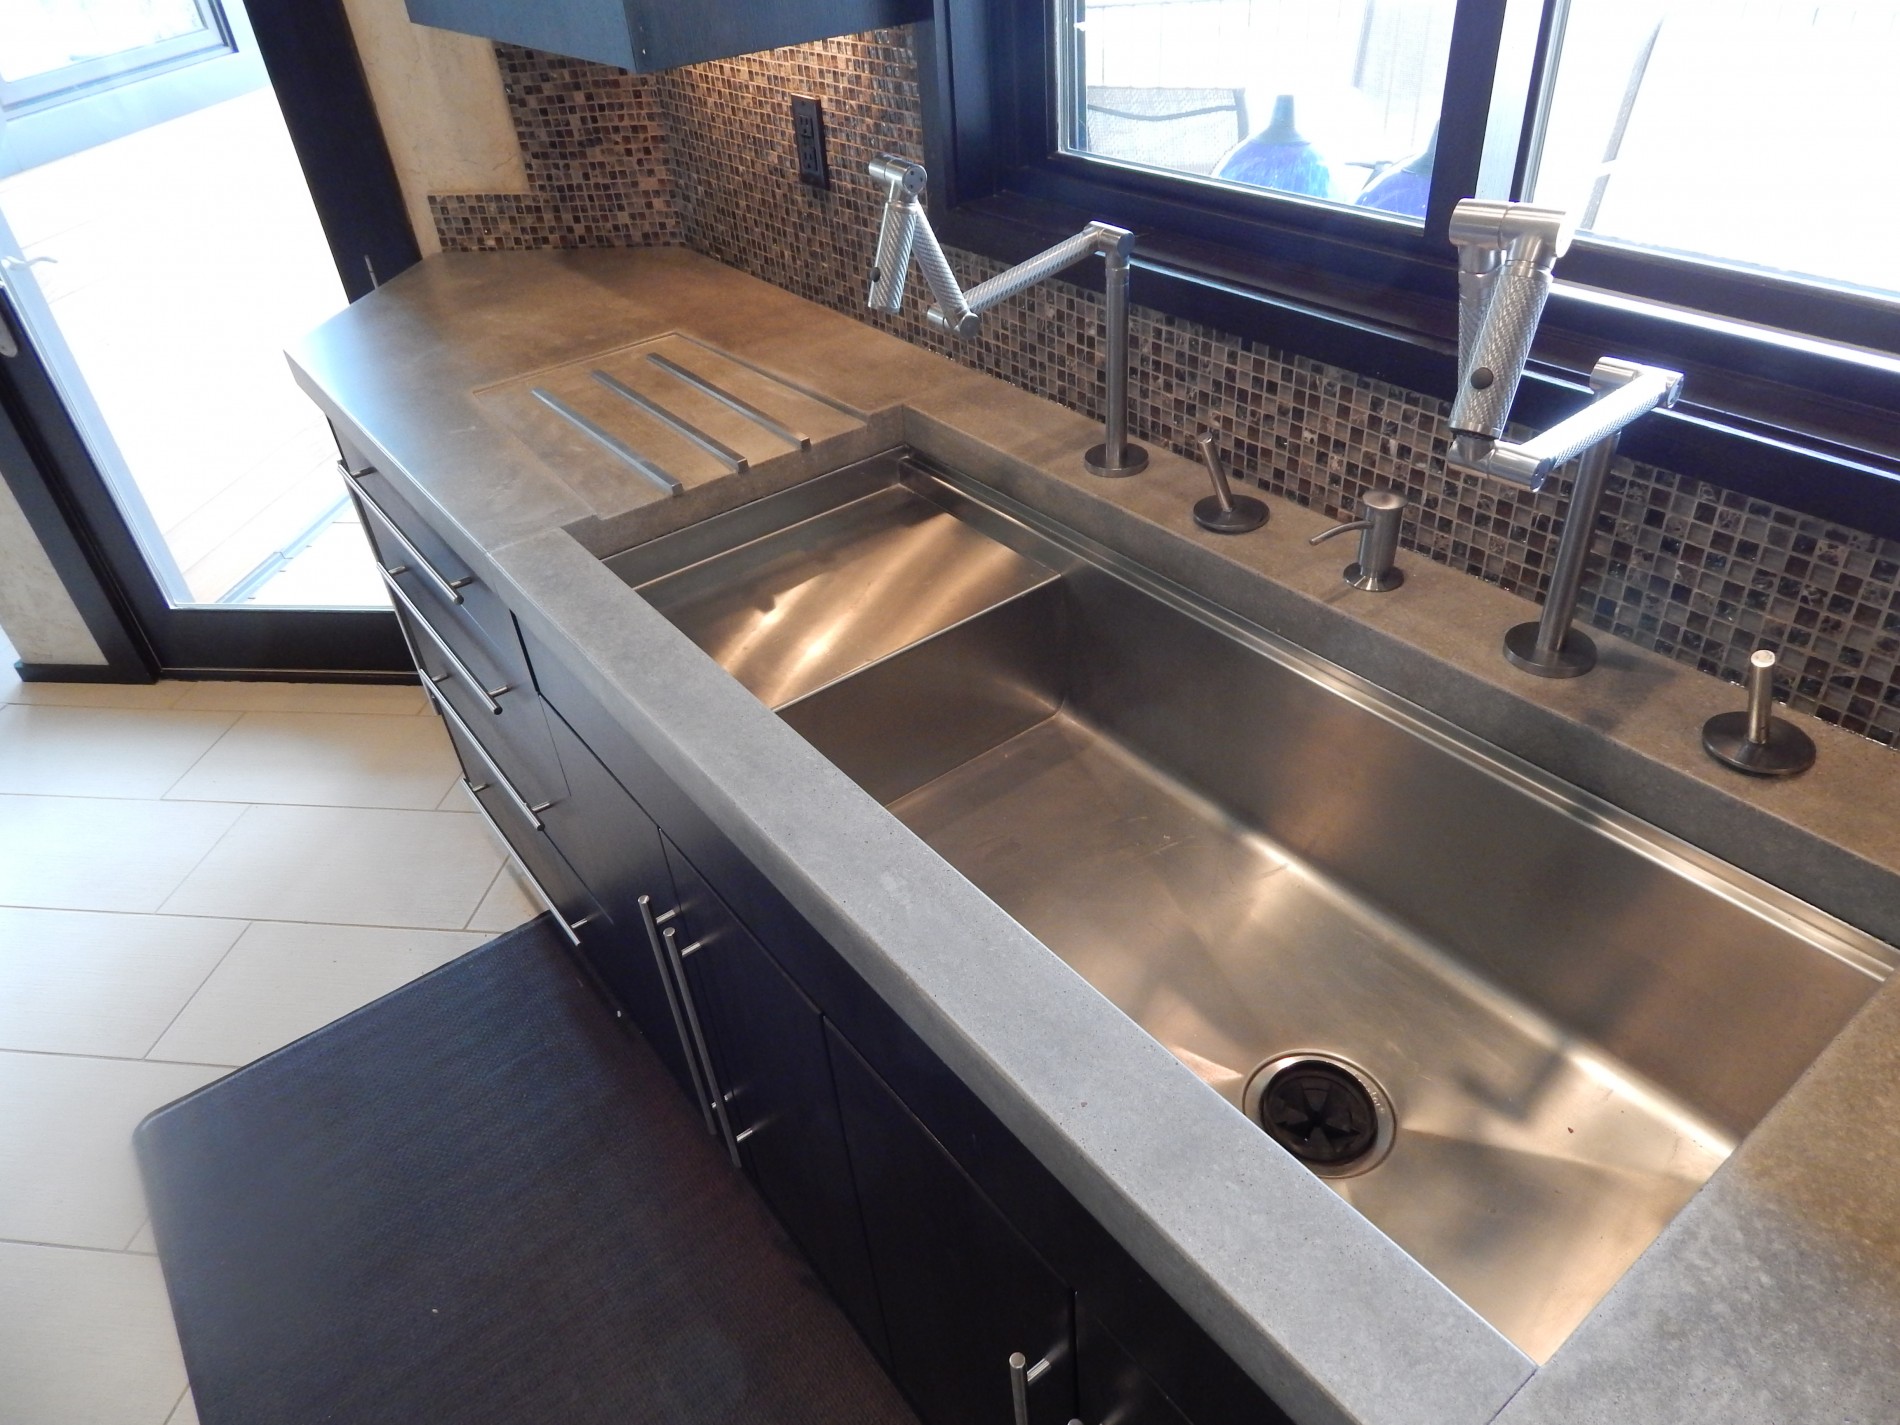
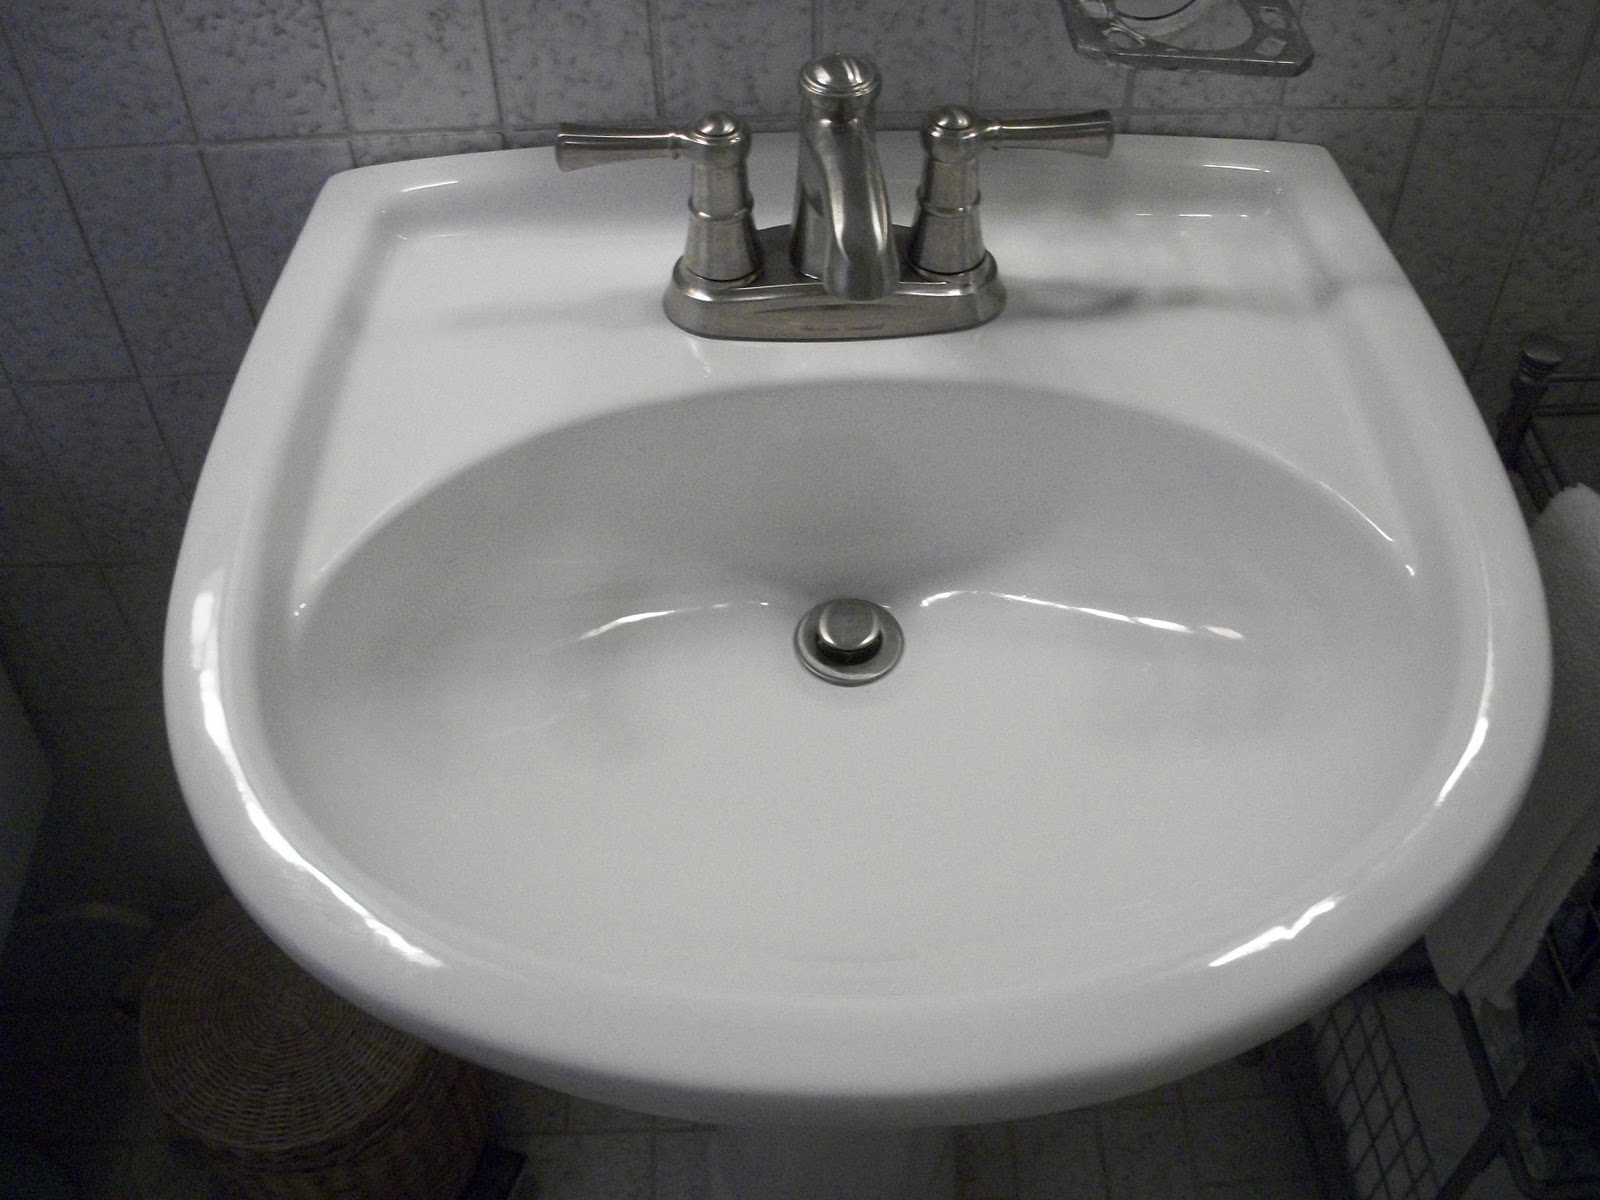
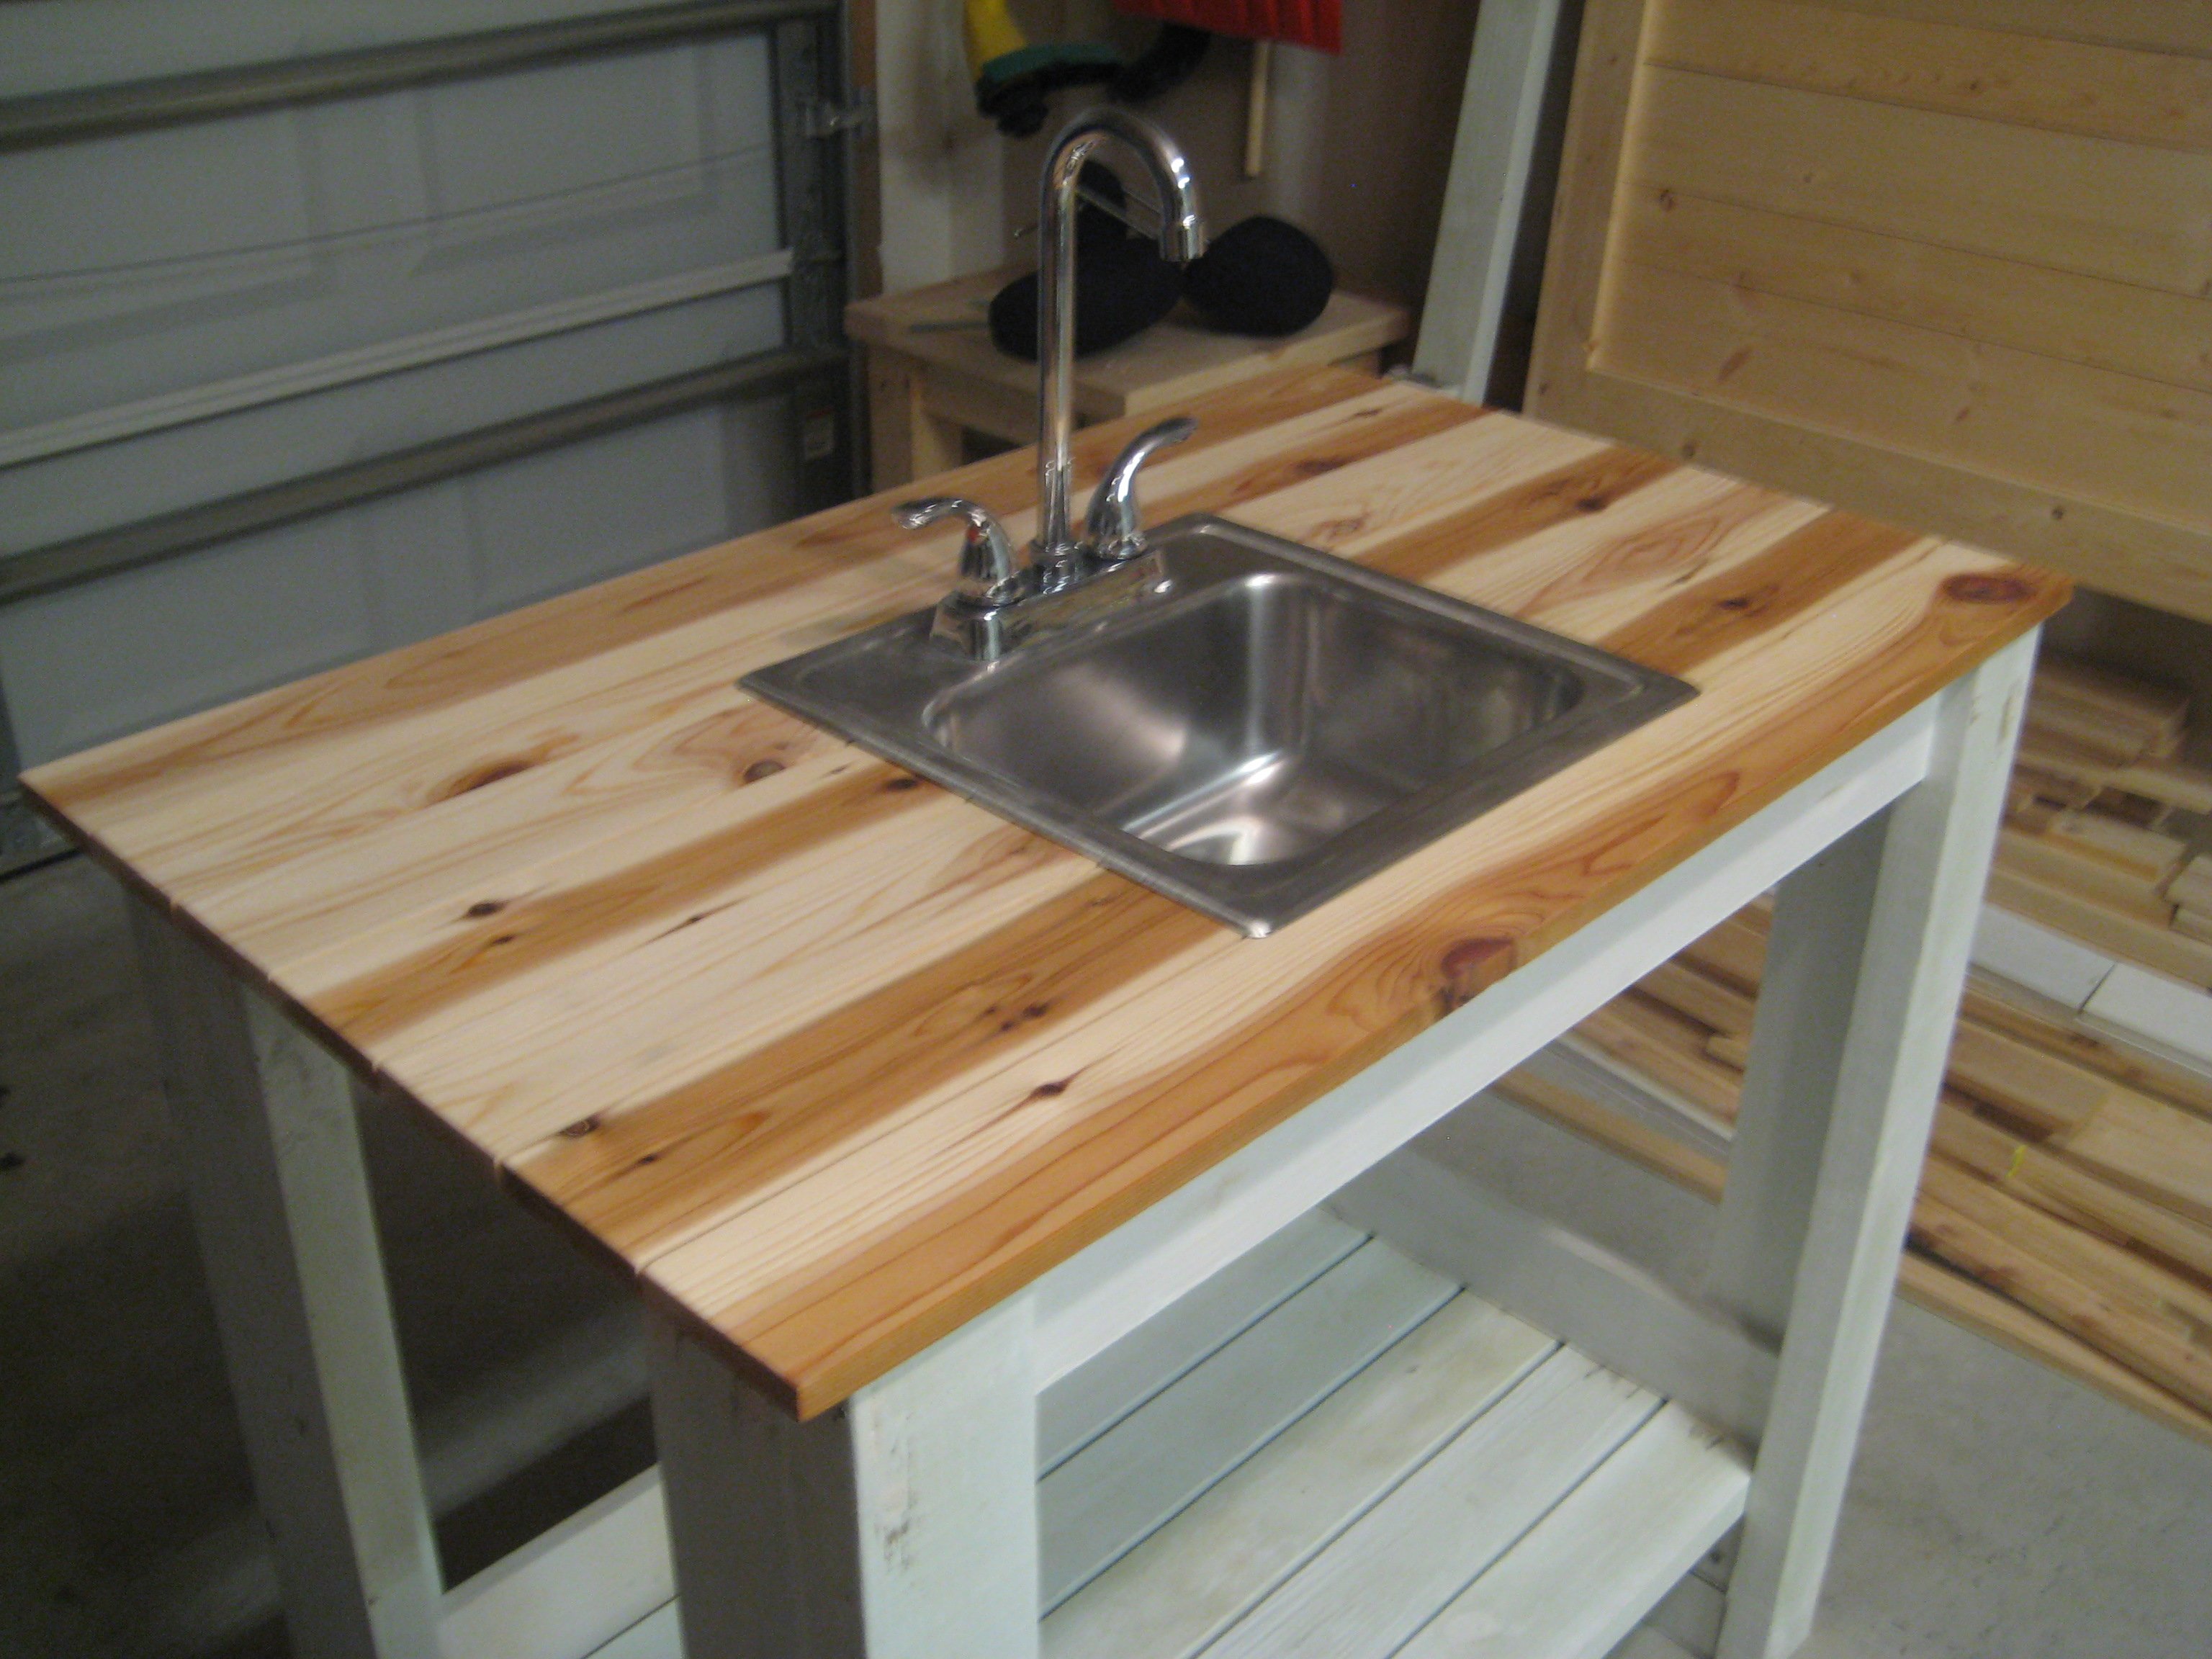
Now it's time for the main event – installing the sink! The installation process will vary depending on the type of sink you have chosen. For top mount sinks, you'll need to cut a hole in the countertop and secure the sink with clips. Undermount sinks, on the other hand, are installed from underneath the countertop. Refer to the manufacturer's instructions for specific installation steps.4. Installing the Sink

St Paul

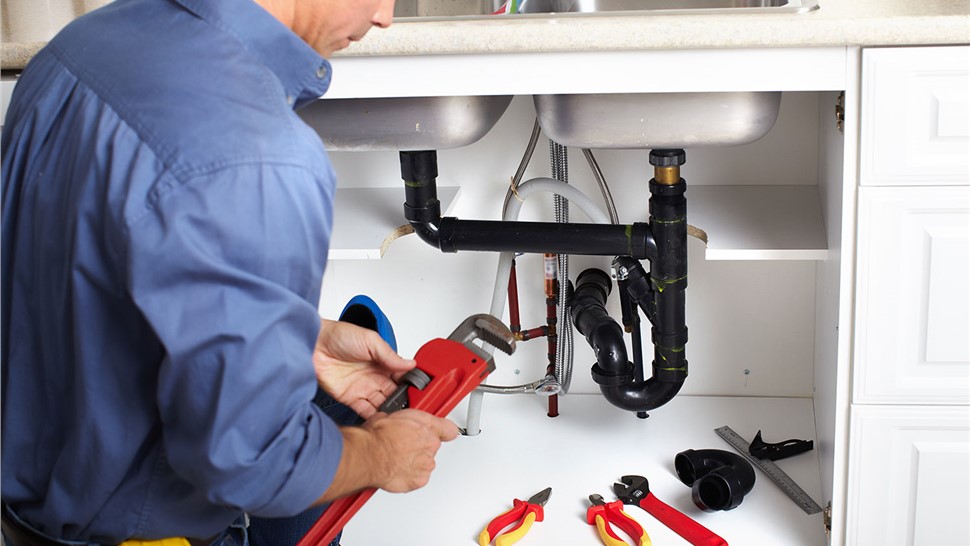
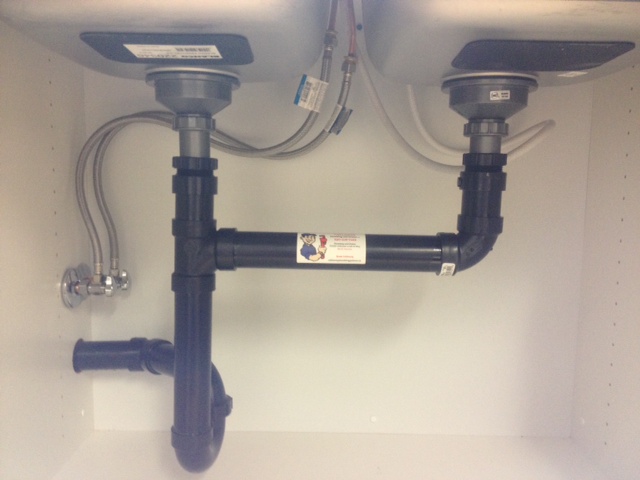
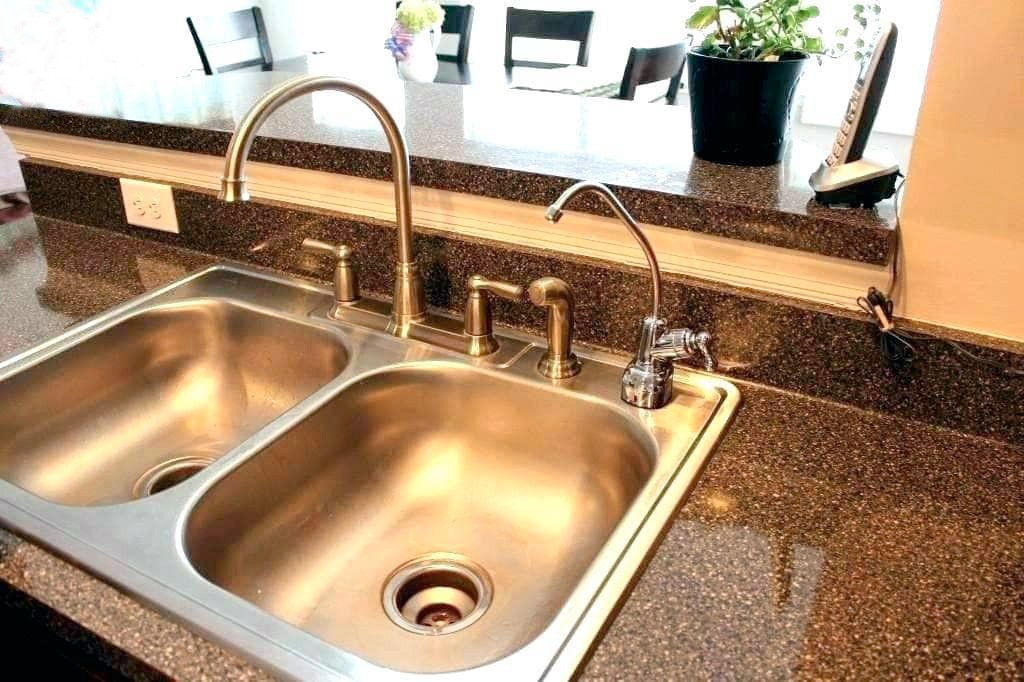
Once your sink is in place, it's time to reconnect the plumbing. This involves connecting the water supply lines and drain assembly. It's essential to ensure all connections are tight and secure to avoid any future leaks.5. Plumbing and Drain Assembly


Kitchen


.jpg)

After installing the sink, it's important to seal the edges to prevent any water from seeping into the countertop. You can use a silicone caulk to create a watertight seal around the edges of the sink.6. Sealing the Sink

Sink


If you have a garbage disposal, you'll need to reconnect it after installing the sink. Refer to the manufacturer's instructions for specific steps on how to do this.7. Reconnecting the Garbage Disposal
Installation
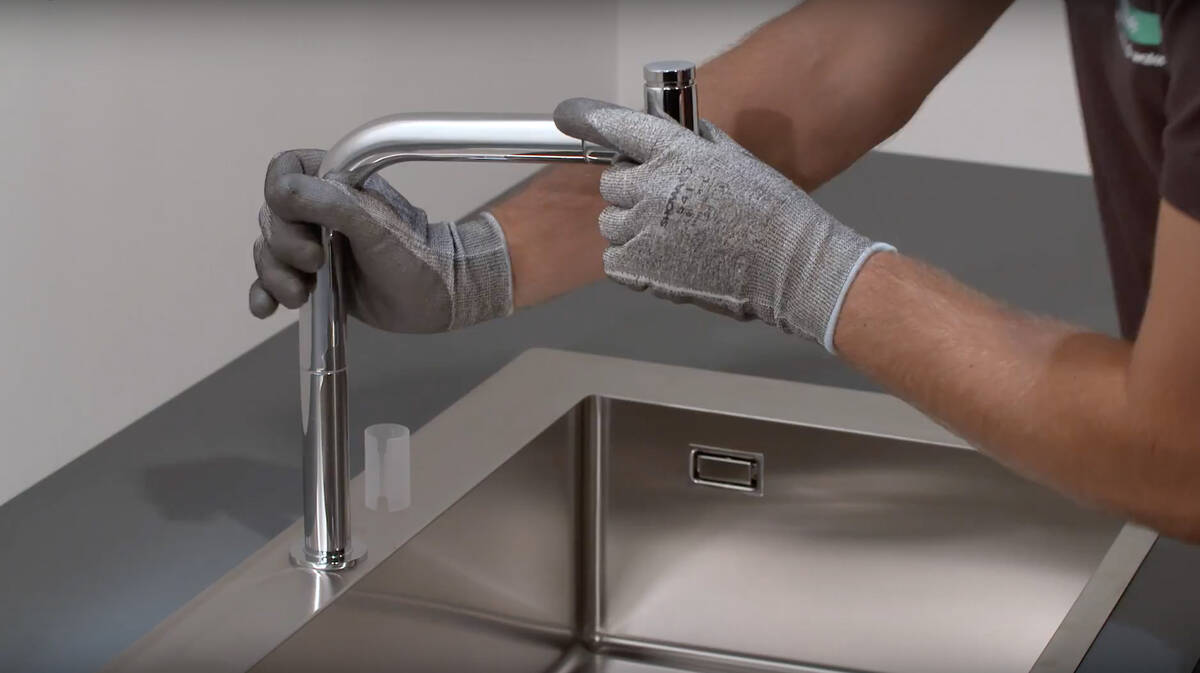
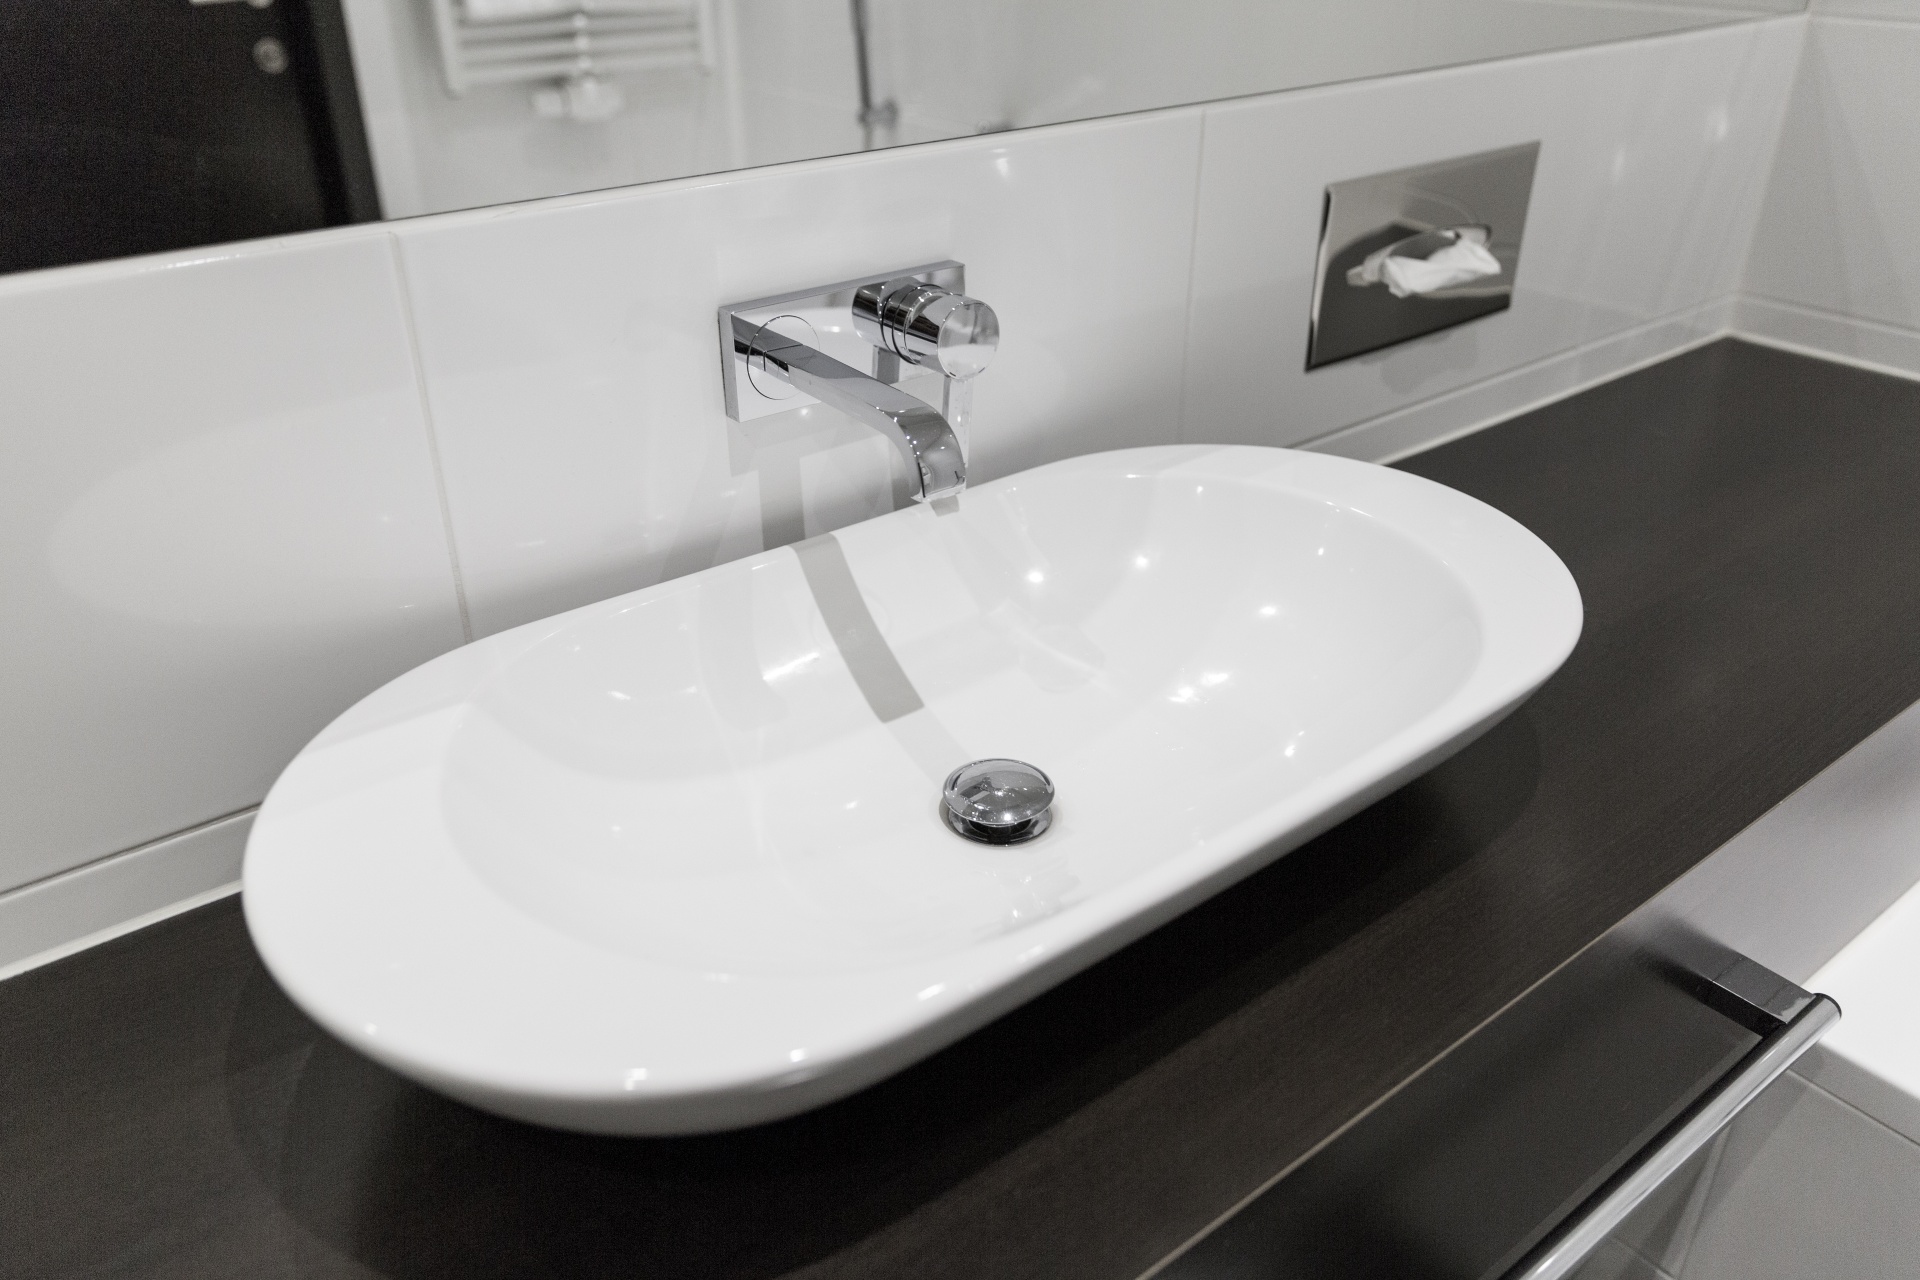
No sink is complete without a faucet! Once your sink is in place, you can install the faucet. Make sure to follow the manufacturer's instructions and use the appropriate tools for a secure installation.8. Installing the Faucet
St Paul
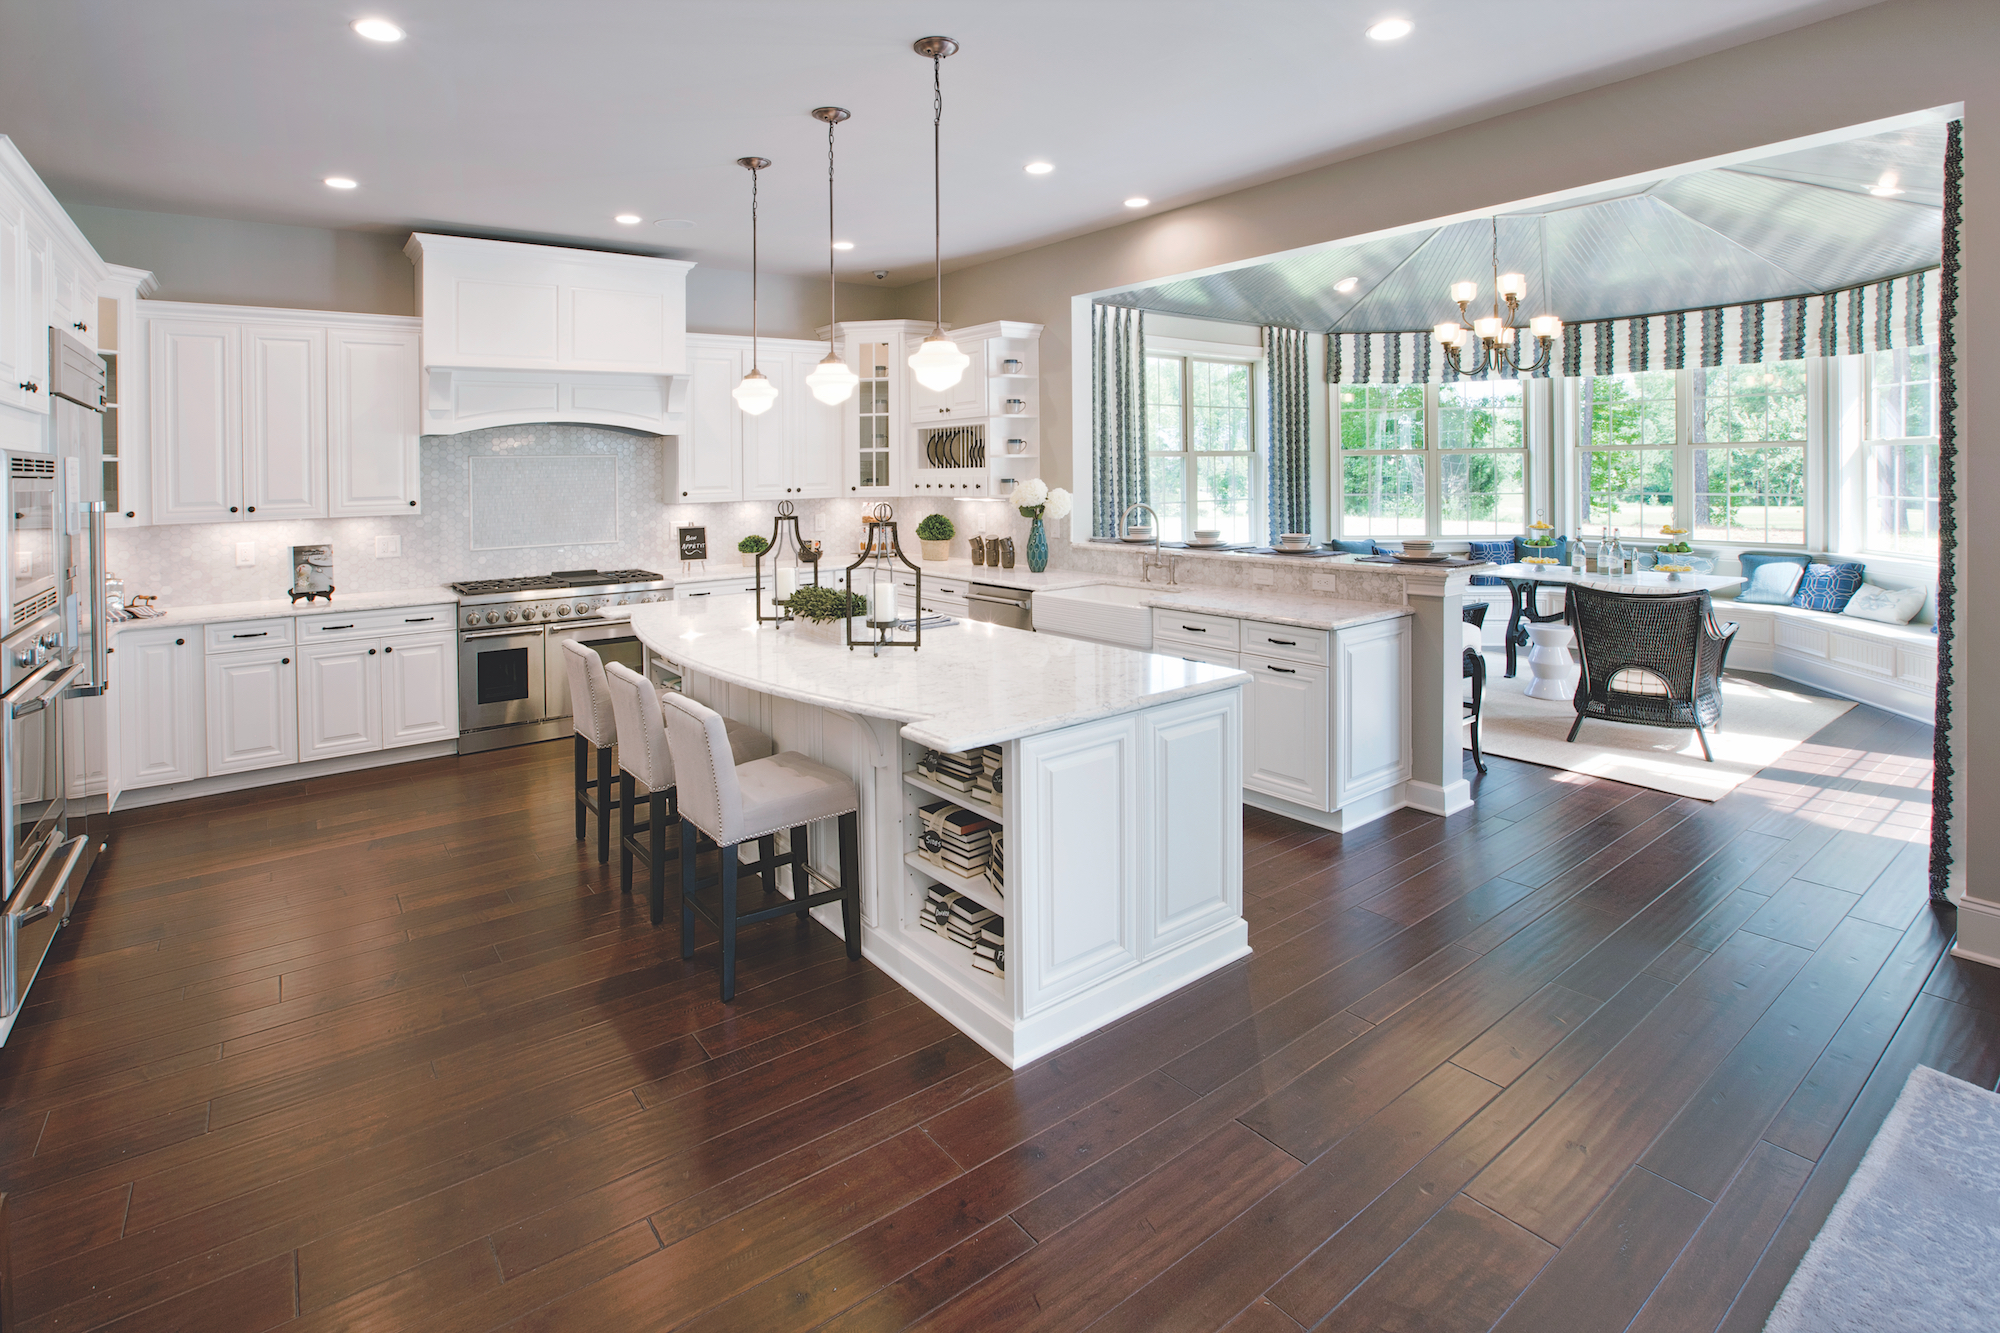
The Importance of Proper Kitchen Sink Installation in St. Paul
Creating a Functional and Beautiful Kitchen Design
/how-to-install-a-sink-drain-2718789-hero-24e898006ed94c9593a2a268b57989a3.jpg) When it comes to designing a house, the kitchen is often considered the heart of the home. It's where families gather, meals are prepared, and memories are made. As such, it is important to ensure that every aspect of the kitchen is functional and aesthetically pleasing. One crucial element that is often overlooked is the
kitchen sink
. While it may seem like a minor detail, proper
kitchen sink installation
in St. Paul can make a significant difference in the overall design and functionality of your kitchen.
When it comes to designing a house, the kitchen is often considered the heart of the home. It's where families gather, meals are prepared, and memories are made. As such, it is important to ensure that every aspect of the kitchen is functional and aesthetically pleasing. One crucial element that is often overlooked is the
kitchen sink
. While it may seem like a minor detail, proper
kitchen sink installation
in St. Paul can make a significant difference in the overall design and functionality of your kitchen.
Maximizing Space and Functionality
 The kitchen sink is not just a place to wash dishes, it also serves as a prep area for food and a space to fill up pots and pans. With the right
sink installation
, you can maximize the space and functionality of your kitchen. This means choosing the right size and style of sink to fit your needs and coordinating it with the rest of your kitchen design. In addition, proper installation ensures that the sink is securely attached and won't cause any issues in the future.
The kitchen sink is not just a place to wash dishes, it also serves as a prep area for food and a space to fill up pots and pans. With the right
sink installation
, you can maximize the space and functionality of your kitchen. This means choosing the right size and style of sink to fit your needs and coordinating it with the rest of your kitchen design. In addition, proper installation ensures that the sink is securely attached and won't cause any issues in the future.
Preventing Water Damage and Leaks
 Proper
kitchen sink installation
also plays a crucial role in preventing water damage and leaks. A poorly installed sink can lead to water seeping into cabinets and causing mold and mildew growth. This not only poses a health hazard, but it can also be costly to repair. By hiring a professional to install your kitchen sink, you can rest assured that it will be done correctly and prevent any potential water damage.
Proper
kitchen sink installation
also plays a crucial role in preventing water damage and leaks. A poorly installed sink can lead to water seeping into cabinets and causing mold and mildew growth. This not only poses a health hazard, but it can also be costly to repair. By hiring a professional to install your kitchen sink, you can rest assured that it will be done correctly and prevent any potential water damage.
Enhancing the Aesthetic of Your Kitchen
 In addition to functionality and practicality, the
kitchen sink
also adds to the overall aesthetic of your kitchen. With various materials, styles, and finishes to choose from, you can find a sink that complements your kitchen design. Proper
sink installation
ensures that the sink is seamlessly integrated into your countertop and cabinets, creating a cohesive and visually appealing look.
In conclusion, when it comes to
kitchen sink installation
in St. Paul, it is important to prioritize both functionality and aesthetics. By hiring a professional and ensuring proper installation, you can create a beautiful and functional kitchen that will be the envy of all your guests. So don't overlook the importance of the kitchen sink in your overall house design and make sure to give it the attention it deserves.
In addition to functionality and practicality, the
kitchen sink
also adds to the overall aesthetic of your kitchen. With various materials, styles, and finishes to choose from, you can find a sink that complements your kitchen design. Proper
sink installation
ensures that the sink is seamlessly integrated into your countertop and cabinets, creating a cohesive and visually appealing look.
In conclusion, when it comes to
kitchen sink installation
in St. Paul, it is important to prioritize both functionality and aesthetics. By hiring a professional and ensuring proper installation, you can create a beautiful and functional kitchen that will be the envy of all your guests. So don't overlook the importance of the kitchen sink in your overall house design and make sure to give it the attention it deserves.