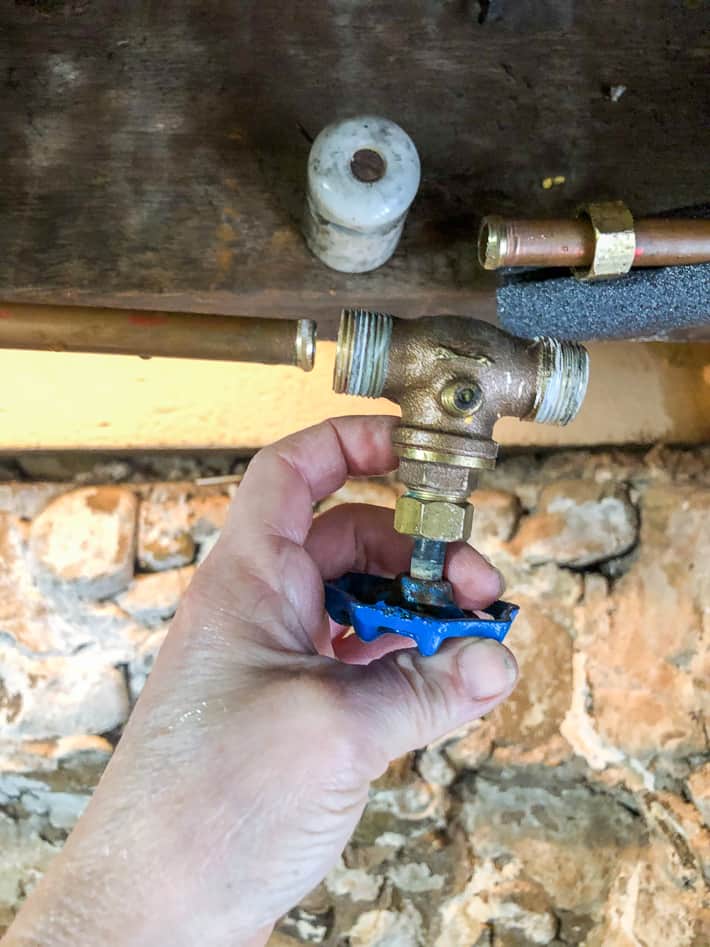
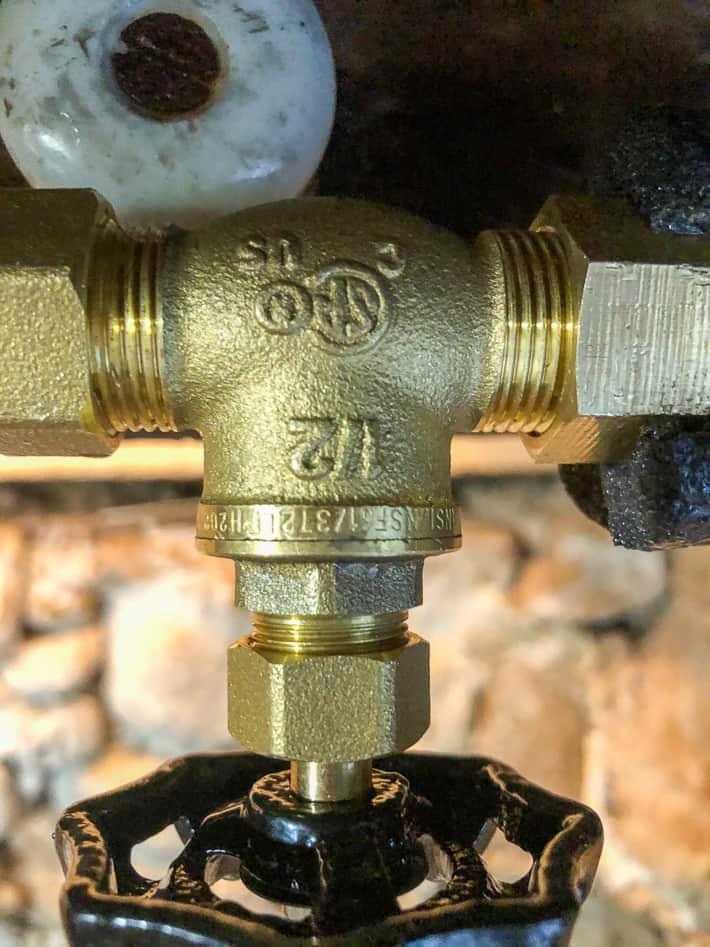
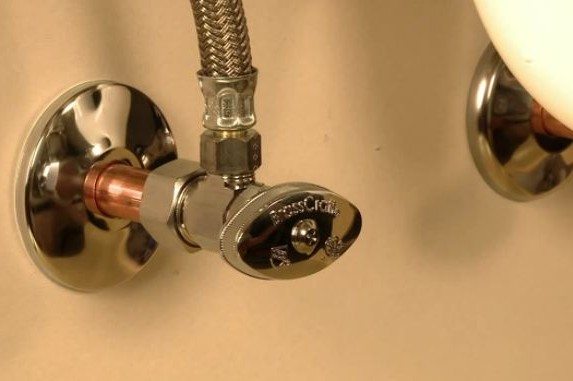
Having a leaky shut off valve under your sink can be a major inconvenience and a potential source of water damage. Thankfully, it's a problem that can be easily fixed with a few simple steps. In this article, we'll walk you through the process of fixing a leaky shut off valve under your sink so you can get back to using your kitchen sink without any worries.How to Fix a Leaky Shut Off Valve Under Your Sink
The first step in fixing a leaky shut off valve is to identify where the leak is coming from. In most cases, the leak will be coming from either the valve itself or the connections between the valve and the pipes. Once you've identified the source of the leak, you can move on to the next step.Step 1: Identify the Source of the Leak
Before attempting to fix the leaky shut off valve, you'll need to turn off the water supply to your sink. This can usually be done by turning a valve located near your sink or by shutting off the main water supply to your house. Make sure to test that the water is turned off by turning on the faucet and checking for any water flow.Step 2: Turn Off the Water Supply
If the leak is coming from the connections between the valve and the pipes, you can try tightening them with a wrench. Be careful not to overtighten, as this can cause damage to the pipes. If the connections are already tight and the leak persists, you may need to replace the washers or gaskets.Step 3: Tighten the Connections
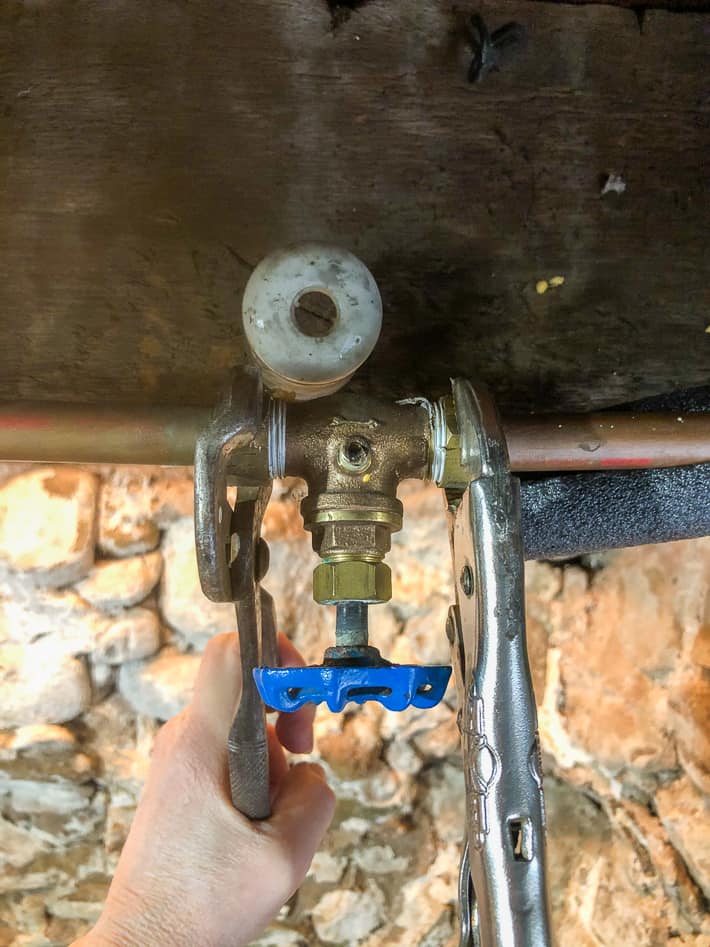
If the leak is coming from the valve itself, it may be time to replace it. Shut off the water supply and use a wrench to loosen and remove the old valve. Take the valve to your local hardware store to find an exact replacement. Install the new valve and make sure the connections are tight.Step 4: Replace the Valve
Once you've completed the necessary repairs, turn the water supply back on and test the shut off valve by turning it on and off a few times. Check for any leaks and make sure the valve is functioning properly. If you notice any leaks, go back and double check your connections or consider replacing the valve again.Step 5: Test and Check for Leaks
If you're not comfortable or confident in your DIY skills, it's always best to hire a professional plumber to fix a leaky shut off valve. They have the knowledge and experience to quickly and effectively solve the problem without causing any further damage.Step 6: Consider Hiring a Professional
To prevent future leaks in your shut off valve, it's important to regularly check and maintain it. This includes checking for any signs of wear or damage, tightening connections if needed, and replacing the valve when necessary. It's also a good idea to turn the valve on and off a few times every few months to keep it from getting stuck.Preventing Future Leaks
A leaky shut off valve under your sink may seem like a daunting problem, but with the right knowledge and tools, it can be easily fixed. By following the steps outlined in this article, you can save yourself time and money by solving the problem yourself. Remember to always take precautions when working with water and if you're unsure, don't hesitate to call a professional for assistance.In Conclusion
The Importance of Properly Functioning Shut Off Valves in Your Kitchen Sink

Don't Let a Leaky Shut Off Valve Ruin Your Kitchen Design
 When it comes to designing and maintaining your dream kitchen, there are many important factors to consider. From choosing the perfect countertop material to selecting the most efficient appliances, every detail matters. However, one aspect that is often overlooked is the functionality of your kitchen sink's hot water shut off valve. This small but crucial component can make or break the overall design and functionality of your kitchen. So, if you are experiencing a
leaking
hot water shut off valve in your kitchen sink, it's important to address it as soon as possible.
The Purpose of a Shut Off Valve
 Before we discuss the consequences of a leaking shut off valve, it's important to understand its purpose. A shut off valve is a small device that controls the flow of water from your main water line to your kitchen sink. It allows you to turn off the water supply to your sink when necessary, such as during repairs or when replacing a faucet. This not only prevents water wastage but also helps to avoid potential water damage to your kitchen.
The Dangers of a Leaky Shut Off Valve
 A leaking shut off valve may seem like a minor inconvenience, but it can lead to serious problems if left untreated. First and foremost, a leaky shut off valve can
increase your water bills
as it continuously wastes water. This can also put a strain on the environment and your wallet. Additionally, a leak can cause
mold and mildew growth
in your kitchen, which can be harmful to your health and damage your kitchen's design. It can also lead to water damage to your cabinets, floors, and walls, resulting in costly repairs.
Addressing the Issue
 If you have discovered a leaking shut off valve in your kitchen sink, it's essential to address it promptly. The first step is to turn off the main water supply to your house to prevent further leakage. Then, you can either attempt to
repair or replace
the shut off valve yourself or call a professional plumber to do the job for you. It's crucial to address the issue as soon as possible to prevent any further damage to your kitchen and to maintain its overall design and functionality.
In conclusion, a leaking hot water shut off valve may seem like a minor issue, but it can have significant consequences for your kitchen's design and your wallet. It's essential to address the issue promptly and properly to avoid any potential damage and maintain the functionality of your dream kitchen. So, if you notice a leaky shut off valve in your kitchen sink, don't hesitate to take action. After all, a well-functioning kitchen is the heart of a beautiful home.
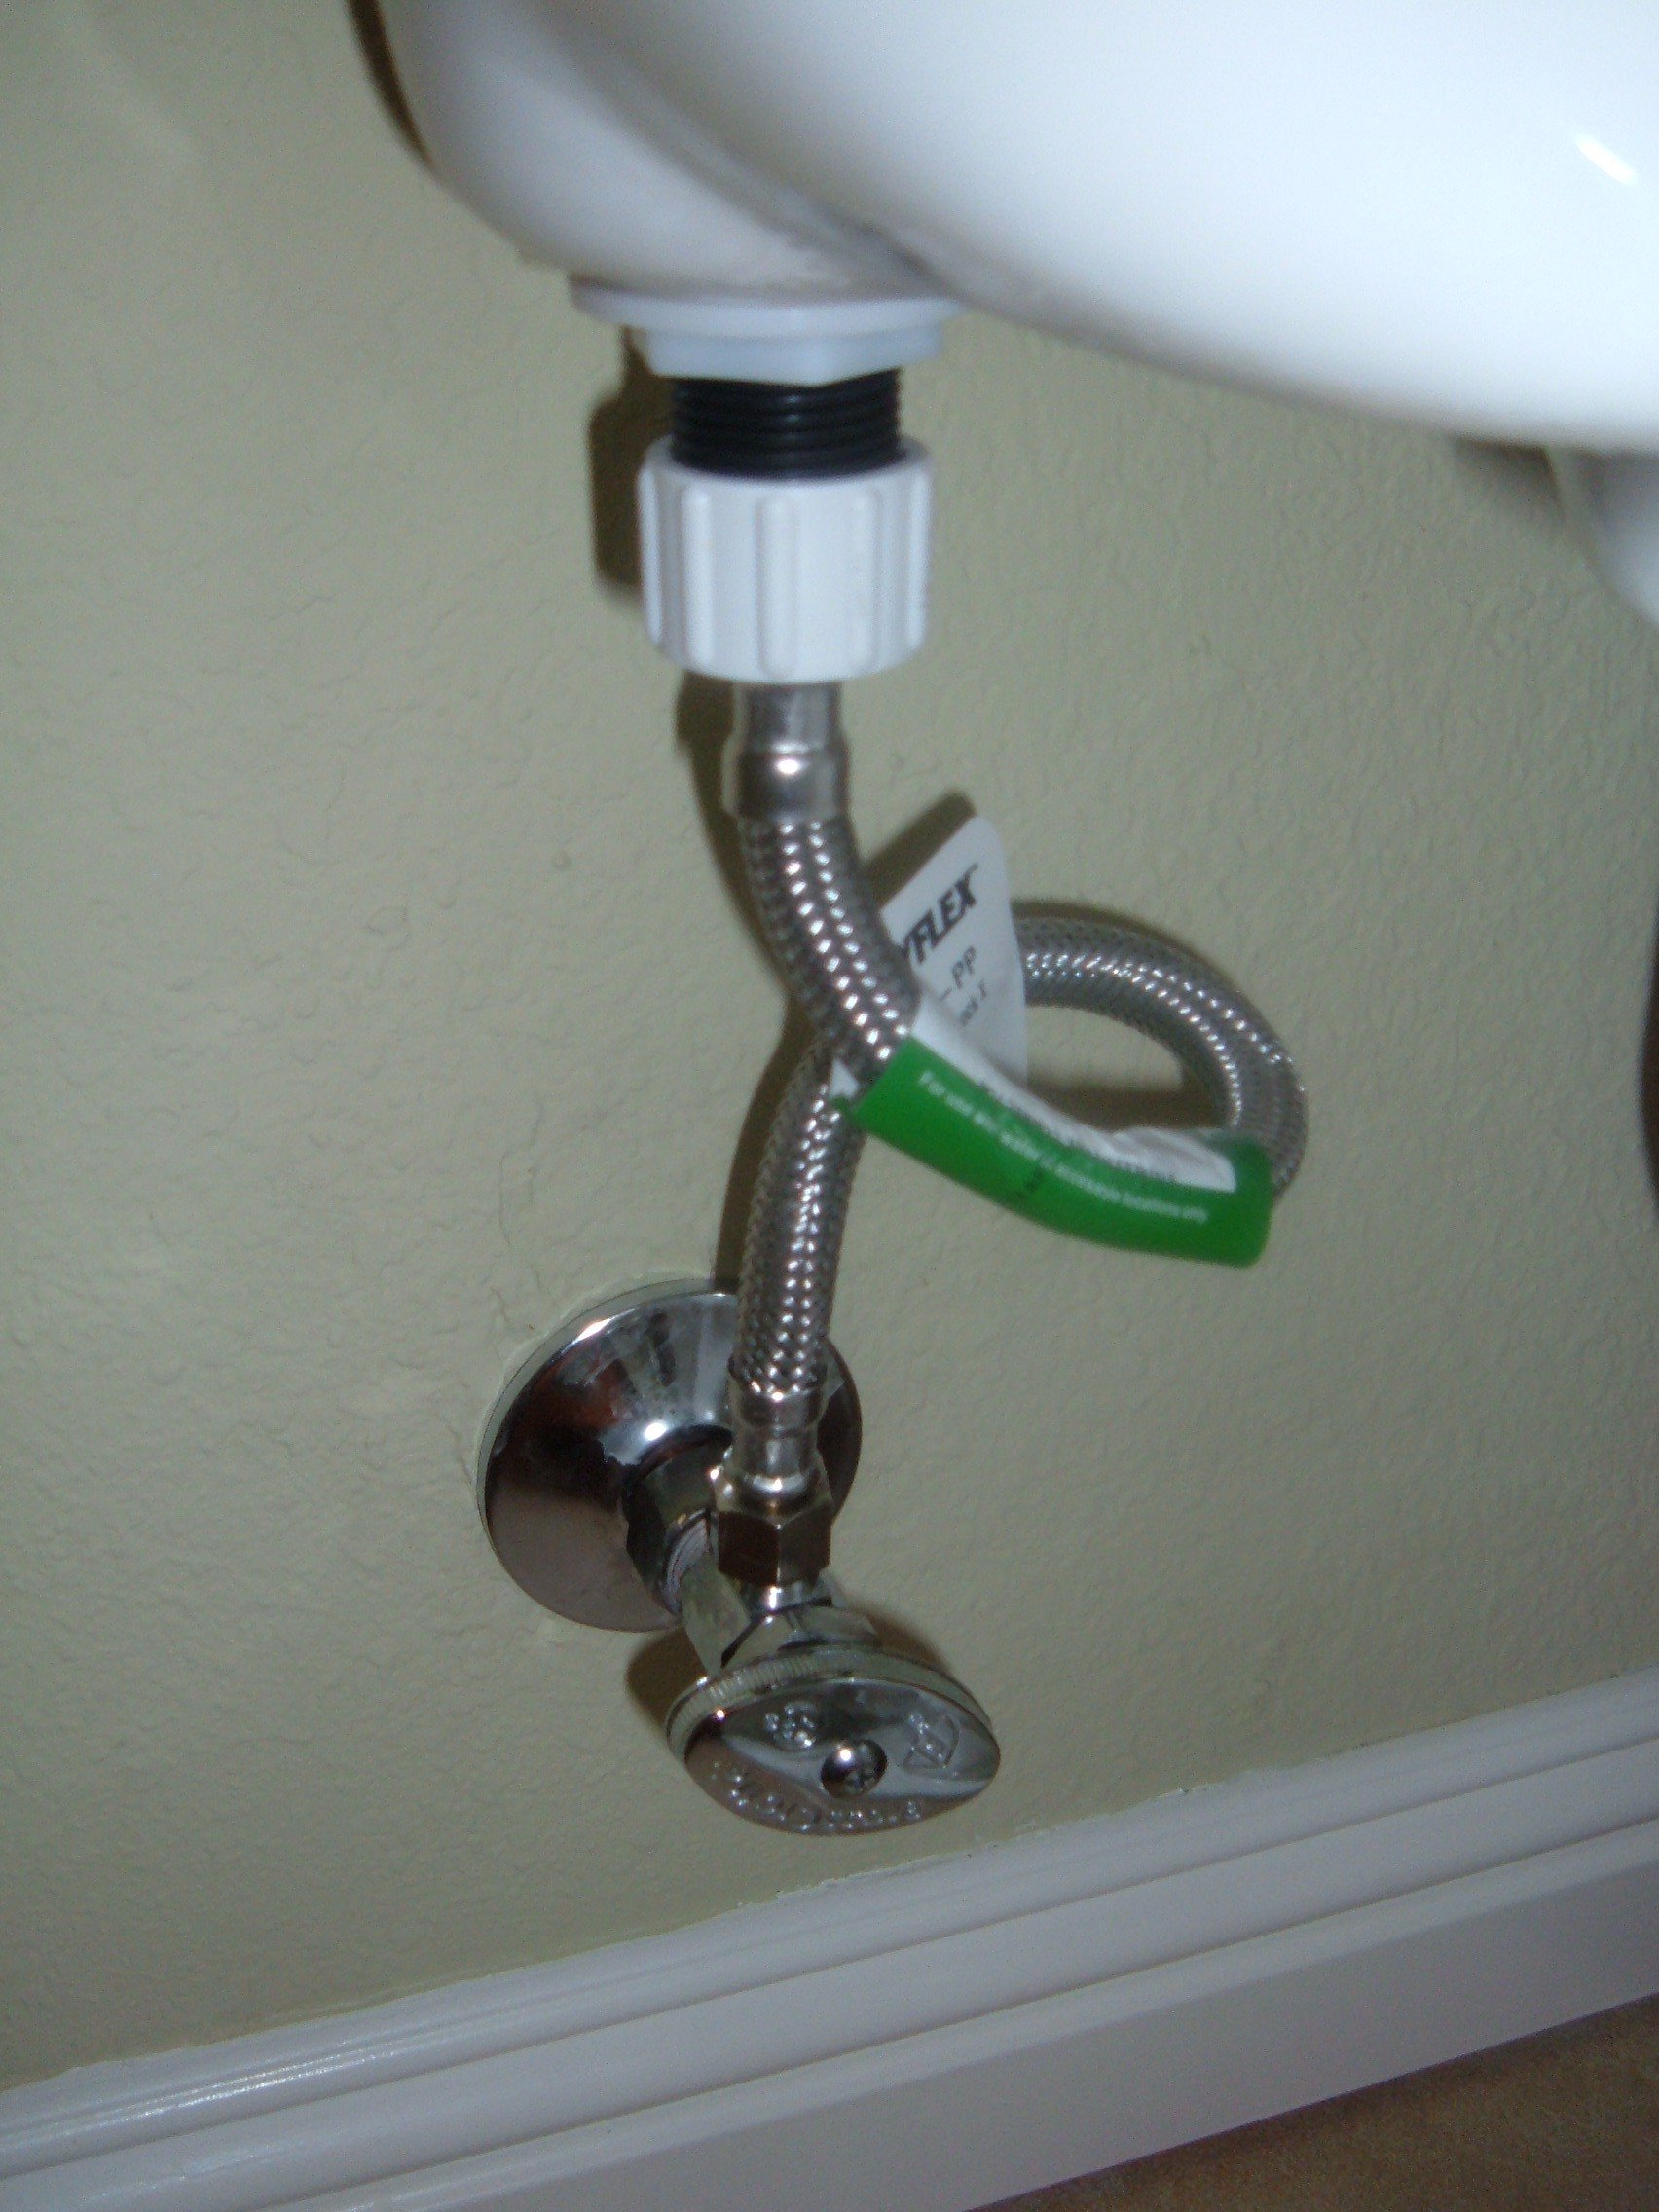


:max_bytes(150000):strip_icc()/water-shut-off-valve-types-2718739-hero-fff0f5191aeb45d595492f8c9b4b4be2.jpg)
:max_bytes(150000):strip_icc()/under-sink-shut-off-valves-2718738-01-4584f904e3f84770bef0a44af58a73ac.jpg)


