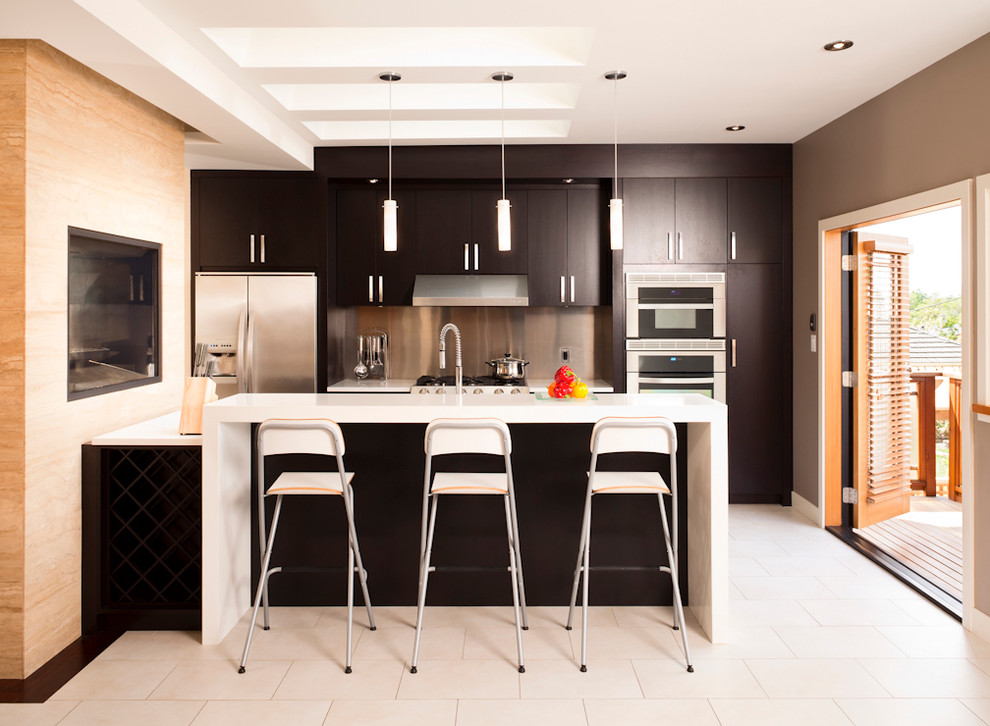
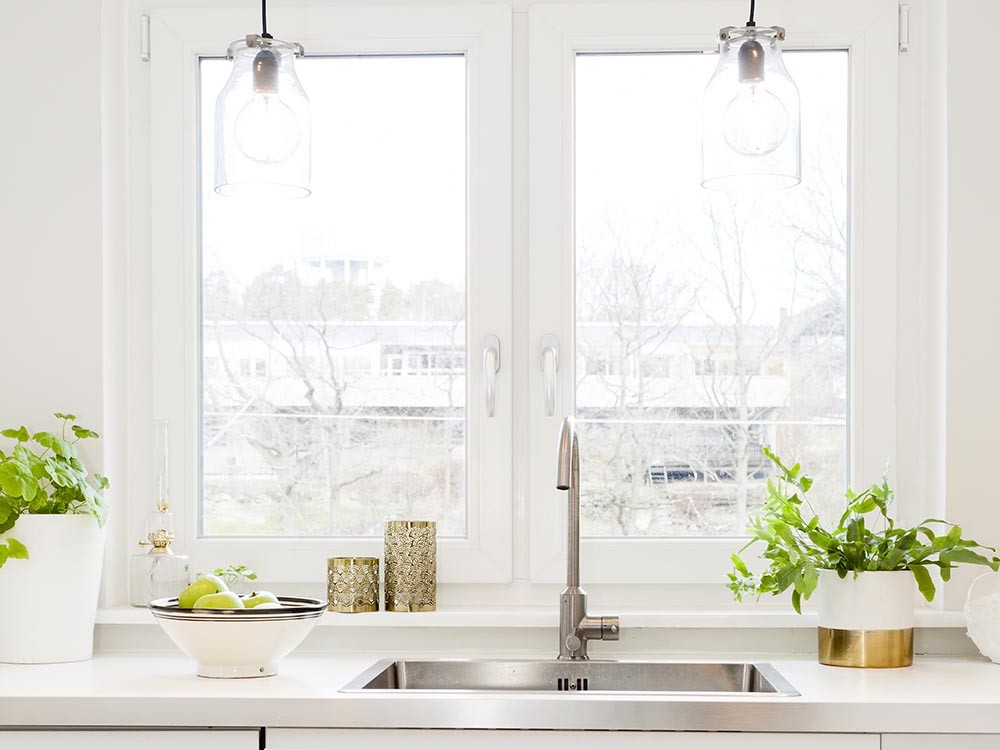
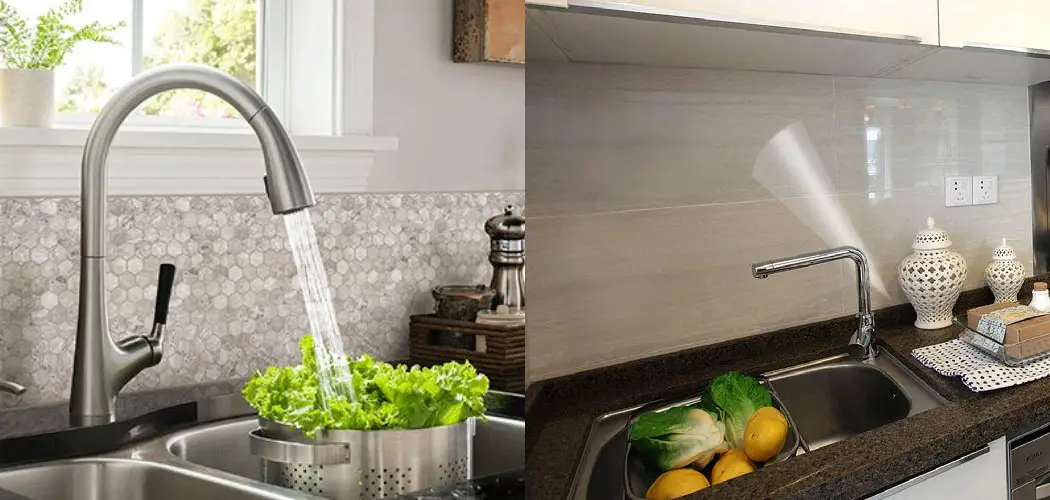
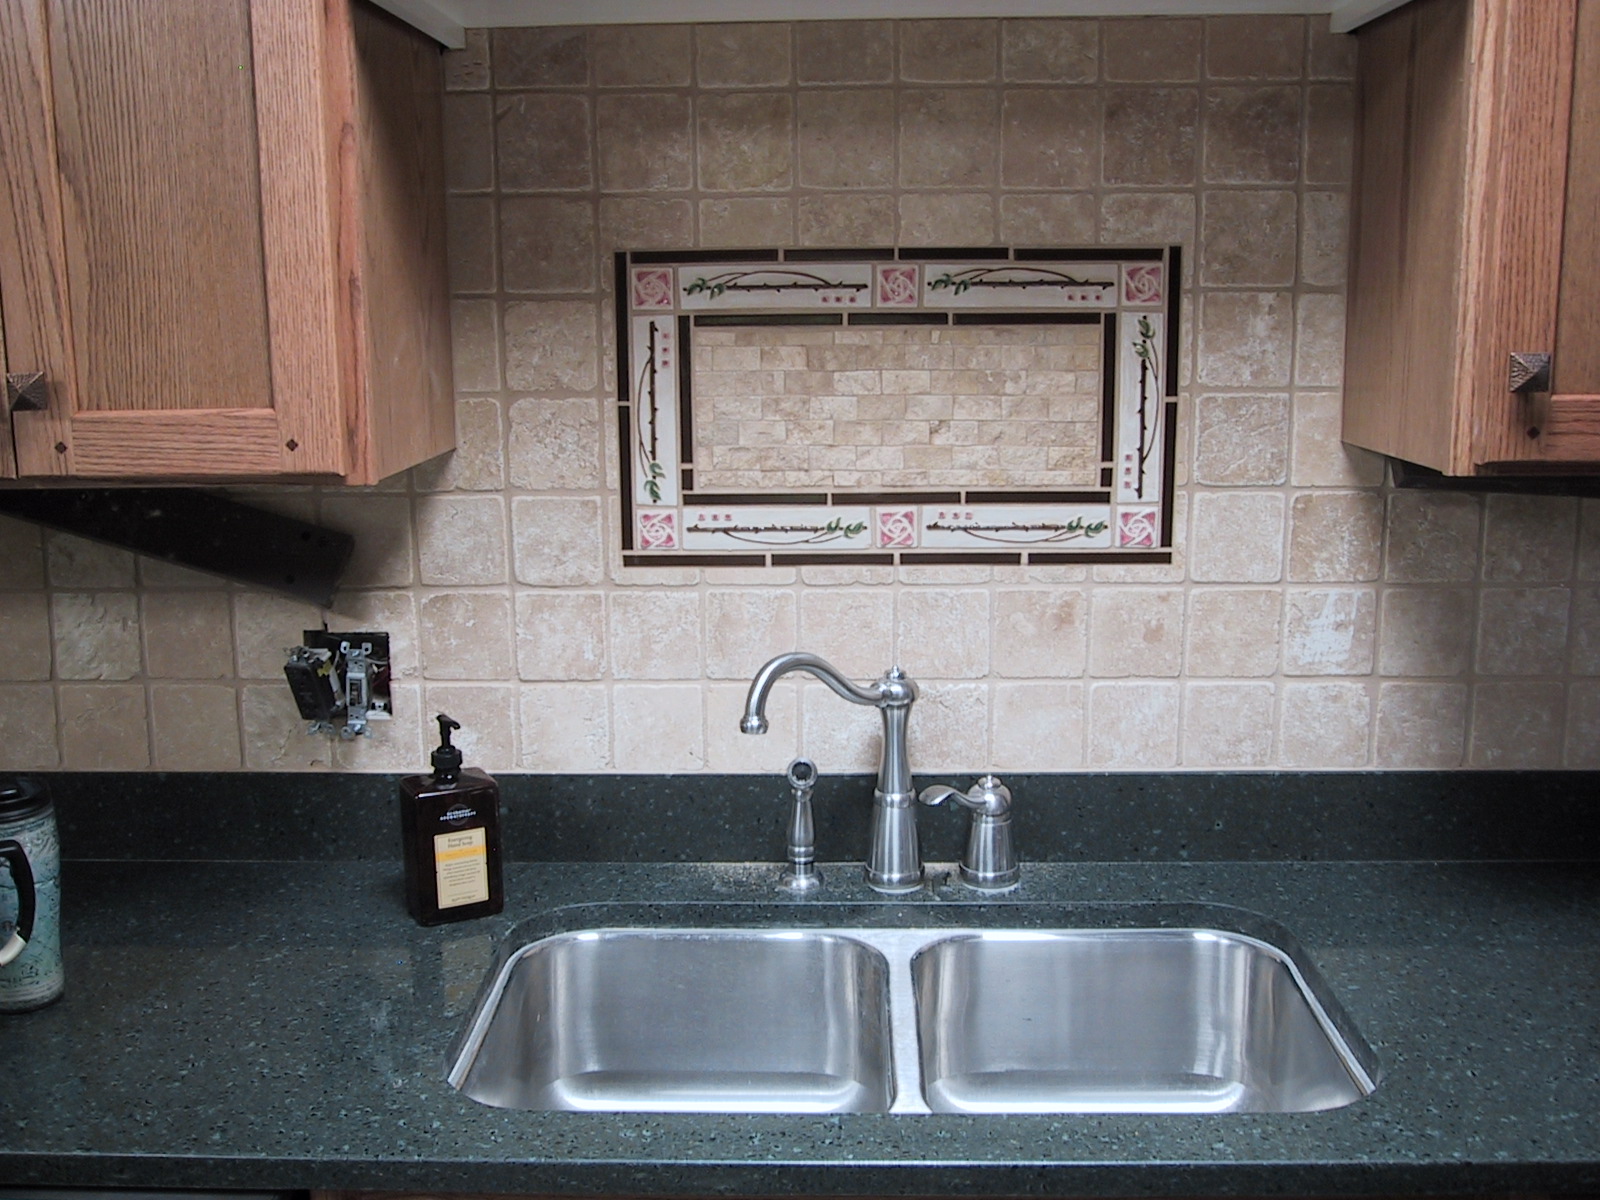
1. Installing a Kitchen Sink Against a Wall
Installing a kitchen sink against a wall is a common and practical choice for many homeowners. It provides a clean and streamlined look to the kitchen, while also maximizing counter space. But, before you dive into this project, there are a few things you should know. Here's a step-by-step guide to help you properly install a kitchen sink against a wall.


1. Installing a Kitchen Sink Against a Wall


/kitchen-island-with-sink-ideas-6-naked-kitchens-heathwood-5857587bd7714e24a0f831ebd373918c.jpeg)
2. How to Secure a Kitchen Sink Against a Wall
Securing your kitchen sink against a wall is crucial for its stability and longevity. The first step is to measure and mark the placement of the sink on the wall. Then, using a drill, create holes in the marked area for the sink's mounting brackets. Next, place the sink in the designated spot and secure it with the mounting brackets. Finally, use silicone adhesive to seal the edges of the sink to prevent water from seeping into the wall.


2. How to Secure a Kitchen Sink Against a Wall


3. Tips for Mounting a Kitchen Sink Against a Wall
Mounting a kitchen sink against a wall may seem like a simple task, but it requires proper planning and execution. Here are a few tips to keep in mind when mounting your sink: use a level to ensure the sink is straight, leave enough space between the sink and the wall for the faucet, and use heavy-duty mounting brackets for added support.


3. Tips for Mounting a Kitchen Sink Against a Wall


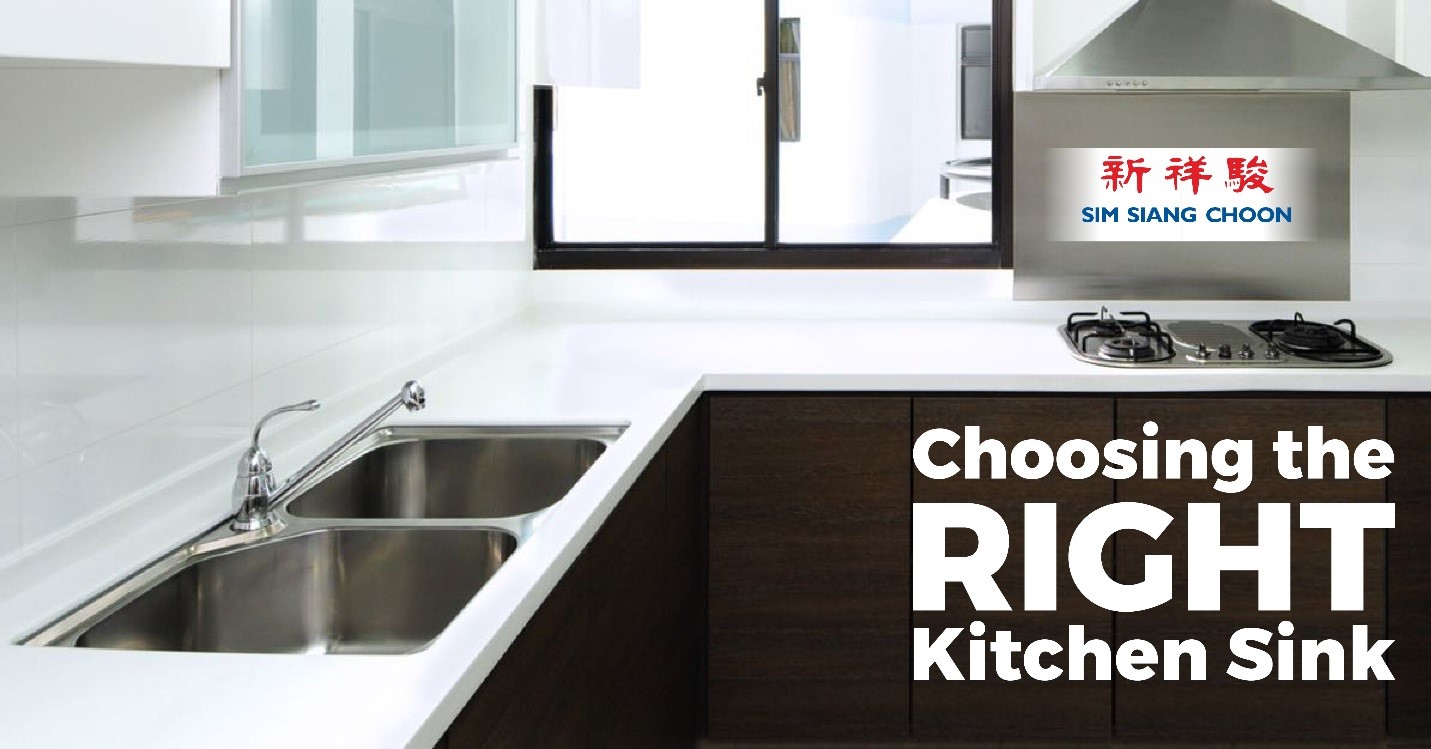
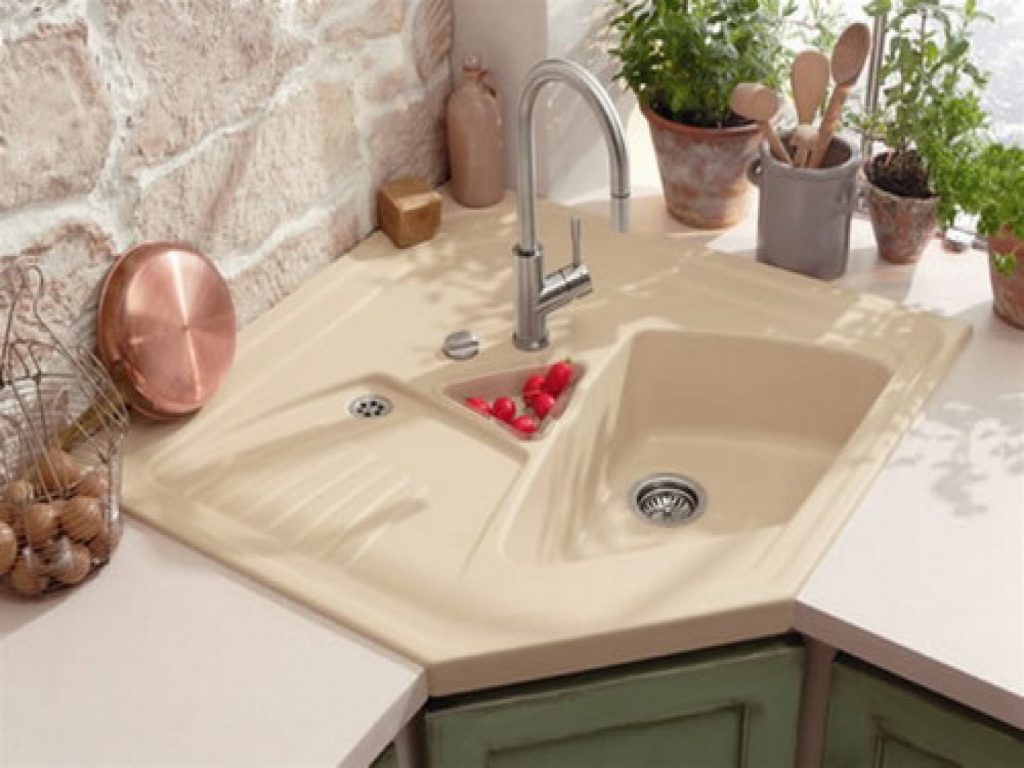
4. Choosing the Right Kitchen Sink for a Wall Mount
Choosing the right kitchen sink for a wall mount is an important decision. The most common types of sinks for this installation are top mount and undermount sinks. Top mount sinks are easier to install and are more affordable, while undermount sinks provide a sleek and seamless look. Consider your budget, style preferences, and maintenance requirements when choosing the right sink for your kitchen.


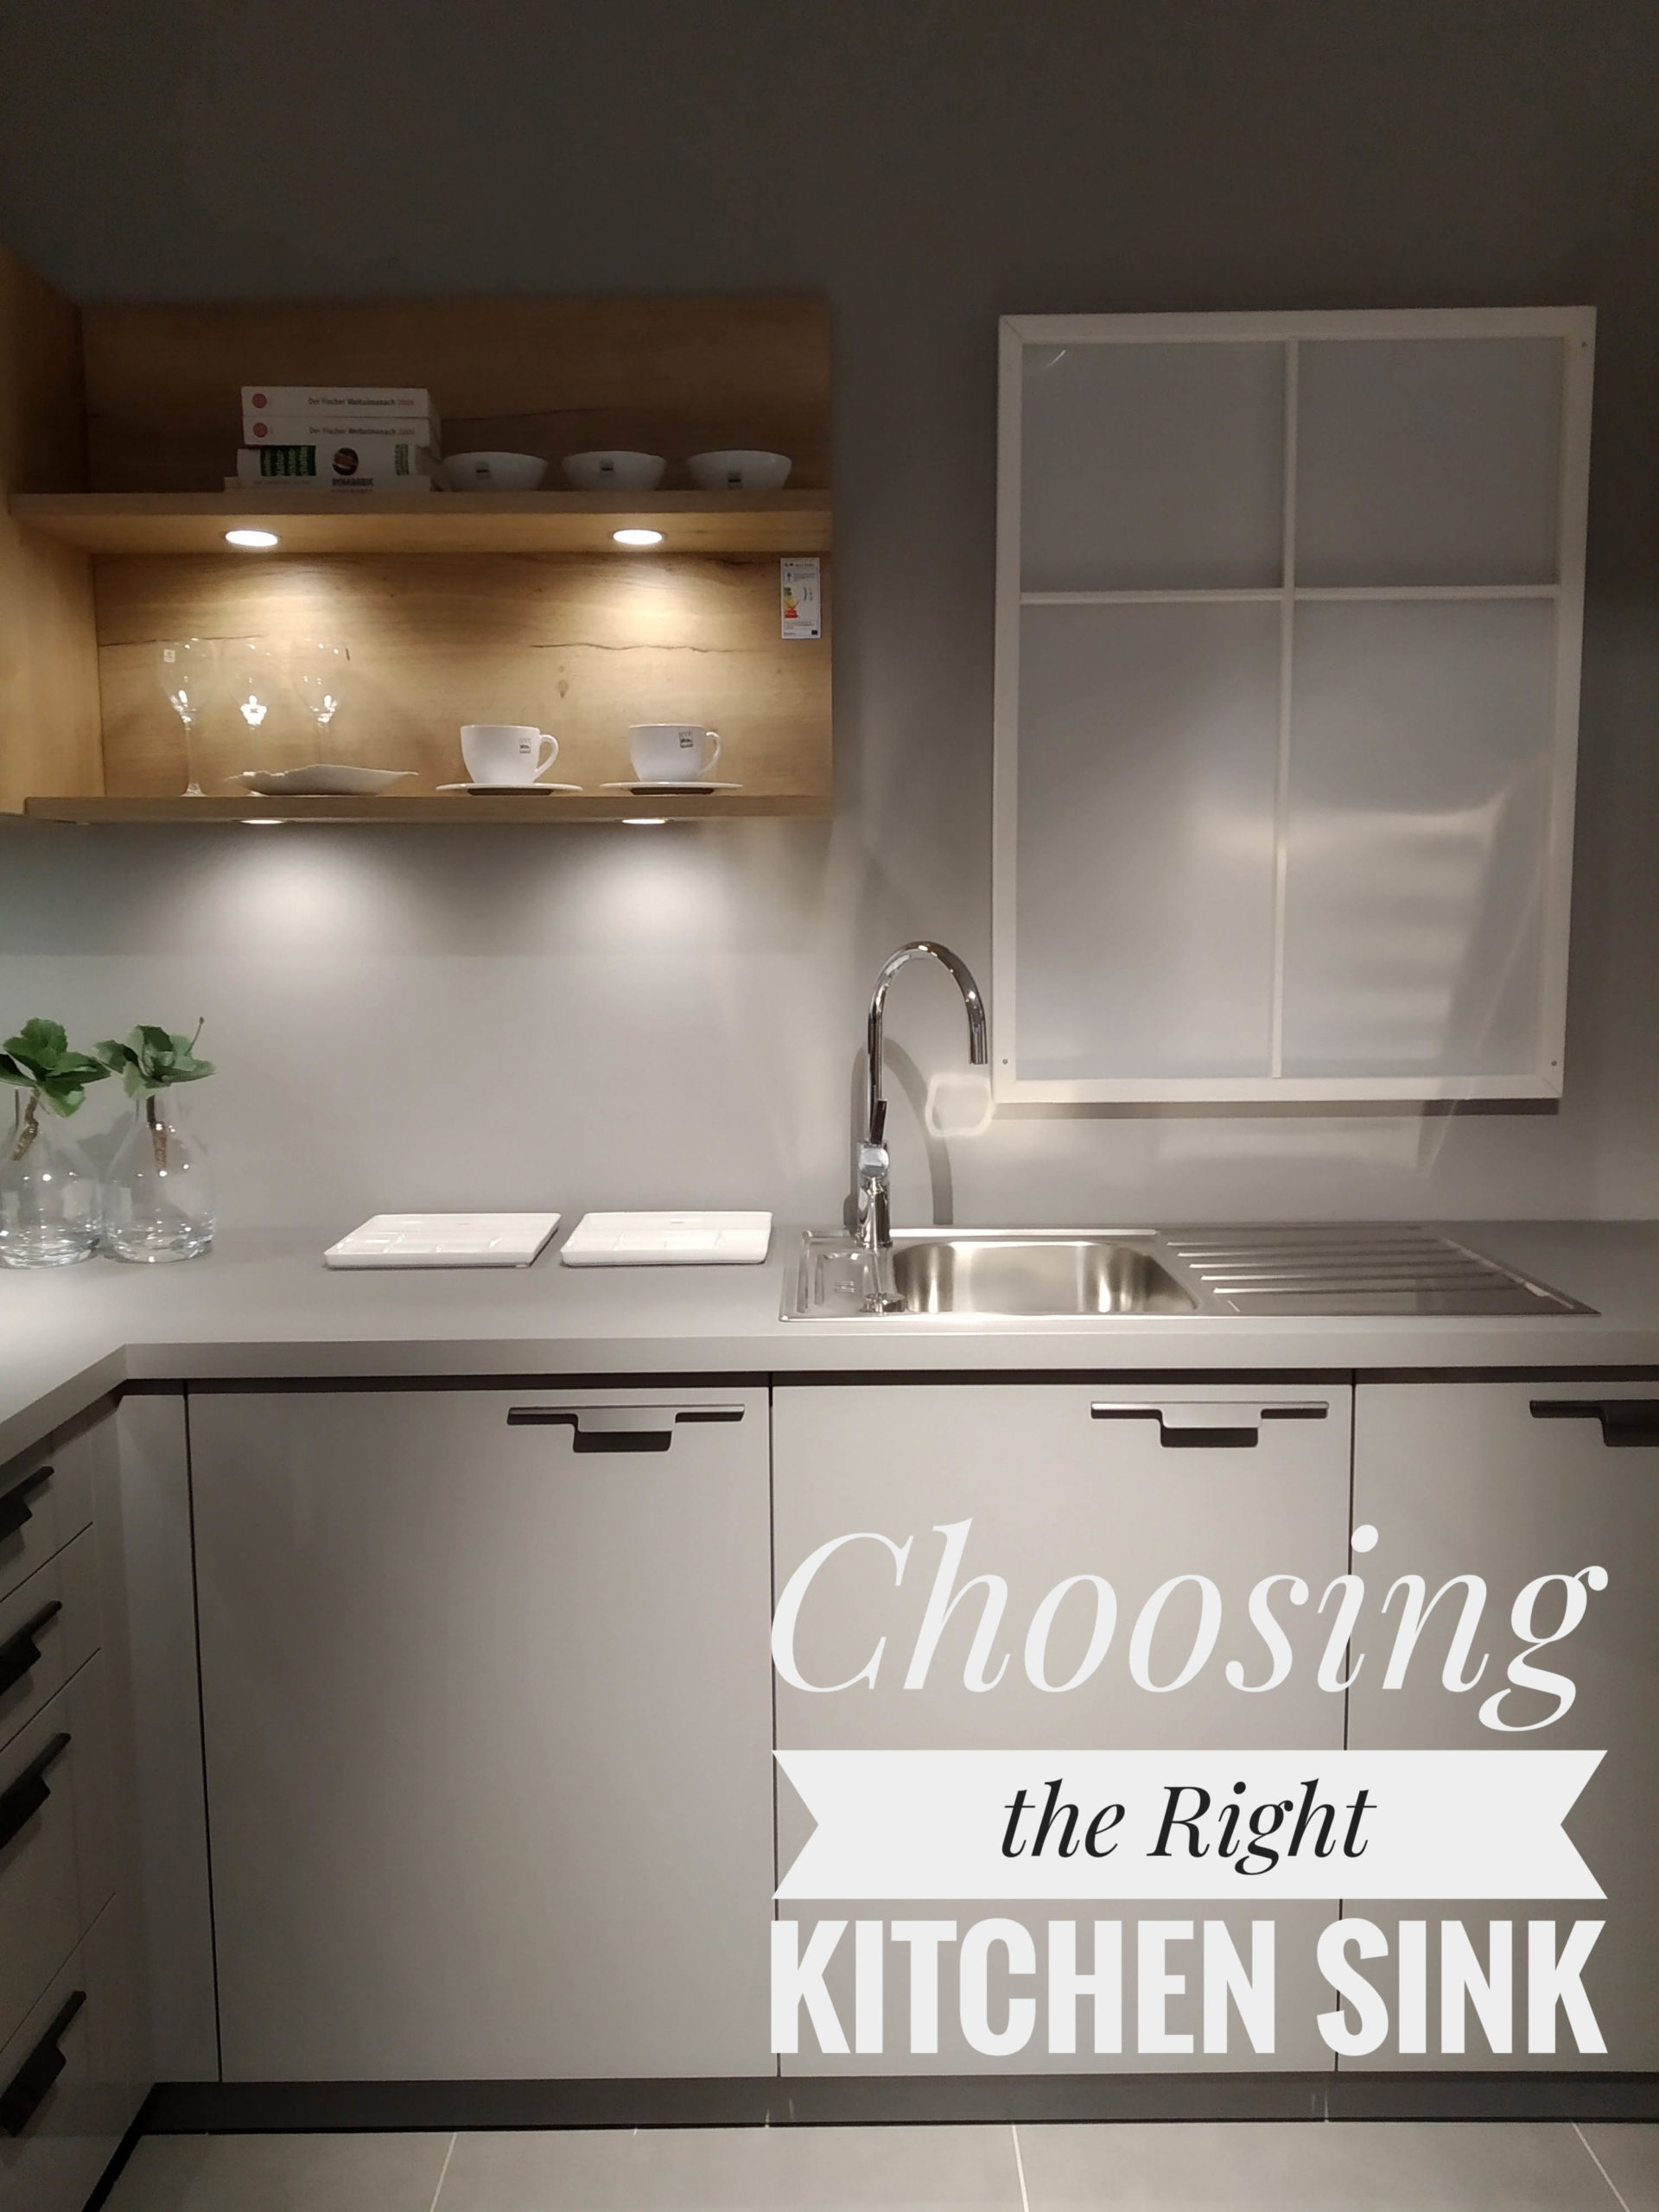
4. Choosing the Right Kitchen Sink for a Wall Mount


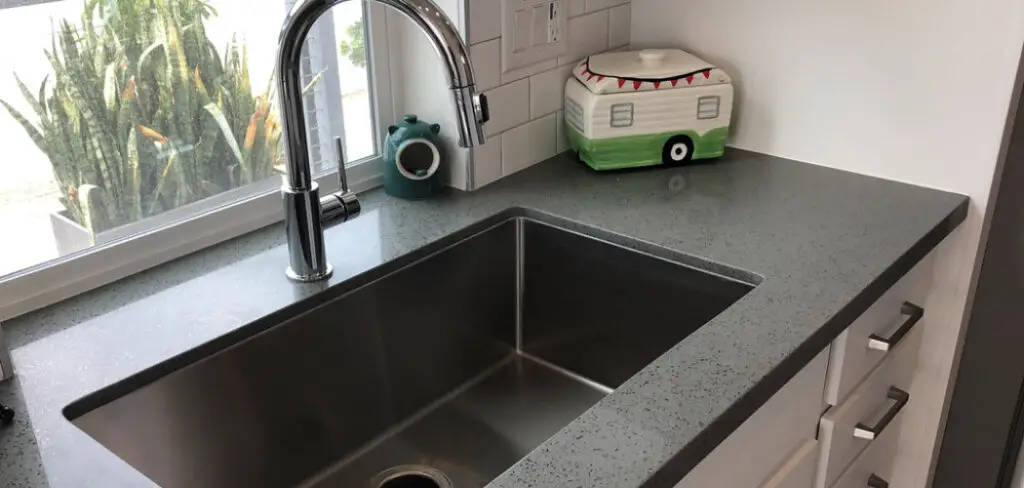
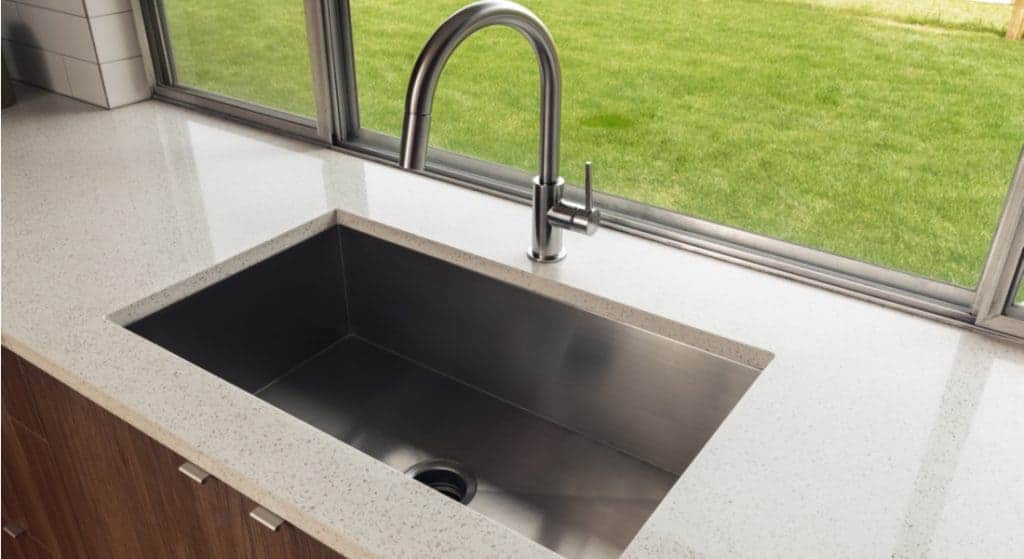
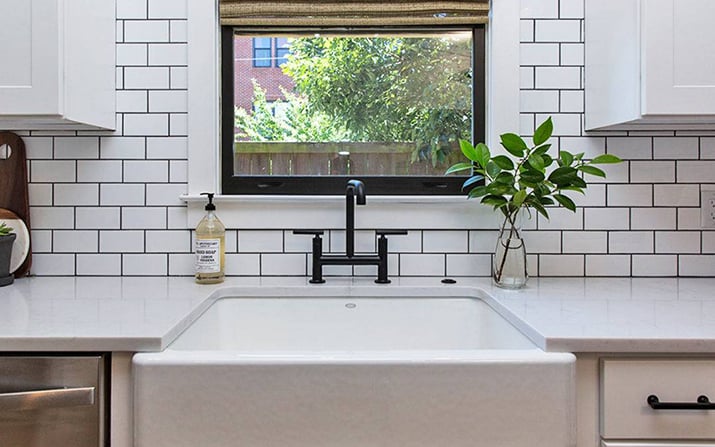
5. Benefits of a Wall Mounted Kitchen Sink
There are several benefits to having a wall mounted kitchen sink. Firstly, it frees up counter space, making your kitchen feel more spacious and organized. Additionally, it is easier to clean around and under a wall mounted sink, as there are no edges or crevices for dirt and grime to accumulate. Lastly, a wall mounted sink can add a modern and stylish touch to your kitchen.


5. Benefits of a Wall Mounted Kitchen Sink


6. Common Problems with Kitchen Sinks Against Walls
While a kitchen sink against a wall is a practical and aesthetic choice, it can also come with some common problems. One of the most common issues is water damage to the wall behind the sink. To prevent this, make sure to properly seal the sink and regularly check for any leaks. Another issue is limited space for the faucet, so choose a faucet with a shorter spout or consider installing the faucet on the countertop instead.


6. Common Problems with Kitchen Sinks Against Walls


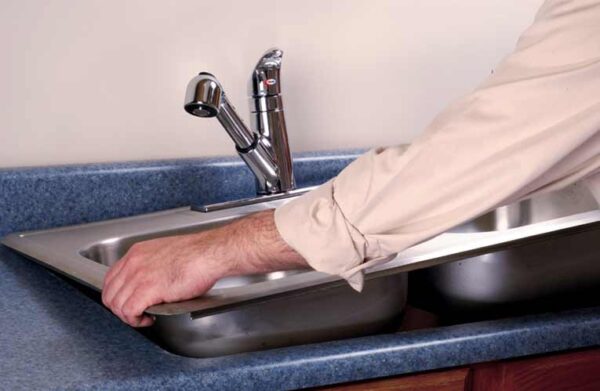
7. How to Properly Seal a Kitchen Sink Against a Wall
Properly sealing a kitchen sink against a wall is essential to prevent any water damage. Start by cleaning the edges of the sink and the wall thoroughly. Then, apply a generous amount of silicone adhesive along the edges of the sink and press it against the wall. Use a damp cloth to smooth out any excess adhesive. Let it dry for at least 24 hours before using the sink.


7. How to Properly Seal a Kitchen Sink Against a Wall


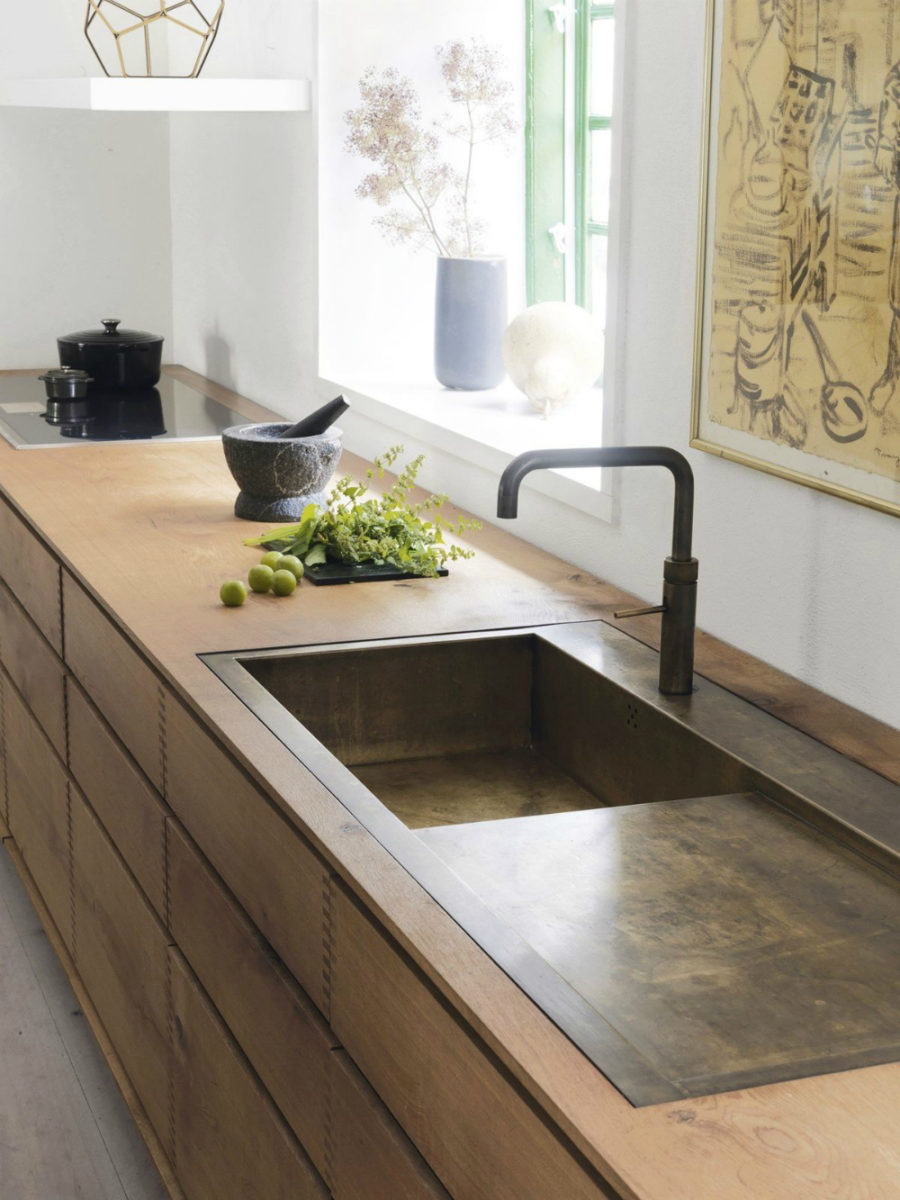
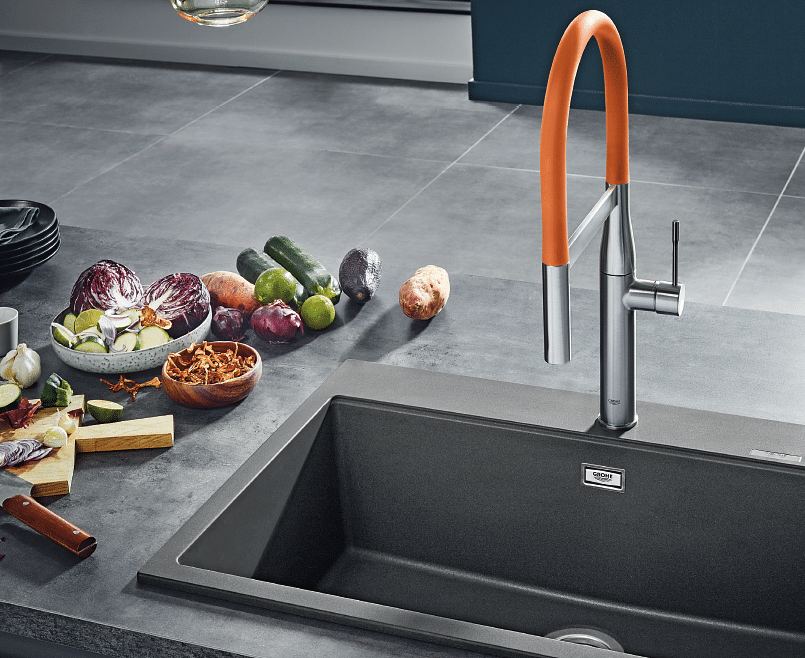
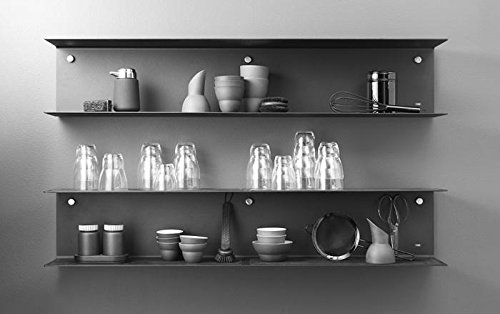
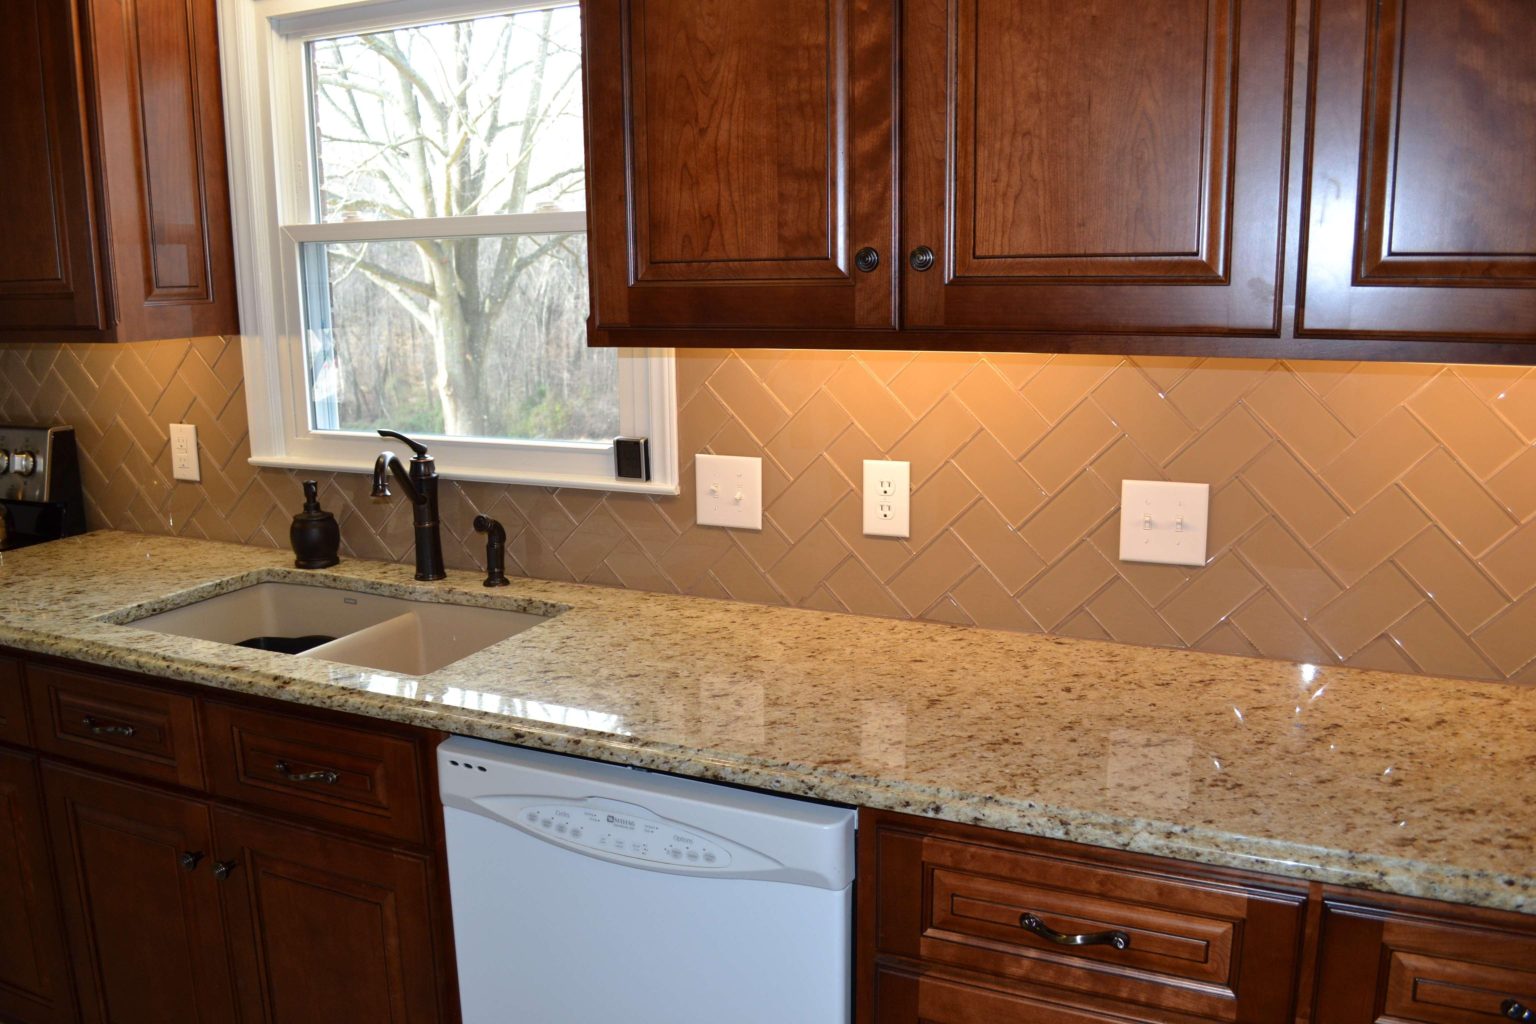
8. Creative Ideas for a Kitchen Sink Against a Wall
Having a kitchen sink against a wall doesn't mean it has to be boring or basic. Get creative and add some personal touches to make your sink area stand out. Consider installing a colorful backsplash behind the sink, adding a unique faucet, or incorporating open shelves or hanging plants above the sink for added storage and style.


8. Creative Ideas for a Kitchen Sink Against a Wall

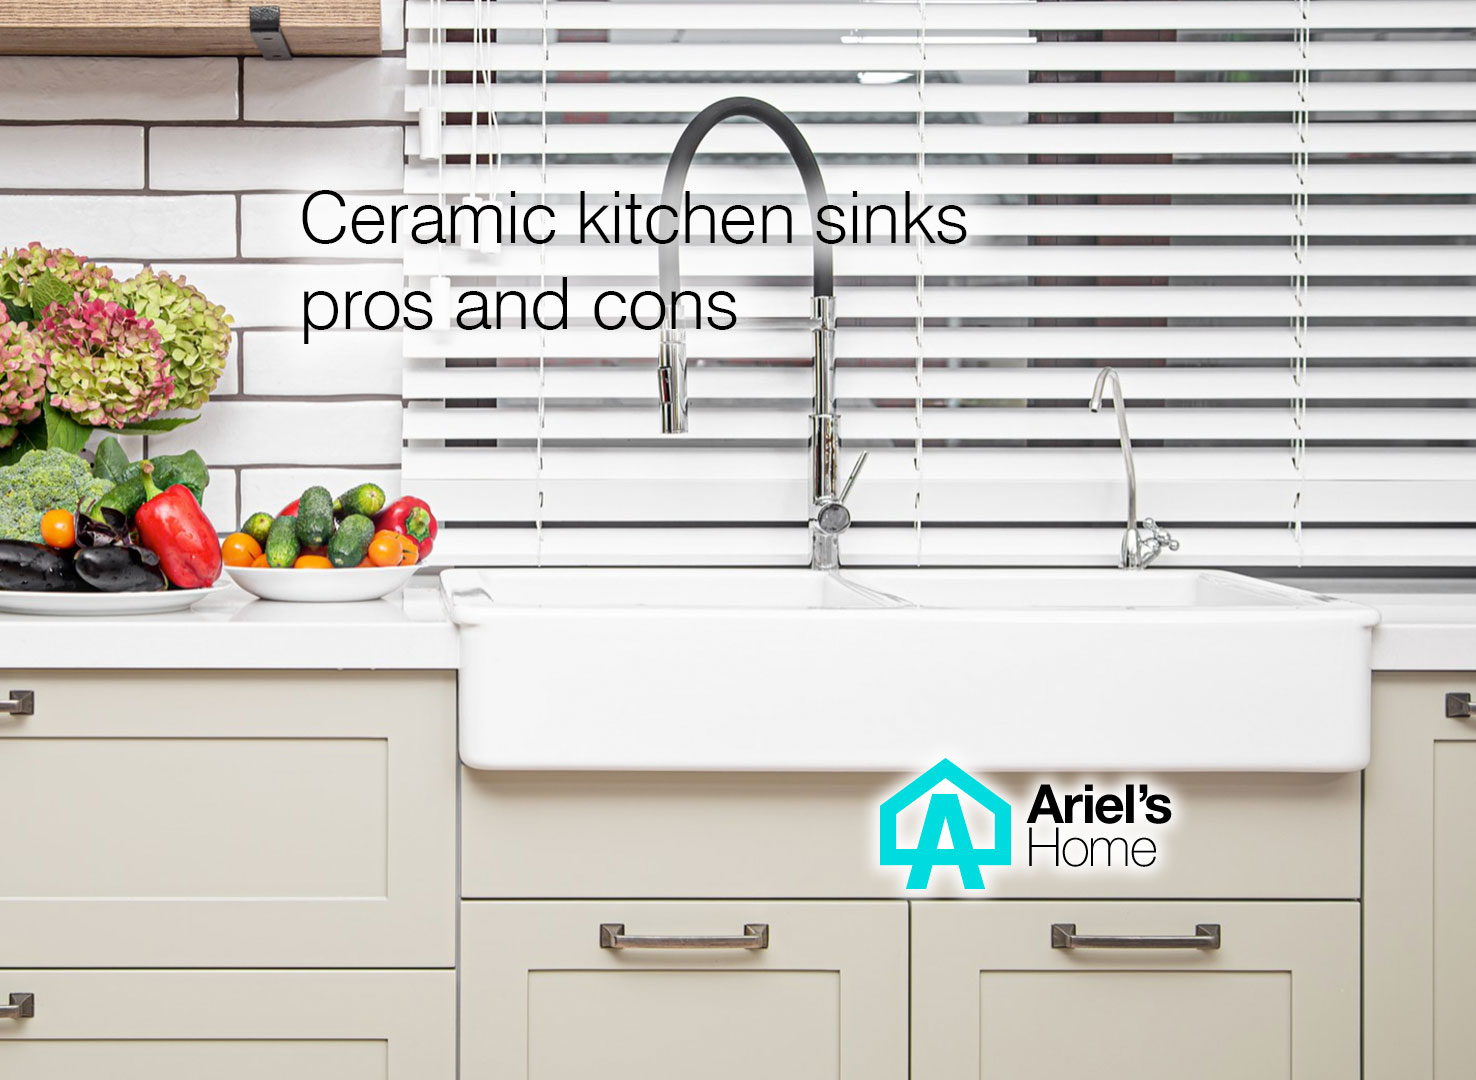
9. The Pros and Cons of a Kitchen Sink Against a Wall
Like any home renovation project, there are both pros and cons to having a kitchen sink against a wall. Some of the pros include saving counter space, easier cleaning, and a modern look. However, some cons include limited space for the faucet, potential for water damage, and less flexibility in sink placement. Consider your specific needs and preferences before deciding if a wall mounted sink is right for your kitchen.


9. The Pros and Cons of a Kitchen Sink Against a Wall
:max_bytes(150000):strip_icc()/GettyImages-174841379-5a85d100ba61770036d9f06c.jpg)
:max_bytes(150000):strip_icc()/basic-kitchen-sink-types-1821207-hero-54418ed30f9540a9aa6148a1394f33a6.jpg)
:max_bytes(150000):strip_icc()/Basic-kitchen-sink-types-1821207_color_rev-0b539306b9ef4236a136624ad2a89a4c.jpg)


10. How to Install a Backsplash Behind a Kitchen Sink Against a Wall
If you want to add a backsplash behind your kitchen sink against a wall, here's how to do it. Start by measuring the area and purchasing enough backsplash tiles. Clean the wall thoroughly and apply adhesive, then place the tiles in a desired pattern. Use spacers to keep the tiles evenly spaced. Once the adhesive is dry, remove the spacers and fill in the gaps with grout. Finally, seal the edges with silicone adhesive to prevent water damage.


10. How to Install a Backsplash Behind a Kitchen Sink Against a Wall
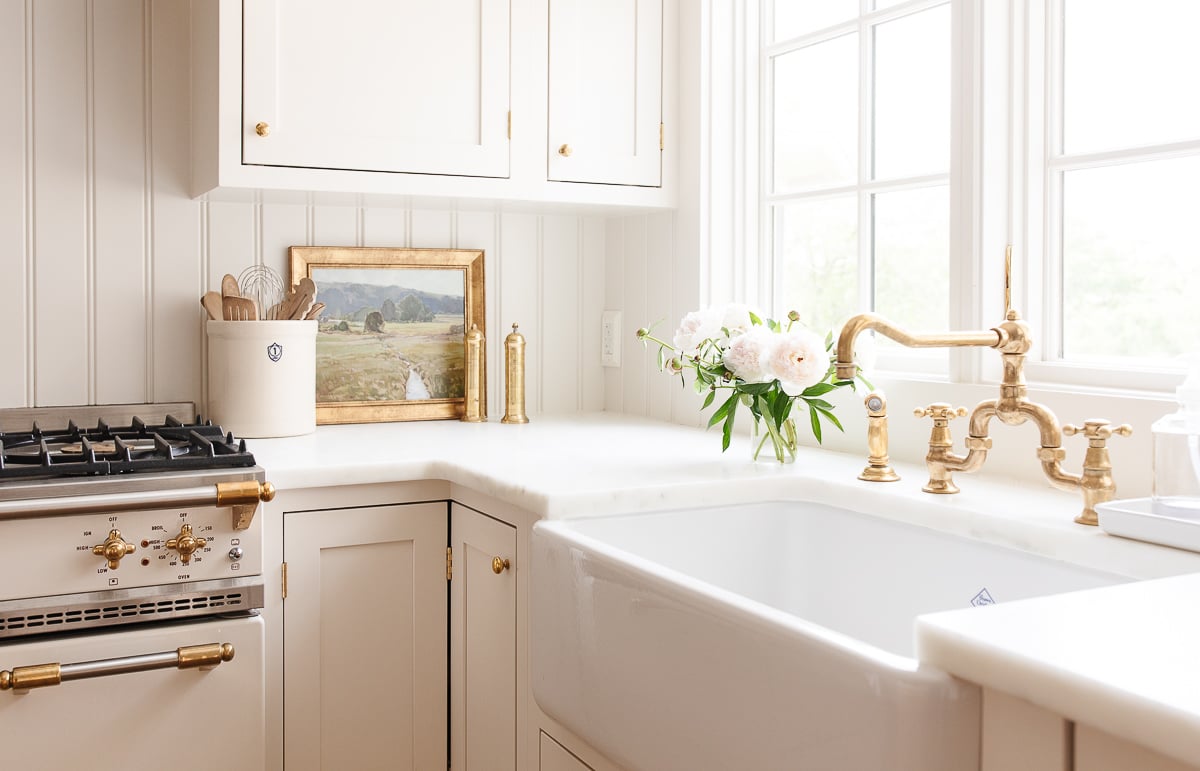


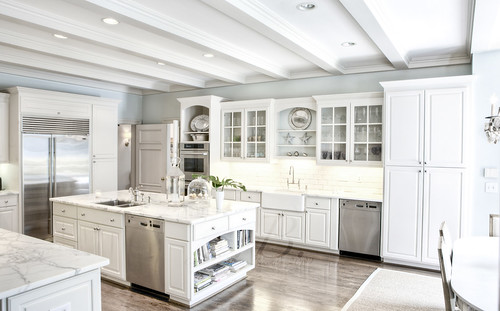
The Benefits of a Kitchen Sink Against the Wall

Efficiency and Functionality
 One of the most important elements of a well-designed
kitchen
is the placement of the
sink
. While many homeowners default to placing the sink in the center of the
kitchen
counter
, there are actually many advantages to positioning it against the wall. This layout not only maximizes
counter space
, but it also improves
efficiency
and
functionality
in the
kitchen
.
One of the most important elements of a well-designed
kitchen
is the placement of the
sink
. While many homeowners default to placing the sink in the center of the
kitchen
counter
, there are actually many advantages to positioning it against the wall. This layout not only maximizes
counter space
, but it also improves
efficiency
and
functionality
in the
kitchen
.
More Counter Space
 With the sink against the wall, there is more
counter space
available for food prep, cooking, and other tasks. This is especially beneficial for smaller
kitchens
where every inch of
counter space
counts. By freeing up the
counter
on one side, you have a larger and more open
workspace
to work with. This can make a big difference in the overall
functionality
of your
kitchen
, allowing you to easily move around and work without feeling cramped or confined.
With the sink against the wall, there is more
counter space
available for food prep, cooking, and other tasks. This is especially beneficial for smaller
kitchens
where every inch of
counter space
counts. By freeing up the
counter
on one side, you have a larger and more open
workspace
to work with. This can make a big difference in the overall
functionality
of your
kitchen
, allowing you to easily move around and work without feeling cramped or confined.
Optimal Workflow
 When the sink is placed against the wall, it creates a natural flow in the
kitchen
layout
. The sink, cooking area, and refrigerator form a triangle, which is considered the most efficient
layout
for a
kitchen
. This allows for easy movement between the three main areas, reducing the amount of time and effort needed to complete tasks. With a
kitchen sink against the wall
, you can easily move from prepping food at the counter, to cooking on the stove, and then to washing dishes in the sink without any obstructions in your way.
When the sink is placed against the wall, it creates a natural flow in the
kitchen
layout
. The sink, cooking area, and refrigerator form a triangle, which is considered the most efficient
layout
for a
kitchen
. This allows for easy movement between the three main areas, reducing the amount of time and effort needed to complete tasks. With a
kitchen sink against the wall
, you can easily move from prepping food at the counter, to cooking on the stove, and then to washing dishes in the sink without any obstructions in your way.
Improved Safety
 Having the sink against the wall also improves
safety
in the
kitchen
. With the sink placed in the center of the
counter
, there is a higher chance of water splashing onto the
floor
or onto electrical outlets and appliances. This can create potential hazards, especially when handling sharp objects or using electrical appliances. By positioning the sink against the wall, these risks are minimized, creating a safer
kitchen
environment for you and your family.
In conclusion, while the traditional placement of a kitchen sink in the center of the counter may seem like the obvious choice, there are many benefits to having it against the wall. From increased
counter space
to improved
efficiency
and
safety
, this
layout
offers a more functional and practical
kitchen
design
. Consider this option when planning your next
kitchen
renovation or
design
to create a more efficient and enjoyable cooking space.
Having the sink against the wall also improves
safety
in the
kitchen
. With the sink placed in the center of the
counter
, there is a higher chance of water splashing onto the
floor
or onto electrical outlets and appliances. This can create potential hazards, especially when handling sharp objects or using electrical appliances. By positioning the sink against the wall, these risks are minimized, creating a safer
kitchen
environment for you and your family.
In conclusion, while the traditional placement of a kitchen sink in the center of the counter may seem like the obvious choice, there are many benefits to having it against the wall. From increased
counter space
to improved
efficiency
and
safety
, this
layout
offers a more functional and practical
kitchen
design
. Consider this option when planning your next
kitchen
renovation or
design
to create a more efficient and enjoyable cooking space.