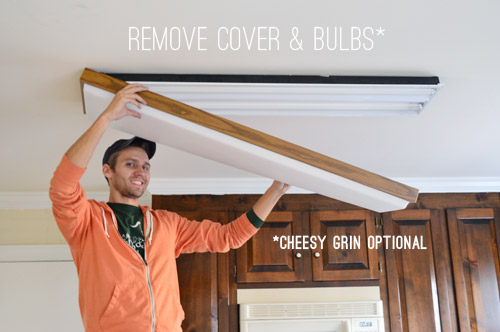
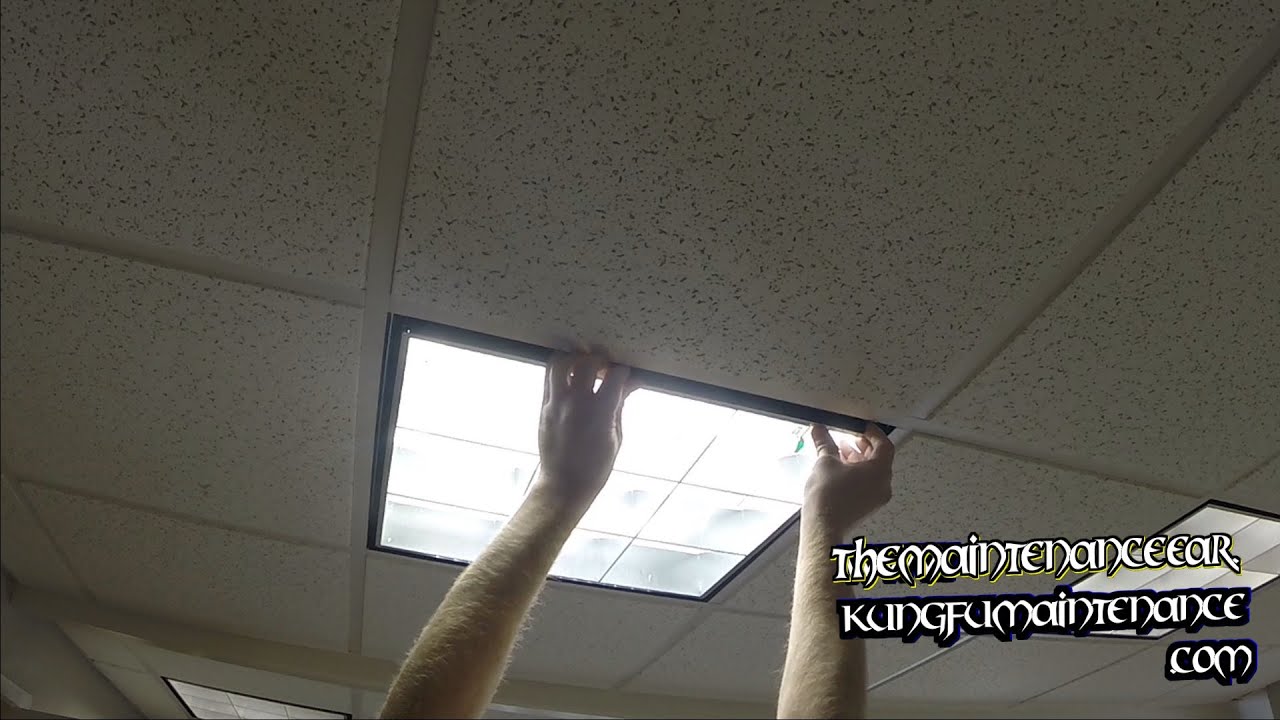
Replacing a burned out fluorescent light bulb in your kitchen ceiling may seem like a daunting task, but it's actually a fairly simple process. With the right tools and a little know-how, you can have your kitchen ceiling light shining brightly again in no time. The first step is to gather your supplies. You will need a ladder, a replacement fluorescent light bulb, and possibly a screwdriver depending on the type of fixture you have. Make sure to turn off the power to the light fixture before starting any work. Next, carefully remove the cover or diffuser from the light fixture. This may involve unscrewing it or simply pulling it off, depending on the type of fixture. Set the cover aside in a safe place. Now it's time to remove the old light bulb. If it is a twist and lock style, gently twist the bulb counterclockwise until it releases. If it is a pin-based style, carefully push the bulb in slightly and then pull it down to release it from the pins. Dispose of the old bulb properly. Take your new fluorescent light bulb and insert it into the fixture. For twist and lock style bulbs, line up the pins with the slots in the fixture and twist it clockwise until it locks into place. For pin-based bulbs, insert the pins into the slots and then push up to secure it in place. Replace the cover or diffuser on the light fixture and secure it in place. Turn the power back on and test the light to make sure it is working properly. Congratulations, you have successfully replaced a fluorescent light bulb in your kitchen ceiling! If you are still having issues with the light not turning on, it may be a problem with the fixture itself and may require professional assistance.How to Replace a Fluorescent Light Bulb in a Kitchen Ceiling


How to Replace a Fluorescent Light Bulb in a Kitchen Ceiling

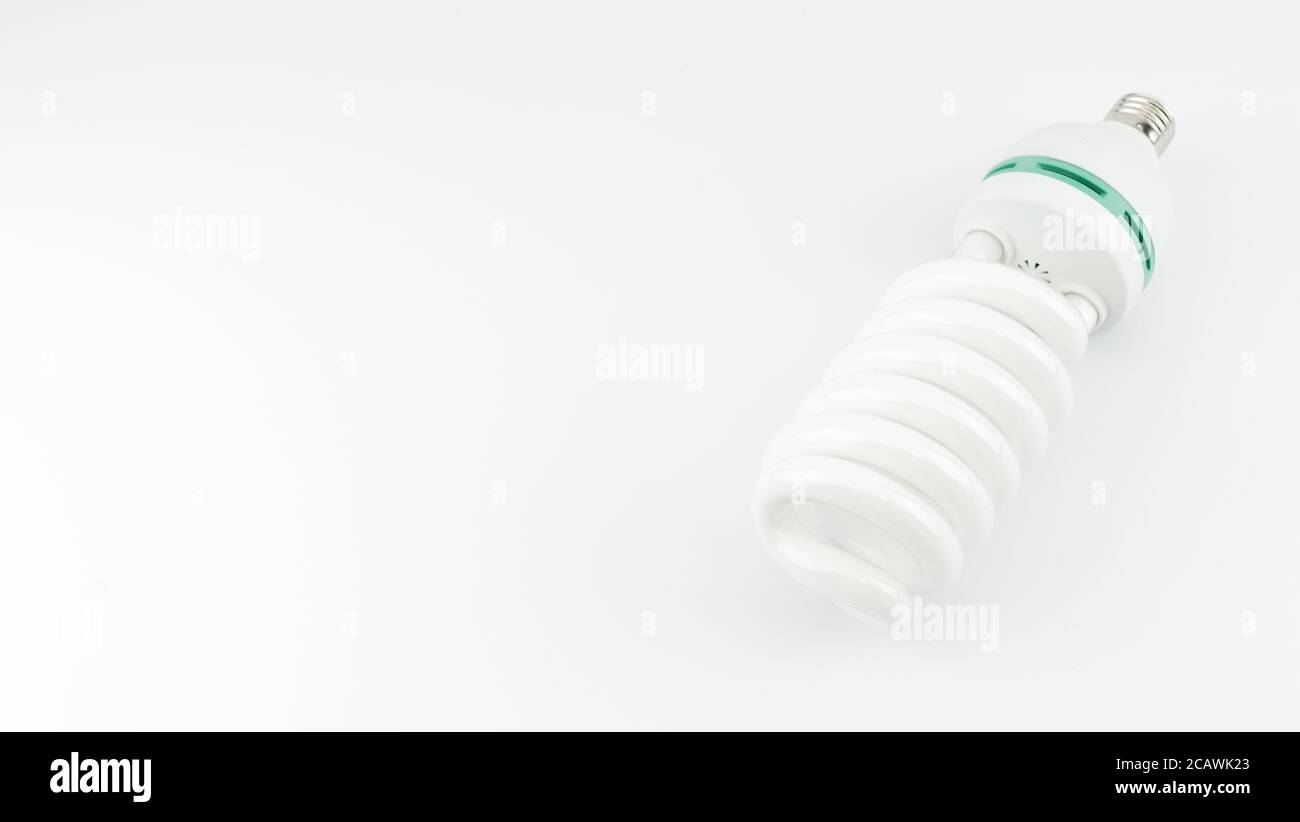
Changing a fluorescent light bulb in your kitchen ceiling is a simple and straightforward process, but there are a few tips to keep in mind to make it even easier. First, make sure to choose the right replacement bulb for your specific fixture. Fluorescent bulbs come in various sizes and styles, so double check before purchasing to ensure it will fit properly. When removing the old bulb, be sure to handle it carefully as fluorescent bulbs contain a small amount of mercury which can be harmful if broken. If the bulb does break, use gloves and a damp paper towel to clean up the pieces and dispose of them properly. If you are having trouble twisting or pushing the bulb into place, try using a lubricant such as WD-40 to make it easier. Just be sure to wipe away any excess before turning the light back on. Regularly cleaning your light fixture and replacing bulbs as needed can also help prevent future issues with burned out bulbs. Dust and debris can build up on the inside of the fixture, reducing the amount of light that shines through and potentially shortening the lifespan of the bulbs. By following these tips and regularly maintaining your kitchen ceiling light fixtures, you can avoid the frustration of burned out fluorescent light bulbs in the future.How to Change a Fluorescent Light Bulb in a Kitchen Ceiling


How to Change a Fluorescent Light Bulb in a Kitchen Ceiling


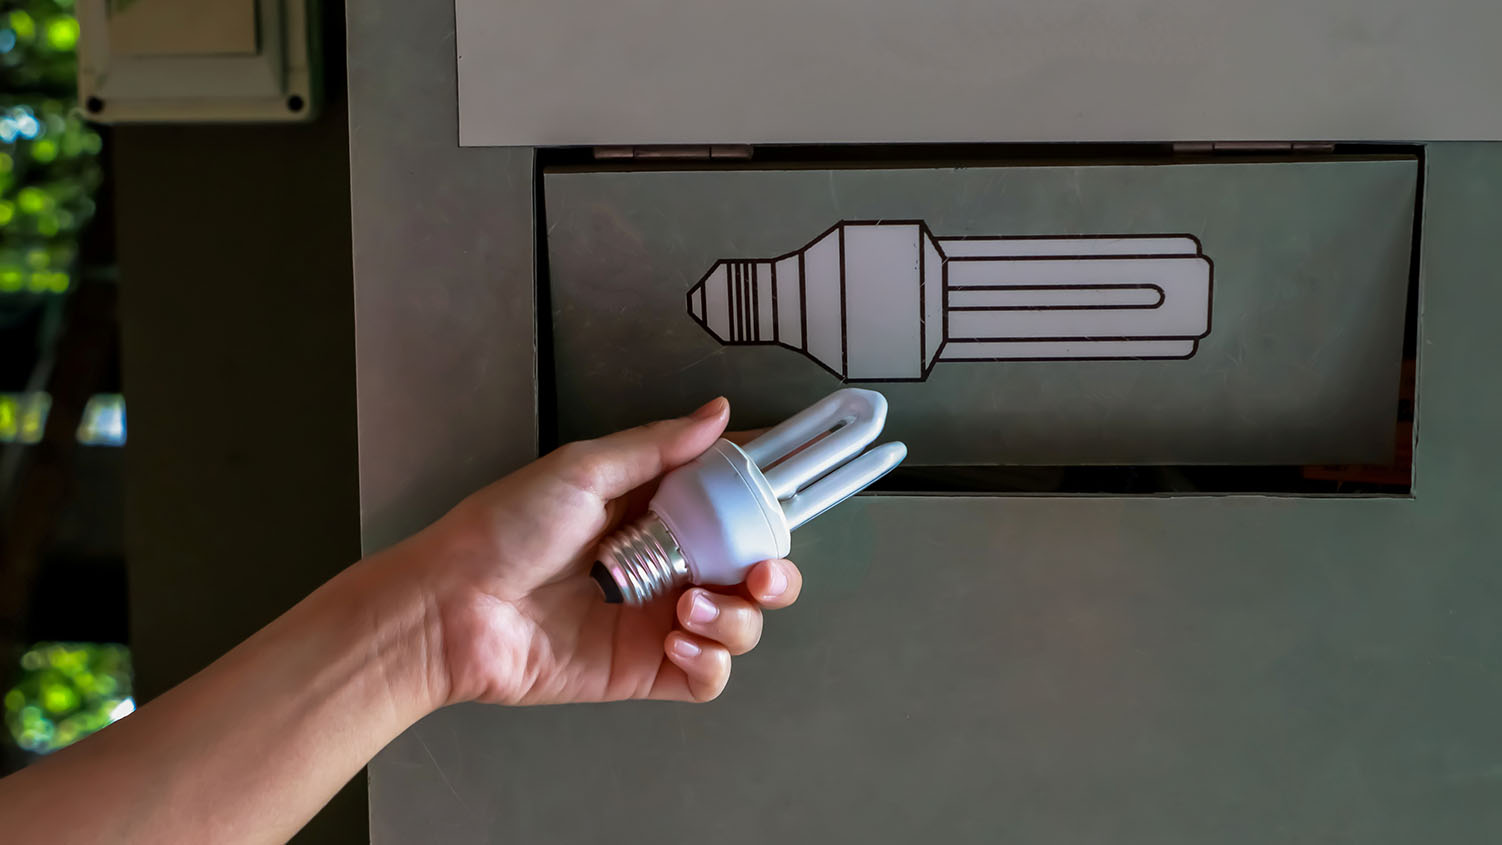
When a fluorescent light bulb burns out in your kitchen ceiling, it can be an inconvenience and a nuisance. However, with the right tools and a little knowledge, it can be a quick and easy fix. Before replacing the bulb, make sure to turn off the power to the light fixture. This will prevent any potential electrical hazards and also make it easier to see what you are doing. If the bulb is difficult to remove, try using a pair of pliers to gently twist and loosen it. Just be careful not to apply too much pressure and break the bulb. If you are having trouble finding a replacement bulb, take the old one with you to the store to ensure you get the right size and style. Once the new bulb is securely in place, turn the power back on and test the light. If it still does not turn on, there may be an issue with the ballast or the wiring and it is best to call a professional for assistance. Remember to dispose of the old bulb properly. Many hardware stores and recycling centers have drop-off locations specifically for fluorescent bulbs, as they should not be thrown away with regular household trash.Replacing a Burned Out Fluorescent Light Bulb in Your Kitchen Ceiling


Replacing a Burned Out Fluorescent Light Bulb in Your Kitchen Ceiling


Replacing a fluorescent light bulb in your kitchen ceiling may seem like a daunting task, but with these step-by-step instructions, you'll have it done in no time. Step 1: Gather your supplies - a ladder, a replacement fluorescent light bulb, and possibly a screwdriver. Step 2: Turn off the power to the light fixture. Step 3: Remove the cover or diffuser from the light fixture. Step 4: Carefully remove the old light bulb. Step 5: Insert the new bulb into the fixture. Step 6: Replace the cover or diffuser on the light fixture. Step 7: Turn the power back on and test the light. Step 8: Dispose of the old bulb properly. Following these steps will ensure a smooth and successful replacement of your kitchen ceiling fluorescent light bulb.Step-by-Step Guide for Replacing a Kitchen Ceiling Fluorescent Light Bulb


Step-by-Step Guide for Replacing a Kitchen Ceiling Fluorescent Light Bulb


Changing a burned out fluorescent light bulb in your kitchen ceiling can be a frustrating and time-consuming task. These tips will help make the process easier and more efficient. Tip 1: Choose the right replacement bulb for your specific fixture. Tip 2: Handle the old bulb carefully as it contains a small amount of mercury. Tip 3: Use a lubricant such as WD-40 to make inserting the new bulb easier. Tip 4: Regularly clean your light fixtures to prevent buildup of dust and debris. Tip 5: Dispose of the old bulb properly at a designated drop-off location. By following these tips, you can save time and frustration when changing a burned out fluorescent light bulb in your kitchen ceiling.Tips for Changing a Burned Out Fluorescent Light Bulb in Your Kitchen Ceiling


Tips for Changing a Burned Out Fluorescent Light Bulb in Your Kitchen Ceiling


Replacing a kitchen ceiling fluorescent light bulb is a task that many homeowners prefer to do themselves. With this DIY tutorial, you can confidently tackle the job on your own. Step 1: Gather your supplies - a ladder, a replacement fluorescent light bulb, and possibly a screwdriver. Step 2: Turn off the power to the light fixture. Step 3: Remove the cover or diffuser from the light fixture. Step 4: Carefully remove the old light bulb. Step 5: Insert the new bulb into the fixture. Step 6: Replace the cover or diffuser on the light fixture. Step 7: Turn the power back on and test the light. Step 8: Dispose of the old bulb properly. With this tutorial, you can successfully replace a kitchen ceiling fluorescent light bulb and save money on hiring a professional.DIY Tutorial for Replacing a Kitchen Ceiling Fluorescent Light Bulb

DIY Tutorial for Replacing a Kitchen Ceiling Fluorescent Light Bulb


Fluorescent light bulbs in kitchen ceilings are prone to burning out due to a few common causes. Knowing these causes can help you prevent future burnouts and save you time and money. Cause 1: Old age - fluorescent bulbs have a lifespan of around 10,000 hours, so if your bulbs are reaching that age, it may be time to replace them. Cause 2: High or low temperatures - extreme temperatures can cause fluorescent bulbs to burn out more quickly. Cause 3: Frequent on and off cycles - constantly turning the light on and off can shorten the lifespan of the bulbs. Cause 4: Faulty ballast - the ballast is responsible for regulating the electrical current to the bulb. If it is malfunctioning, it can cause the bulbs to burn out. Cause 5: Poor maintenance - not regularly cleaning the light fixtures can lead to a buildup of dust and debris, reducing the amount of light that shines through and potentially shortening the lifespan of the bulbs.Common Causes of Burned Out Fluorescent Light Bulbs in Kitchen Ceilings

Common Causes of Burned Out Fluorescent Light Bulbs in Kitchen Ceilings


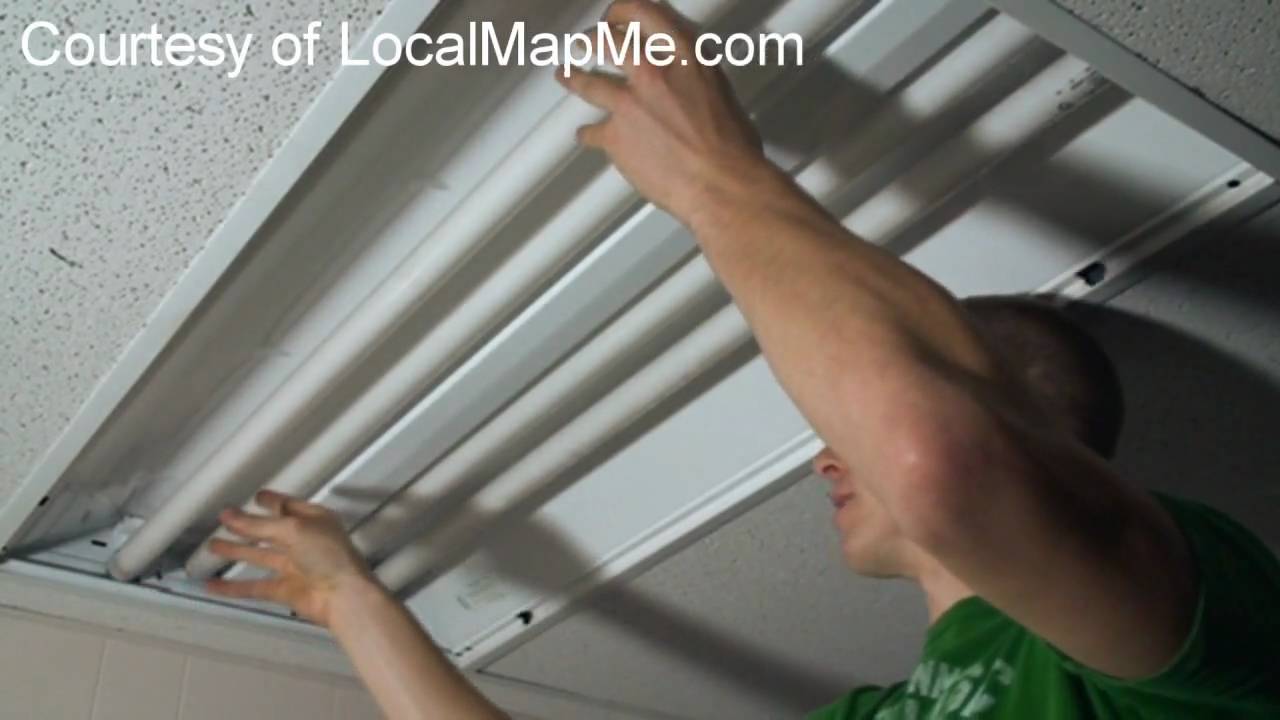
When a fluorescent light bulb burns out in your kitchen ceiling, it is important to handle the removal and disposal of the bulb carefully to avoid any potential hazards. Step 1: Turn off the power to the light fixture. Step 2: Carefully remove the cover or diffuser from the light fixture. Step 3: Gently twist or push the old bulb to remove it from the fixture. Step 4: Dispose of the bulb properly at a designated drop-off location. Step 5: Clean the inside of the fixture before inserting a new bulb. By following these steps, you can safely and effectively remove and dispose of a burned out fluorescent light bulb in your kitchen ceiling.How to Safely Remove and Dispose of a Burned Out Fluorescent Light Bulb in Your Kitchen Ceiling


How to Safely Remove and Dispose of a Burned Out Fluorescent Light Bulb in Your Kitchen Ceiling


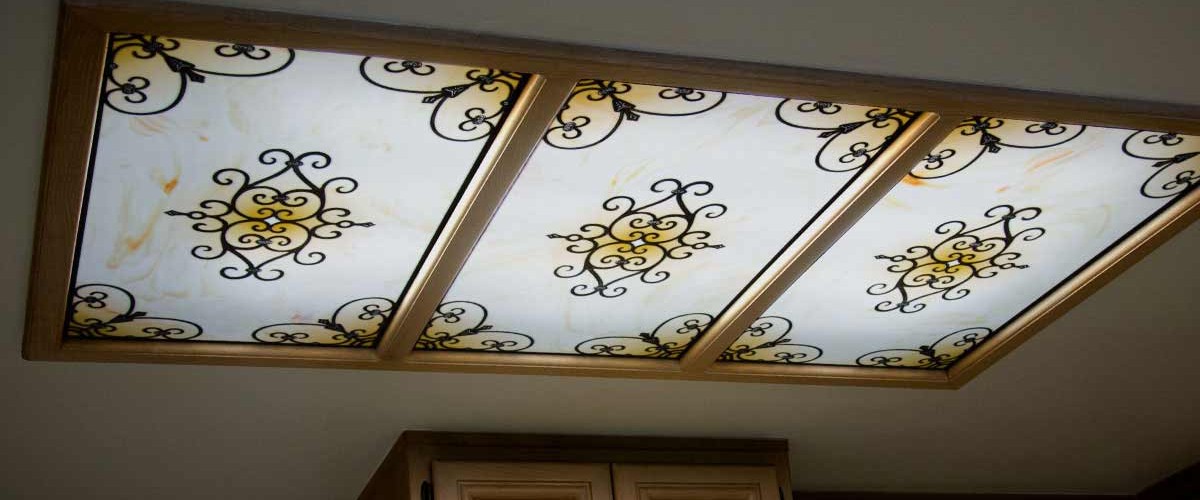
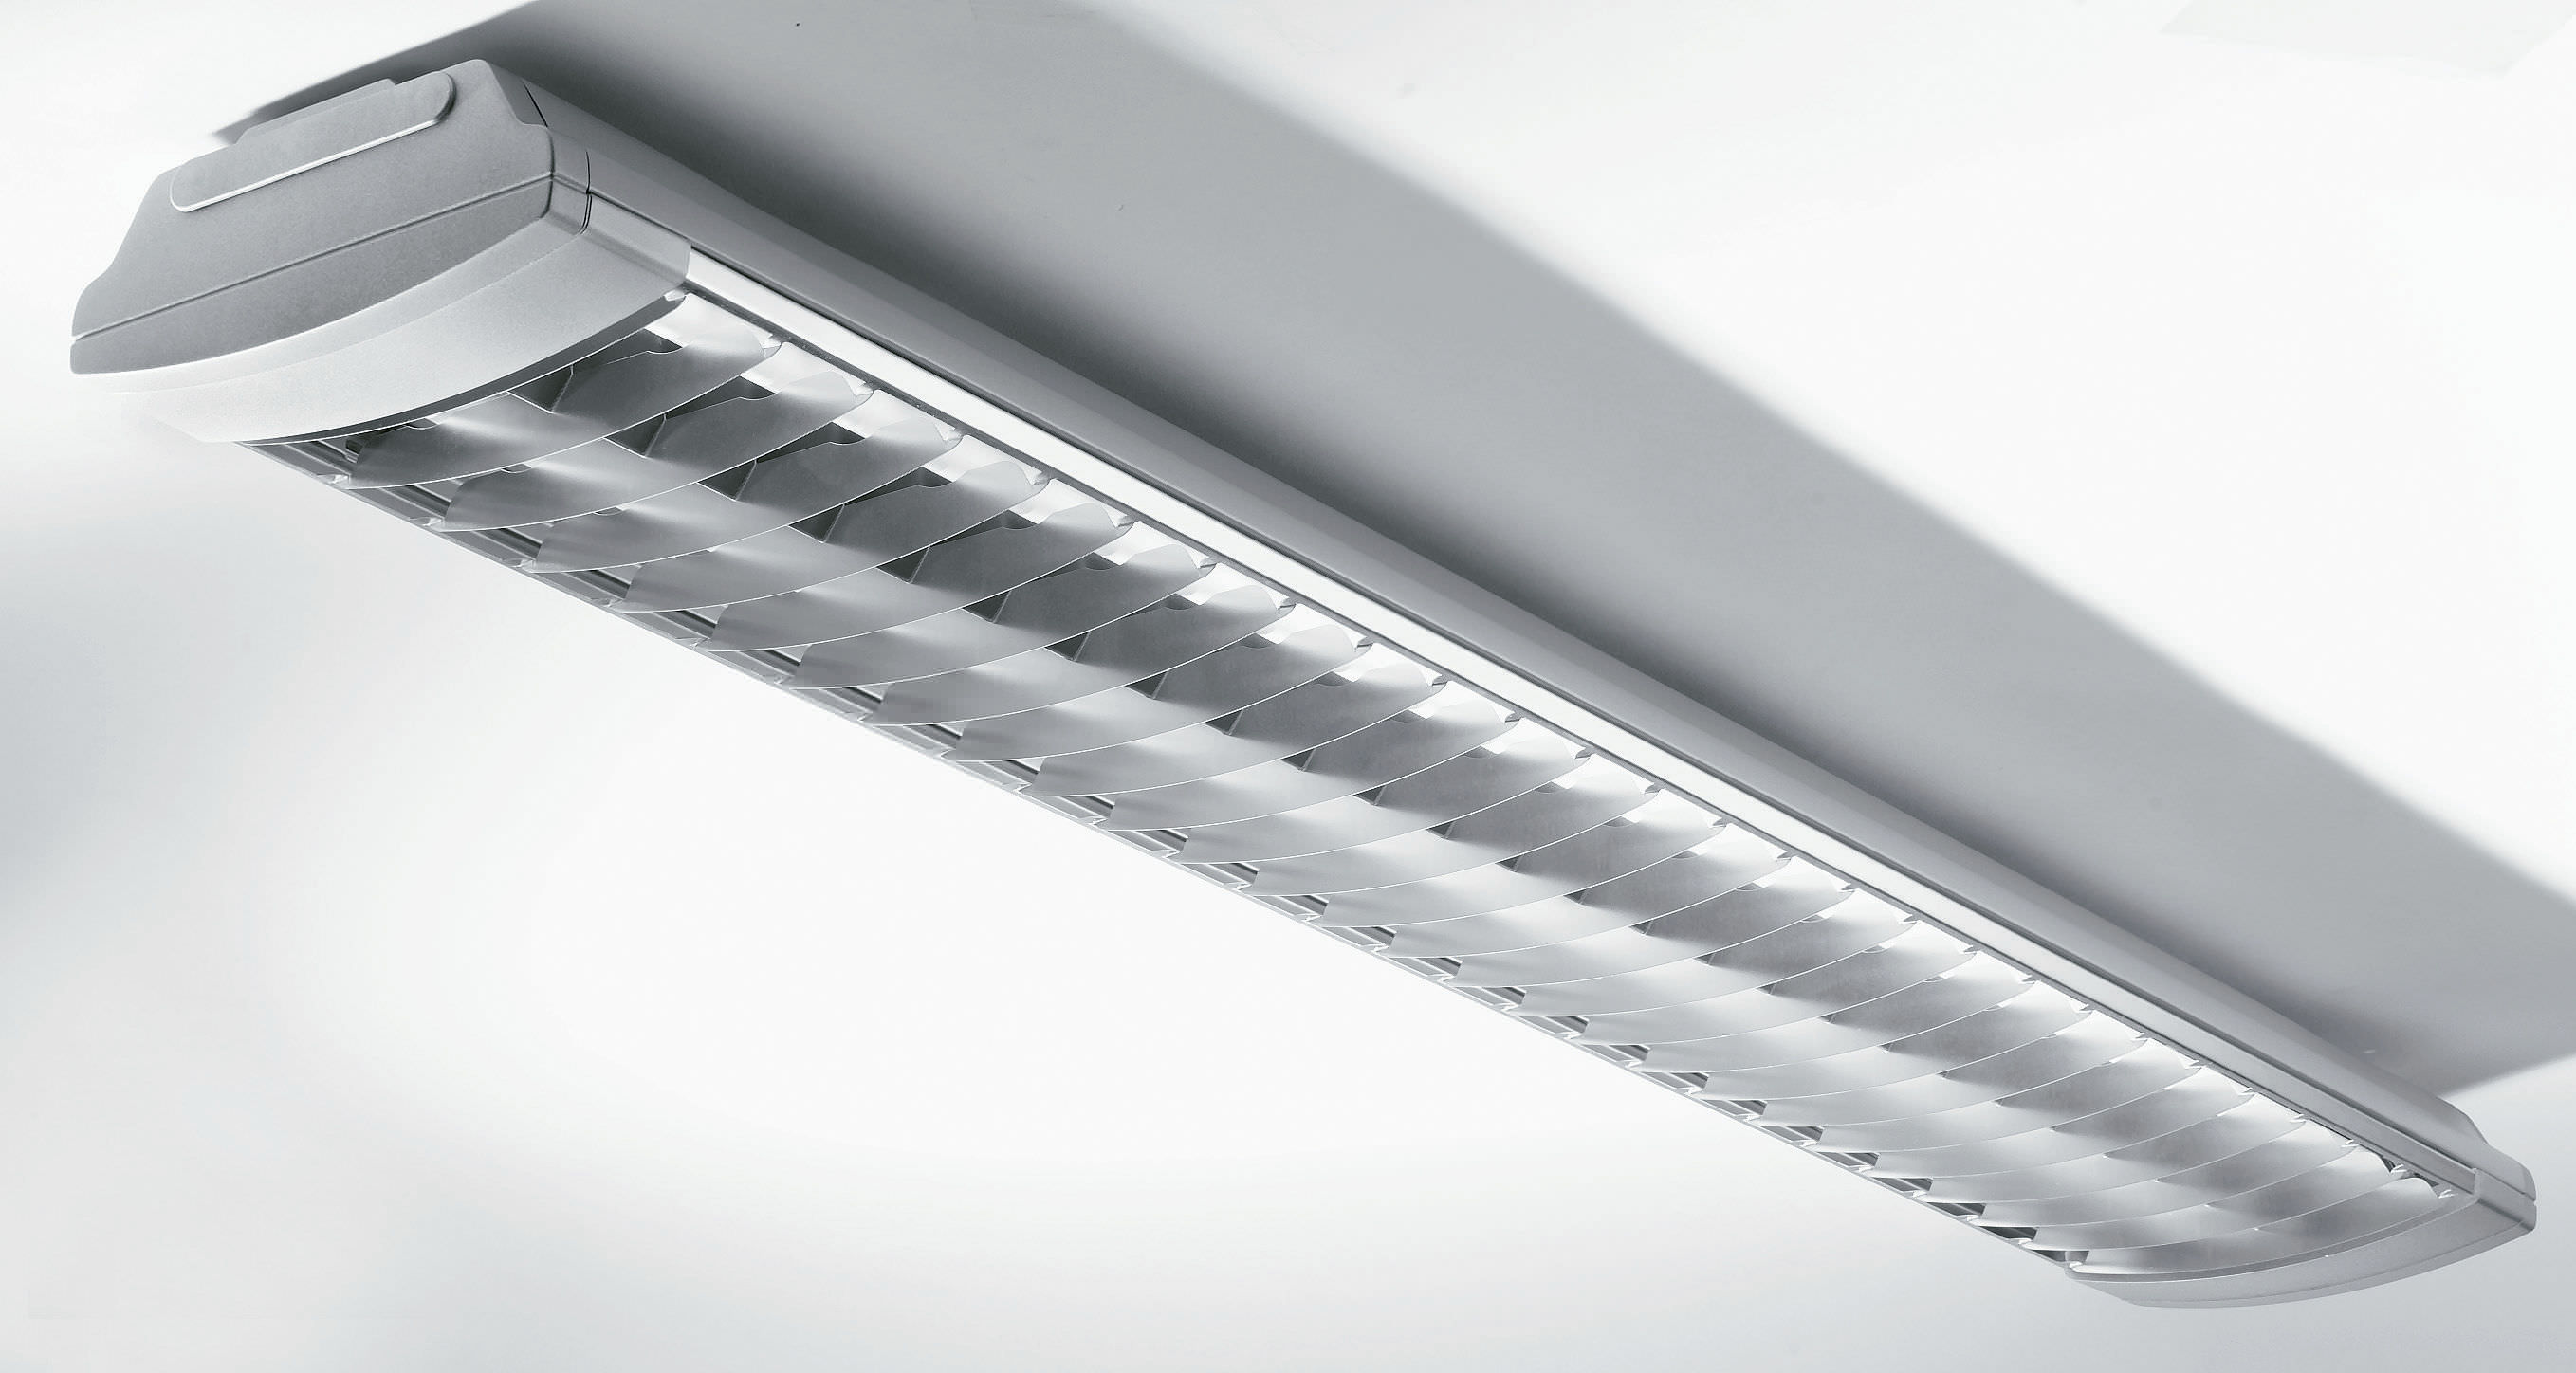
When it comes to replacing a burned out fluorescent light bulb in your kitchen ceiling, it is important to choose the right replacement to ensure proper function and longevity. First, make sure to check the size and style of the old bulb to ensure the replacement will fit properly. Fluorescent bulbs come in various sizes and shapes, so double check before purchasing. Next, consider the color temperature of the bulb. Fluorescent bulbs come in warm, cool, and daylight tones. Choosing the right tone can impact the overall atmosphere and lighting in your kitchen. Lastly, make sure to choose a bulb with a high energy efficiency rating to save on energy costs in the long run. By taking these factors into consideration, you can choose the right replacement fluorescent light bulb for your kitchen ceiling.Choosing the Right Replacement Fluorescent Light Bulb for Your Kitchen Ceiling


Choosing the Right Replacement Fluorescent Light Bulb for Your Kitchen Ceiling


The best way to avoid the hassle of replacing burned out fluorescent light bulbs in your kitchen ceiling is to properly maintain your light fixtures. These maintenance tips can help prolong the lifespan of your bulbs. Tip 1: Clean the inside of the light fixtures regularly to remove dust and debris. Tip 2: Avoid frequently turning the lights on and off. Tip 3: Keep the area around the light fixtures at a moderate temperature. Tip 4: Replace bulbs as soon as they start flickering or dimming. By following these maintenance tips, you can prevent burned out fluorescent light bulbs in your kitchen ceiling and save time and money in the long run.Preventing Burned Out Fluorescent Light Bulbs in Your Kitchen Ceiling: Maintenance Tips

Preventing Burned Out Fluorescent Light Bulbs in Your Kitchen Ceiling: Maintenance Tips

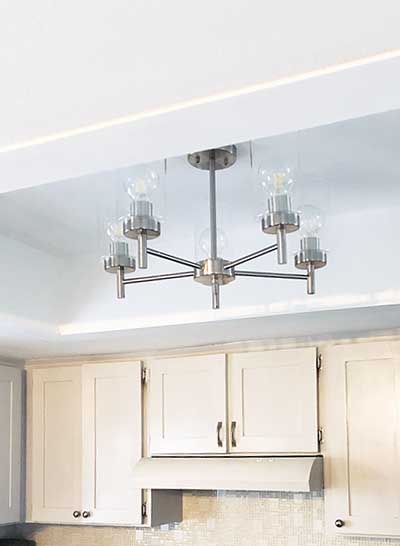
Why You Should Consider Upgrading Your Kitchen Ceiling Lighting

The Importance of Good Lighting in a Kitchen
 A well-lit kitchen is not only aesthetically pleasing, but it also plays a crucial role in the functionality and safety of the space. From preparing meals to entertaining guests, the kitchen is a busy hub of activity in any household. That's why it's important to have adequate lighting in the room, especially in areas where tasks are commonly performed. This is where the kitchen ceiling light comes in.
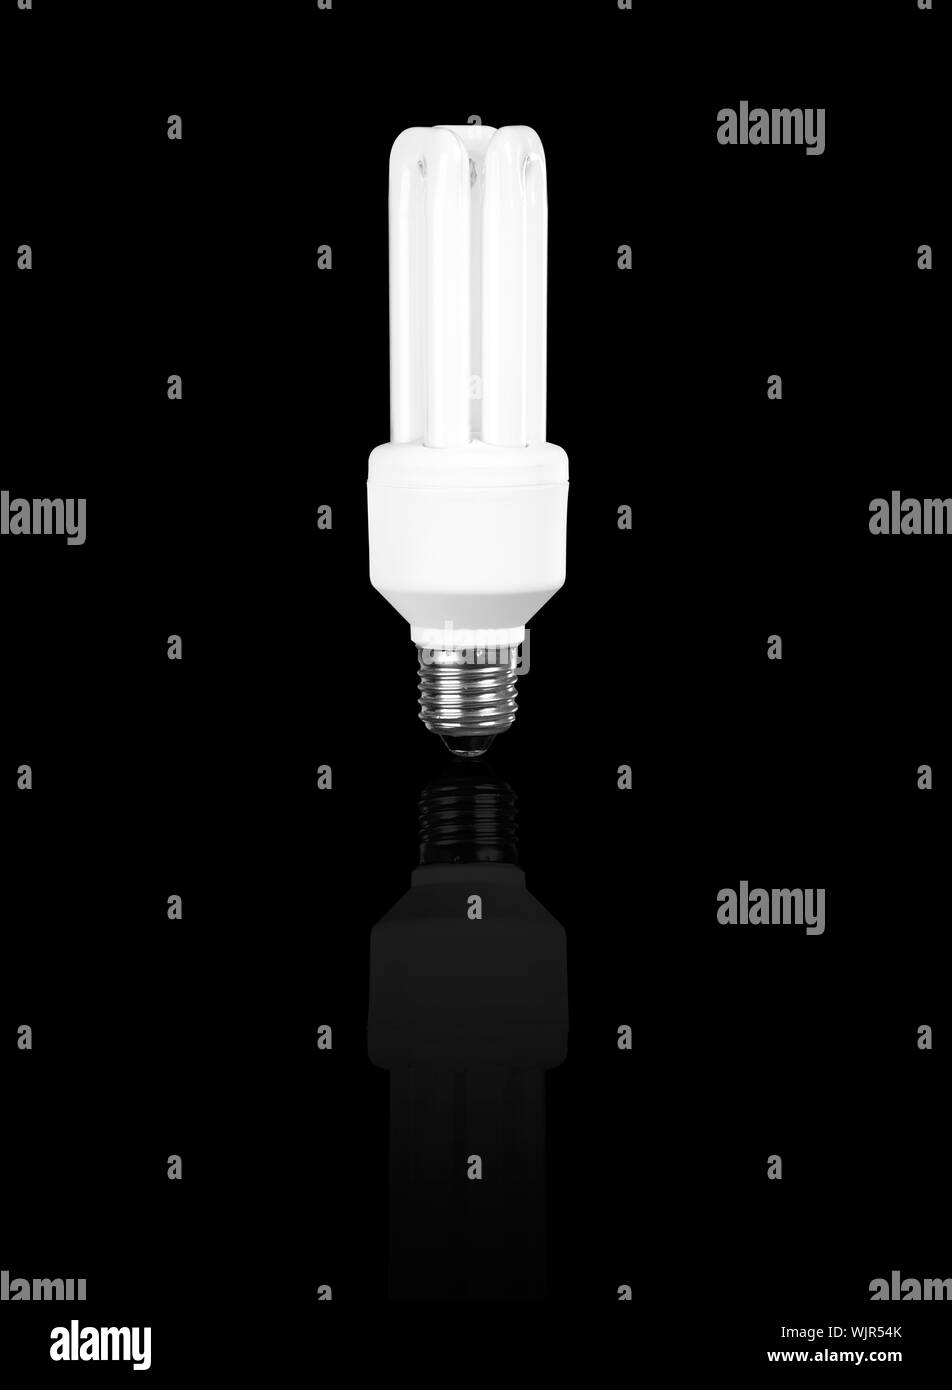
The Problem with Traditional Fluorescent Light Bulbs
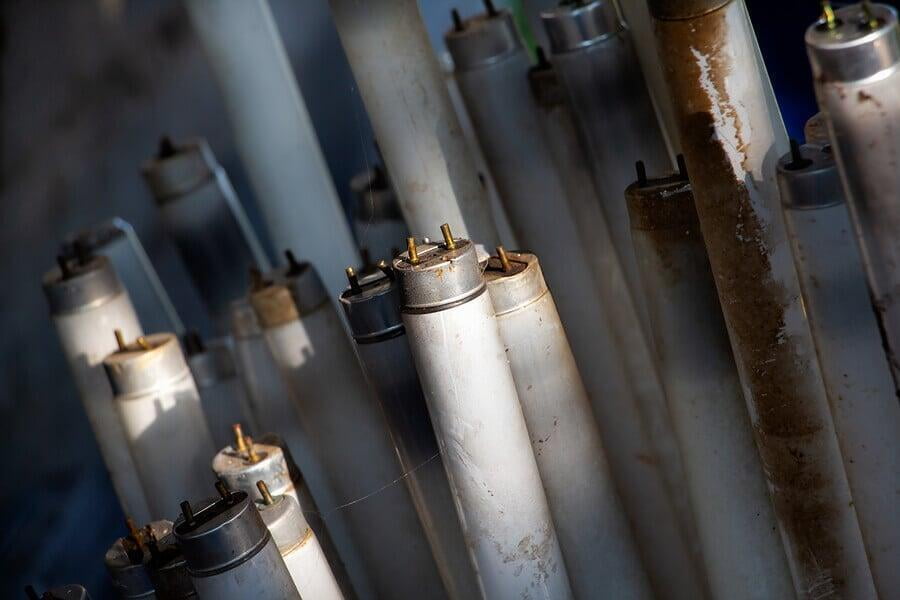
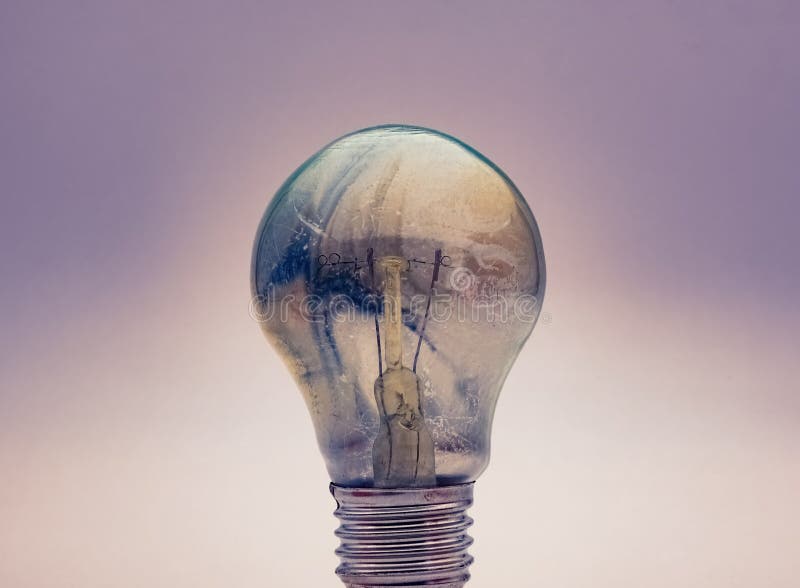
 For many years, fluorescent light bulbs have been the go-to choice for kitchen ceiling lighting. They are affordable, energy-efficient, and provide ample light. However, they also have their drawbacks. One of the biggest issues with traditional fluorescent bulbs is their tendency to burn out quickly. This can be frustrating, especially if the bulb is located in a hard-to-reach area, such as above a kitchen island or stove.
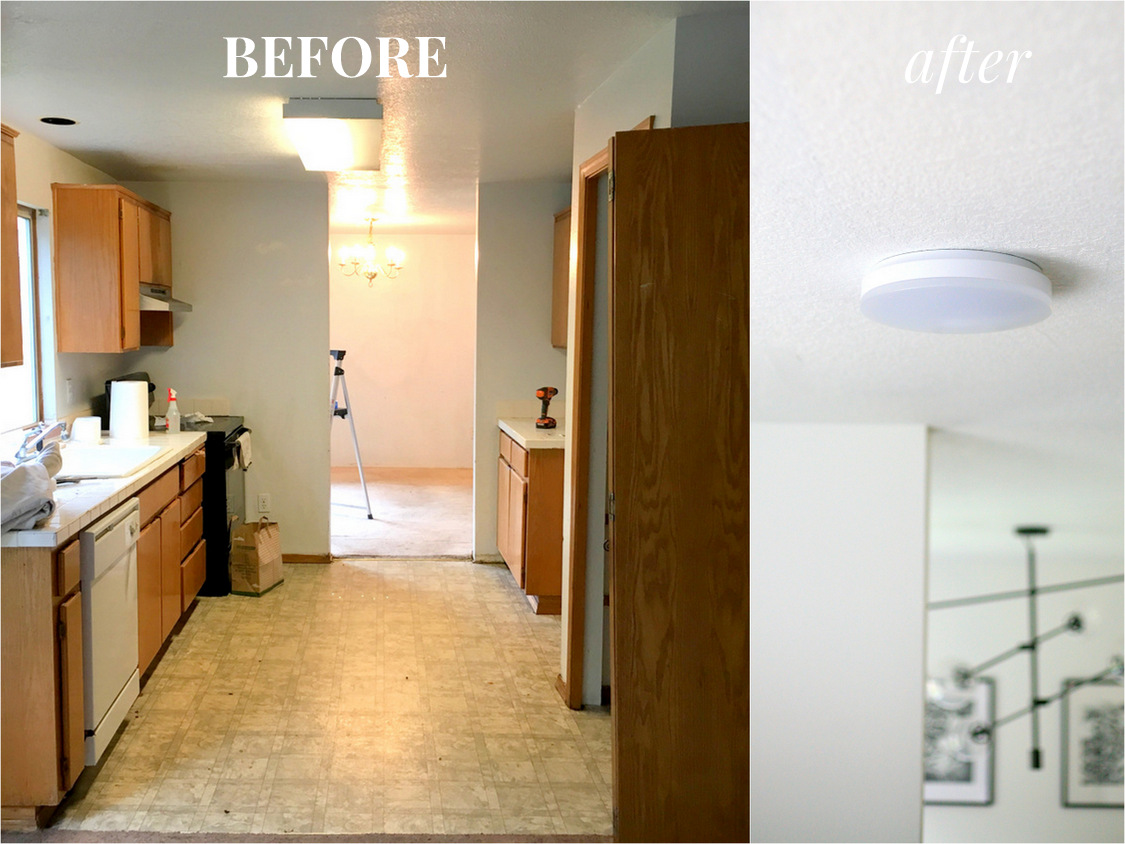
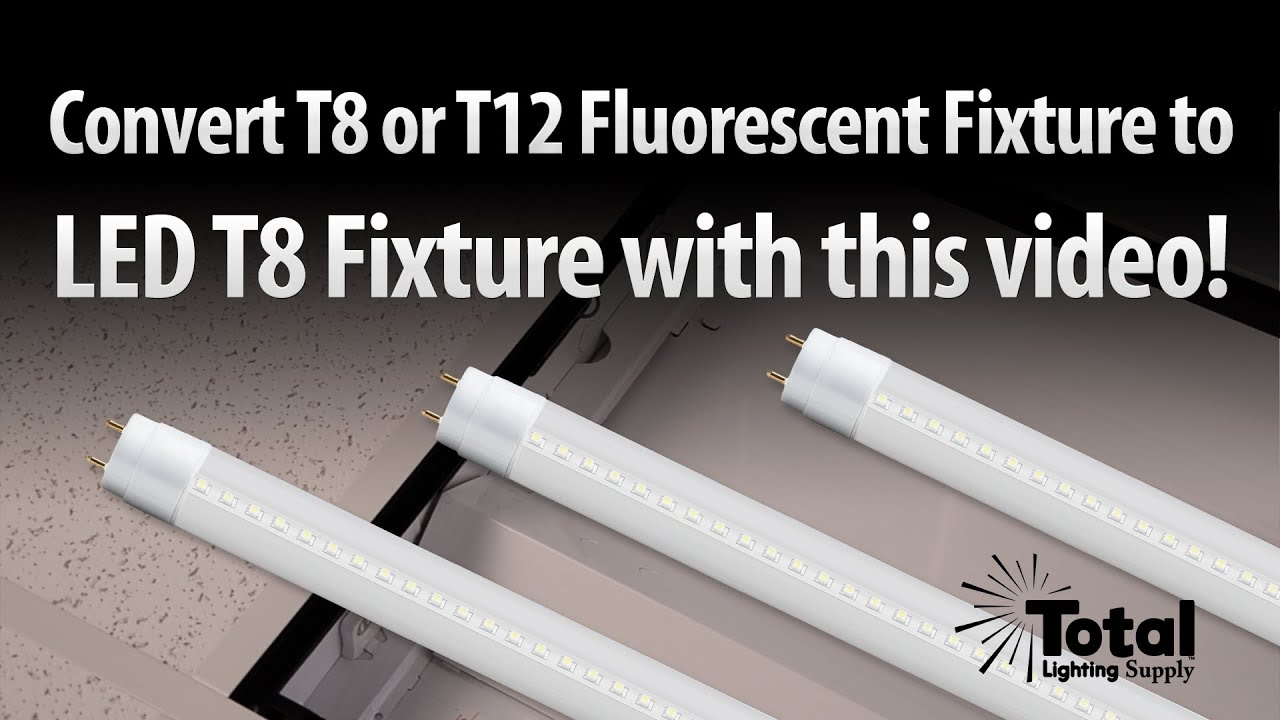
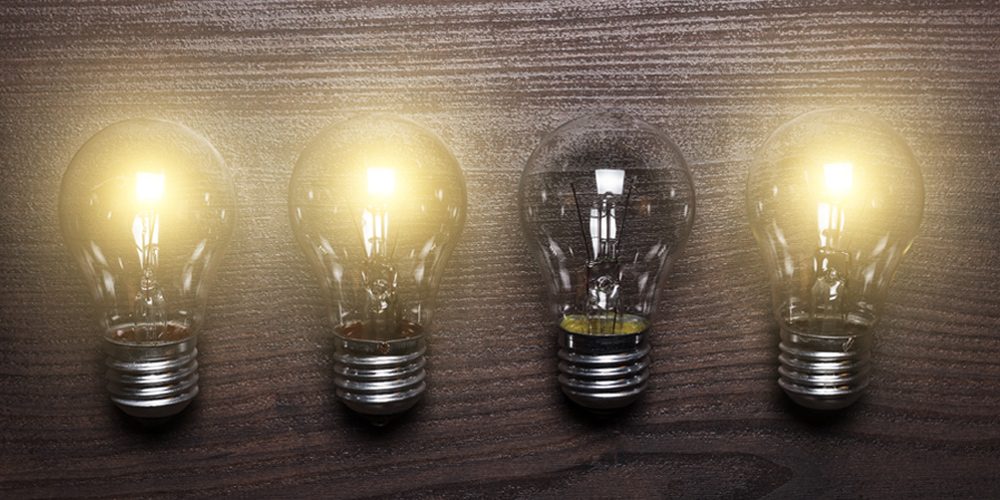
Upgrade to LED Lighting
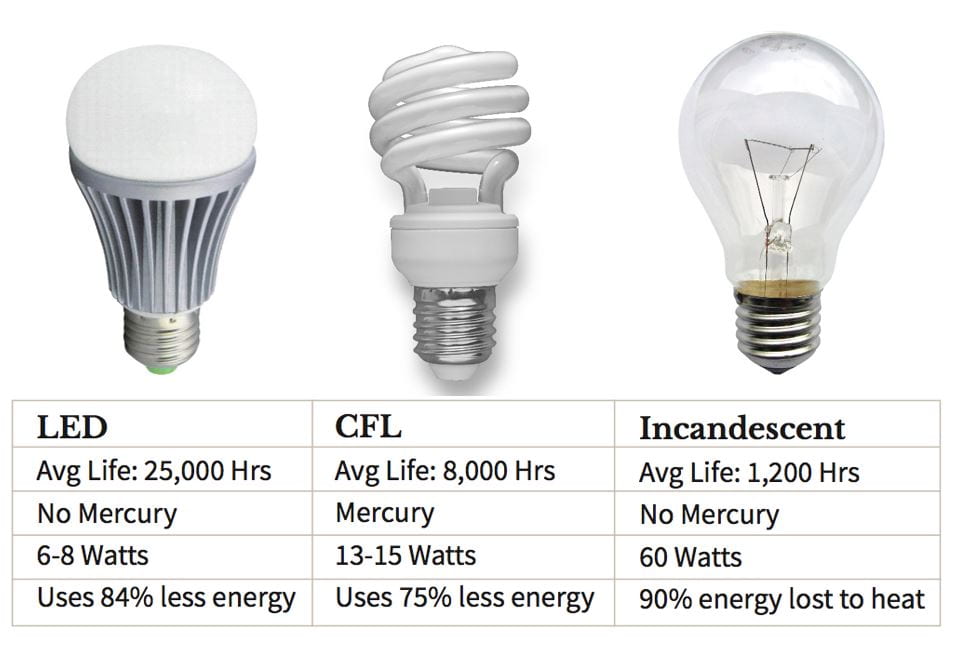
 Thankfully, there is a solution to this problem - LED lighting. LED bulbs are a newer and more advanced technology that have quickly gained popularity in the home design world. They offer many benefits, including longer lifespan, energy efficiency, and a wide range of color temperatures to choose from. By upgrading your kitchen ceiling fluorescent light bulbs to LED, you can say goodbye to the hassle of constantly replacing burnt out bulbs.
Not only will you save time and money in the long run, but you'll also be contributing to a more sustainable and eco-friendly home.
LED bulbs use significantly less energy than traditional fluorescent bulbs, which means lower electricity bills and a reduced carbon footprint.
Thankfully, there is a solution to this problem - LED lighting. LED bulbs are a newer and more advanced technology that have quickly gained popularity in the home design world. They offer many benefits, including longer lifespan, energy efficiency, and a wide range of color temperatures to choose from. By upgrading your kitchen ceiling fluorescent light bulbs to LED, you can say goodbye to the hassle of constantly replacing burnt out bulbs.
Not only will you save time and money in the long run, but you'll also be contributing to a more sustainable and eco-friendly home.
LED bulbs use significantly less energy than traditional fluorescent bulbs, which means lower electricity bills and a reduced carbon footprint.
Enhance Your Kitchen's Design
 Aside from their practical benefits, LED bulbs also come in various shapes, sizes, and styles, making them a great choice for adding a touch of style to your kitchen. From sleek and modern to vintage and rustic, there's an LED bulb to suit every kitchen's design aesthetic. You can even opt for smart LED bulbs that can be controlled through a smartphone app, allowing you to adjust the brightness and color temperature to fit your needs.
Final Thoughts
 In conclusion, upgrading your kitchen ceiling fluorescent light bulbs to LED is a smart choice that can greatly enhance the functionality, energy efficiency, and design of your kitchen. So the next time your kitchen light bulb burns out, consider making the switch to LED for a brighter, more sustainable, and stylish kitchen.