The light bulb in your KitchenAid refrigerator is an essential component that allows you to see the contents of your fridge clearly. Over time, the bulb may burn out and need to be replaced. In this guide, we will walk you through the steps of replacing the middle light in your KitchenAid refrigerator.How to Replace the Light Bulb in a KitchenAid Refrigerator

How to Replace the Light Bulb in a KitchenAid Refrigerator


Replacing the middle light in your KitchenAid refrigerator may seem like a daunting task, but it is actually a simple and straightforward process. With the right tools and a bit of patience, you can have your fridge shining bright again in no time. Let's dive into the step-by-step guide for replacing the middle light in your KitchenAid refrigerator.How to Replace the Middle Light in a KitchenAid Refrigerator


How to Replace the Middle Light in a KitchenAid Refrigerator


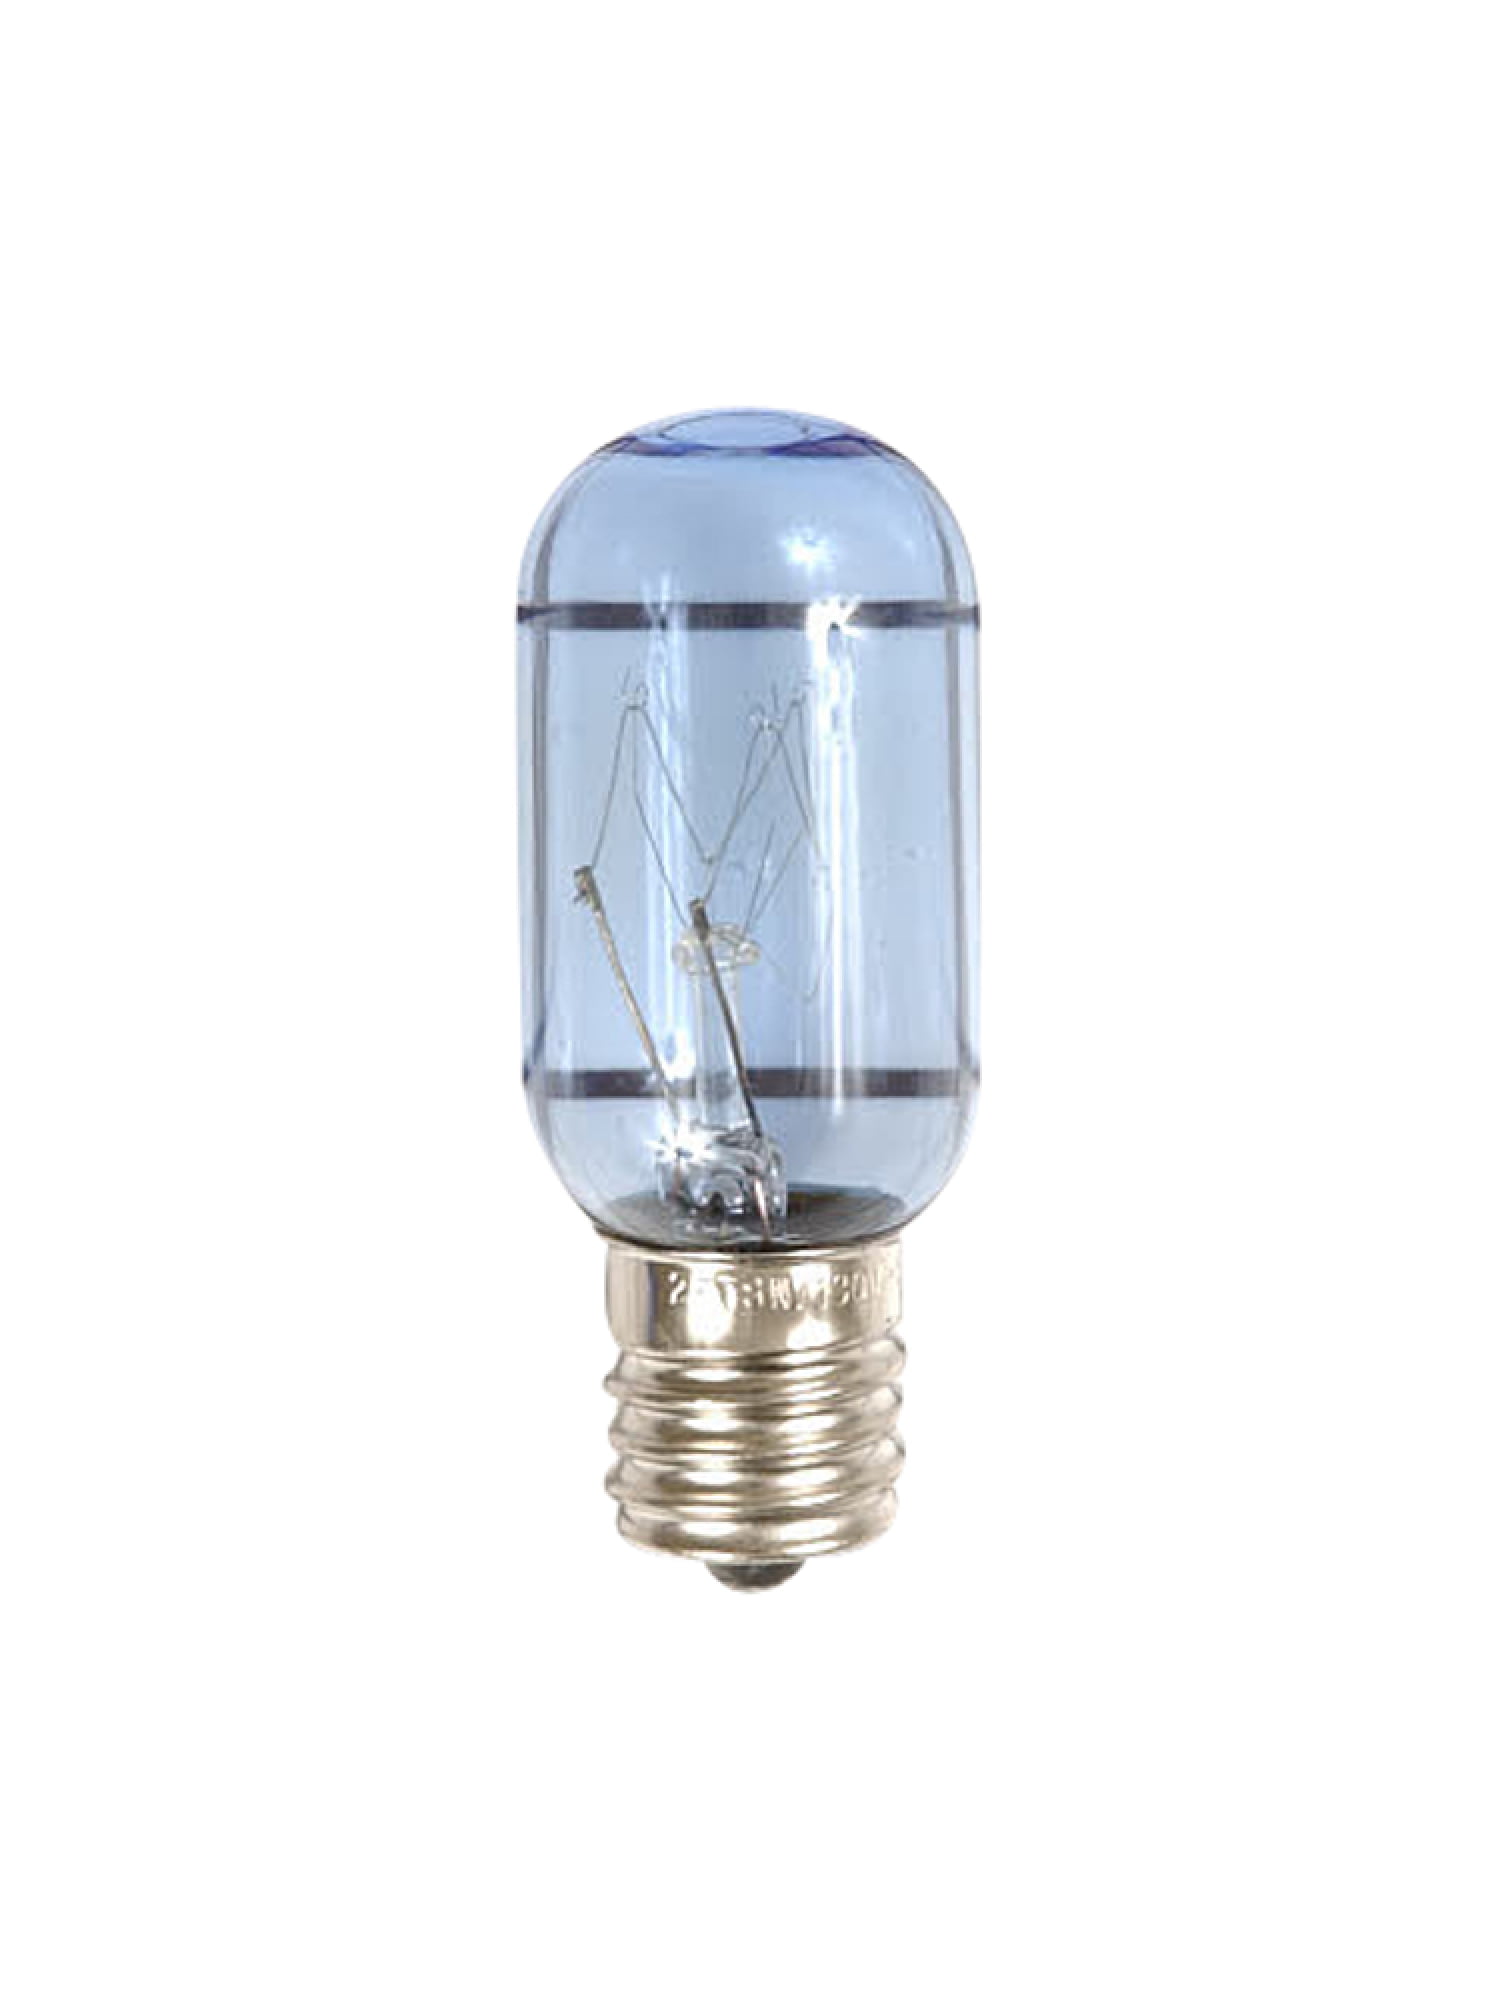
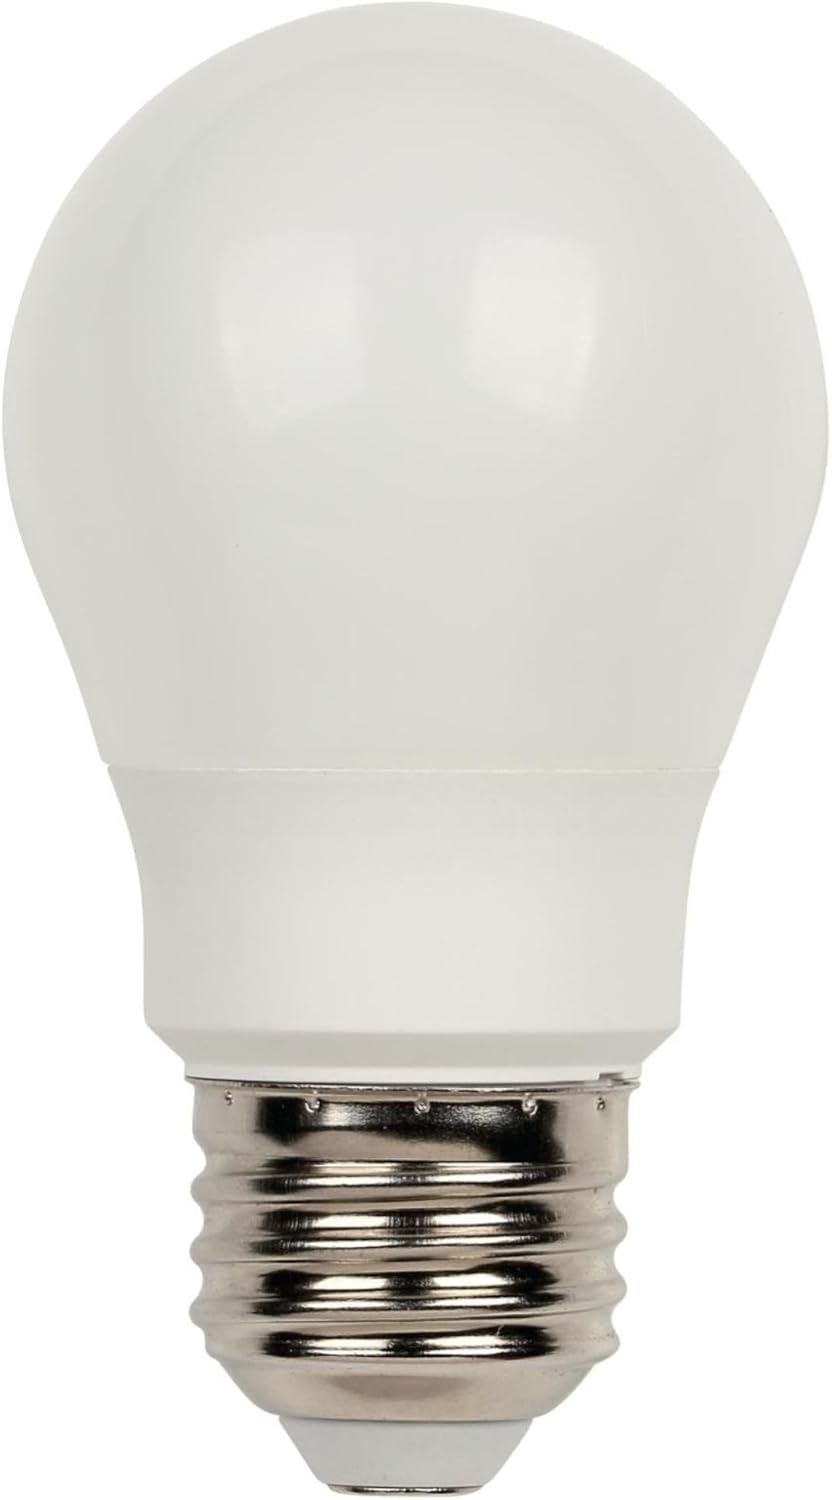
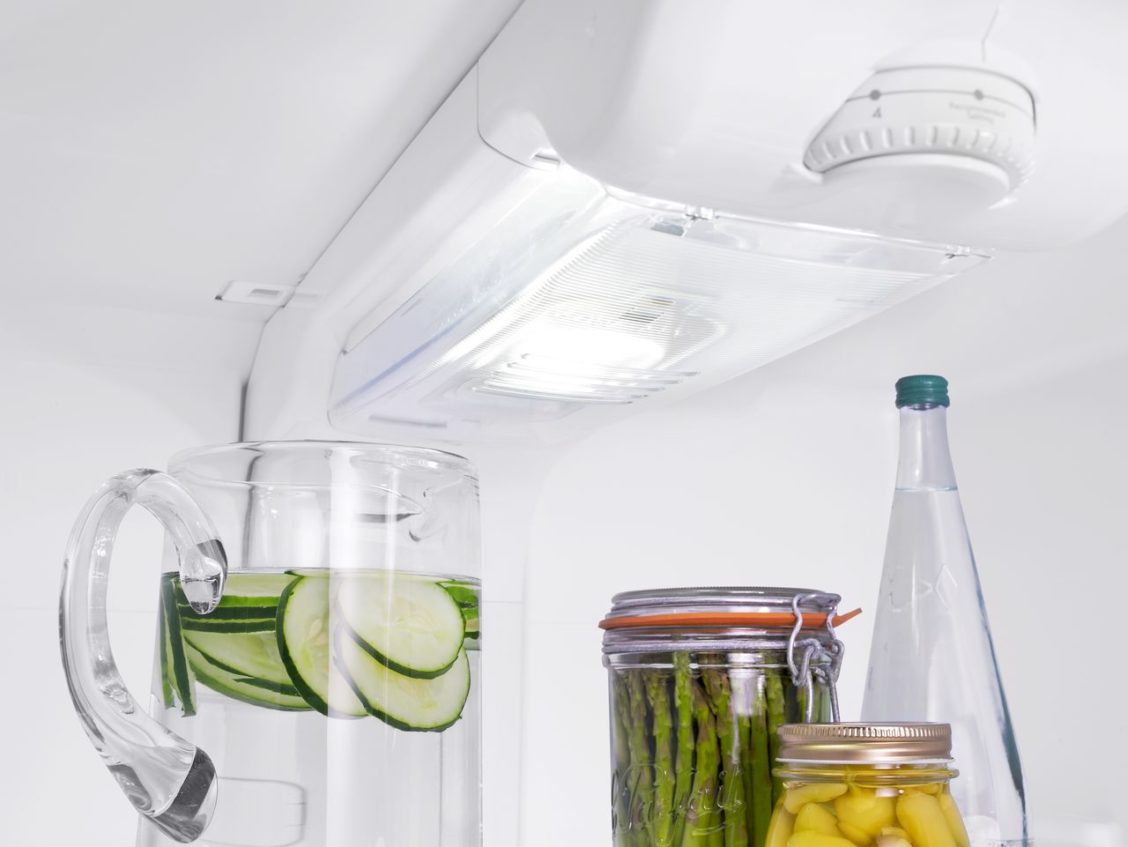
Before we begin, make sure to unplug your refrigerator from the power source. This will ensure your safety while working on the appliance. Now, let's get started! Step 1: Locate the middle light in your KitchenAid refrigerator. It is usually located in the center of the fridge, towards the top. Step 2: Using a flathead screwdriver, gently pry off the cover of the middle light. It should come off easily. Step 3: Once the cover is removed, you can access the light bulb. Carefully unscrew the bulb in a counterclockwise direction. Step 4: Take the new light bulb and screw it into the socket in a clockwise direction. Make sure it is securely in place. Step 5: Place the cover back on the middle light and gently push it into place until it clicks.Step-by-Step Guide for Replacing the Middle Light in a KitchenAid Refrigerator


Step-by-Step Guide for Replacing the Middle Light in a KitchenAid Refrigerator


.jpg)


Replacing the middle light in your KitchenAid refrigerator is a simple task that can be done in just a few minutes. However, if you want to ensure that the process goes smoothly, here are a few tips to keep in mind: Tip 1: Use the correct bulb size for your refrigerator. The type and wattage of the bulb may vary depending on the model of your KitchenAid fridge, so be sure to check the user manual for the right specifications. Tip 2: If the bulb is difficult to remove, try using a pair of rubber gloves for added grip. Tip 3: It is always a good idea to have a spare light bulb on hand in case the current one burns out unexpectedly.Replacing the Middle Light in a KitchenAid Refrigerator: A Comprehensive Guide


Replacing the Middle Light in a KitchenAid Refrigerator: A Comprehensive Guide


Replacing the middle light in your KitchenAid refrigerator is a task that you can easily do yourself. Not only will it save you time and money, but it can also be a fun and satisfying DIY project. So why not give it a try?DIY: Replacing the Middle Light in a KitchenAid Refrigerator

DIY: Replacing the Middle Light in a KitchenAid Refrigerator

With just a few simple steps, you can have your KitchenAid refrigerator's middle light replaced and shining brightly again. Don't let a burnt-out bulb dim your fridge's interior - follow these quick and easy steps for a hassle-free replacement process.Quick and Easy Steps for Replacing the Middle Light in a KitchenAid Refrigerator
Quick and Easy Steps for Replacing the Middle Light in a KitchenAid Refrigerator


Replacing the middle light in a KitchenAid refrigerator may seem like a straightforward task, but there are a few tips and tricks that can make the process even easier. Here are a few expert tips to keep in mind: Tip 1: To prevent the light bulb from breaking, wrap it in a cloth before unscrewing it. Tip 2: If you are having trouble finding a replacement bulb, contact KitchenAid customer support for assistance. Tip 3: Make sure to properly dispose of the old light bulb. You can check with your local waste management for guidelines on how to dispose of electronic waste.Replacing the Middle Light in a KitchenAid Refrigerator: Tips and Tricks

Replacing the Middle Light in a KitchenAid Refrigerator: Tips and Tricks


If you prefer visual instructions, you can watch a step-by-step tutorial on how to replace the middle light in a KitchenAid refrigerator. There are many helpful videos available online that can guide you through the process.How to Replace the Middle Light in a KitchenAid Refrigerator: A Step-by-Step Tutorial

How to Replace the Middle Light in a KitchenAid Refrigerator: A Step-by-Step Tutorial

While replacing the middle light in a KitchenAid refrigerator may seem like a simple task, there are a few common mistakes that people make. Here are some of the most common mistakes to avoid: Mistake 1: Not unplugging the refrigerator before starting the replacement process. Mistake 2: Using the wrong size or type of light bulb. Mistake 3: Forgetting to dispose of the old light bulb properly.Replacing the Middle Light in a KitchenAid Refrigerator: Common Mistakes to Avoid


Replacing the Middle Light in a KitchenAid Refrigerator: Common Mistakes to Avoid


If you are still unsure about replacing the middle light in your KitchenAid refrigerator, here are a few expert tips to help you out: Tip 1: Mark your calendar to remind you to replace the bulb every 6-12 months, depending on usage. Tip 2: If you are unsure about any step in the process, don't hesitate to contact KitchenAid customer support for assistance. Tip 3: Regularly clean the inside of your refrigerator, including the light cover, to prevent dust and grime buildup. With these tips and guidelines, you can confidently replace the middle light in your KitchenAid refrigerator and keep your fridge looking bright and new. Don't let a burnt-out bulb dim your fridge's interior - follow these steps and enjoy a well-lit and organized refrigerator. Expert Tips for Replacing the Middle Light in a KitchenAid Refrigerator
Expert Tips for Replacing the Middle Light in a KitchenAid Refrigerator
Why You Should Consider Replacing the Middle Light in Your Kitchen Aid Refrigerator
Enhance the Design and Functionality of Your Kitchen
 If you own a Kitchen Aid refrigerator, you know that it is not just a basic appliance in your kitchen. It is a statement piece, a functional and stylish addition to your home. With its sleek design and advanced features, it adds a touch of sophistication to your kitchen. However, if the middle light in your Kitchen Aid refrigerator is not working, it can not only be a nuisance but also affect the overall aesthetic and functionality of your kitchen. That's why it is essential to replace the middle light as soon as possible.
Improve Visibility and Organization
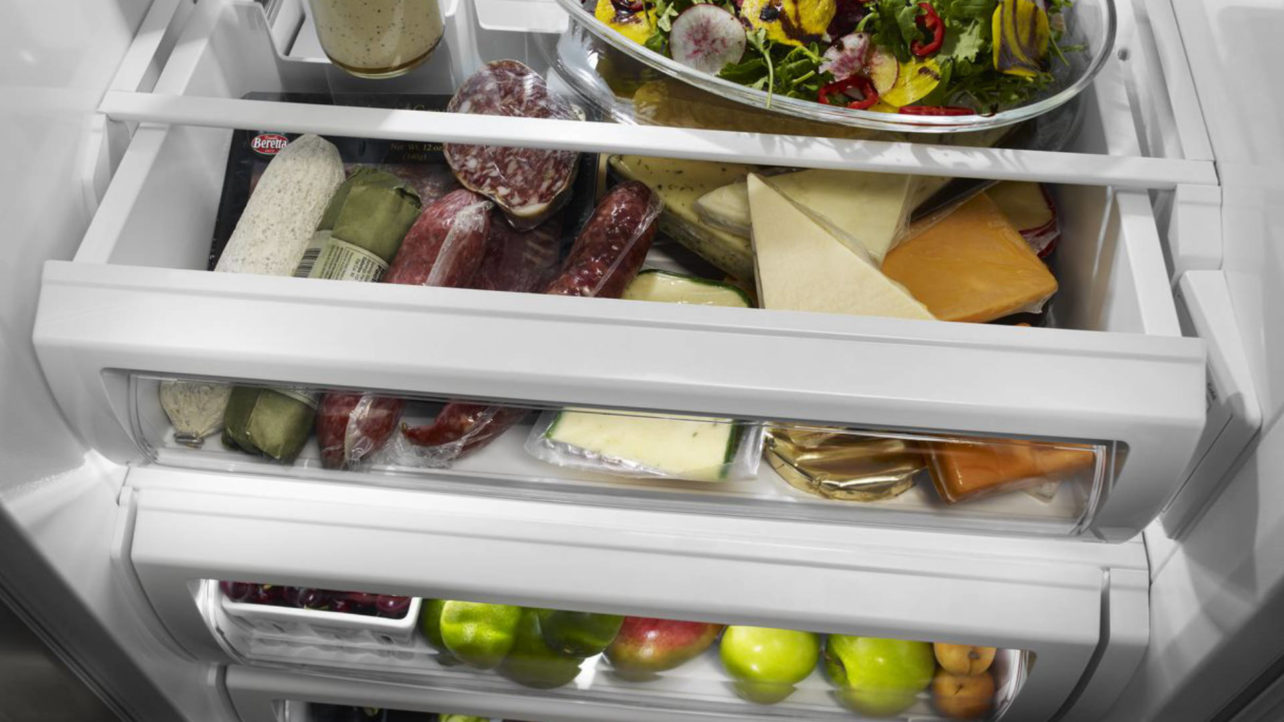
The middle light in your Kitchen Aid refrigerator is not just for show. It serves a crucial purpose in helping you see and access your food items easily. Without proper lighting, it can be challenging to find what you need, leading to frustration and wasted time. By replacing the middle light, you can improve visibility and make it easier to organize your fridge. You can also avoid the risk of accidentally leaving the fridge door open while searching for items, which can lead to food spoilage and higher energy bills.
Prevent Potential Food Contamination
When the middle light in your Kitchen Aid refrigerator is not working, it can be a breeding ground for bacteria and mold. The warm and dark environment created by a malfunctioning light can cause food items to spoil quickly, leading to potential food contamination. This can not only be harmful to your health but also result in food wastage and additional expenses. By replacing the middle light, you can ensure that your food stays fresh and safe for consumption.
Add Value to Your Home
A well-functioning and well-maintained Kitchen Aid refrigerator can add value to your home. If you are planning to sell your house in the future, potential buyers will be impressed by the attention to detail and functionality of your kitchen appliances. By replacing the middle light in your refrigerator, you are not only enhancing its design and functionality but also increasing the value of your home.
In conclusion, replacing the middle light in your Kitchen Aid refrigerator is a small but significant step towards improving the design and functionality of your kitchen. It can enhance visibility, prevent food contamination, and add value to your home. So, if you notice that your middle light is not working, don't hesitate to replace it and enjoy a well-lit and organized refrigerator.
If you own a Kitchen Aid refrigerator, you know that it is not just a basic appliance in your kitchen. It is a statement piece, a functional and stylish addition to your home. With its sleek design and advanced features, it adds a touch of sophistication to your kitchen. However, if the middle light in your Kitchen Aid refrigerator is not working, it can not only be a nuisance but also affect the overall aesthetic and functionality of your kitchen. That's why it is essential to replace the middle light as soon as possible.
Improve Visibility and Organization
The middle light in your Kitchen Aid refrigerator is not just for show. It serves a crucial purpose in helping you see and access your food items easily. Without proper lighting, it can be challenging to find what you need, leading to frustration and wasted time. By replacing the middle light, you can improve visibility and make it easier to organize your fridge. You can also avoid the risk of accidentally leaving the fridge door open while searching for items, which can lead to food spoilage and higher energy bills.
Prevent Potential Food Contamination
When the middle light in your Kitchen Aid refrigerator is not working, it can be a breeding ground for bacteria and mold. The warm and dark environment created by a malfunctioning light can cause food items to spoil quickly, leading to potential food contamination. This can not only be harmful to your health but also result in food wastage and additional expenses. By replacing the middle light, you can ensure that your food stays fresh and safe for consumption.
Add Value to Your Home
A well-functioning and well-maintained Kitchen Aid refrigerator can add value to your home. If you are planning to sell your house in the future, potential buyers will be impressed by the attention to detail and functionality of your kitchen appliances. By replacing the middle light in your refrigerator, you are not only enhancing its design and functionality but also increasing the value of your home.
In conclusion, replacing the middle light in your Kitchen Aid refrigerator is a small but significant step towards improving the design and functionality of your kitchen. It can enhance visibility, prevent food contamination, and add value to your home. So, if you notice that your middle light is not working, don't hesitate to replace it and enjoy a well-lit and organized refrigerator.