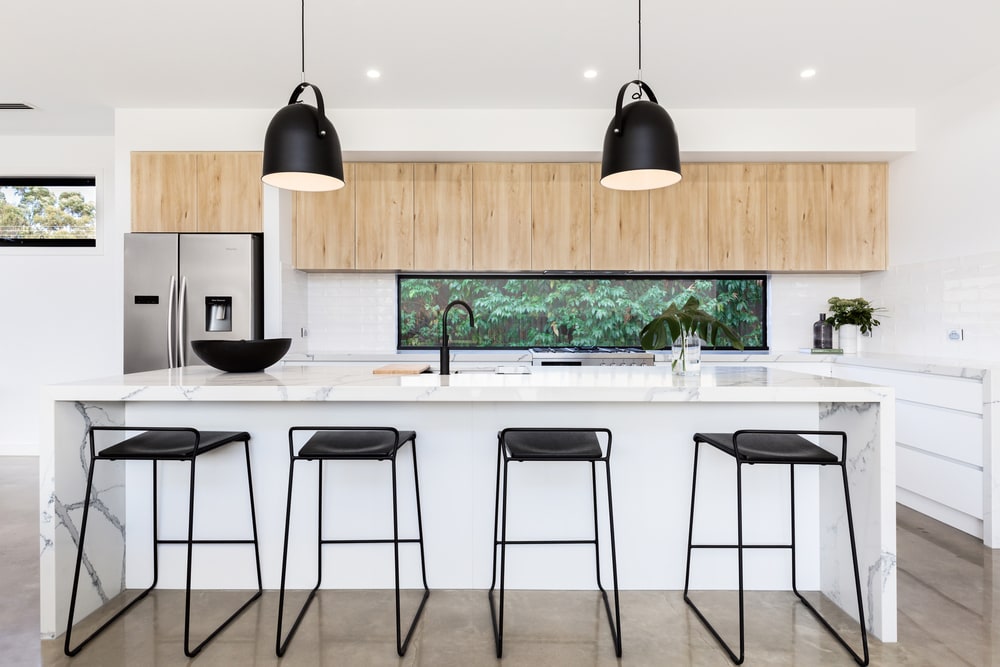
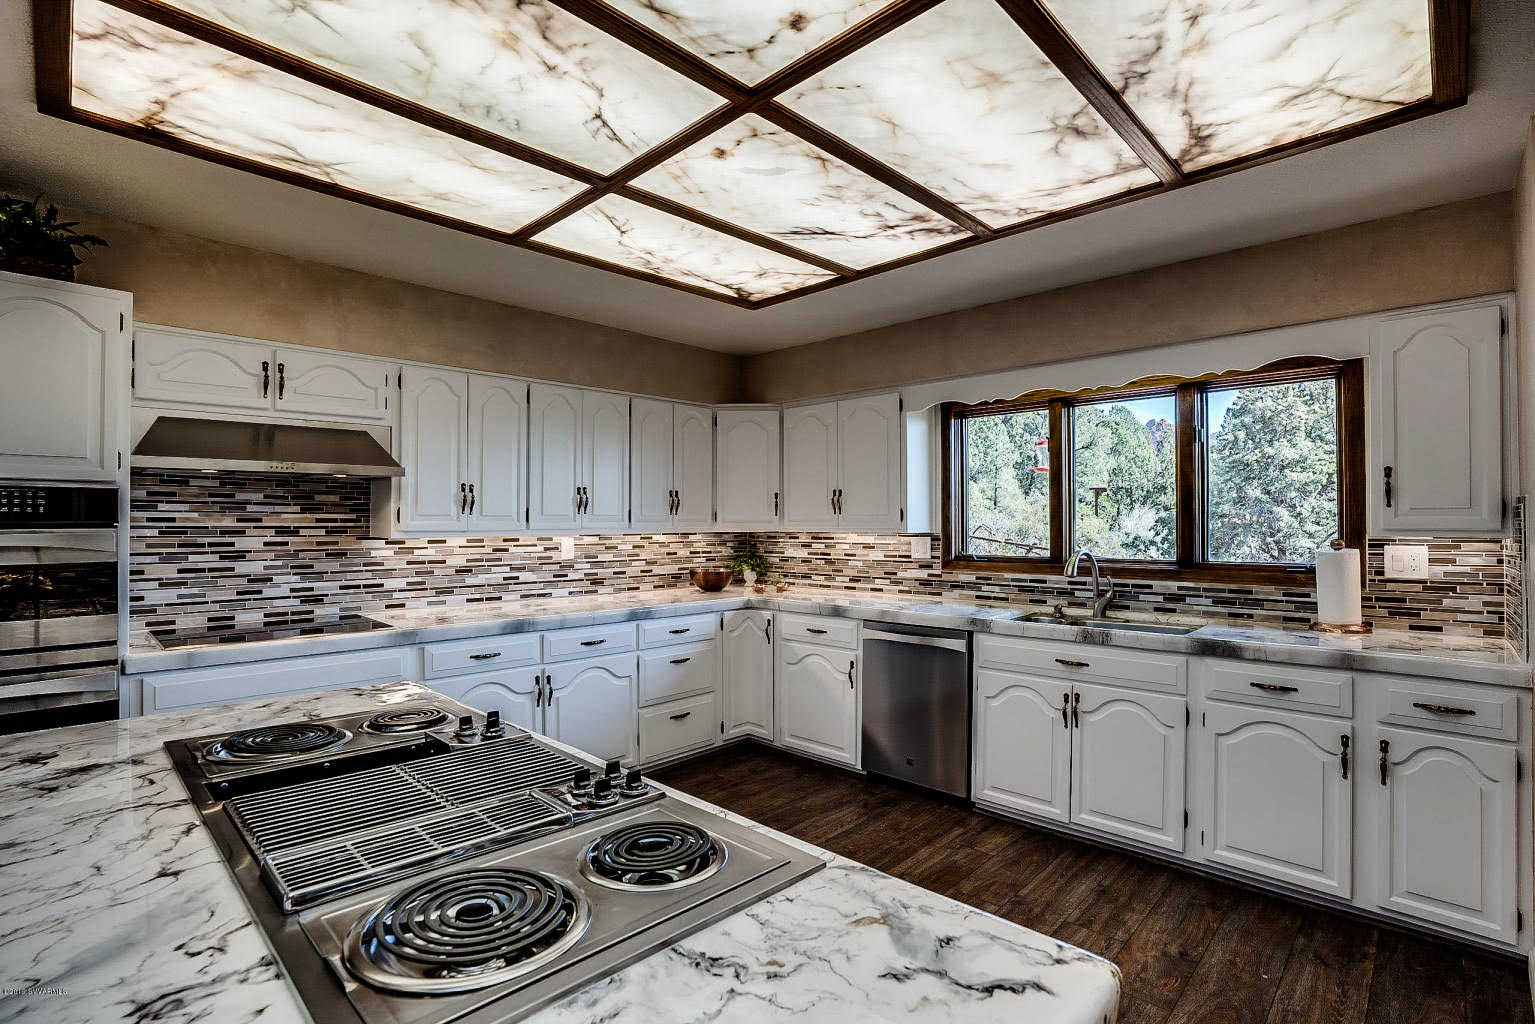
The kitchen is the heart of any home, and it's important to have proper lighting in this space. Acrylic lighting covers are a great option for kitchens as they are durable, lightweight, and provide even light distribution. In this article, we will provide you with the top 10 cutting instructions for kitchen acrylic lighting covers to help you achieve the perfect lighting in your kitchen.1. Introduction to Kitchen Acrylic Lighting Covers


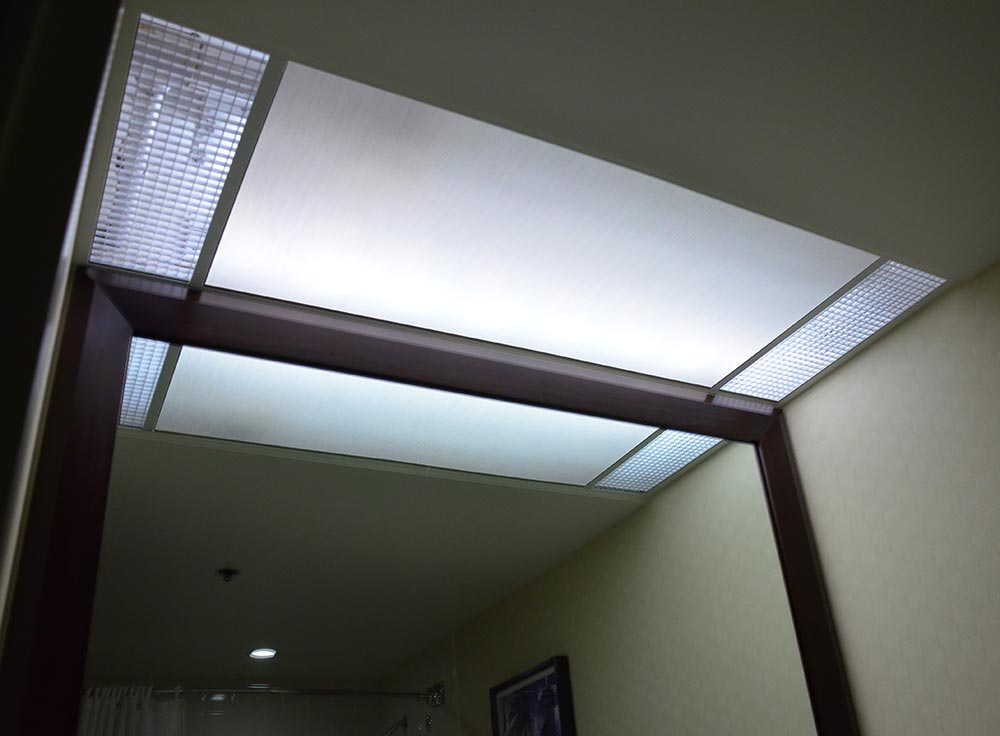
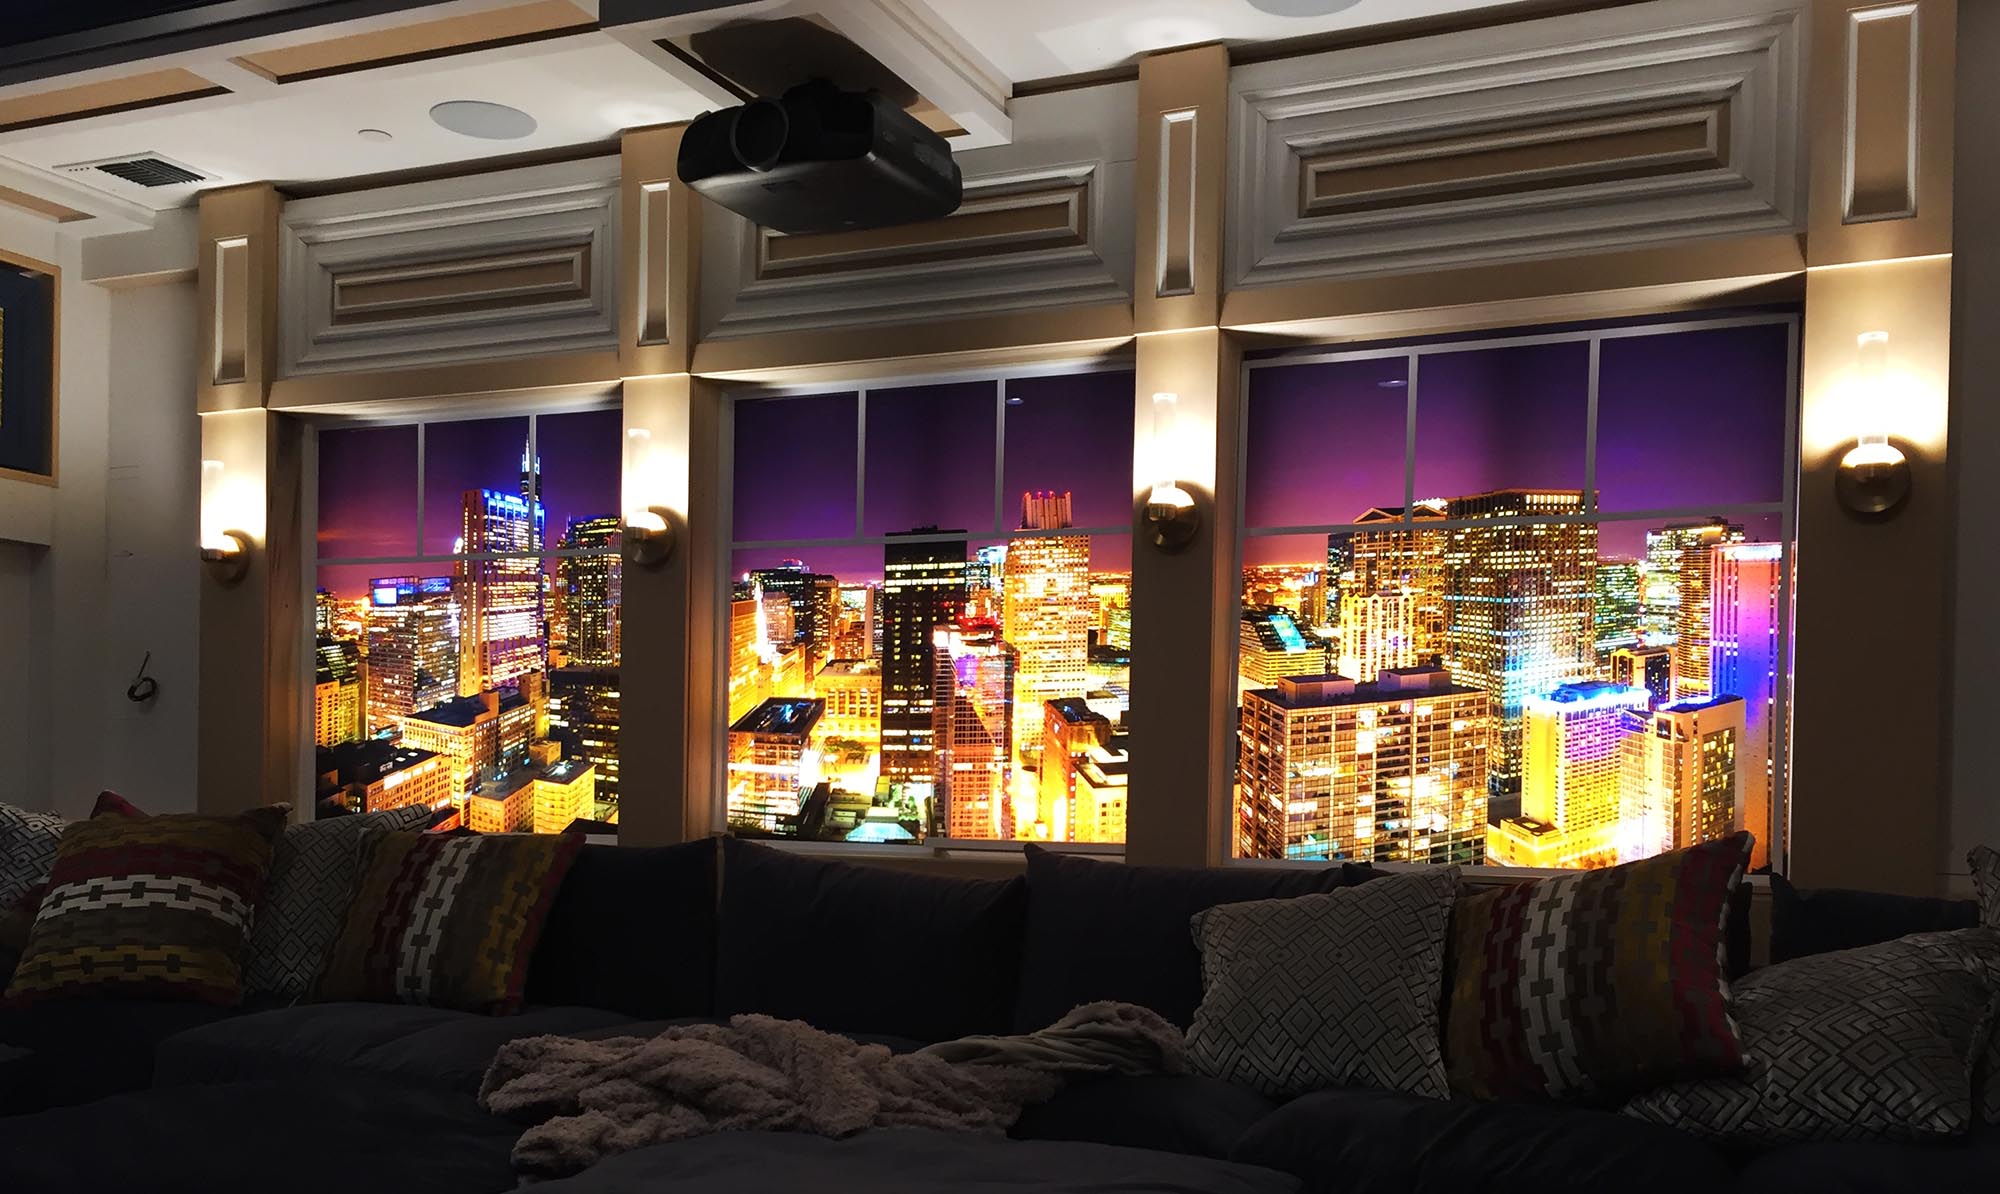
Acrylic Lighting Covers


The key to successful cutting of acrylic lighting covers is to measure twice and cut once. This will ensure that you have the right size and shape for your kitchen lighting cover. Use a tape measure to accurately measure the length and width of your kitchen light fixture.2. Measure Twice, Cut Once


Fluorescent Gallery


When it comes to cutting acrylic lighting covers, it's important to use the right tools to achieve clean and precise cuts. A sharp utility knife or a circular saw with a fine-tooth blade is recommended for cutting acrylic. Avoid using a jigsaw or coping saw as they tend to cause cracks and rough edges.3. Use the Right Tools


Acrylic Lighting Covers
Safety should always be a top priority when working with any type of material. When cutting acrylic lighting covers, it's important to wear protective gear such as safety glasses and gloves. This will prevent any accidental cuts or scratches while handling the material.4. Protect Yourself
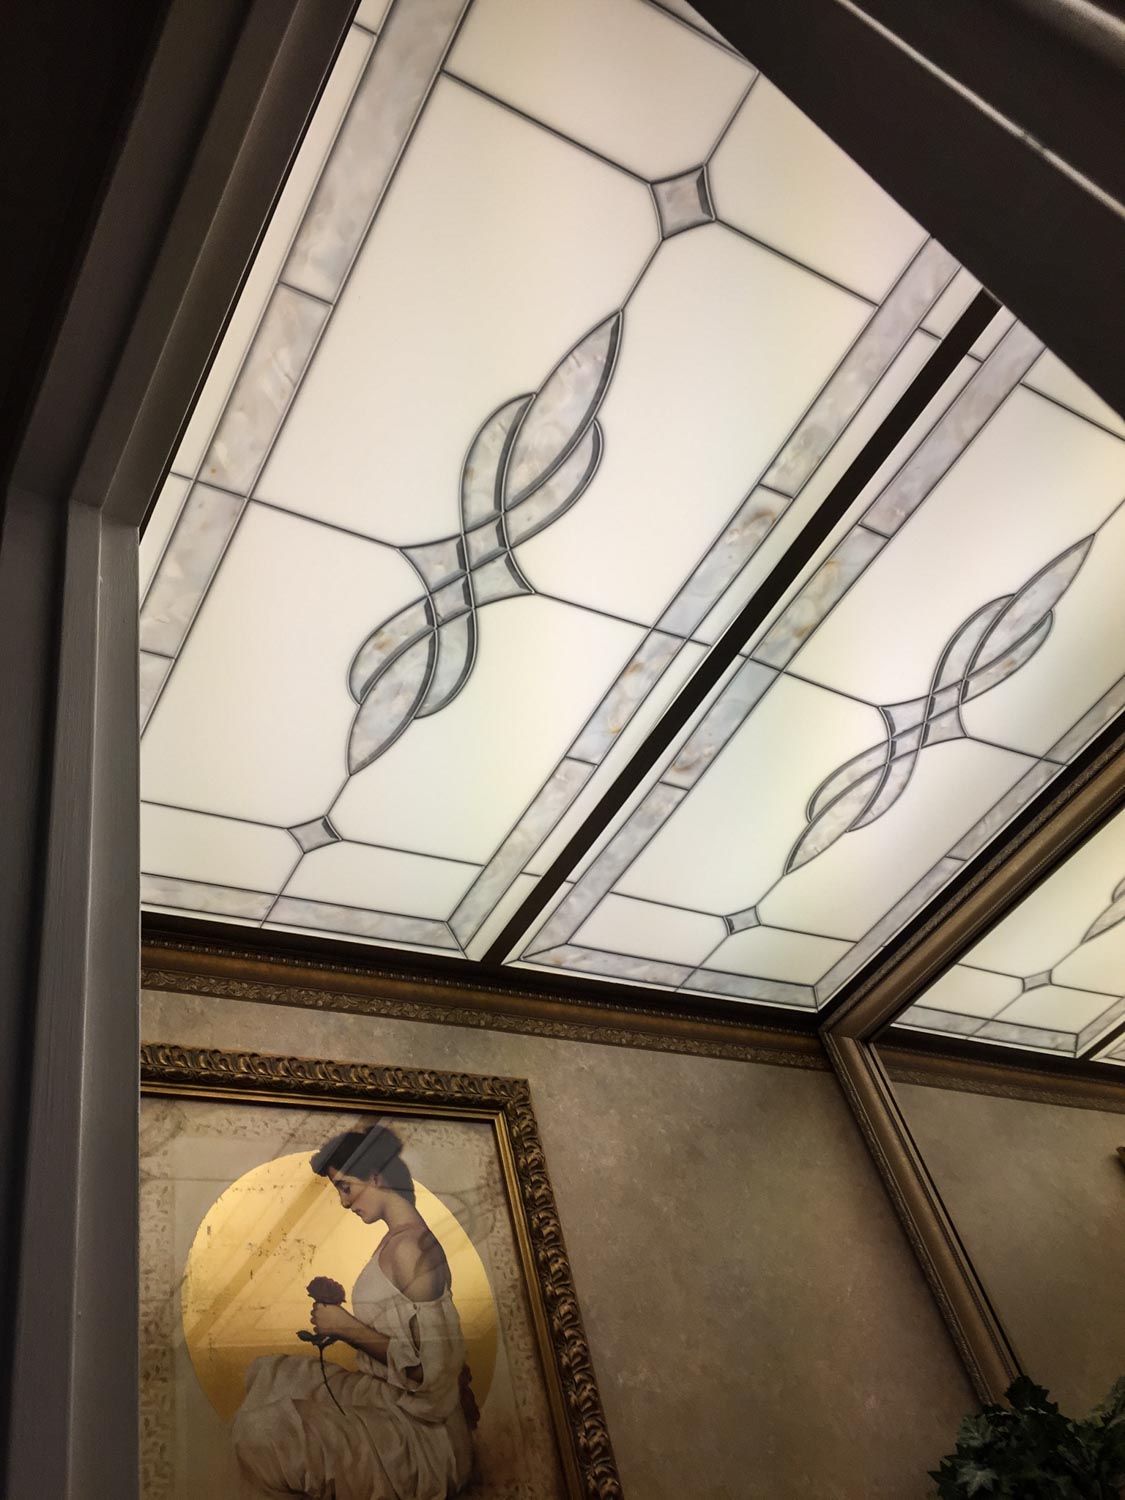

Fluorescent Gallery

To ensure a straight and clean cut, it's important to place the acrylic lighting cover on a flat surface while cutting. This will prevent the material from bending or bowing, resulting in an uneven cut.5. Cut on a Flat Surface


Acrylic Lighting Covers

For straight cuts on acrylic lighting covers, the score and snap method is the most effective. First, use a sharp utility knife to score the acrylic along the line you want to cut. Then, place the scored line along the edge of a table and apply downward pressure to snap the acrylic along the scored line.6. Score and Snap Method
Fluorescent Gallery
If you need to make angled or curved cuts on your acrylic lighting cover, a circular saw with a fine-tooth blade is the best option. Make sure to secure the acrylic to a work surface before cutting and use a guide to ensure a straight line.7. Cut with a Circular Saw
Acrylic Lighting Covers
After cutting your acrylic lighting cover, it's important to sand down the edges to remove any rough or jagged areas. This will create a smooth finish and prevent any potential injuries from sharp edges.8. Sand the Edges
Fluorescent Gallery
Once you have your kitchen acrylic lighting cover cut to the desired size and shape, make sure to clean it thoroughly with a mild soap and water solution. Then, carefully install it onto your light fixture, following the manufacturer's instructions.9. Clean and Install
Acrylic Lighting Covers
Congratulations, you have successfully cut and installed your kitchen acrylic lighting cover! Not only does it provide even lighting in your kitchen, but it also adds a touch of style and functionality. Sit back, relax, and enjoy the beautiful lighting in your kitchen.10. Enjoy the Results
Fluorescent Gallery


Acrylic lighting covers are a great option for kitchens as they are easy to cut, install, and maintain. By following these top 10 cutting instructions, you can achieve the perfect lighting in your kitchen and create a warm and inviting atmosphere. So, don't wait any longer, get your hands on some acrylic lighting covers and transform your kitchen today!Conclusion
Acrylic Lighting Covers
Kitchen Acrylic Lighting Covers Cutting Instructions

Why Acrylic Lighting Covers Are Essential for Your Kitchen Design
 When it comes to designing a kitchen, every detail matters. From the color of the cabinets to the style of the countertops, every aspect of the kitchen contributes to its overall aesthetic. However, one often overlooked element of kitchen design is lighting. Not only does lighting play a crucial role in creating ambiance and enhancing the functionality of the space, but it also serves as a decorative element. With the right lighting, you can transform your kitchen into a warm and inviting space. This is where acrylic lighting covers come into play.
Acrylic lighting covers
are a popular choice for kitchens due to their durability, versatility, and aesthetic appeal. These covers not only protect your lighting fixtures but also add a touch of modern elegance to your kitchen. In this article, we will discuss the cutting instructions for kitchen acrylic lighting covers, so you can achieve the perfect fit and look for your kitchen.
When it comes to designing a kitchen, every detail matters. From the color of the cabinets to the style of the countertops, every aspect of the kitchen contributes to its overall aesthetic. However, one often overlooked element of kitchen design is lighting. Not only does lighting play a crucial role in creating ambiance and enhancing the functionality of the space, but it also serves as a decorative element. With the right lighting, you can transform your kitchen into a warm and inviting space. This is where acrylic lighting covers come into play.
Acrylic lighting covers
are a popular choice for kitchens due to their durability, versatility, and aesthetic appeal. These covers not only protect your lighting fixtures but also add a touch of modern elegance to your kitchen. In this article, we will discuss the cutting instructions for kitchen acrylic lighting covers, so you can achieve the perfect fit and look for your kitchen.
The Importance of Properly Cutting Your Acrylic Lighting Covers
 Before we dive into the cutting instructions, let's first understand why it's essential to cut your acrylic lighting covers properly.
Acrylic is a lightweight, shatter-resistant material
that is commonly used for various household purposes, including lighting covers. However, this material can be challenging to work with, and improper cutting can result in cracks, chips, or uneven edges. These imperfections can affect the overall look and quality of your lighting covers, making them appear cheap and unprofessional. Additionally, poorly cut covers may not fit properly, leaving gaps that can allow dust and debris to gather, making them difficult to clean. Therefore, it's crucial to follow the correct cutting instructions to achieve a flawless and functional kitchen lighting design.
Before we dive into the cutting instructions, let's first understand why it's essential to cut your acrylic lighting covers properly.
Acrylic is a lightweight, shatter-resistant material
that is commonly used for various household purposes, including lighting covers. However, this material can be challenging to work with, and improper cutting can result in cracks, chips, or uneven edges. These imperfections can affect the overall look and quality of your lighting covers, making them appear cheap and unprofessional. Additionally, poorly cut covers may not fit properly, leaving gaps that can allow dust and debris to gather, making them difficult to clean. Therefore, it's crucial to follow the correct cutting instructions to achieve a flawless and functional kitchen lighting design.
The Step-by-Step Cutting Instructions for Acrylic Lighting Covers
 Now that we understand the importance of proper cutting, let's look at the step-by-step instructions for cutting your acrylic lighting covers.
Step 1: Measure Twice, Cut Once
The first and most crucial step is to measure your lighting fixture accurately. Use a measuring tape to determine the length and width of the fixture.
Take note of the measurement in inches
and double-check to ensure accuracy. Remember,
it's always better to cut the cover slightly bigger than the actual size
of the fixture, as you can always trim off any excess material later.
Step 2: Prepare Your Tools and Materials
To cut acrylic lighting covers, you will need a
sharp utility knife, a straightedge ruler, and a cutting mat
. These tools will help you achieve clean and precise cuts without damaging the material.
Step 3: Mark Your Measurements
Use a pencil or marker to mark the measurements on your acrylic lighting cover. Make sure to mark the measurements on both sides of the cover, as this will act as a guide when cutting.
Step 4: Place the Cover on a Flat Surface
Place the acrylic cover on a flat surface, such as a cutting mat, with the marked measurements facing up. Make sure the cover is secure and won't move around while cutting.
Step 5: Cut Along the Marked Lines
Using the straightedge ruler as a guide, carefully cut along the marked lines using a sharp utility knife. It's best to make multiple light passes to avoid cracking or damaging the material. If necessary, you can go over the cut lines a second time to ensure a clean and precise cut.
Step 6: Trim Off Any Excess Material
After cutting, check the fit of the cover on the lighting fixture. If there are any gaps or rough edges, use the utility knife to trim off any excess material. Be careful not to cut too much, as this can affect the fit and functionality of the cover.
Now that we understand the importance of proper cutting, let's look at the step-by-step instructions for cutting your acrylic lighting covers.
Step 1: Measure Twice, Cut Once
The first and most crucial step is to measure your lighting fixture accurately. Use a measuring tape to determine the length and width of the fixture.
Take note of the measurement in inches
and double-check to ensure accuracy. Remember,
it's always better to cut the cover slightly bigger than the actual size
of the fixture, as you can always trim off any excess material later.
Step 2: Prepare Your Tools and Materials
To cut acrylic lighting covers, you will need a
sharp utility knife, a straightedge ruler, and a cutting mat
. These tools will help you achieve clean and precise cuts without damaging the material.
Step 3: Mark Your Measurements
Use a pencil or marker to mark the measurements on your acrylic lighting cover. Make sure to mark the measurements on both sides of the cover, as this will act as a guide when cutting.
Step 4: Place the Cover on a Flat Surface
Place the acrylic cover on a flat surface, such as a cutting mat, with the marked measurements facing up. Make sure the cover is secure and won't move around while cutting.
Step 5: Cut Along the Marked Lines
Using the straightedge ruler as a guide, carefully cut along the marked lines using a sharp utility knife. It's best to make multiple light passes to avoid cracking or damaging the material. If necessary, you can go over the cut lines a second time to ensure a clean and precise cut.
Step 6: Trim Off Any Excess Material
After cutting, check the fit of the cover on the lighting fixture. If there are any gaps or rough edges, use the utility knife to trim off any excess material. Be careful not to cut too much, as this can affect the fit and functionality of the cover.
Final Thoughts
 Properly cutting your acrylic lighting covers is crucial for achieving a seamless and professional look for your kitchen design. By following these step-by-step instructions, you can ensure that your lighting covers fit perfectly and enhance the overall aesthetic of your kitchen. Remember to take your time and be precise when cutting, and you'll have beautiful and functional acrylic lighting covers for your kitchen in no time.