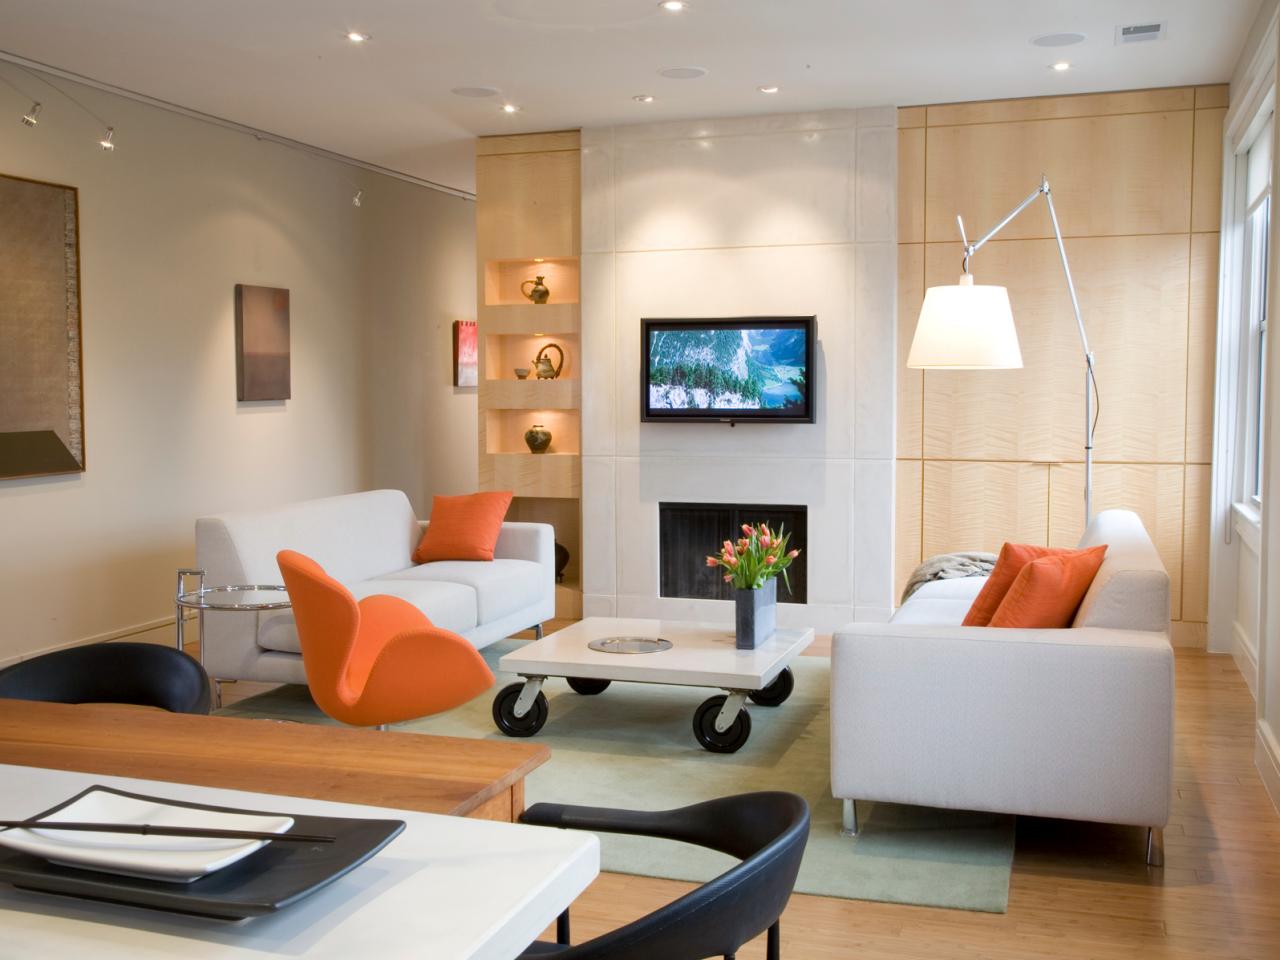
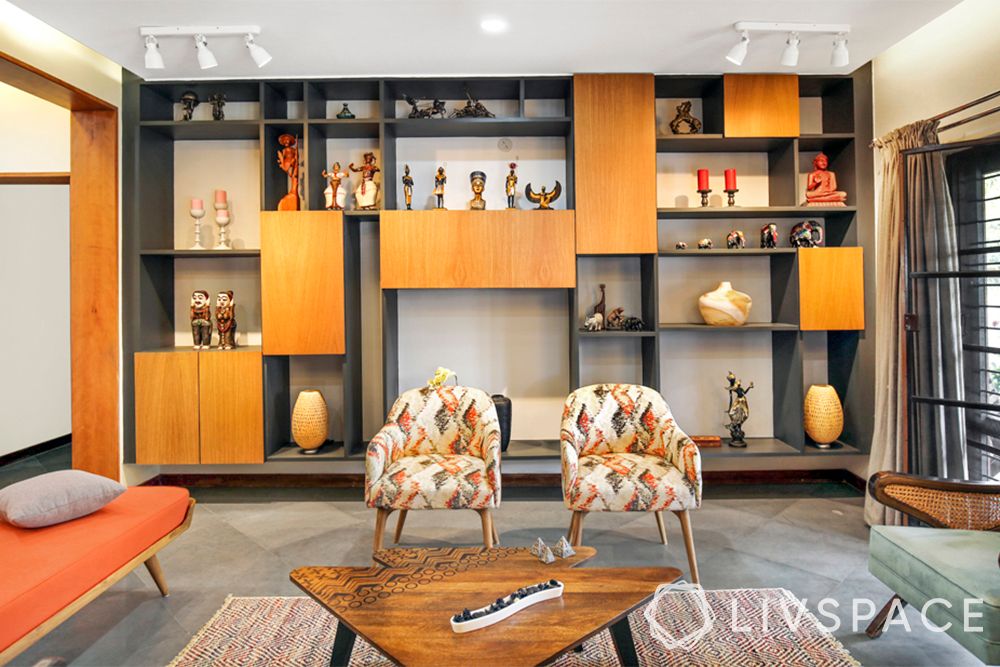
Are you looking to add some modern and functional lighting to your living room? Look no further than pot lights! These sleek and versatile fixtures are a great way to brighten up any space. Not sure how to install them? No problem, we've got you covered with this step-by-step guide on how to install pot lights in your living room.How to Install Pot Lights in Your Living Room
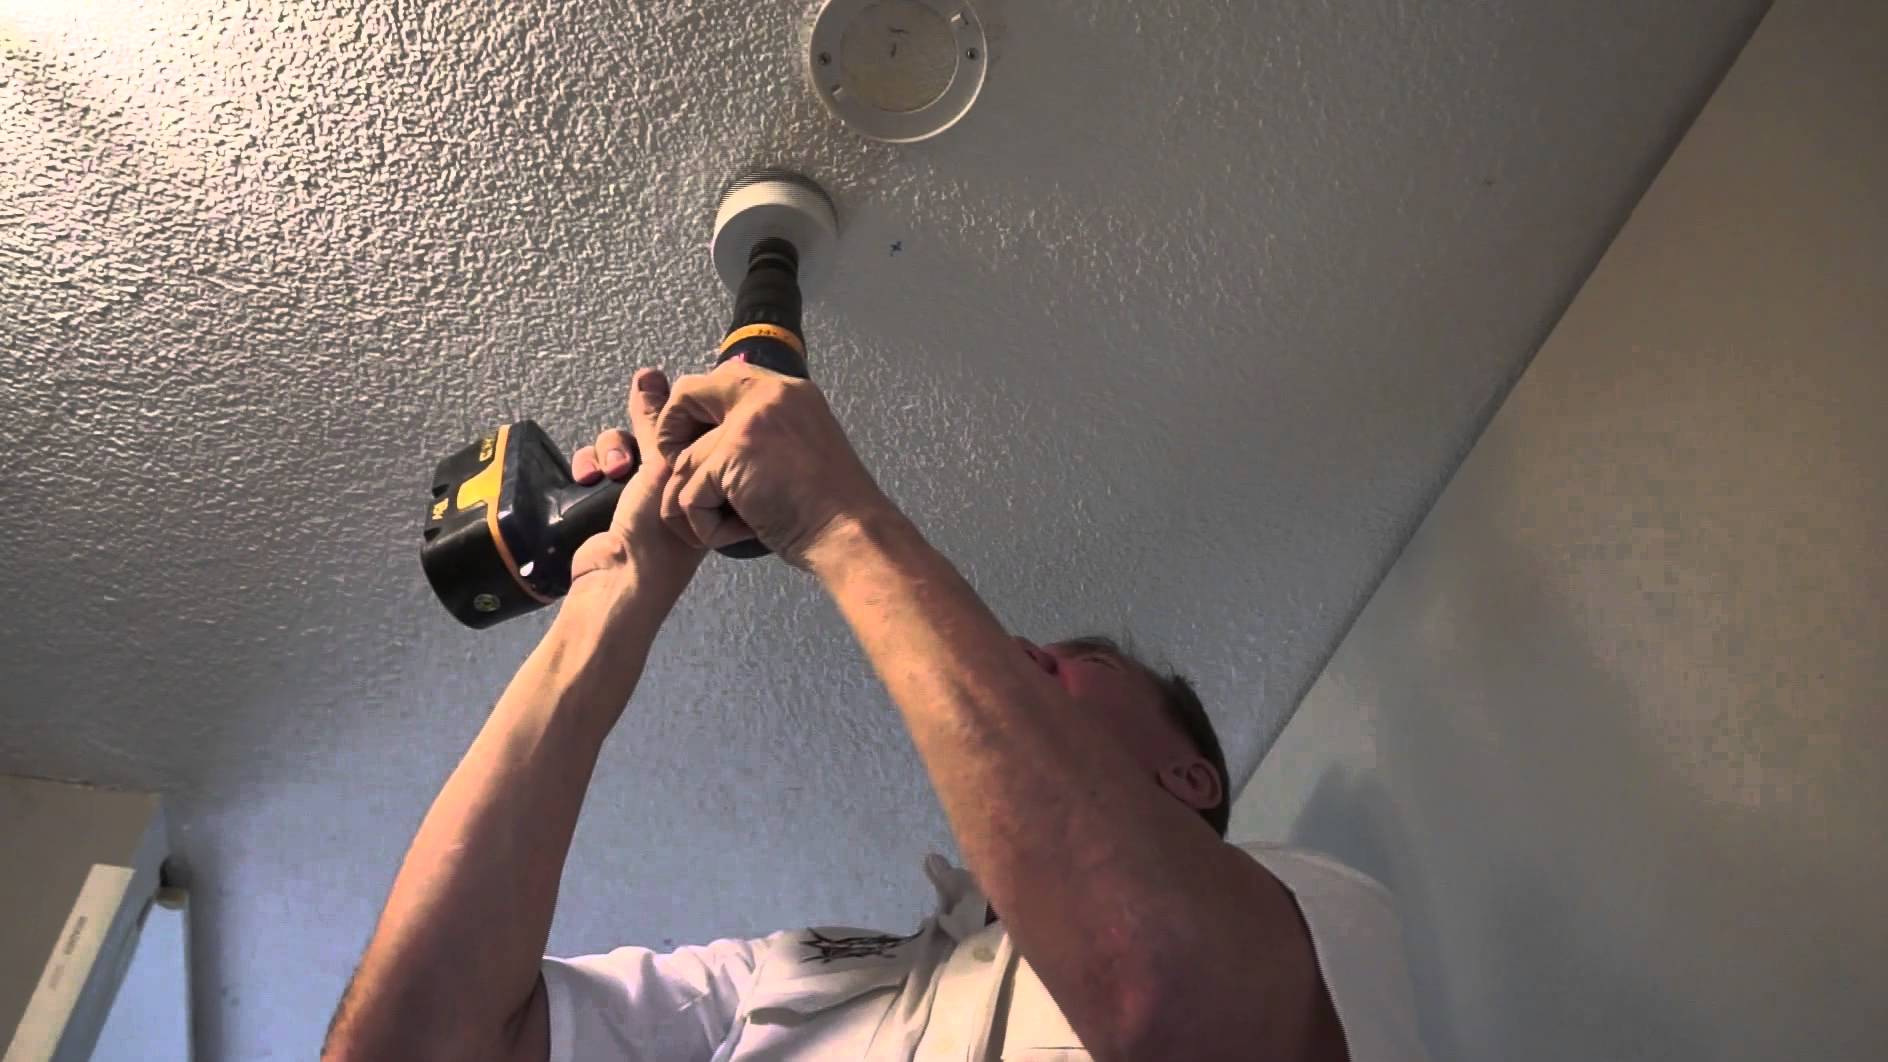
Before we begin, make sure you have all the necessary tools and materials. You will need a stud finder, drywall saw, wire strippers, electrical tape, wire connectors, a screwdriver, and of course, the pot lights and wiring. Once you have everything ready, follow these steps: Step 1: Plan the Layout Decide where you want to install the pot lights in your living room. Consider the placement of your furniture and any existing light fixtures. It's best to space the lights evenly and avoid placing them too close to each other or the walls. Step 2: Find the Studs Using a stud finder, locate the ceiling joists in the area where you want to install the pot lights. Mark the location of each stud with a pencil. Step 3: Cut Holes for the Lights Using a drywall saw, carefully cut holes in the ceiling for each pot light, following the marked locations of the studs. Step 4: Run the Wiring Run the wiring from an existing light fixture or switch to the first pot light. Make sure to leave enough slack in the wire for easy installation. Use wire connectors to connect the wires together, following the manufacturer's instructions. Step 5: Install the Junction Box Attach the junction box to the ceiling joist above the first hole. This will serve as the connection point for the wiring and the pot light. Step 6: Install the Pot Light Carefully insert the pot light into the hole, making sure it is flush against the ceiling. Use the provided clips to secure the light to the ceiling, following the manufacturer's instructions. Step 7: Connect the Wiring Connect the wiring from the junction box to the pot light, again using wire connectors and following the manufacturer's instructions. Repeat this process for each pot light. Step 8: Cover the Junction Box Attach the cover plate to the junction box, ensuring all the wiring is neatly tucked inside. This will provide a finished look and protect the wiring. Step 9: Test the Lights Turn on the power and test each light to make sure it is working properly. If not, double-check your wiring connections and troubleshoot any issues, or consult a professional electrician. Step 10: Patch and Paint If necessary, patch any holes and touch up the paint on your ceiling to blend in with the new pot lights. And voila, your living room now has a beautiful and functional lighting upgrade!Step-by-Step Guide for Installing Pot Lights in Your Living Room
Installing pot lights in your living room is a great DIY project for those with some basic electrical knowledge and skills. However, if you are not comfortable with handling electrical work, it's best to hire a professional electrician to ensure the job is done safely and correctly.DIY Pot Light Installation in Your Living Room
Here are some best practices to keep in mind when installing pot lights in your living room:Best Practices for Installing Pot Lights in Your Living Room
Make sure you have the following tools on hand before starting your pot light installation:Essential Tools for Installing Pot Lights in Your Living Room
Here are some expert tips to help you with your pot light installation:Expert Tips for Installing Pot Lights in Your Living Room
Here are some common mistakes to avoid when installing pot lights in your living room:Common Mistakes to Avoid When Installing Pot Lights in Your Living Room
When choosing pot lights for your living room, consider the following factors:How to Choose the Right Pot Lights for Your Living Room
The cost and time for installing pot lights in your living room will vary depending on the number of lights, your location, and whether you hire a professional or do it yourself. On average, it can cost anywhere from $200 to $1000 and take 4-8 hours to complete the installation.Cost and Time Estimate for Installing Pot Lights in Your Living Room
Deciding whether to hire a professional or do it yourself will depend on your level of comfort and experience with electrical work. If you are not confident in your abilities, it's best to leave it to the professionals to ensure the job is done safely and correctly. However, if you have the necessary skills and knowledge, doing it yourself can save you some money. Now that you have all the information and tips for installing pot lights in your living room, it's time to get started! Whether you choose to hire a professional or tackle it yourself, you'll love the added functionality and style these lights bring to your living space. Happy lighting!Professional vs. DIY: Which is Better for Installing Pot Lights in Your Living Room?
Benefits of Installing Pot Lights in Your Living Room
/before-you-buy-recessed-lights-2175005-FINAL-5baa48ab4cedfd0025afb691.png)
Enhanced Aesthetics and Ambiance
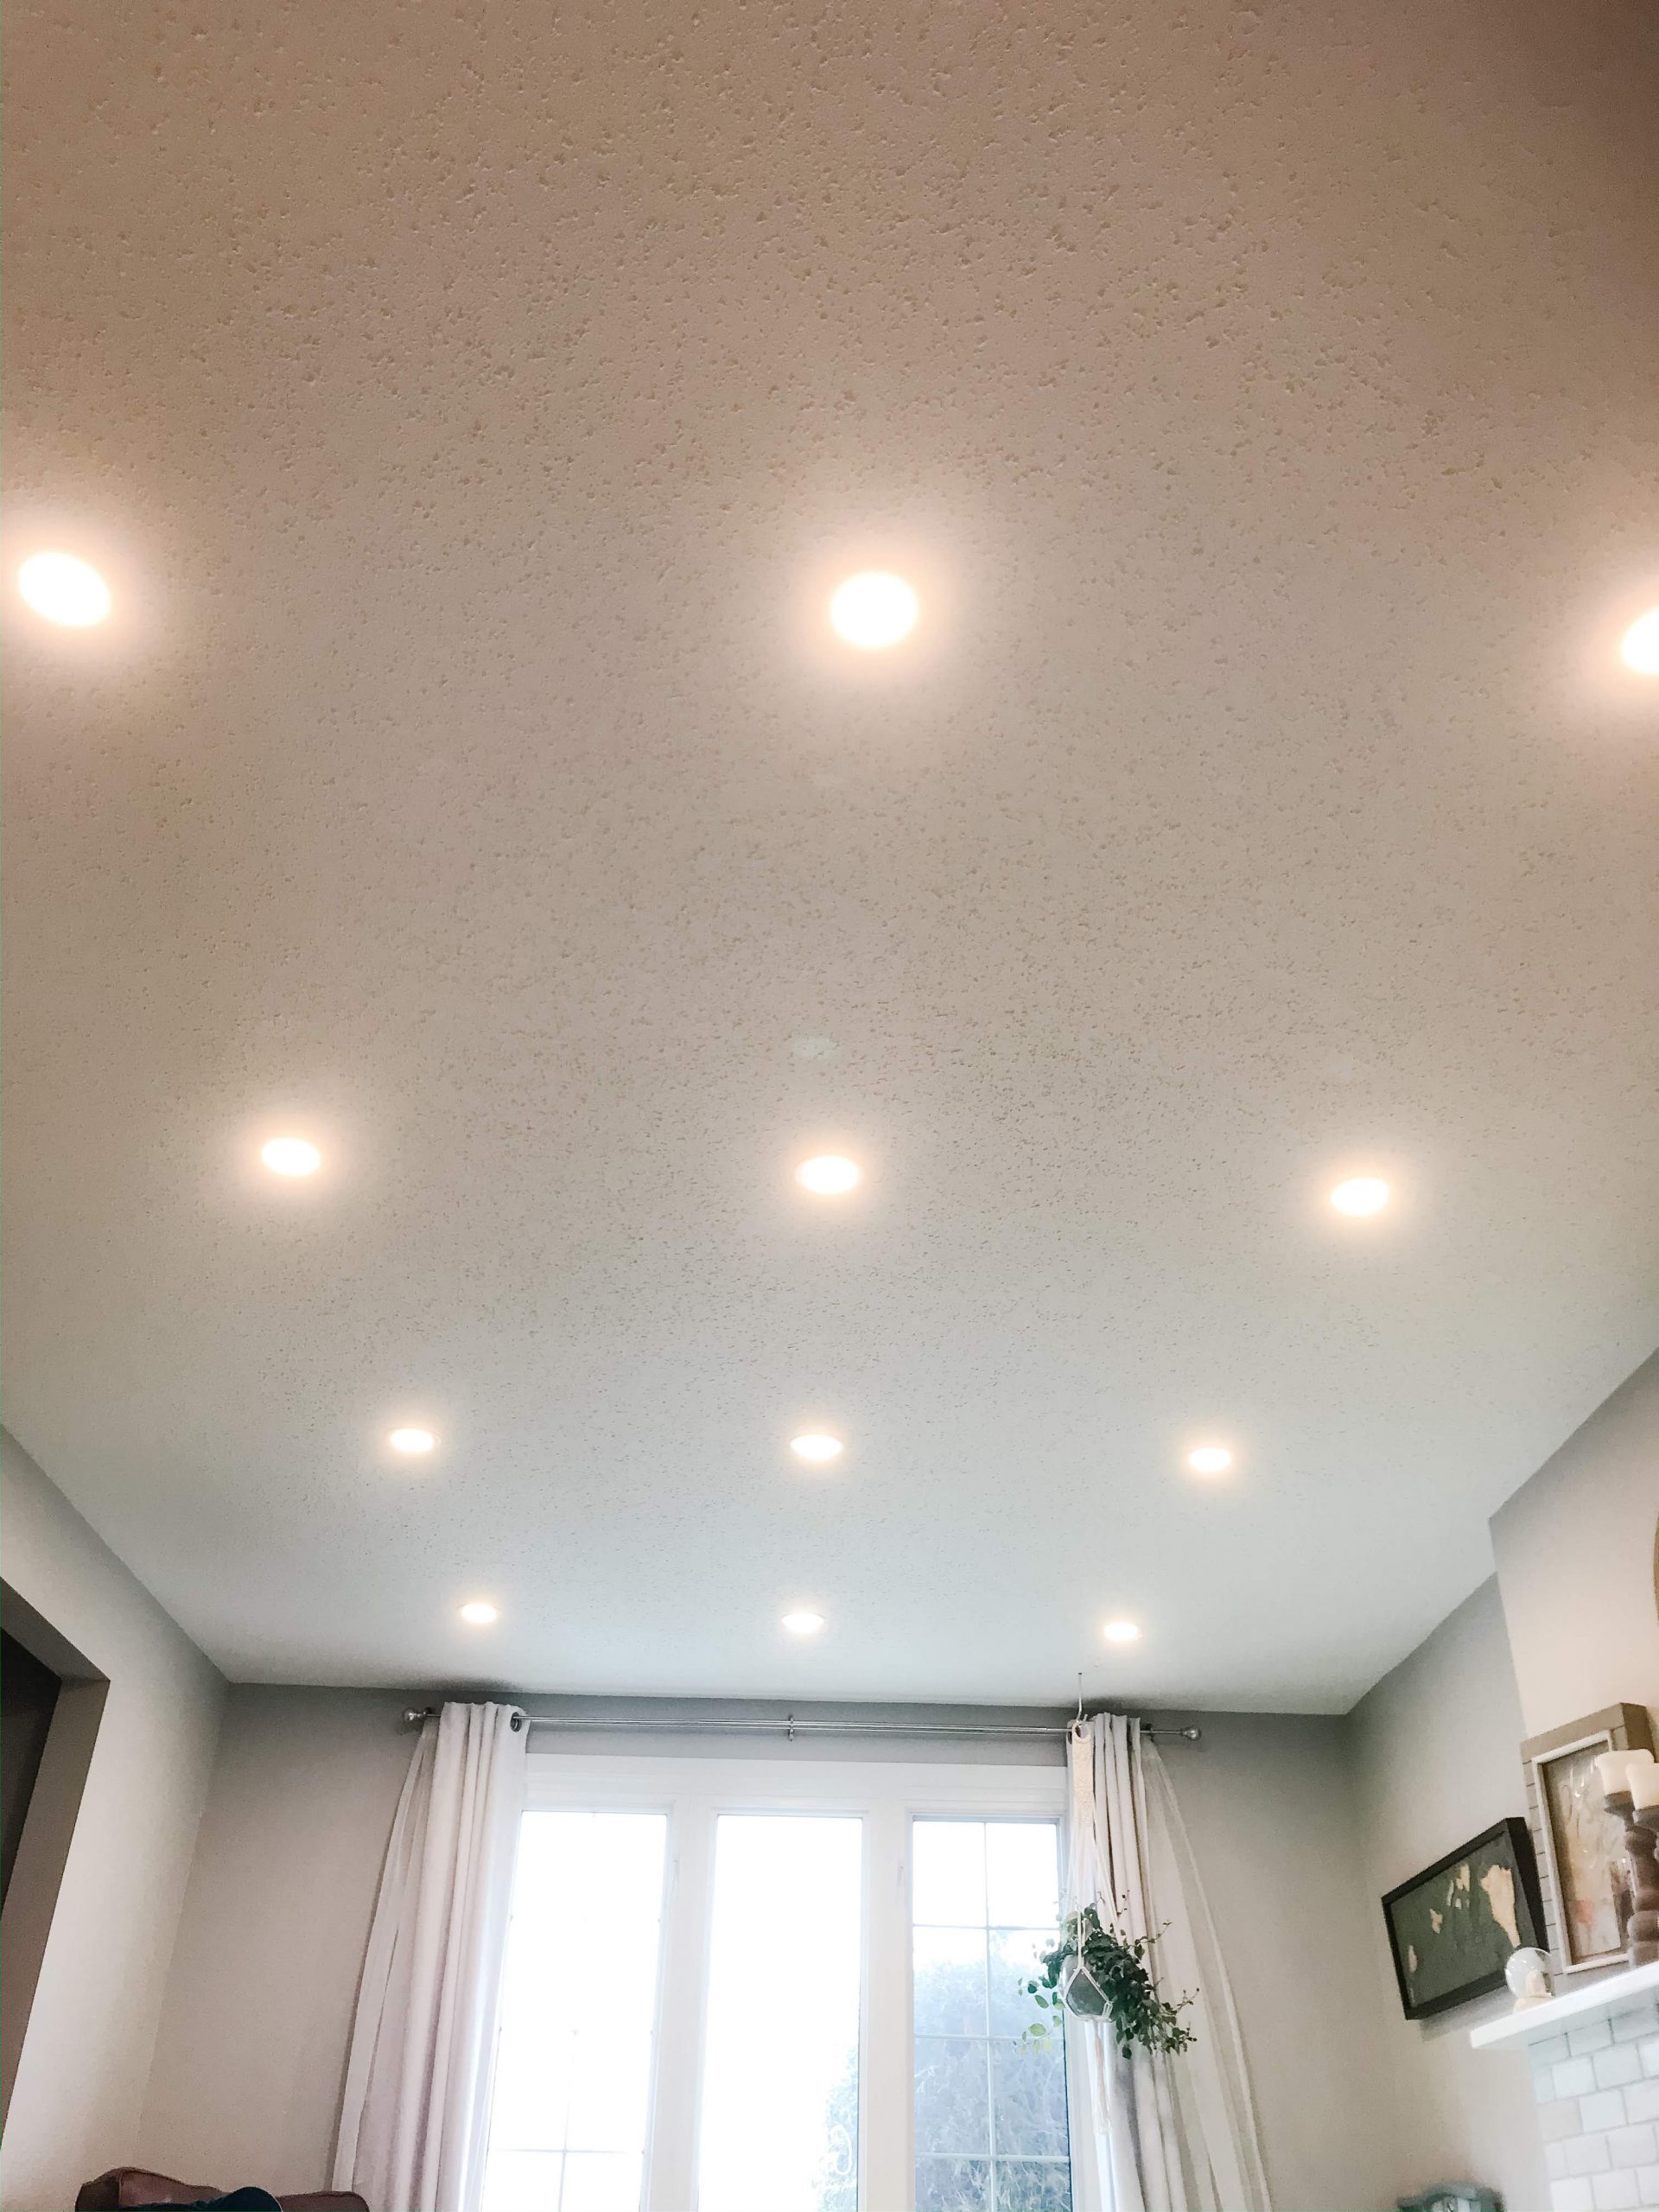
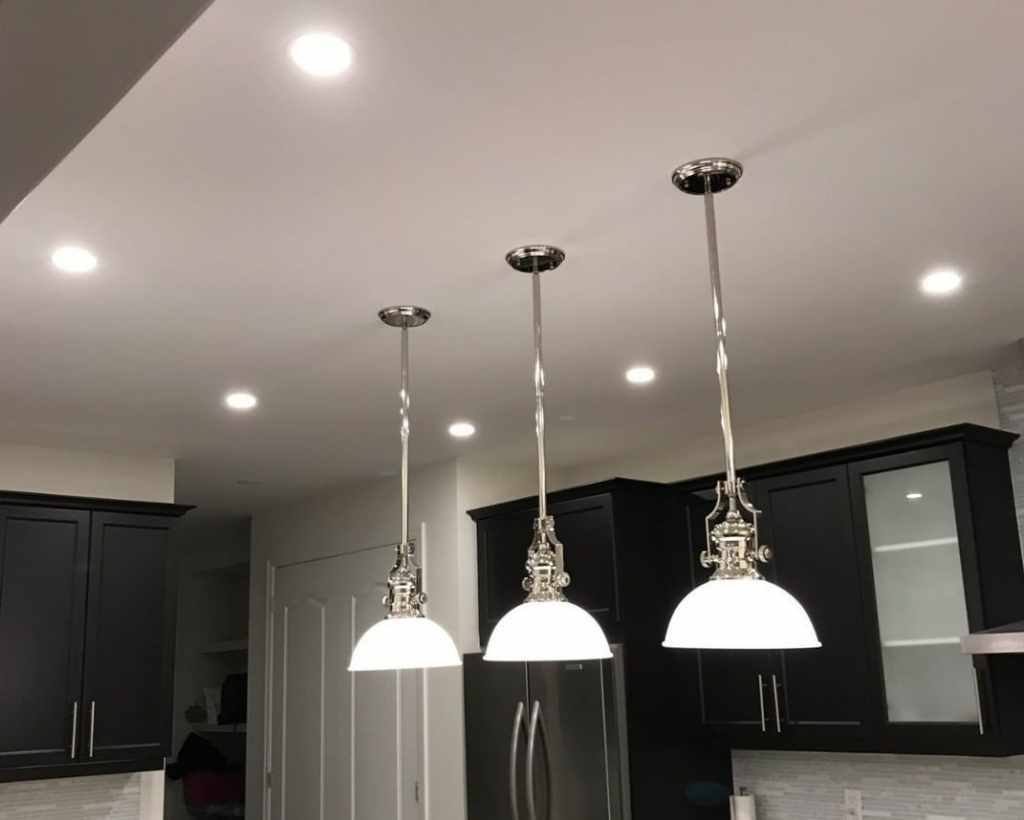
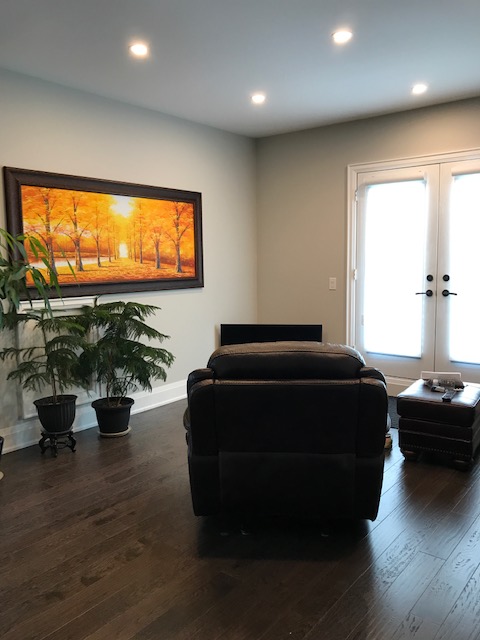
 Adding pot lights to your living room can instantly elevate the look and feel of the space. These recessed lights offer a sleek and modern touch, making your living room appear more spacious and inviting. With the ability to be placed strategically throughout the room, pot lights can create a warm and welcoming ambiance, perfect for relaxing or entertaining guests.
Increased Energy Efficiency
 Pot lights are not only aesthetically pleasing, but they are also energy-efficient. Unlike traditional light fixtures, pot lights are installed directly into the ceiling, eliminating the need for visible cords and wires. This not only creates a cleaner and more minimalistic look, but it also reduces the risk of tripping hazards. Additionally, pot lights use LED bulbs which consume less energy and have a longer lifespan compared to traditional incandescent bulbs.
Flexible Lighting Options
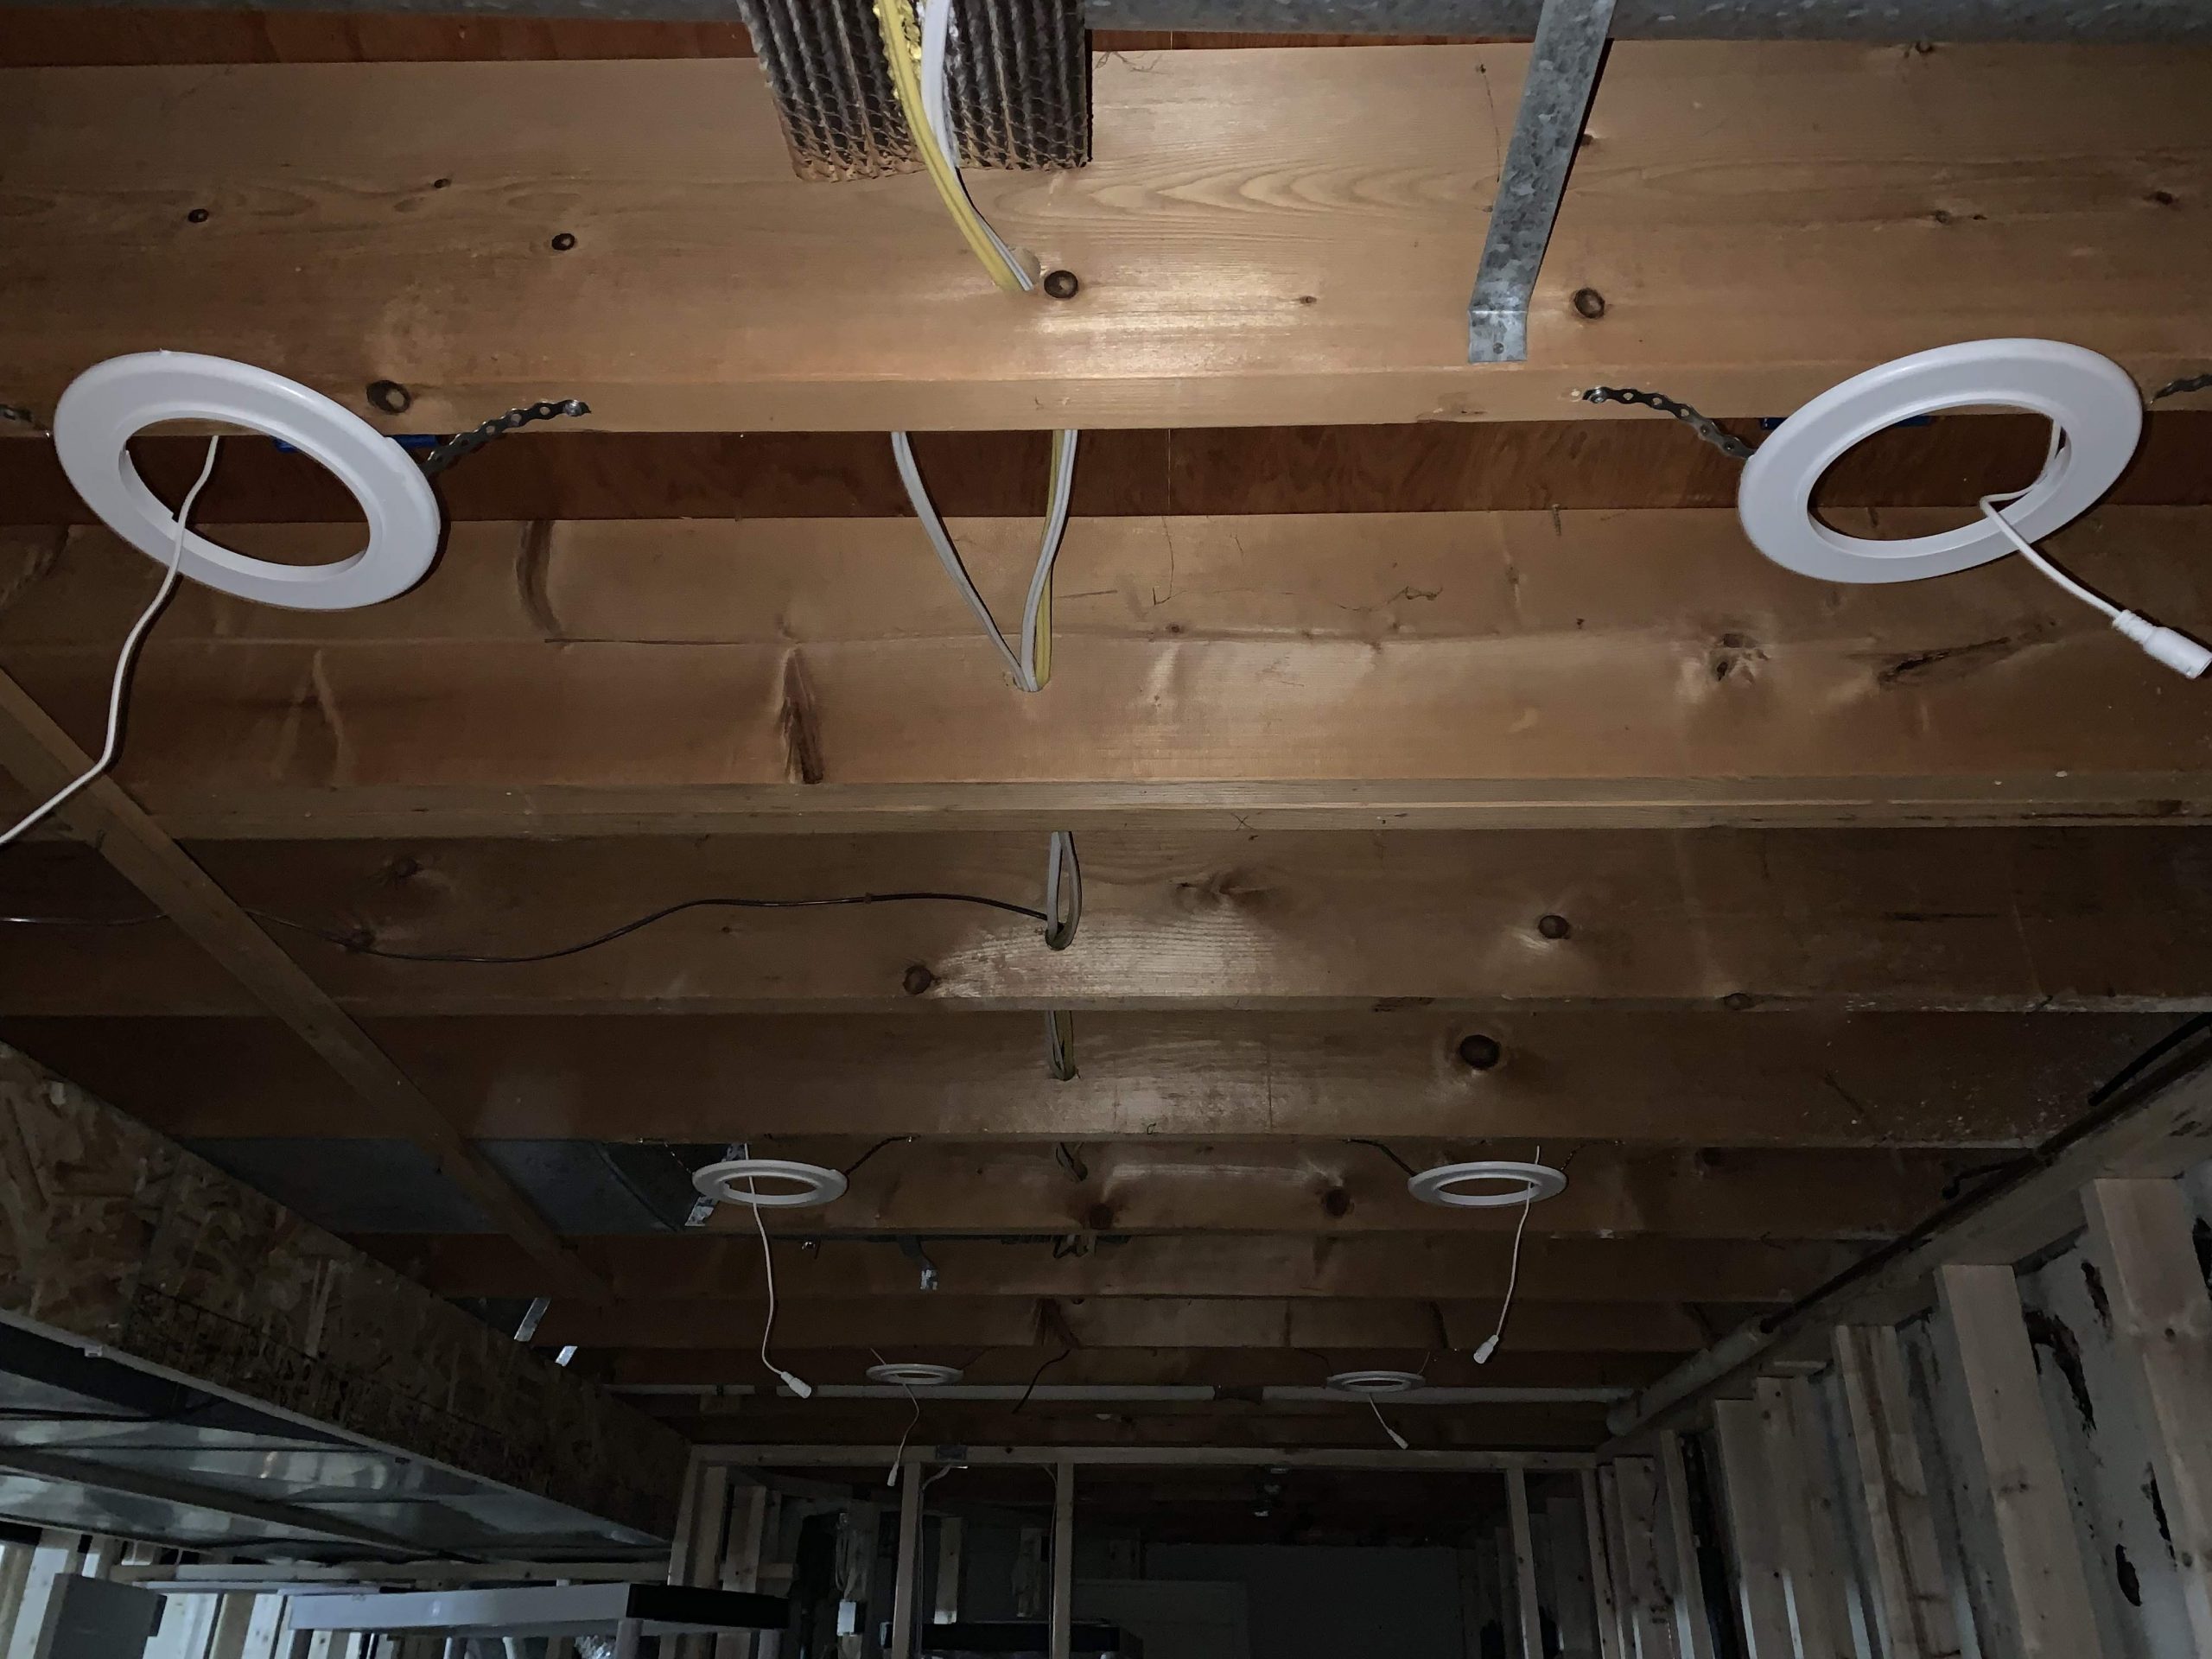 One of the main advantages of installing pot lights in your living room is the flexibility it offers in terms of lighting options. With a dimmer switch, you can easily adjust the intensity of the lights, creating the perfect ambiance for any occasion. Whether you want bright and vibrant lighting for a family game night or a more intimate and cozy setting for a movie night, pot lights allow you to customize the lighting to suit your needs.
Improved Task Lighting
 Pot lights are also a practical addition to any living room as they provide excellent task lighting. With strategically placed pot lights above your seating area, you can have focused and targeted lighting for reading, studying, or working on a laptop. This eliminates the need for bulky and unattractive desk lamps or floor lamps, giving your living room a more streamlined and clutter-free look.
Increased Property Value
 Lastly, installing pot lights in your living room can increase the value of your property. These modern and energy-efficient lighting fixtures are highly sought after by homebuyers, making your home more attractive and desirable on the market. This can be a wise investment for homeowners looking to increase the value of their property in the long run.
In conclusion, installing pot lights in your living room not only enhances the aesthetics and ambiance of the space, but it also offers energy efficiency, flexible lighting options, improved task lighting, and increased property value. With all these benefits, it's no wonder that pot lights are becoming a popular choice for homeowners looking to elevate their house design. So, why wait? Consider installing pot lights in your living room today and enjoy all the advantages it has to offer.







:max_bytes(150000):strip_icc()/living-room-area-rugs-1977221-e10e92b074244eb38400fecb3a77516c.png)


:max_bytes(150000):strip_icc()/before-you-buy-recessed-lights-2175005-FINAL-5baa48ab4cedfd0025afb691.png)


