How to Install LED Kitchen Cabinet Lighting
LED kitchen cabinet lighting is a popular choice for modern homes due to its energy efficiency, longevity, and versatility. Whether you want to enhance the look of your kitchen or improve its functionality, installing LED lighting under your cabinets is a great way to achieve both. In this guide, we will walk you through the step-by-step process of installing LED kitchen cabinet lighting.
LED Kitchen Cabinet Lighting Installation Guide
Before starting the installation process, it is important to gather all the necessary tools and materials. You will need a power drill, screws, wire strippers, wire connectors, and of course, the LED strip lights. Make sure to measure the length of your cabinets to determine how many LED strip lights you will need.
Once you have all the materials, start by turning off the power supply to the kitchen cabinets. This is important for your safety and to avoid any electrical mishaps. Now, let's get started with the installation process!
Step-by-Step Guide for Installing LED Kitchen Cabinet Lighting
Step 1: Preparing the Cabinets
Clean the area under your cabinets thoroughly to ensure that the LED strip lights will adhere properly. It is recommended to use a degreaser or rubbing alcohol to remove any dirt or grease. Once the surface is clean and dry, mark the placement of the LED strip lights using a pencil.
Step 2: Installing the LED Strip Lights
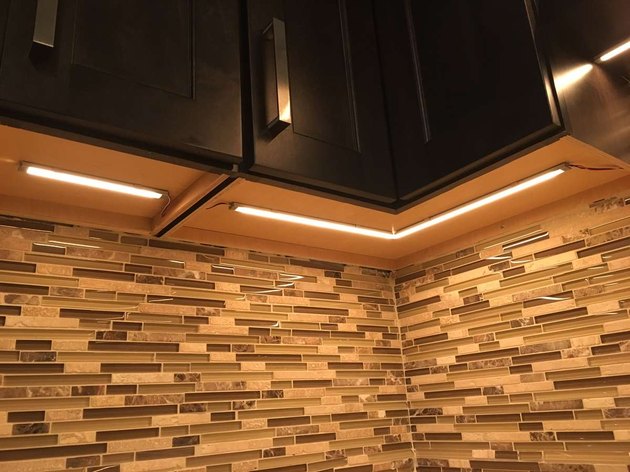
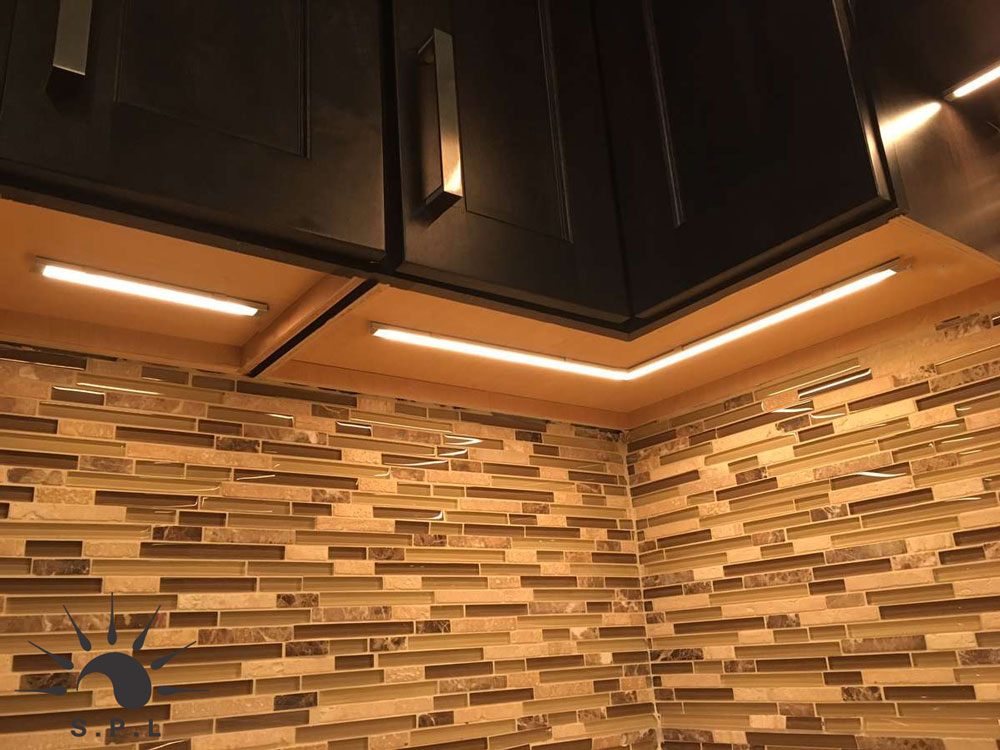
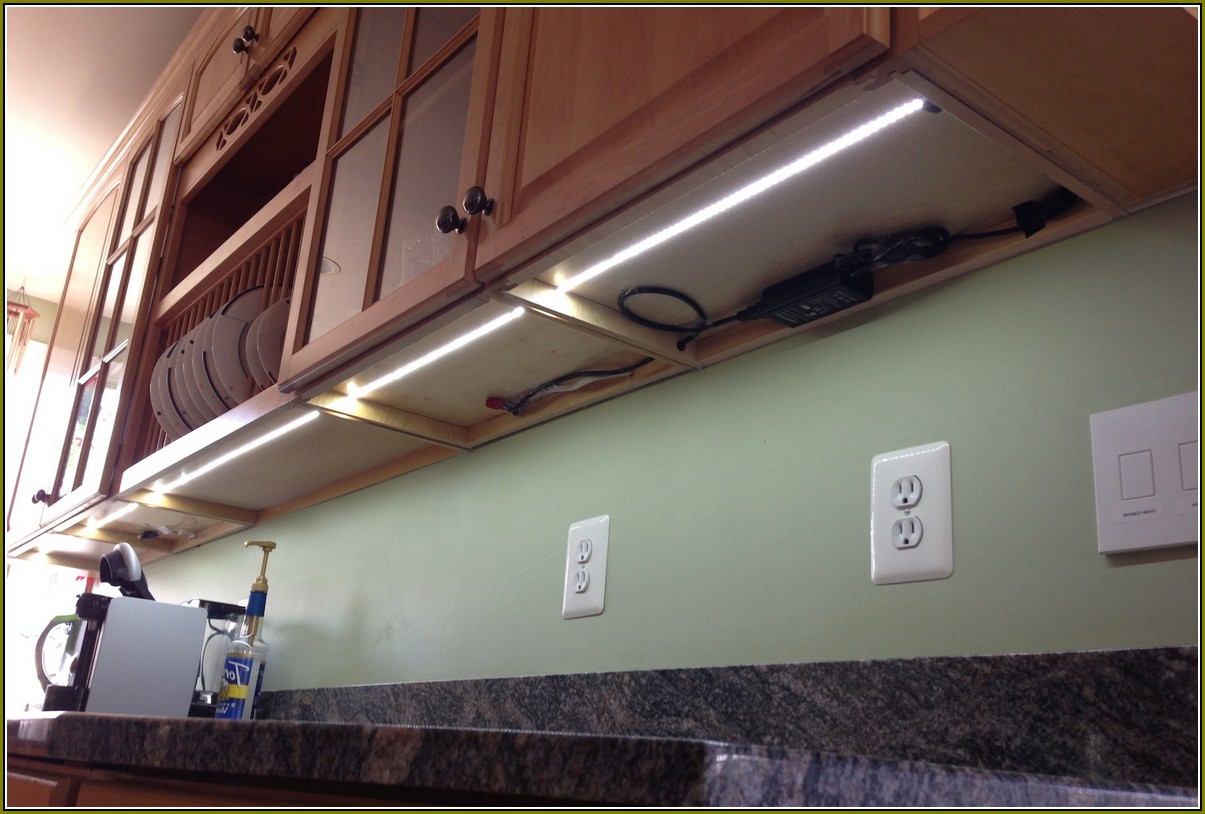
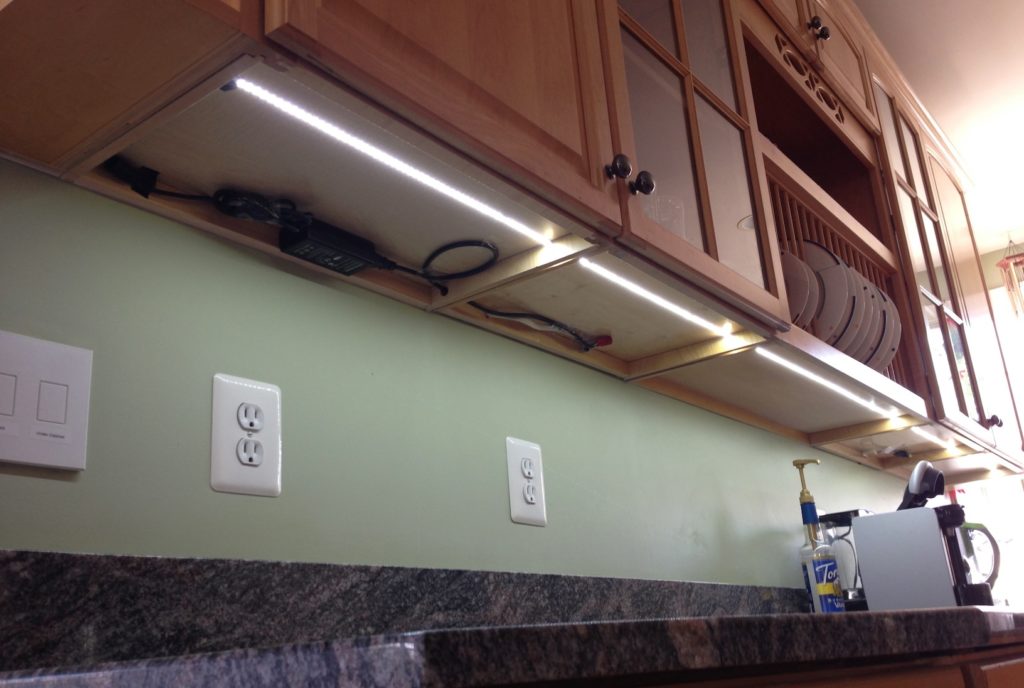
Peel off the adhesive backing of the LED strip lights and carefully stick them onto the marked areas. Make sure to follow the marked lines to ensure a straight and even placement. If the LED strip lights are longer than your cabinets, you can cut them to fit using a pair of scissors at the designated cutting marks.
Step 3: Wiring the Lights
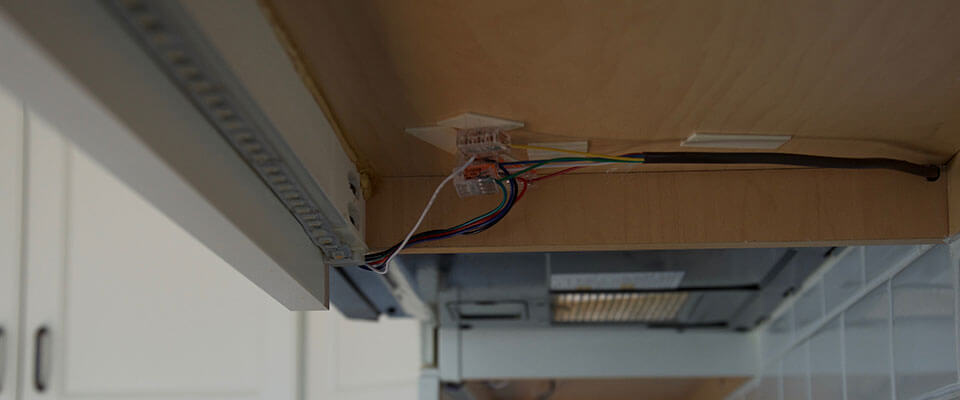
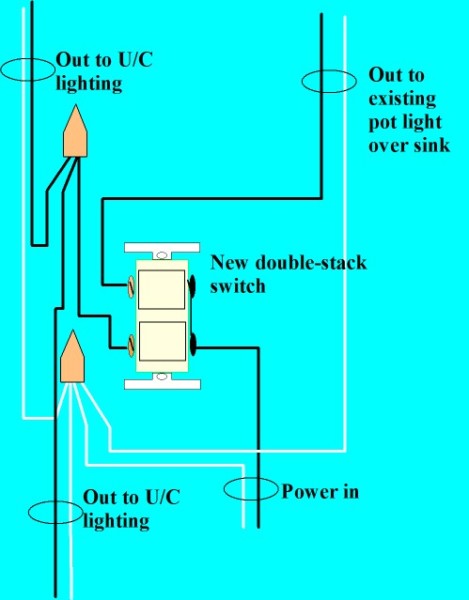
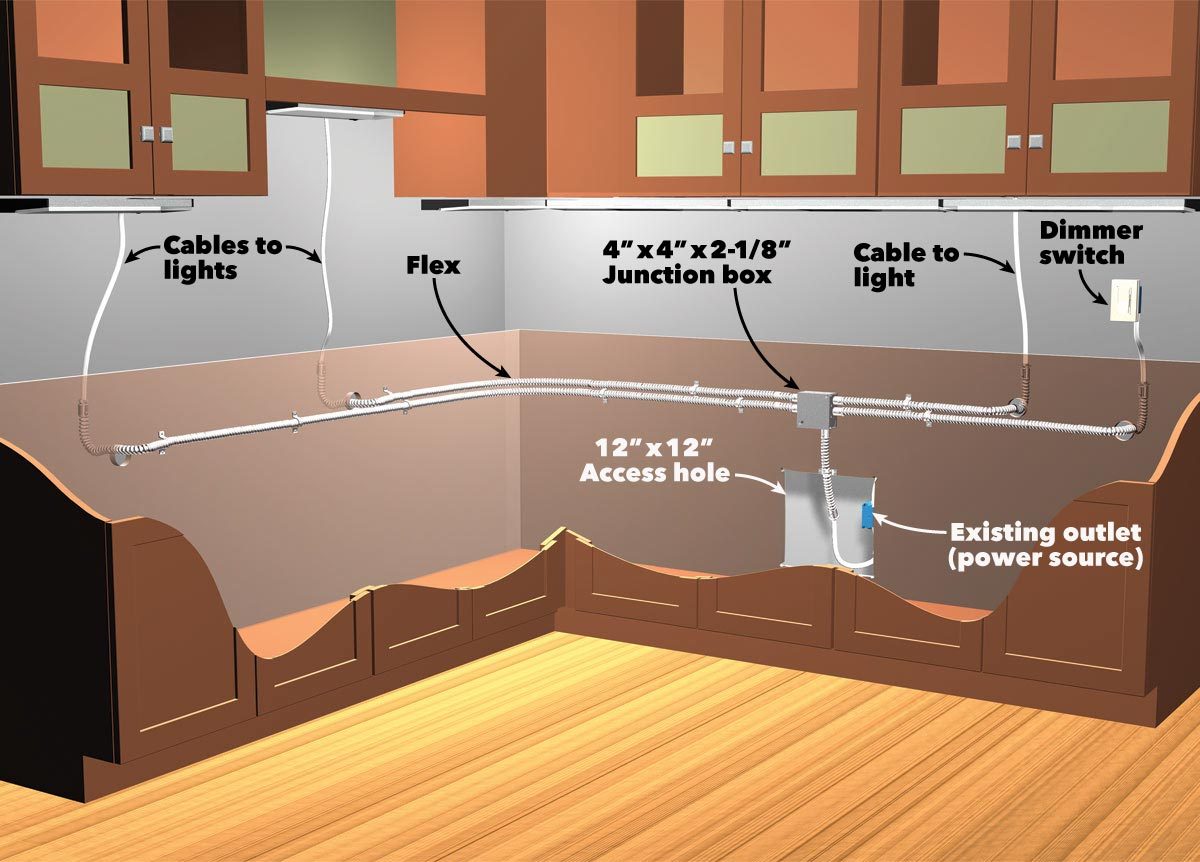
Using the wire strippers, strip the ends of the wires on the LED strip lights. Connect the wires to the power supply using wire connectors and secure them with electrical tape. Make sure to follow the manufacturer's instructions for proper wiring.
Step 4: Mounting the Power Supply
Using the power drill, mount the power supply to the underside of the cabinet or to the wall behind it. Make sure to leave enough space for the wires to connect to the LED strip lights.
Step 5: Testing the Lights
Once everything is connected, turn on the power supply to test the lights. If they are working properly, you can secure the wires with cable clips to keep them neat and organized.
Step 6: Finishing Touches
Now that the LED strip lights are installed, you can add any finishing touches such as a dimmer switch or a remote control for easy operation.
DIY LED Kitchen Cabinet Lighting Installation
Installing LED kitchen cabinet lighting is not as complicated as it may seem. With the right tools and materials, you can easily do it yourself and save money on hiring a professional. Just make sure to follow the steps carefully and take all necessary precautions.
Installing LED Strip Lights Under Kitchen Cabinets
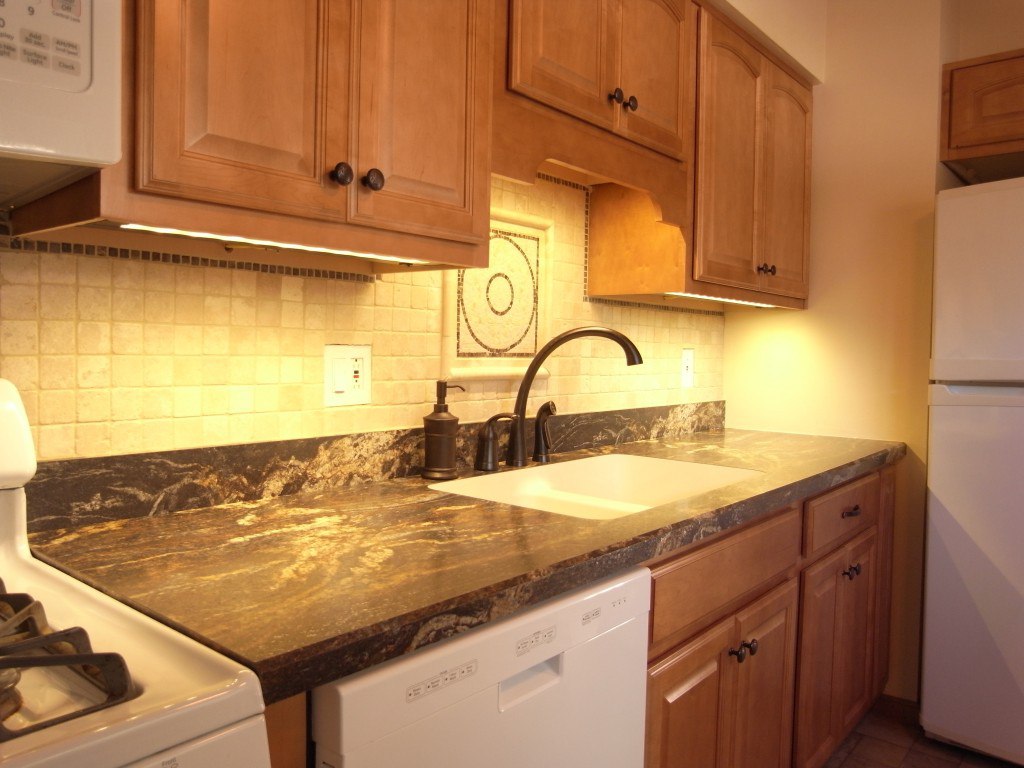
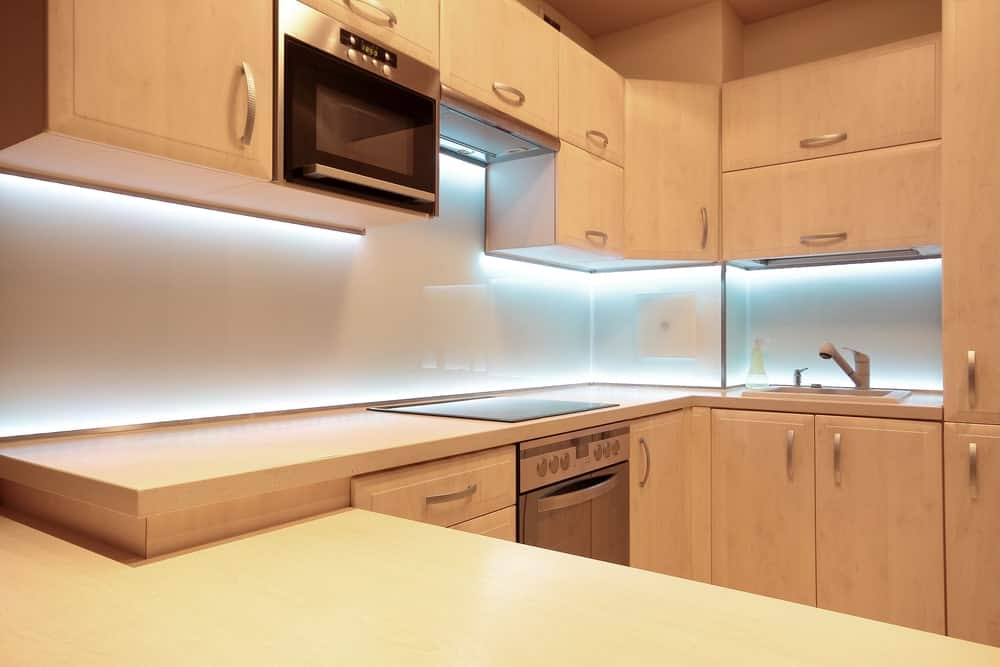
LED strip lights are a popular choice for under cabinet lighting due to their flexibility and easy installation. They can be cut to fit any length and can be placed in tight spaces. The best part is, they provide bright and even lighting, making them perfect for task lighting in the kitchen.
Best Practices for Installing LED Kitchen Cabinet Lighting
To ensure a professional-looking and long-lasting installation, here are some best practices to keep in mind:
• Clean the surface thoroughly before installing the LED strip lights.
• Stick the lights in a straight line to achieve an even look.
• Use wire connectors and electrical tape for secure and safe wiring.
• Leave enough space for the wires to connect to the power supply.
Tools and Materials Needed for Installing LED Kitchen Cabinet Lighting
• LED strip lights
• Power drill
• Screws
• Wire strippers
• Wire connectors
• Pencil
• Scissors
• Degreaser or rubbing alcohol
• Cable clips
Common Mistakes to Avoid When Installing LED Kitchen Cabinet Lighting
• Not cleaning the surface properly before installation.
• Not following the marked lines for placement.
• Not securing the wires with wire connectors and electrical tape.
• Leaving too much or too little space for the wires to connect to the power supply.
• Cutting the LED strip lights in the wrong place.
How to Choose the Right LED Kitchen Cabinet Lighting for Your Space
When choosing LED kitchen cabinet lighting, consider the color temperature, brightness, and length of the strip lights. The color temperature is measured in Kelvin and can range from warm (2700K-3000K) to cool (5000K-6500K). For task lighting, it is recommended to choose a color temperature in the cool range.
The brightness of the LED strip lights is measured in lumens. The higher the lumens, the brighter the light will be. Consider the length of the strip lights depending on the size of your cabinets. You can also opt for dimmable LED strip lights for more flexibility in adjusting the brightness.
Tips and Tricks for a Professional-Looking LED Kitchen Cabinet Lighting Installation
• Measure and mark the placement of the LED strip lights before sticking them onto the cabinets.
• Use a level to ensure straight placement.
• Use a dimmer switch or remote control for easy operation.
• Consider adding diffusers to the LED strip lights for a softer and more evenly distributed light.
Now that you know how to install LED kitchen cabinet lighting, it's time to give your kitchen a stylish and functional upgrade. With these tips and tricks, you can achieve a professional-looking installation and enjoy the benefits of energy-efficient and long-lasting LED lighting. Happy installing!
The Benefits of LED Kitchen Cabinet Lighting

Efficient and Cost-Effective
 When it comes to choosing lighting for your kitchen, it's important to consider both efficiency and cost. LED
kitchen cabinet lighting
is a popular choice for many homeowners because it offers both. LED lights use significantly less energy than traditional incandescent bulbs, meaning they are more environmentally friendly and can save you money on your energy bills. They also have a longer lifespan, lasting up to 25 times longer than incandescent bulbs. This means fewer replacements and maintenance costs in the long run.
Customizable and Versatile
 Another advantage of
LED kitchen cabinet lighting
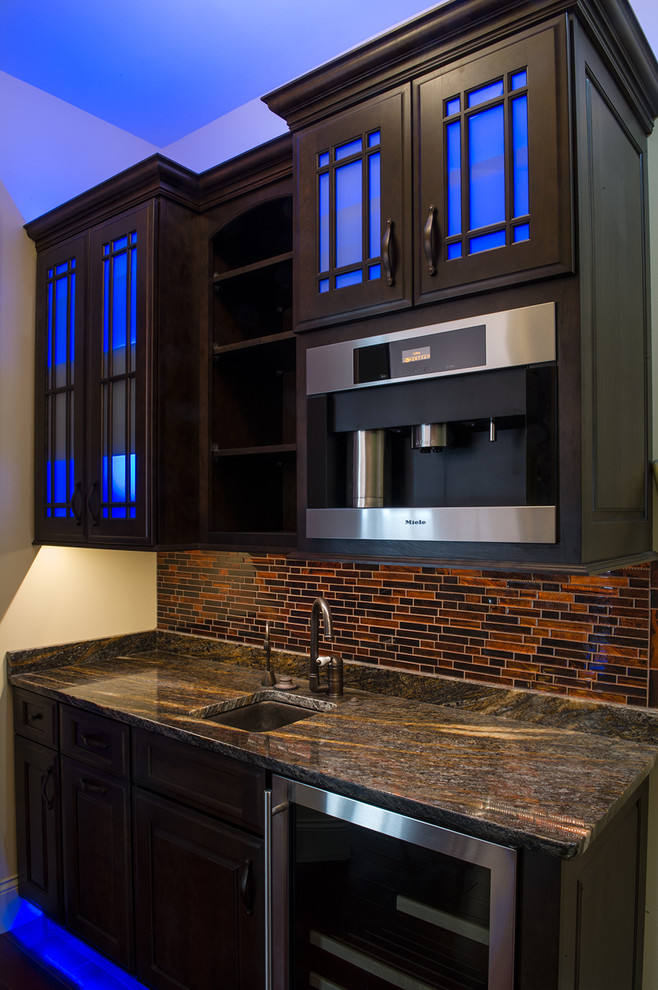
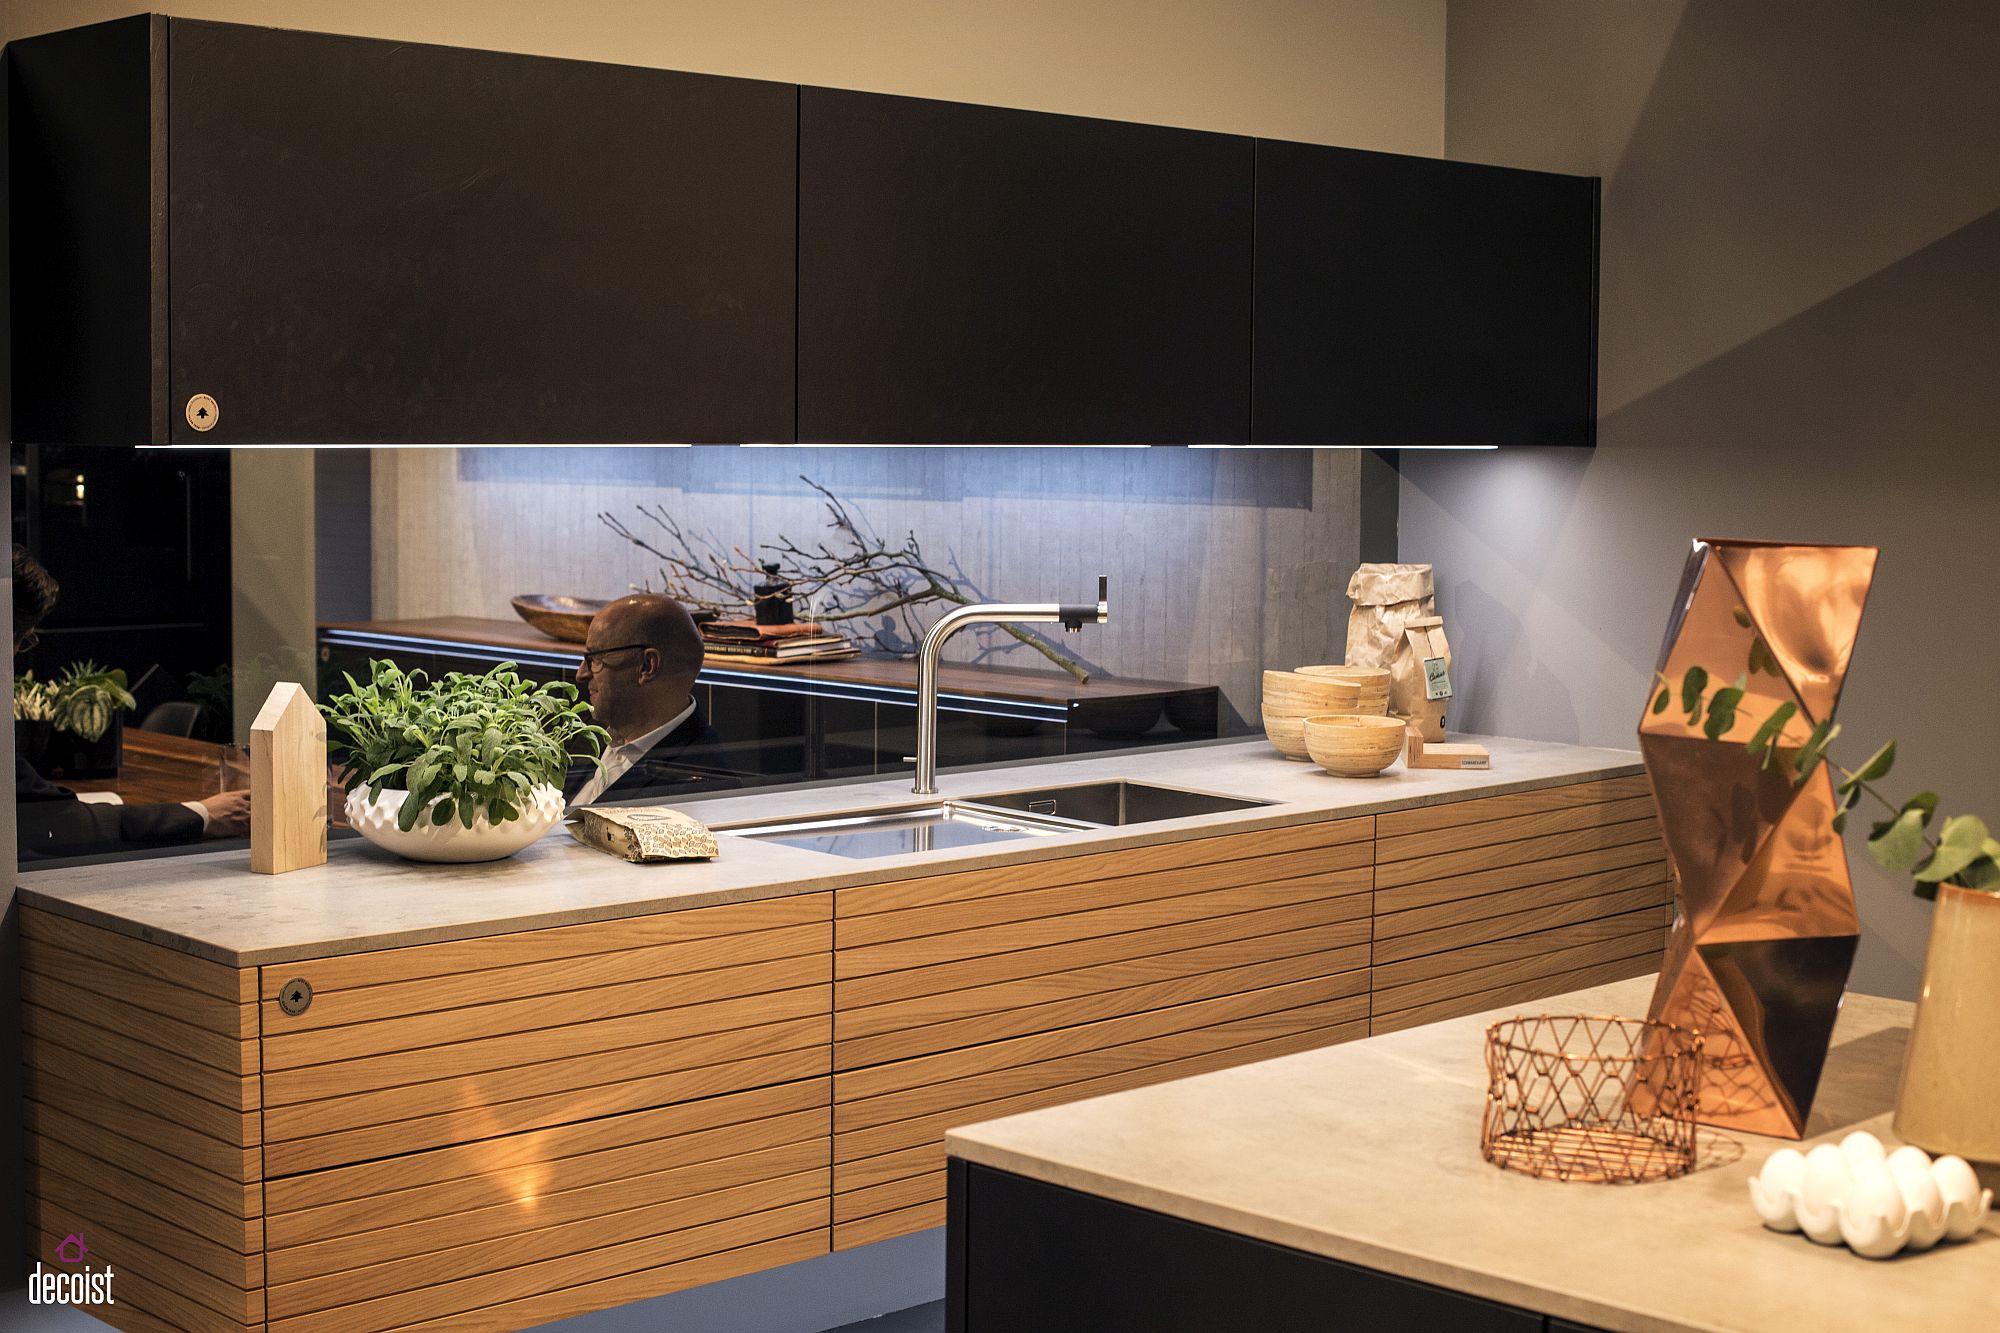
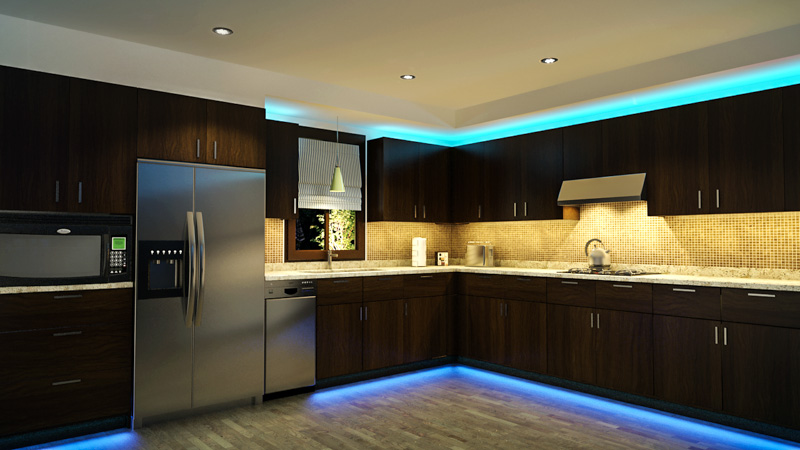
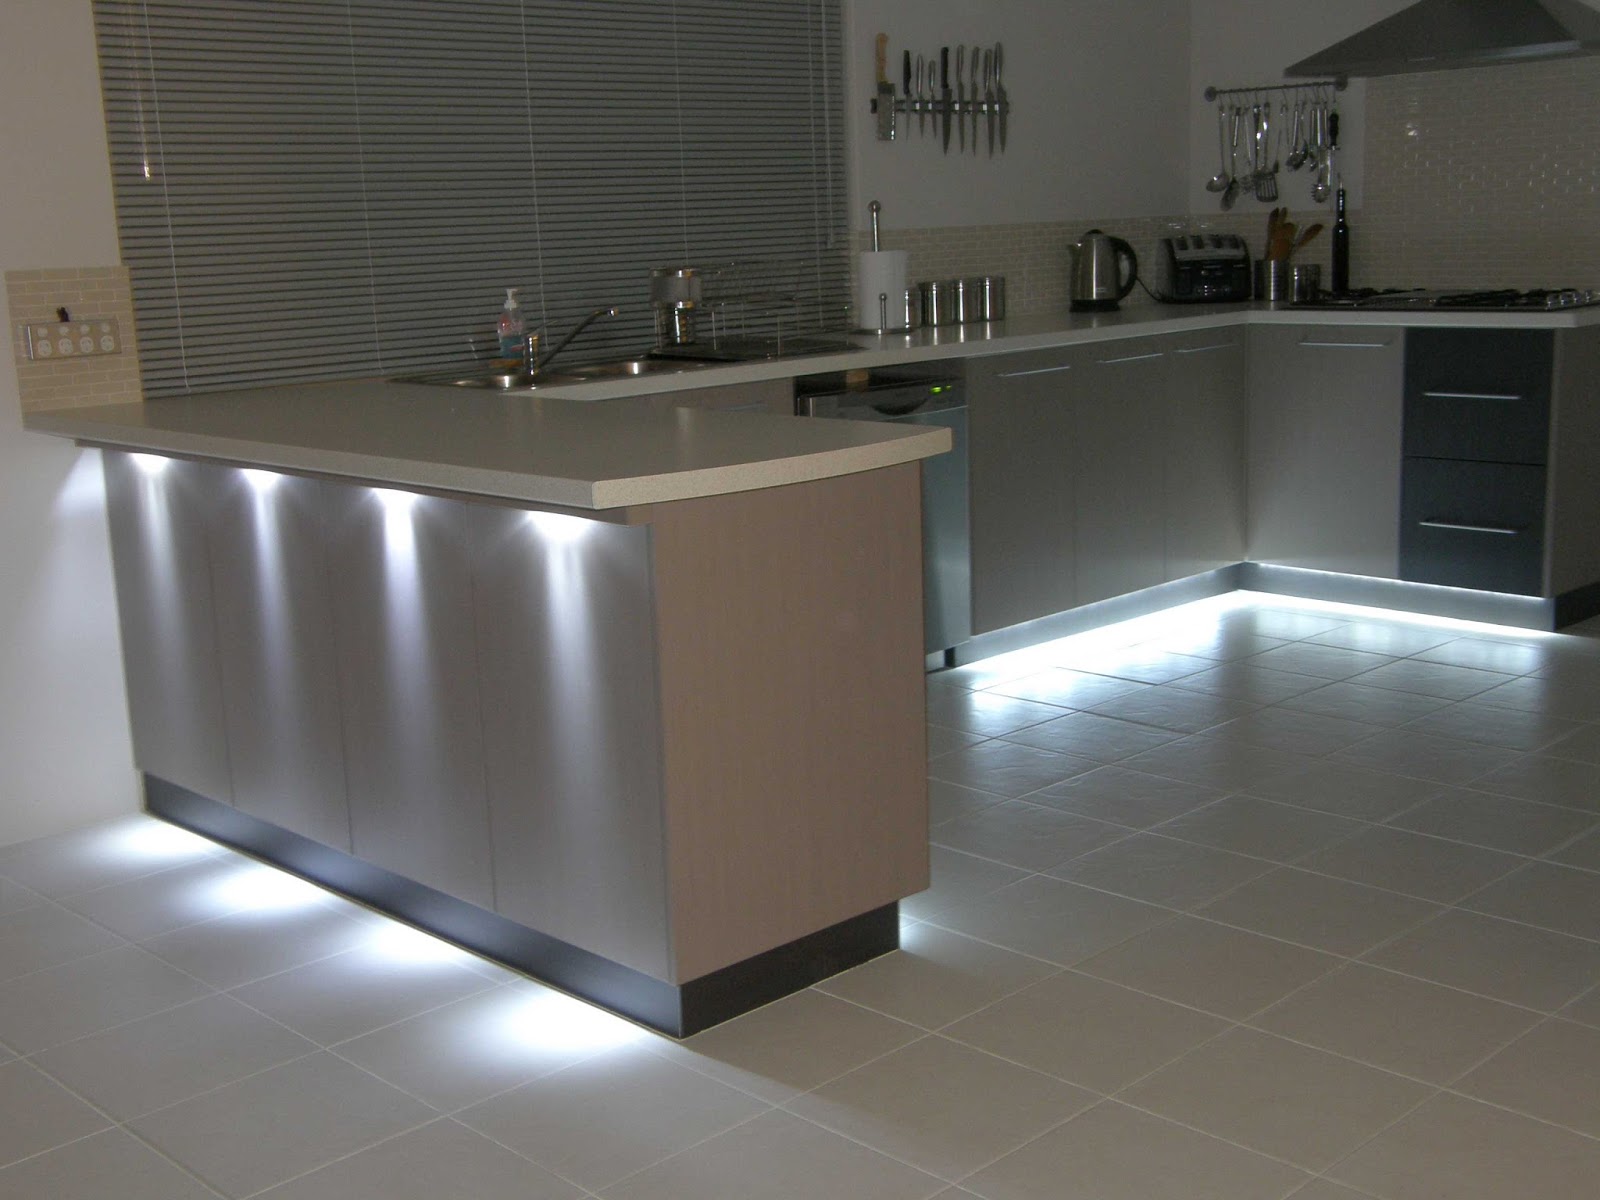
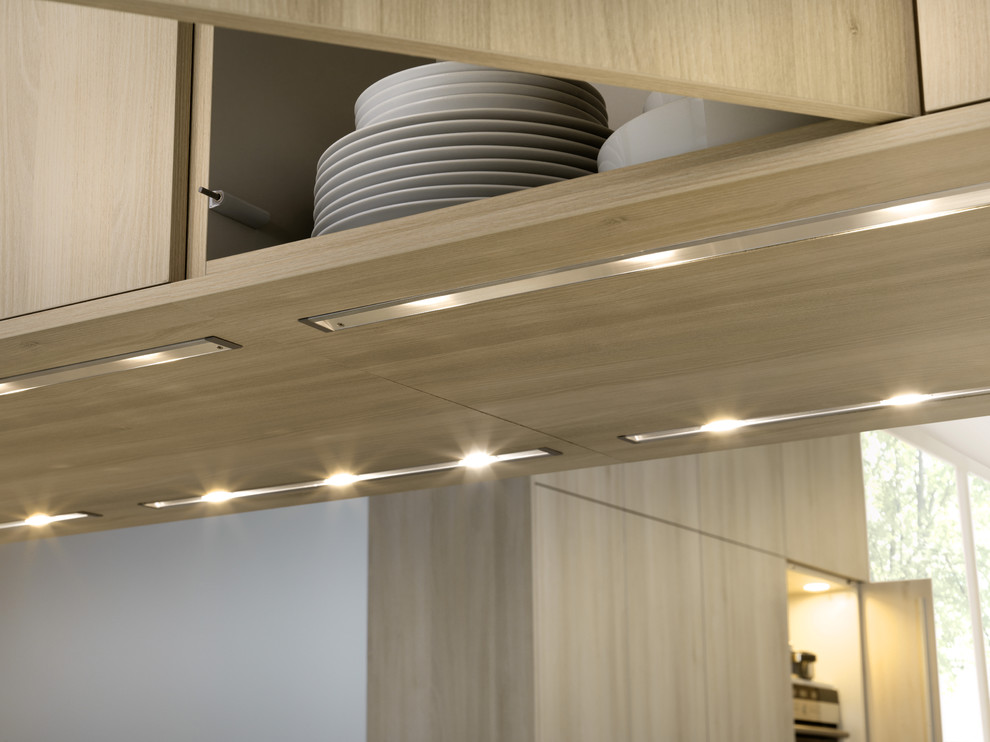
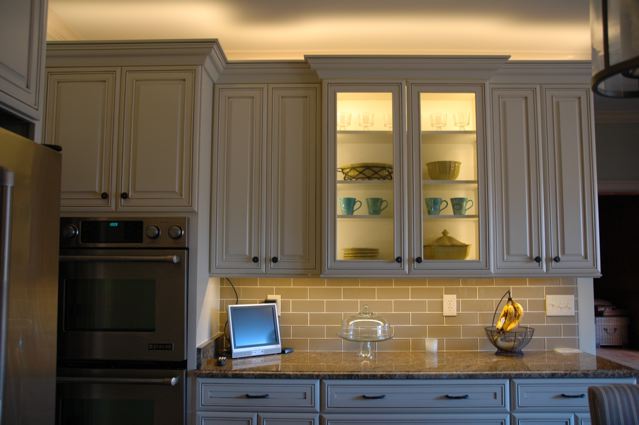
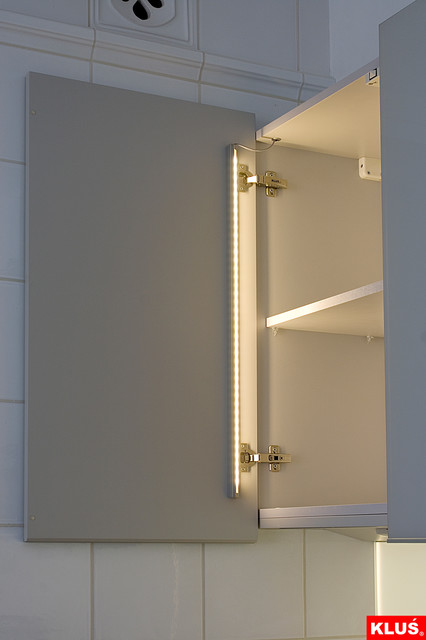
is its versatility. These lights come in a variety of sizes, shapes, and colors, making them easy to customize to fit your kitchen design and personal style. They can be installed under cabinets, inside cabinets, or even as accent lighting above cabinets. This versatility allows you to create the perfect lighting ambiance for your kitchen space.
Enhances Kitchen Design
 In addition to their practical benefits, LED lights also add a touch of elegance and sophistication to your kitchen design. The sleek and modern look of these lights can instantly elevate the overall aesthetic of your kitchen. They can also be used to highlight specific areas or features of your kitchen, such as a beautiful backsplash or a statement piece of cabinetry. With the right placement,
LED kitchen cabinet lighting
can transform your kitchen into a visually stunning space.
Easy Installation
 Installing
LED kitchen cabinet lighting
is a relatively simple process, making it a great DIY project for homeowners. Most LED lights come with adhesive backing, making them easy to stick onto the desired surface. They also require minimal wiring, eliminating the need for professional installation. With just a few tools and some basic knowledge, you can have your
kitchen cabinet lighting
up and running in no time.
In conclusion,
LED kitchen cabinet lighting
offers a wide range of benefits for homeowners looking to upgrade their kitchen design. From cost-effectiveness and efficiency to customization and enhancement of design, these lights are a practical and stylish addition to any kitchen space. So, if you're looking to brighten up your kitchen and add a touch of modernity, consider installing
LED kitchen cabinet lighting
today.


