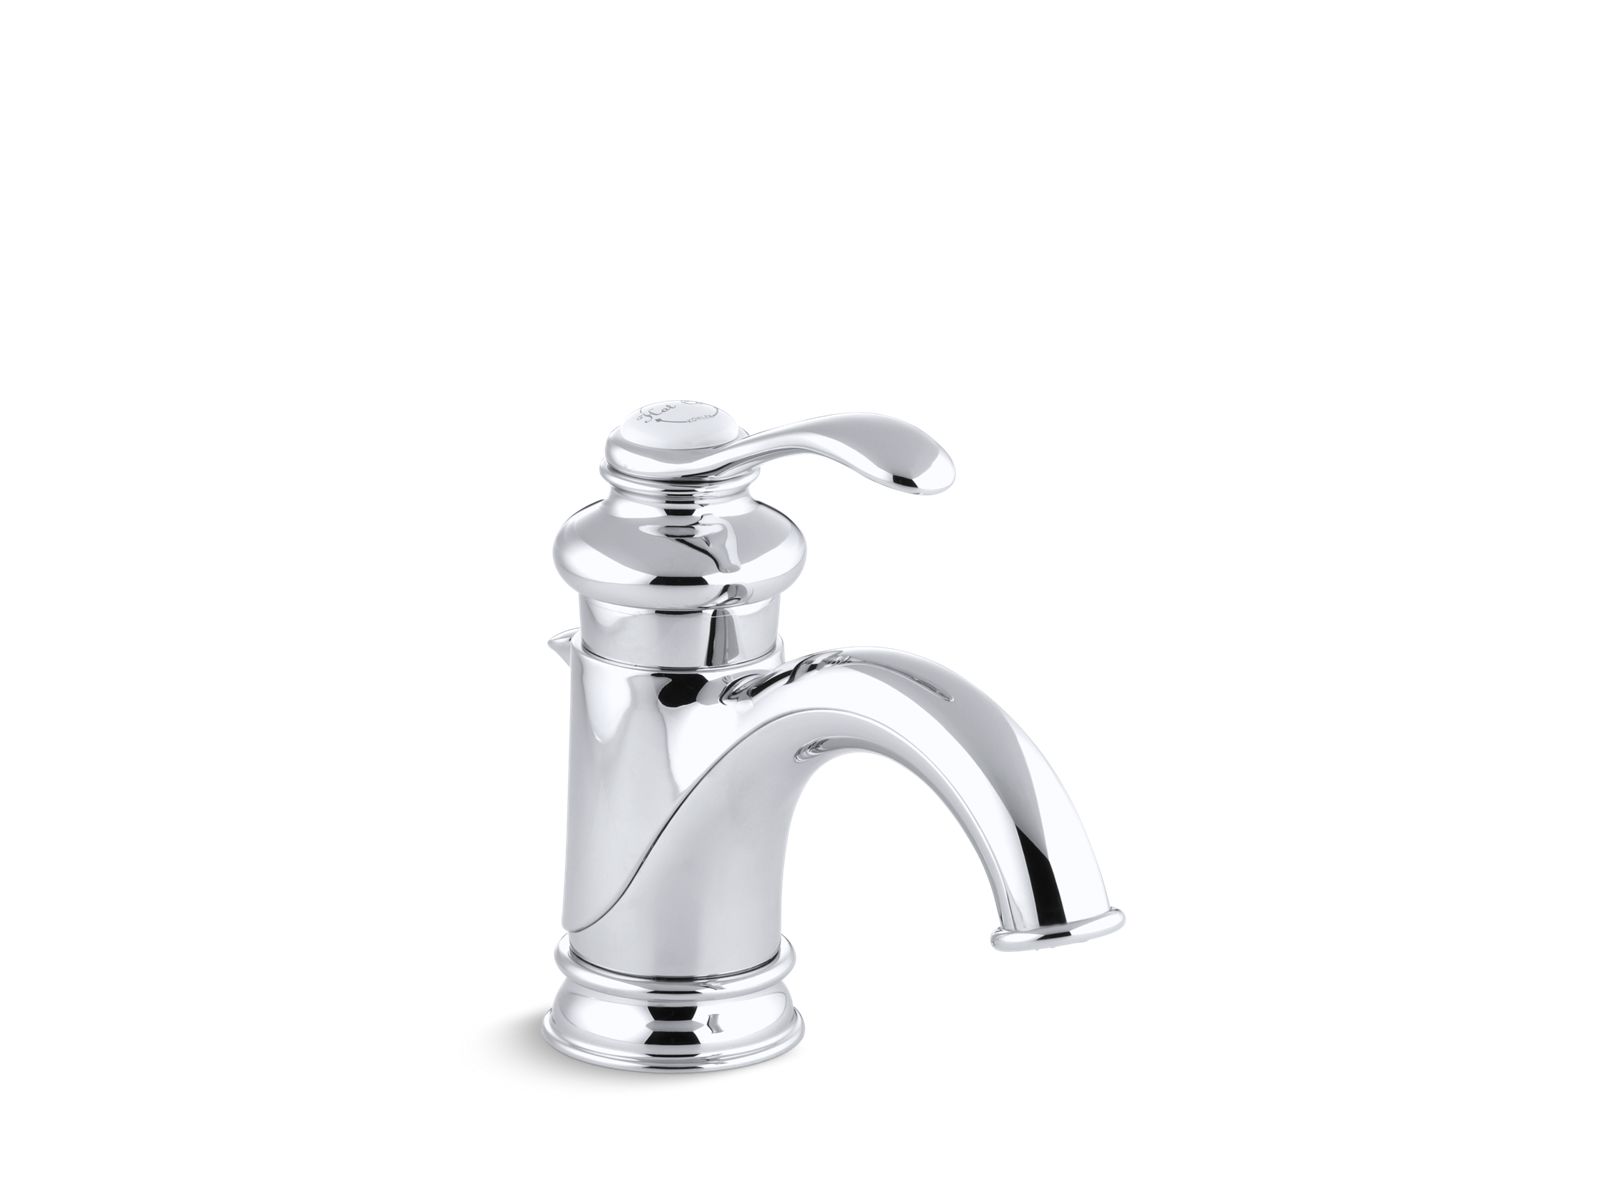
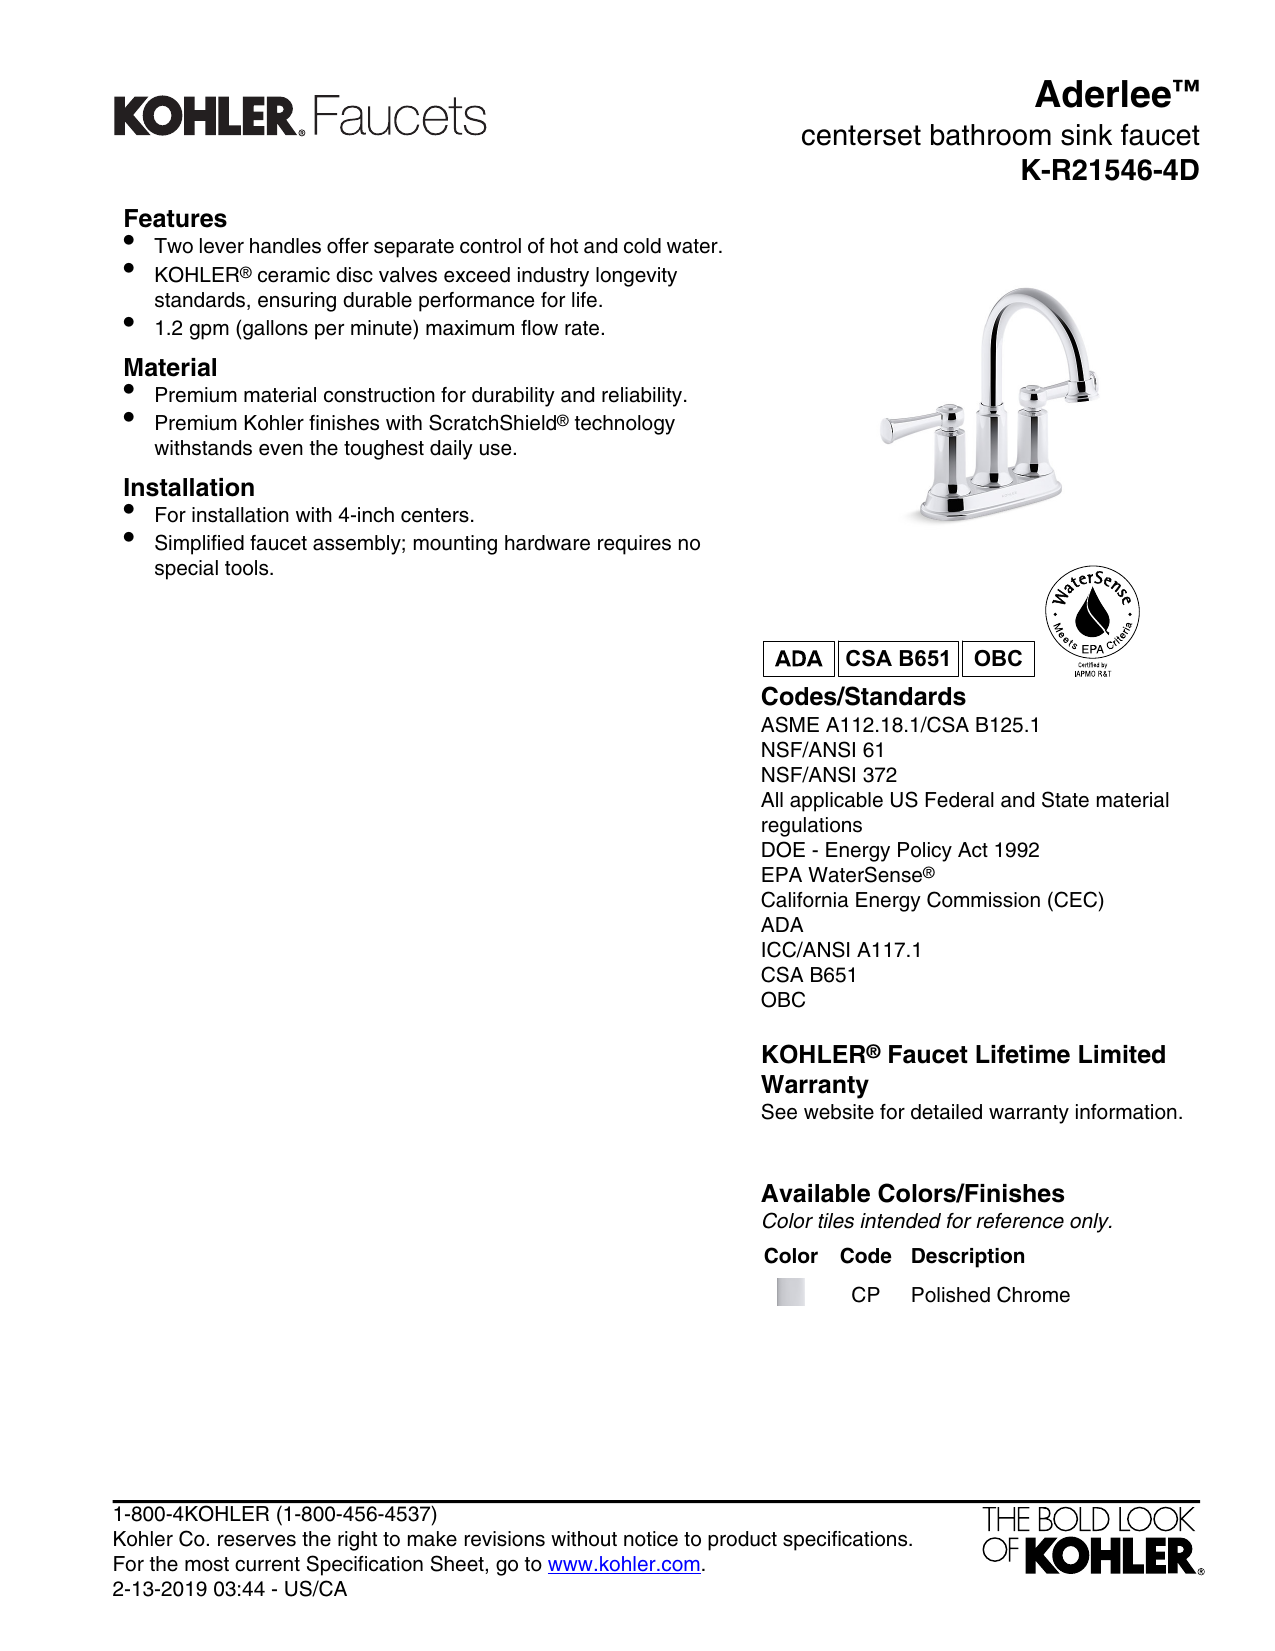
Installing a new bathroom sink faucet can be a daunting task for some, but with the right tools and knowledge, it can be a simple and rewarding DIY project. Kohler is a well-known and trusted brand in the plumbing industry, and their bathroom sink faucets are designed to be easy to install. In this guide, we will walk you through the steps of installing a Kohler bathroom sink faucet.Kohler Bathroom Sink Faucet Installation Guide
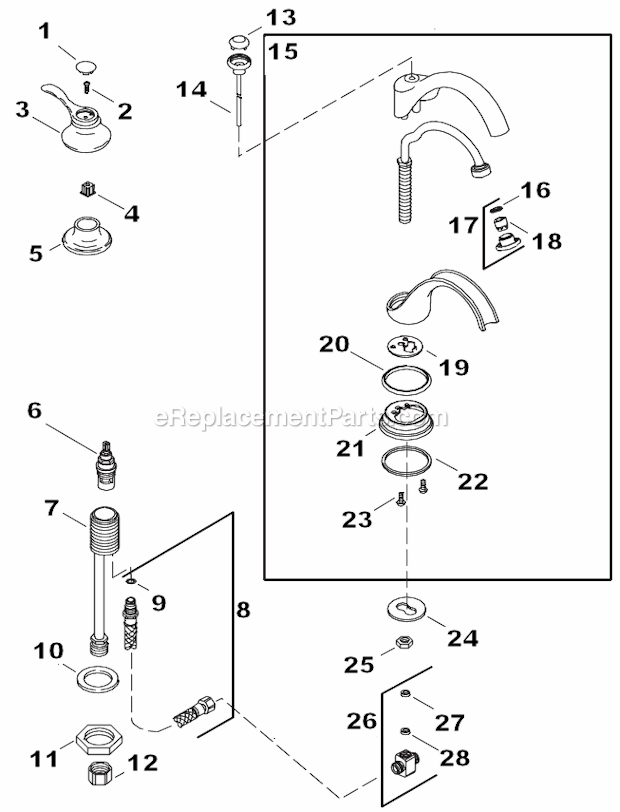
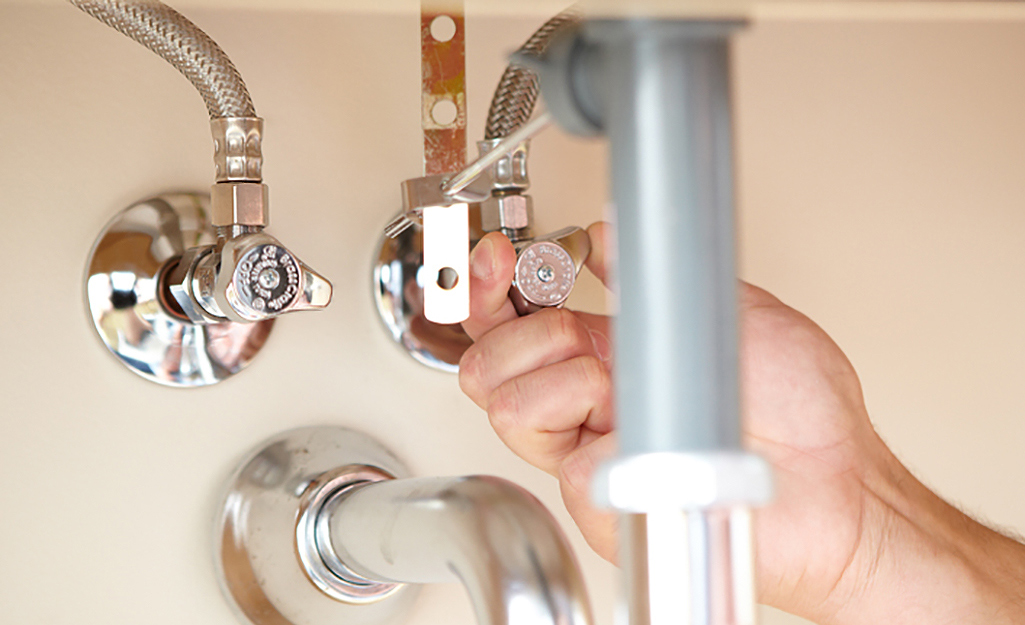
Before you begin the installation process, make sure you have all the necessary tools and materials. This includes a new Kohler bathroom sink faucet, Teflon tape, adjustable wrench, screwdriver, and plumber's putty. It is also a good idea to have a bucket or container nearby to catch any excess water that may come out during the installation. Step 1: Turn off the Water Supply The first step in any plumbing project is to turn off the water supply. This can usually be done by turning the shut-off valves located under the sink in a clockwise direction. If you cannot locate the shut-off valves, you can turn off the main water supply to your home. Step 2: Remove the Old Faucet Using a wrench, unscrew the nuts that hold the old faucet in place. Once the nuts are removed, you can lift the faucet off the sink. Make sure to also remove the old gasket or putty that was used to seal the faucet to the sink. Step 3: Prepare the Sink for the New Faucet Before installing the new faucet, clean the area where the old faucet was removed. This will ensure a clean surface for the new faucet to be installed. If there is any old putty or residue, use a putty knife to scrape it off. Step 4: Apply Plumber's Putty Take a small amount of plumber's putty and roll it into a thin rope. Place the putty around the edge of the faucet base where it will come in contact with the sink. This will create a watertight seal when the faucet is installed. Step 5: Install the New Faucet Place the new faucet onto the sink, making sure it is properly aligned. From underneath the sink, use the nuts provided to secure the faucet in place. Hand tighten the nuts first, and then use a wrench to tighten them further. Make sure not to over-tighten the nuts, as this could cause damage to the faucet or sink. Step 6: Connect the Water Supply Using Teflon tape, wrap the threads of the water supply lines. This will create a tight seal and prevent any leaks. Connect the water supply lines to the corresponding hot and cold water valves. Hand tighten the connections, and then use a wrench to tighten them further. Step 7: Turn on the Water Supply Once everything is securely in place, turn the water supply back on. Check for any leaks and tighten any connections if needed.How to Install a Kohler Bathroom Sink Faucet
- Before purchasing a new faucet, make sure it is compatible with your sink and plumbing fixtures. - If you are unsure about any step in the installation process, consult the manufacturer's instructions or seek professional help. - Take your time and be patient during the installation process to ensure everything is installed correctly. - Keep all parts and tools organized to make the installation process smoother.Tips for Installing a Kohler Bathroom Sink Faucet
If you prefer a visual guide, there are many tutorials available online that can walk you through the process of installing a Kohler bathroom sink faucet step-by-step. These tutorials can be helpful for those who are new to DIY projects or need a refresher on the installation process.Kohler Bathroom Sink Faucet Installation Tutorial
Installing a Kohler bathroom sink faucet can be broken down into a few easy steps: 1. Turn off the water supply. 2. Remove the old faucet. 3. Prepare the sink for the new faucet. 4. Apply plumber's putty. 5. Install the new faucet. 6. Connect the water supply. 7. Turn on the water supply and check for leaks.Easy Steps for Installing a Kohler Bathroom Sink Faucet
Before beginning the installation process, there are a few things you should know about installing a Kohler bathroom sink faucet: - Make sure you have all the necessary tools and materials before starting the installation. - Always turn off the water supply before starting any plumbing project. - Take your time and follow the instructions carefully to ensure a successful installation.Installing a Kohler Bathroom Sink Faucet: What You Need to Know
This guide has provided a comprehensive overview of how to install a Kohler bathroom sink faucet. By following these steps and tips, you can successfully install a new faucet in your bathroom and enjoy the benefits of a functional and stylish addition to your sink.Kohler Bathroom Sink Faucet Installation: A Comprehensive Guide
In summary, installing a Kohler bathroom sink faucet is a simple DIY project that can be completed with the right tools and knowledge. By following the steps outlined in this guide, you can have a new faucet installed in no time and add a touch of elegance to your bathroom. Remember to always turn off the water supply and take your time to ensure a successful installation. Happy plumbing!How to Successfully Install a Kohler Bathroom Sink Faucet
Why Choose a Kohler Bathroom Sink Faucet for Your Home

Efficiency and Durability
 A Kohler bathroom sink faucet is not just a stylish addition to your bathroom, it is also a practical and durable choice. Kohler has been a trusted brand in the plumbing industry for over 100 years, consistently delivering high-quality and efficient products. Their bathroom sink faucets are designed with precision engineering and built to last, saving you time and money on frequent replacements. With a Kohler faucet, you can be confident that your bathroom will maintain its functionality and aesthetic appeal for years to come.
Elegant Design
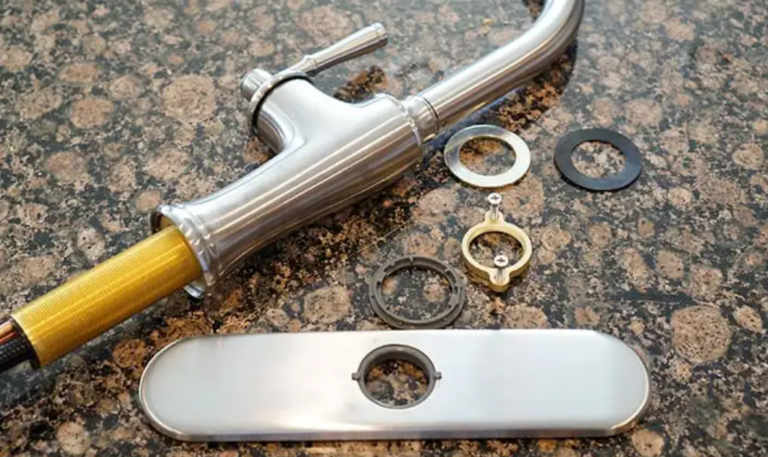 Kohler bathroom sink faucets come in a variety of elegant designs that can complement any bathroom style, from traditional to modern. They offer a wide range of finishes, including chrome, brushed nickel, and oil-rubbed bronze, allowing you to customize your faucet to match your bathroom decor. With sleek lines and innovative features, a Kohler faucet can elevate the overall look of your bathroom and add a touch of sophistication.
Easy Installation
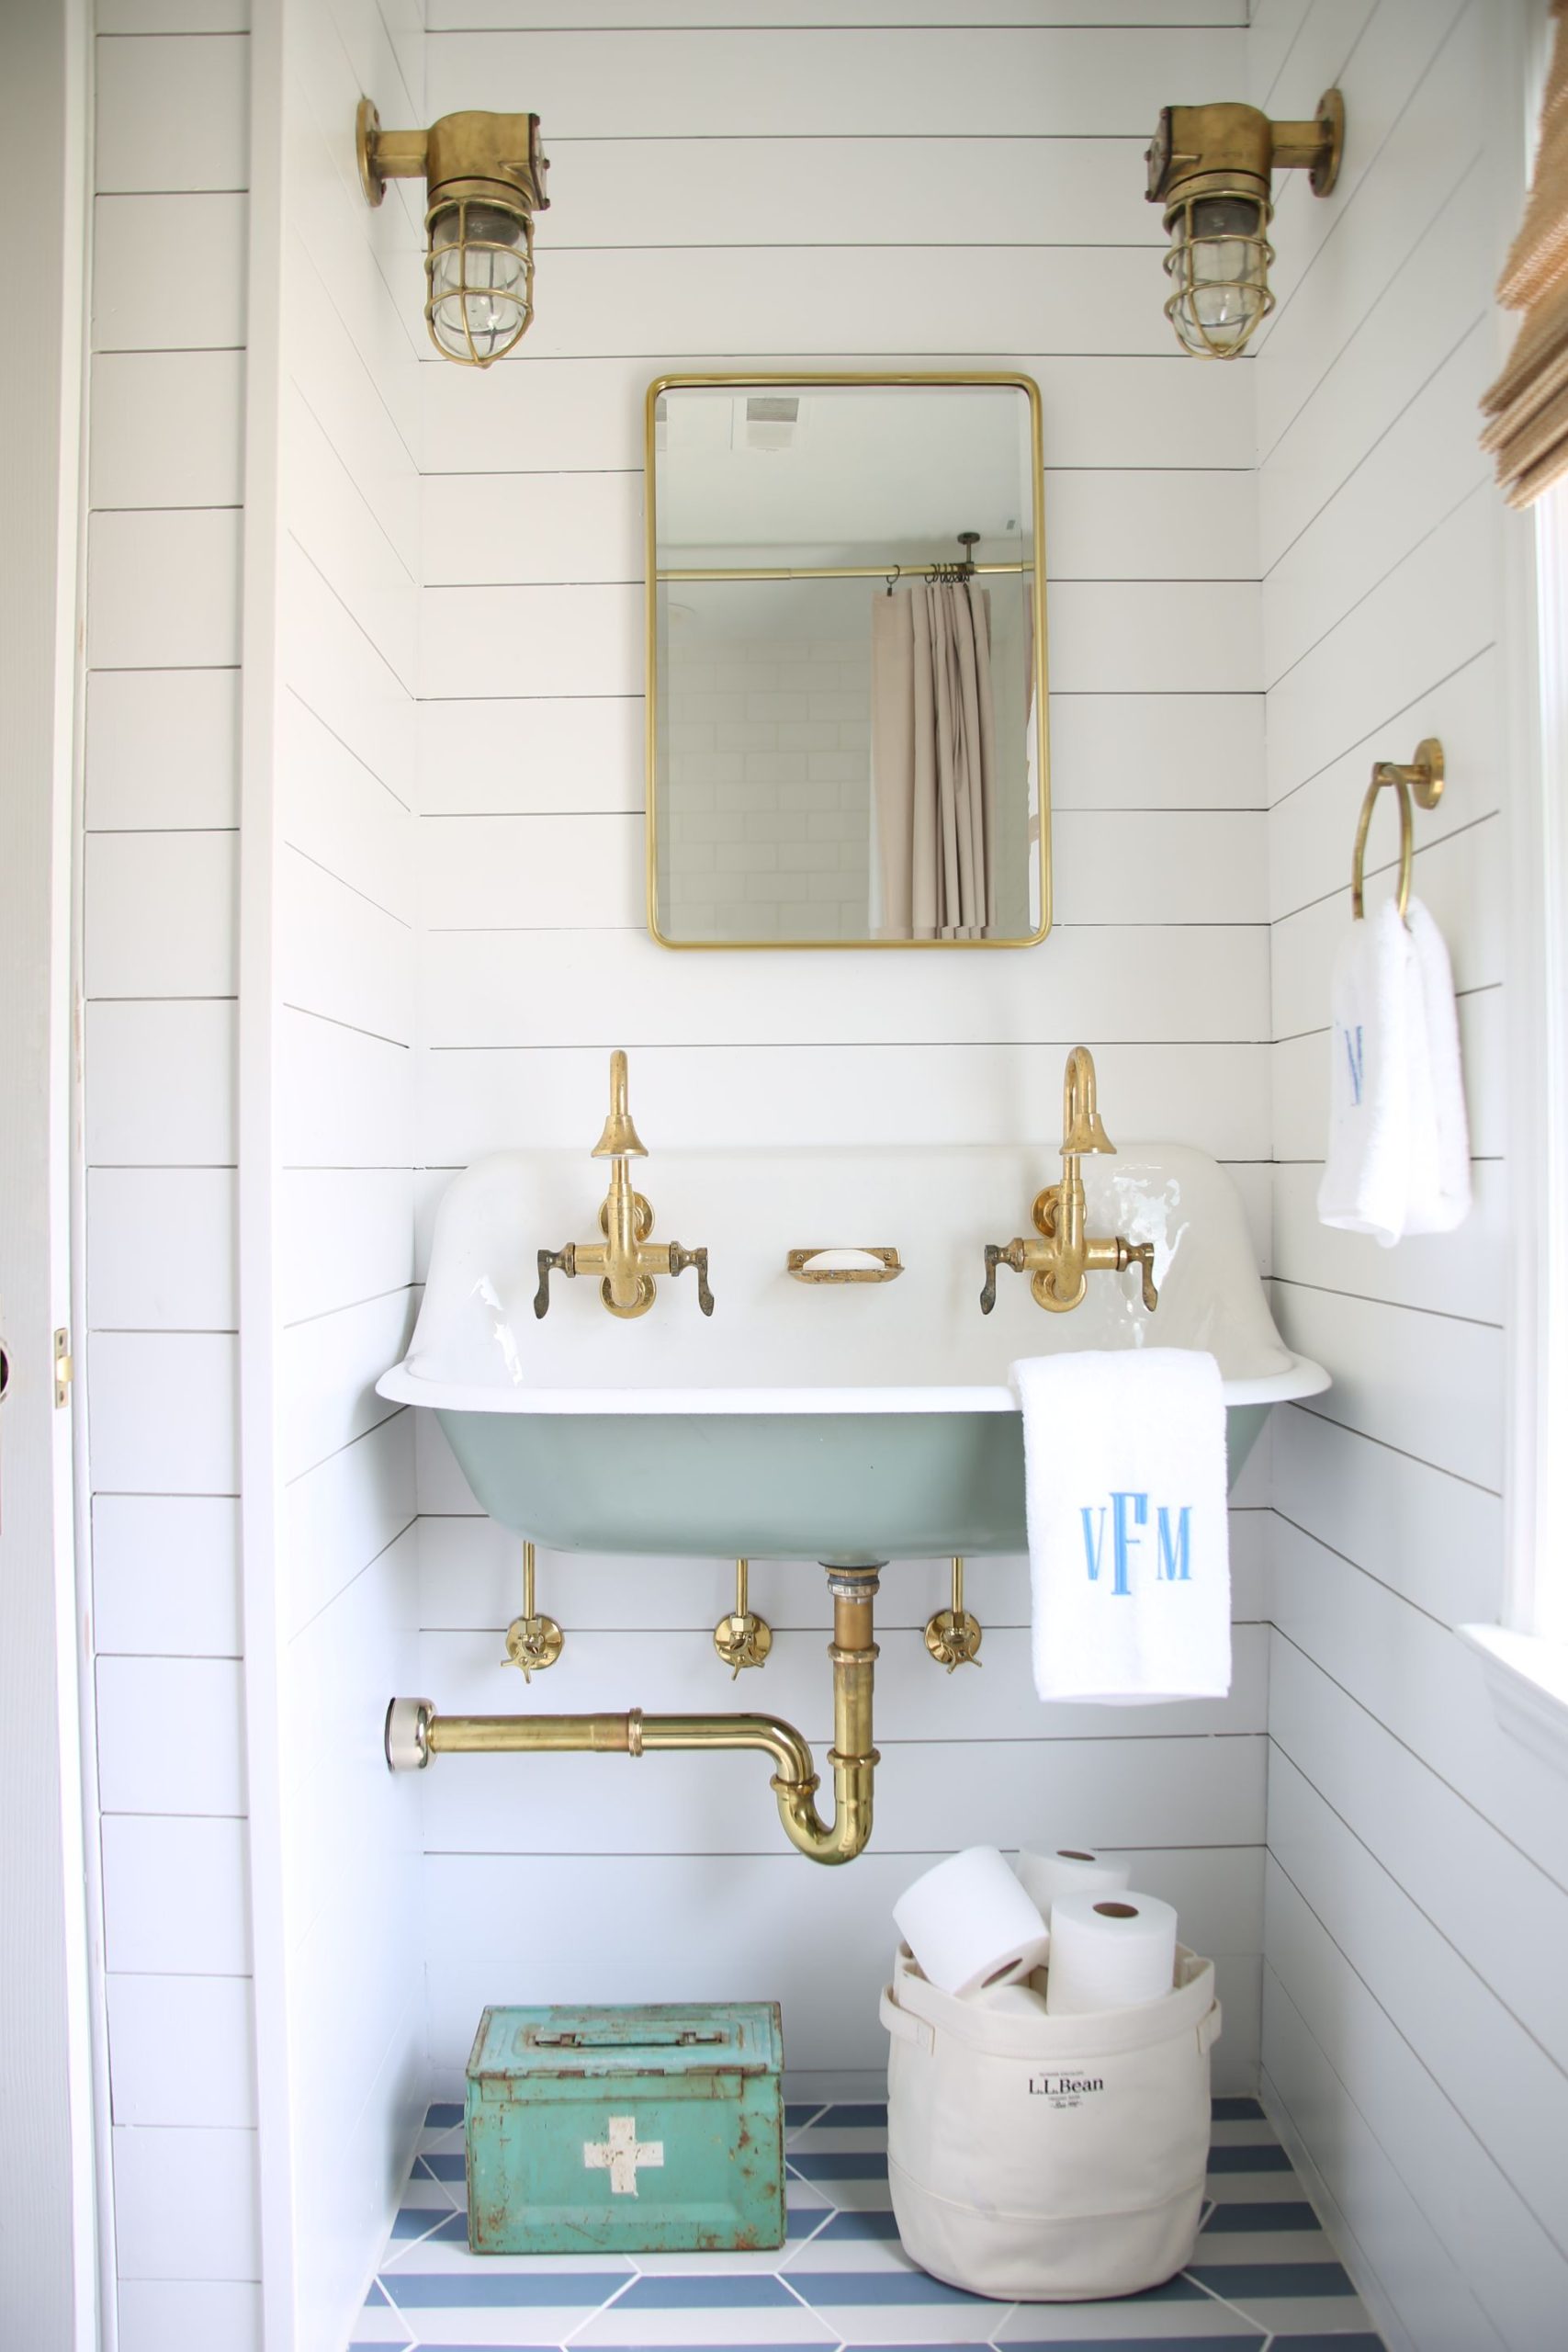
 Installing a Kohler bathroom sink faucet is a straightforward process that can be done by anyone with basic plumbing knowledge. The faucets come with clear instructions and all the necessary hardware, making the installation process hassle-free. Additionally, Kohler offers various installation options, including single-hole, widespread, and wall-mount, giving you the flexibility to choose the best fit for your bathroom layout.
Water-Saving Technology
 In today's world, where water conservation is crucial, Kohler has integrated innovative technology into their bathroom sink faucets to help you save water. Many of their faucets feature a low-flow aerator, reducing water usage without compromising water pressure. Some models also come with a touchless feature, allowing you to turn the faucet on and off with a simple wave of your hand, minimizing unnecessary water waste.
In conclusion,
Kohler bathroom sink faucets are a perfect blend of style, efficiency, and durability, making them an ideal choice for any bathroom. With their elegant designs, easy installation, and water-saving technology, a Kohler faucet can be a valuable addition to your home. So why settle for an average faucet when you can have a luxurious and practical Kohler faucet in your bathroom? Upgrade your bathroom today and experience the difference.


