Are you looking to update your kitchen with a new sink? One popular option is a kitchen sink with a rear drain. This type of sink not only adds a modern touch to your kitchen, but it also offers some practical benefits. If you’re considering installing a kitchen sink with rear drain, here is a step-by-step guide to help you get started.Installing a Kitchen Sink with Rear Drain
Installing a kitchen sink with rear drain may seem like a daunting task, but with the right tools and knowledge, it can be a relatively easy DIY project. Here are the steps to follow:How to Install a Kitchen Sink with Rear Drain
Before purchasing your new sink, make sure to measure the opening in your countertop to ensure a proper fit. Once you have your sink, gather all the necessary tools and materials including a wrench, plumber’s putty, silicone sealant, and a screwdriver. Also, make sure to shut off the water supply before starting the installation process.Step 1: Measure and Prepare
Start by removing the old sink from the countertop. Use a screwdriver to loosen the clips or screws that hold the sink in place. Once the sink is free, carefully remove it from the countertop, being careful not to damage the surrounding area.Step 2: Remove the Old Sink
Before installing the sink, it’s important to install the faucet first. Follow the manufacturer’s instructions to attach the faucet to the sink, making sure to use the proper tools and sealants.Step 3: Install the Faucet
Apply a thin layer of plumber’s putty around the edge of the sink opening in the countertop. This will help create a watertight seal between the sink and countertop.Step 4: Apply Plumber’s Putty
Carefully place the sink into the opening, making sure it is centered and level. Gently press down on the sink to secure it in place.Step 5: Place the Sink
Using clips or brackets, secure the sink to the underside of the countertop. This will help keep the sink in place and prevent it from moving or shifting.Step 6: Secure the Sink
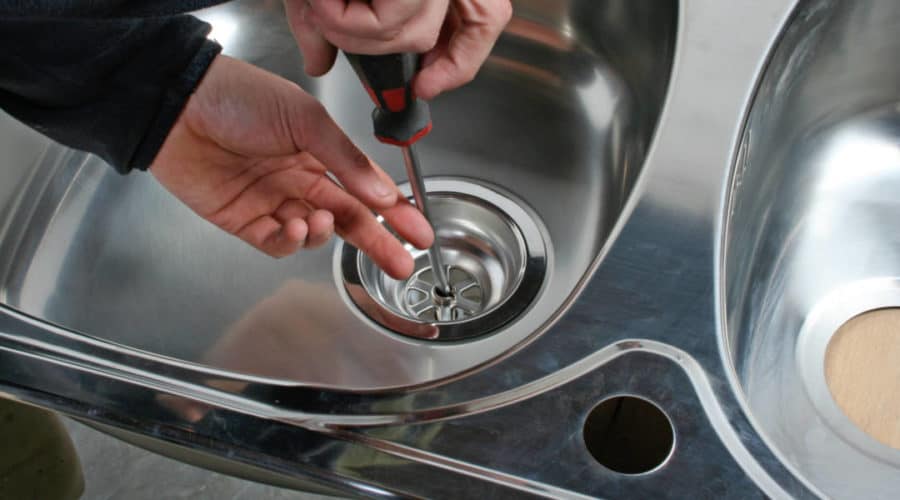
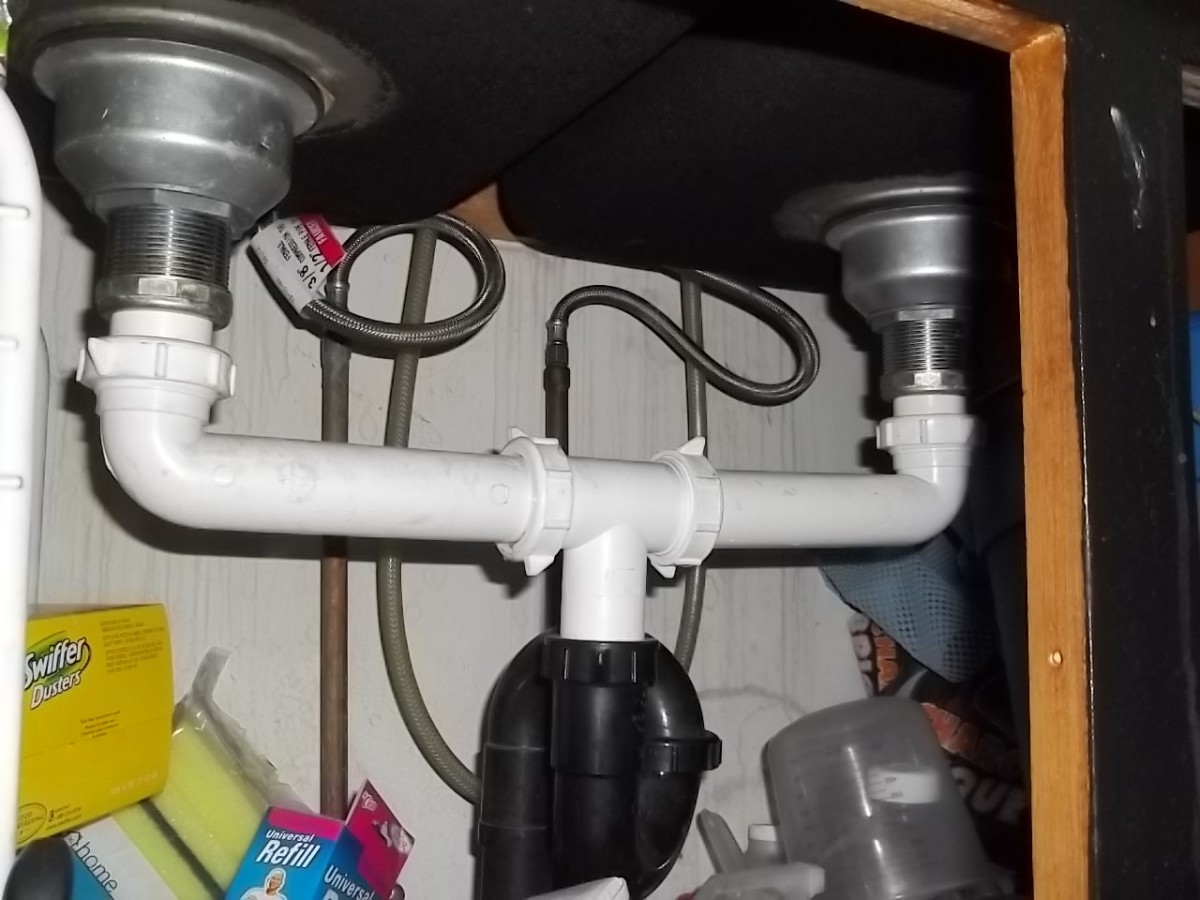
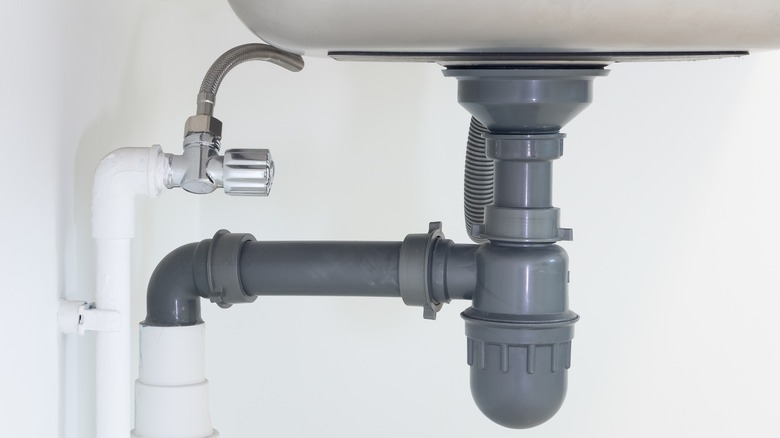
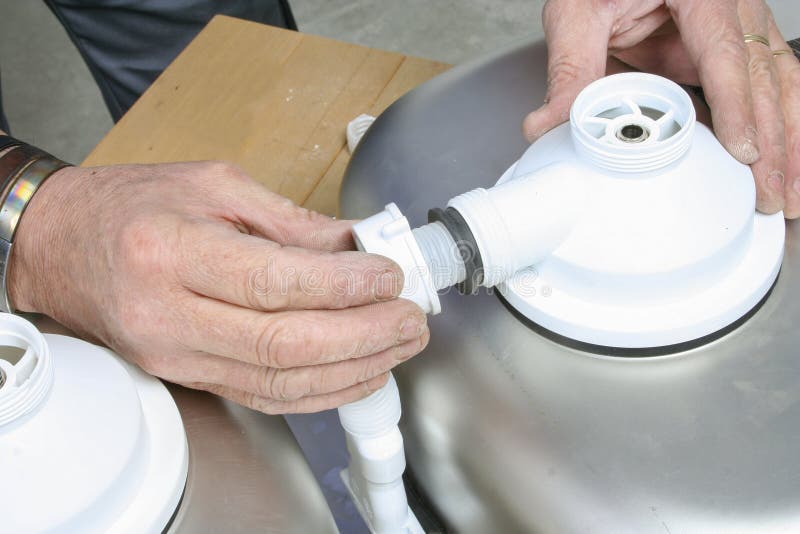
Using a wrench, connect the drain to the sink. Apply plumber’s putty or silicone sealant to create a tight seal. Make sure to also connect the drain to the P-trap and the water supply lines.Step 7: Connect the Drain
Once everything is connected, turn the water supply back on and check for any leaks. If there are any, tighten the connections until the leaks stop.Step 8: Test for Leaks
Choosing the Right Sink for Your Kitchen Design

Why a Rear Drain Sink is a Smart Choice
 When it comes to designing your dream kitchen, one of the most important decisions you'll make is choosing the right sink. Not only is it a functional element, but it also plays a major role in the overall aesthetic of your kitchen. One type of sink that is gaining popularity in recent years is the rear drain sink. This type of sink has the drain located at the back, rather than the center, and offers a range of benefits that make it a smart choice for any kitchen design.
Space-Saving Design
One of the main advantages of a rear drain sink is its space-saving design. By having the drain at the back, it frees up more space in the front of the sink for washing and food prep. This is especially beneficial for smaller kitchens where every inch of counter space counts. Additionally, a rear drain sink allows for more storage space underneath the sink, as there is no need for a bulky drain pipe to take up room.
Better Functionality
Another benefit of a rear drain sink is its improved functionality. With the drain at the back, it allows for easier access to the sink's bottom, making it easier to wash and rinse dishes. This design also prevents water from pooling at the bottom of the sink, ensuring proper drainage and preventing any potential clogs. Furthermore, the rear drain design allows for more flexibility in sink placement, making it easier to install in various kitchen layouts.
Clean Aesthetic
A rear drain sink also offers a sleek and clean aesthetic. With the drain hidden at the back, it creates a seamless look that is perfect for modern and minimalist kitchen designs. This type of sink also eliminates the need for a drain grate, which can often be an eyesore. The result is a clean and streamlined look that adds to the overall appeal of your kitchen.
Easy Installation
Finally, a rear drain sink is easy to install, making it a convenient choice for homeowners. The plumbing for this type of sink is typically simpler and less complex, meaning it can be installed quickly and with less hassle. This can save you time and money on installation costs, making it a budget-friendly option for your kitchen renovation.
In conclusion, a rear drain sink is a smart and practical choice for any kitchen design. Its space-saving design, improved functionality, clean aesthetic, and easy installation make it a top choice for homeowners. By choosing a rear drain sink, you can elevate the look and functionality of your kitchen while also adding value to your home. So, when it comes to installing a kitchen sink, consider the benefits of a rear drain sink and make the right choice for your kitchen design.




/how-to-install-a-sink-drain-2718789-hero-b5b99f72b5a24bb2ae8364e60539cece.jpg)


:max_bytes(150000):strip_icc()/how-to-install-a-sink-drain-2718789-hero-24e898006ed94c9593a2a268b57989a3.jpg)




/how-to-install-a-sink-drain-2718789-hero-24e898006ed94c9593a2a268b57989a3.jpg)


