1. How to Install a Kitchen Sink Drainage System
If you're looking to upgrade your kitchen sink and improve its drainage system, you may be wondering how to get started. Installing a new drainage system may seem like a daunting task, but with the right tools and knowledge, you can easily do it yourself.
First, make sure you have all the necessary tools and materials. You will need a wrench, plumbers' putty, plumber's tape, a hacksaw, and the new sink drainage kit. It's also helpful to have a bucket and towels on hand in case of any spills.
Next, remove the old sink drainage system by loosening the nuts and bolts that hold it in place. Once the old system is removed, clean the area thoroughly and make sure there are no leftover debris or residue.
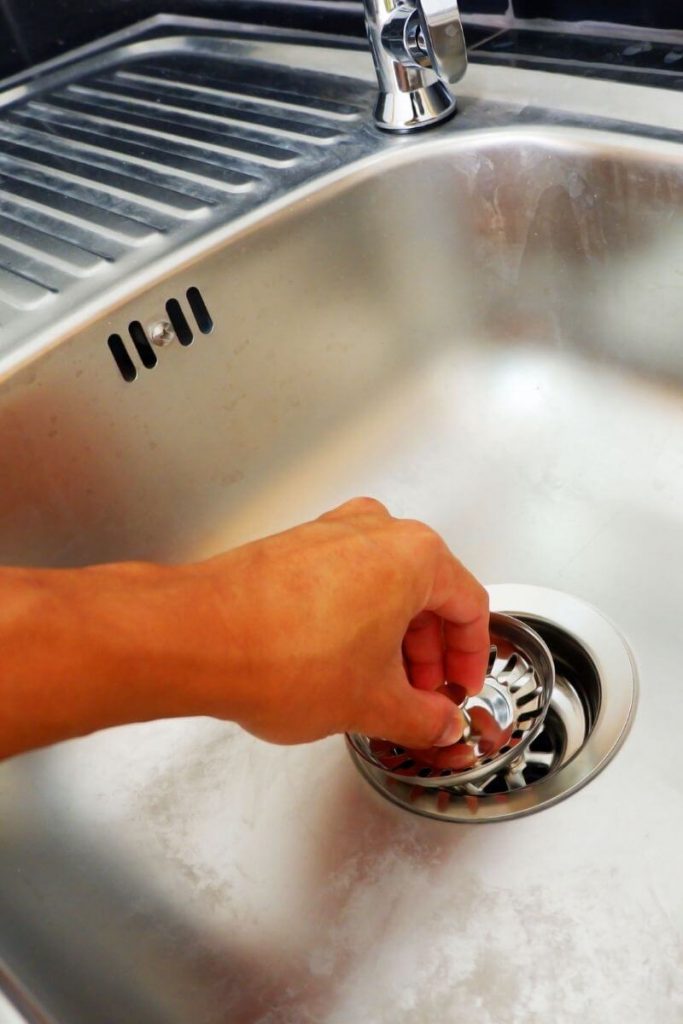
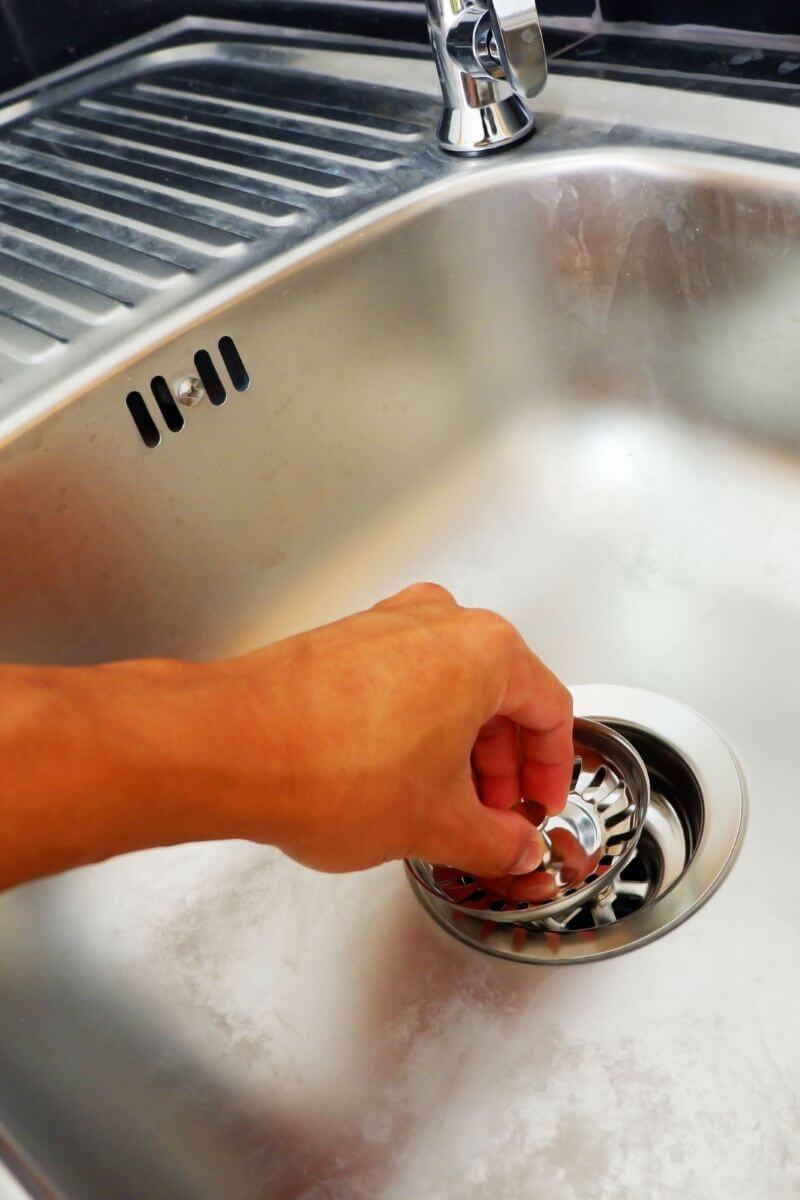
Then, it's time to install the new sink drainage system. Apply a generous amount of plumber's putty around the underside of the sink drain flange. Carefully insert the drain flange into the drain hole and tighten the nut from the underside of the sink. Wipe off any excess putty that may have squeezed out.
Now, it's time to connect the sink to the drain. Apply a few layers of plumber's tape to the threads of the drain tailpiece and then insert it into the drain flange. Secure it in place with the nut and gasket provided in the kit. Use a wrench to tighten it firmly.
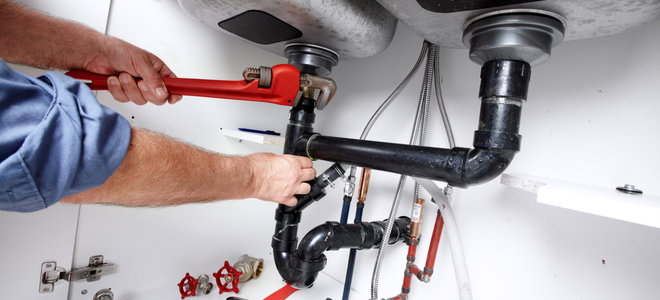
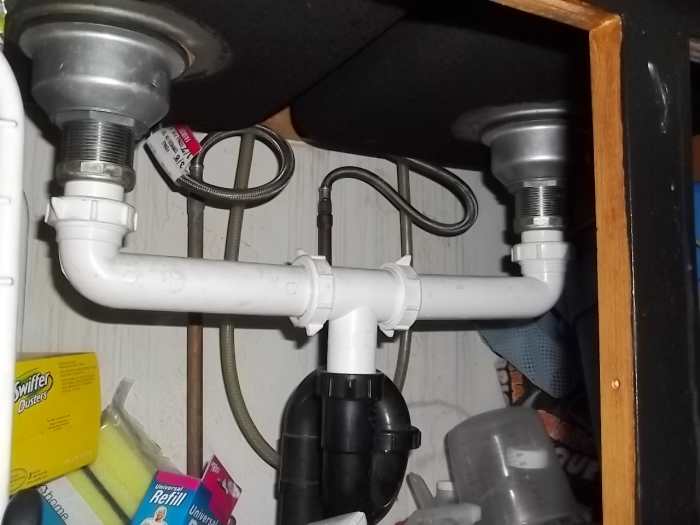
The final step is to connect the P-trap to the tailpiece and the wall drain. Make sure the connections are tight and secure. Test for any leaks by running water through the sink and checking for any water drips.
Congratulations! You have successfully installed a new kitchen sink drainage system.


1. How to Install a Kitchen Sink Drainage System


2. Step-by-Step Guide for Installing Kitchen Sink Drainage
If you're not familiar with plumbing, the process of installing a kitchen sink drainage system may seem overwhelming. But fear not, we have broken it down into easy-to-follow steps.
Step 1: Gather all the necessary tools and materials mentioned in the previous section.
Step 2: Remove the old sink drainage system by loosening the nuts and bolts that hold it in place. Clean the area thoroughly and make sure there are no leftover debris or residue.
Step 3: Apply a generous amount of plumber's putty around the underside of the sink drain flange. Carefully insert the drain flange into the drain hole and tighten the nut from the underside of the sink. Wipe off any excess putty that may have squeezed out.
Step 4: Apply a few layers of plumber's tape to the threads of the drain tailpiece and then insert it into the drain flange. Tighten it firmly with a wrench.
Step 5: Connect the P-trap to the tailpiece and the wall drain. Make sure the connections are tight and secure.
Step 6: Test for any leaks by running water through the sink and checking for any water drips.
That's it! You have successfully installed a new kitchen sink drainage system.


2. Step-by-Step Guide for Installing Kitchen Sink Drainage

:max_bytes(150000):strip_icc()/how-to-install-a-sink-drain-2718789-hero-24e898006ed94c9593a2a268b57989a3.jpg)


3. DIY Kitchen Sink Drainage Installation: Tips and Tricks
Installing a new kitchen sink drainage system may seem like a daunting task, but with the right tips and tricks, you can easily do it yourself.
* Before starting the installation, make sure to turn off the water supply and disconnect the garbage disposal (if you have one).
* Invest in a good quality sink drainage kit to ensure a leak-free installation.
* Apply a generous amount of plumber's putty when attaching the sink drain flange to the sink. This will help create a watertight seal.
* When connecting the P-trap, make sure to align the trap arm with the wall drain to avoid any kinks or bends that may cause blockages.
* Use plumbers' tape on all threaded connections to prevent leaks.
* Don't overtighten any connections as this may cause damage to the pipes.
* If you encounter any issues during the installation, don't hesitate to consult a professional for help.


3. DIY Kitchen Sink Drainage Installation: Tips and Tricks


4. Common Mistakes to Avoid When Installing Kitchen Sink Drainage
While installing a kitchen sink drainage system may seem like a simple task, there are some common mistakes that can lead to issues in the future. Here are some mistakes to avoid when installing a new drainage system:
* Not turning off the water supply before starting the installation process.
* Forgetting to disconnect the garbage disposal before starting the installation.
* Using low-quality materials that may lead to leaks and other issues.
* Not properly aligning the trap arm with the wall drain, causing blockages.
* Over-tightening connections, which can lead to damage and leaks.
* Not testing for leaks after installation.
* Not seeking professional help when encountering any difficulties during the installation process.


4. Common Mistakes to Avoid When Installing Kitchen Sink Drainage


5. Tools and Materials Needed for Installing Kitchen Sink Drainage
To install a kitchen sink drainage system, you will need the following tools and materials:
* Wrench
* Plumbers' putty
* Plumber's tape
* Hacksaw
* New sink drainage kit
* Bucket and towels (for spills)
Having these tools and materials on hand will make the installation process much smoother and easier.


5. Tools and Materials Needed for Installing Kitchen Sink Drainage

6. Understanding the Basics of Kitchen Sink Drainage Installation
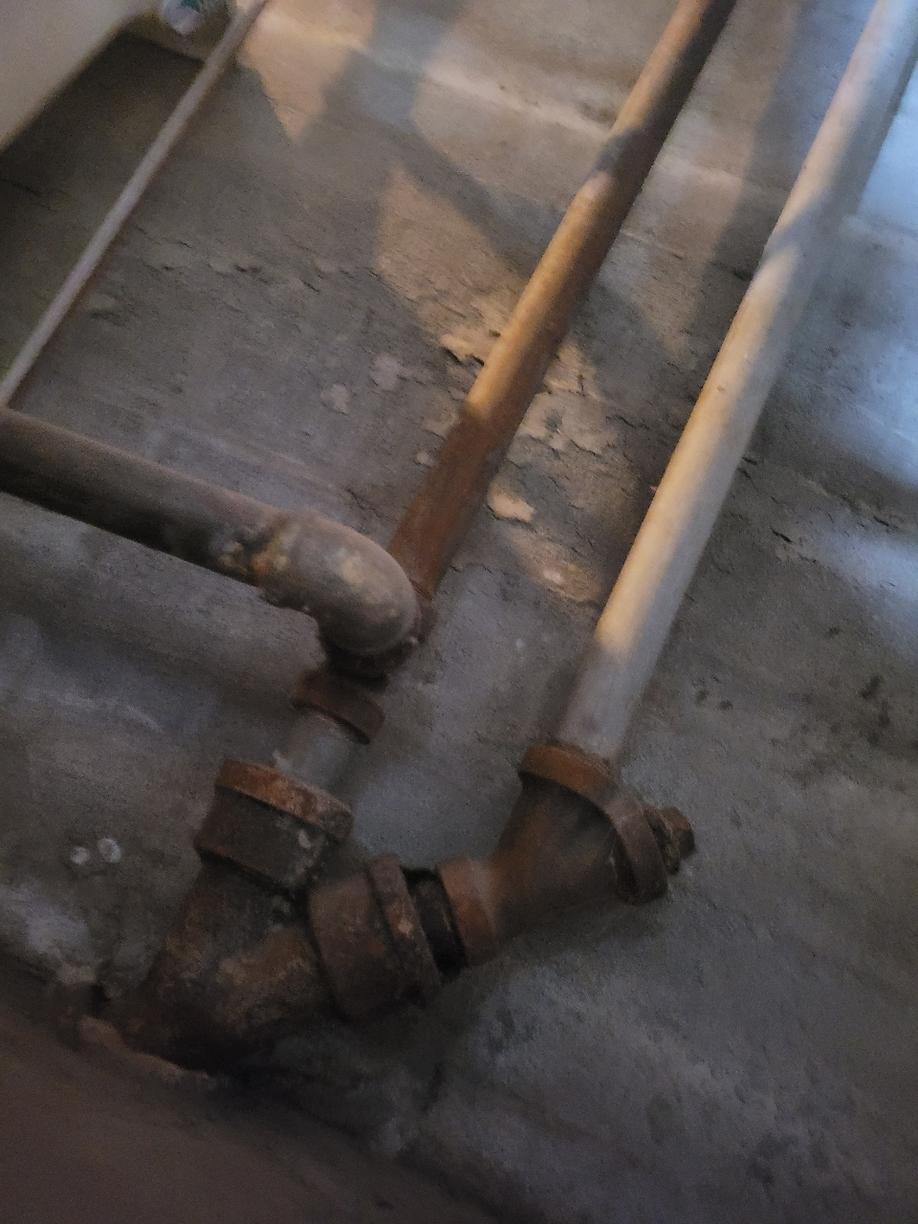
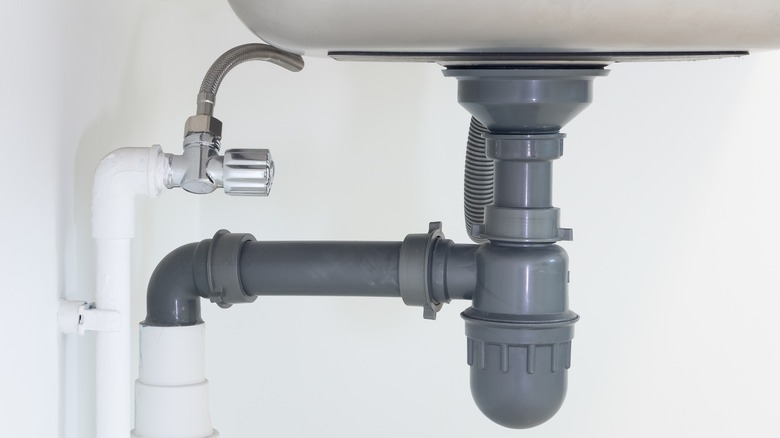
Before attempting to install a new kitchen sink drainage system, it's important to have a basic understanding of how it works. The drainage system consists of the sink drain, P-trap, and tailpiece. The sink drain connects to the P-trap, which then connects to the wall drain. The P-trap helps prevent foul odors from entering your home by trapping a small amount of water in it at all times.
It's also important to know the different types of materials used in sink drainage systems, such as PVC, ABS, and metal. Make sure to use the correct material for your specific installation to avoid any issues.


6. Understanding the Basics of Kitchen Sink Drainage Installation

7. Troubleshooting Common Issues with Kitchen Sink Drainage Installation
Even with the best preparations and precautions, sometimes issues may arise during the installation process. Here are some common problems and how to troubleshoot them:
* Leaks: If you notice any leaks, make sure all connections are tight and secure. If the issue persists, you may need to replace the gaskets or use plumber's tape to seal the connections.
* Slow drainage: This can be caused by a clogged P-trap or drain. Try using a plunger to unclog the drain, or use a plumbing snake to remove any blockages.
* Foul odors: If you smell any unpleasant odors, it could be due to a dry P-trap. Simply run some water down the drain to refill the trap and eliminate the odor.

7. Troubleshooting Common Issues with Kitchen Sink Drainage Installation


8. How to Properly Seal and Connect Kitchen Sink Drainage Pipes
Properly sealing and connecting the pipes in your kitchen sink drainage system is crucial to avoid any leaks or issues in the future. Here's how to do it:
* Apply a generous amount of plumber's putty around the underside of the sink drain flange.
* Connect the sink drain to the P-trap using the nut and gasket provided in the kit.
* Use plumber's tape on all threaded connections to create a watertight seal.
* When connecting the P-trap to the wall drain, make sure the connections are tight and secure.
* Test for leaks by running water through the sink and checking for any water drips.


8. How to Properly Seal and Connect Kitchen Sink Drainage Pipes


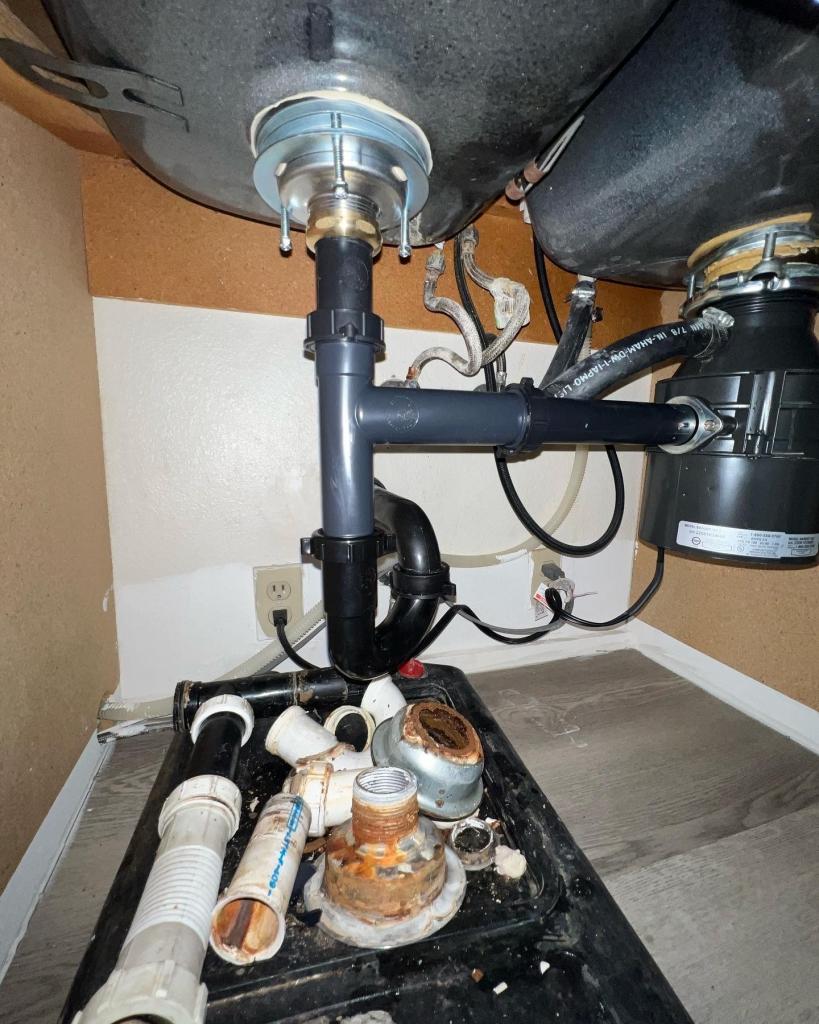
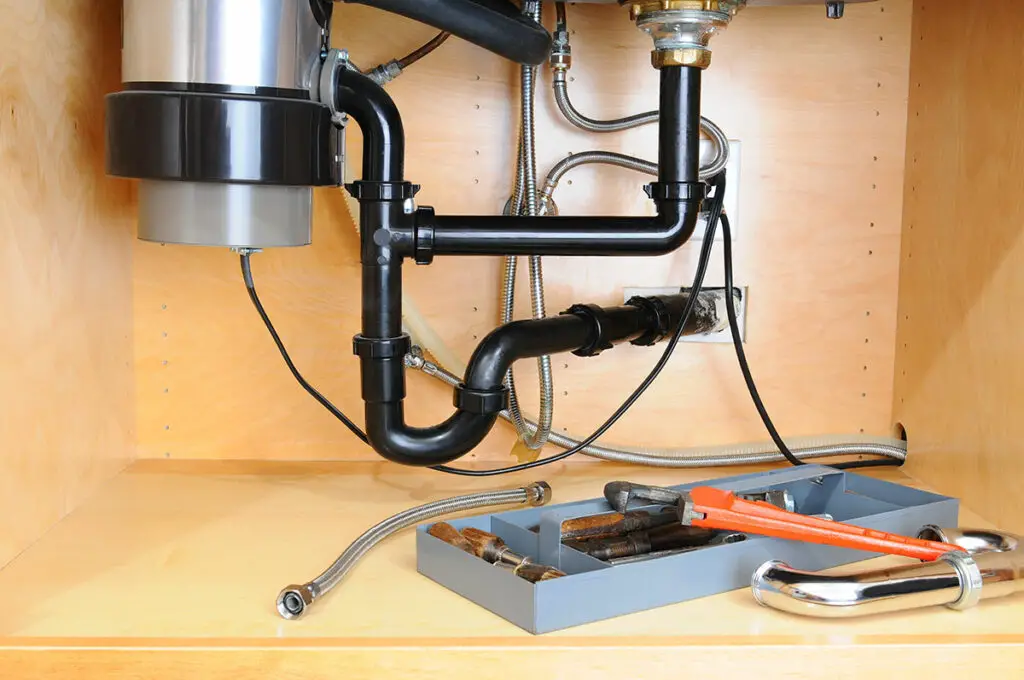
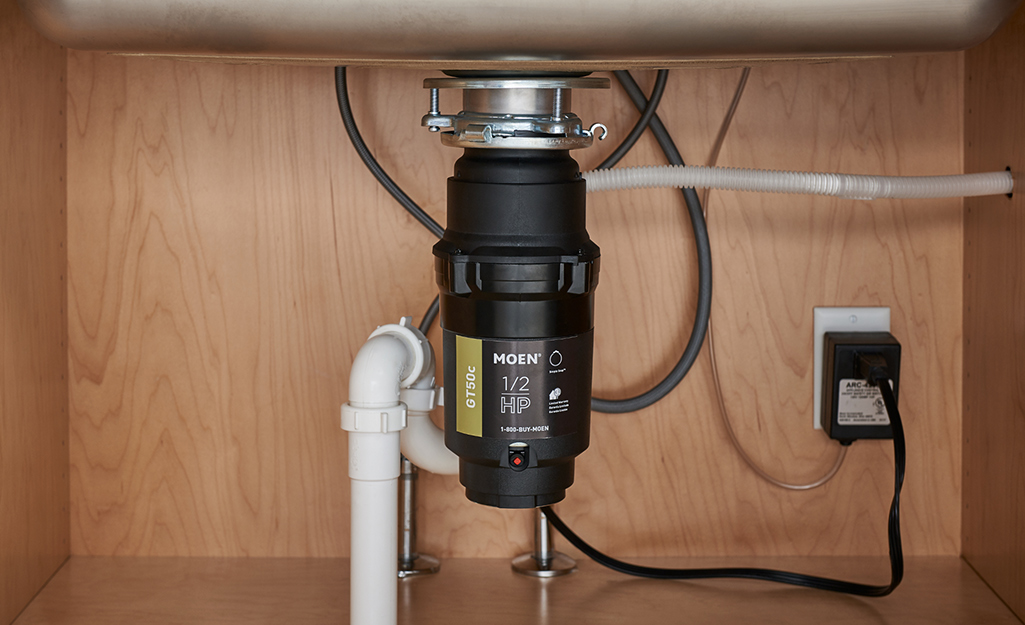
9. Installing a Garbage Disposal with Kitchen Sink Drainage: What You Need to Know
If you're planning to install a garbage disposal with your kitchen sink drainage system, there are a few additional steps to keep in mind:
* Make sure to turn off the power before installing the garbage disposal.
* Before attaching the disposal, insert the rubber gasket and mounting flange into the drain hole.
* Connect the disposal to the mounting flange using the provided screws.
* Connect the disposal to the P-trap using the provided drain tube and secure with a nut.
* Once everything is connected, turn on the power and test the disposal for proper functioning.


9. Installing a Garbage Disposal with Kitchen Sink Drainage: What You Need to Know

/how-to-install-a-sink-drain-2718789-hero-24e898006ed94c9593a2a268b57989a3.jpg)


10. Professional vs. DIY: Which is the Best Option for Installing Kitchen Sink Drainage?
Deciding whether to hire a professional or do it yourself when it comes to installing a kitchen sink drainage system can be a difficult choice. While hiring a professional may ensure a perfect installation, it can also be costly. On the other hand, DIY installation may save you money, but it also comes with the risk of making mistakes.
If you have some basic plumbing knowledge and are confident in your abilities, DIY may be the best option for you. However, if you're not familiar with plumbing or want a guaranteed perfect installation, it may be worth hiring a professional.
Ultimately, the decision is yours, and it's important to weigh the pros and cons before making a choice.


10. Professional vs. DIY: Which is the Best Option for Installing Kitchen Sink Drainage?


/how-to-install-a-sink-drain-2718789-hero-24e898006ed94c9593a2a268b57989a3.jpg)


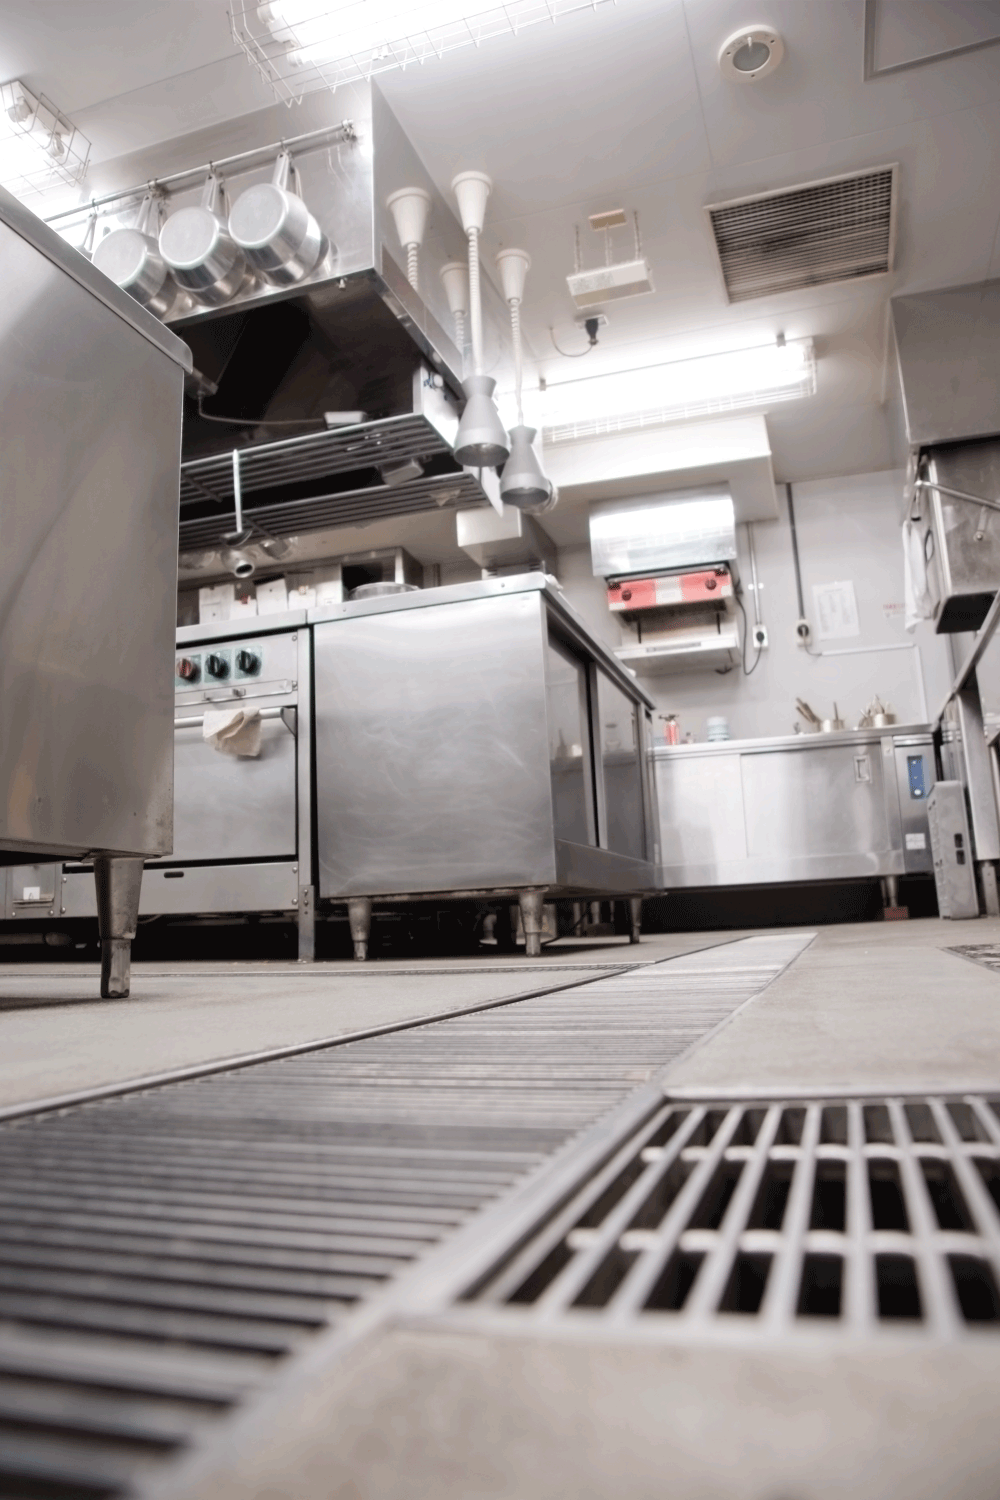
Ensuring Proper Drainage for Your Kitchen Sink: A Vital Step in House Design

Why Proper Drainage is Important
:no_upscale()/cdn.vox-cdn.com/uploads/chorus_asset/file/19495086/drain_0.jpg) When designing a new kitchen or updating an existing one, it’s easy to get caught up in choosing the perfect countertops, cabinets, and appliances. However, one aspect that often gets overlooked is the
drainage of the kitchen sink
. This may not seem like a glamorous or exciting part of house design, but it is a crucial step in creating a functional and efficient kitchen. Without proper drainage, you could end up with a smelly and unsanitary mess, not to mention potential damage to your plumbing and home.
When designing a new kitchen or updating an existing one, it’s easy to get caught up in choosing the perfect countertops, cabinets, and appliances. However, one aspect that often gets overlooked is the
drainage of the kitchen sink
. This may not seem like a glamorous or exciting part of house design, but it is a crucial step in creating a functional and efficient kitchen. Without proper drainage, you could end up with a smelly and unsanitary mess, not to mention potential damage to your plumbing and home.
The Process of Installing Kitchen Sink Drainage
 The first step in
installing kitchen sink drainage
is to carefully plan the layout of your sink and surrounding cabinets. This will help determine the most efficient and effective path for the drainage pipes. It’s important to consider the size and location of your sink, as well as any potential obstacles in the way.
Once the layout is decided, the next step is to
choose the right materials for your drainage system
. This includes the sink itself, the piping, and any necessary fittings and connectors. It’s important to opt for high-quality materials to ensure durability and prevent any potential leaks or clogs.
The first step in
installing kitchen sink drainage
is to carefully plan the layout of your sink and surrounding cabinets. This will help determine the most efficient and effective path for the drainage pipes. It’s important to consider the size and location of your sink, as well as any potential obstacles in the way.
Once the layout is decided, the next step is to
choose the right materials for your drainage system
. This includes the sink itself, the piping, and any necessary fittings and connectors. It’s important to opt for high-quality materials to ensure durability and prevent any potential leaks or clogs.
Proper Installation Techniques
 When it comes to actually installing the drainage system, it’s crucial to follow proper techniques to ensure a successful and long-lasting result. This includes properly sealing all connections, using the correct angles for the pipes, and ensuring adequate slope for water flow. If you’re not confident in your plumbing skills, it’s best to hire a professional to handle the installation.
Another important aspect of
installing kitchen sink drainage
is to regularly clean and maintain the system. This includes regularly checking for and removing any clogs, as well as using natural and environmentally friendly cleaners to prevent buildup and odors.
When it comes to actually installing the drainage system, it’s crucial to follow proper techniques to ensure a successful and long-lasting result. This includes properly sealing all connections, using the correct angles for the pipes, and ensuring adequate slope for water flow. If you’re not confident in your plumbing skills, it’s best to hire a professional to handle the installation.
Another important aspect of
installing kitchen sink drainage
is to regularly clean and maintain the system. This includes regularly checking for and removing any clogs, as well as using natural and environmentally friendly cleaners to prevent buildup and odors.
The Benefits of Proper Drainage
/how-to-install-a-sink-drain-2718789-hero-b5b99f72b5a24bb2ae8364e60539cece.jpg) Having a properly installed and maintained drainage system for your kitchen sink offers numerous benefits. Not only does it prevent potential plumbing issues and unpleasant odors, but it also allows for easy cleanup after meal preparation and dishwashing. Additionally, a well-designed drainage system can enhance the overall appearance and functionality of your kitchen.
In conclusion, proper drainage for your kitchen sink is a vital step in house design. It’s important to carefully plan and choose the right materials, as well as follow proper installation techniques and regular maintenance. By doing so, you’ll ensure a functional and efficient kitchen that will be a joy to use for years to come.
Having a properly installed and maintained drainage system for your kitchen sink offers numerous benefits. Not only does it prevent potential plumbing issues and unpleasant odors, but it also allows for easy cleanup after meal preparation and dishwashing. Additionally, a well-designed drainage system can enhance the overall appearance and functionality of your kitchen.
In conclusion, proper drainage for your kitchen sink is a vital step in house design. It’s important to carefully plan and choose the right materials, as well as follow proper installation techniques and regular maintenance. By doing so, you’ll ensure a functional and efficient kitchen that will be a joy to use for years to come.


/exciting-small-kitchen-ideas-1821197-hero-d00f516e2fbb4dcabb076ee9685e877a.jpg)


