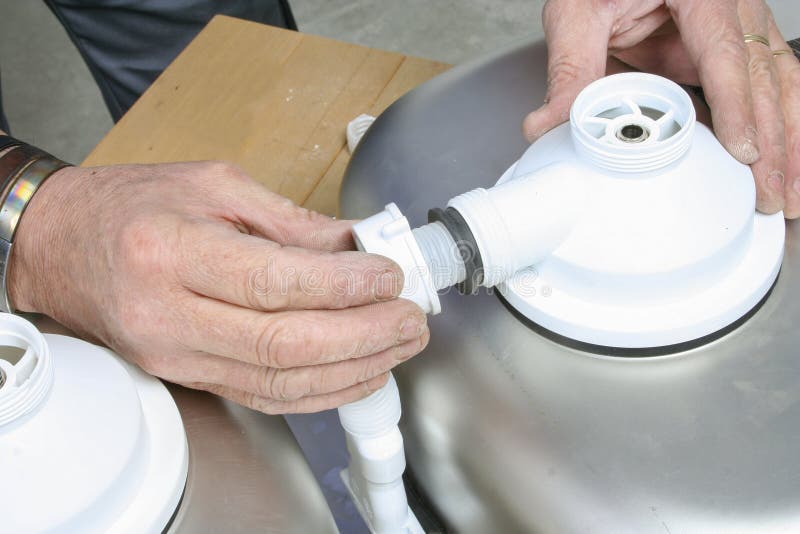
Installing a kitchen sink drain basket may seem like a daunting task, but with the right tools and some basic knowledge, it can be done easily and efficiently. A kitchen sink drain basket is an essential part of any sink, as it helps to keep your kitchen clean and free of food scraps and debris. Here is a step-by-step guide on how to install a kitchen sink drain basket in your kitchen.How to Install a Kitchen Sink Drain Basket


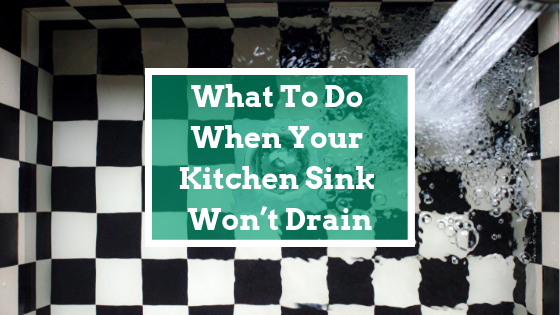
How to Install a Kitchen Sink Drain Basket

:max_bytes(150000):strip_icc()/how-to-install-a-sink-drain-2718789-hero-24e898006ed94c9593a2a268b57989a3.jpg)

Installing a kitchen sink drain basket can be broken down into 5 simple steps:How to Install a Kitchen Sink Drain Basket in 5 Easy Steps


How to Install a Kitchen Sink Drain Basket in 5 Easy Steps


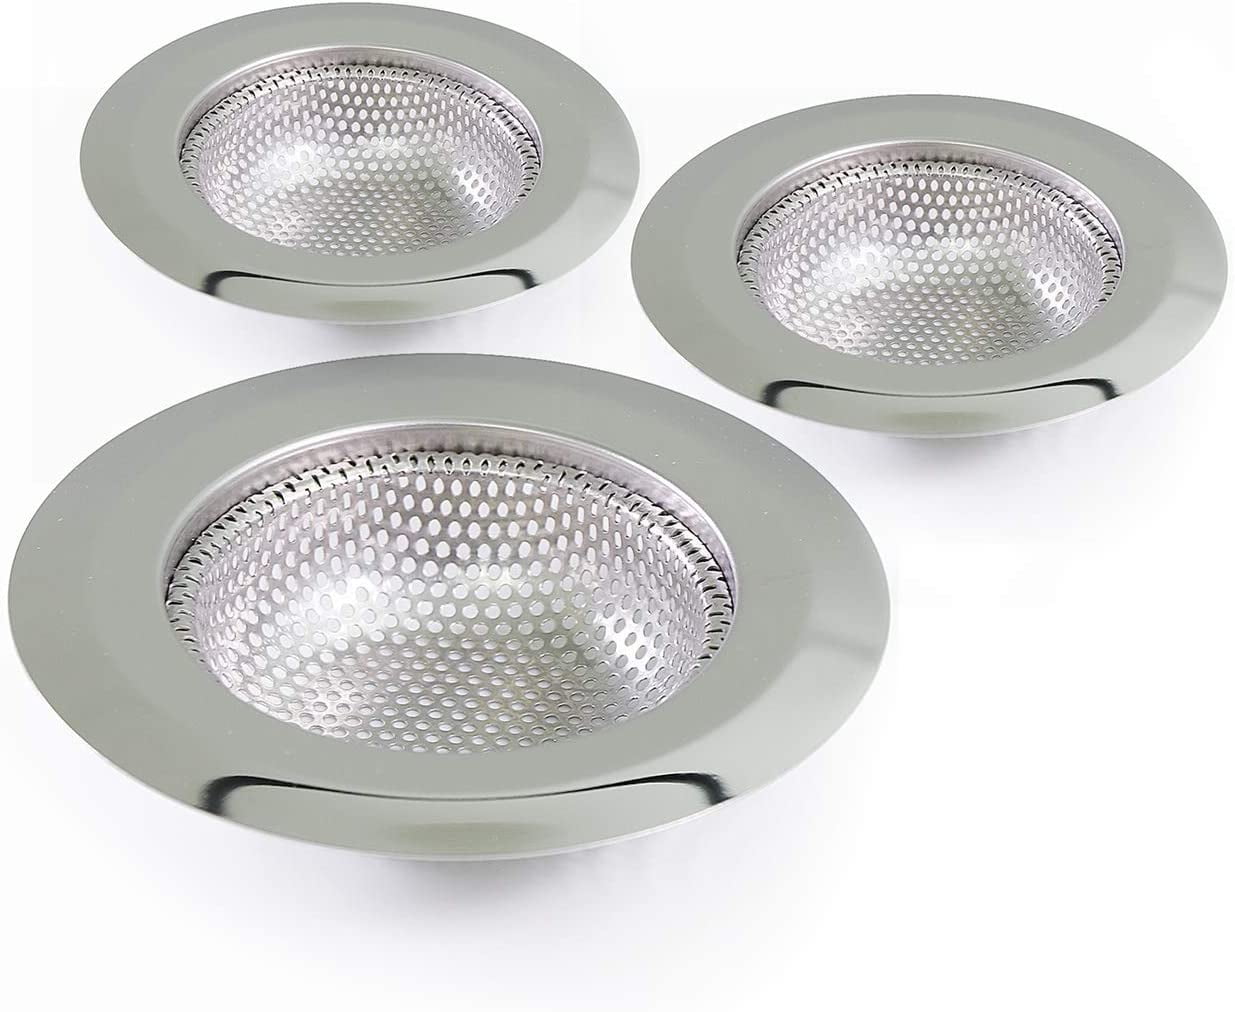
Before you start the installation process, make sure you have all the necessary tools and materials on hand. This includes a screwdriver, pliers, plumber's putty, and a new drain basket. It's also a good idea to have a bucket or towel nearby to catch any water that may spill during the installation process.Step 1: Gather the Necessary Tools and Materials


DIY: Installing a Kitchen Sink Drain Basket


If you are replacing an old drain basket, you will first need to remove it. Use a screwdriver to loosen the screws that hold the drain basket in place. Once the screws are removed, you can simply pull the old drain basket out of the sink.Step 2: Remove the Old Drain Basket


Step-by-Step Guide for Installing a Kitchen Sink Drain Basket


Before installing the new drain basket, it's important to clean the area where the old drain basket was located. Use a clean cloth or sponge to wipe away any debris or residue. This will ensure a clean and secure fit for the new drain basket.Step 3: Clean the Sink and Drain Area

Installing a Kitchen Sink Drain Basket: A Beginner's Guide
Plumber's putty is a soft, moldable material that is used to create a watertight seal around the drain basket. Take a small amount of plumber's putty and roll it into a thin snake-like shape. Place the putty around the underside of the new drain basket, making sure to cover the entire perimeter.Step 4: Apply Plumber's Putty


Tools and Materials Needed for Installing a Kitchen Sink Drain Basket

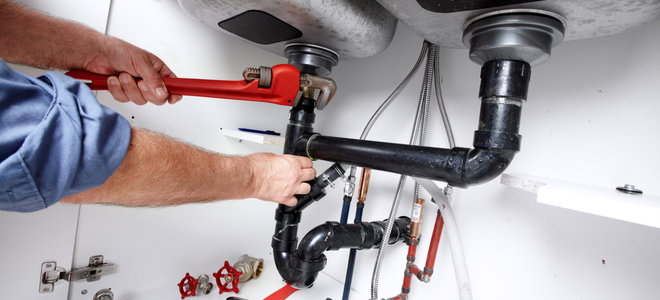
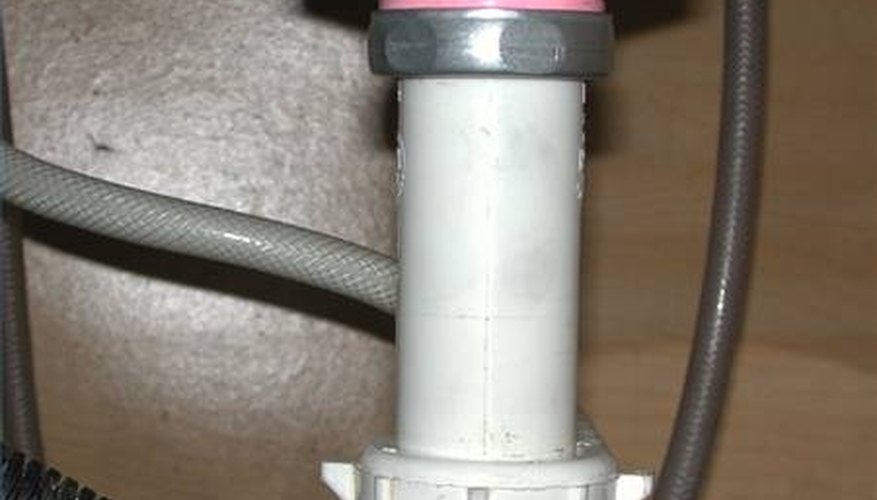
With the plumber's putty in place, you can now install the new drain basket. Place the drain basket into the sink, making sure it is centered and level. From underneath the sink, use pliers to tighten the mounting screws until the drain basket is secure. Wipe away any excess putty that may have squeezed out from underneath the drain basket.Step 5: Install the New Drain Basket

Common Mistakes to Avoid When Installing a Kitchen Sink Drain Basket


Installing a kitchen sink drain basket is a DIY project that can save you time and money. With the right tools and a little bit of know-how, you can easily replace an old or damaged drain basket in your kitchen sink. However, if you are uncomfortable with DIY projects or encounter any difficulties during the installation process, it's always best to seek professional help.DIY: Installing a Kitchen Sink Drain Basket

Tips and Tricks for Installing a Kitchen Sink Drain Basket Like a Pro


To recap, here are the tools and materials you will need for installing a kitchen sink drain basket:Tools and Materials Needed for Installing a Kitchen Sink Drain Basket

How to Replace an Old Kitchen Sink Drain Basket with a New One


While installing a kitchen sink drain basket is a relatively simple task, there are some common mistakes that can lead to problems down the road. Here are some things to avoid when installing a drain basket:Common Mistakes to Avoid When Installing a Kitchen Sink Drain Basket


Troubleshooting: What to Do If Your Kitchen Sink Drain Basket Won't Install Properly


Why Installing a Drain Basket in Your Kitchen Sink is a Must for Every Homeowner

Protect Your Pipes and Prevent Clogs
 One of the main benefits of installing a
drain basket
in your kitchen sink is that it helps protect your pipes and prevents clogs. As we use our kitchen sinks daily, bits of food, grease, and other debris can easily get washed down the drain. Over time, these materials can build up and cause blockages in your pipes. This not only leads to slow drainage, but also can result in costly plumbing repairs. By using a drain basket, you can catch these materials before they have a chance to clog your pipes, saving you time and money in the long run.
One of the main benefits of installing a
drain basket
in your kitchen sink is that it helps protect your pipes and prevents clogs. As we use our kitchen sinks daily, bits of food, grease, and other debris can easily get washed down the drain. Over time, these materials can build up and cause blockages in your pipes. This not only leads to slow drainage, but also can result in costly plumbing repairs. By using a drain basket, you can catch these materials before they have a chance to clog your pipes, saving you time and money in the long run.
Reduce Odors and Keep Your Kitchen Smelling Fresh
 Another benefit of using a
drain basket
is that it helps reduce odors in your kitchen. When food particles and other debris get stuck in your pipes, they can begin to decompose and emit foul odors. This not only makes your kitchen an unpleasant place to be, but it can also attract pests, such as fruit flies and roaches. By using a drain basket, you can easily remove any trapped debris and prevent these odors from lingering in your kitchen.
Another benefit of using a
drain basket
is that it helps reduce odors in your kitchen. When food particles and other debris get stuck in your pipes, they can begin to decompose and emit foul odors. This not only makes your kitchen an unpleasant place to be, but it can also attract pests, such as fruit flies and roaches. By using a drain basket, you can easily remove any trapped debris and prevent these odors from lingering in your kitchen.
Easier Clean-Up and Maintenance
 With a
drain basket
in place, cleaning your kitchen sink becomes much easier. Instead of having to dig through a pile of food scraps and debris, you can simply remove the drain basket and dispose of the contents. This not only saves you time, but it also makes cleaning your sink a more hygienic task. Additionally, regular maintenance of your drain basket, such as removing any built-up debris, can help prevent future clogs and keep your sink functioning properly.
With a
drain basket
in place, cleaning your kitchen sink becomes much easier. Instead of having to dig through a pile of food scraps and debris, you can simply remove the drain basket and dispose of the contents. This not only saves you time, but it also makes cleaning your sink a more hygienic task. Additionally, regular maintenance of your drain basket, such as removing any built-up debris, can help prevent future clogs and keep your sink functioning properly.
Add Style and Functionality to Your Kitchen
/how-to-install-a-sink-drain-2718789-hero-b5b99f72b5a24bb2ae8364e60539cece.jpg) Lastly, installing a
drain basket
can add both style and functionality to your kitchen. With a variety of designs and finishes available, you can choose a drain basket that not only complements your kitchen décor, but also fits your specific sink size and shape. Some drain baskets also come with additional features, such as a strainer or stopper, to make your kitchen sink even more convenient and efficient.
In conclusion, installing a drain basket in your kitchen sink is a simple but important step in maintaining a clean and functional kitchen. Not only does it protect your pipes and prevent clogs, but it also reduces odors, makes clean-up easier, and adds style and functionality to your kitchen. Make sure to choose a high-quality drain basket and regularly clean and maintain it to keep your kitchen sink in top condition.
Lastly, installing a
drain basket
can add both style and functionality to your kitchen. With a variety of designs and finishes available, you can choose a drain basket that not only complements your kitchen décor, but also fits your specific sink size and shape. Some drain baskets also come with additional features, such as a strainer or stopper, to make your kitchen sink even more convenient and efficient.
In conclusion, installing a drain basket in your kitchen sink is a simple but important step in maintaining a clean and functional kitchen. Not only does it protect your pipes and prevent clogs, but it also reduces odors, makes clean-up easier, and adds style and functionality to your kitchen. Make sure to choose a high-quality drain basket and regularly clean and maintain it to keep your kitchen sink in top condition.