1. How to Install a Porcelain Kitchen Sink
Are you looking to upgrade your kitchen with a new porcelain kitchen sink? Installing a new sink can be a daunting task, but with the right tools and knowledge, it can be a simple and rewarding DIY project. Follow our step-by-step guide to learn how to install a porcelain kitchen sink and give your kitchen a fresh new look.


1. How to Install a Porcelain Kitchen Sink


2. Step-by-Step Guide for Installing a Porcelain Kitchen Sink
If you're ready to take on the challenge of installing a porcelain kitchen sink, here's a step-by-step guide to help you through the process.
Step 1: Measure the area where you plan to install the sink to ensure that it will fit properly.
Step 2: Turn off the water supply and disconnect the plumbing from your old sink.
Step 3: Remove the old sink and clean the area thoroughly.
Step 4: Place the sink upside down on a flat surface and apply a thin layer of plumber's putty around the edge of the sink.
Step 5: Carefully place the sink into the designated area and press down firmly to create a seal with the putty.
Step 6: Install the sink clips, making sure they are evenly spaced and secure.
Step 7: Connect the plumbing to the sink and turn on the water supply to test for any leaks.
Step 8: Apply caulk around the edges of the sink to create a water-tight seal.
Step 9: Install the drain and garbage disposal (if applicable).
Step 10: Clean up any excess putty or caulk and voila, your new porcelain kitchen sink is installed!


2. Step-by-Step Guide for Installing a Porcelain Kitchen Sink


3. DIY: Installing a Porcelain Kitchen Sink
Installing a porcelain kitchen sink yourself can save you time and money. With the right tools and a little bit of know-how, you can achieve professional-looking results without having to hire a professional.
Before you begin, make sure you have all the necessary tools and materials, including a wrench, pliers, putty knife, and plumber's putty. It's also important to carefully read the manufacturer's instructions that come with your sink to ensure proper installation.


3. DIY: Installing a Porcelain Kitchen Sink


4. Tips for Installing a Porcelain Kitchen Sink
Here are a few tips to keep in mind when installing your porcelain kitchen sink:
Bold featured keyword: Be sure to use a high-quality plumber's putty to create a strong seal between the sink and countertop.
Bold featured keyword: To avoid cracking, do not over-tighten the sink clips or plumbing connections.
Bold featured keyword: It's always a good idea to have a helper on hand to assist with lifting and positioning the sink.
Bold featured keyword: If you're installing a sink with a garbage disposal, make sure you have the necessary tools and experience to properly install it.


4. Tips for Installing a Porcelain Kitchen Sink


5. What You Need to Know Before Installing a Porcelain Kitchen Sink
Before you dive into installing a porcelain kitchen sink, there are a few things you should know:
Italicized main keyword: Make sure the sink you choose is the right size and shape for your countertop and cabinet space.
Italicized main keyword: Porcelain sinks can be heavy, so it's important to have a strong and sturdy countertop to support it.
Italicized main keyword: If you're replacing an old sink, be sure to properly dispose of it and any other old materials to make room for your new sink.


5. What You Need to Know Before Installing a Porcelain Kitchen Sink


6. The Process of Installing a Porcelain Kitchen Sink
The process of installing a porcelain kitchen sink can vary slightly depending on the type of sink you have and your specific kitchen setup. However, the general process remains the same:
Italicized main keyword: Measure and prepare the area for the sink.
Italicized main keyword: Apply plumber's putty and place the sink into position.
Italicized main keyword: Secure the sink with clips and connect the plumbing.
Italicized main keyword: Test for any leaks and make necessary adjustments.
Italicized main keyword: Apply caulk and install the drain and garbage disposal (if applicable).


6. The Process of Installing a Porcelain Kitchen Sink


7. Common Mistakes to Avoid When Installing a Porcelain Kitchen Sink
Although installing a porcelain kitchen sink is a relatively straightforward process, there are a few common mistakes that can occur. Here are some to avoid:
Italicized main keyword: Not properly measuring the sink or area before installation, resulting in an ill-fitting sink.
Italicized main keyword: Using low-quality or incorrect materials, such as caulk or putty, which can lead to leaks and other issues.
Italicized main keyword: Over-tightening sink clips or plumbing connections, causing cracks in the sink or countertop.
Italicized main keyword: Not properly disposing of old materials, which can lead to clutter and hazards in your workspace.


7. Common Mistakes to Avoid When Installing a Porcelain Kitchen Sink


8. Tools and Materials Needed for Installing a Porcelain Kitchen Sink
To successfully install a porcelain kitchen sink, you will need the following tools and materials:
Italicized main keyword: Wrench
Italicized main keyword: Pliers
Italicized main keyword: Putty knife
Italicized main keyword: Plumber's putty
Italicized main keyword: Caulk
Italicized main keyword: Sink clips
Italicized main keyword: Garbage disposal (if applicable)


8. Tools and Materials Needed for Installing a Porcelain Kitchen Sink


9. How Long Does it Take to Install a Porcelain Kitchen Sink?
The time it takes to install a porcelain kitchen sink can vary depending on your skill level and the complexity of the installation. However, on average, it can take anywhere from 1-3 hours to complete the installation process.


9. How Long Does it Take to Install a Porcelain Kitchen Sink?


10. Hiring a Professional vs. DIY: Installing a Porcelain Kitchen Sink
Deciding whether to hire a professional or tackle the installation yourself ultimately depends on your personal skill level and comfort with DIY projects. While hiring a professional may ensure a flawless installation, doing it yourself can save you money and give you a sense of accomplishment. Whichever route you choose, with the right tools and knowledge, you can successfully install a porcelain kitchen sink and transform your kitchen into a beautiful and functional space.


10. Hiring a Professional vs. DIY: Installing a Porcelain Kitchen Sink


Installing a Porcelain Kitchen Sink: A Guide to Enhancing Your House Design

Why Choose a Porcelain Kitchen Sink?
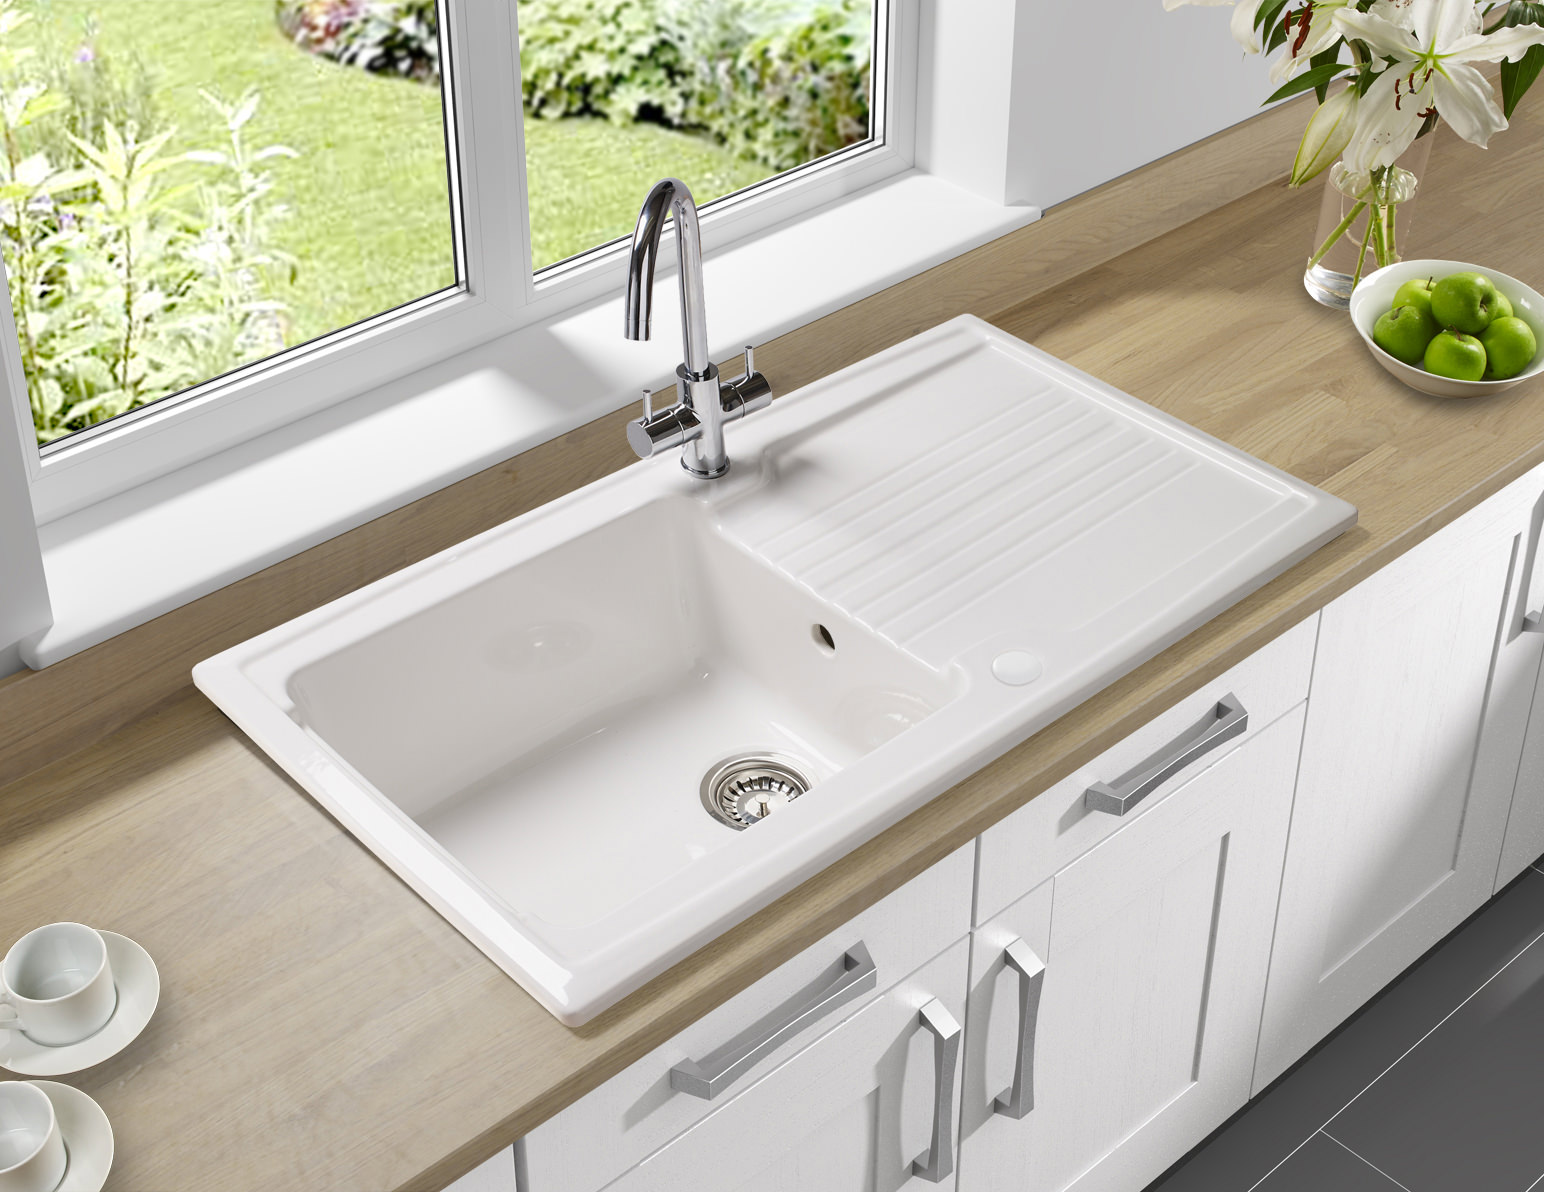
 When it comes to designing your dream kitchen, the sink is an essential element that often goes overlooked. However, choosing the right sink can make a huge impact on the overall aesthetic and functionality of your kitchen. One popular option is a porcelain kitchen sink, which not only adds a touch of elegance to your space but also offers durability and low maintenance. With its smooth, glossy finish and variety of styles and colors, a porcelain kitchen sink can be the perfect addition to your house design.
Preparation and Tools
 Before installing your new porcelain kitchen sink, there are a few necessary steps to take. First, make sure to measure your sink and the existing cutout in your countertop to ensure a proper fit. You may need to make adjustments or consult a professional if the measurements do not match up. Next, gather the necessary tools, including a drill, silicone caulking, and plumber's putty. It is also important to have a helper to assist with lifting and holding the sink in place during installation.
Installing the Sink
 The first step in installing your porcelain kitchen sink is to apply a thin layer of plumber's putty around the edges of the sink's mounting surface. Then, carefully lower the sink into the cutout on the countertop, making sure it is centered and level. Next, attach the mounting clips or brackets provided with the sink to secure it in place. Once the sink is secure, you can connect the plumbing and drain assembly according to the manufacturer's instructions.
Sealing and Finishing
 Once the sink is installed and connected, it is crucial to properly seal it to prevent any leaks or damage. Apply a bead of silicone caulking around the edges of the sink where it meets the countertop, smoothing it out with your finger or a caulk tool. This will not only provide a watertight seal but also give a clean and finished look to your sink. Wipe off any excess caulking and let it dry completely before using the sink.
Final Thoughts
 In conclusion, installing a porcelain kitchen sink is a relatively simple and cost-effective way to enhance your house design. Its timeless beauty and durability make it a popular choice among homeowners, and with proper installation and maintenance, it can last for years to come. Now that you know the basics of installing a porcelain kitchen sink, you can confidently add this stunning feature to your dream kitchen.