1. Installing a Bathroom Sink Drain: A Step-by-Step Guide
Are you tired of dealing with a clogged and leaky bathroom sink drain? It may be time to replace or install a new one. Don't worry, with the right tools and a little bit of know-how, you can easily install a bathroom sink drain yourself. Follow our step-by-step guide below to get your sink draining smoothly in no time.


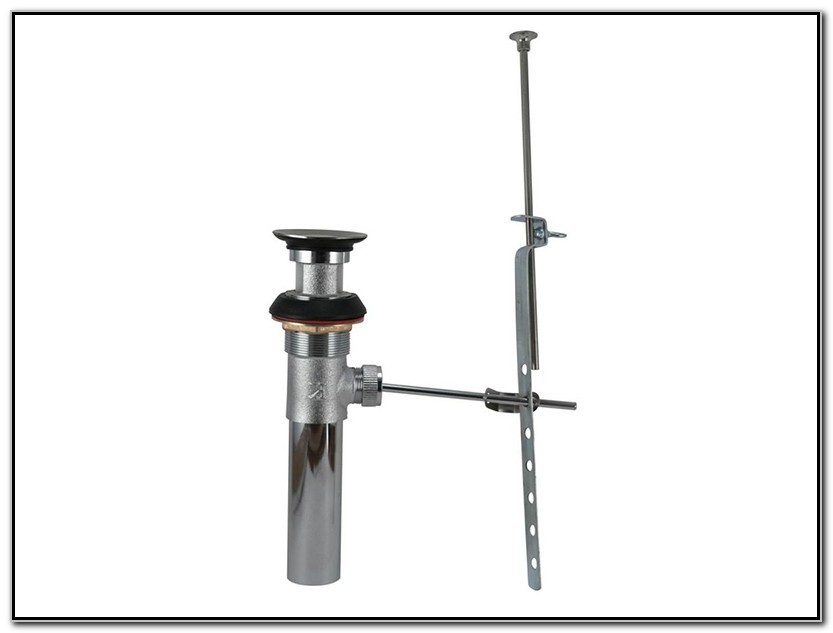
installing bathroom sink drain


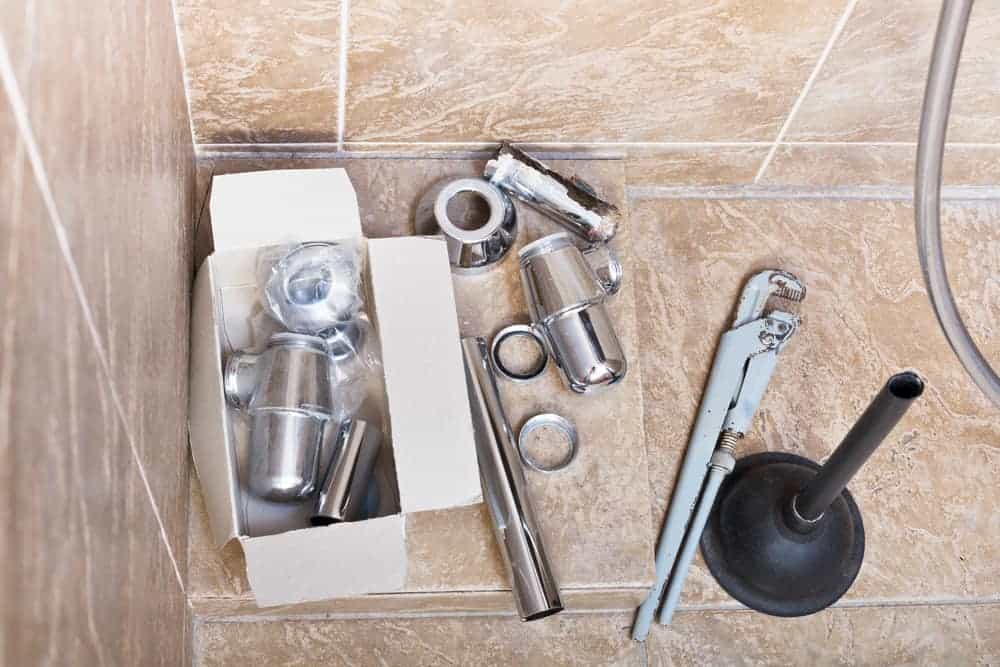
2. How to Install a Bathroom Sink Drain: Materials You'll Need
Before you begin the installation process, gather the necessary materials. You'll need a new bathroom sink drain assembly, plumber's putty, a pipe wrench, pliers, and a bucket to catch any water that may spill out during the process.


how to install a bathroom sink drain


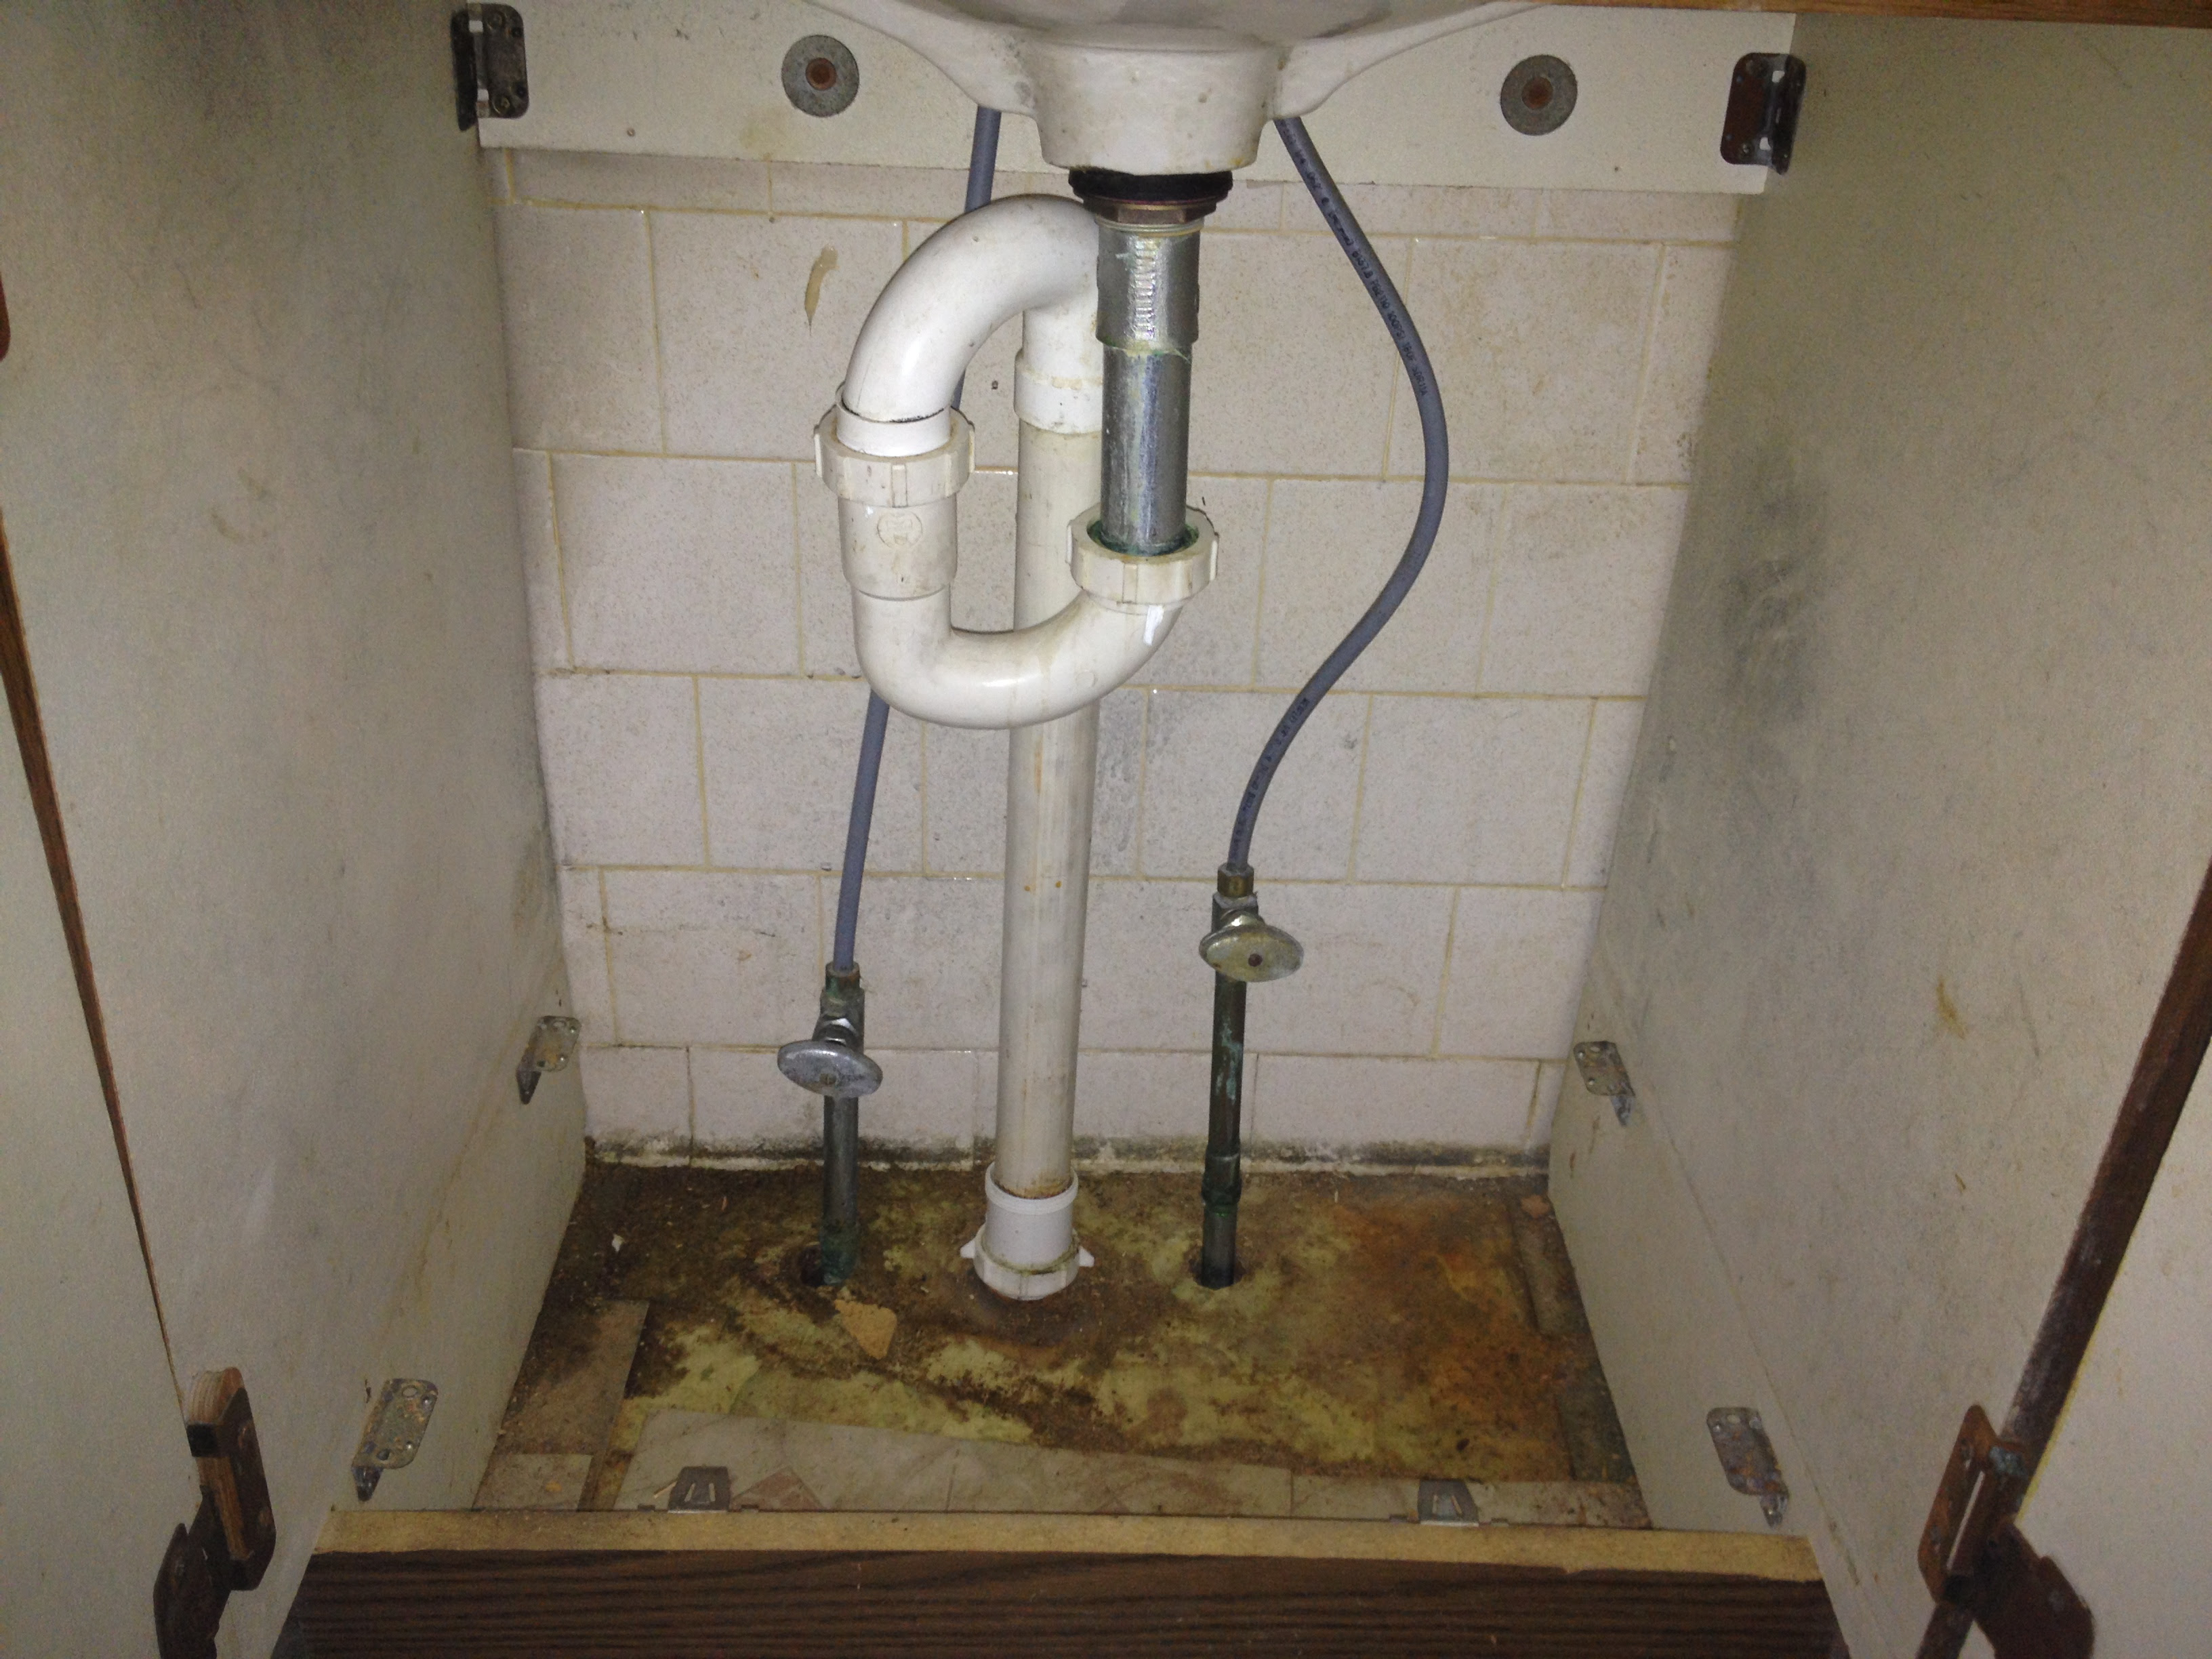

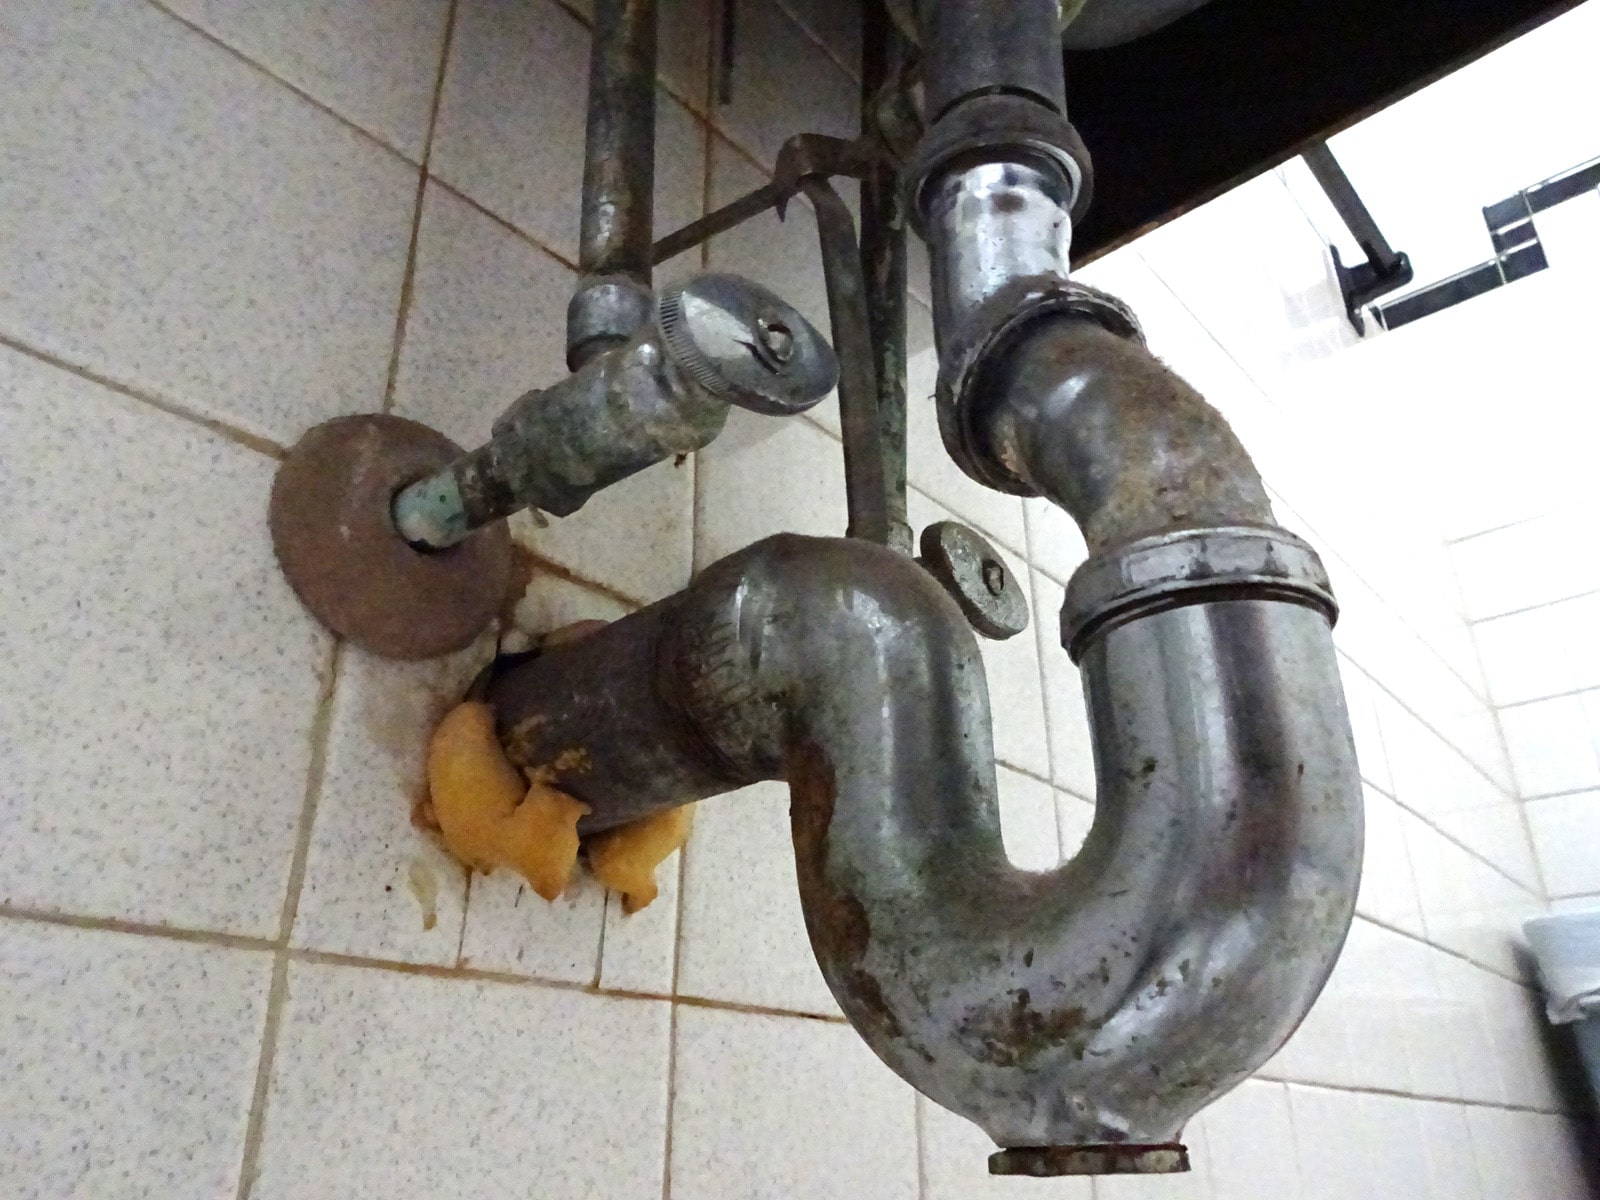
3. Bathroom Sink Drain Installation: Removing the Old Drain
The first step is to remove the old drain. Start by disconnecting the water supply by turning off the shut-off valves under the sink. Then, use a pipe wrench to unscrew the drain assembly from the sink.


bathroom sink drain installation


4. Bathroom Sink Drain Assembly: Cleaning the Sink and Drain
Once the old drain is removed, use a scraper or putty knife to remove any old putty or debris from the sink and drain opening. Clean the area thoroughly with a mild cleaner and let it dry completely before moving on to the next step.


bathroom sink drain assembly


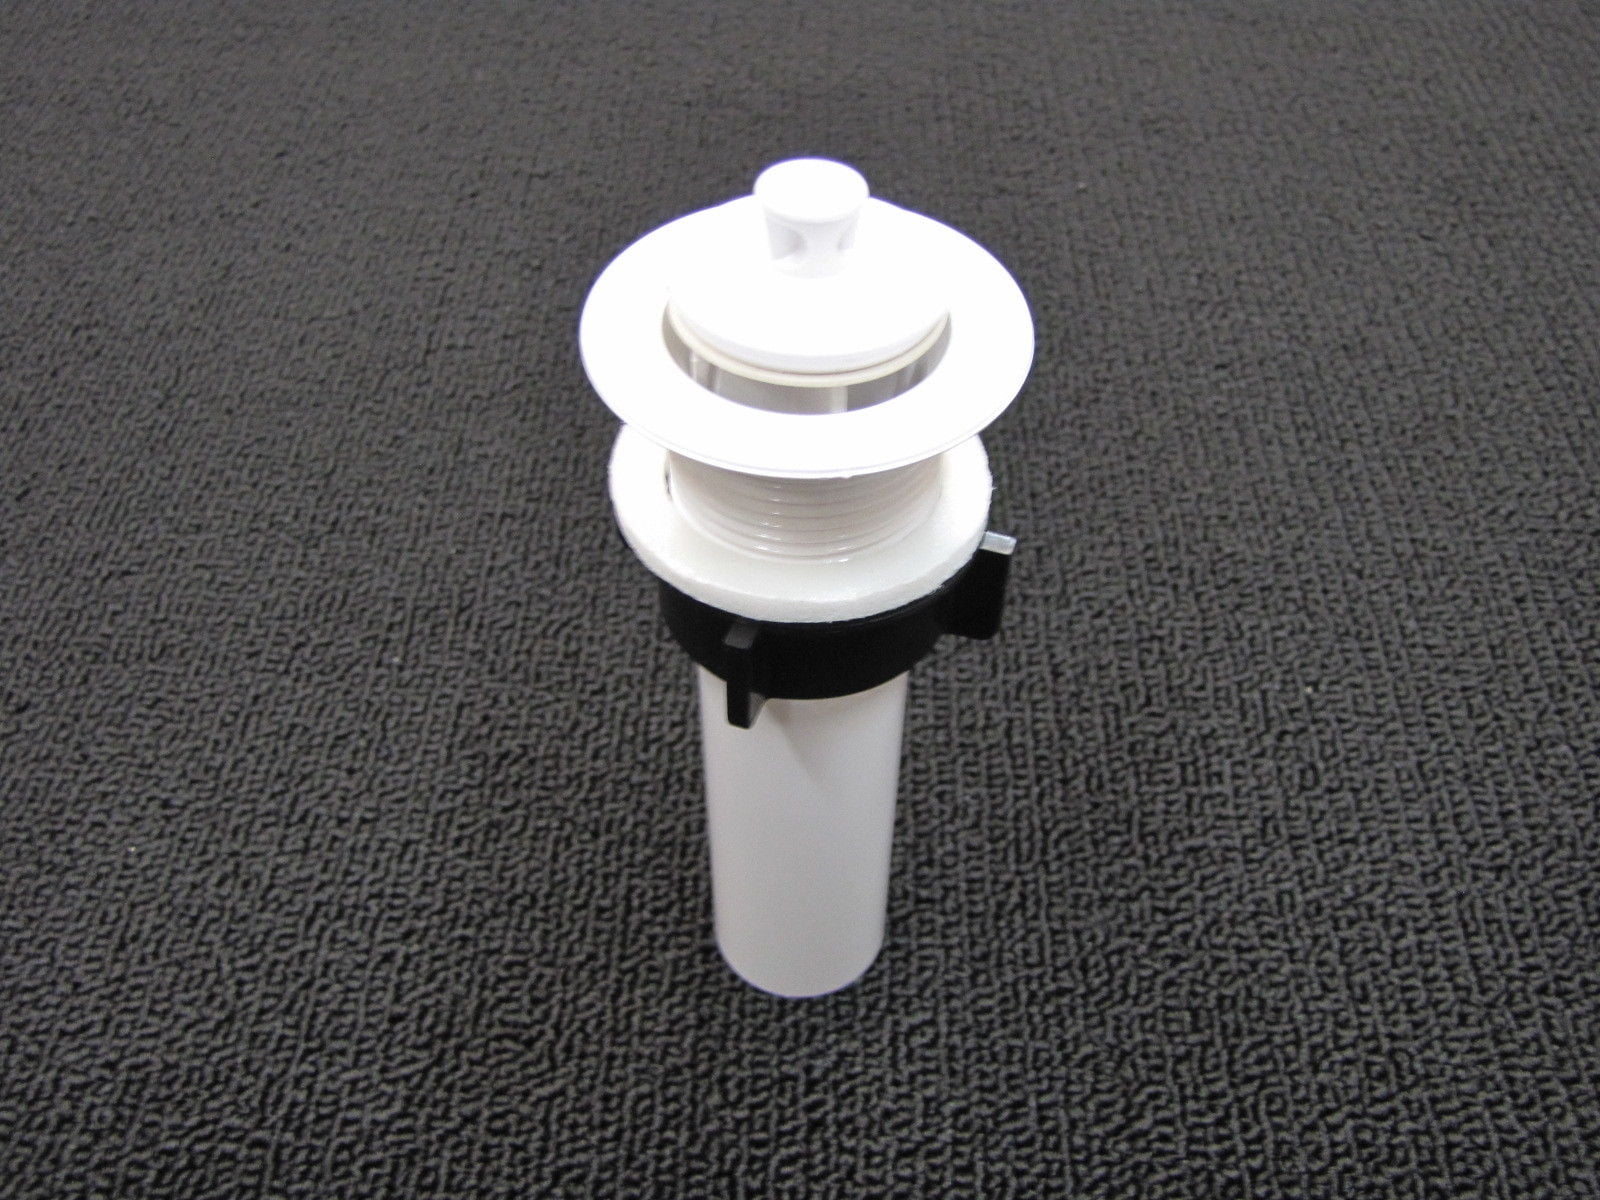


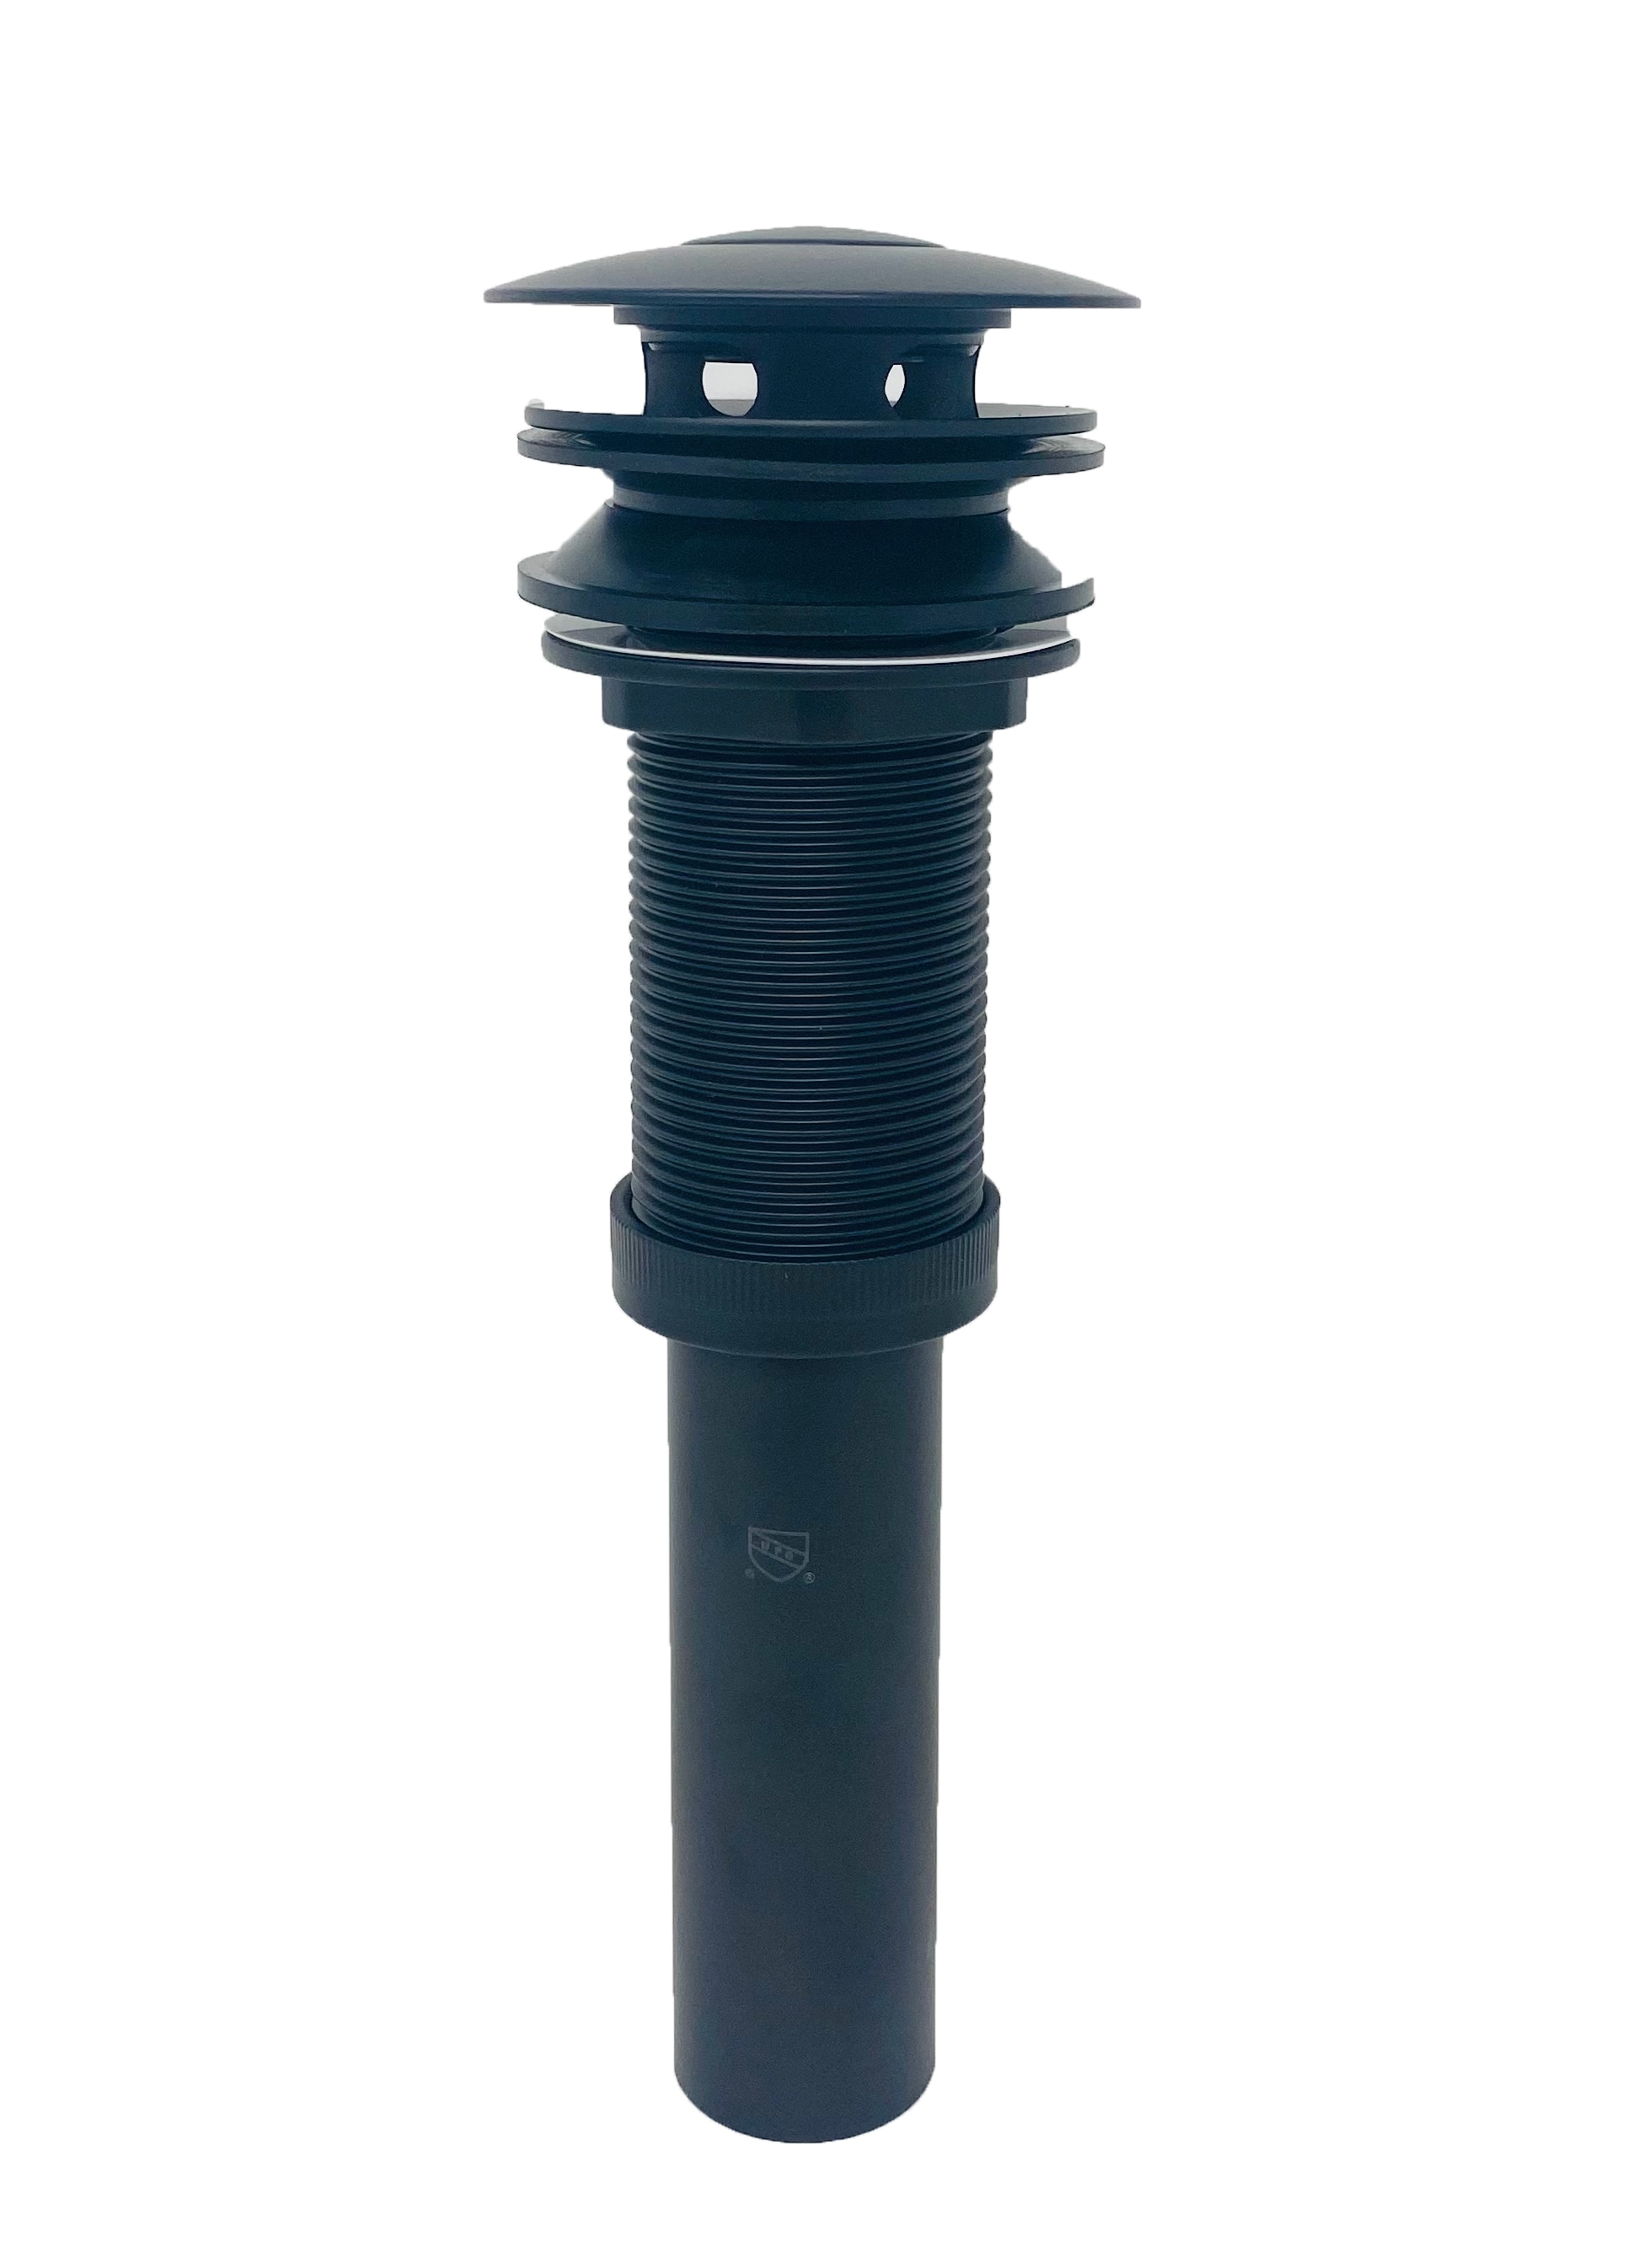
5. Installing the Bathroom Sink Drain Assembly
Take your new drain assembly and apply a thin layer of plumber's putty around the underside of the flange. This will create a water-tight seal between the drain and the sink. Place the flange into the drain opening and press down firmly.


bathroom sink drain replacement


6. Bathroom Sink Drain Replacement: Attaching the Drain Body
Next, insert the drain body into the flange and secure it with the provided nut. Use pliers to tighten the nut and ensure a snug fit. Be careful not to overtighten, as this can crack the sink or cause leaks.


bathroom sink drain parts


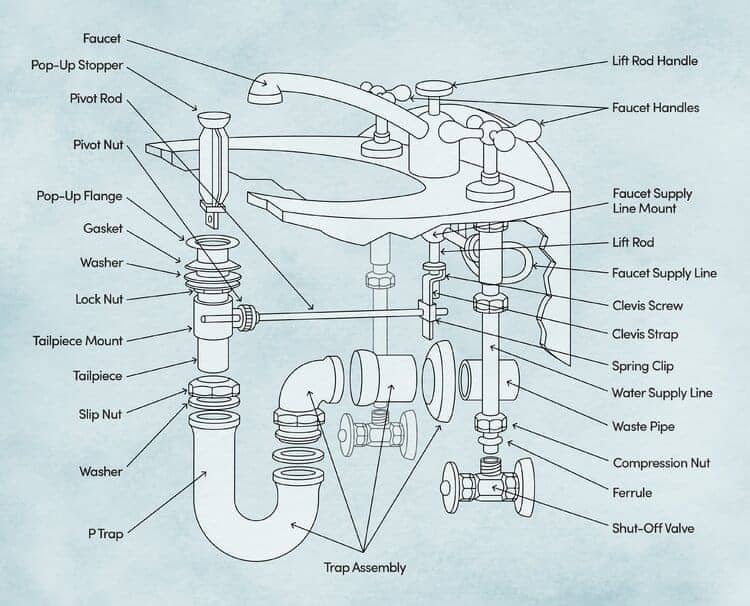
7. Bathroom Sink Drain Parts: Connecting the Tailpiece
Now it's time to connect the tailpiece, which is the pipe that connects the drain to the P-trap. Apply plumber's tape to the threads of the tailpiece and attach it to the drain body. Use pliers to tighten the connections.

bathroom sink drain pipe


.JPG)
8. Bathroom Sink Drain Pipe: Installing the P-Trap
The P-trap is a curved pipe that prevents sewer gases from entering your bathroom. Connect the P-trap to the tailpiece and the drain pipe under the sink. Use pliers to tighten the connections and adjust the P-trap as needed to ensure proper alignment.

bathroom sink drain kit


9. Bathroom Sink Drain Kit: Testing for Leaks
Once all the connections are secure, turn the water supply back on and let the sink run for a few minutes. Check for any leaks and make adjustments as needed. If there are no leaks, you're all set!


bathroom sink drain installation instructions

/bathroom-sink-drain-installation-2718843-03-6fee5b9d9f7d475abfe06a95ddb1f695.jpg)
10. Bathroom Sink Drain Installation Instructions: Finishing Touches
Finally, clean up any excess plumber's putty and wipe down the sink to give it a polished look. You can also install a new drain stopper if needed. Now you can enjoy a fully functioning and leak-free bathroom sink drain.


bathroom sink drain stopper


Why Proper Installation of a Bathroom Sink Drain is Essential for Your Home

The Importance of a Functional Bathroom Sink Drain
 A bathroom sink is an essential component of any house. Not only does it serve as a functional fixture for washing hands and brushing teeth, but it also adds to the overall aesthetic of the space. However, a bathroom sink is incomplete without a properly installed drain. The drain is responsible for carrying away wastewater and preventing clogs and leaks. This is why it is crucial to install a bathroom sink drain correctly to ensure its functionality and longevity.
Materials and Tools Required
 Before beginning the installation process, it is important to gather all the necessary materials and tools. These include a new
bathroom sink drain
,
plumber's putty
,
Teflon tape
,
adjustable wrench
,
plumbers' pliers
, and
a bucket or basin
. It is also a good idea to have some rags or towels on hand to clean up any spills or messes.
Before beginning the installation process, it is important to gather all the necessary materials and tools. These include a new
bathroom sink drain
,
plumber's putty
,
Teflon tape
,
adjustable wrench
,
plumbers' pliers
, and
a bucket or basin
. It is also a good idea to have some rags or towels on hand to clean up any spills or messes.
Step-by-Step Guide to Installing a Bathroom Sink Drain
 To start, make sure to turn off the water supply and place a bucket or basin under the sink to catch any water that may spill out during the installation process. Next, remove the old drain and clean the area thoroughly. Then, take the new drain and apply
plumber's putty
around the bottom edge of the flange. This will create a watertight seal between the sink and the drain.
After applying the putty, insert the drain into the sink's drain hole and press down firmly. Next, place the
rubber gasket
and
metal washer
over the drain's tailpiece under the sink. Secure the drain in place by tightening the
locknut
onto the tailpiece.
Now, take the
tailpiece
and attach it to the drain's bottom end. Use
Teflon tape
to wrap around the threads of the tailpiece to ensure a tight seal. Then, connect the tailpiece to the P-trap using
plumbers' pliers
to tighten the connections. Finally, turn on the water supply and test the drain for any leaks. If no leaks are detected, the installation is complete.
To start, make sure to turn off the water supply and place a bucket or basin under the sink to catch any water that may spill out during the installation process. Next, remove the old drain and clean the area thoroughly. Then, take the new drain and apply
plumber's putty
around the bottom edge of the flange. This will create a watertight seal between the sink and the drain.
After applying the putty, insert the drain into the sink's drain hole and press down firmly. Next, place the
rubber gasket
and
metal washer
over the drain's tailpiece under the sink. Secure the drain in place by tightening the
locknut
onto the tailpiece.
Now, take the
tailpiece
and attach it to the drain's bottom end. Use
Teflon tape
to wrap around the threads of the tailpiece to ensure a tight seal. Then, connect the tailpiece to the P-trap using
plumbers' pliers
to tighten the connections. Finally, turn on the water supply and test the drain for any leaks. If no leaks are detected, the installation is complete.
Benefits of Professional Installation
 While it is possible to install a bathroom sink drain on your own, it is highly recommended to seek professional help. A professional plumber has the necessary skills and knowledge to ensure that the drain is installed correctly and will function properly. This will save you time and money in the long run by avoiding potential leaks or clogs that can lead to costly repairs.
In conclusion, a properly installed bathroom sink drain is essential for the functionality and longevity of your bathroom sink. By following these steps and seeking professional help, you can ensure that your bathroom sink drain is installed correctly and will serve its purpose for years to come.
While it is possible to install a bathroom sink drain on your own, it is highly recommended to seek professional help. A professional plumber has the necessary skills and knowledge to ensure that the drain is installed correctly and will function properly. This will save you time and money in the long run by avoiding potential leaks or clogs that can lead to costly repairs.
In conclusion, a properly installed bathroom sink drain is essential for the functionality and longevity of your bathroom sink. By following these steps and seeking professional help, you can ensure that your bathroom sink drain is installed correctly and will serve its purpose for years to come.