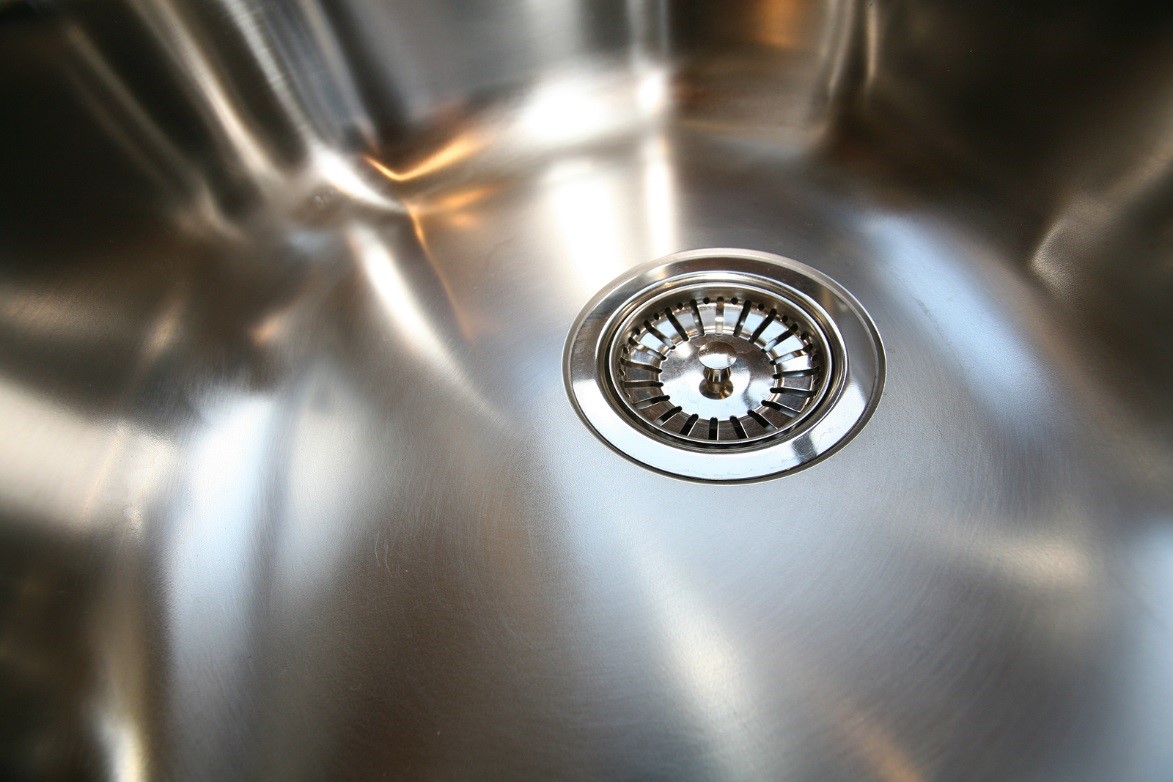
If you're tired of dealing with clogged drains and food scraps in your kitchen sink, it may be time to install a plastic kitchen sink strainer. This simple yet effective device can save you from the hassle of plunging and drain cleaning. Plus, it's easy to install and can be done in just a few simple steps. In this guide, we'll walk you through the process of installing a plastic kitchen sink strainer so you can enjoy a clog-free sink.How to Install a Plastic Kitchen Sink Strainer
If you already have a kitchen sink strainer in place, but it's old and worn out, it may be time to replace it with a new plastic one. The process of replacing a kitchen sink strainer is similar to installing a new one. However, you'll need to remove the old strainer first. This can be a bit tricky, but with the right tools and techniques, you can easily replace your old strainer with a new plastic one.How to Replace a Kitchen Sink Strainer
Installing a plastic kitchen sink strainer is a simple DIY project that can be completed in just a few steps. You don't need any special plumbing skills or tools, making it a perfect project for beginners. Plus, by doing it yourself, you can save money on hiring a professional. Just follow our step-by-step guide for a successful installation.DIY Kitchen Sink Strainer Installation
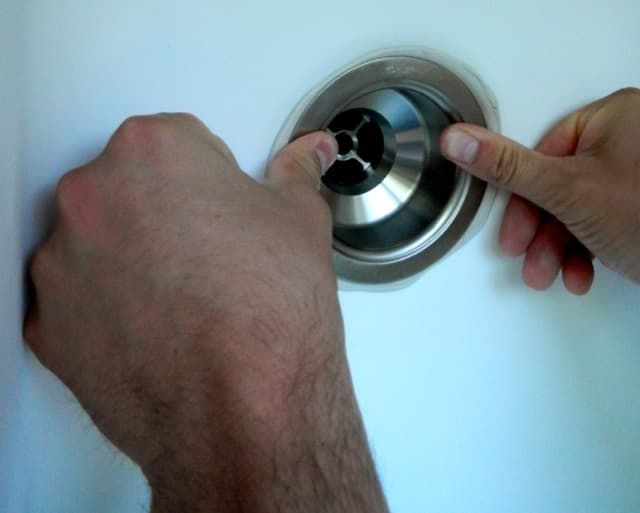
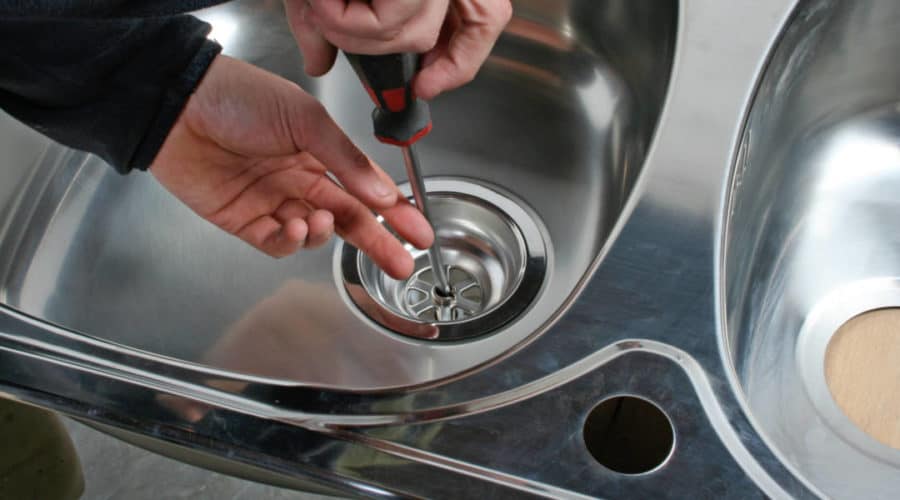
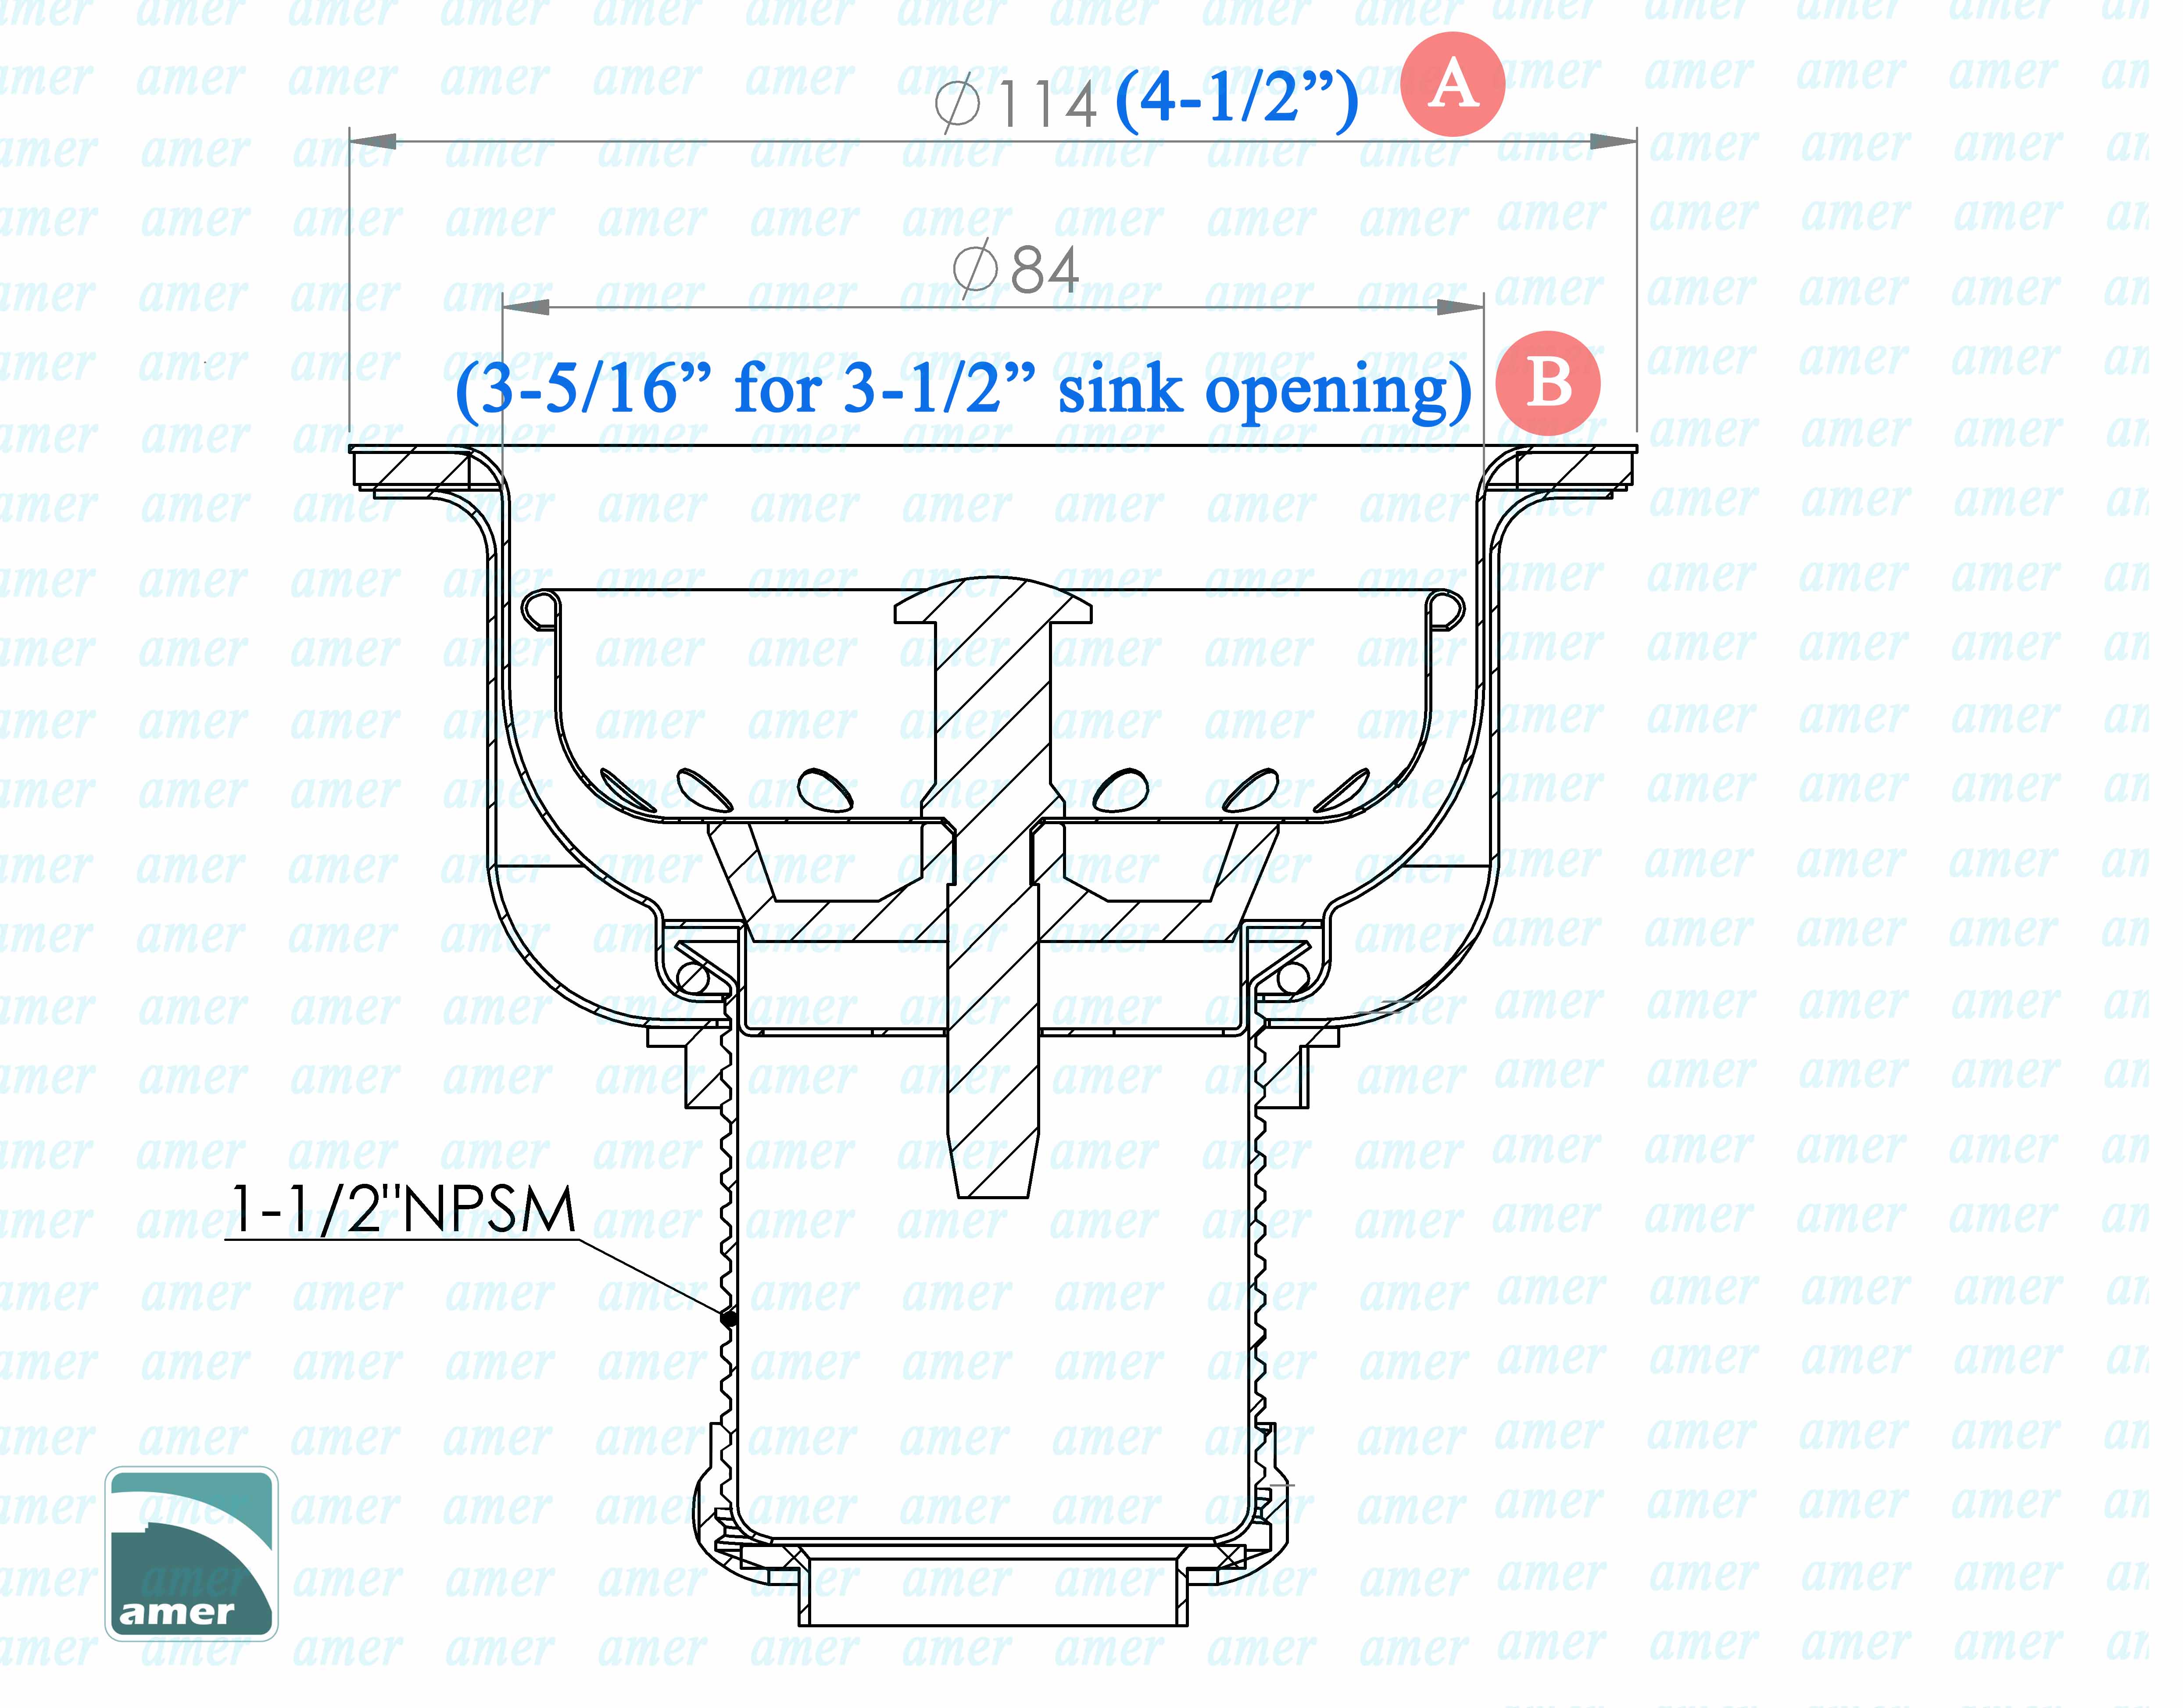
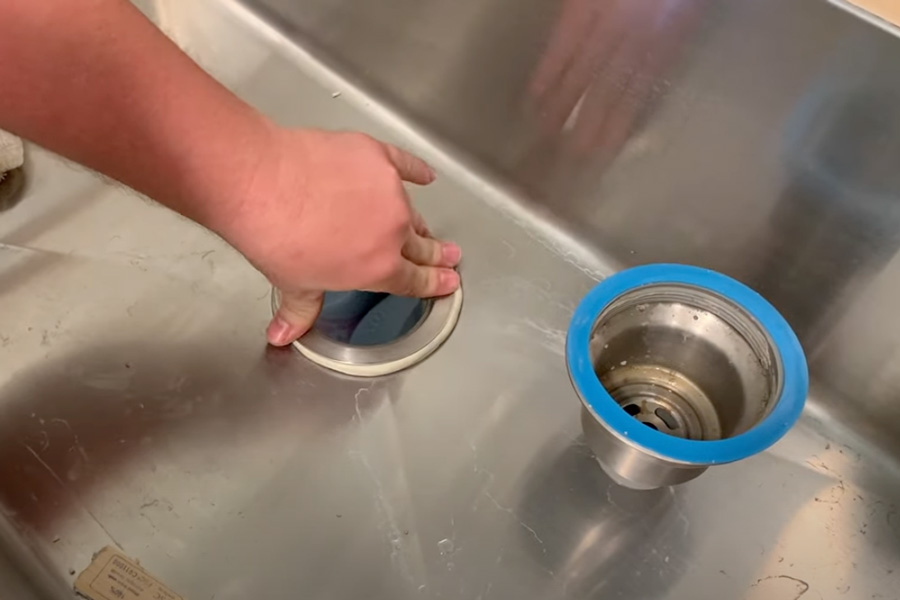
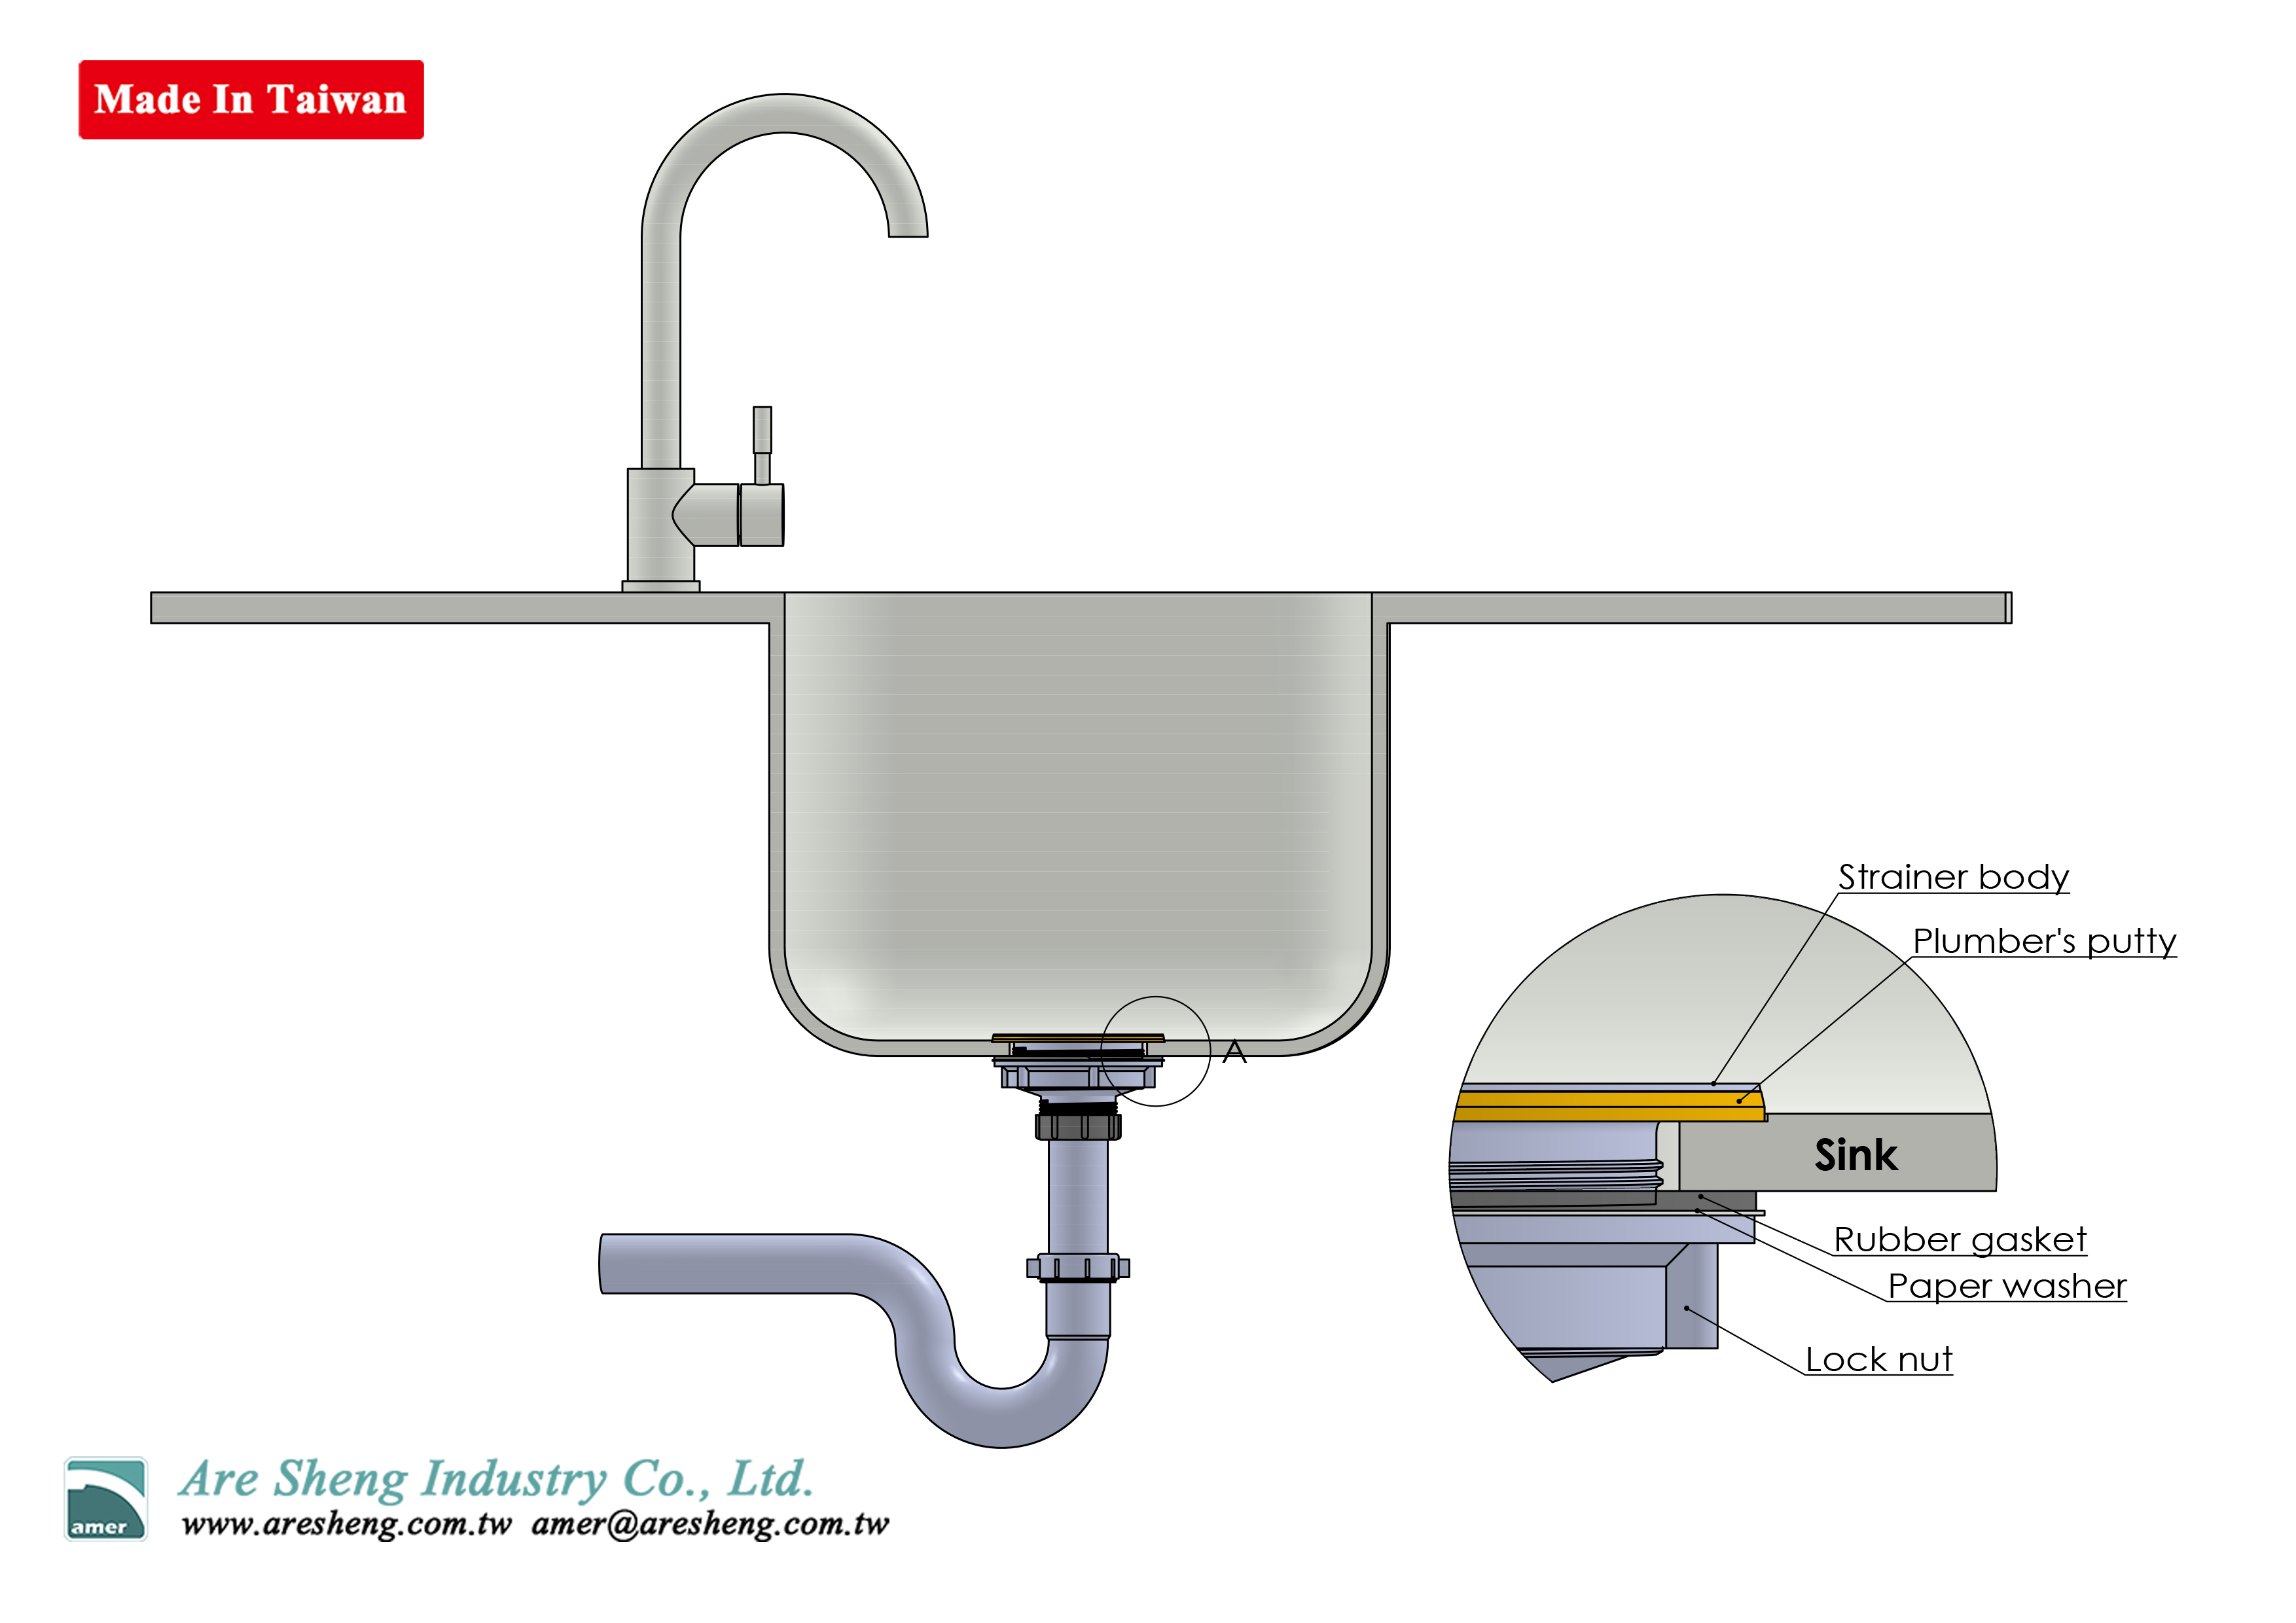
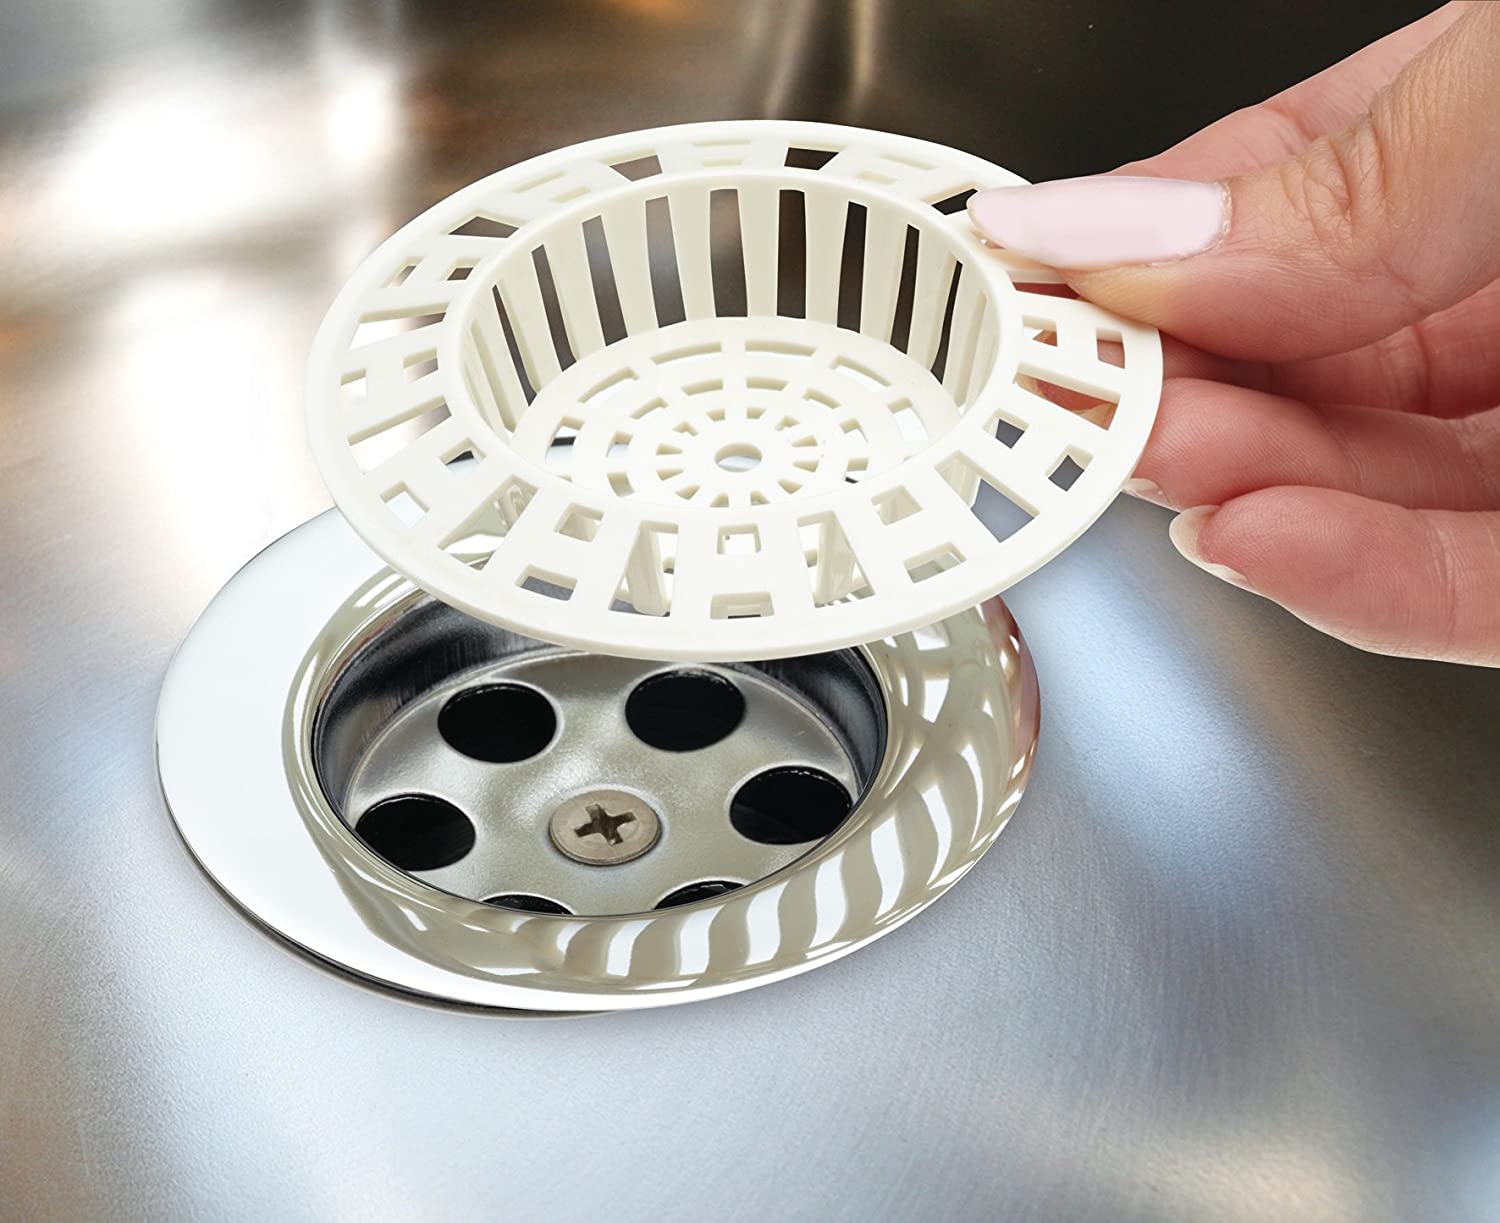
Step 1: Measure the diameter of your sink drain - Before you can install a plastic kitchen sink strainer, you need to make sure it will fit your sink. Measure the diameter of your sink drain to ensure you purchase the correct size strainer. Step 2: Gather your materials - For this project, you'll need a plastic kitchen sink strainer, plumber's putty, a wrench, and a screwdriver. Step 3: Apply plumber's putty - Take a small amount of plumber's putty and roll it into a thin rope. Apply the putty around the underside of the strainer flange. Step 4: Place the strainer in the sink drain - Carefully place the strainer into the sink drain. Make sure it fits snugly and is centered in the drain. Step 5: Secure the strainer - Place the rubber gasket and cardboard washer over the strainer tailpiece. Then, screw on the nut until the strainer is securely in place. Step 6: Remove excess putty - Wipe away any excess plumber's putty that may have squeezed out from under the strainer. Step 7: Test for leaks - Turn on the water and check for any leaks. If you see water dripping from the strainer, tighten the nut a little more. Step 8: Clean up - Once you're sure there are no leaks, clean up any remaining putty or debris from the sink.Step-by-Step Guide for Installing a Plastic Kitchen Sink Strainer
- Make sure you purchase the right size strainer for your sink. - Use plumber's putty or silicone caulk to create a watertight seal. - Tighten the strainer nut evenly to avoid leaks. - Clean up any excess putty or debris before testing for leaks.Plastic Kitchen Sink Strainer Installation Tips
- Plastic kitchen sink strainer - Plumber's putty or silicone caulk - Wrench - Screwdriver - Rag or paper towels for cleaning upTools Needed for Installing a Plastic Kitchen Sink Strainer
- Not measuring the sink drain diameter before purchasing the strainer. - Forgetting to use plumber's putty or silicone caulk for a watertight seal. - Unevenly tightening the strainer nut, causing leaks. - Not cleaning up excess putty or debris before testing for leaks.Common Mistakes to Avoid When Installing a Plastic Kitchen Sink Strainer
When installing a plastic kitchen sink strainer, it's important to create a watertight seal to avoid any leaks. The best way to do this is by using plumber's putty or silicone caulk. These materials will create a tight seal and prevent water from seeping out.How to Properly Seal a Plastic Kitchen Sink Strainer
If you encounter any issues during the installation process, here are a few troubleshooting tips: - If the strainer is leaking, tighten the nut a little more. - If the strainer is still leaking after tightening the nut, remove the strainer and reapply plumber's putty or silicone caulk. - If the strainer is difficult to remove, use a wrench and screwdriver to loosen the nut and tailpiece.Plastic Kitchen Sink Strainer Installation Troubleshooting
- Prevents food scraps and debris from clogging your drain. - Easy to install and replace. - More affordable than metal strainers. - Resistant to rust and corrosion. - Can be easily cleaned and maintained. Now that you know how to install a plastic kitchen sink strainer, you can enjoy a clog-free sink and a more efficient kitchen. Follow our tips and tricks for a successful installation and enjoy the benefits of using a plastic strainer. Say goodbye to clogged drains and hello to a clean and functional sink! Benefits of Using a Plastic Kitchen Sink Strainer
Why Use a Plastic Kitchen Sink Strainer?

The Importance of Proper Drainage in Your Kitchen
 When it comes to designing your dream kitchen, it's important to pay attention to even the smallest details. One of the most overlooked yet crucial components is the
sink strainer
. This small but mighty tool plays a significant role in keeping your kitchen clean and functioning properly. By installing a
plastic kitchen sink strainer
, you can ensure that your sink stays clog-free and your dishes get properly washed.
Preventing Clogged Drains
 One of the main reasons to install a
plastic kitchen sink strainer
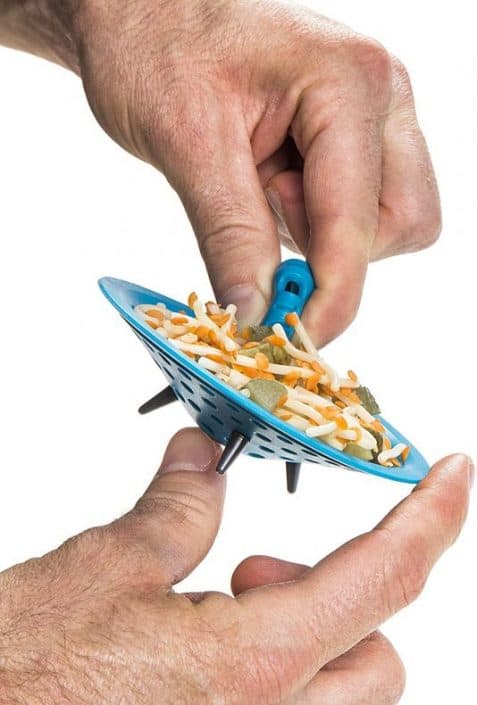
is to prevent clogged drains. Without a strainer in place, food scraps and other debris can easily make their way into your pipes and cause blockages. This not only leads to unpleasant odors and slow drainage, but it can also result in costly plumbing repairs. By using a strainer, you can catch and dispose of any solid waste before it has a chance to cause damage.
Keeping Your Sink Clean
 Another benefit of using a
plastic kitchen sink strainer
is that it helps keep your sink clean. Without a strainer, food scraps and other debris can build up in your sink, creating a breeding ground for bacteria and odor-causing germs. By using a strainer, you can easily remove and dispose of any waste, keeping your sink hygienic and odor-free.
Easy to Install and Maintain
 Installing a
plastic kitchen sink strainer
is a simple and inexpensive way to improve the functionality and cleanliness of your kitchen. Most strainers come with easy-to-follow instructions and can be installed in a matter of minutes. They are also easy to clean and maintain, simply remove the strainer, empty any debris, and give it a quick rinse.
Choose a Plastic Sink Strainer for Durability and Versatility
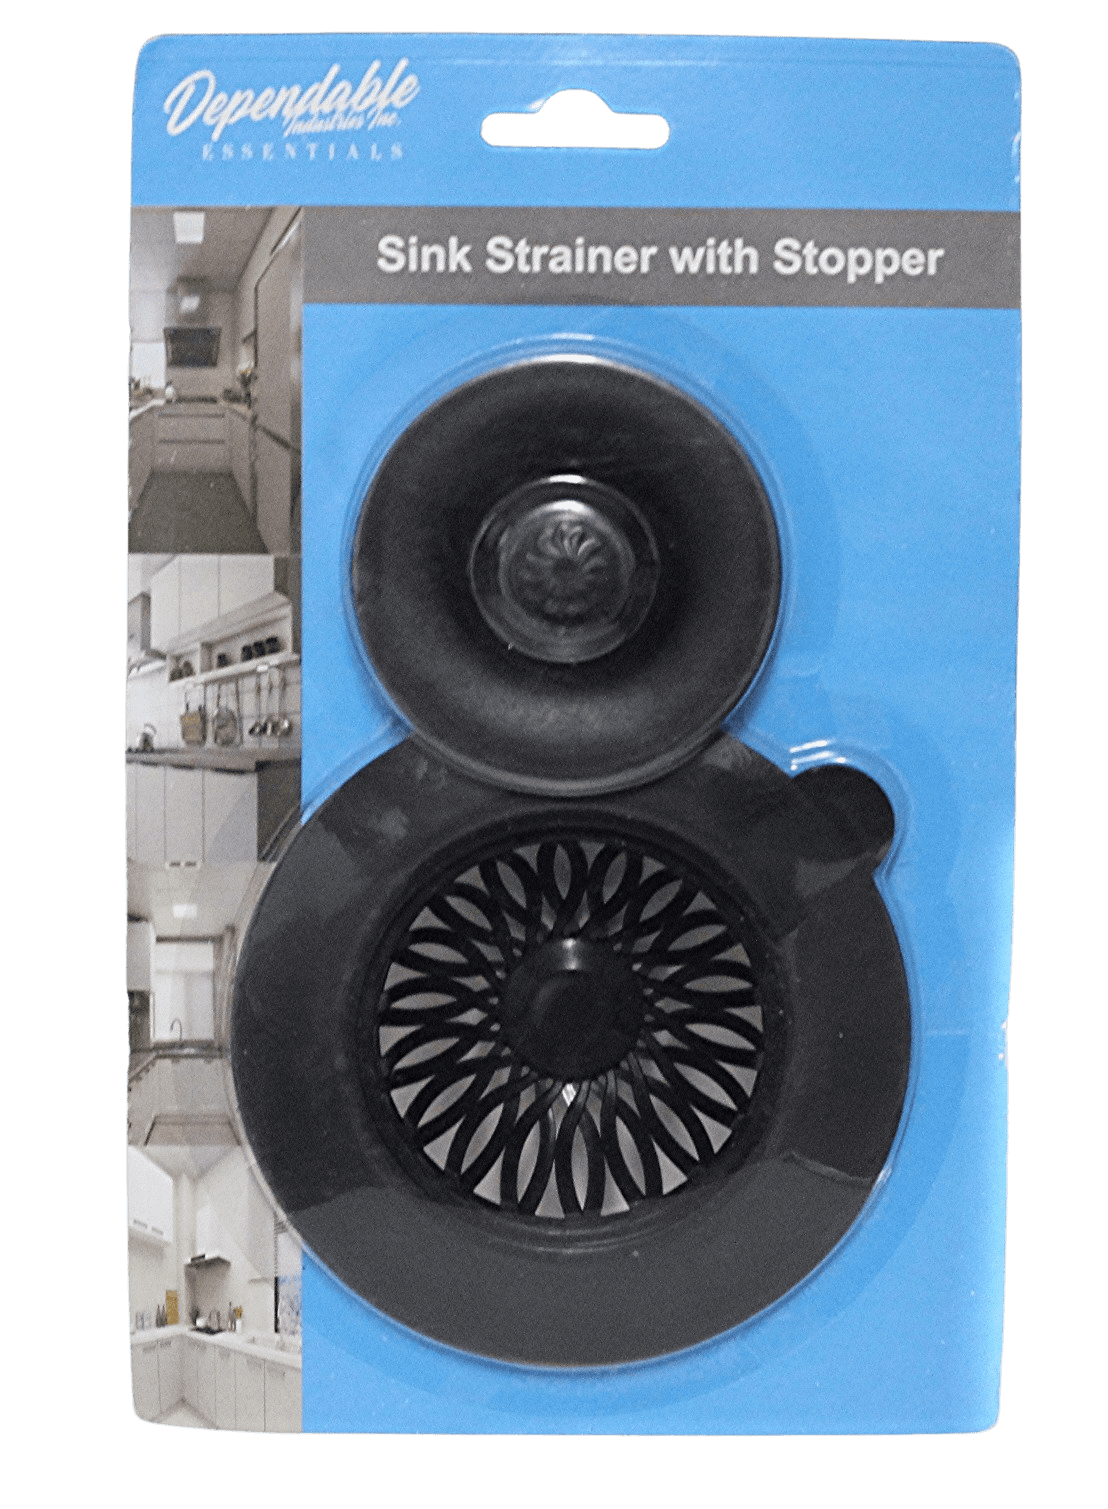
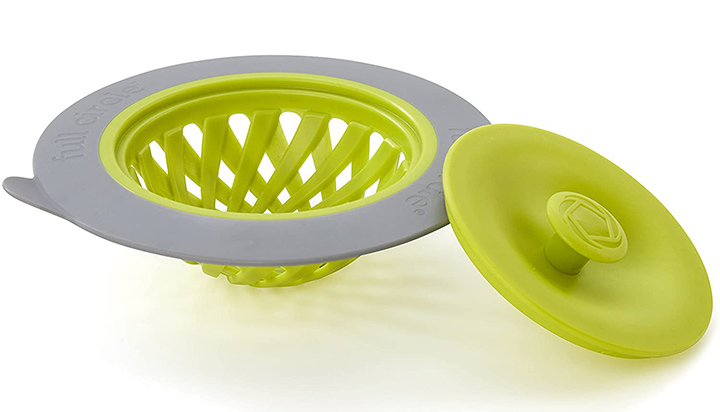
 When it comes to choosing a sink strainer, plastic is a great option. Not only is it affordable, but it is also durable and versatile. Plastic strainers are resistant to rust and corrosion, making them a long-lasting choice for your kitchen. They are also available in a variety of sizes and styles to fit different sink types and designs.
In conclusion, a
plastic kitchen sink strainer
is a small but essential tool for any kitchen. By preventing clogs, keeping your sink clean, and being easy to install and maintain, it is a valuable addition to your kitchen design. So don't overlook this important component when designing or renovating your kitchen, and enjoy the benefits of a properly functioning and clean sink.
















/how-to-install-a-sink-drain-2718789-hero-b5b99f72b5a24bb2ae8364e60539cece.jpg)
