How to Install Lights in Kitchen Cabinets
Installing lights in your kitchen cabinets can not only add a beautiful touch to your kitchen, but it can also provide much-needed task lighting for cooking and food preparation. Whether you're looking to upgrade your current lighting or starting from scratch, installing lights in your kitchen cabinets is a simple and affordable DIY project that can make a big impact. Here's a step-by-step guide on how to install lights in your kitchen cabinets.
Installing Under Cabinet Lighting
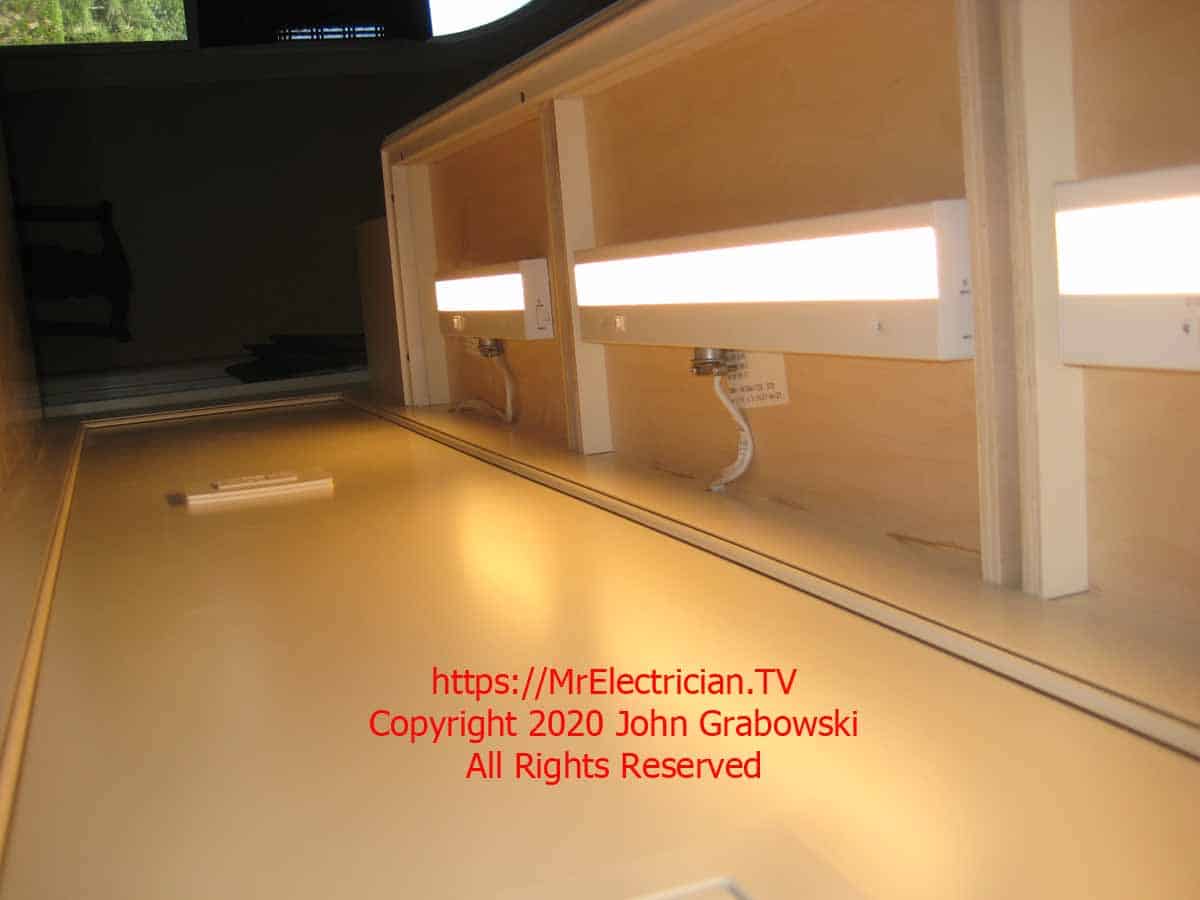
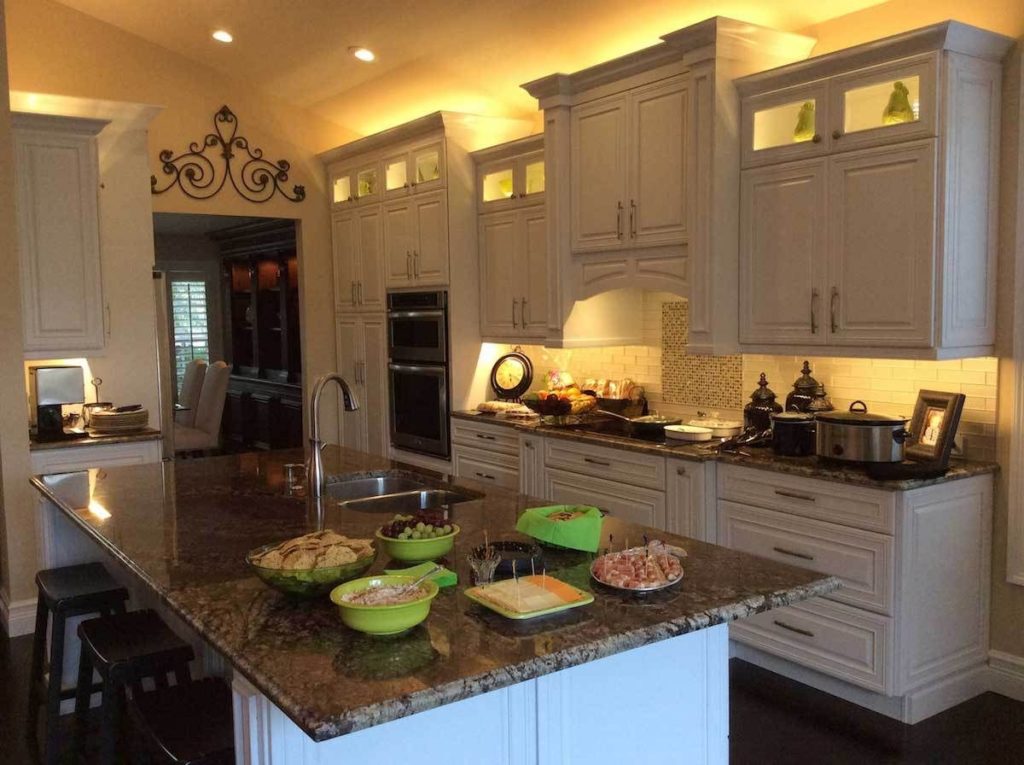
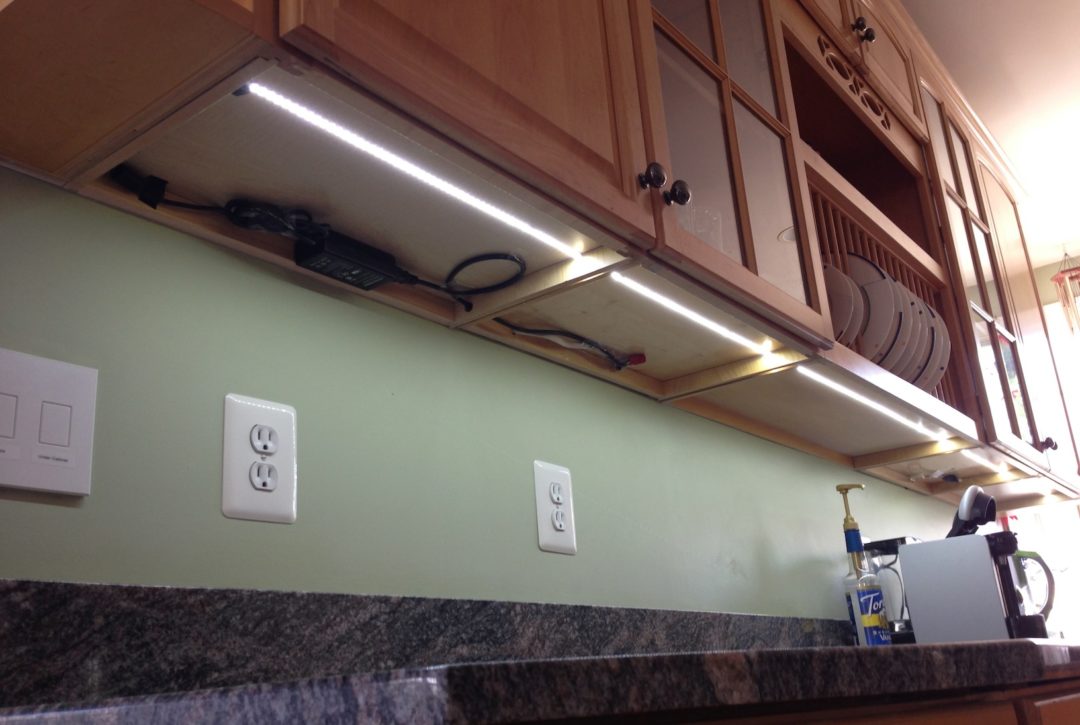
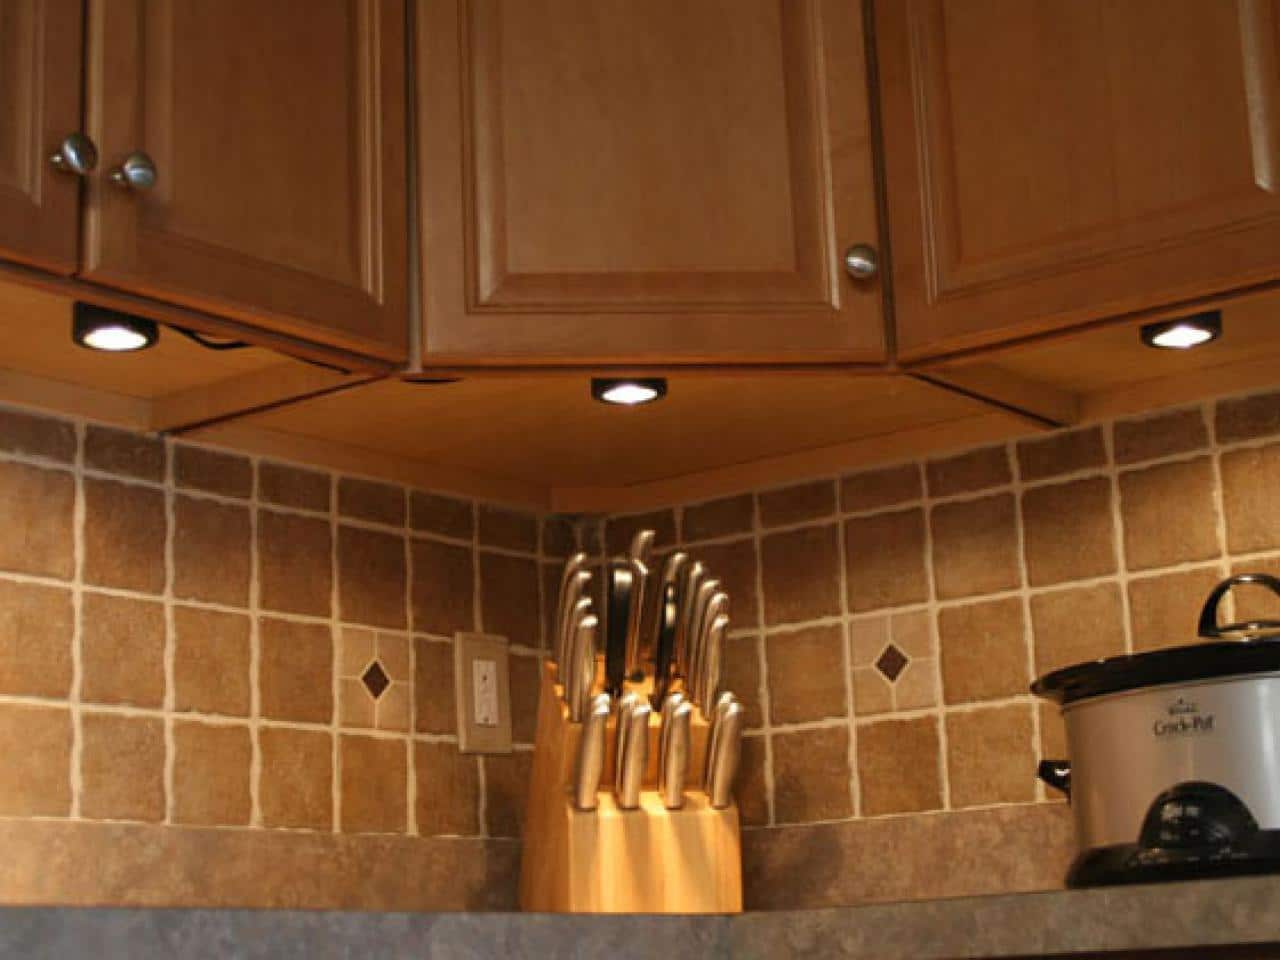
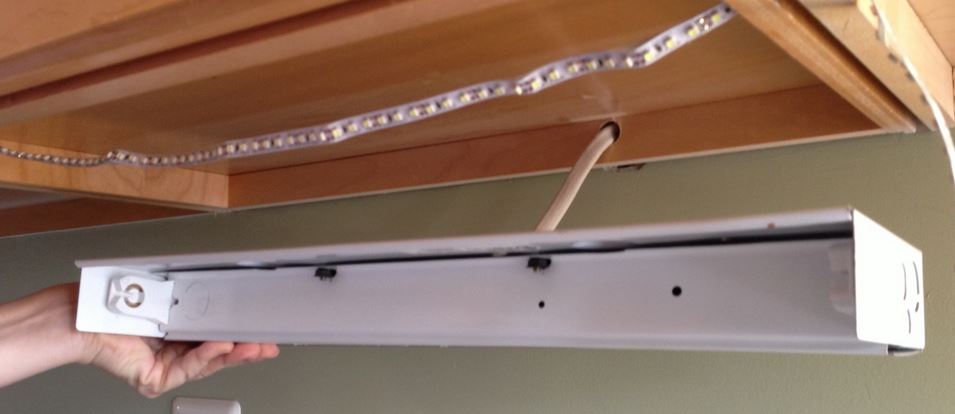
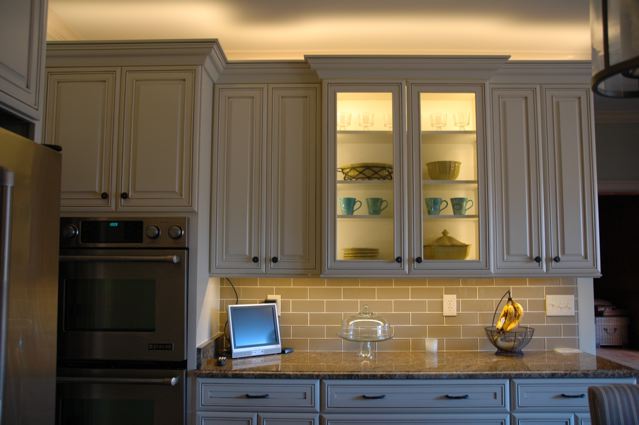
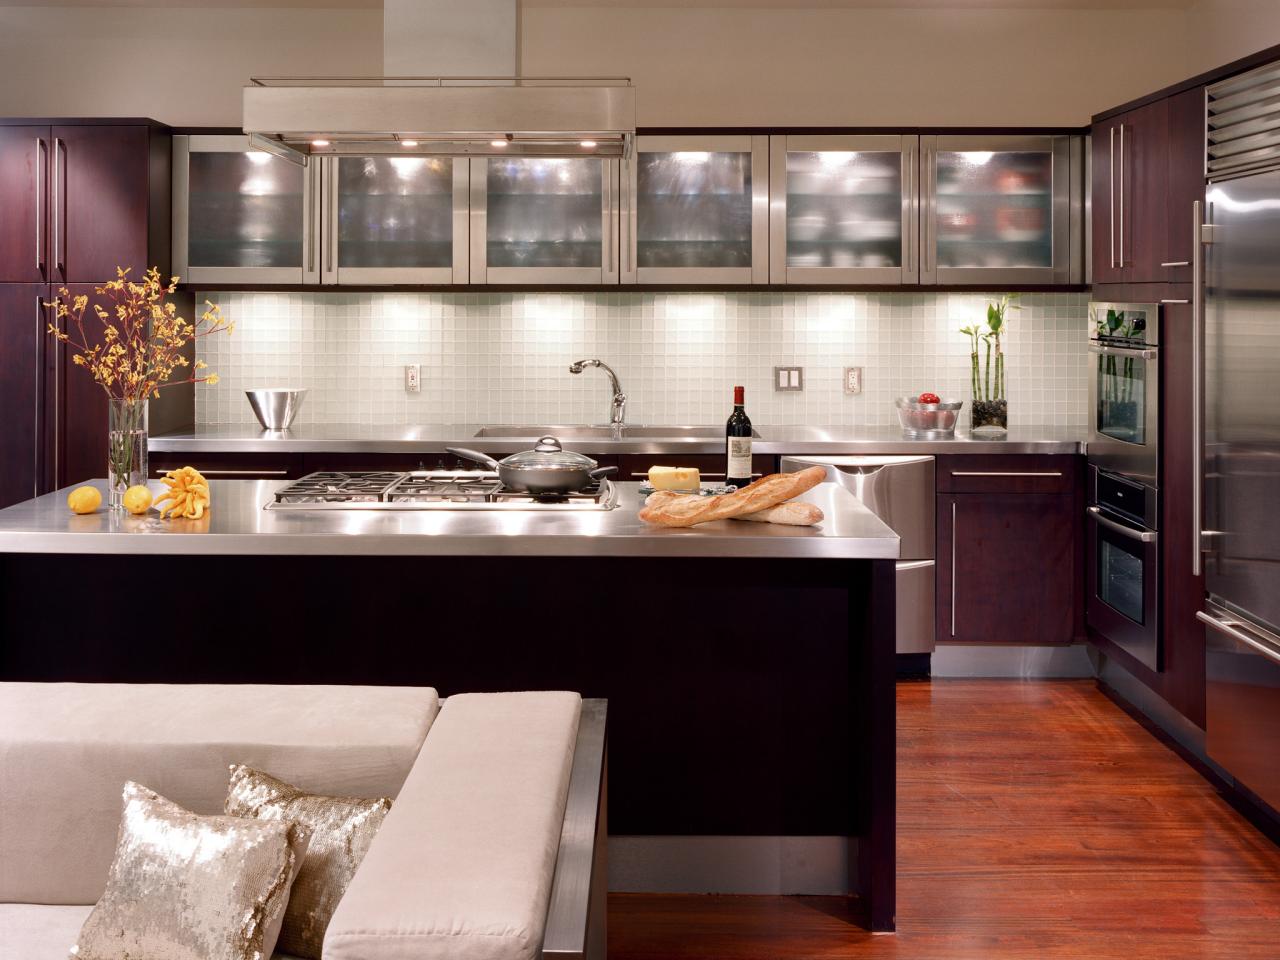
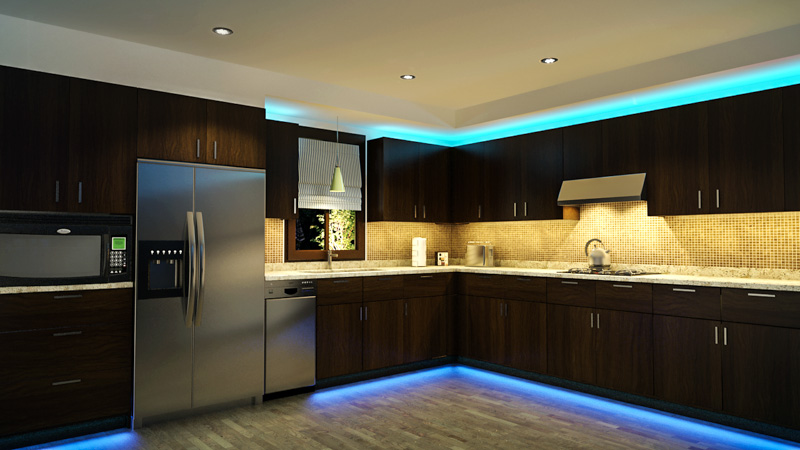
The most popular type of kitchen cabinet lighting is under cabinet lighting. This type of lighting is installed underneath the upper cabinets, providing direct lighting onto the countertops and workspace below. Under cabinet lighting can be installed in a variety of ways, such as using light strips, puck lights, or individual light fixtures. Before you begin, make sure to have a plan in place for the type of under cabinet lighting you want to install.
DIY Kitchen Cabinet Lighting Installation
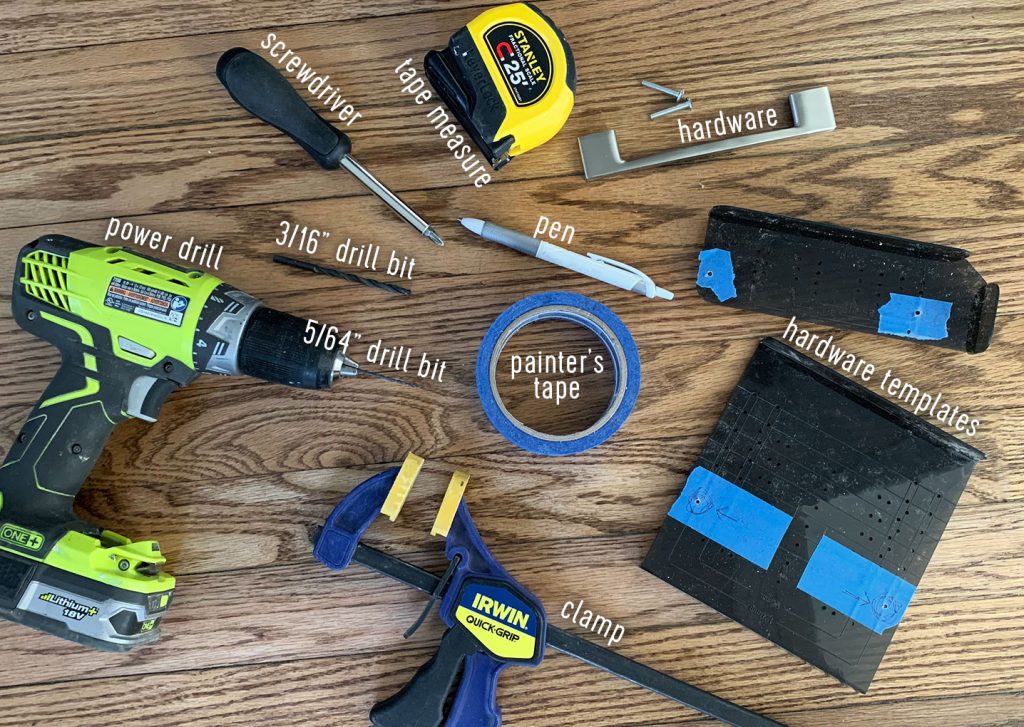
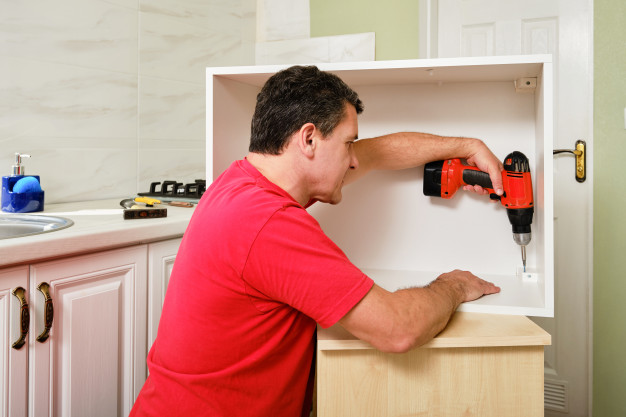
If you're a handy DIYer, installing lights in your kitchen cabinets is a project you can easily tackle on your own. Before starting, make sure to gather all the necessary tools and materials. You'll need a drill, screws, wire strippers, wire connectors, and of course, your chosen lighting fixtures. Once you have everything you need, you can begin the installation process.
Step-by-Step Guide for Installing Cabinet Lights
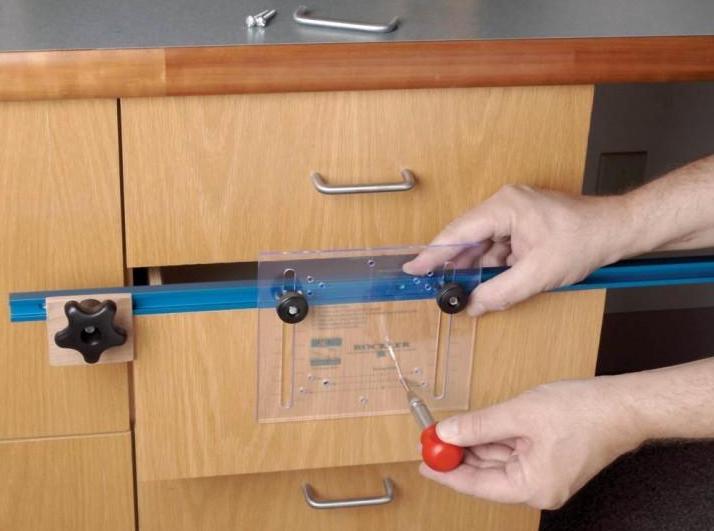
Step 1: Start by measuring and marking where you want to place your lights on the underside of the cabinets. Make sure to space them evenly and leave enough room for the wire to reach the power source.
Step 2: Use a drill to make holes for the screws to attach the lights to the cabinets. Make sure to use the appropriate size drill bit for your screws.
Step 3: If your lights come with mounting brackets, attach them to the lights now. This will make it easier to attach them to the cabinets later.
Step 4: If your lights are battery operated, install the batteries now. If they need to be wired, wait until later in the installation process.
Step 5: Once your lights are ready, use the screws to attach them to the underside of the cabinets. Make sure they are securely fastened.
Step 6: If your lights are battery operated, turn them on to make sure they are working properly. If they need to be wired, continue to the next step.
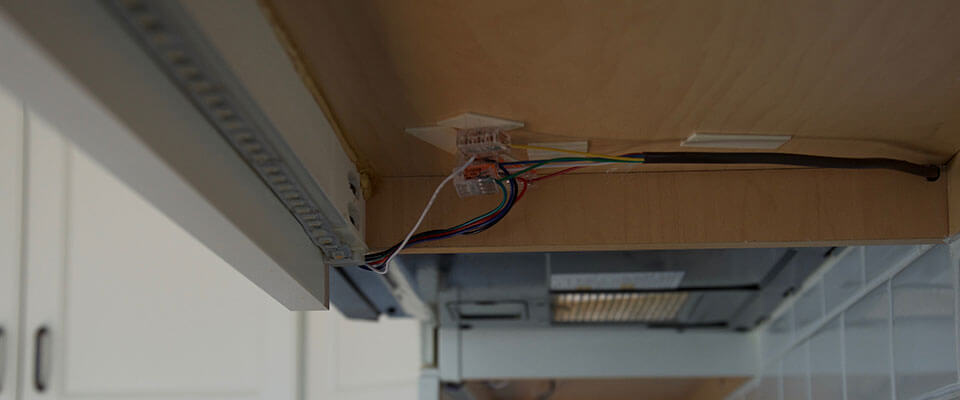
Step 7: Use wire strippers to expose the wires on both the lights and the power source. Connect the wires using wire connectors, making sure to match the positive and negative wires.
Step 8: Once the wires are connected, tuck them neatly into the cabinets to hide them from view.
Step 9: Turn on the lights to make sure they are working properly. Adjust the placement or angle of the lights if needed.
Step 10: Enjoy your newly installed kitchen cabinet lights!
Best Practices for Installing Kitchen Cabinet Lights
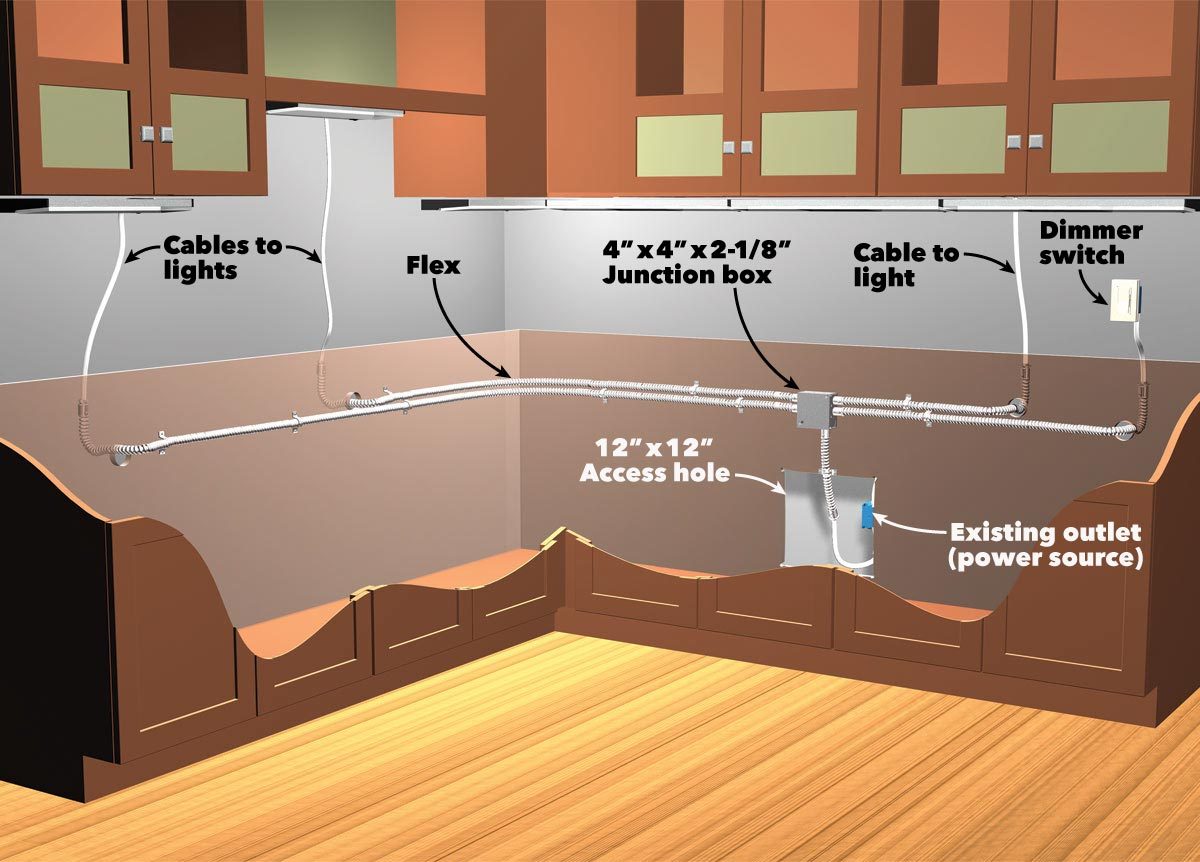
When it comes to installing lights in your kitchen cabinets, there are a few best practices to keep in mind. First, make sure to choose LED lights, as they are energy-efficient and long-lasting. Also, consider installing a dimmer switch to control the brightness of your lights. This can be especially useful for creating ambiance in the kitchen or for task lighting at different times of the day.
Tools and Materials Needed for Installing Cabinet Lights
To install lights in your kitchen cabinets, you will need the following tools and materials:
Tools: Drill, screws, wire strippers, wire connectors
Materials: Under cabinet lighting fixtures, batteries (if needed), dimmer switch (optional)
Tips for Choosing the Right Lights for Your Kitchen Cabinets
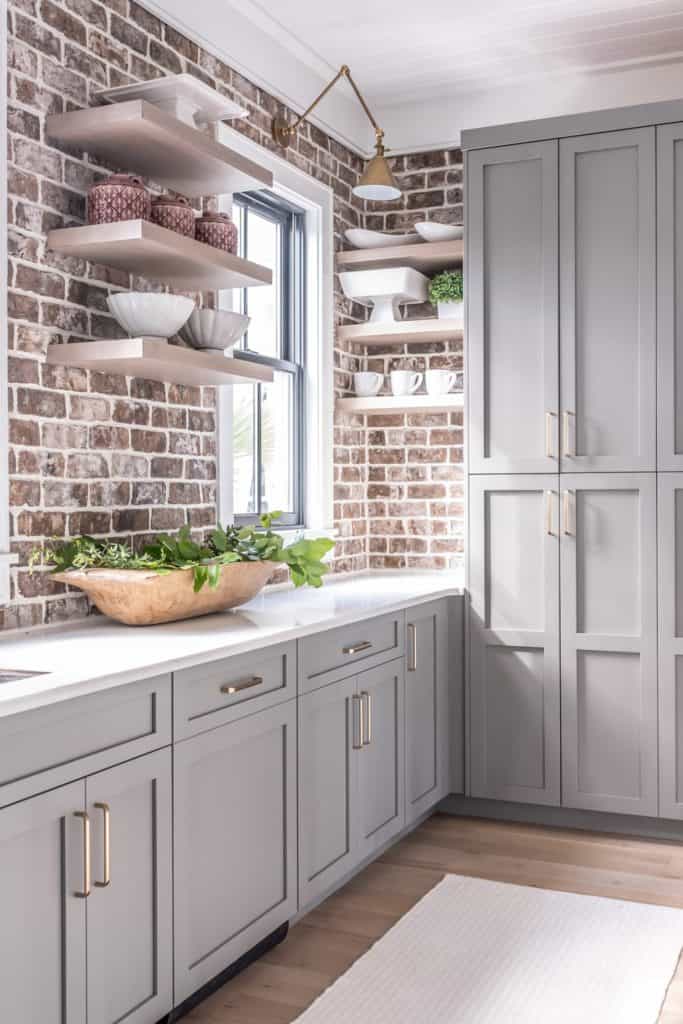
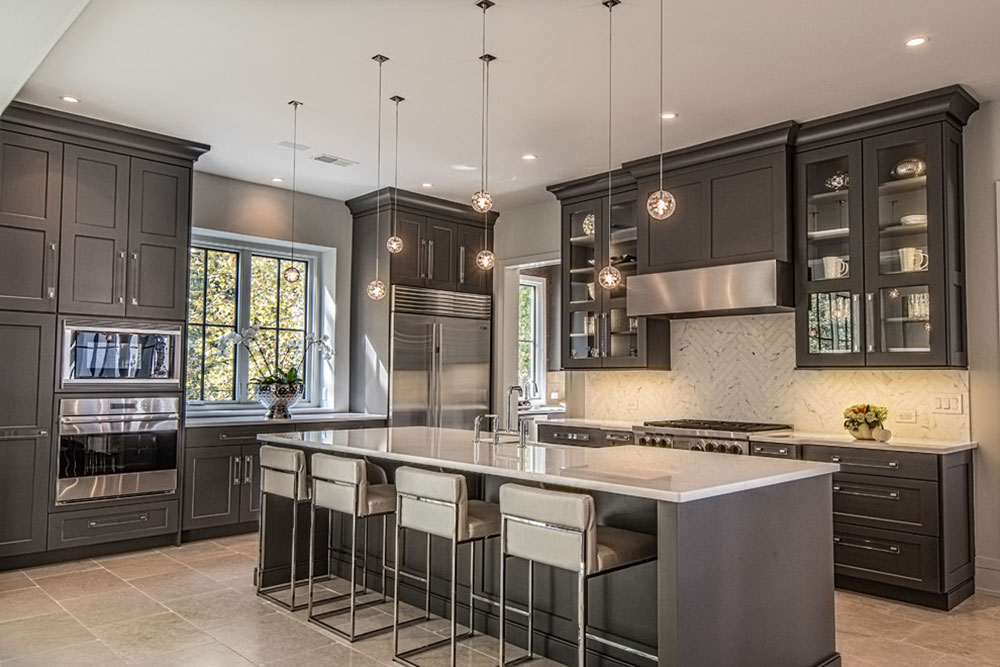
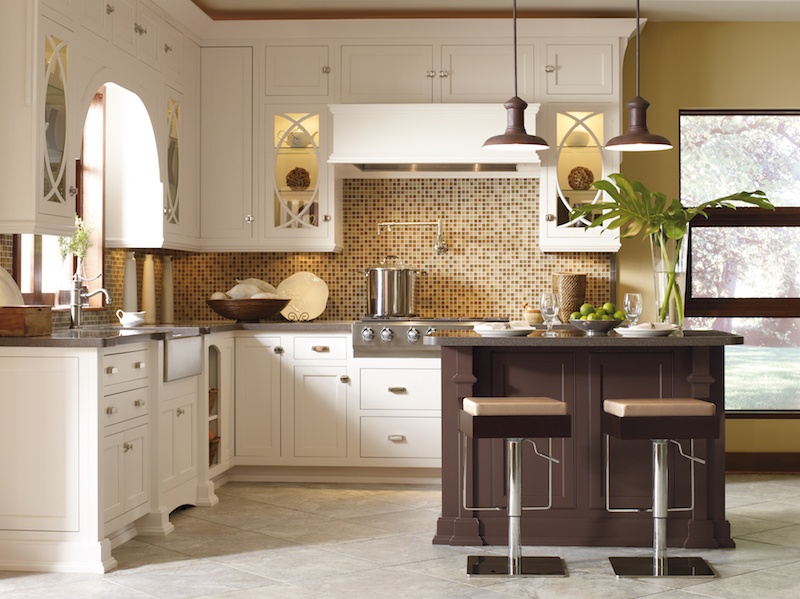
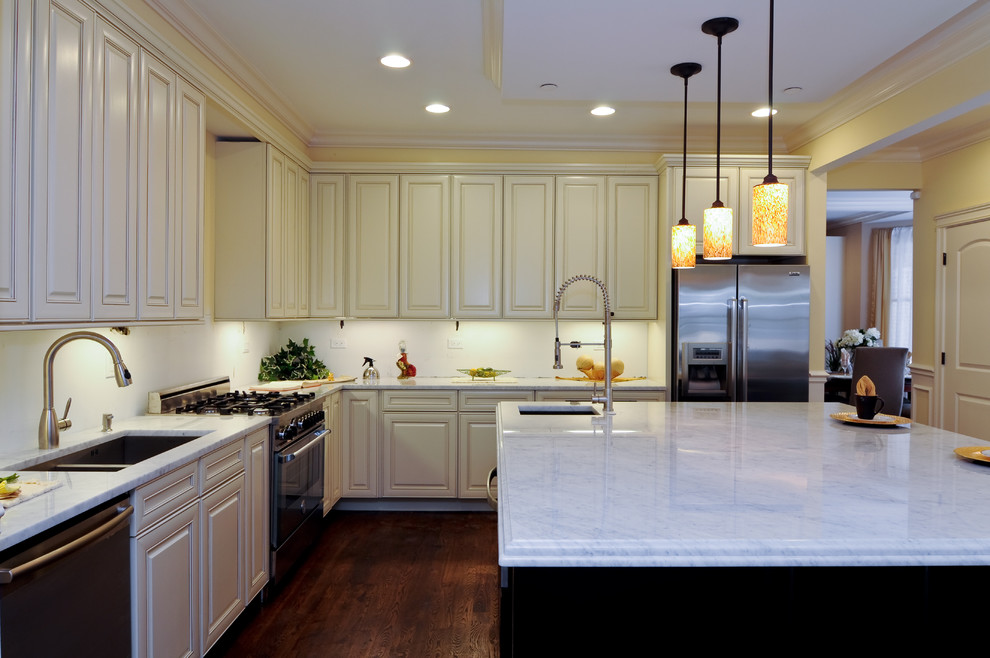
When shopping for kitchen cabinet lights, keep in mind the overall style and design of your kitchen. You want the lights to complement the existing decor and not stick out like a sore thumb. Additionally, consider the color temperature of the lights. Warm white lights can create a cozy and inviting atmosphere, while cool white lights can provide a more modern and bright look.
Common Mistakes to Avoid When Installing Cabinet Lights
While installing lights in your kitchen cabinets is a relatively simple project, there are a few mistakes to avoid. First, make sure to measure and mark the placement of the lights accurately. A mistake here can result in unevenly spaced or crooked lights. Also, make sure to use the appropriate size drill bit for your screws to avoid damaging the cabinets.
How to Wire and Connect Kitchen Cabinet Lights
If you choose to install wired lights in your kitchen cabinets, the process is relatively straightforward. First, expose the wires on both the lights and the power source using wire strippers. Next, match the positive and negative wires and connect them using wire connectors. Finally, tuck the wires neatly into the cabinets to hide them from view.
Troubleshooting Common Issues with Cabinet Light Installation
If you run into any issues during the installation process, there are a few common troubleshooting tips to keep in mind. If your lights are not turning on, make sure they are properly connected and that the batteries (if applicable) are installed correctly. If the lights are flickering, there may be an issue with the wiring connections or the power source. If you're unsure how to fix the issue, it's best to consult a professional electrician.
Installing lights in your kitchen cabinets is a simple and affordable way to add both style and functionality to your kitchen. With the right tools and materials, you can easily tackle this DIY project and enjoy a beautifully lit kitchen in no time.
Why Install Lights in Kitchen Cabinets Can Transform Your Home Design
Illuminate Your Cabinets for a Stylish and Functional Kitchen
 Installing lights in kitchen cabinets
may seem like a small and insignificant detail in your home design, but it can actually make a huge impact. Not only does it add a touch of elegance and sophistication to your kitchen, but it also serves a practical purpose.
Proper lighting in your kitchen cabinets
can make it easier to find and access items, making your daily cooking and meal prep more efficient. Plus, it can add a warm and inviting ambiance to your kitchen, making it the heart of your home. Here's why you should consider adding lights to your kitchen cabinets.
Enhance the Aesthetics
 Incorporating
lighting into your kitchen cabinets
can instantly elevate the overall look and feel of your kitchen. It adds a layer of depth and dimension to your space, making it appear larger and more open. Whether you have a modern or traditional kitchen,
lights in your cabinets
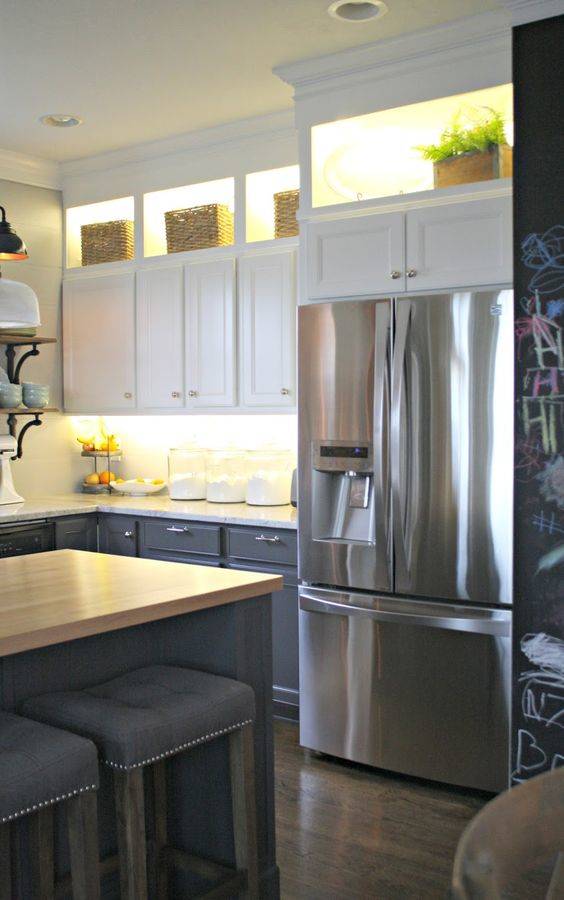
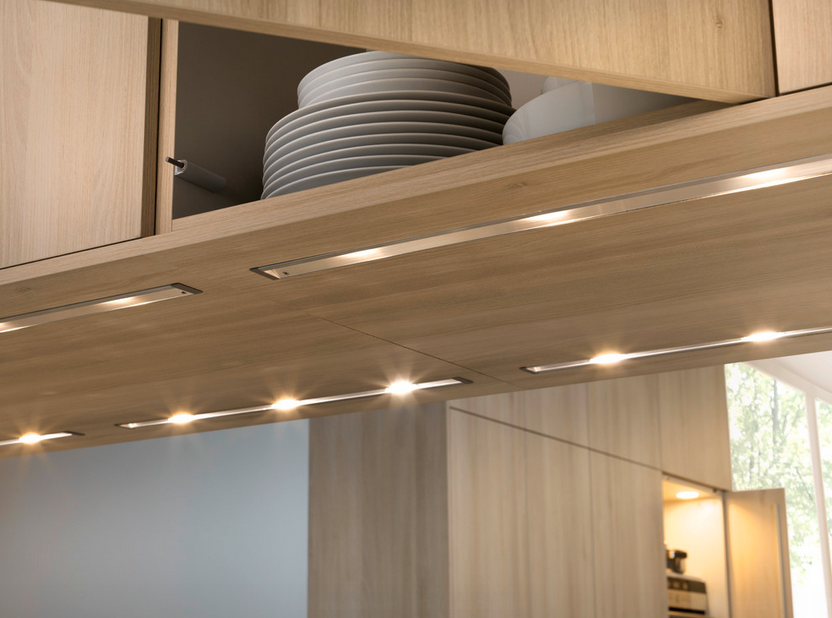
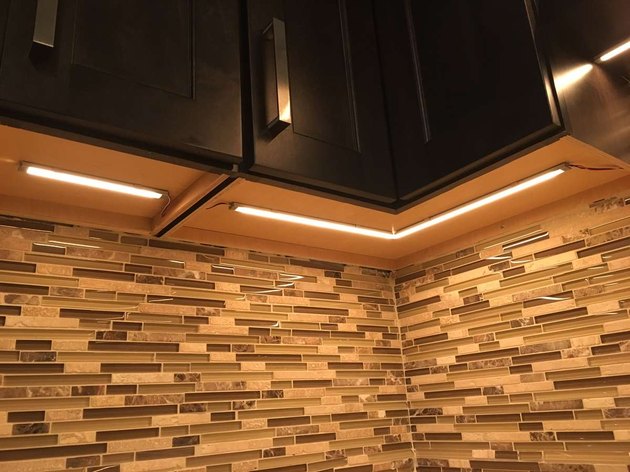
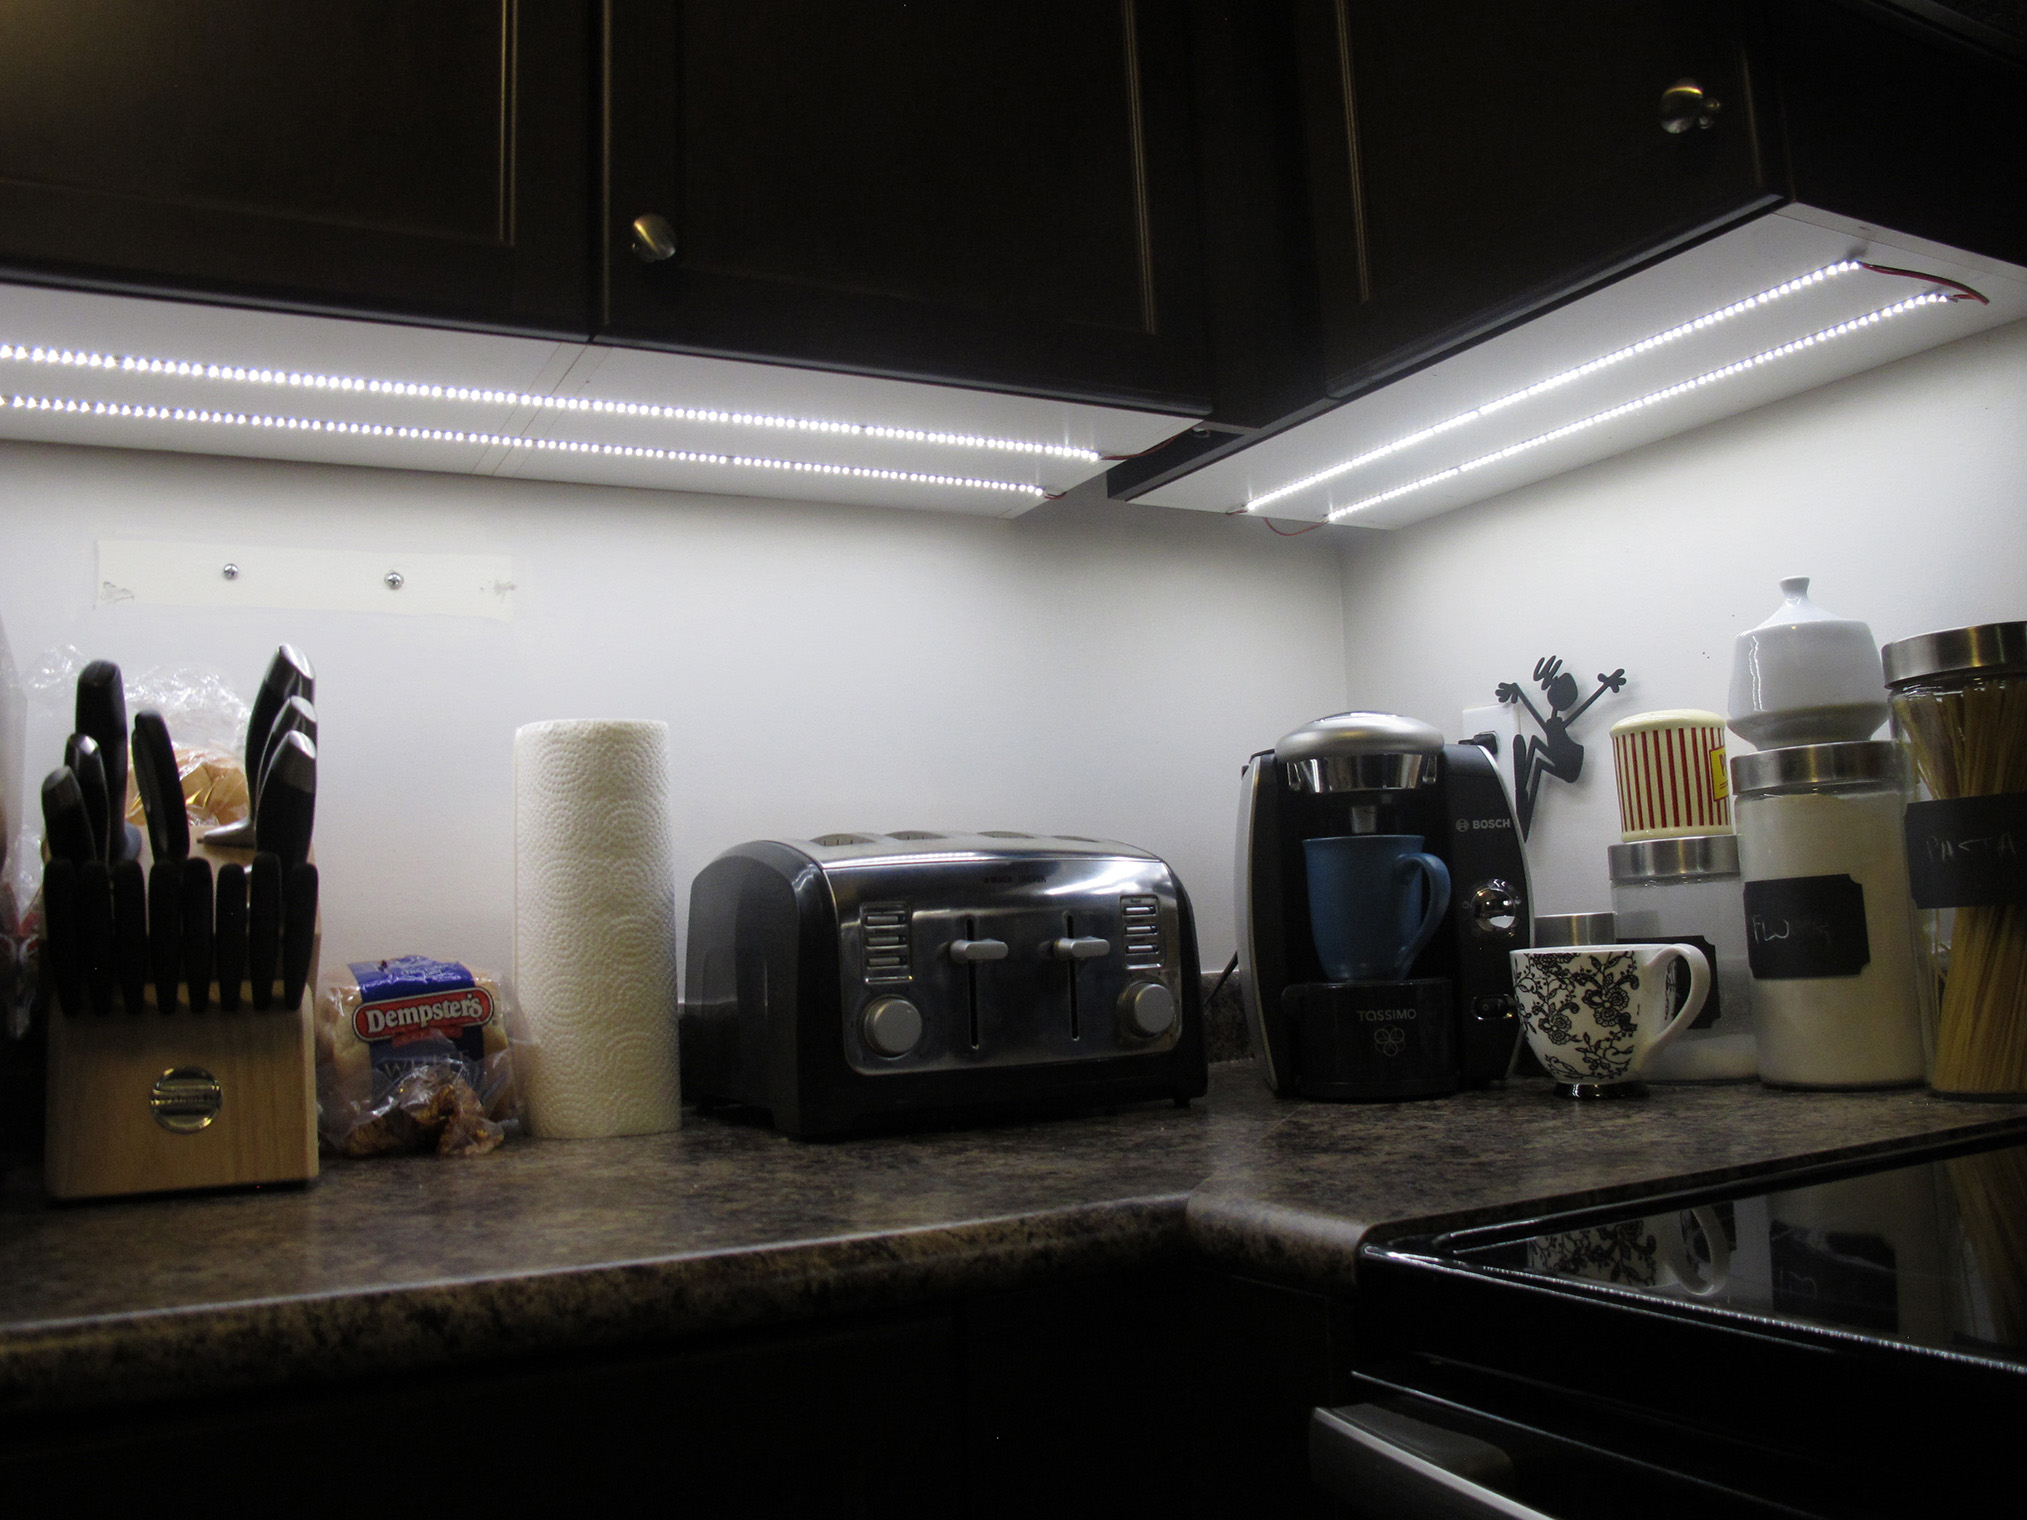
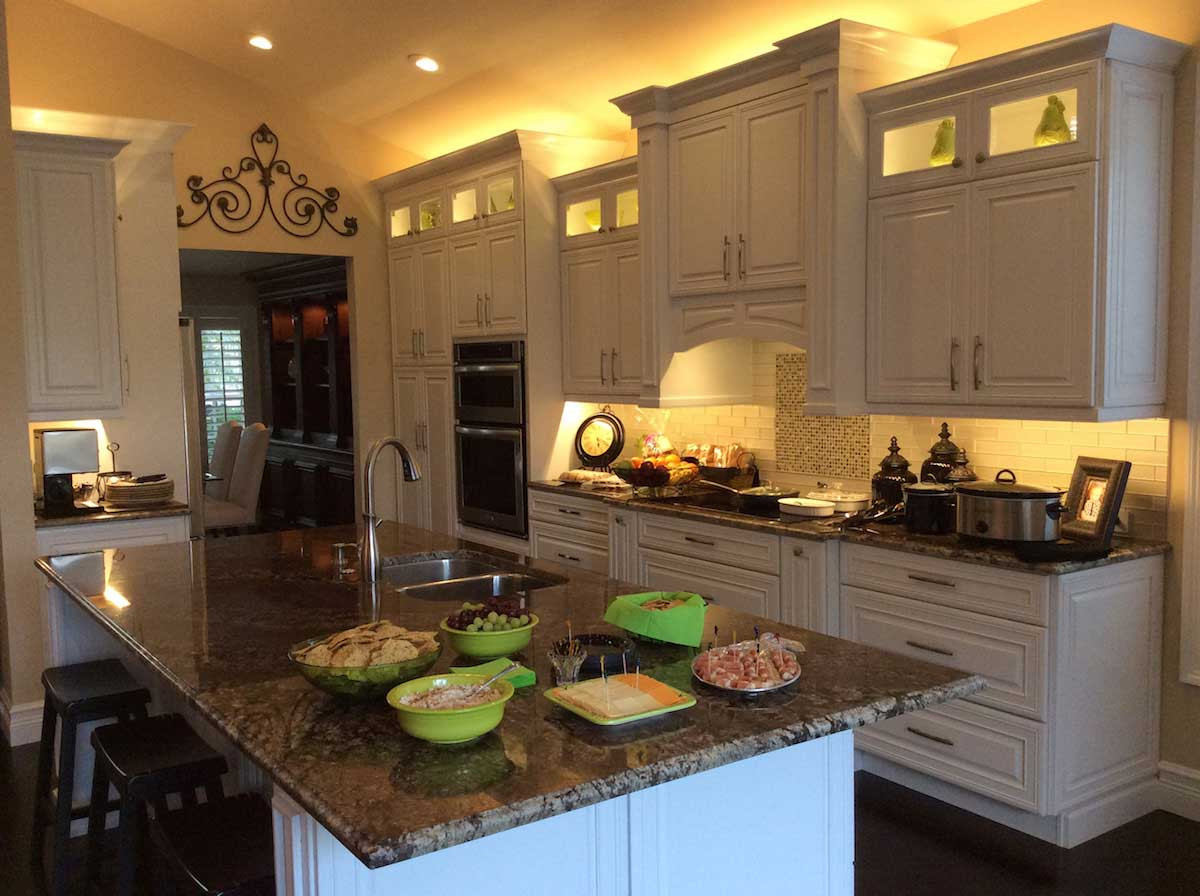
can complement any design style. You can choose from a variety of options, such as under-cabinet lights, puck lights, or LED strip lights, to suit your personal taste and design aesthetic. With the right lighting, you can create a stunning focal point in your kitchen, adding a touch of luxury and sophistication.
Improve Functionality
 Not only do
lights in your kitchen cabinets
enhance the aesthetics of your kitchen, but they also serve a practical purpose. They can help you see and access items in your cabinets more easily, especially in hard-to-reach areas. This is especially useful for those with deep or tall cabinets, where items tend to get lost or forgotten. Additionally,
proper lighting in your kitchen cabinets
can make it easier to prepare and cook meals, as you can see your ingredients and tools more clearly. This can save you time and make your daily cooking experience more enjoyable.
Set the Mood
 The right
lighting in your kitchen cabinets
can also help create the perfect ambiance for your home. With dimmable lights, you can adjust the brightness to suit your needs and set the mood for different occasions. For a cozy and intimate dinner party, you can dim the lights to create a warm and inviting atmosphere. Or, for a bright and lively family gathering, you can turn up the lights to make your kitchen the center of all the action. The versatility of
lights in your kitchen cabinets
allows you to transform your space to suit any occasion.
In conclusion,
installing lights in kitchen cabinets
is a simple yet effective way to enhance the design and functionality of your kitchen. With a variety of options to choose from, you can easily find the perfect lighting solution to suit your needs and preferences. So why wait? Elevate your home design and transform your kitchen into a stylish and functional space with
lights in your cabinets
.























/cabinet-refacing-demystified-1822044v2-29c0506ee7014a54a7473d9a5d85b149.jpg)
