How to Install a Kitchen Sink Basket Strainer
Installing a new kitchen sink basket strainer can seem like a daunting task, but with the right tools and knowledge, it can be a simple and straightforward process. Follow these steps to learn how to install a kitchen sink basket strainer in your home.
How to Install a Kitchen Sink Drain
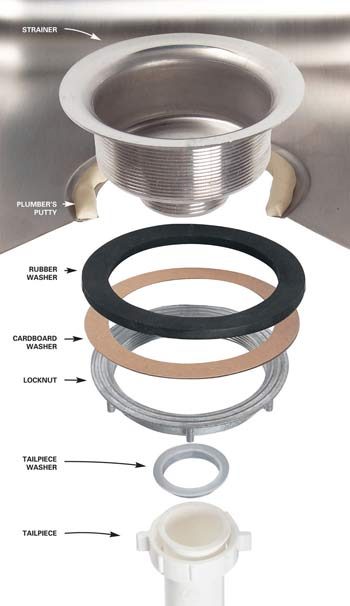
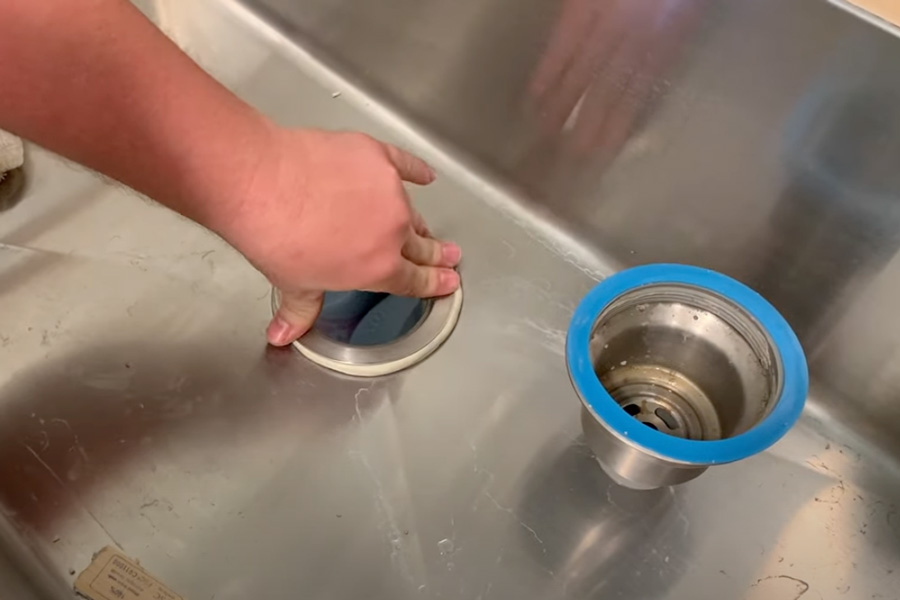
The first step in installing a kitchen sink basket strainer is to remove the old drain. Start by turning off the water supply to your sink and placing a bucket or towel underneath the drain to catch any water that may still be in the pipes. Next, use a wrench to loosen and remove the locknut and tailpiece from the existing drain. Then, unscrew the old strainer from the sink and clean the area where the new strainer will be installed.
How to Install a Kitchen Sink Drain Basket
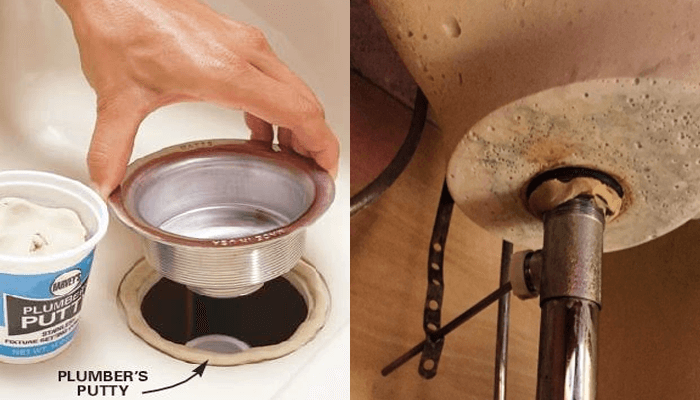
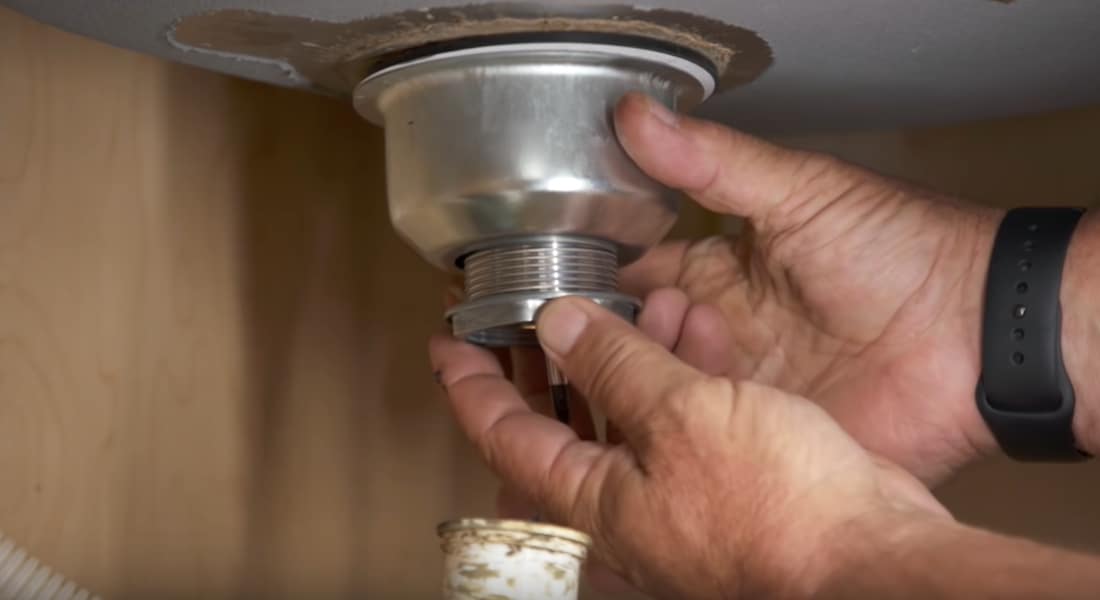
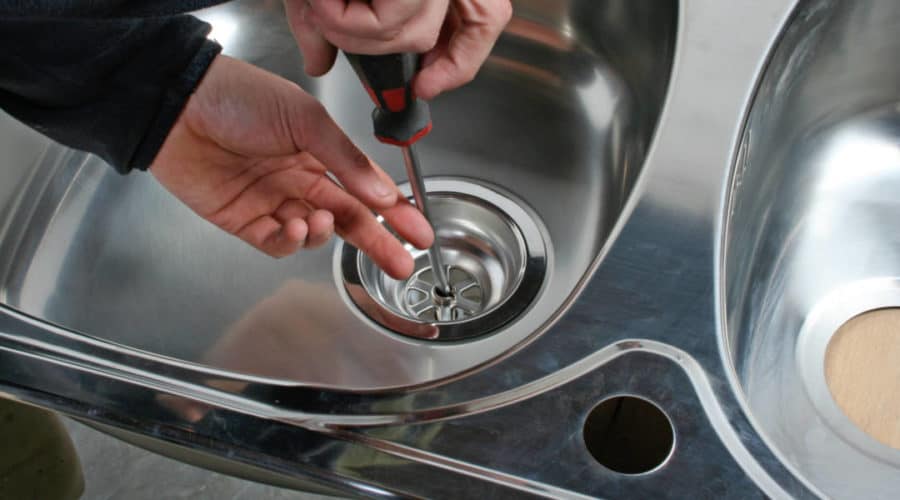
Once the old drain is removed, you can begin installing the new basket strainer. Apply a small amount of plumber's putty to the underside of the new strainer and place it into the sink opening. From underneath the sink, screw on the locknut and tailpiece to secure the strainer in place. Wipe away any excess putty that may have squeezed out from the edges.
How to Install a Kitchen Sink Drain with Plumber's Tape
To ensure a tight and leak-free seal, it is recommended to use plumber's tape when installing the drain. Wrap the threads of the tailpiece with plumber's tape before attaching it to the strainer. This will help create a watertight seal and prevent any leaks in the future.
How to Install a Kitchen Sink Drain with Plumbers Putty
Plumber's putty is a soft, pliable substance that is commonly used for sealing pipes and drains. When installing a kitchen sink basket strainer, applying a thin layer of plumber's putty around the edges of the strainer can help create a better seal and prevent any leaks. Just be sure to wipe away any excess putty before it hardens.
How to Install a Kitchen Sink Drain with Silicone
Another option for creating a watertight seal when installing a kitchen sink basket strainer is to use silicone sealant. Apply a thin bead of silicone around the edges of the strainer before securing it in place with the locknut and tailpiece. Like with plumber's putty, be sure to remove any excess silicone before it dries.
How to Install a Kitchen Sink Drain with a Basket Strainer Wrench
To securely tighten the locknut and tailpiece, a basket strainer wrench can be a helpful tool. This type of wrench is specifically designed to fit into the tight spaces under the sink and make it easier to tighten the strainer in place.
How to Install a Kitchen Sink Drain with a Basket Strainer Locknut
The locknut is an essential piece of hardware when installing a kitchen sink basket strainer. It is what keeps the strainer in place and prevents it from leaking. Be sure to use a wrench to securely tighten the locknut onto the tailpiece to ensure a proper seal.
How to Install a Kitchen Sink Drain with a Basket Strainer Flange
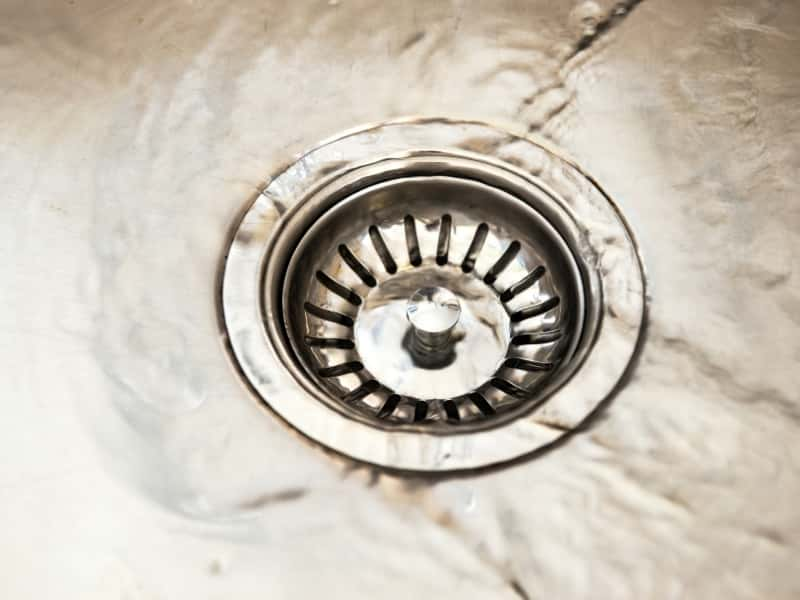
The flange is the visible part of the strainer that sits on top of the sink. When installing a kitchen sink basket strainer, it is important to properly align and tighten the flange to ensure a snug fit. Use a wrench to tighten the flange in place, making sure it is level and secure.
How to Install a Kitchen Sink Drain with a Basket Strainer Tailpiece
The tailpiece is the long pipe that connects the strainer to the rest of the drain system. When installing a kitchen sink basket strainer, it is important to properly align and tighten the tailpiece to ensure a proper seal. Use a wrench to tighten the tailpiece onto the strainer, making sure it is securely in place.
With these simple steps, you can easily install a new kitchen sink basket strainer in your home. Just remember to turn the water supply back on and check for any leaks before using your sink again. If you encounter any difficulties during the installation process, don't hesitate to call a professional plumber for assistance.
Why Properly Installing a Kitchen Sink Basket Drain with Plumbers Tape is Important
/how-to-install-a-sink-drain-2718789-hero-b5b99f72b5a24bb2ae8364e60539cece.jpg)
Ensuring a Functional and Leak-Free Sink
 Properly installing a kitchen sink basket drain with plumbers tape is an essential step in setting up your kitchen for optimal functionality. The sink is one of the most heavily used areas in a kitchen, and a properly installed drain ensures that it functions smoothly and without any leaks. A leaky or malfunctioning sink can be a major inconvenience and disrupt daily activities in the kitchen. By following a few simple steps and using the right materials, you can ensure that your kitchen sink basket drain is installed correctly, preventing any future problems and maintaining a functional and leak-free sink.
Preventing Costly Repairs
 One of the main reasons why it is important to properly install a kitchen sink basket drain with plumbers tape is to prevent costly repairs in the future. Inadequate installation or the use of improper materials can lead to leaks, which can cause water damage to your sink and surrounding areas. This can result in expensive repairs and potentially even replacement of your sink. By investing a little time and effort into the proper installation of your sink basket drain, you can save yourself from the hassle and expense of dealing with leaks and water damage.
Extending the Lifespan of Your Sink
 Properly installing a kitchen sink basket drain with plumbers tape can also help extend the lifespan of your sink. A leaking drain can cause moisture to build up under your sink, leading to the growth of mold and mildew, which can damage the sink and shorten its lifespan. By taking the time to install the drain correctly, you can prevent these issues and ensure that your sink lasts for many years to come.
Ensuring a Professional and Polished Look
 Aside from functionality and maintenance, a properly installed kitchen sink basket drain also adds to the overall aesthetic of your kitchen. A leaky or poorly installed drain can be an eyesore and take away from the overall design of your kitchen. By using plumbers tape and following the correct installation process, you can achieve a professional and polished look for your sink area, adding to the overall appeal and value of your home.
Conclusion
:max_bytes(150000):strip_icc()/how-to-install-a-sink-drain-2718789-hero-24e898006ed94c9593a2a268b57989a3.jpg) In conclusion, properly installing a kitchen sink basket drain with plumbers tape is crucial for ensuring a functional, leak-free, and aesthetically pleasing sink. It not only prevents costly repairs and extends the lifespan of your sink but also adds to the overall appeal and value of your kitchen. By following the right steps and using the correct materials, you can easily install a kitchen sink basket drain with plumbers tape and enjoy a hassle-free and beautiful sink for years to come.
In conclusion, properly installing a kitchen sink basket drain with plumbers tape is crucial for ensuring a functional, leak-free, and aesthetically pleasing sink. It not only prevents costly repairs and extends the lifespan of your sink but also adds to the overall appeal and value of your kitchen. By following the right steps and using the correct materials, you can easily install a kitchen sink basket drain with plumbers tape and enjoy a hassle-free and beautiful sink for years to come.




:max_bytes(150000):strip_icc()/how-to-install-a-sink-drain-2718789-04-5715d67f5b7d41429d42bf705bb70e2c.jpg)







/how-to-install-a-sink-drain-2718789-hero-24e898006ed94c9593a2a268b57989a3.jpg)
