Installing a kitchen peninsula light can add both style and functionality to your kitchen. Not only does it provide task lighting for meal prep and cooking, but it can also serve as a focal point for the room. Whether you're looking to brighten up your kitchen or give it a fresh new look, here is a step-by-step guide on how to install a kitchen peninsula light.
Before you begin, make sure you have all the necessary tools and materials. This includes a drill, screws, wire cutters, wire connectors, and of course, the light fixture itself. You may also need a ladder, depending on the height of your ceiling.
Step 1: Choose the Right Light Fixture
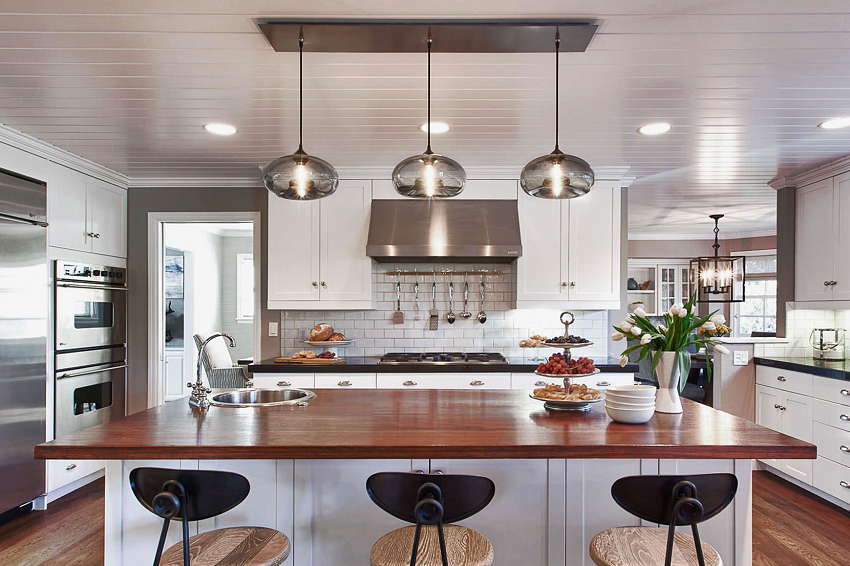
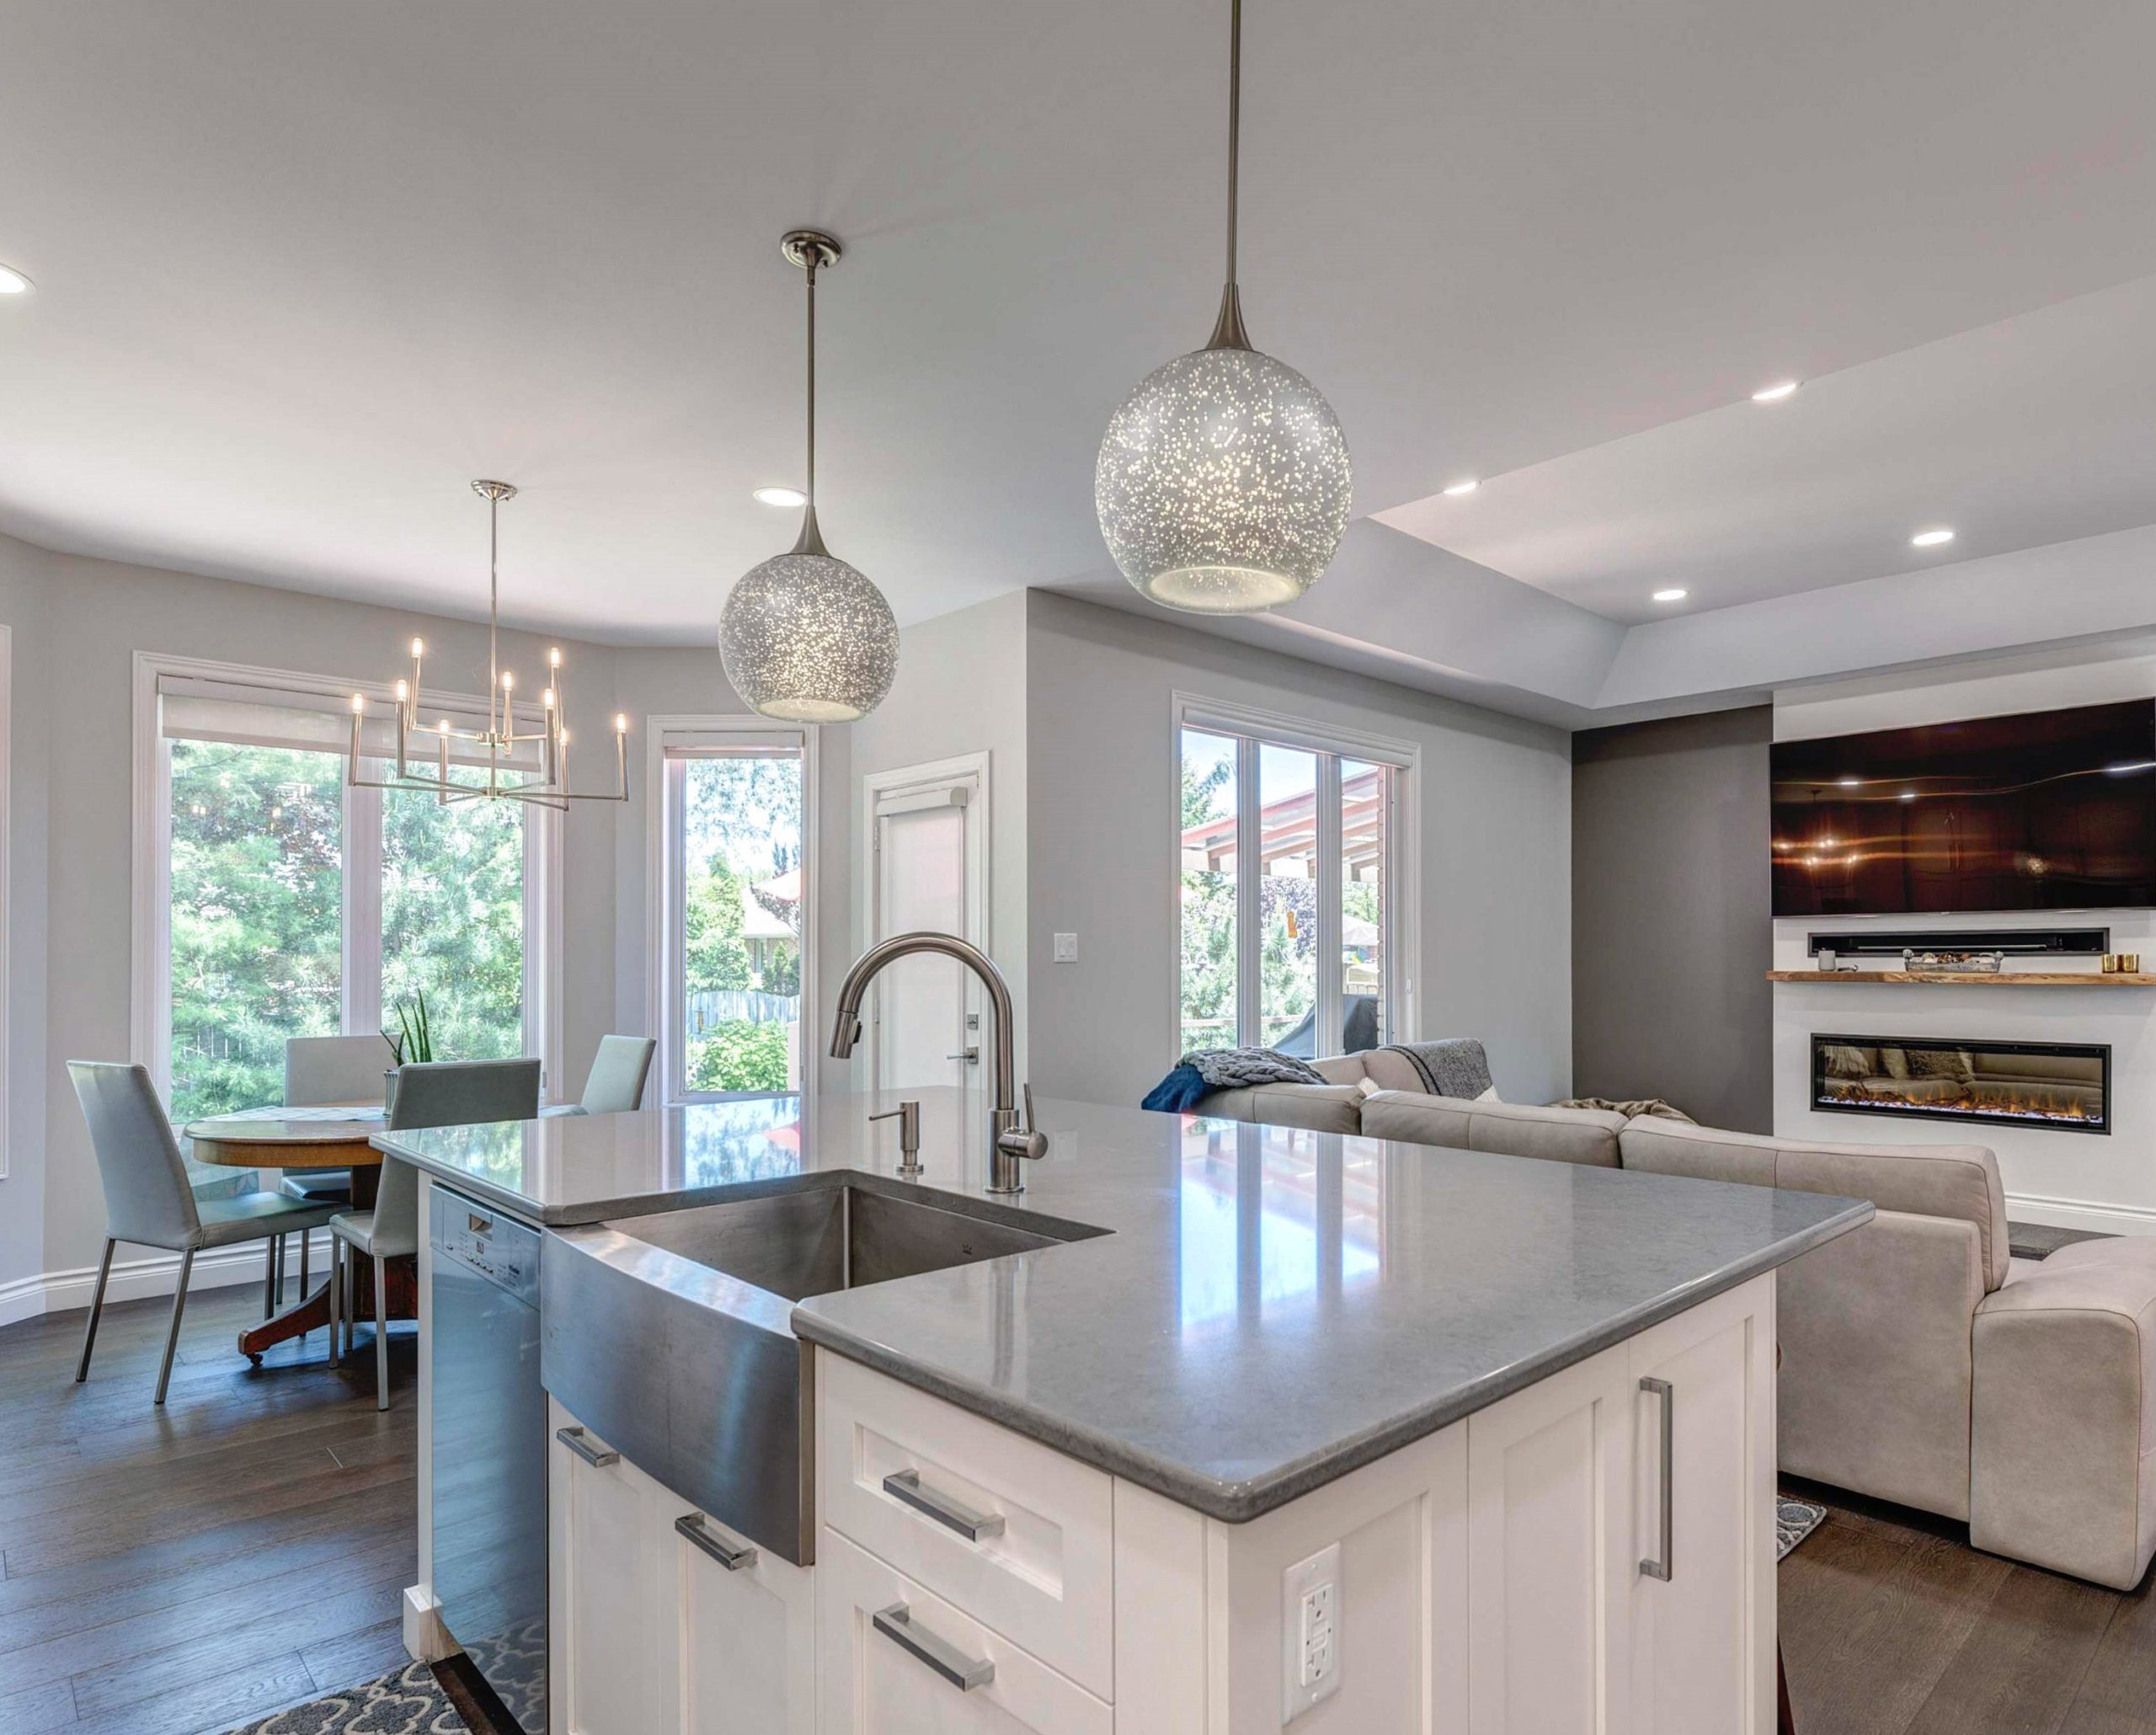
When it comes to selecting a light fixture for your kitchen peninsula, there are plenty of options to choose from. Consider the overall style of your kitchen and choose a light fixture that complements it. Whether you prefer a modern pendant light or a classic chandelier, make sure it fits your space and provides adequate lighting.
Step 2: Turn Off the Power
Before beginning any electrical work, it's important to turn off the power to the area where you will be installing the light. This will ensure your safety and prevent any accidents. If you're not sure which circuit the kitchen peninsula is on, turn off the main power to the house.
Step 3: Measure and Mark the Placement
Once the power is turned off, measure and mark the placement of the light fixture on the ceiling. This will ensure that it is centered and properly aligned with your kitchen peninsula. Use a pencil to mark the placement, as it can easily be erased if needed.
Step 4: Drill Holes and Install Bracket
Using a drill, carefully drill holes in the ceiling where you marked the placement for the light fixture. Then, install the bracket that came with the light fixture. Make sure it is securely attached to the ceiling.
Step 5: Wire the Light Fixture
Next, it's time to wire the light fixture. Follow the manufacturer's instructions, using wire connectors to attach the wires from the light fixture to the wires in the ceiling. Make sure to tuck any excess wire neatly into the ceiling.
Step 6: Attach the Light Fixture
Carefully lift the light fixture and attach it to the bracket on the ceiling. It may be helpful to have someone hold the fixture in place while you secure it with screws. Once it is securely attached, you can turn the power back on to test the light.
Step 7: Finishing Touches
To give your kitchen peninsula light a polished look, you can add a decorative plate or cover over the bracket and wires. This will also help to hide any imperfections or messiness in the wiring.
Other Considerations
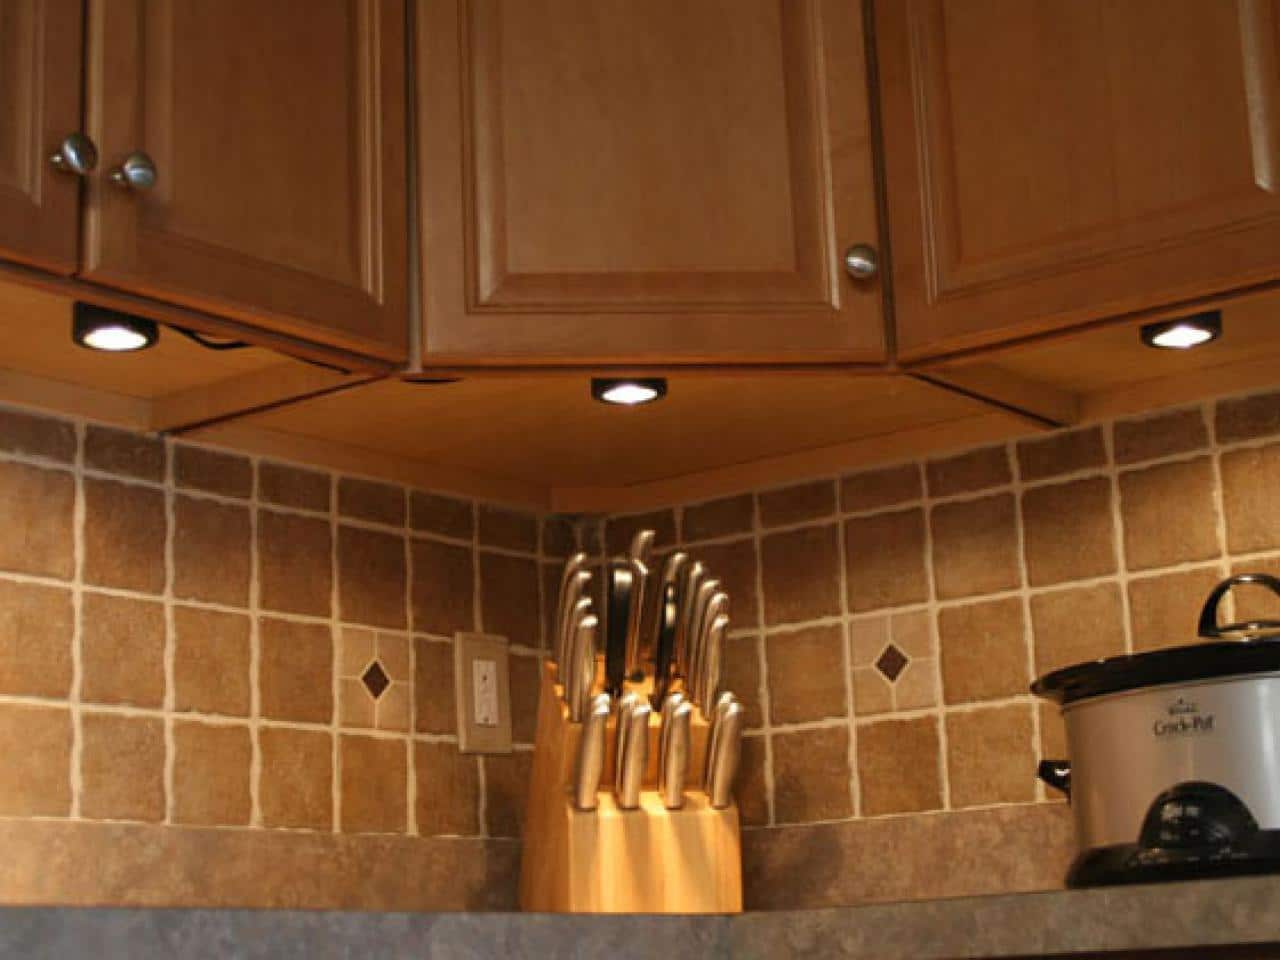
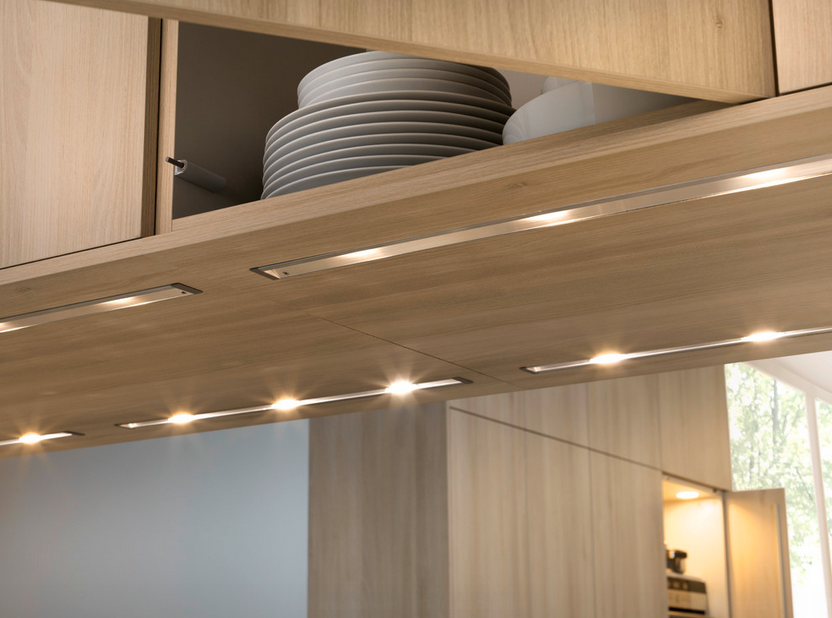
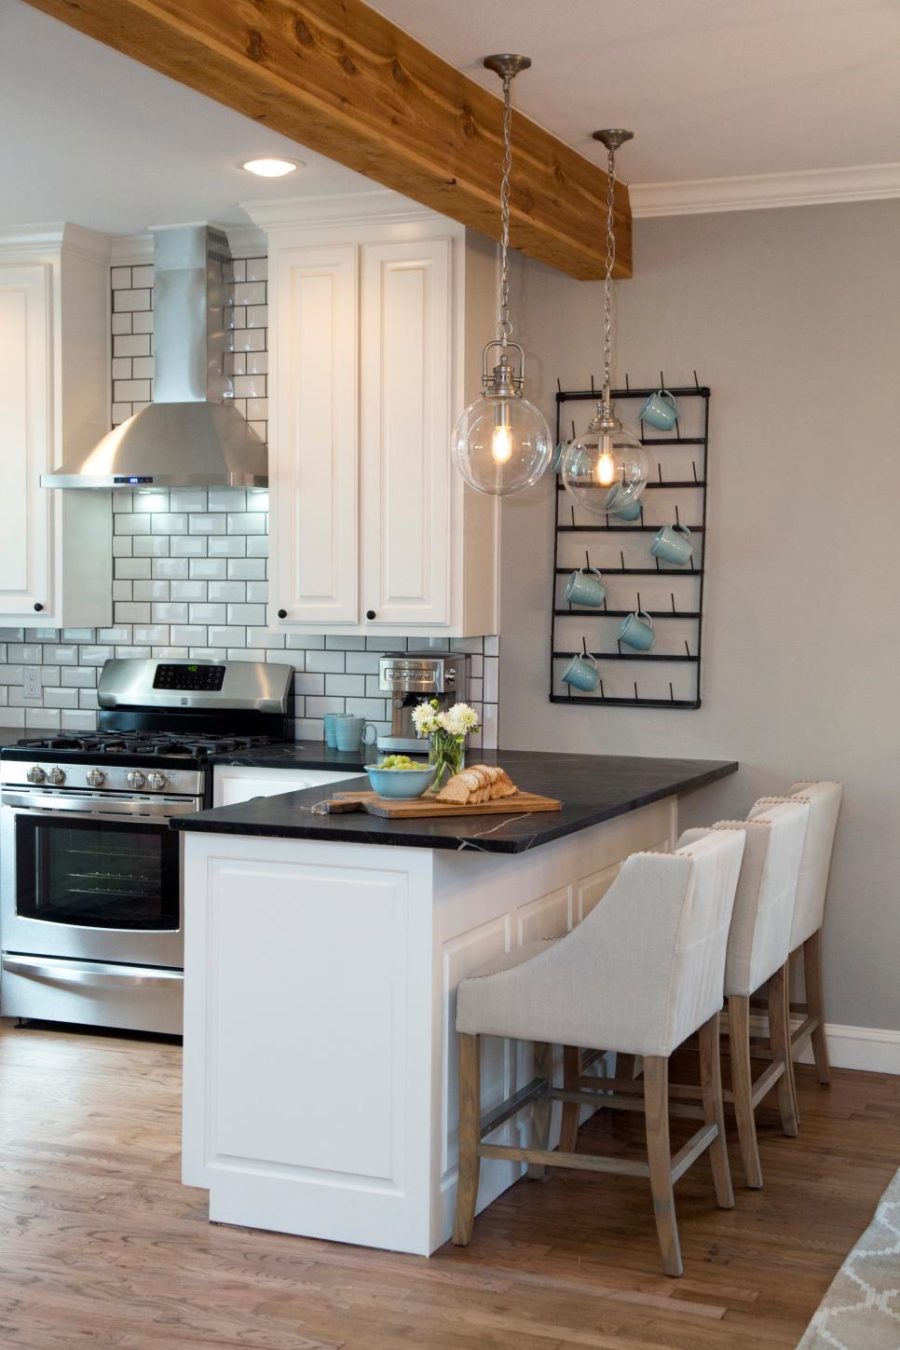
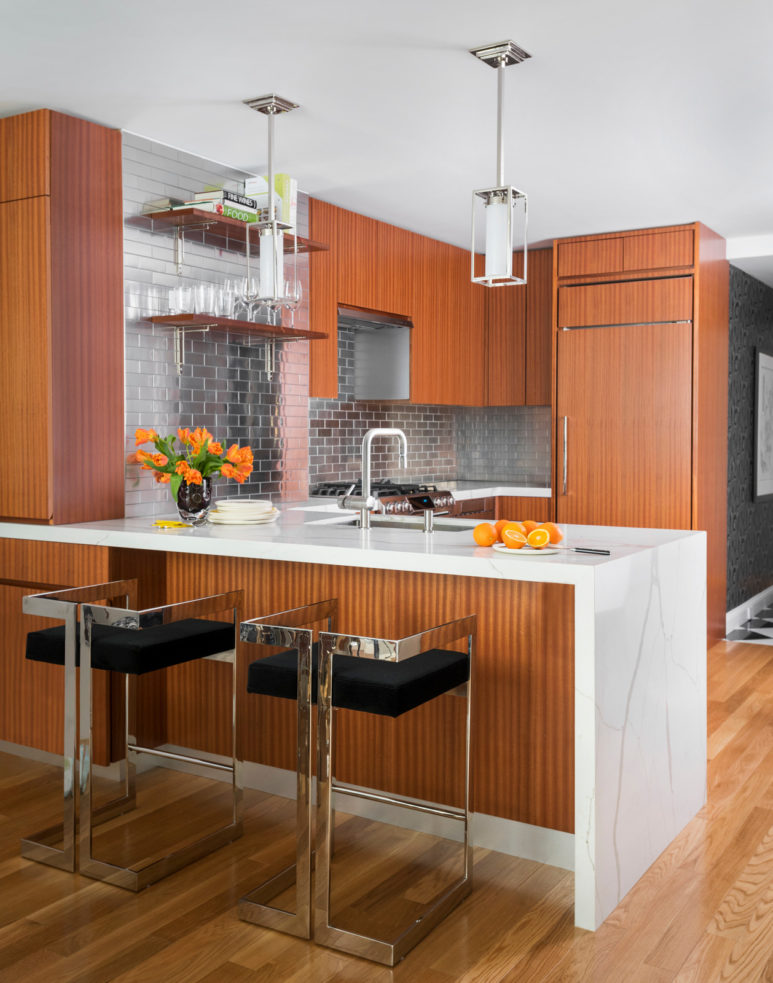
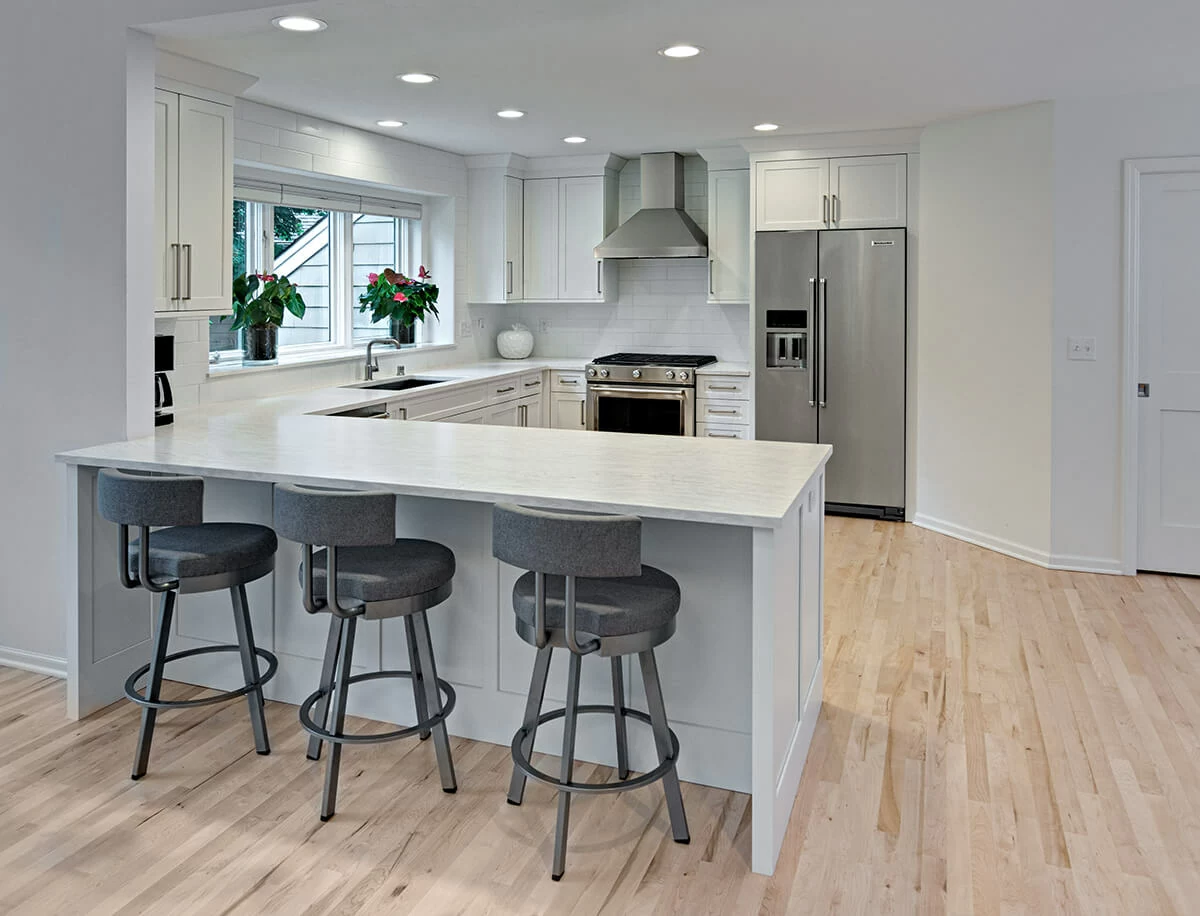
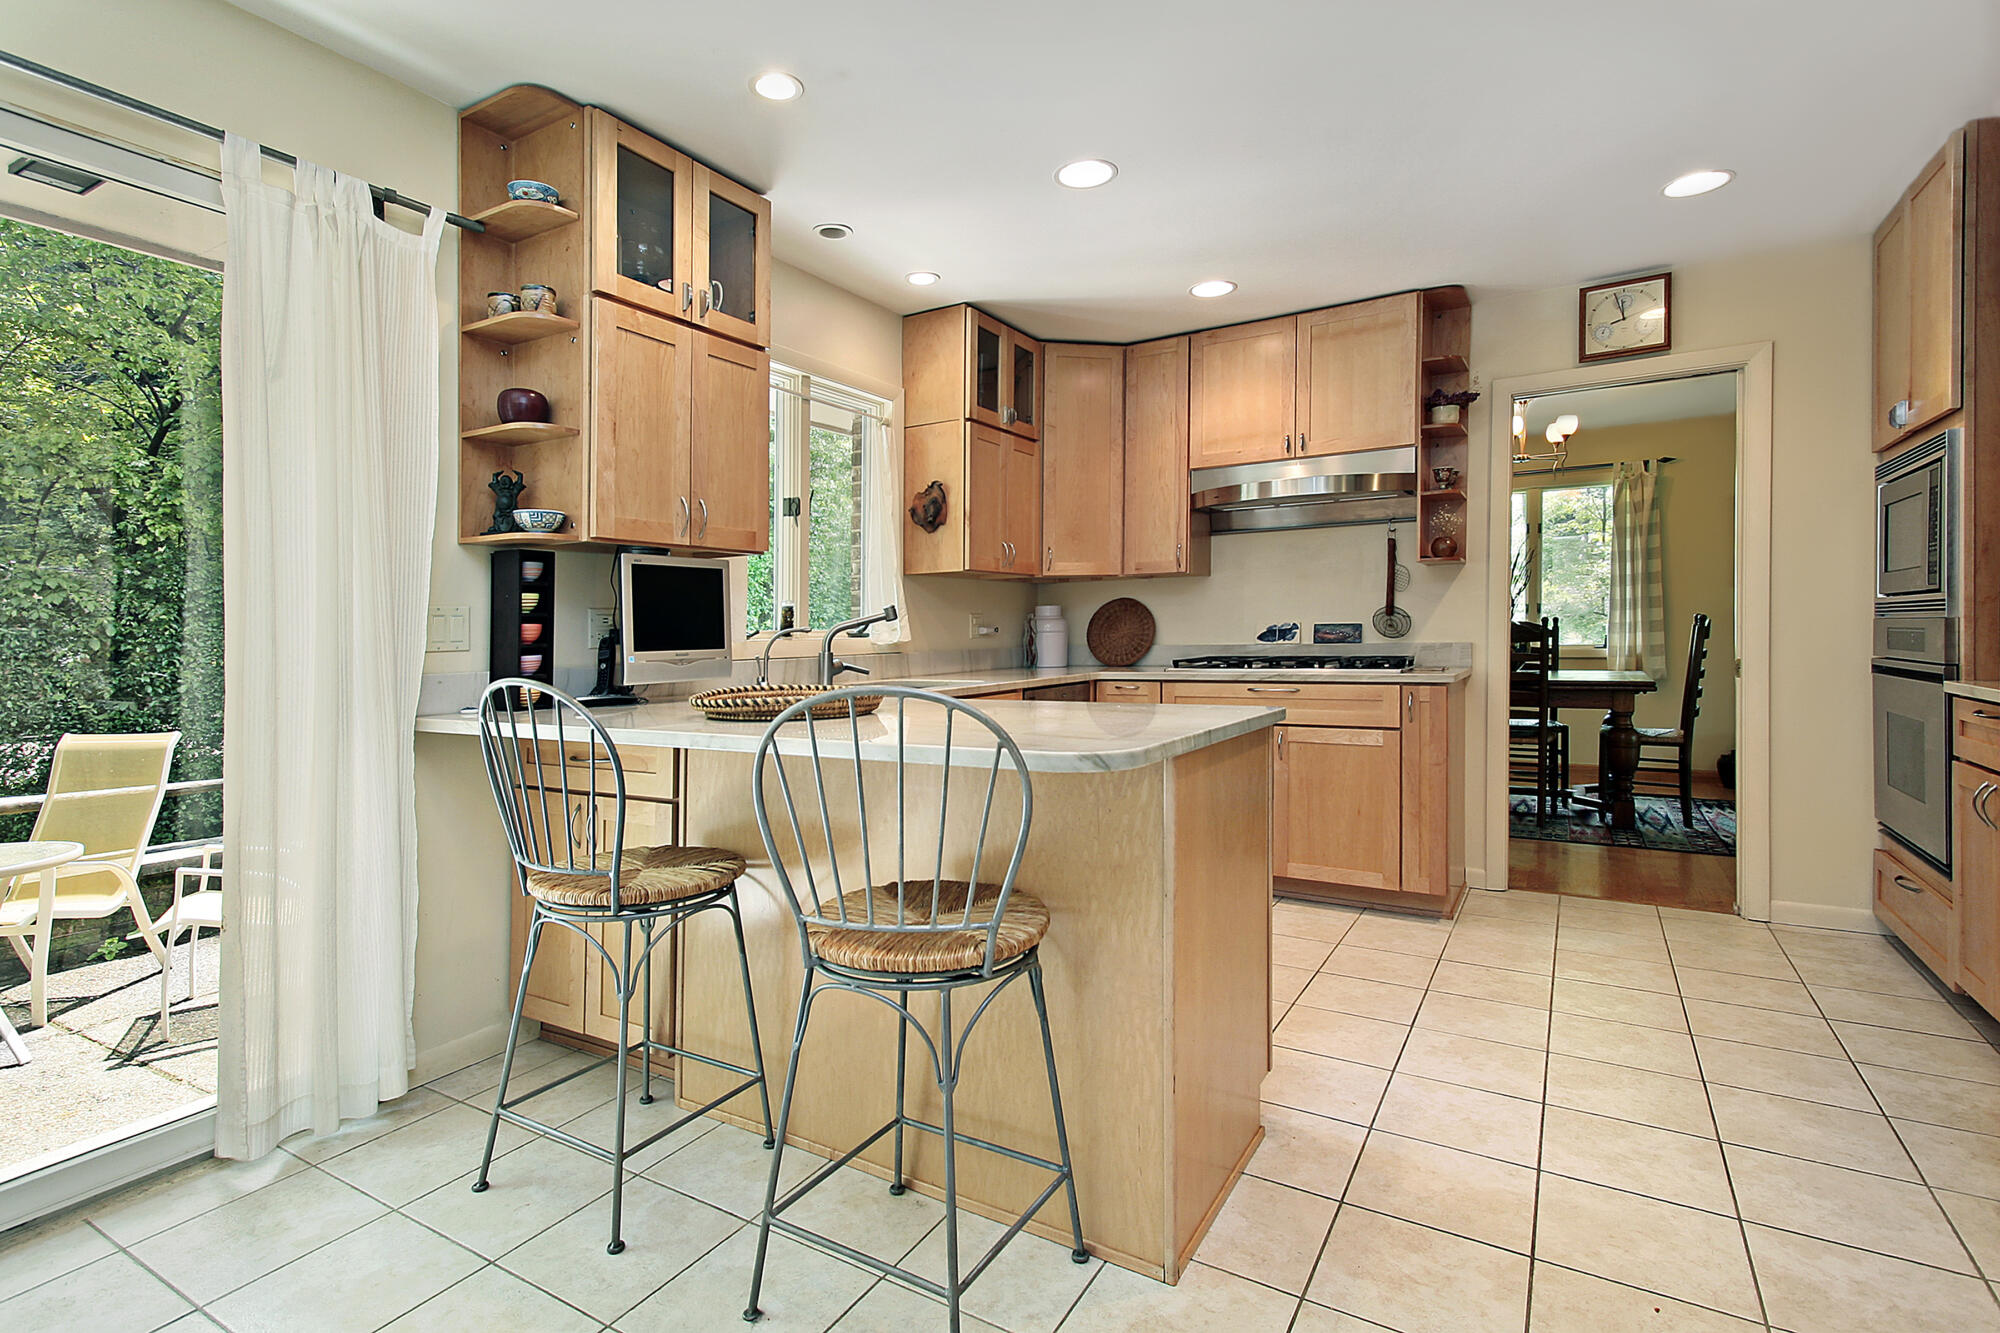
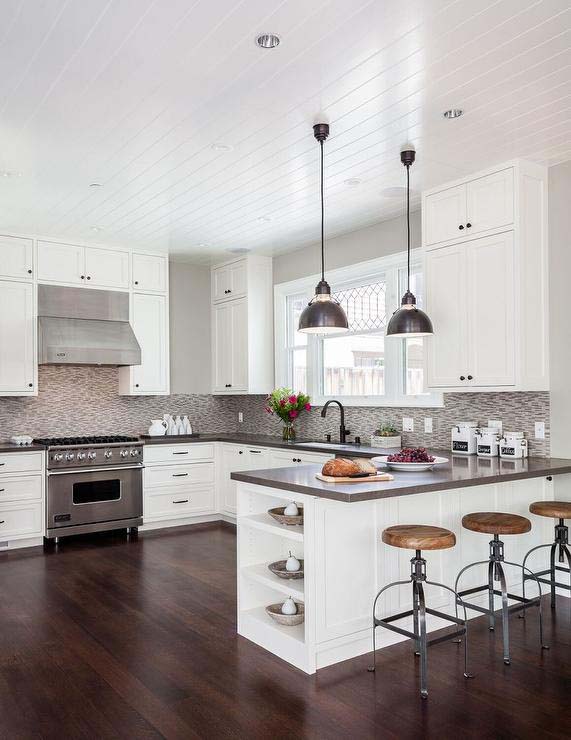
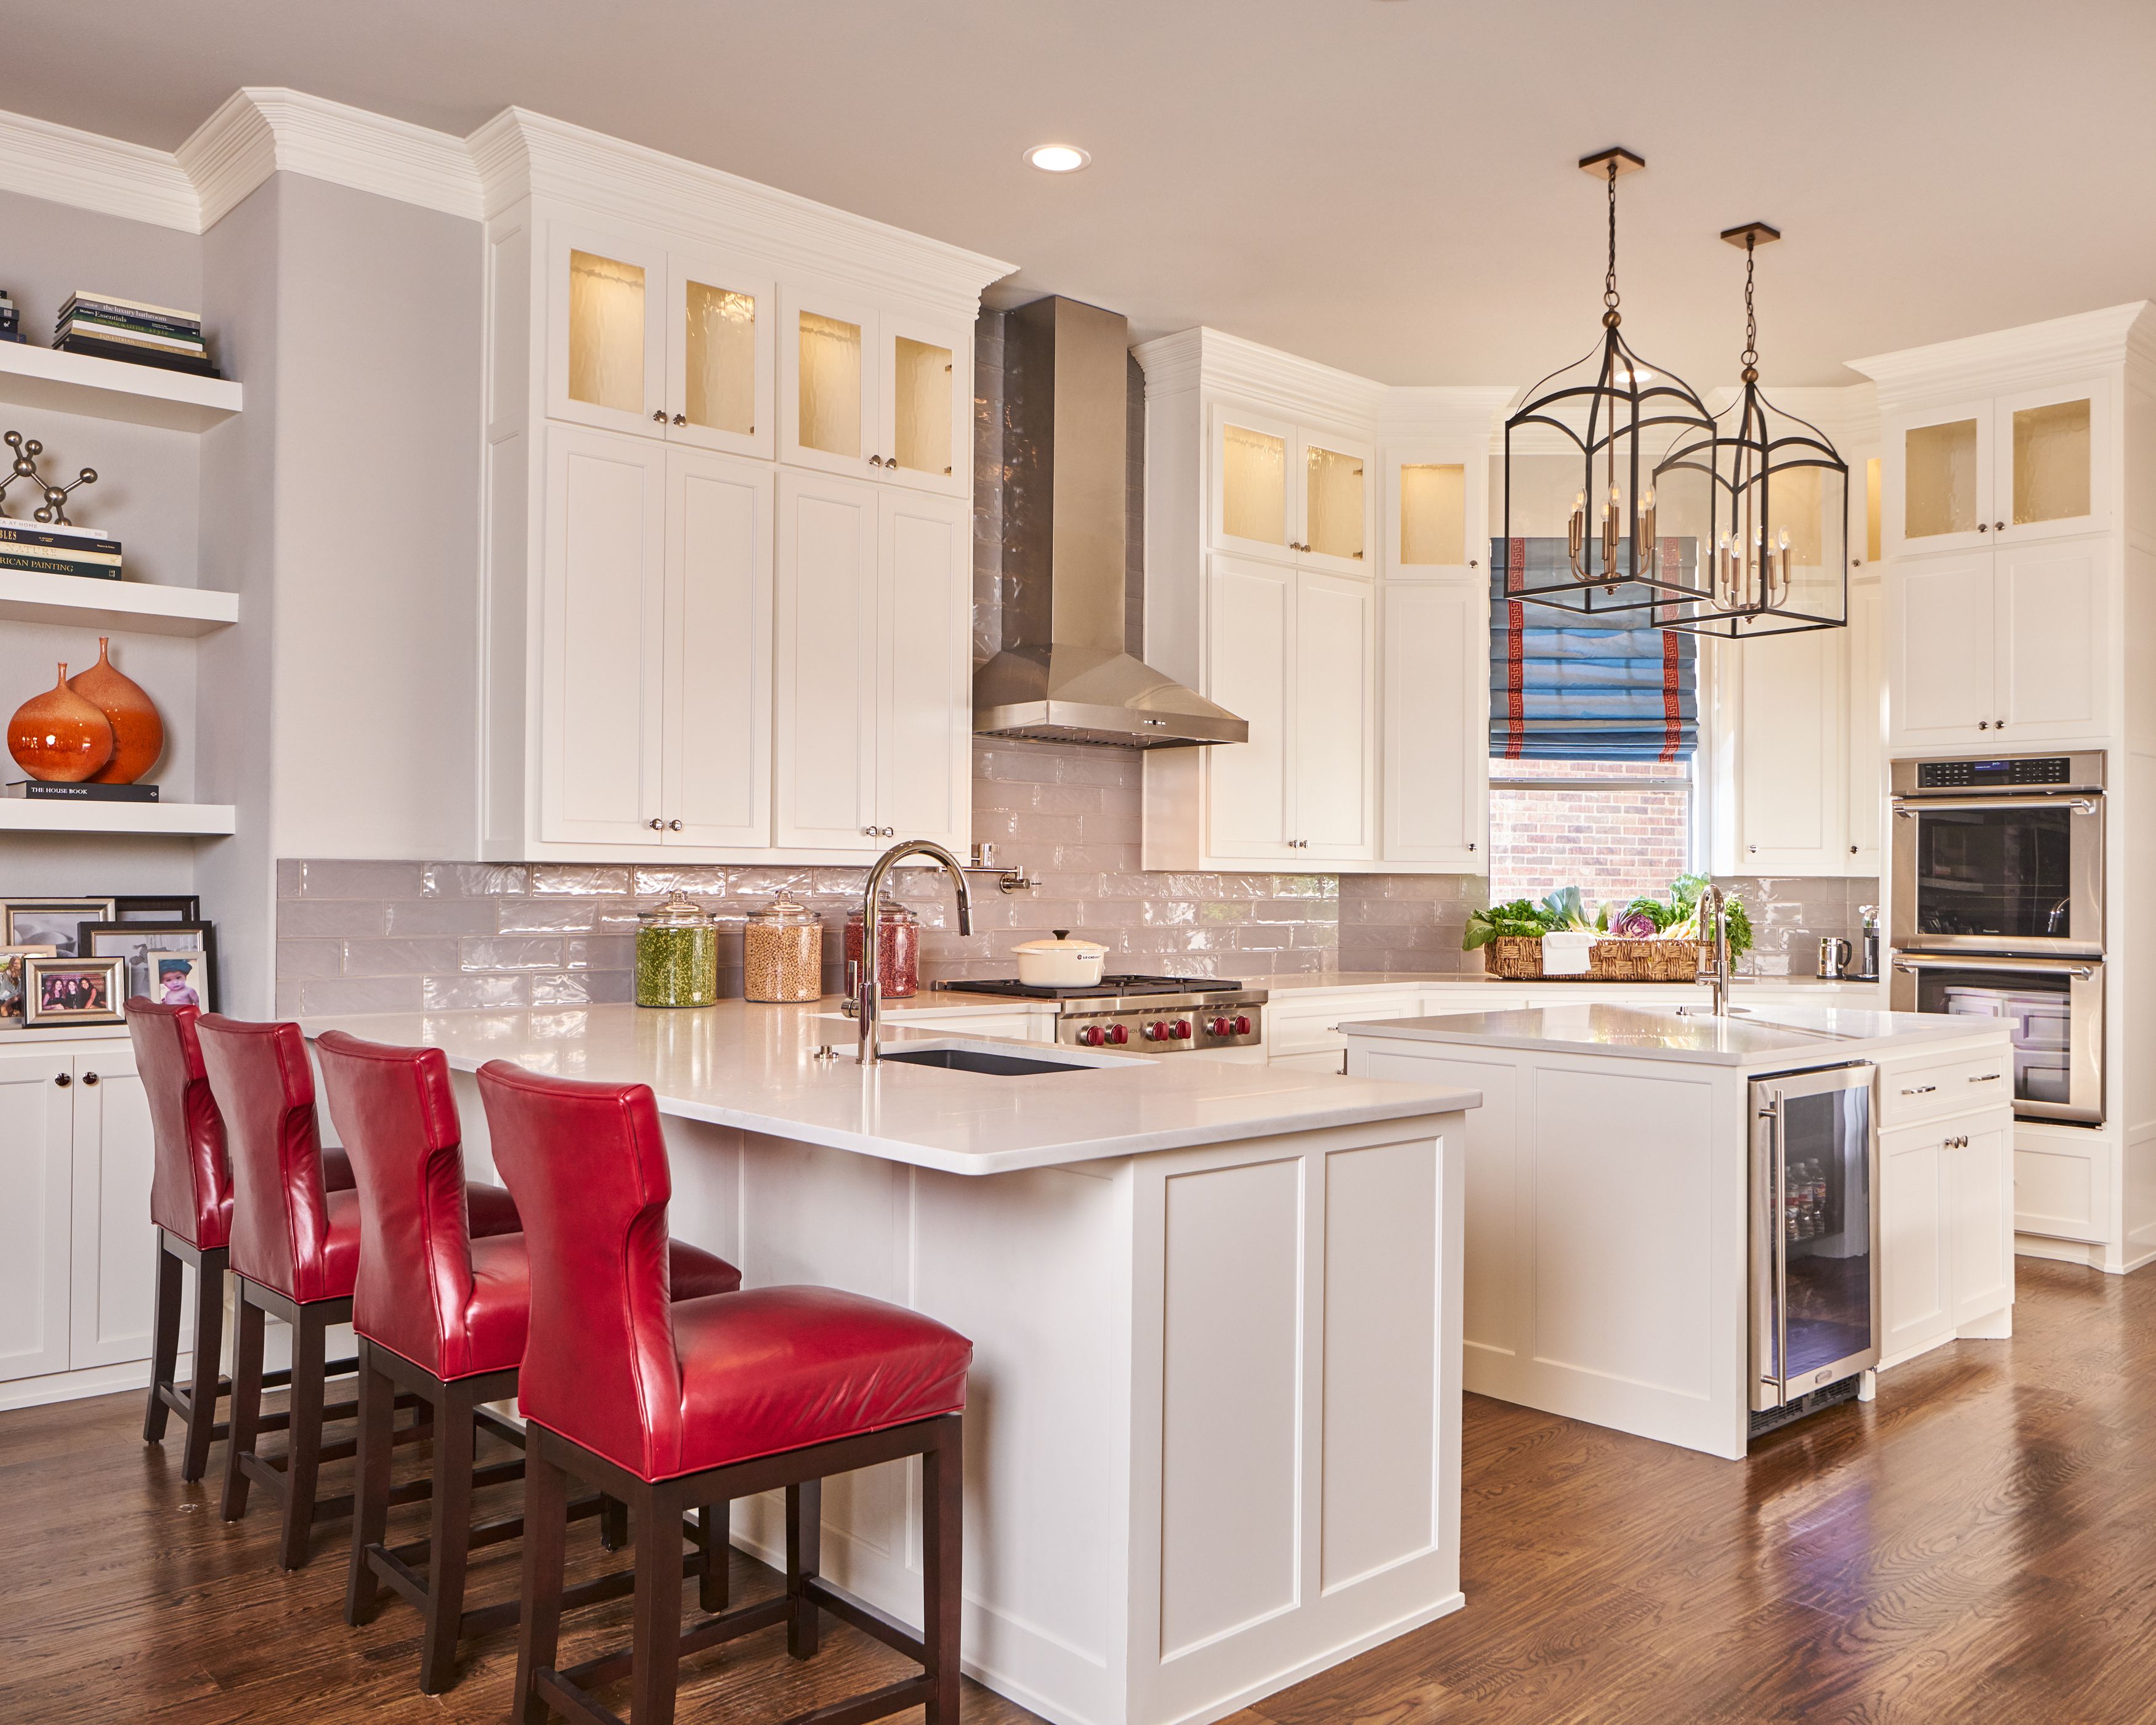
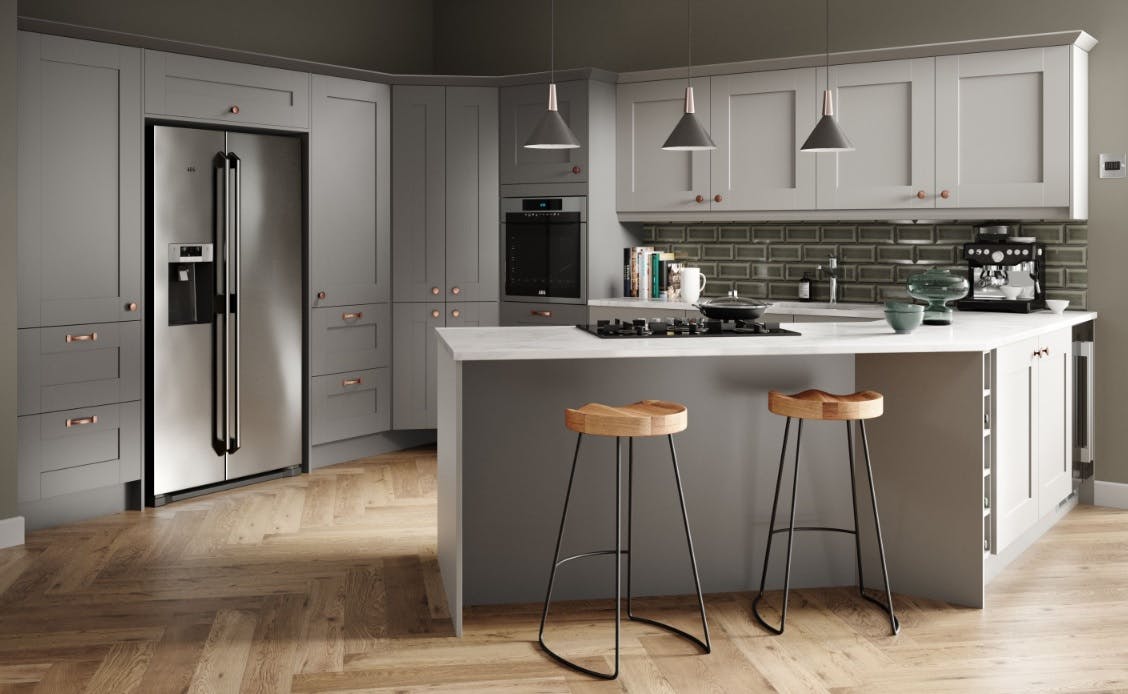
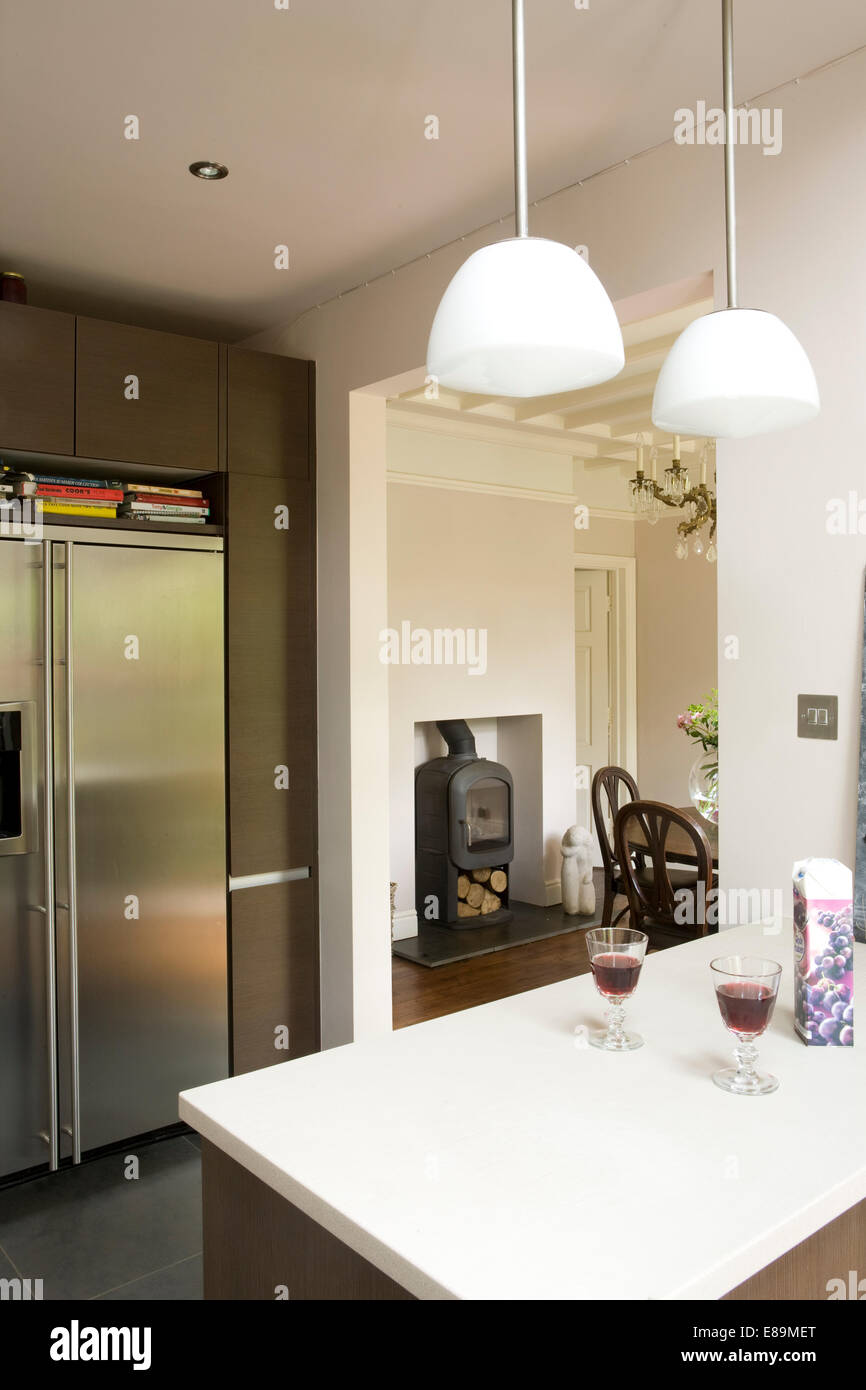
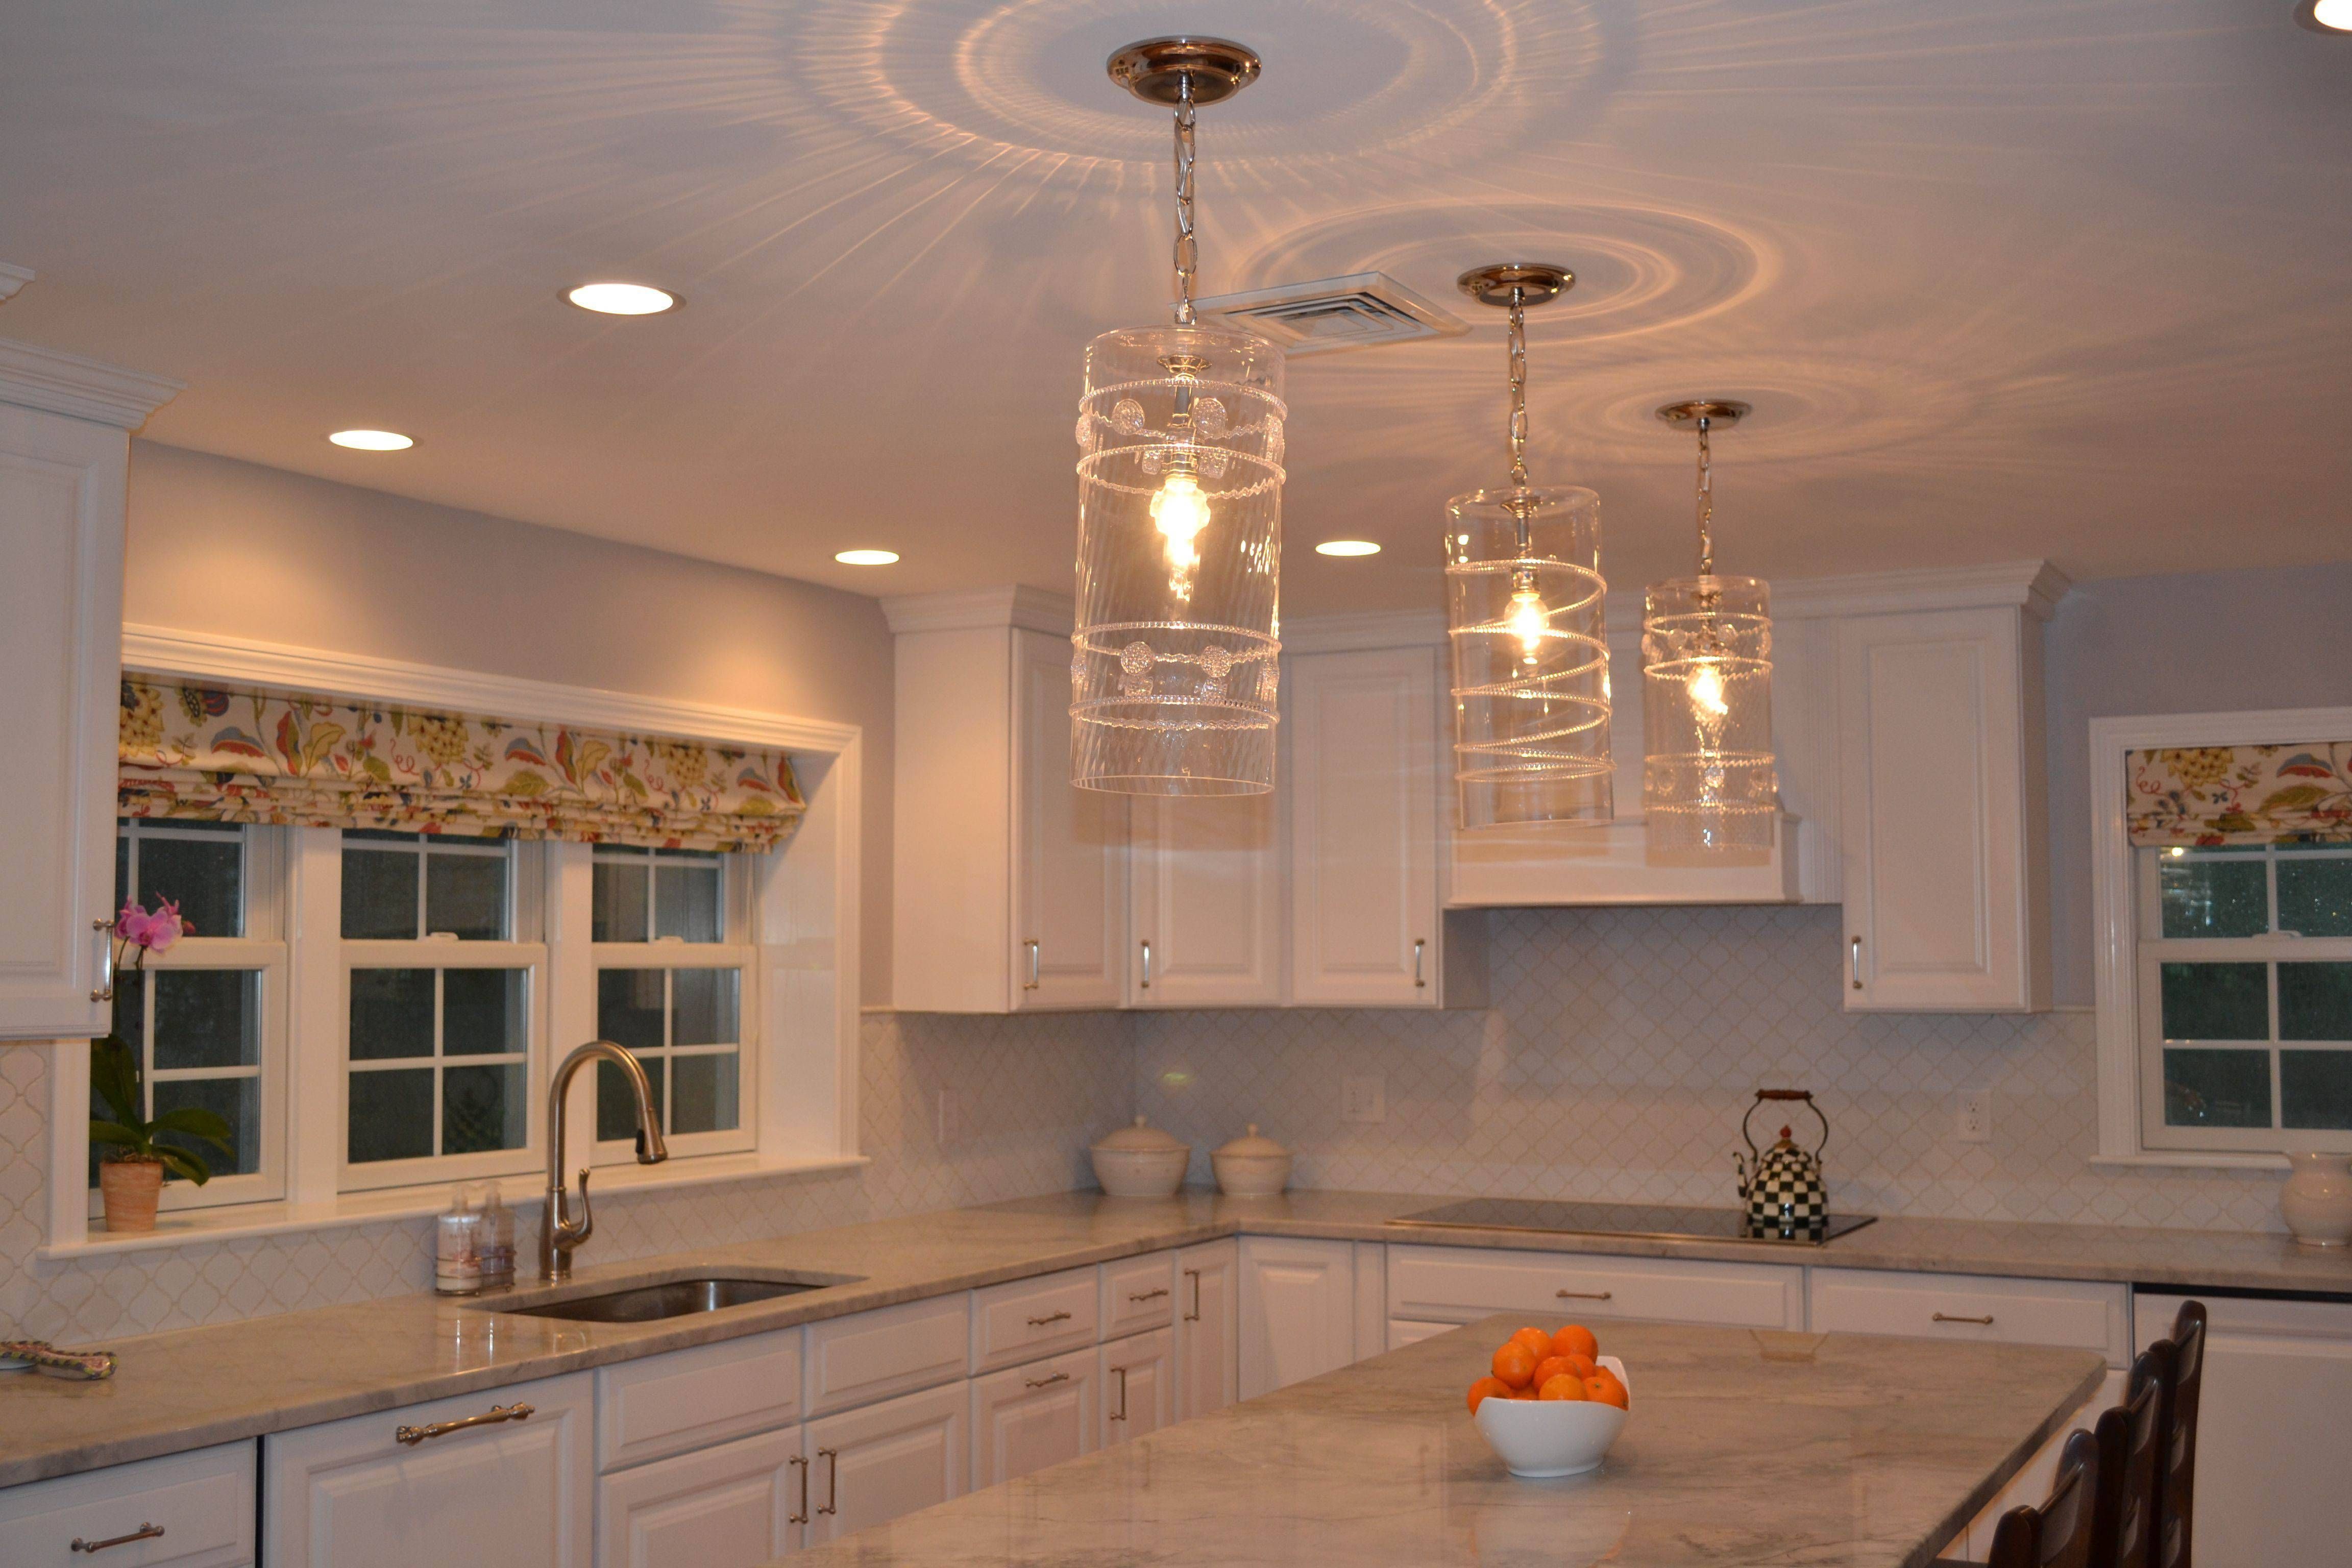
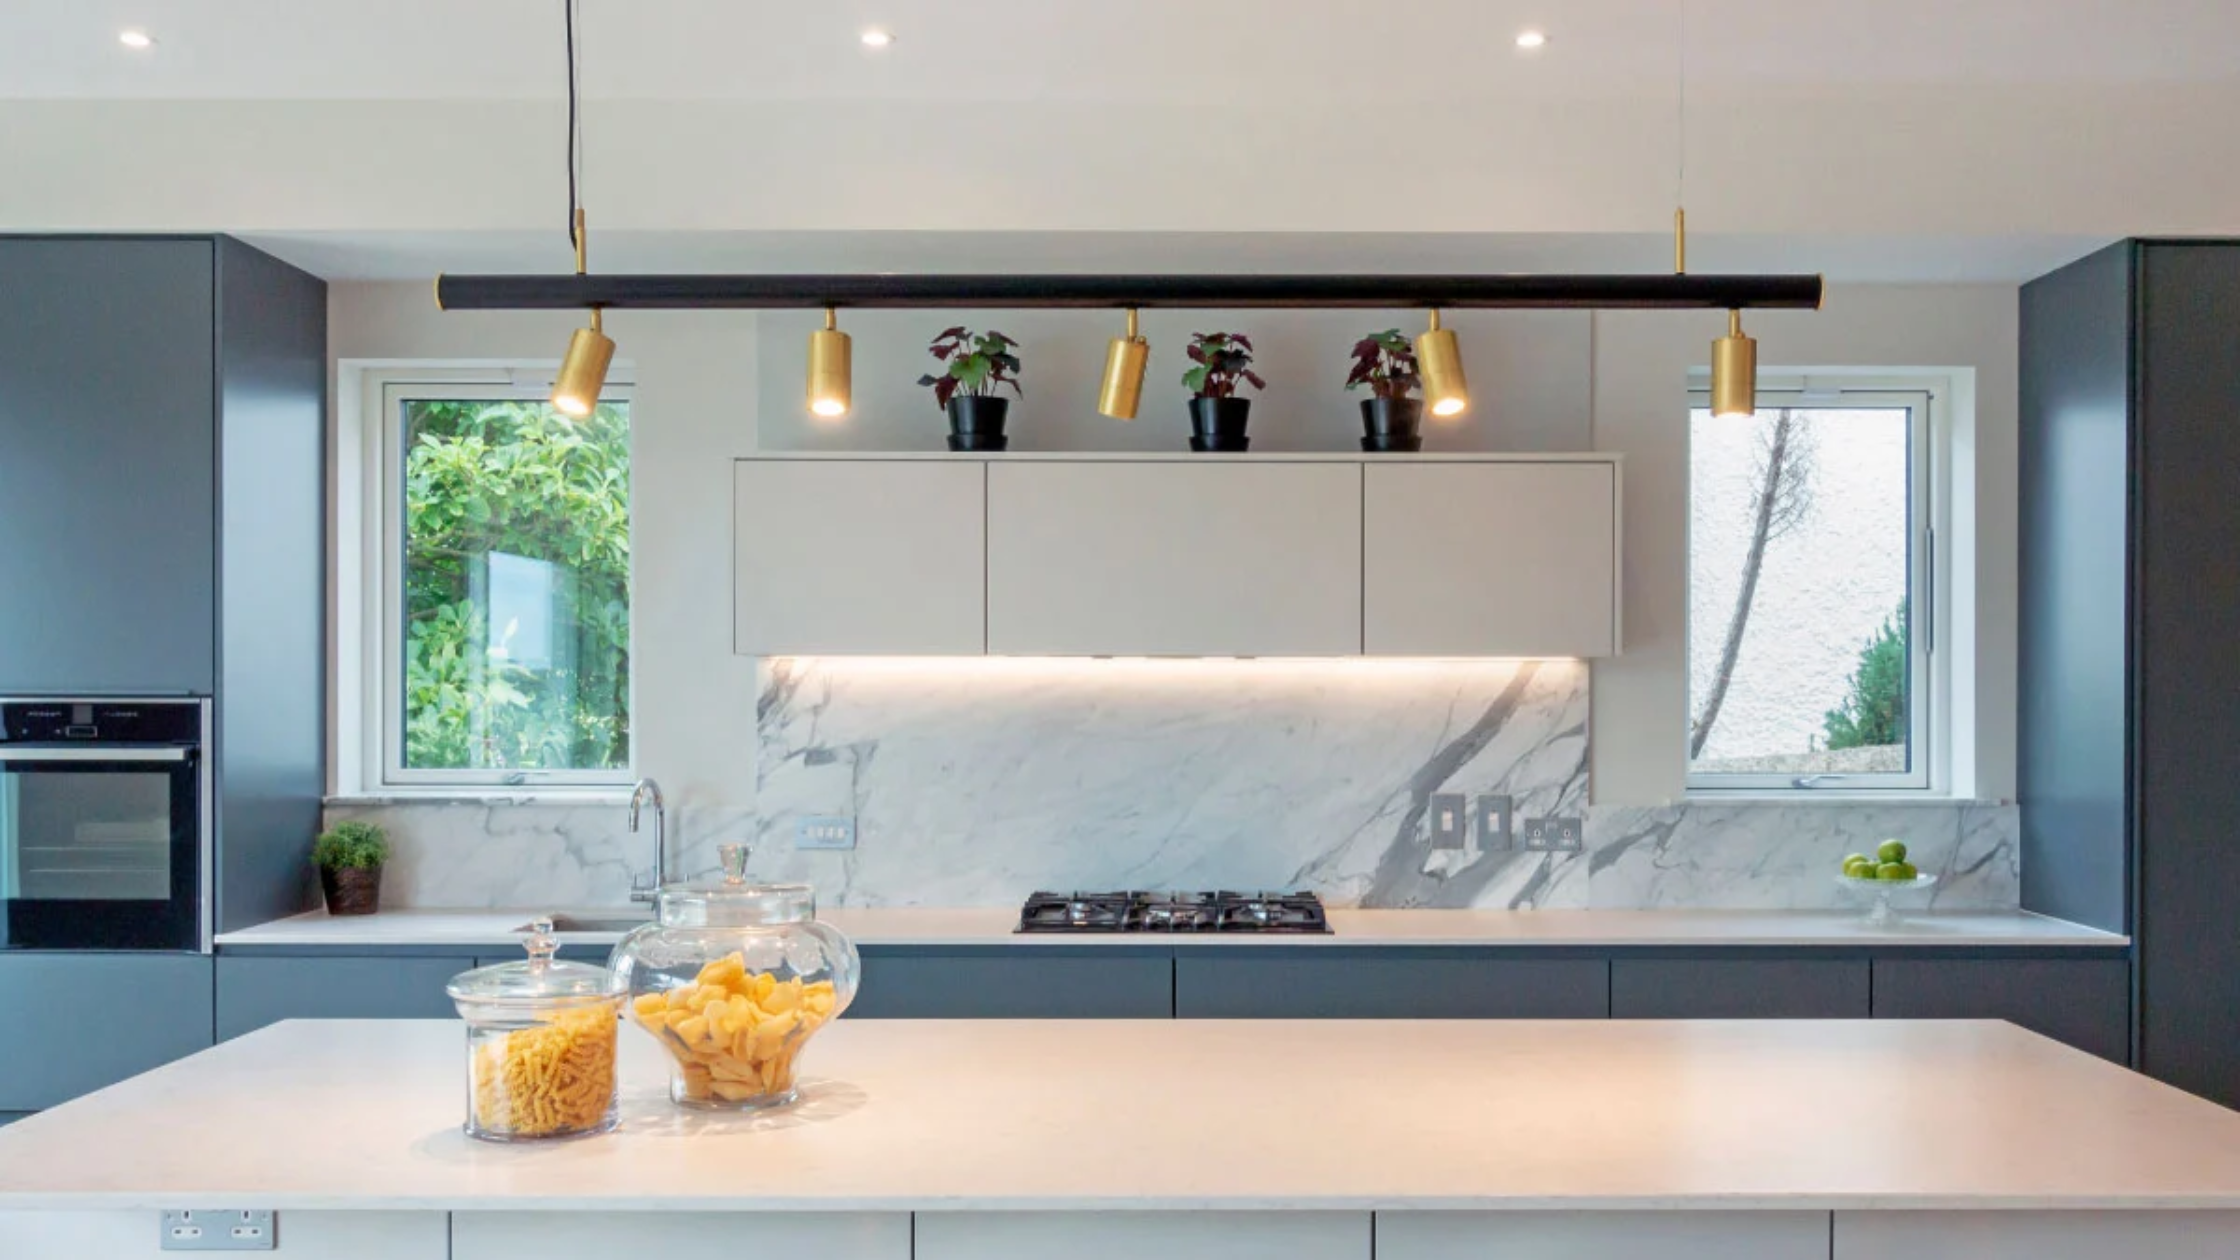
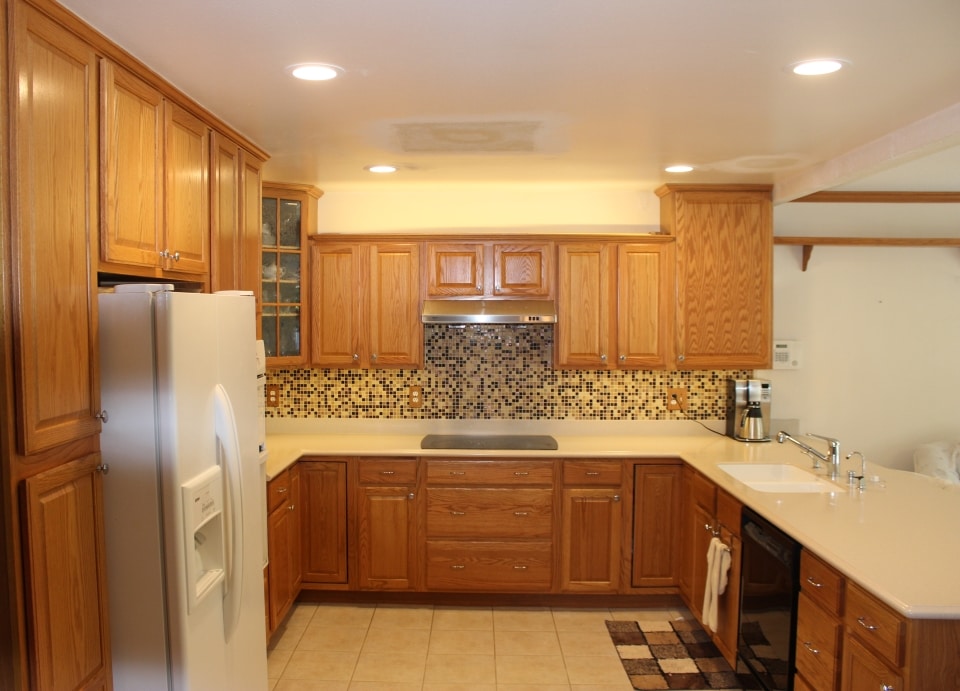
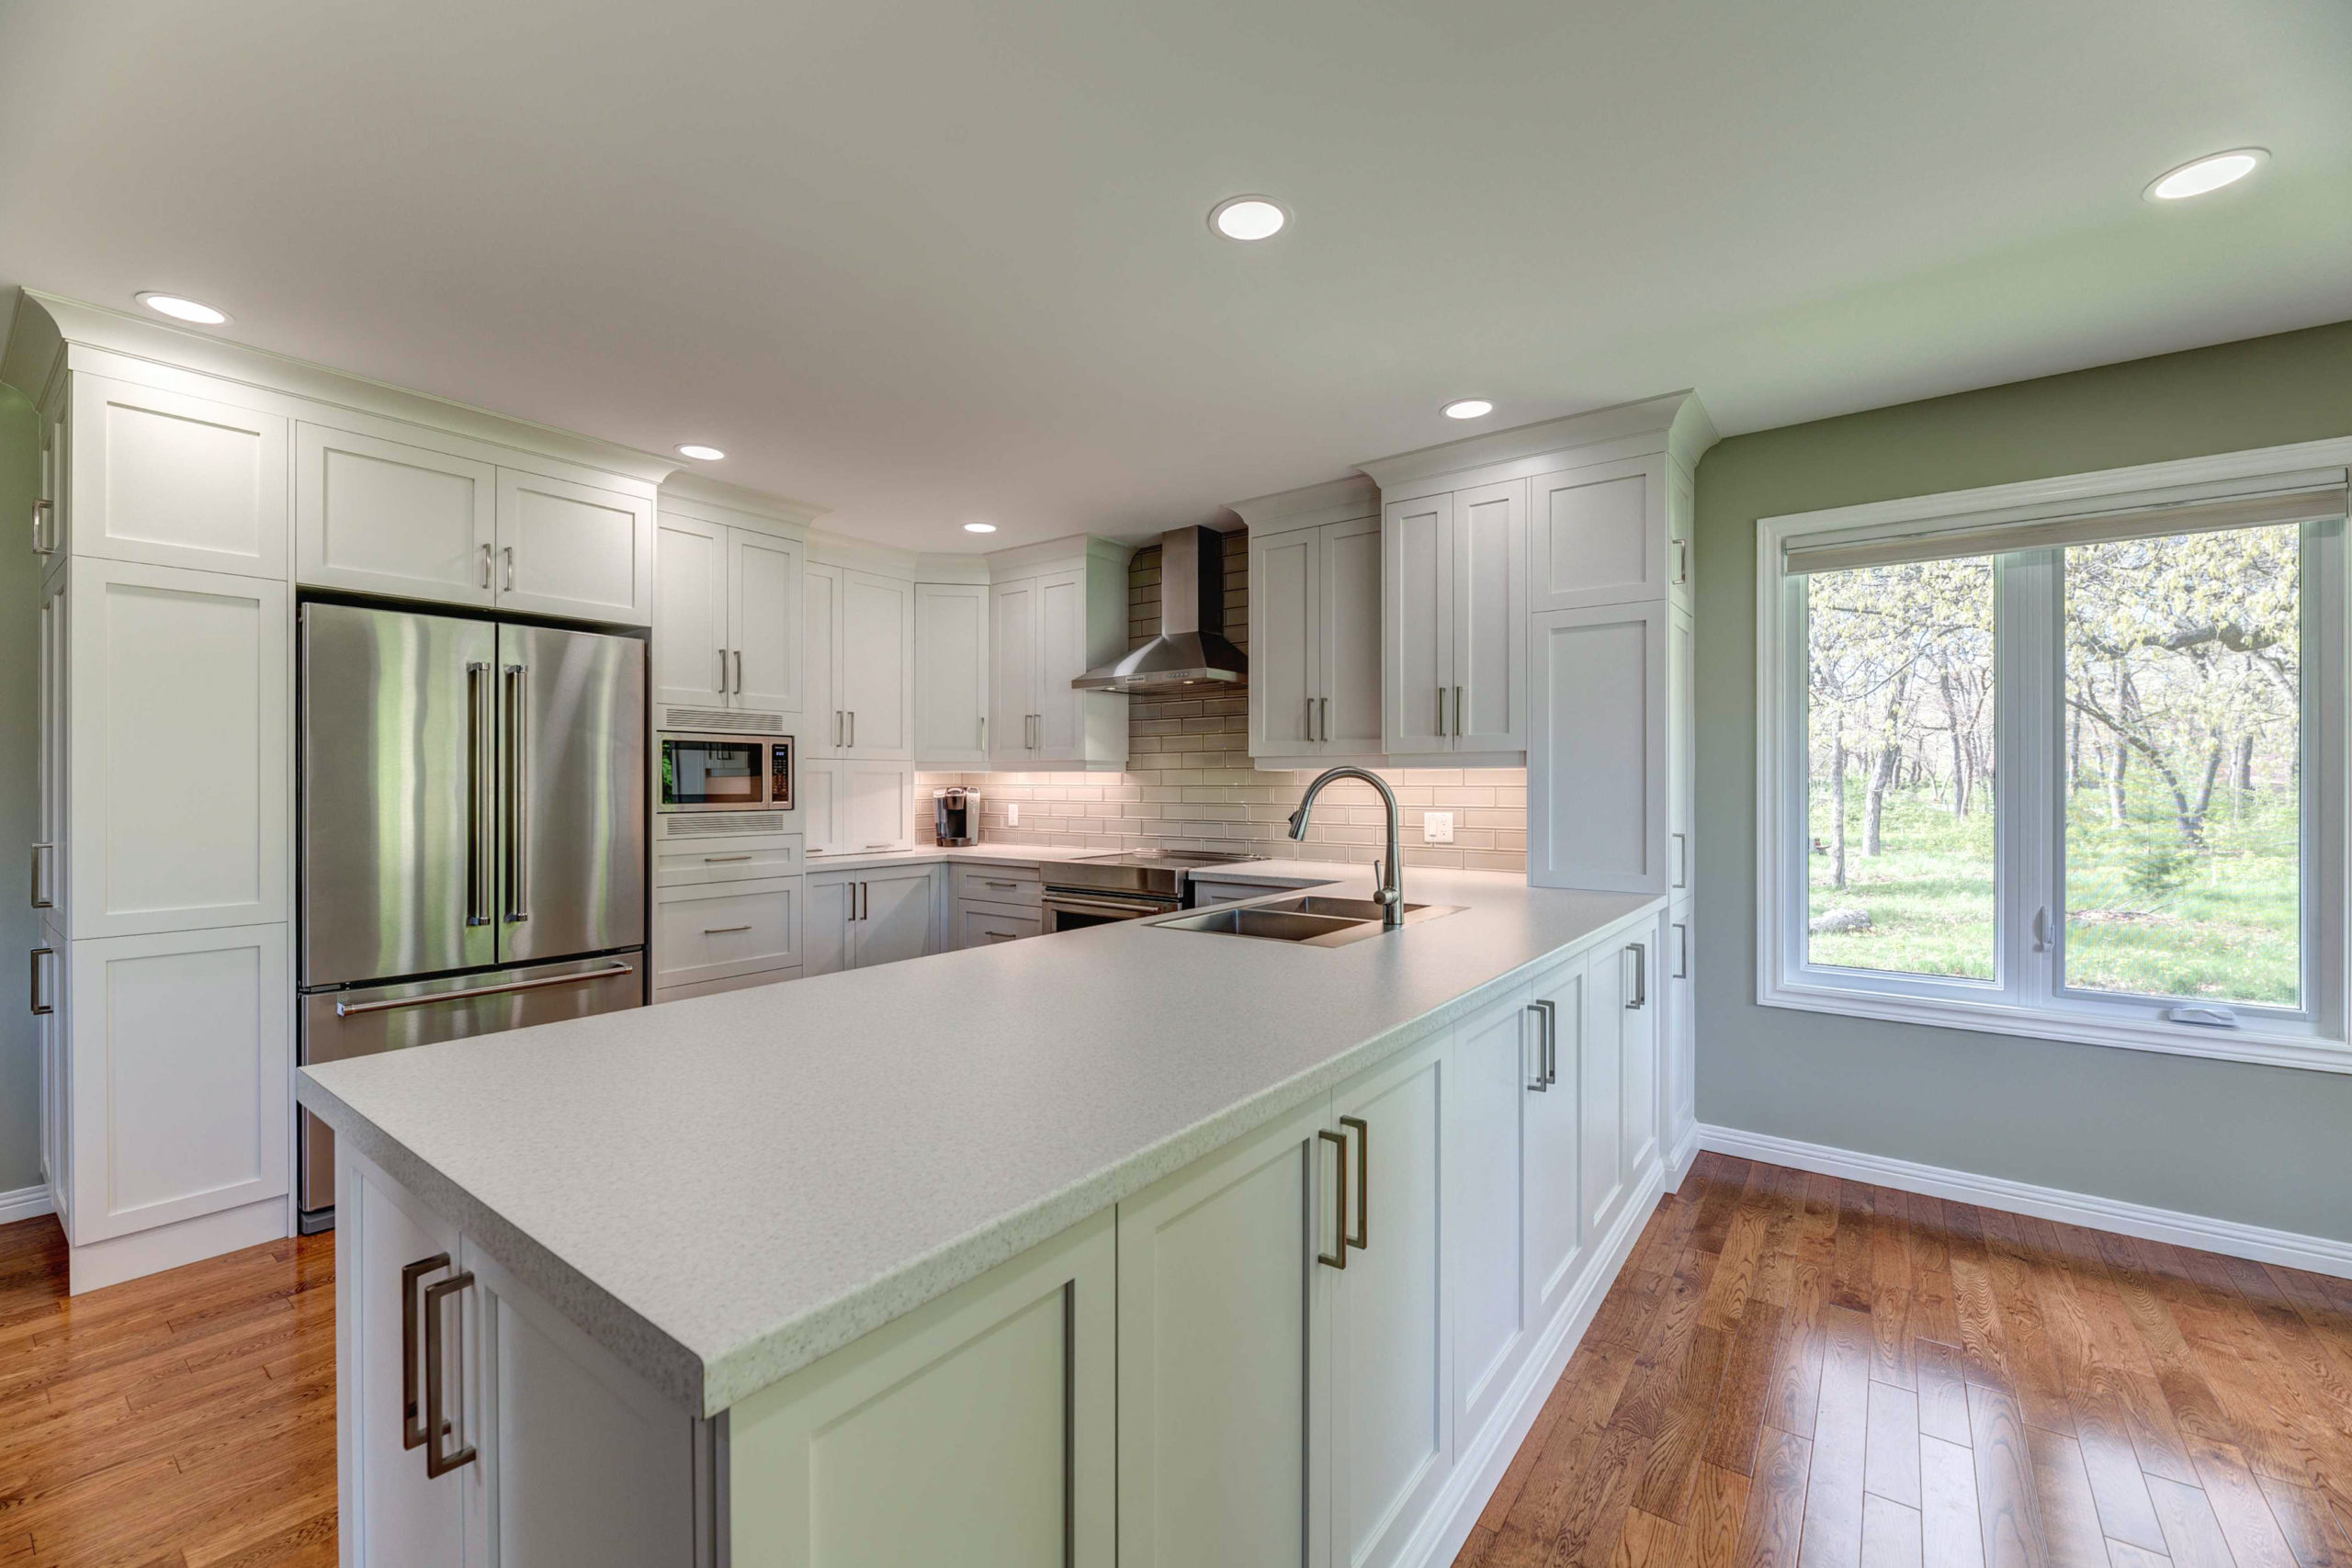
If you're looking to add more lighting to your kitchen peninsula, there are other options to consider. Pendant lights are a popular choice, as they can provide both task lighting and a stylish touch to your kitchen. You can also install recessed lighting above the peninsula or under cabinet lighting for a more subtle effect.
Common Mistakes to Avoid
When installing a kitchen peninsula light, there are a few common mistakes to avoid. One is not turning off the power before beginning work, which can result in electrical shock. Another is not properly measuring and marking the placement of the light fixture, which can lead to an off-center or crooked installation.
Benefits of Installing a Kitchen Peninsula Light

Illuminate Your Space
 A kitchen peninsula light not only adds style and character to your kitchen, but it also serves a practical purpose by providing much-needed illumination to your space. Whether you’re cooking, prepping, or entertaining, having proper lighting in your kitchen can make all the difference. With a peninsula light, you can ensure that every nook and corner of your kitchen is well-lit, making it easier to see and work in.
Enhance the Aesthetics
 In addition to its functional benefits, a kitchen peninsula light can also enhance the aesthetics of your space. With a variety of styles, designs, and finishes available, you can choose a light fixture that complements your kitchen’s design and adds a touch of elegance to your space.
Featured keywords: kitchen peninsula light, aesthetics, light fixture, design, elegance
Create a Focal Point
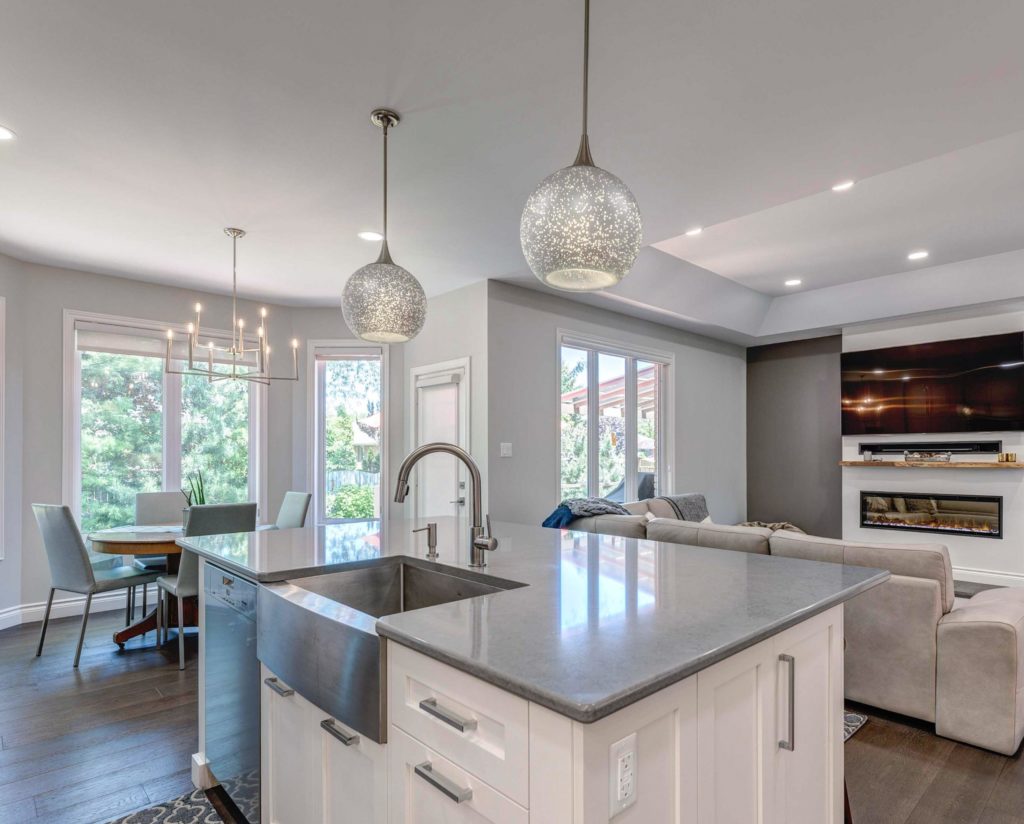 A peninsula light can also serve as a focal point in your kitchen. By installing a statement piece above your kitchen peninsula, you can draw attention to this area and make it a visually appealing space. This can be especially useful if your kitchen has an open floor plan, as it can help define the kitchen area and create a sense of separation from the rest of the space.
Improve Functionality
 For those with a small kitchen or limited counter space, a kitchen peninsula light can be a game-changer. With the right placement, it can provide additional light to your work area and free up valuable counter space. This can be especially useful for those who love to cook and need ample space for food preparation.
Increase Property Value
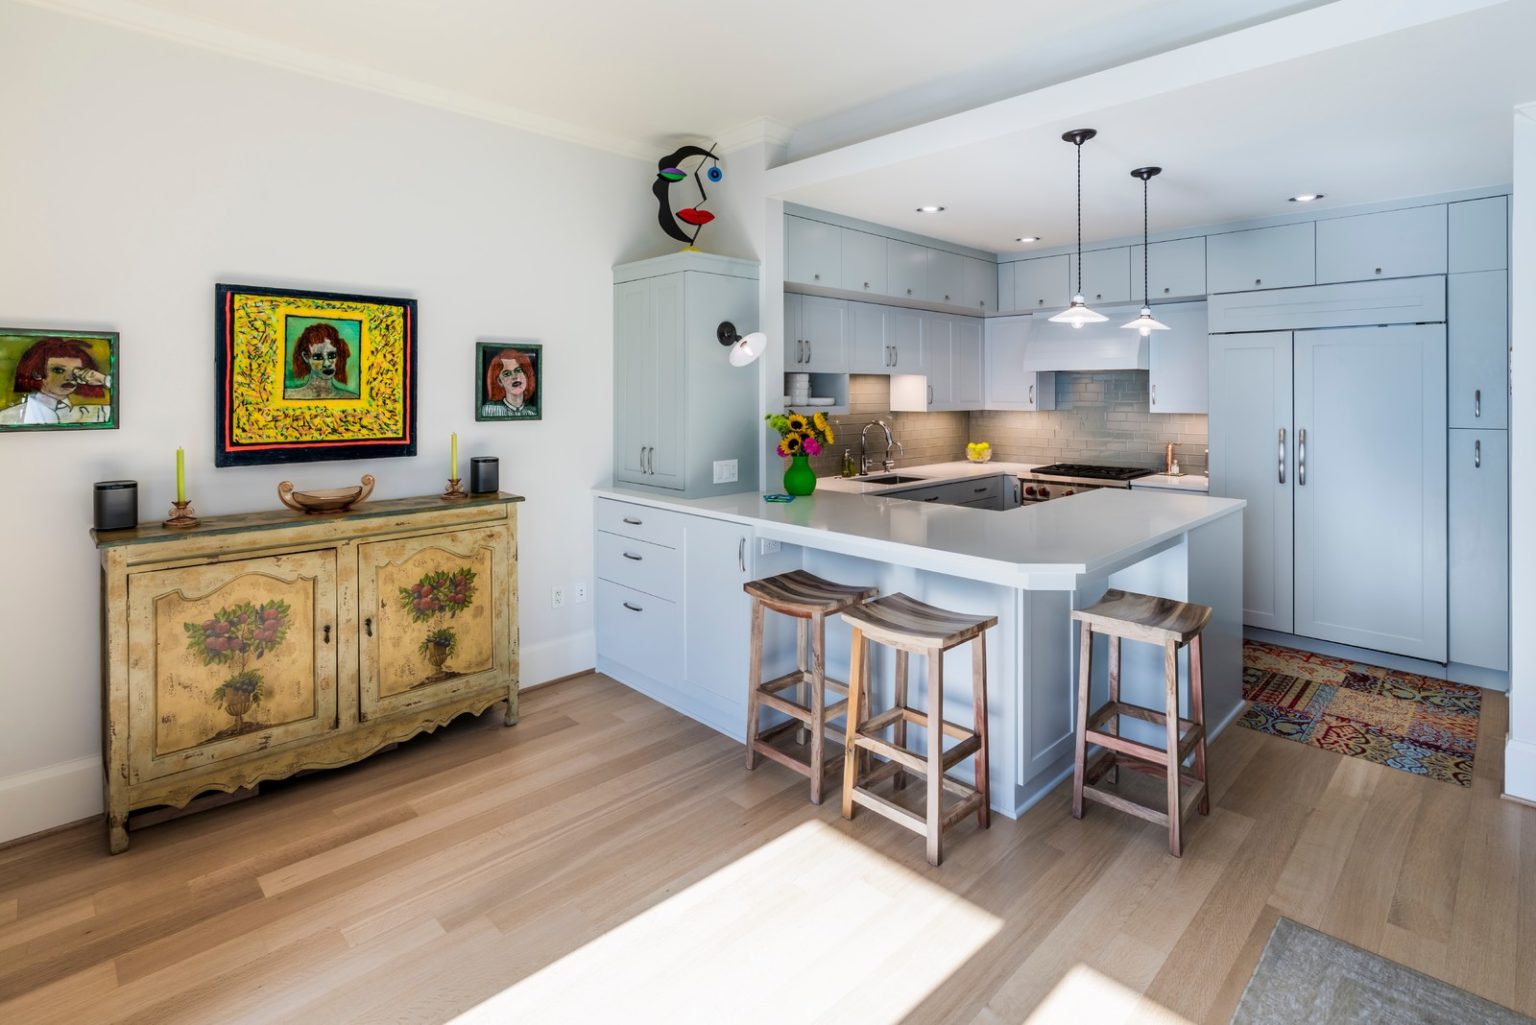 Investing in a kitchen peninsula light can also increase the value of your property. A well-designed and well-lit kitchen is a desirable feature for potential buyers and can make your home stand out in the market. So not only will you get to enjoy the benefits of a peninsula light, but it can also be a smart investment for your home in the long run.
Overall, installing a kitchen peninsula light is a simple yet effective way to elevate the look and functionality of your kitchen. With its practical benefits, aesthetic appeal, and potential to increase property value, it’s a worthwhile addition to any home. So why wait?
Related main keywords: elevate, functionality, aesthetic appeal, potential, addition, home
Install a kitchen peninsula light and see the difference it can make in your space.










:max_bytes(150000):strip_icc()/124326335_188747382870340_3659375709979967481_n-fedf67c7e13944949cad7a359d31292f.jpg)



















:max_bytes(150000):strip_icc()/kitchenrecessedlighting-GettyImages-155383268-dec5caad600541ff81cbdd6d06846c66.jpg)


