If you’ve ever experienced the frustration of waking up to a deflated air mattress, you know how inconvenient and uncomfortable it can be. Air mattress leaks can disrupt a good night’s sleep or ruin your camping trip. But don’t worry, finding and fixing a leak in your air mattress is easier than you think. Follow these simple steps to get your air mattress back to its full, comfortable state. How to Find and Fix a Leak in an Air Mattress
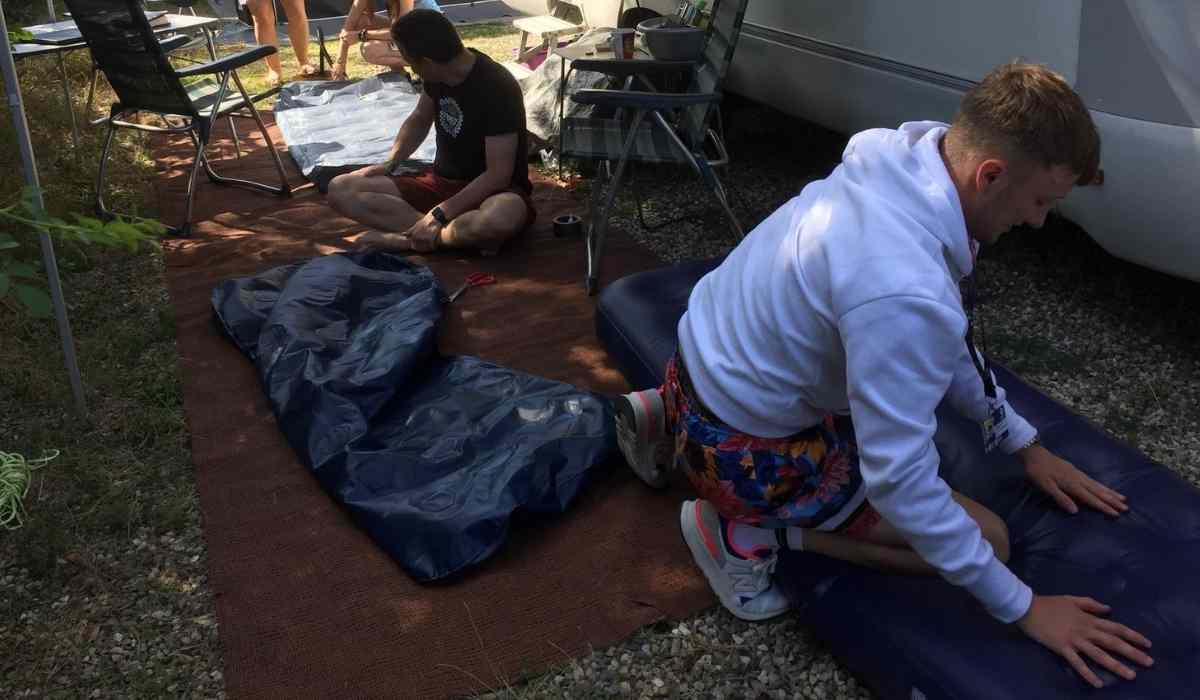
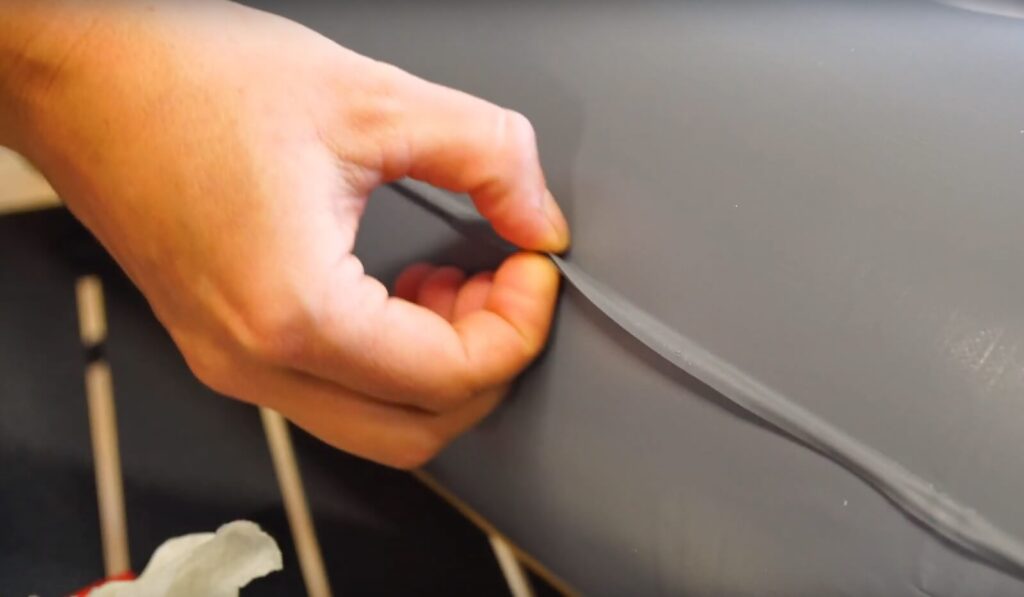
The first step to repairing an air mattress leak is to find the source of the problem. The most common cause of air mattress leaks is small punctures or holes. To locate the leak, inflate your air mattress and listen for a hissing sound or run your hands over the surface to feel for any escaping air. Once you’ve found the leak, it’s time to fix it.How to Repair an Air Mattress Leak
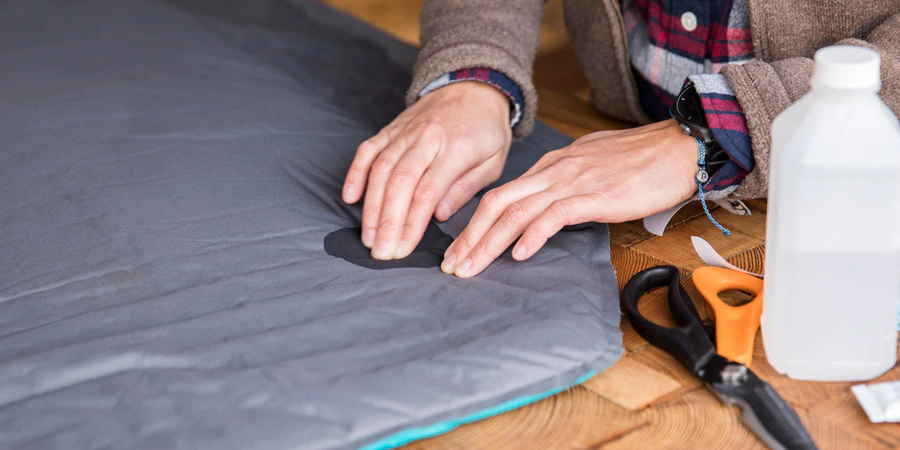
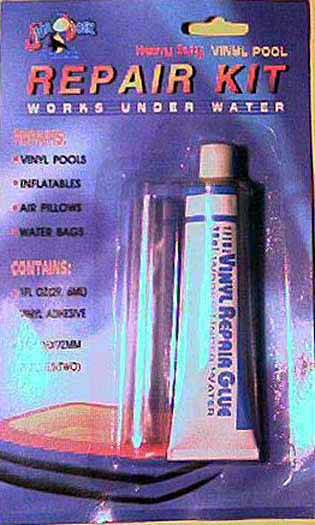
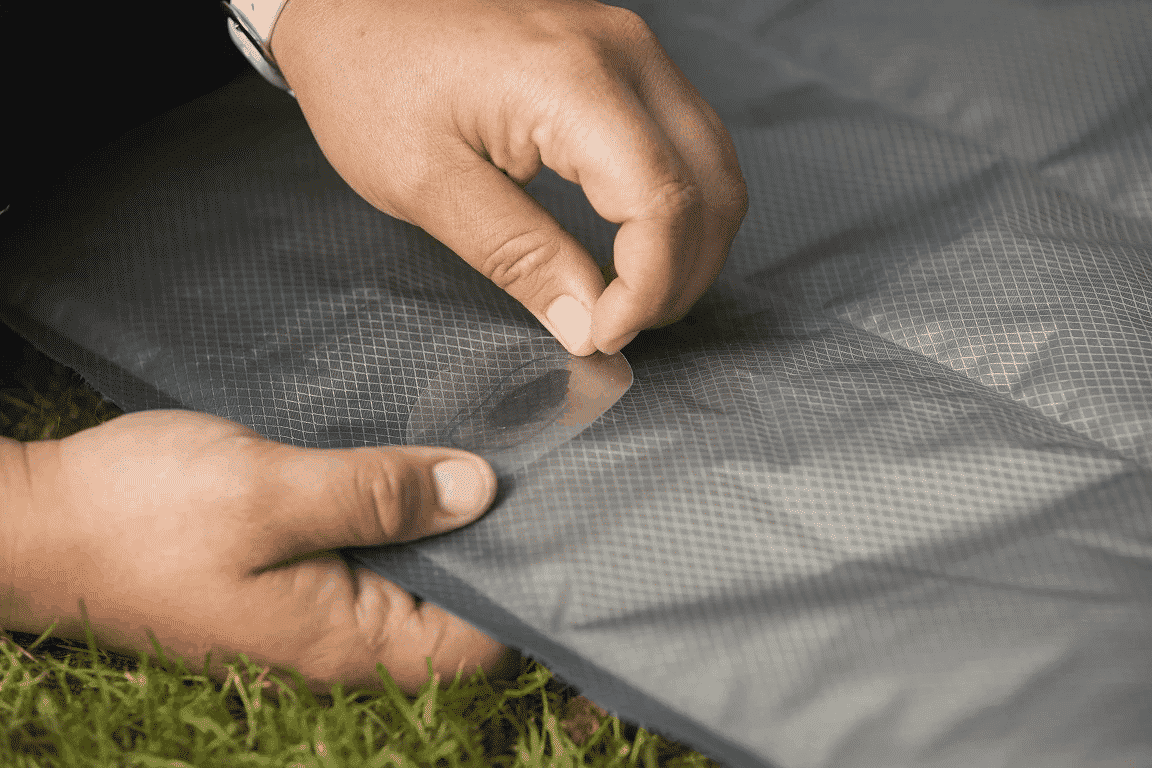
Fixing an air mattress leak is a simple process that can be done in just a few steps. Here’s what you’ll need: Materials: duct tape, patch kit, rubbing alcohol, cotton swab, sandpaper or emery board Step 1: Clean the area around the leak with rubbing alcohol using a cotton swab. This will ensure that the patch adheres properly. Step 2: If the leak is on the surface of the air mattress, lightly sand the area with sandpaper or an emery board to create a rough surface for the patch to stick to. Step 3: Cut a piece of duct tape or patch from your patch kit and place it over the leak, making sure to cover the entire area. Step 4: If using a patch, apply the adhesive to the back and press it firmly onto the leak. Hold it in place for a few minutes to ensure it sticks. Step 5: Let the adhesive dry completely before inflating your air mattress and testing the patch. If the patch holds, your air mattress is ready to use again.5 Easy Steps to Fix an Air Mattress Leak
Air mattress leaks can happen for a variety of reasons, and the key to preventing them is to identify the cause. Here are some common causes of air mattress leaks and how to prevent them: Sharp objects: Avoid placing your air mattress on rough surfaces or near sharp objects that can puncture the material. If using your air mattress outdoors, clear the area of any debris that could potentially damage the mattress. Wear and tear: Over time, the material of your air mattress can become worn, making it more susceptible to leaks. To prevent this, make sure to properly store your air mattress when not in use and avoid overinflating it. Temperature changes: Extreme fluctuations in temperature can cause the air inside your mattress to expand and contract, creating small leaks. To prevent this, try to keep your air mattress at a consistent temperature and avoid exposing it to extreme heat or cold.Common Causes of Air Mattress Leaks and How to Prevent Them
If your air mattress has a larger hole or tear, you may need to use a patch to fix it. Patch kits can be purchased at most camping or outdoor stores and typically come with instructions on how to use them. Here’s a general guide on how to patch an air mattress leak: Step 1: Clean the area around the leak with rubbing alcohol using a cotton swab. Step 2: Cut a patch from the material provided in your patch kit. Make sure it is large enough to cover the entire leak. Step 3: Apply adhesive to the back of the patch and press it firmly onto the leak. Hold it in place for a few minutes to ensure it sticks. Step 4: Let the adhesive dry completely before inflating your air mattress and testing the patch. If the patch holds, your air mattress is ready to use again.How to Patch an Air Mattress Leak
Prevention is always better than having to deal with a leak in your air mattress. Here are our top 10 tips for maintaining your air mattress and preventing leaks: 1. Always read the instructions and follow the manufacturer’s recommendations for inflating and deflating your air mattress. 2. Avoid overinflating your air mattress, as this can put unnecessary strain on the material. 3. Keep your air mattress clean by wiping it down with a damp cloth before and after use. 4. Store your air mattress in a cool, dry place when not in use. 5. Avoid exposing your air mattress to extreme temperatures. 6. Don’t use sharp objects or place your air mattress on rough surfaces. 7. Invest in a good quality air mattress that is made with durable materials. 8. Consider using a mattress protector to add an extra layer of protection against leaks. 9. If using your air mattress for camping, make sure to clear the area of any debris before setting it up. 10. Regularly check your air mattress for any signs of wear and tear and address them immediately.Top 10 Tips for Maintaining Your Air Mattress and Preventing Leaks
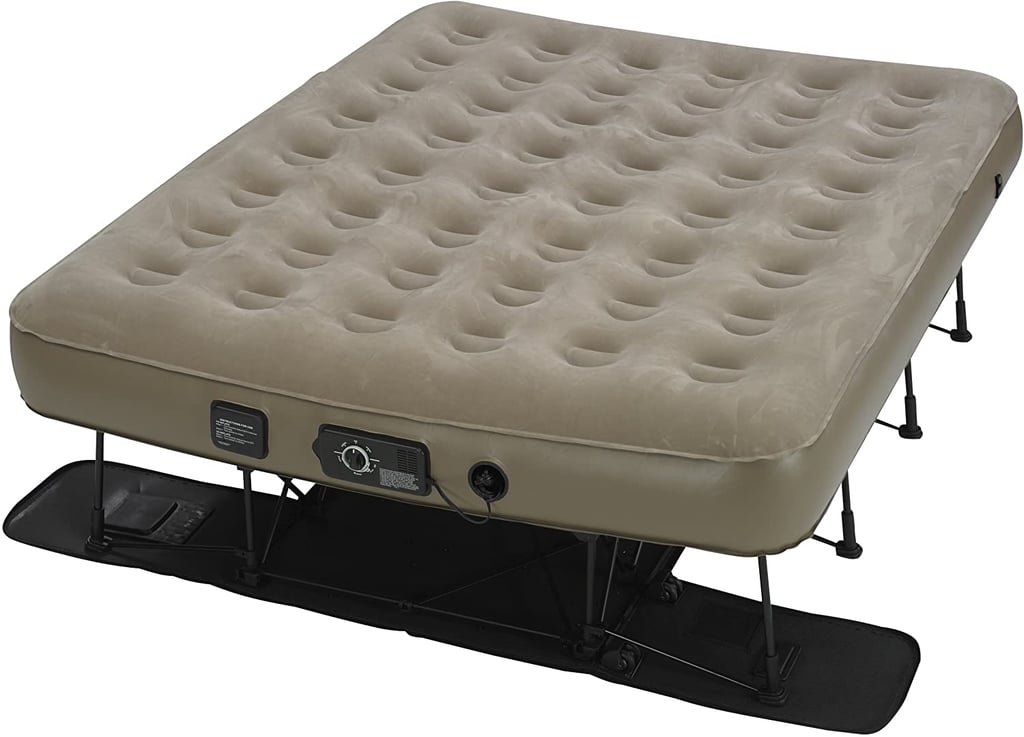
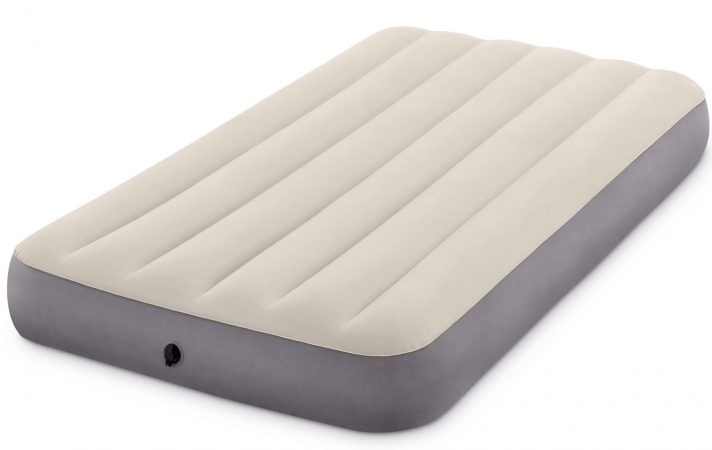
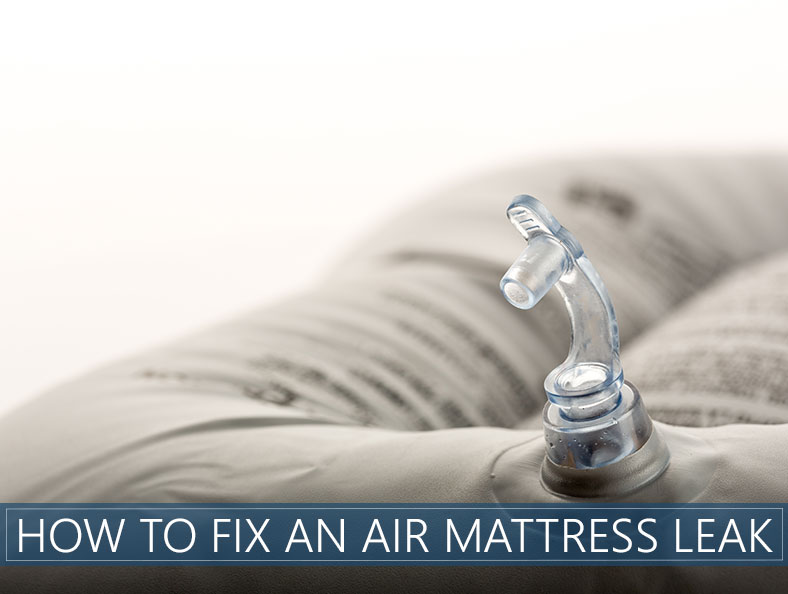
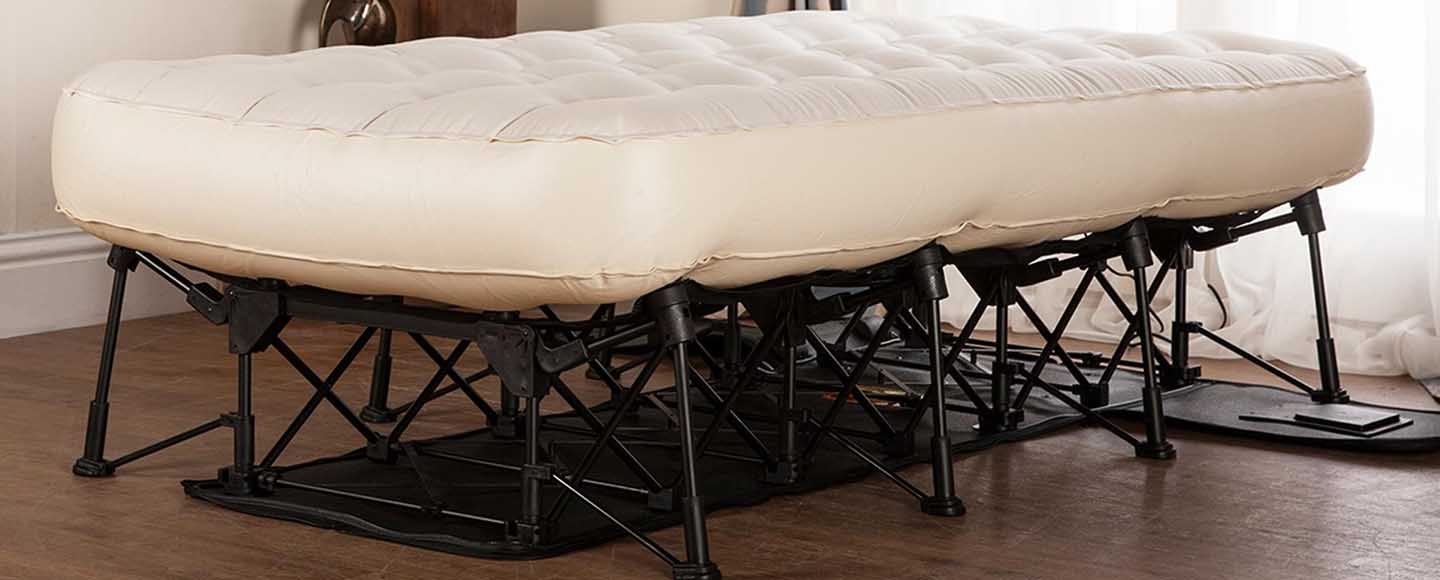
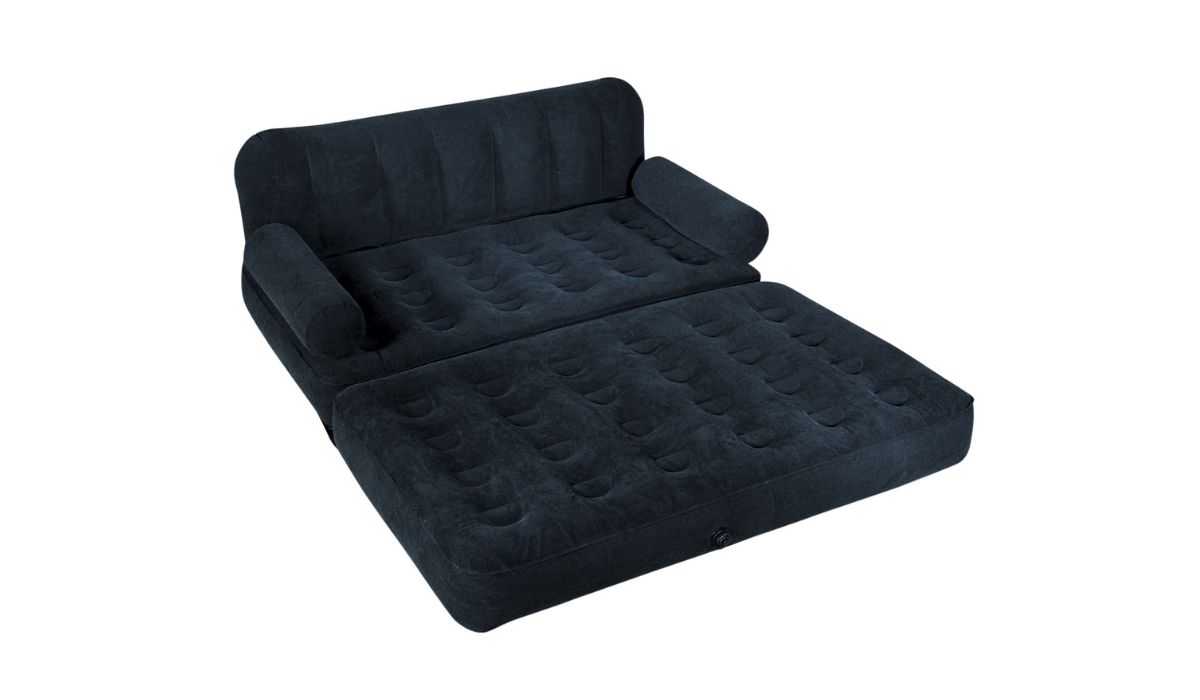
If you have an Insta-Bed air mattress, the process for finding and fixing a leak is slightly different. Insta-Bed air mattresses come with a built-in pump, which means the valve can also be a potential source of leaks. Here’s how to locate and repair a leak in your Insta-Bed air mattress: Step 1: Inflate your air mattress and listen for a hissing sound or run your hands over the surface to feel for any escaping air. Step 2: If you can’t find a leak on the surface, check the valve by wetting it with soapy water and looking for bubbles. If you see bubbles, the valve is faulty and needs to be replaced. Step 3: If the leak is on the surface, follow the steps outlined in our previous sections to repair it. Step 4: If the leak is coming from the valve, you can try tightening it or replacing it with a new one.How to Locate and Repair a Leak in Your Insta-Bed Air Mattress
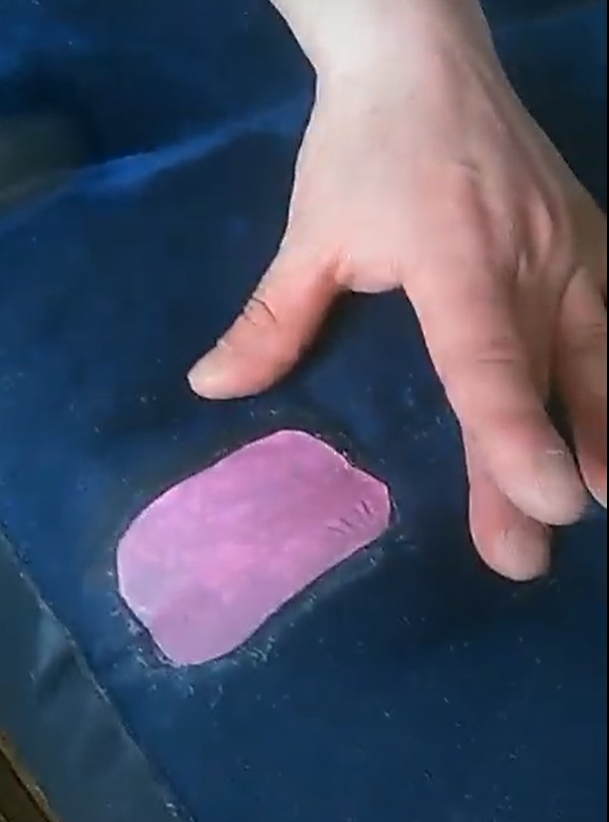
If you’re in a pinch and need a quick fix for an air mattress leak, try these easy solutions: Chewing gum: Chew a piece of gum until it becomes soft and pliable, then use it to cover the leak. Clear nail polish: Apply a small amount of clear nail polish to the leak and let it dry completely before using the mattress. Duct tape: If the leak is on the surface of the air mattress, a piece of duct tape can provide a temporary solution until you can properly repair it.Quick and Easy Solutions for Fixing an Air Mattress Leak
Camping is a great way to enjoy the great outdoors, but it can also be rough on your air mattress. Here are some tips for preventing and fixing air mattress leaks while camping: 1. Choose a campsite with a flat and debris-free surface for your air mattress. 2. Use a tarp or groundsheet under your air mattress to protect it from sharp rocks or sticks. 3. Make sure to properly inflate and deflate your air mattress according to the manufacturer’s instructions. 4. If possible, bring a patch kit or extra duct tape with you in case of emergencies. 5. If your air mattress does get a leak while camping, use one of the quick fix solutions mentioned above until you can properly repair it.How to Prevent and Fix Air Mattress Leaks While Camping
When it comes to repairing an air mattress leak, having the right products can make all the difference. Here are some of the best products for fixing air mattress leaks: Patch kits: Patch kits specifically designed for air mattresses are readily available at most camping or outdoor stores and come with everything you need to fix a leak. Duct tape: A roll of duct tape is a must-have for any camping trip and can also be used to temporarily fix an air mattress leak. Nail polish: Clear nail polish can be a quick and easy solution for small leaks on the surface of your air mattress. Chewing gum: As strange as it may sound, chewing gum can also provide a temporary fix for air mattress leaks.The Best Products for Repairing an Air Mattress Leak
The Importance of a Comfortable and Durable Mattress
Providing Quality Sleep for a Healthy Lifestyle
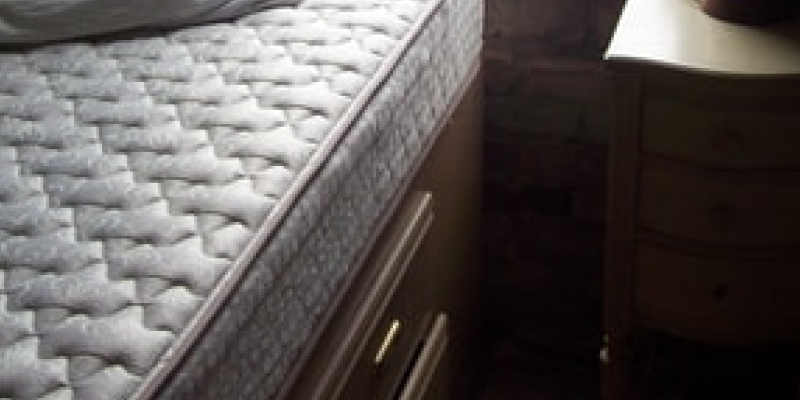
 A good night's sleep is essential for our overall health and wellbeing. It not only rejuvenates our bodies but also helps improve our mental and emotional state. That's why investing in a high-quality mattress is crucial for a comfortable and restful sleep. However, even the best mattresses can develop leaks over time, causing discomfort and disrupting our sleep. This is where the
insta bed air mattress leak
becomes a common concern for many homeowners.
The Hassle of Dealing with a Leaky Air Mattress
The Solution: insta bed Air Mattress
 Fortunately, the insta bed air mattress offers a reliable solution to this common problem. Known for its durable construction and innovative technology, this air mattress is designed to withstand the wear and tear of regular use. Its puncture-resistant material and reinforced seams make it less susceptible to leaks, providing you with a long-lasting and comfortable sleep surface.
Moreover, the insta bed air mattress comes with a built-in pump, making it easy to inflate and deflate. This eliminates the need for an external pump, reducing the risk of damaging the mattress while setting it up. Plus, its user-friendly design allows you to adjust the firmness level according to your preference, ensuring a personalized sleeping experience.
Ensuring Peace of Mind with insta bed Warranty
 The insta bed air mattress also comes with a one-year warranty, providing customers with peace of mind. In case of any manufacturing defects or issues, the company offers a replacement or repair service, making it a worthwhile investment. With the insta bed air mattress, you can rest assured that you will have a comfortable and reliable sleeping surface for years to come.
In conclusion, a comfortable and durable mattress is crucial for a good night's sleep. The
insta bed air mattress leak
is a common concern for households, but with the insta bed air mattress, this issue is easily resolved. Its quality construction, built-in pump, and warranty make it a top choice for those looking for a comfortable and hassle-free sleeping experience. Don't let a leaky air mattress disrupt your sleep anymore, invest in an insta bed air mattress today and enjoy a peaceful night's rest.




















.png)


