IKEA Bathroom Sink Plumbing Installation Guide
Are you looking to update your bathroom with a sleek and modern sink? Look no further than IKEA. Their wide range of affordable and stylish bathroom sinks makes it a popular choice for homeowners. But before you can enjoy your new sink, you'll need to install it. If you're feeling intimidated by the thought of plumbing, don't worry. We've created a step-by-step guide for installing an IKEA bathroom sink.
How to Install an IKEA Bathroom Sink
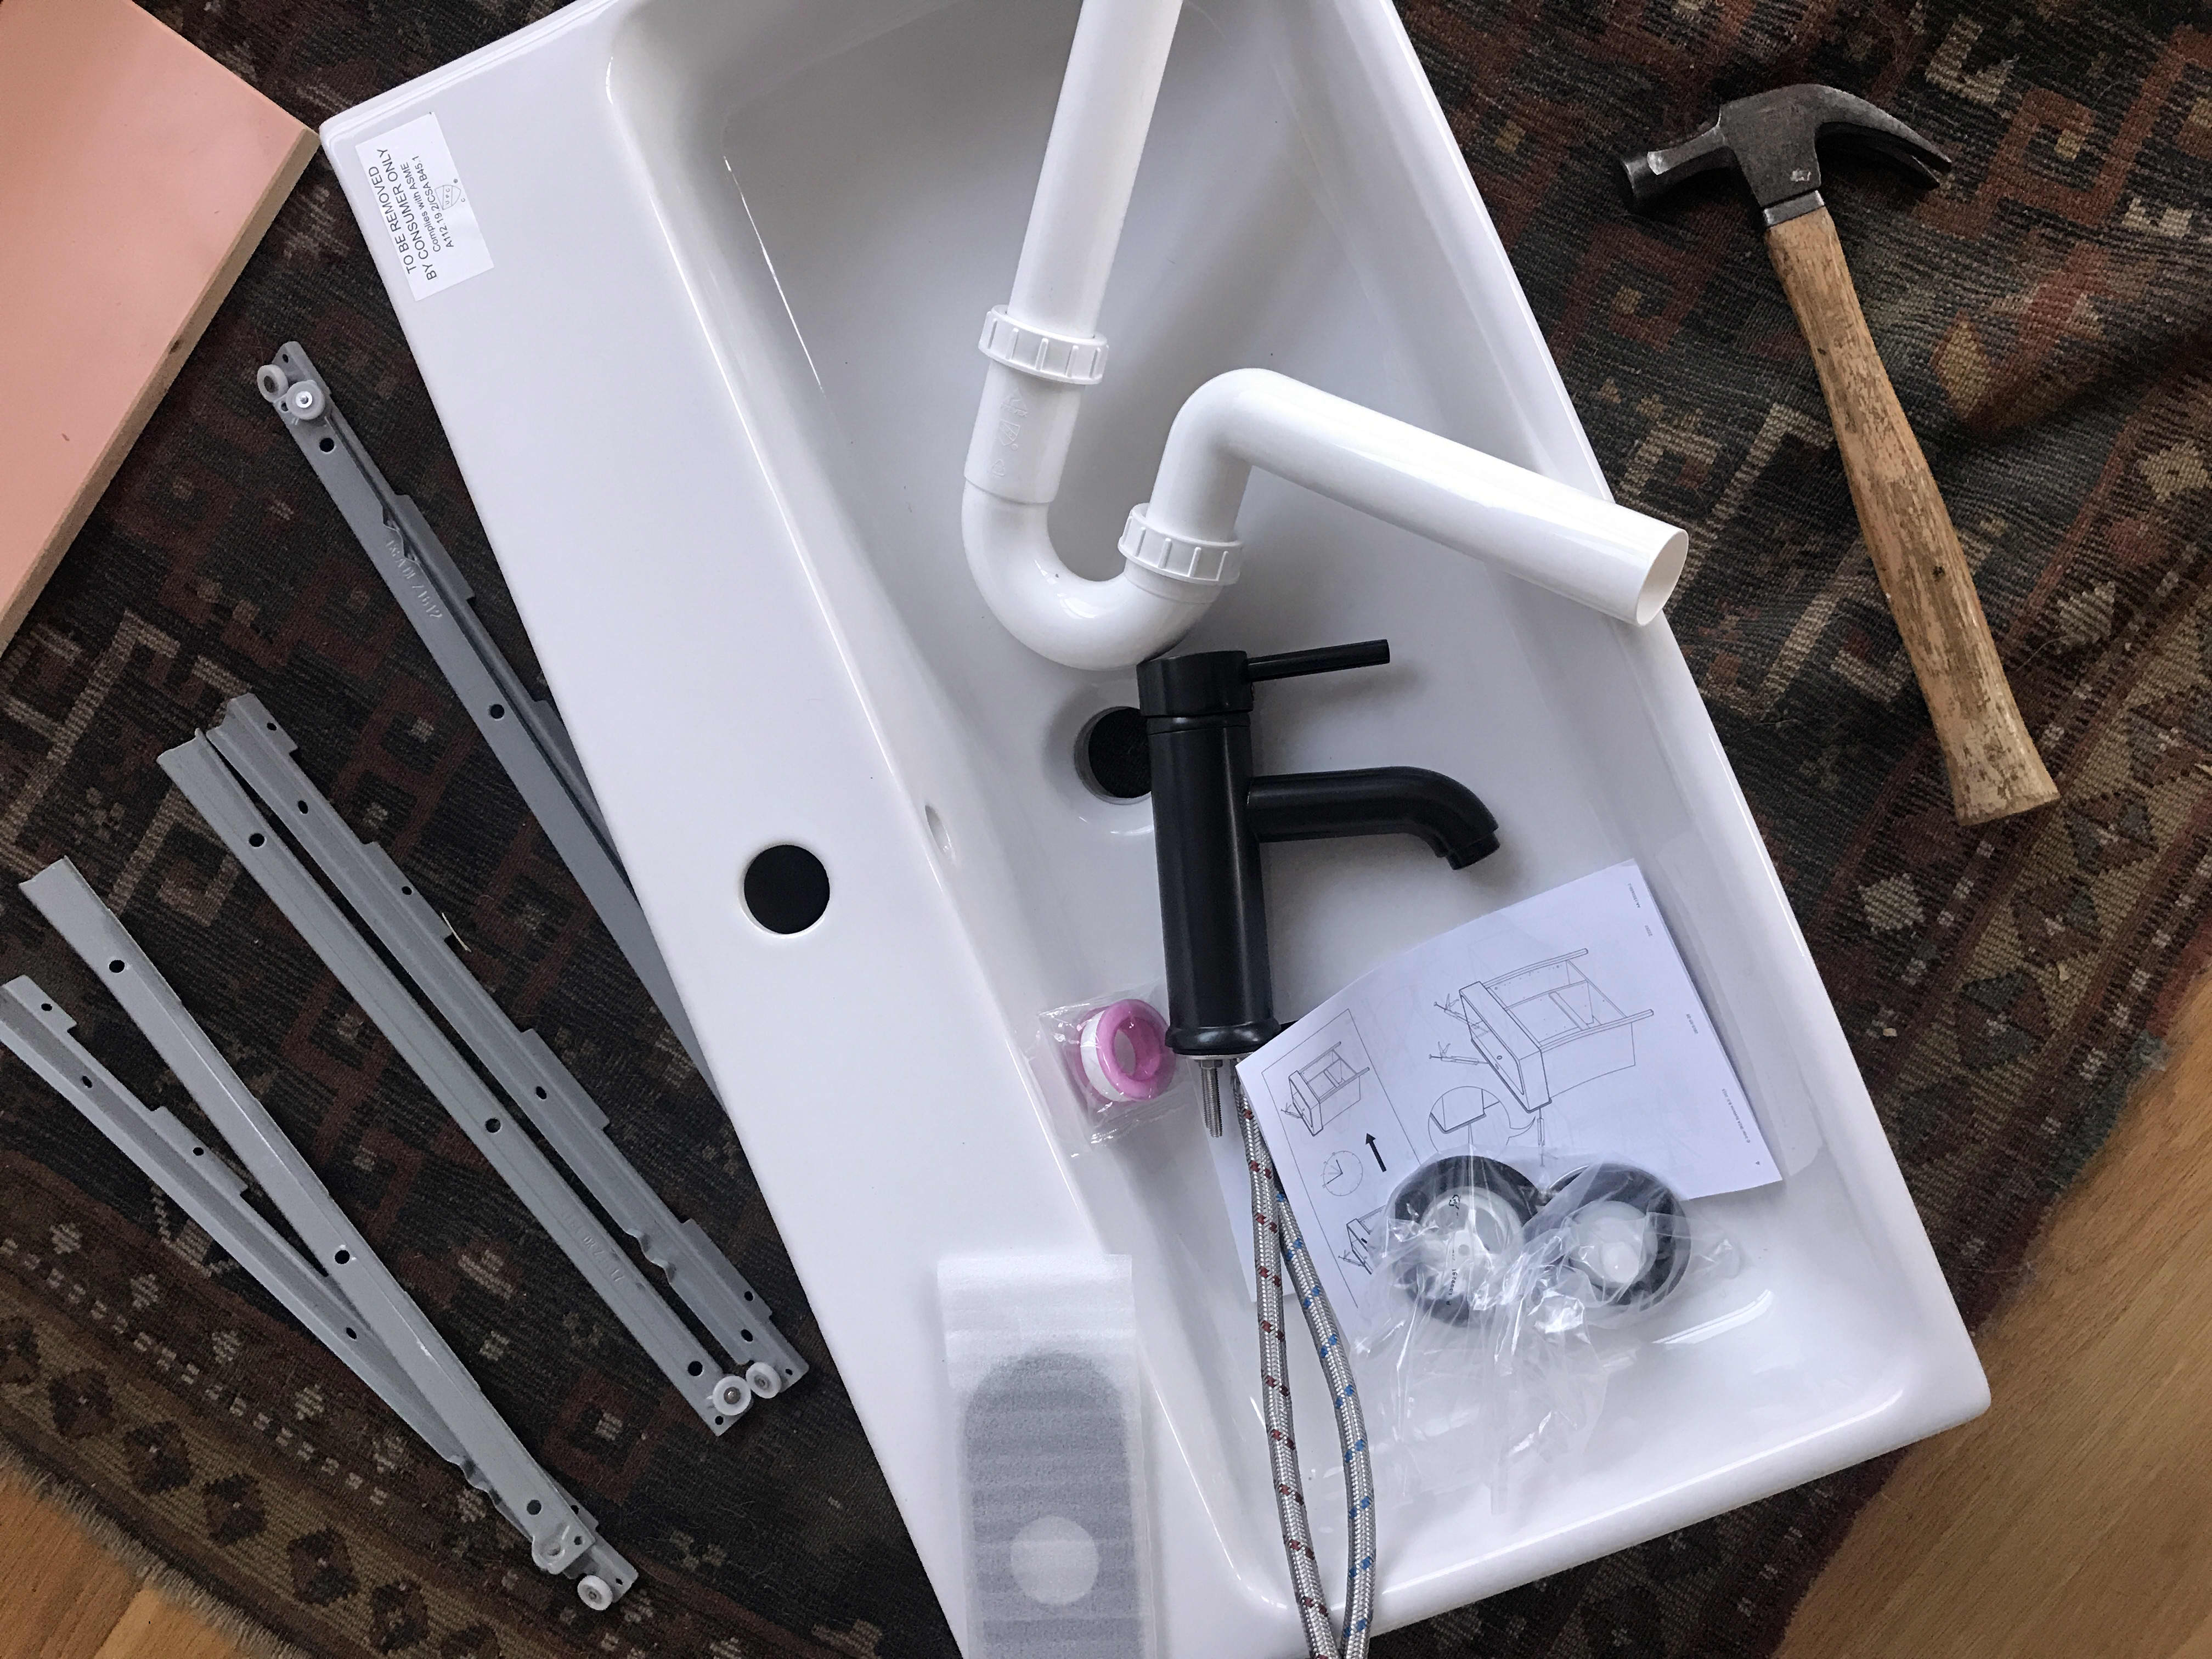
Installing an IKEA bathroom sink may seem like a daunting task, but with the right tools and a little bit of patience, it's actually quite simple. Before you start, make sure you have all the necessary tools and parts. You'll need a wrench, adjustable pliers, plumber's tape, and a screwdriver. You'll also need the sink and faucet, which can be purchased separately or as a set.
Step-by-Step Guide for Installing an IKEA Bathroom Sink
Step 1: Turn off the water supply. Before you start any plumbing work, always turn off the water supply to the area you'll be working on. This will prevent any accidents or leaks.
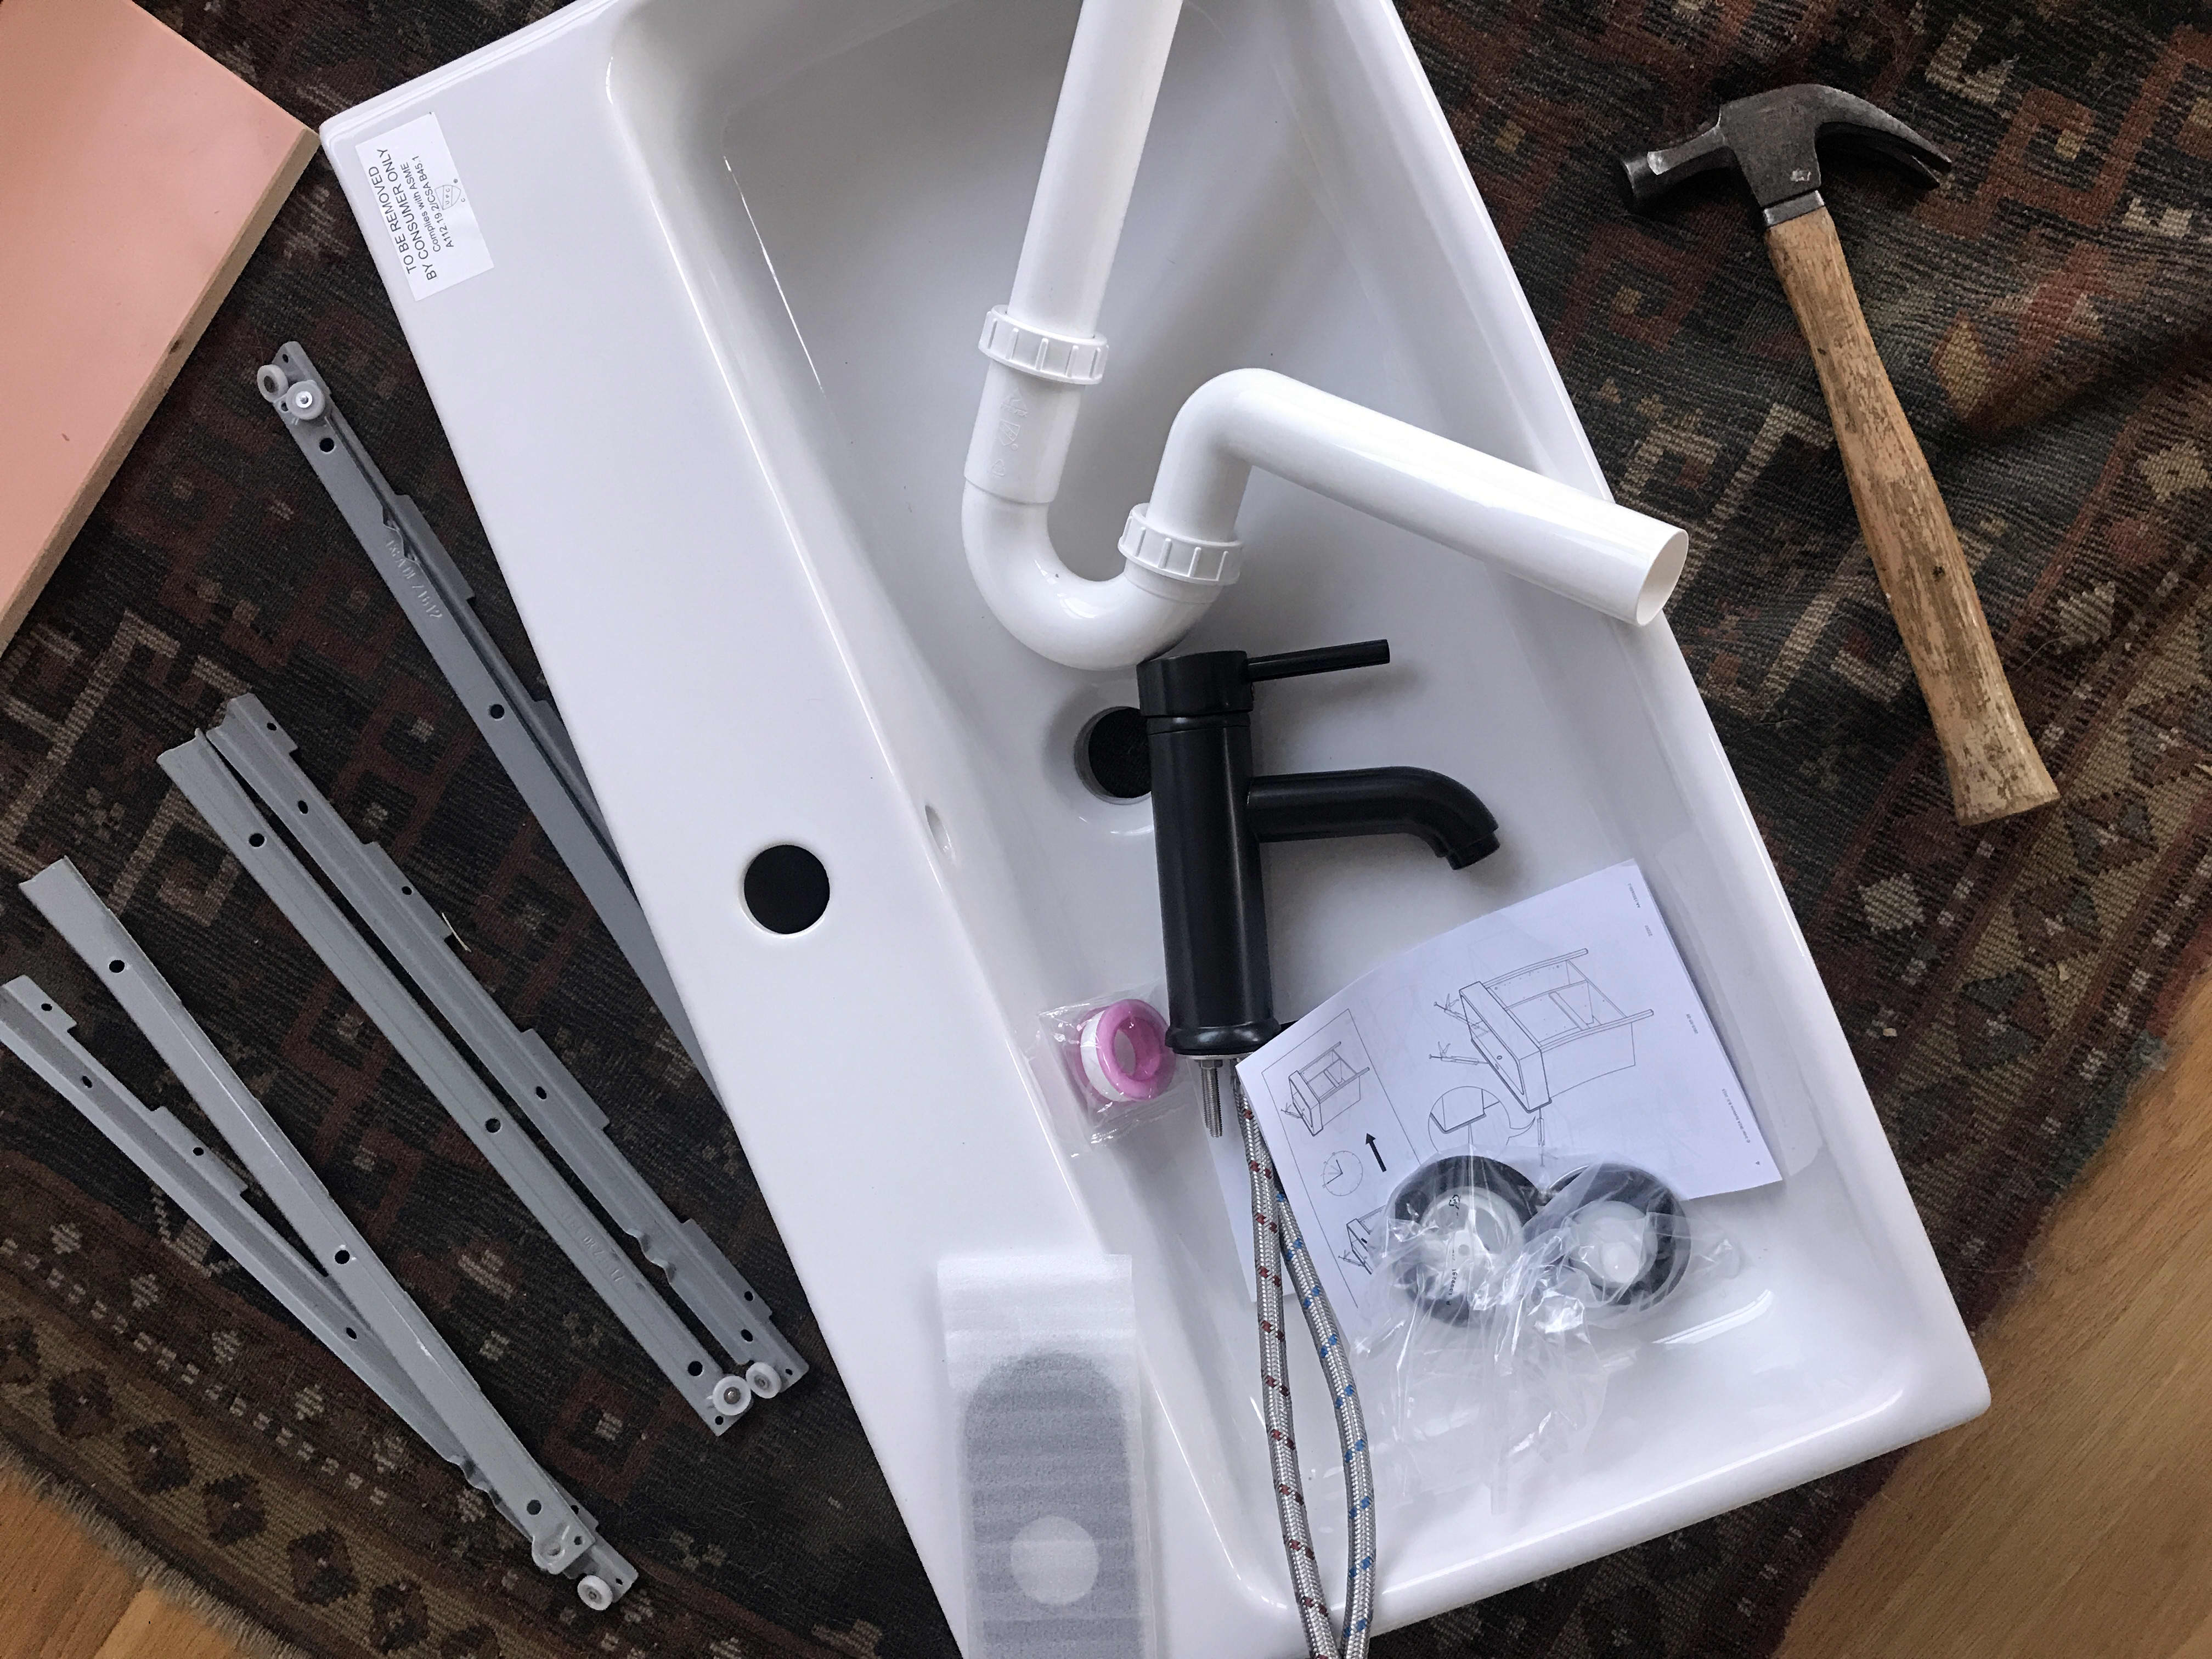
Step 2: Assemble the sink. Follow the instructions provided by IKEA to assemble the sink. Make sure all components are properly attached and secure.
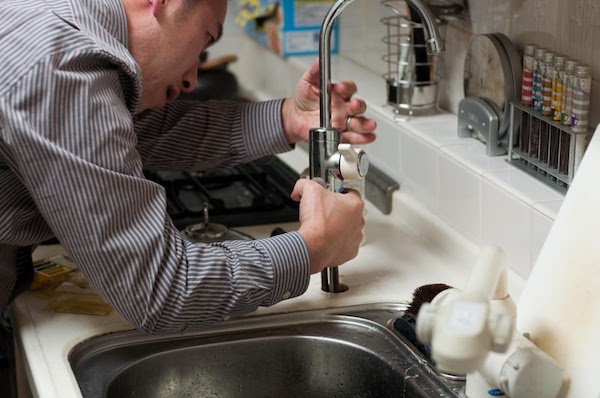
Step 3: Install the faucet. Using the wrench and pliers, attach the faucet to the sink. Make sure it is centered and tightened properly.
Step 4: Attach the drain. Apply plumber's tape to the threads of the drain to create a tight seal. Then, attach the drain to the sink and tighten with the pliers.
Step 5: Install the sink. Carefully place the sink on top of the vanity or countertop. Make sure it is level and centered.
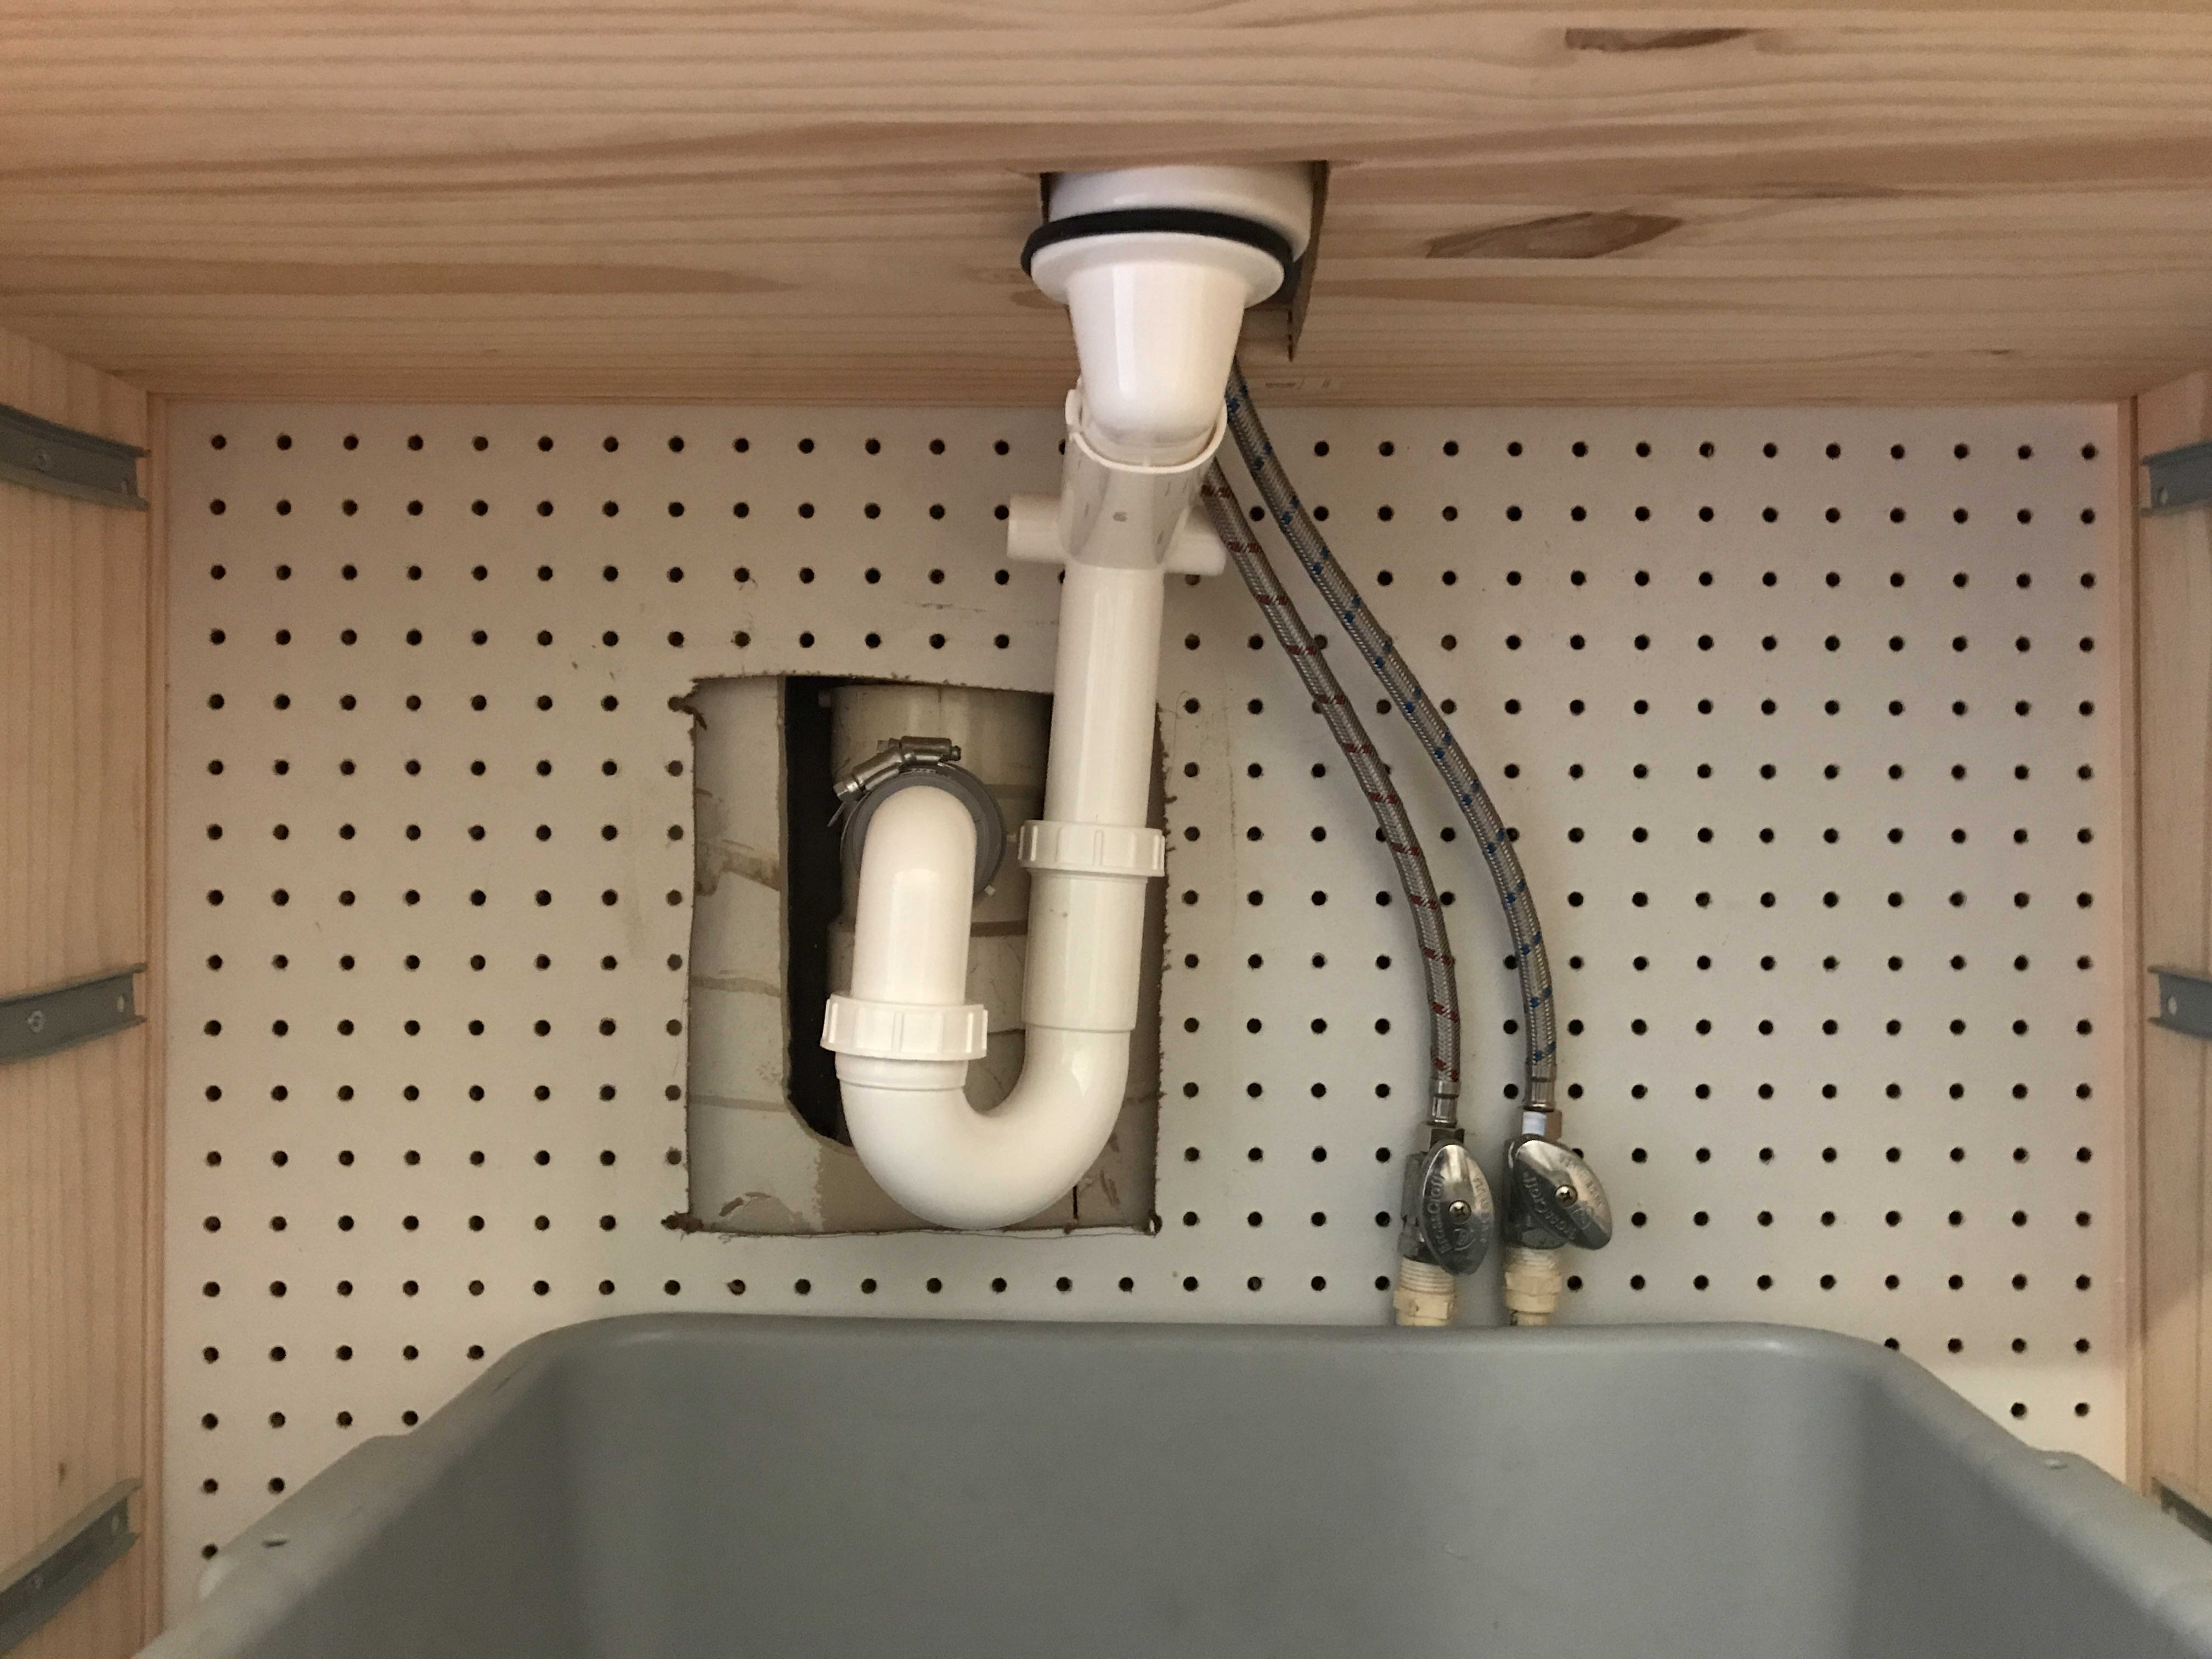
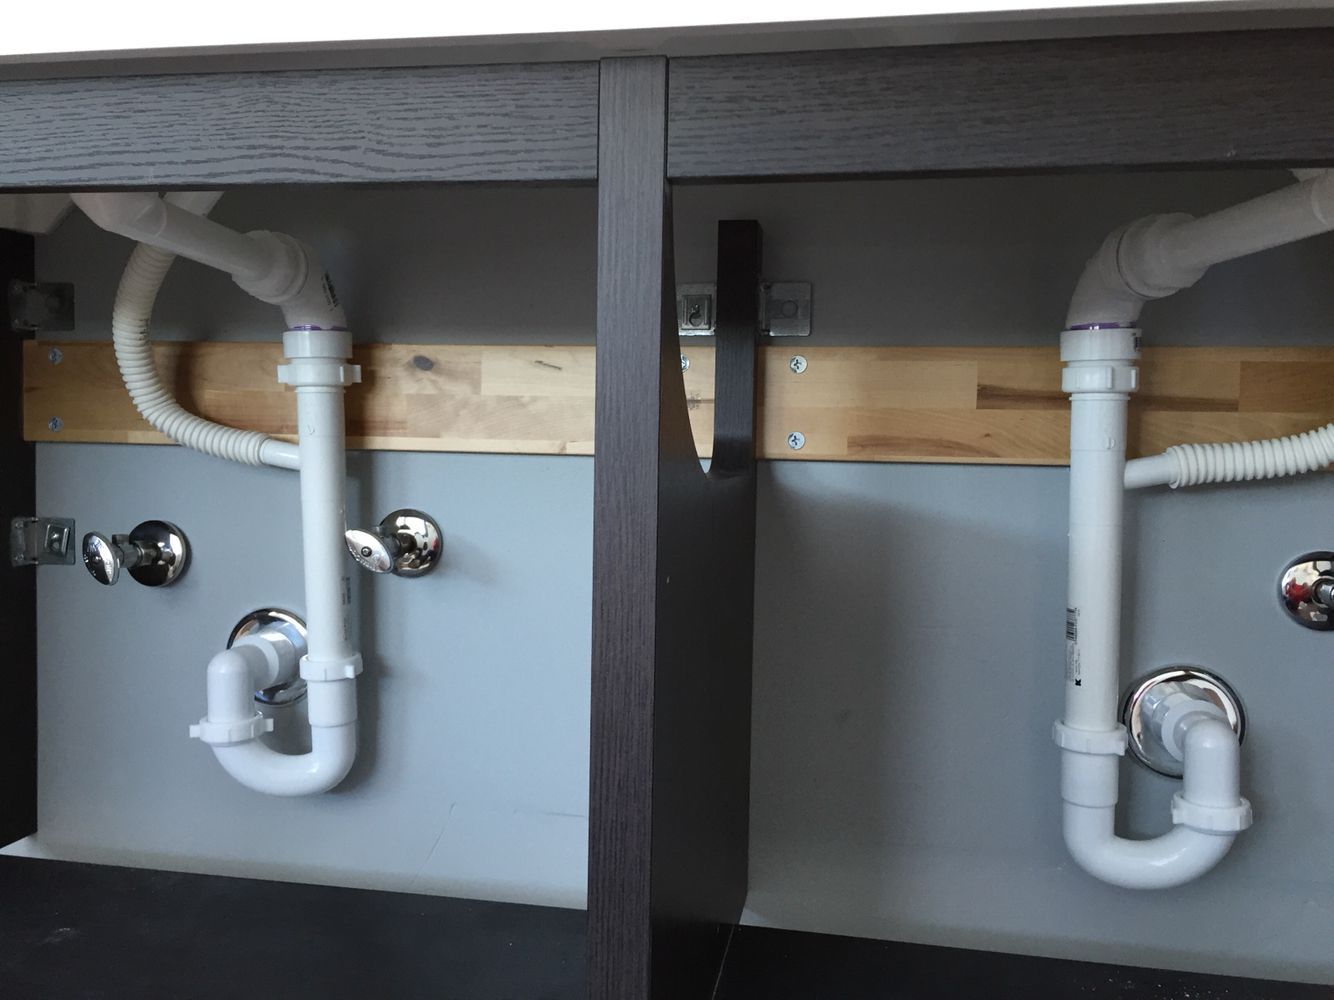
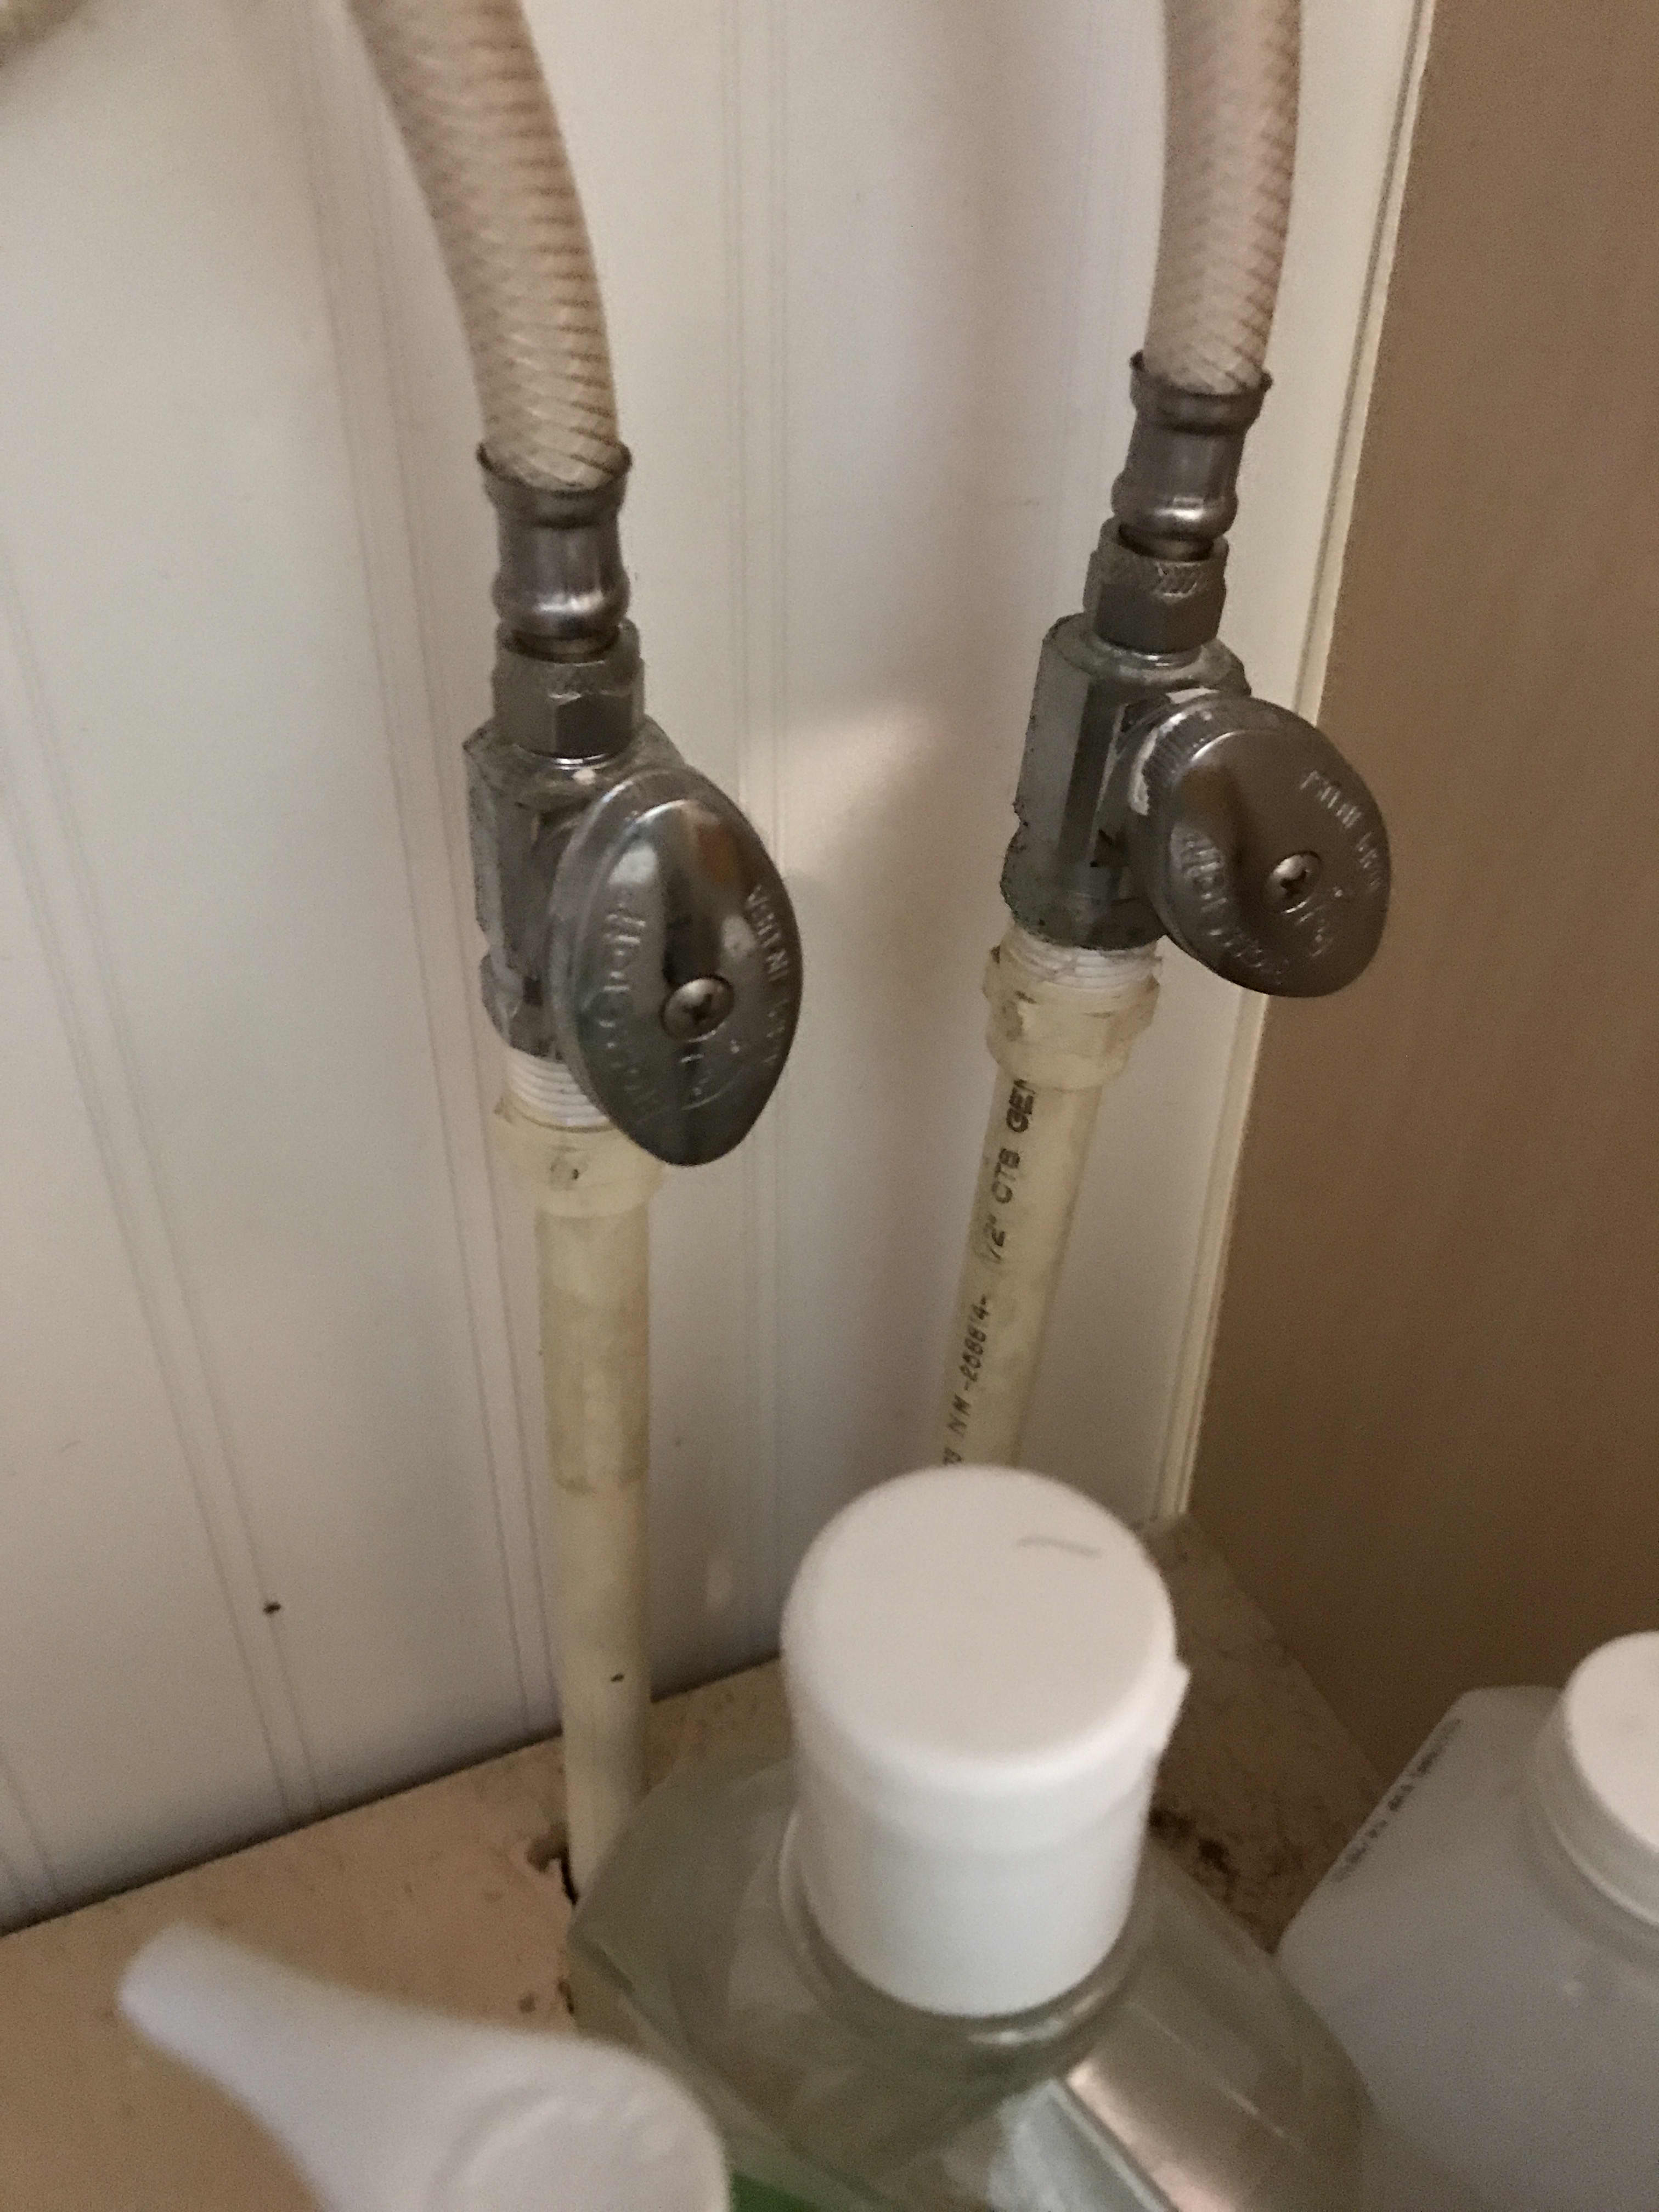
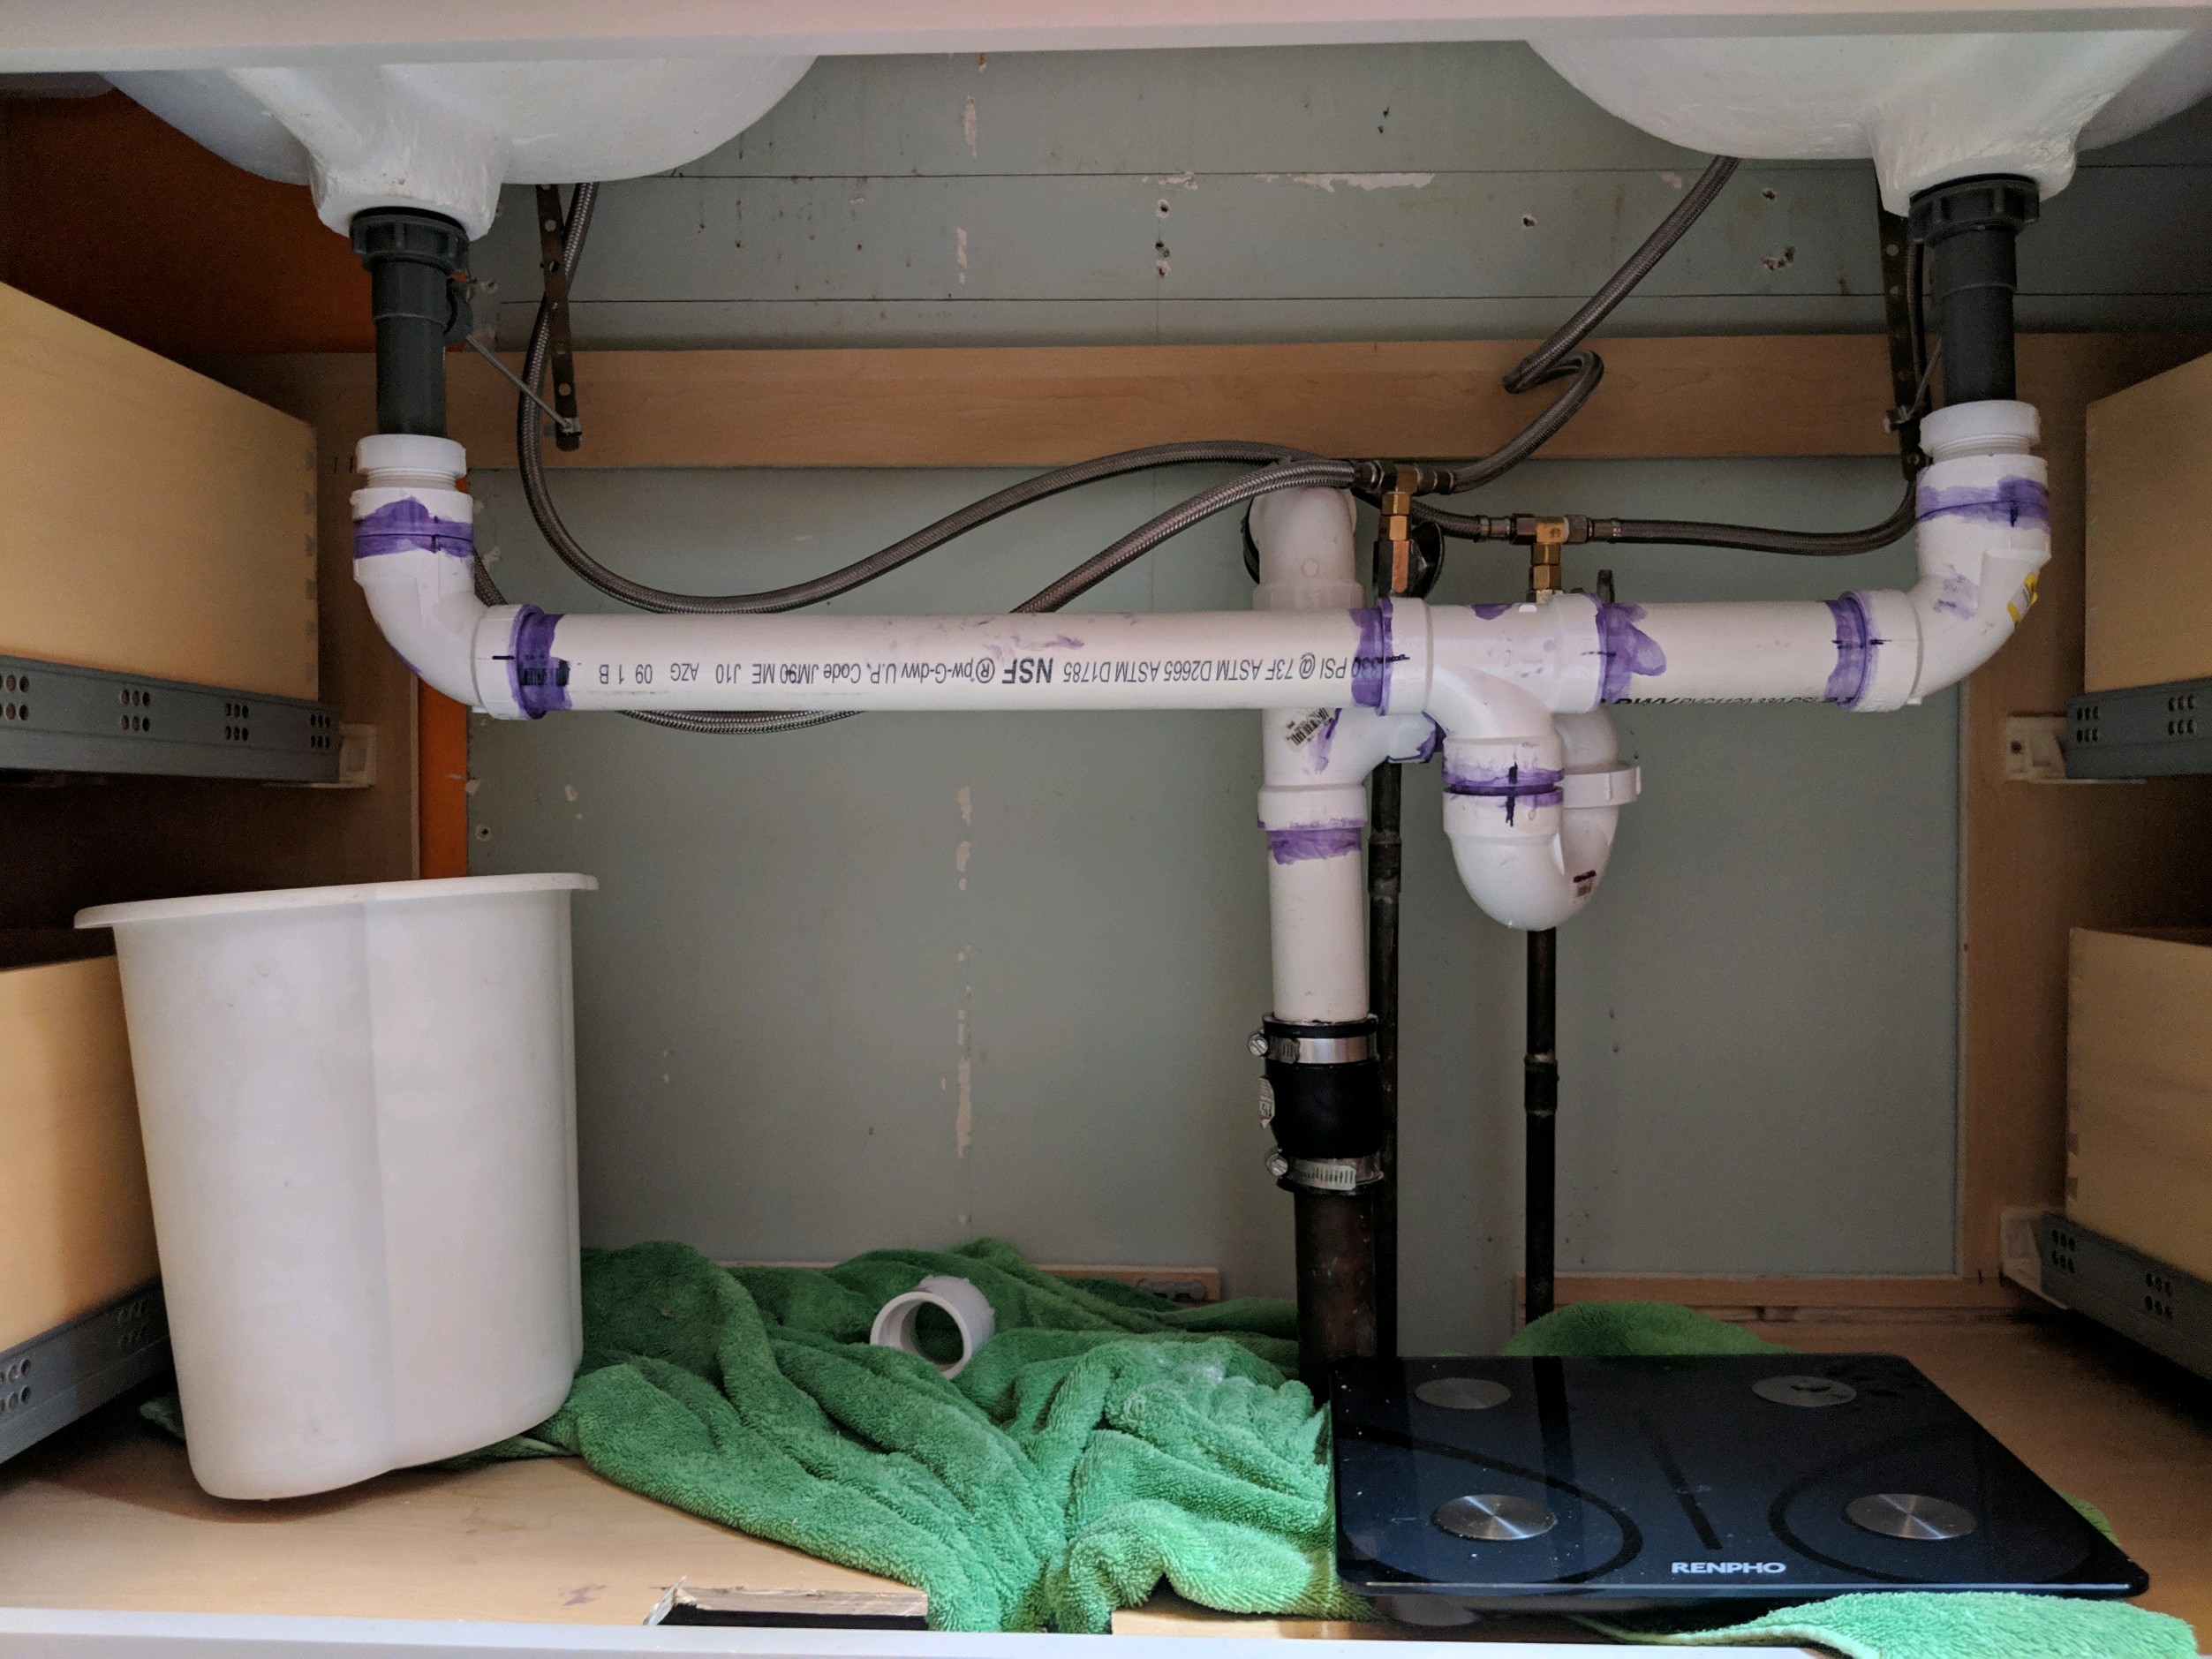
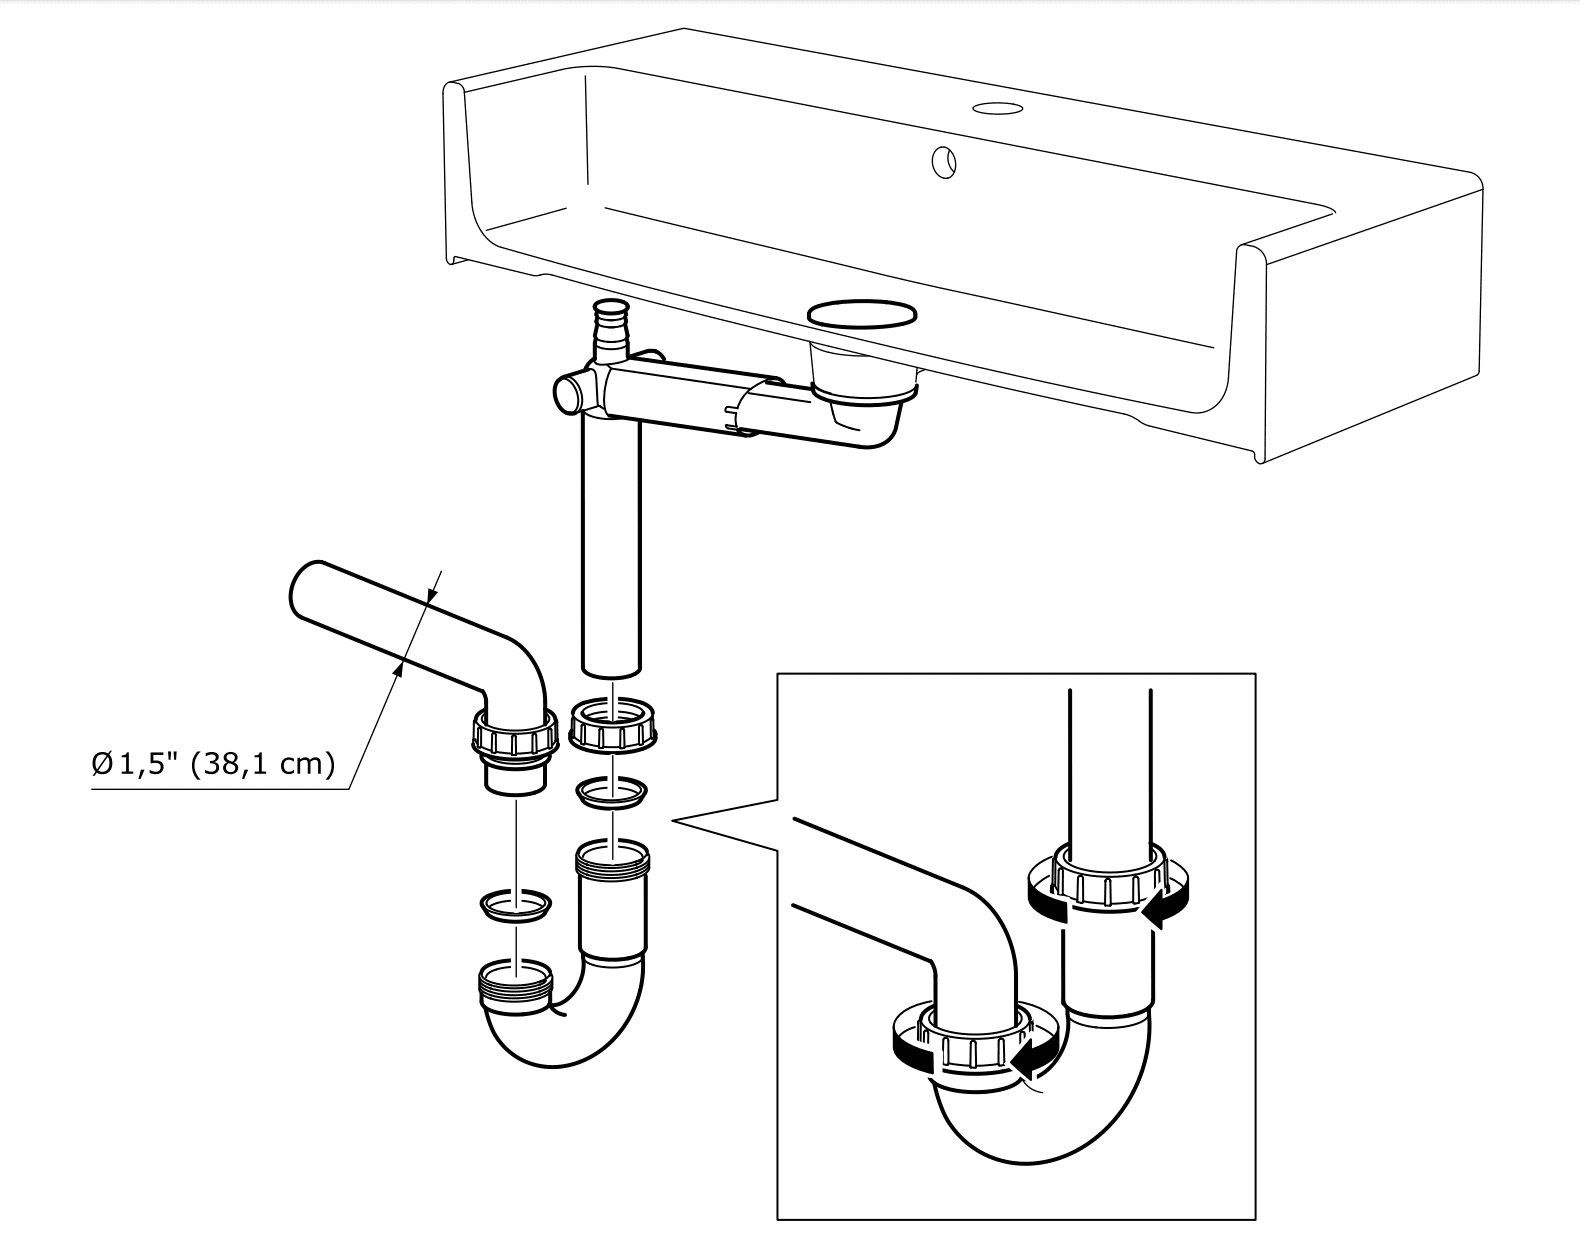
Step 6: Connect the plumbing. Using the adjustable pliers, connect the hot and cold water supply lines to the faucet. Then, connect the drain pipe to the sink drain.
Step 7: Turn on the water supply. Turn the water supply back on and check for any leaks. If everything looks good, you're all set!
Tips for Installing an IKEA Bathroom Sink Plumbing
Tip 1: Measure twice. Before you start, make sure to measure the space where you'll be installing the sink. This will ensure that you purchase the correct size and avoid any unnecessary headaches.
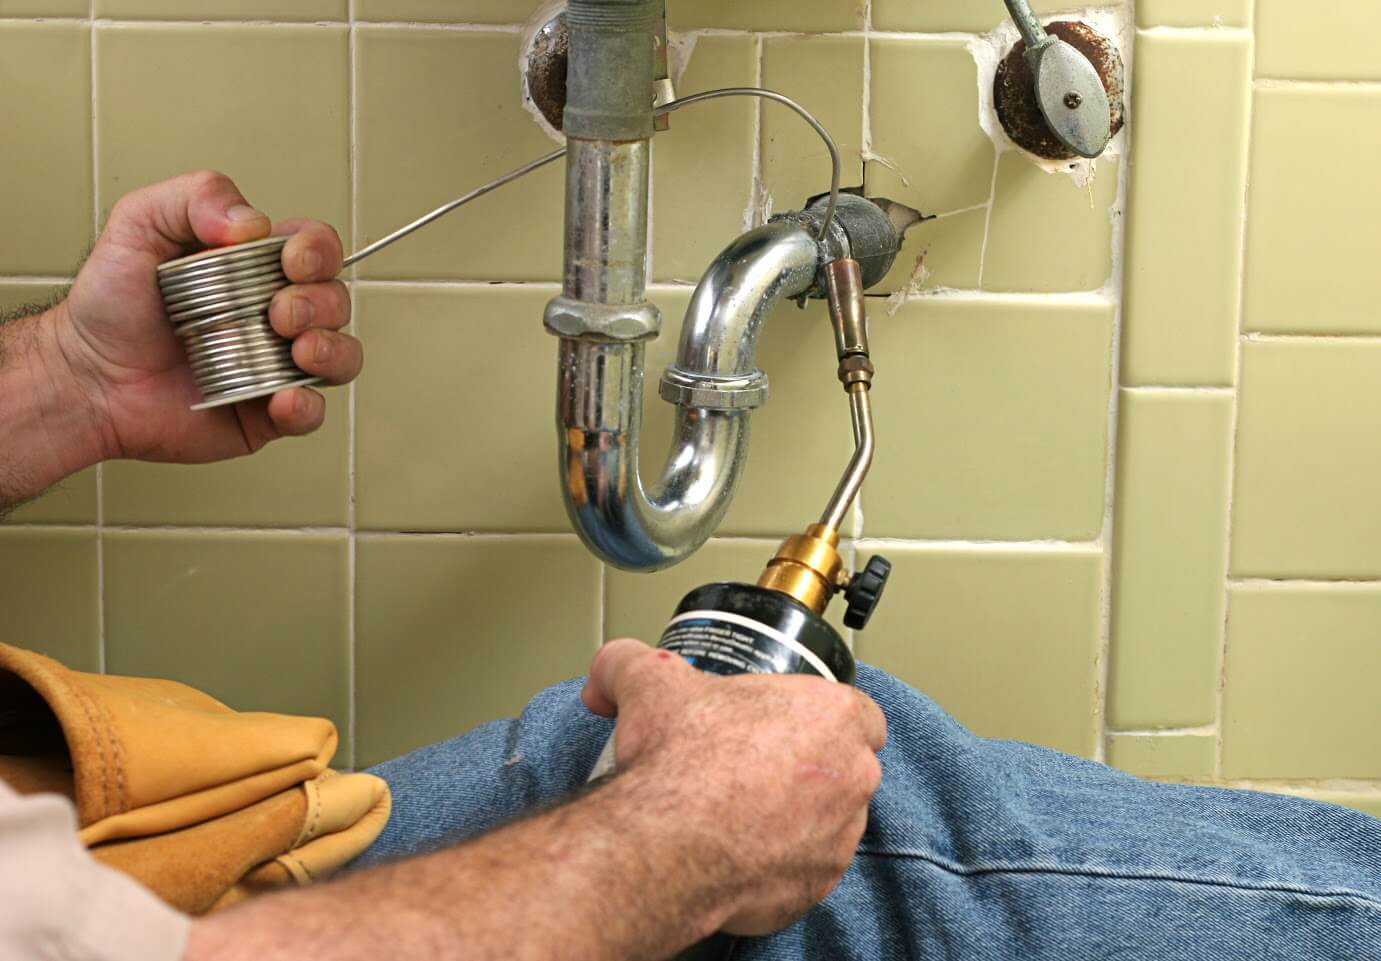
Tip 2: Use plumber's tape. Applying plumber's tape to the threads of your plumbing connections will help create a tight seal and prevent leaks.
Tip 3: Don't overtighten. When connecting plumbing, it's important not to overtighten as this can cause damage to the pipes or fittings. Use a wrench or pliers to tighten just enough to create a secure seal.
Tip 4: Have a bucket handy. When disconnecting old plumbing, have a bucket nearby to catch any excess water that may come out. This will prevent a mess and make clean-up easier.
Tip 5: Don't be afraid to ask for help. If you're feeling overwhelmed, don't hesitate to ask a friend or family member for assistance. It's always better to have an extra set of hands when installing plumbing.
Common Mistakes to Avoid When Installing an IKEA Bathroom Sink
Common Mistake 1: Not turning off the water supply. This is a crucial step that should never be skipped. Make sure to turn off the water supply to prevent any accidents or damage.
Common Mistake 2: Forgetting to measure. As mentioned earlier, measuring the space beforehand will save you from purchasing the wrong size sink.
Common Mistake 3: Not using plumber's tape. This simple step can prevent leaks and save you from having to redo the installation.
Common Mistake 4: Overtightening. As mentioned earlier, overtightening can cause damage to the pipes or fittings. Use a wrench or pliers to tighten just enough to create a secure seal.
Common Mistake 5: Rushing. Take your time and follow the instructions carefully. Rushing can lead to mistakes and potentially cost you more time and money in the long run.
Tools Needed for Installing an IKEA Bathroom Sink Plumbing
- Wrench
- Adjustable pliers
- Screwdriver
- Plumber's tape
- Bucket
How to Connect IKEA Bathroom Sink Plumbing
Connecting IKEA bathroom sink plumbing is similar to connecting any other sink plumbing. Follow the steps provided in the installation guide and make sure all connections are tight and secure. If you're unsure, don't hesitate to consult a professional plumber.
Troubleshooting Common Issues with IKEA Bathroom Sink Plumbing Installation
If you encounter any issues during the installation process, don't panic. Here are some common problems and how to troubleshoot them:
Issue 1: Leaks. Make sure all connections are properly tightened and use plumber's tape to create a tight seal.
Issue 2: Uneven sink. If the sink is not level, adjust the legs or use shims to ensure it is properly balanced.
Issue 3: Slow drainage. This could be caused by a clogged drain. Use a plunger or a drain snake to clear any obstructions.
Issue 4: No water flow. If there is no water coming out of the faucet, check to make sure the water supply is turned on and the connections are secure.
Professional vs DIY: Installing an IKEA Bathroom Sink Plumbing
While installing an IKEA bathroom sink can be a DIY project for those with some plumbing experience, it's always recommended to consult a professional plumber for more complex installations. This will ensure the job is done correctly and prevent any potential issues in the future.
Cost of Installing an IKEA Bathroom Sink Plumbing
The cost of installing an IKEA bathroom sink plumbing will vary depending on the complexity of the installation and whether or not you hire a professional plumber. On average, the cost can range from $150 - $500. However, by following our step-by-step guide and doing it yourself, you can save on labor costs and only pay for the necessary tools and parts.
Installing an IKEA bathroom sink can be a rewarding and cost-effective way to update your bathroom. With our guide and some basic plumbing knowledge, you'll have your new sink up and running in no time. Happy installing!
How to Install an IKEA Bathroom Sink Plumbing System: A Comprehensive Guide

The Importance of Proper Plumbing in House Design
 When it comes to designing a house, one of the most important aspects to consider is the plumbing system. This includes the installation of sinks, toilets, showers, and other essential fixtures. Not only does a well-designed plumbing system ensure proper functioning of these fixtures, but it also plays a crucial role in maintaining the overall hygiene and sanitation of a house.
One of the most popular and trusted brands for home furnishings and fixtures is IKEA. Their products are known for their durability, functionality, and affordability. If you're planning to install an IKEA bathroom sink plumbing system in your house, you've come to the right place. In this article, we will guide you through the step-by-step process to ensure a successful installation.
Choosing the Right IKEA Bathroom Sink Plumbing System
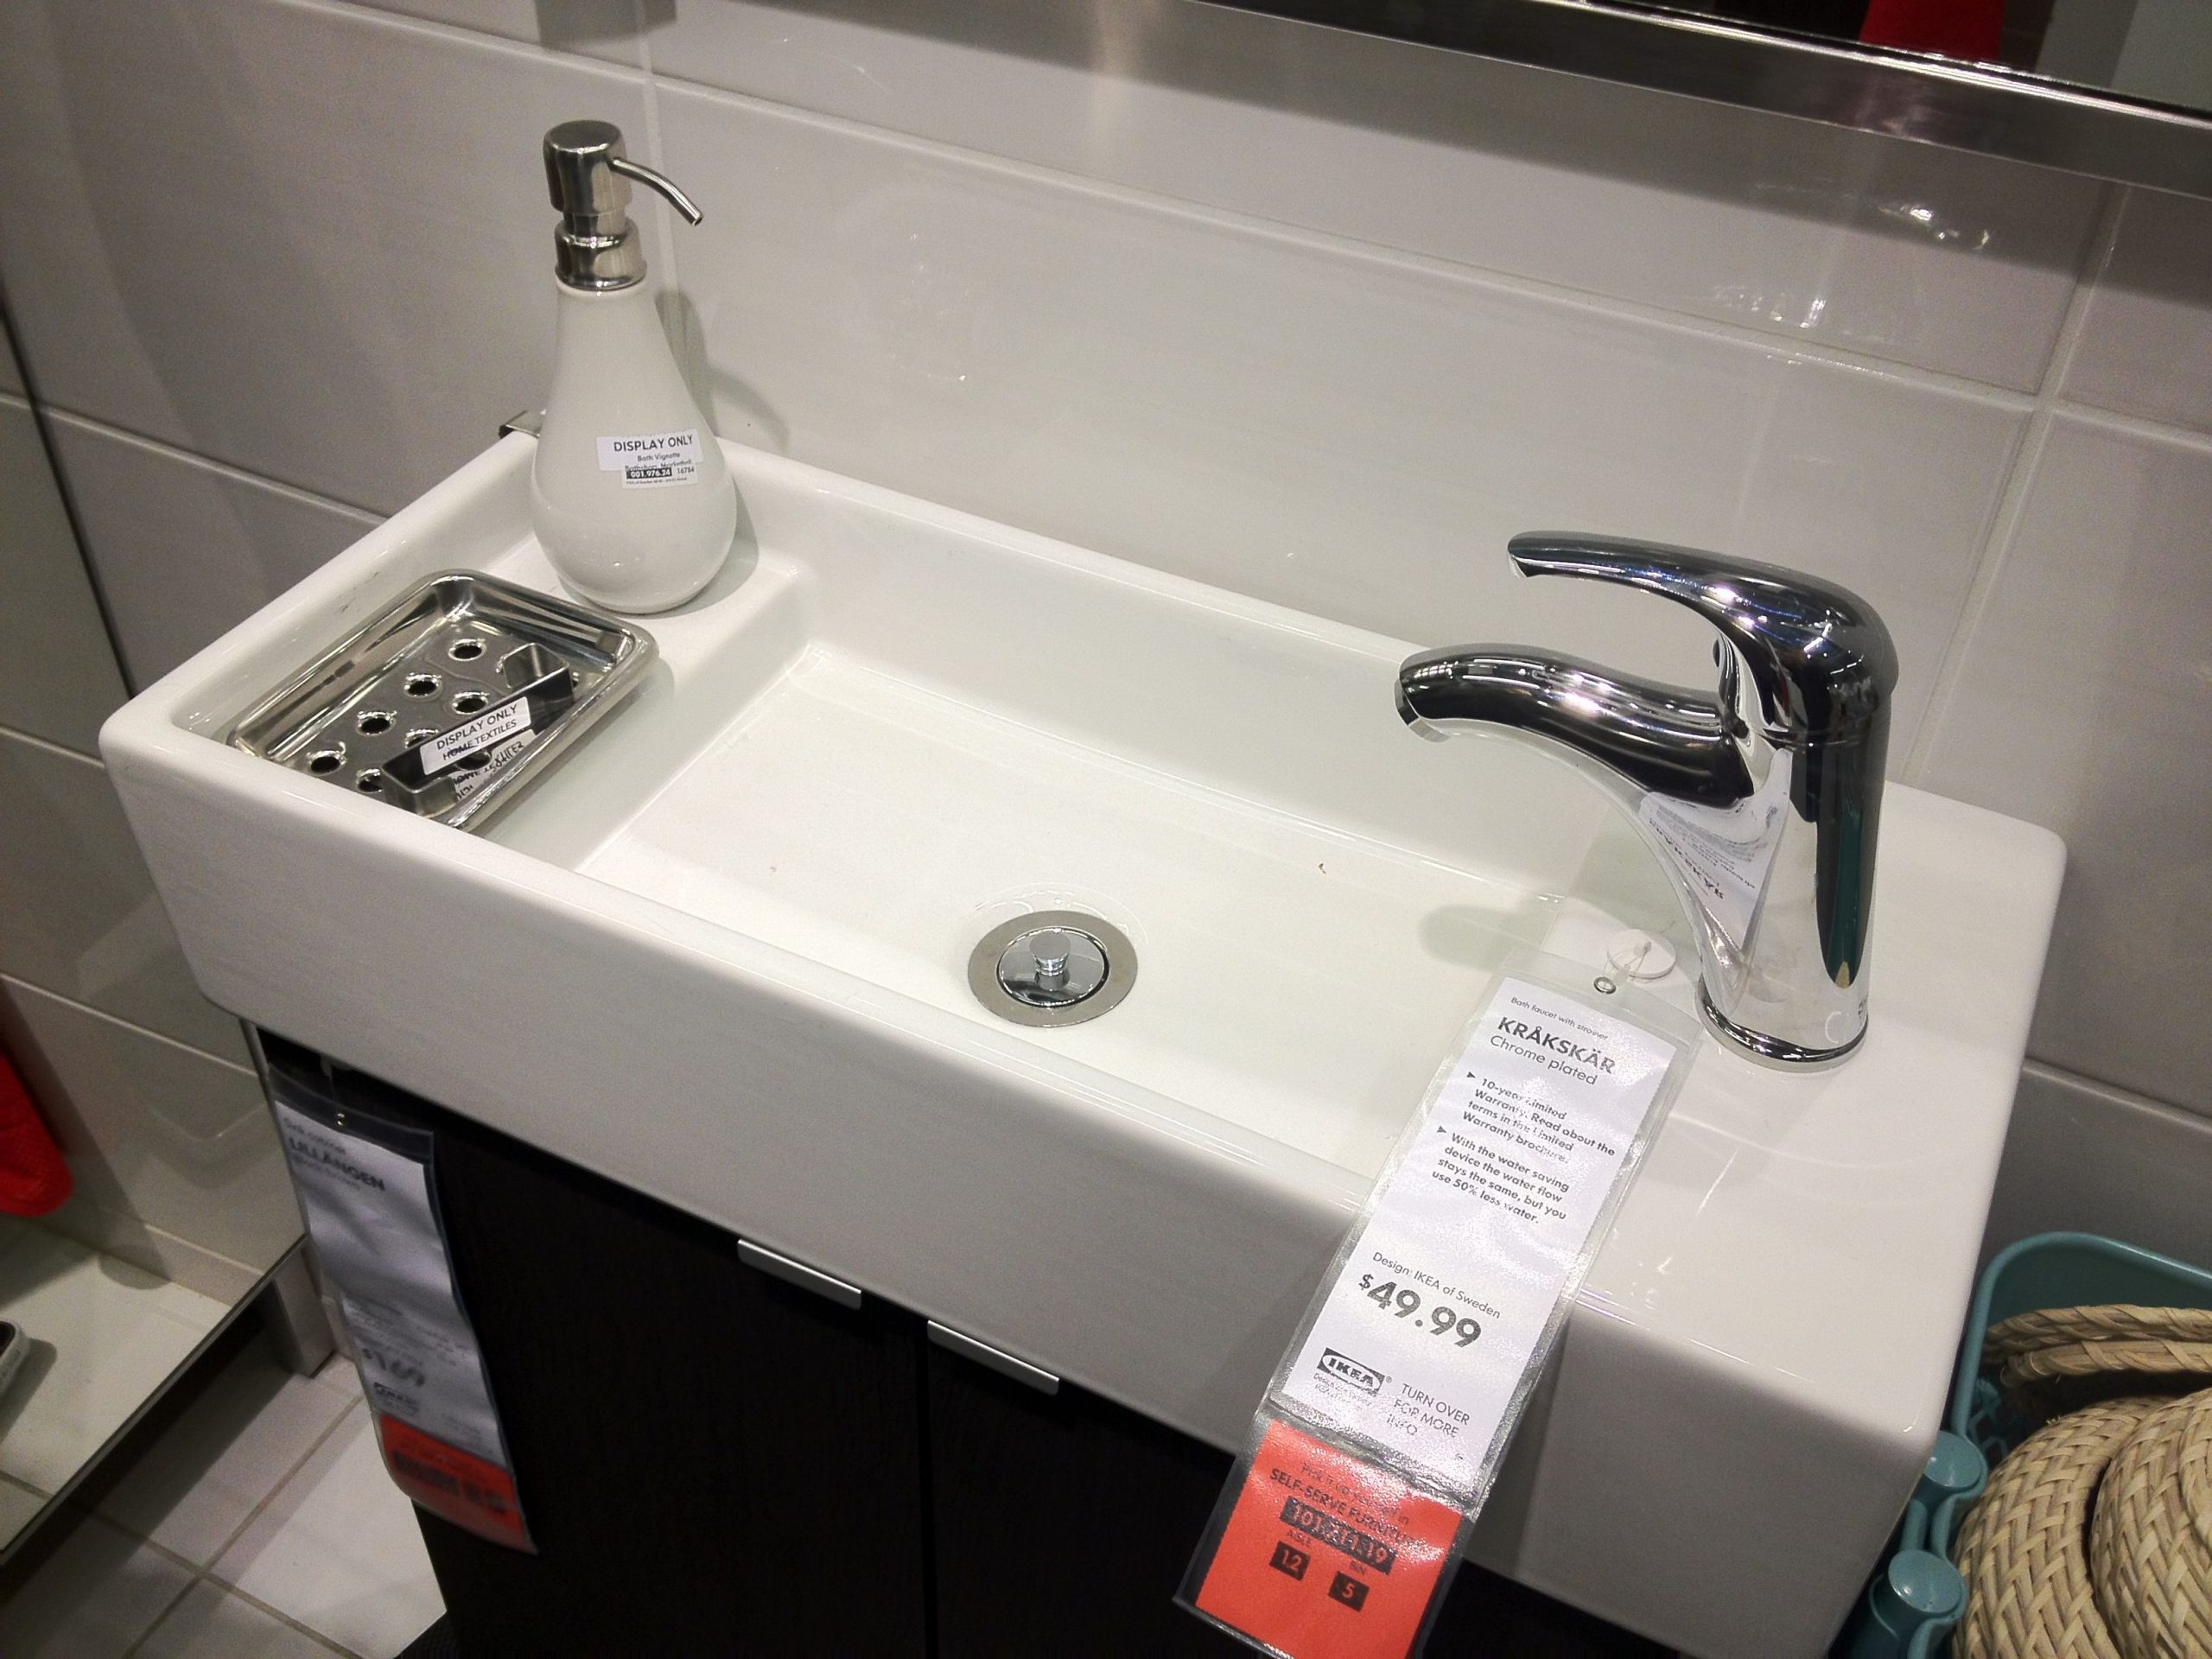
 Before you begin the installation process, it's essential to choose the right bathroom sink plumbing system from IKEA. They offer a variety of options, including single and double sinks, pedestal sinks, and wall-mounted sinks. Consider the layout and design of your bathroom and choose a sink that complements it. Pay attention to the size, shape, and material of the sink as well. This will not only affect the overall aesthetics but also the functionality of your plumbing system.
Pro tip:
If you're unsure about which sink to choose, consult with a professional plumber or an IKEA representative for expert advice.
Gathering the Necessary Tools and Materials
 Once you have chosen the right sink for your bathroom, it's time to gather all the necessary tools and materials for the installation process. These may include a wrench, pliers, screwdriver, plumber's tape, silicone sealant, and of course, the IKEA bathroom sink plumbing kit. Make sure to read the instructions on the kit carefully and have all the required tools and materials on hand before beginning the installation.
Installing the IKEA Bathroom Sink Plumbing System
 Now that you have everything you need, it's time to start the installation process. Begin by turning off the water supply to your bathroom and removing the old sink and plumbing fixtures. Next, follow the instructions on the IKEA plumbing kit to connect the sink drain and faucet to the water supply lines. Make sure to use plumber's tape to seal the connections and silicone sealant to secure the sink to the countertop.
Once all the parts are connected and secured, turn the water supply back on and test the sink for any leaks. If everything looks good, congratulations, you have successfully installed an IKEA bathroom sink plumbing system!
Conclusion
 A well-designed and properly installed plumbing system is an essential aspect of house design, and IKEA provides reliable and affordable options for bathroom sink plumbing. By following the steps outlined in this guide, you can easily install an IKEA bathroom sink plumbing system in your house and enjoy its functionality and aesthetics for years to come. Remember to consult with professionals if needed and always use the right tools and materials for a successful installation.


