1. Measure and Cut the Bar Top
Before you can install a kitchen bar top, you need to make sure you have the right size and shape for your space. Measure the area where you want to install the bar top and use those measurements to cut your bar top to the correct size. You can use a circular saw or a jigsaw to make the cuts. Make sure to wear safety goggles and gloves while cutting the bar top.


1. Measure and Cut the Bar Top


2. Prepare the Bar Top Area
Once you have your bar top cut to size, you need to prepare the area where it will be installed. This includes removing any old countertops, cleaning the surface, and ensuring the area is level. You may need to use a level and shims to adjust the height of the bar top area.

2. Prepare the Bar Top Area


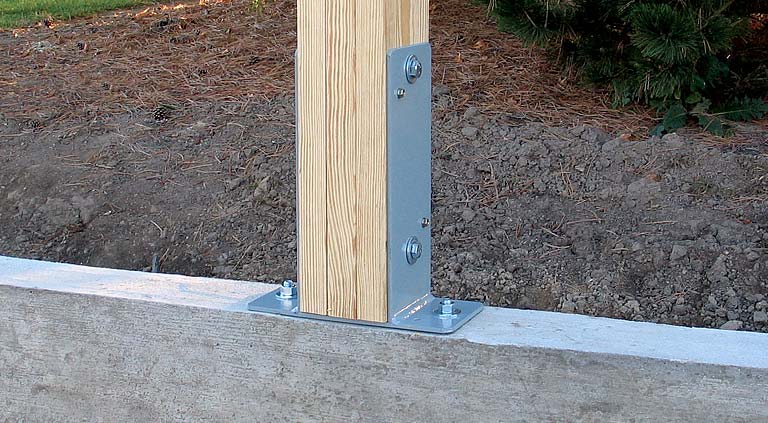
3. Install Support Brackets
Support brackets are essential for keeping your bar top secure and in place. Measure and mark where the brackets will be placed, making sure they are evenly spaced. Use a drill to create holes for the brackets, and then attach them using screws. Make sure the brackets are level and secure before moving on to the next step.


3. Install Support Brackets


4. Attach the Bar Top to the Brackets
With your support brackets in place, it's time to attach the bar top. Carefully place the bar top on top of the brackets, making sure it is lined up correctly. Use screws to secure the bar top to the brackets, ensuring a sturdy and stable connection.


4. Attach the Bar Top to the Brackets


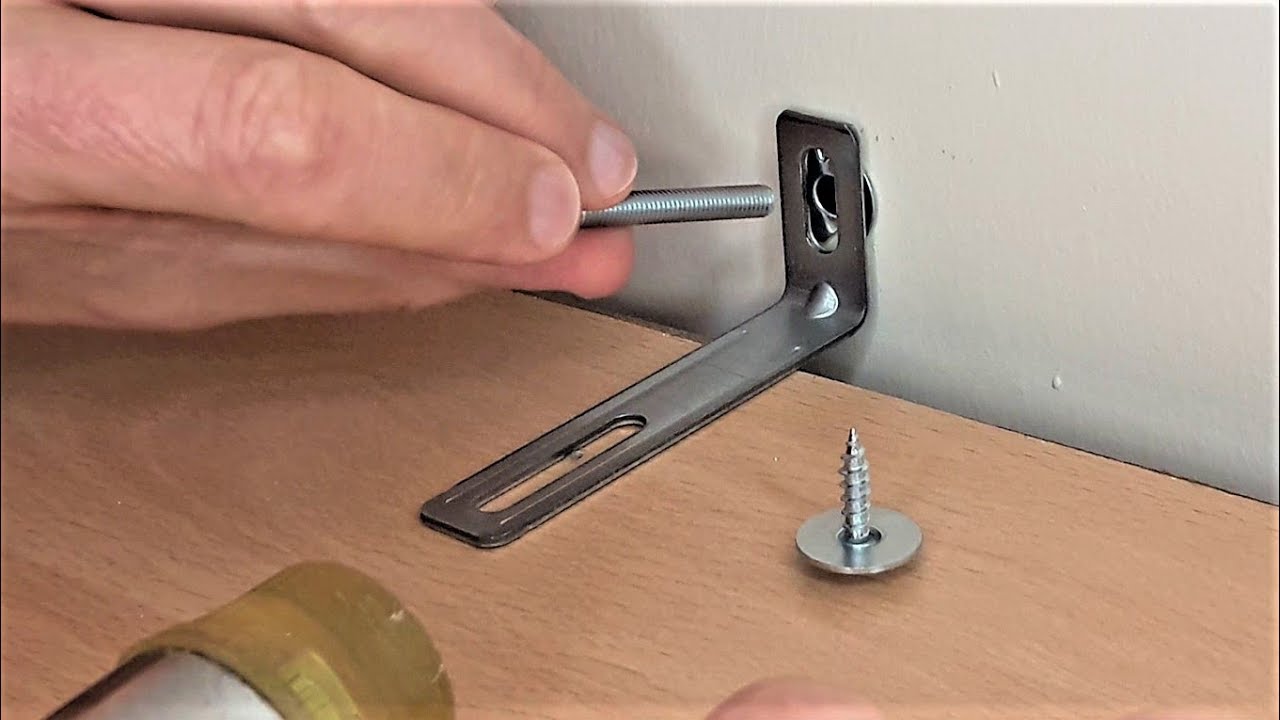
5. Secure the Bar Top to the Wall
If your bar top is against a wall, it's a good idea to secure it to the wall for extra stability. You can do this by using L-brackets and screws to attach the bar top to the wall. This will prevent any movement or wobbling of the bar top, especially if you plan on using it for seating.


5. Secure the Bar Top to the Wall


6. Fill any Gaps or Holes
After the bar top is securely attached, you may notice some gaps or holes between the bar top and the wall or brackets. Use wood filler or caulk to fill in these gaps and create a smooth surface. You can also use a putty knife to smooth out the filler and ensure a seamless finish.


6. Fill any Gaps or Holes


7. Sand and Finish the Bar Top
To give your bar top a professional and polished look, you'll need to sand and finish it. Use a fine-grit sandpaper to smooth out any rough edges or imperfections. After sanding, wipe down the bar top with a damp cloth to remove any dust. Then, apply a wood finish of your choice to protect and enhance the appearance of the bar top.


7. Sand and Finish the Bar Top


8. Install a Foot Rail (optional)
If you want to add a finishing touch to your kitchen bar top, consider installing a foot rail. This is a great addition for those who plan on using the bar top for seating. Measure and mark where you want the foot rail to be installed and use screws to attach it to the bar top. You can also add decorative brackets to give it a more stylish look.


8. Install a Foot Rail (optional)


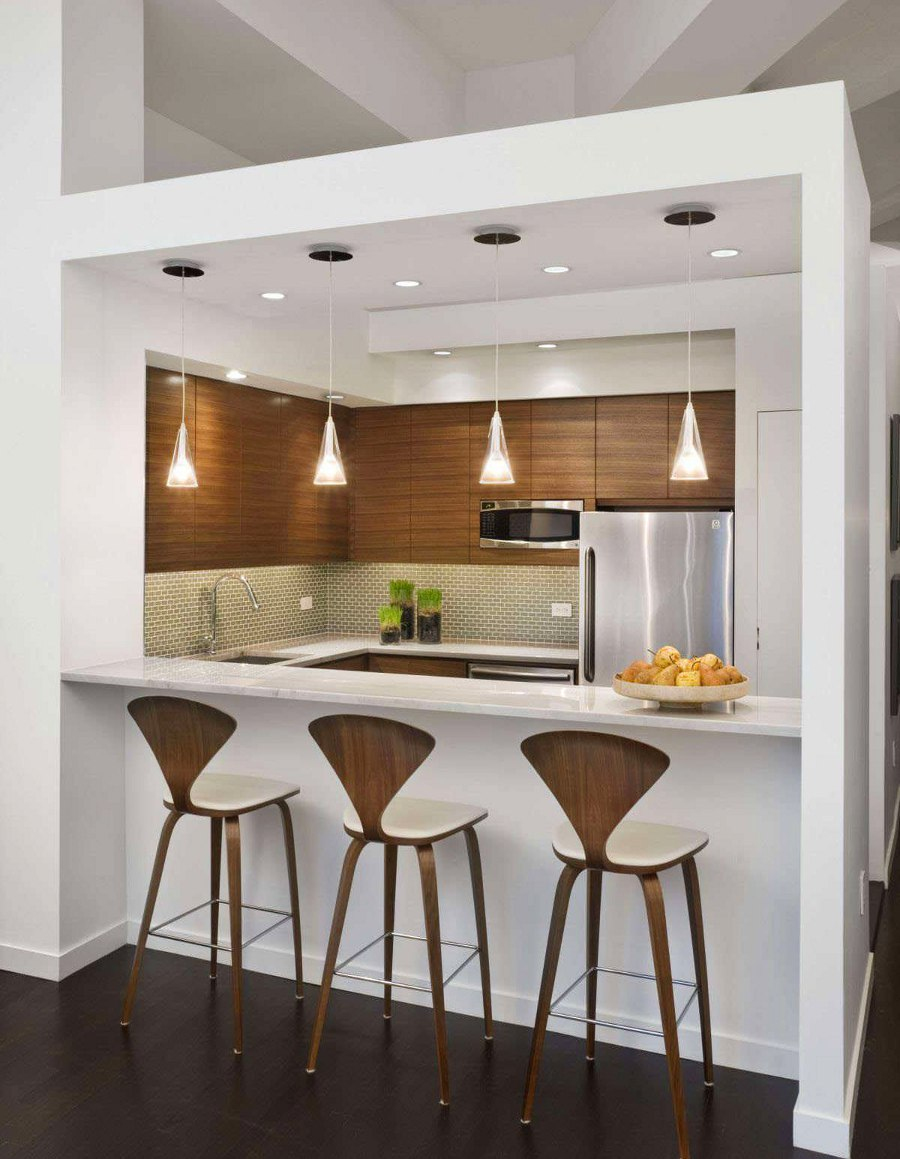
9. Add Finishing Touches
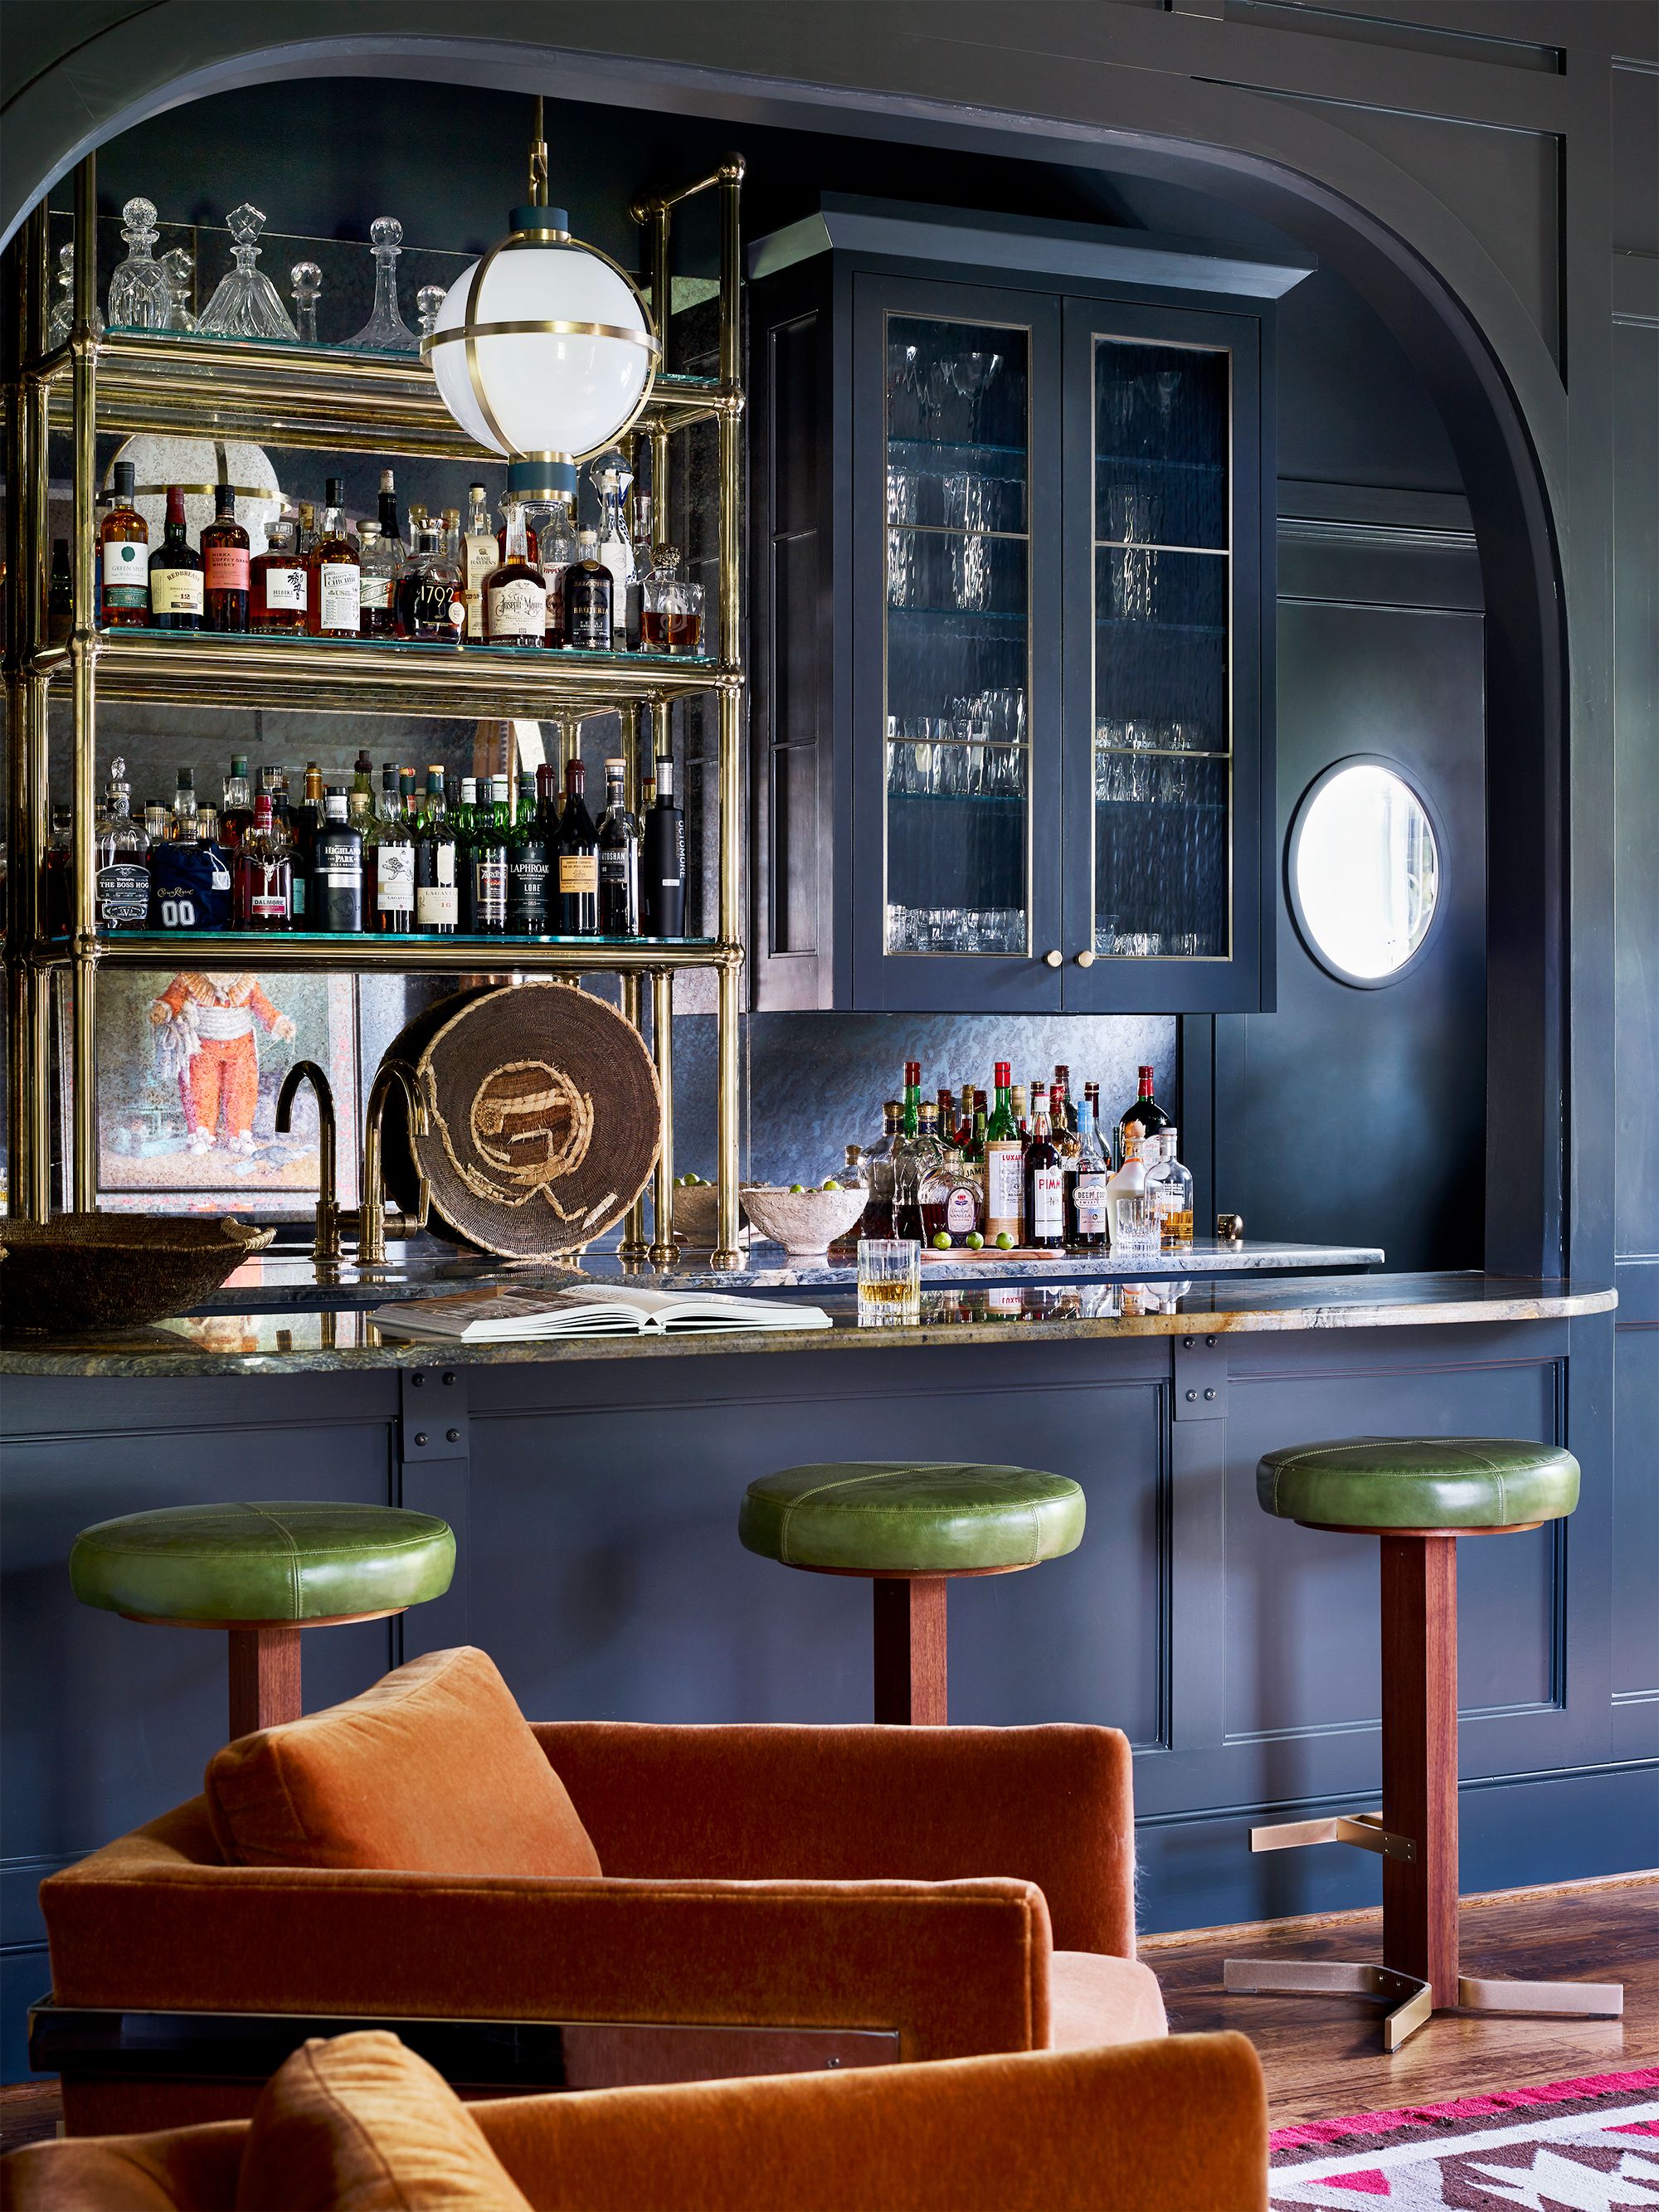
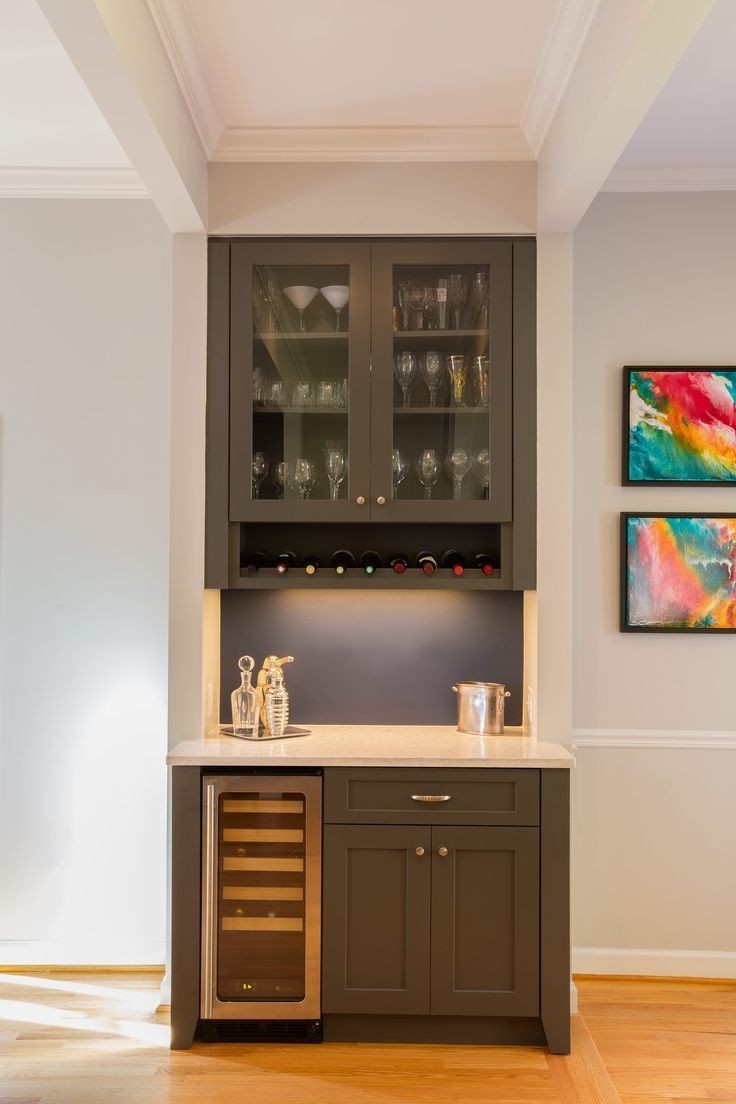
Once your bar top is installed, it's time to add some final touches to make it feel like a true part of your kitchen. This can include adding bar stools, hanging pendant lights, or even a mini fridge or wine rack underneath. Get creative and personalize your bar top to fit your unique style and needs.


9. Add Finishing Touches


10. Enjoy Your New Kitchen Bar Top!
Congratulations, you have successfully installed a kitchen bar top! Now it's time to sit back, relax, and enjoy your new addition. Whether you use it for entertaining guests, enjoying a quick meal, or just as a convenient extra surface in your kitchen, your bar top is sure to be a functional and stylish addition to your home.


10. Enjoy Your New Kitchen Bar Top!
:max_bytes(150000):strip_icc()/helfordln-35-58e07f2960b8494cbbe1d63b9e513f59.jpeg)


Additional Tips for Installing a Kitchen Bar Top

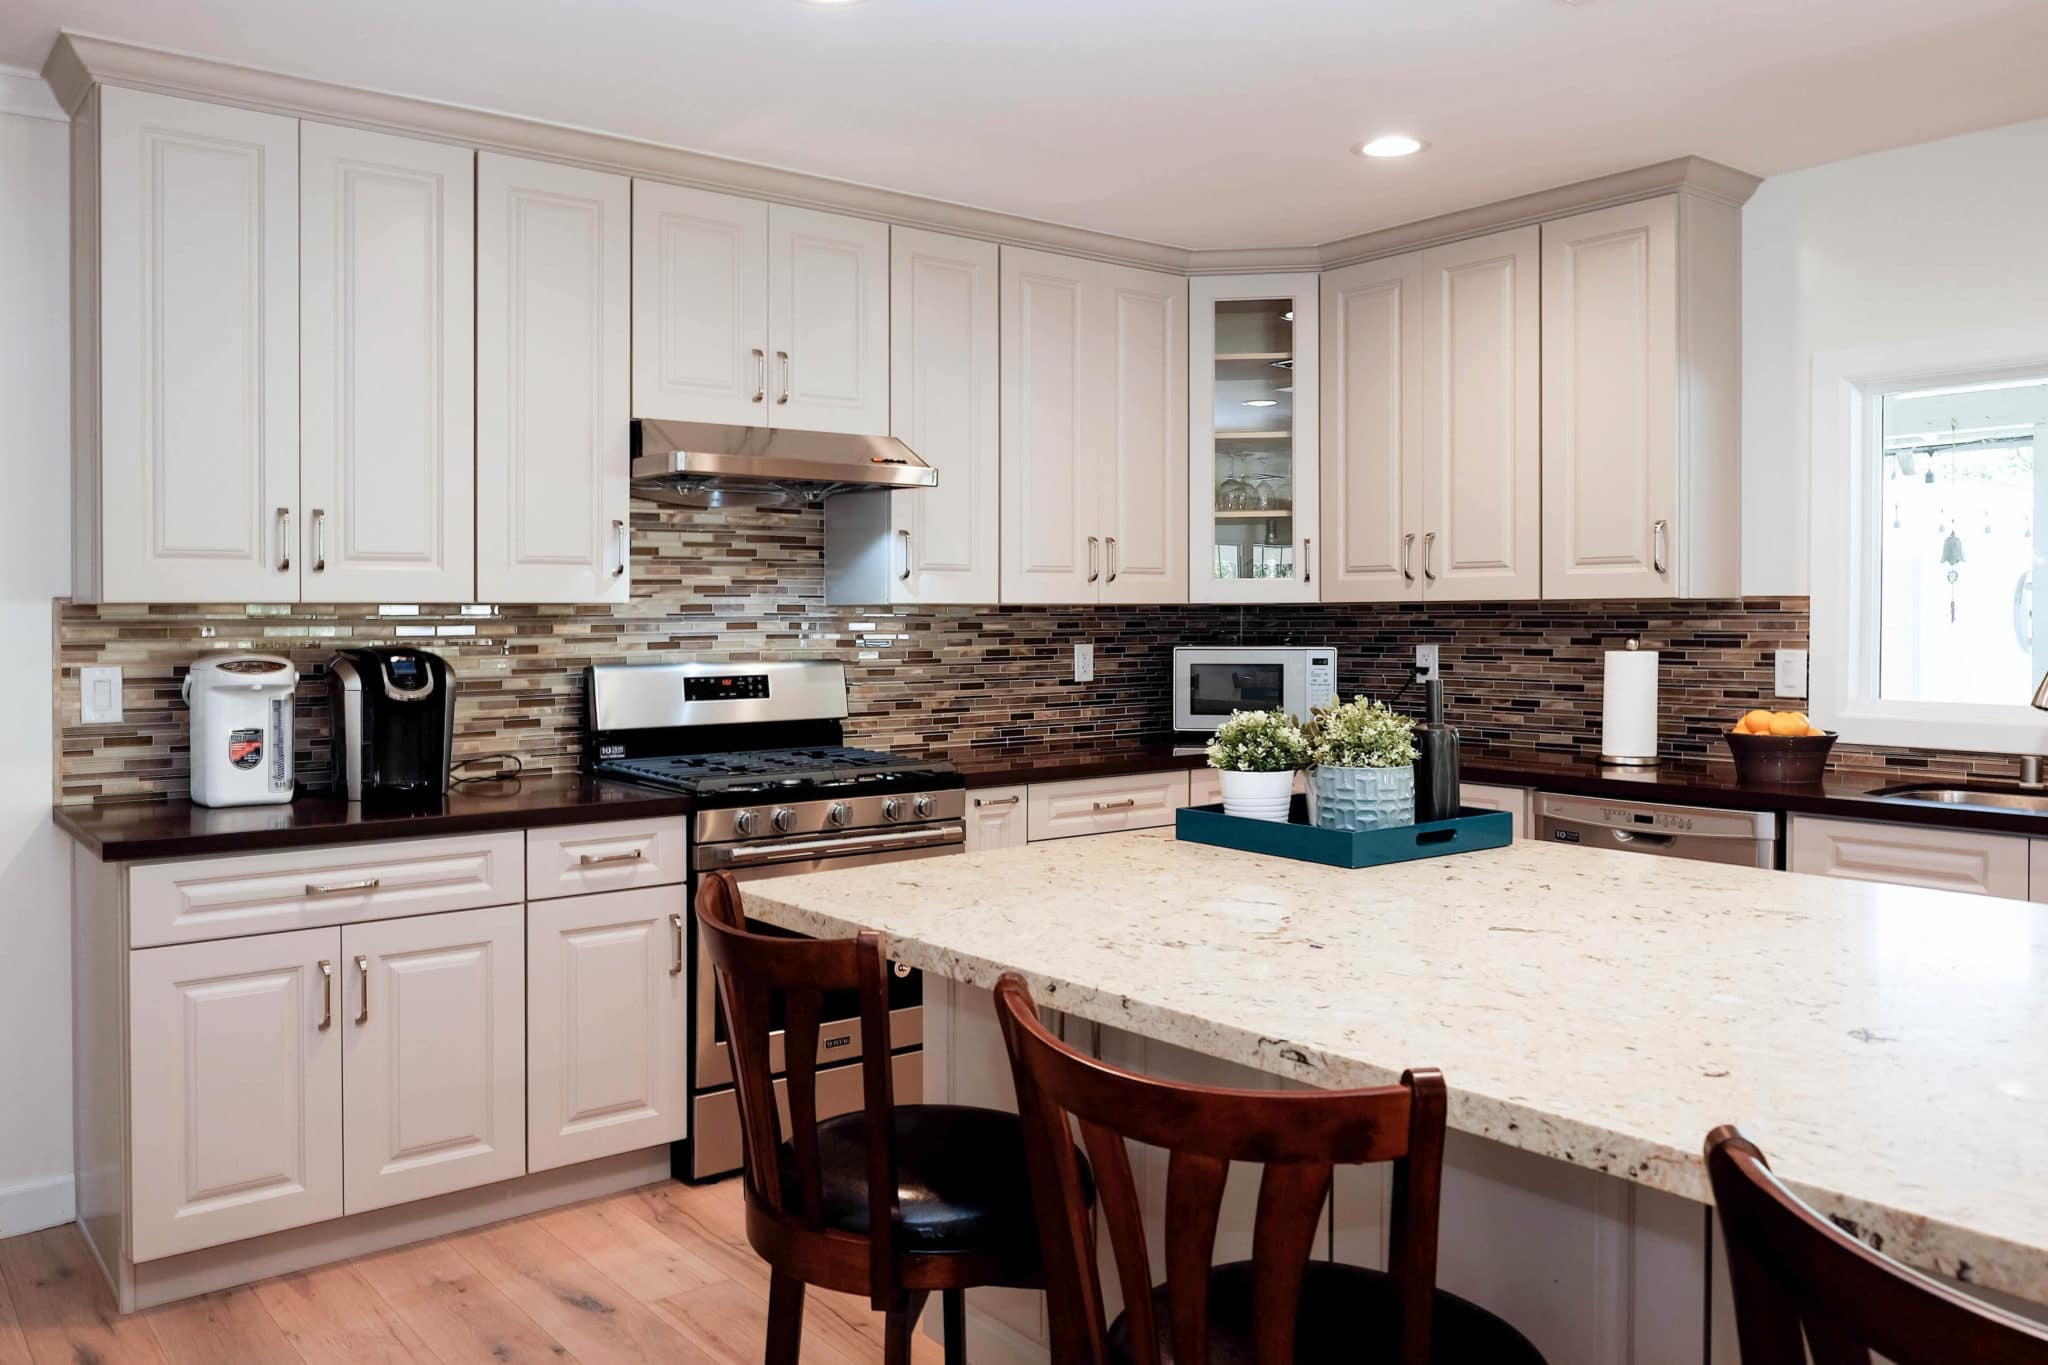
1. Choose the Right Materials
 When installing a kitchen bar top, it's important to choose the right materials to ensure durability and functionality.
Granite or quartz
are popular choices due to their durability and resistance to stains and scratches. Other options include
marble, wood, or concrete
, which can add a unique and stylish touch to your kitchen. Consider your budget, lifestyle, and overall design aesthetic when deciding on the materials for your kitchen bar top.
When installing a kitchen bar top, it's important to choose the right materials to ensure durability and functionality.
Granite or quartz
are popular choices due to their durability and resistance to stains and scratches. Other options include
marble, wood, or concrete
, which can add a unique and stylish touch to your kitchen. Consider your budget, lifestyle, and overall design aesthetic when deciding on the materials for your kitchen bar top.
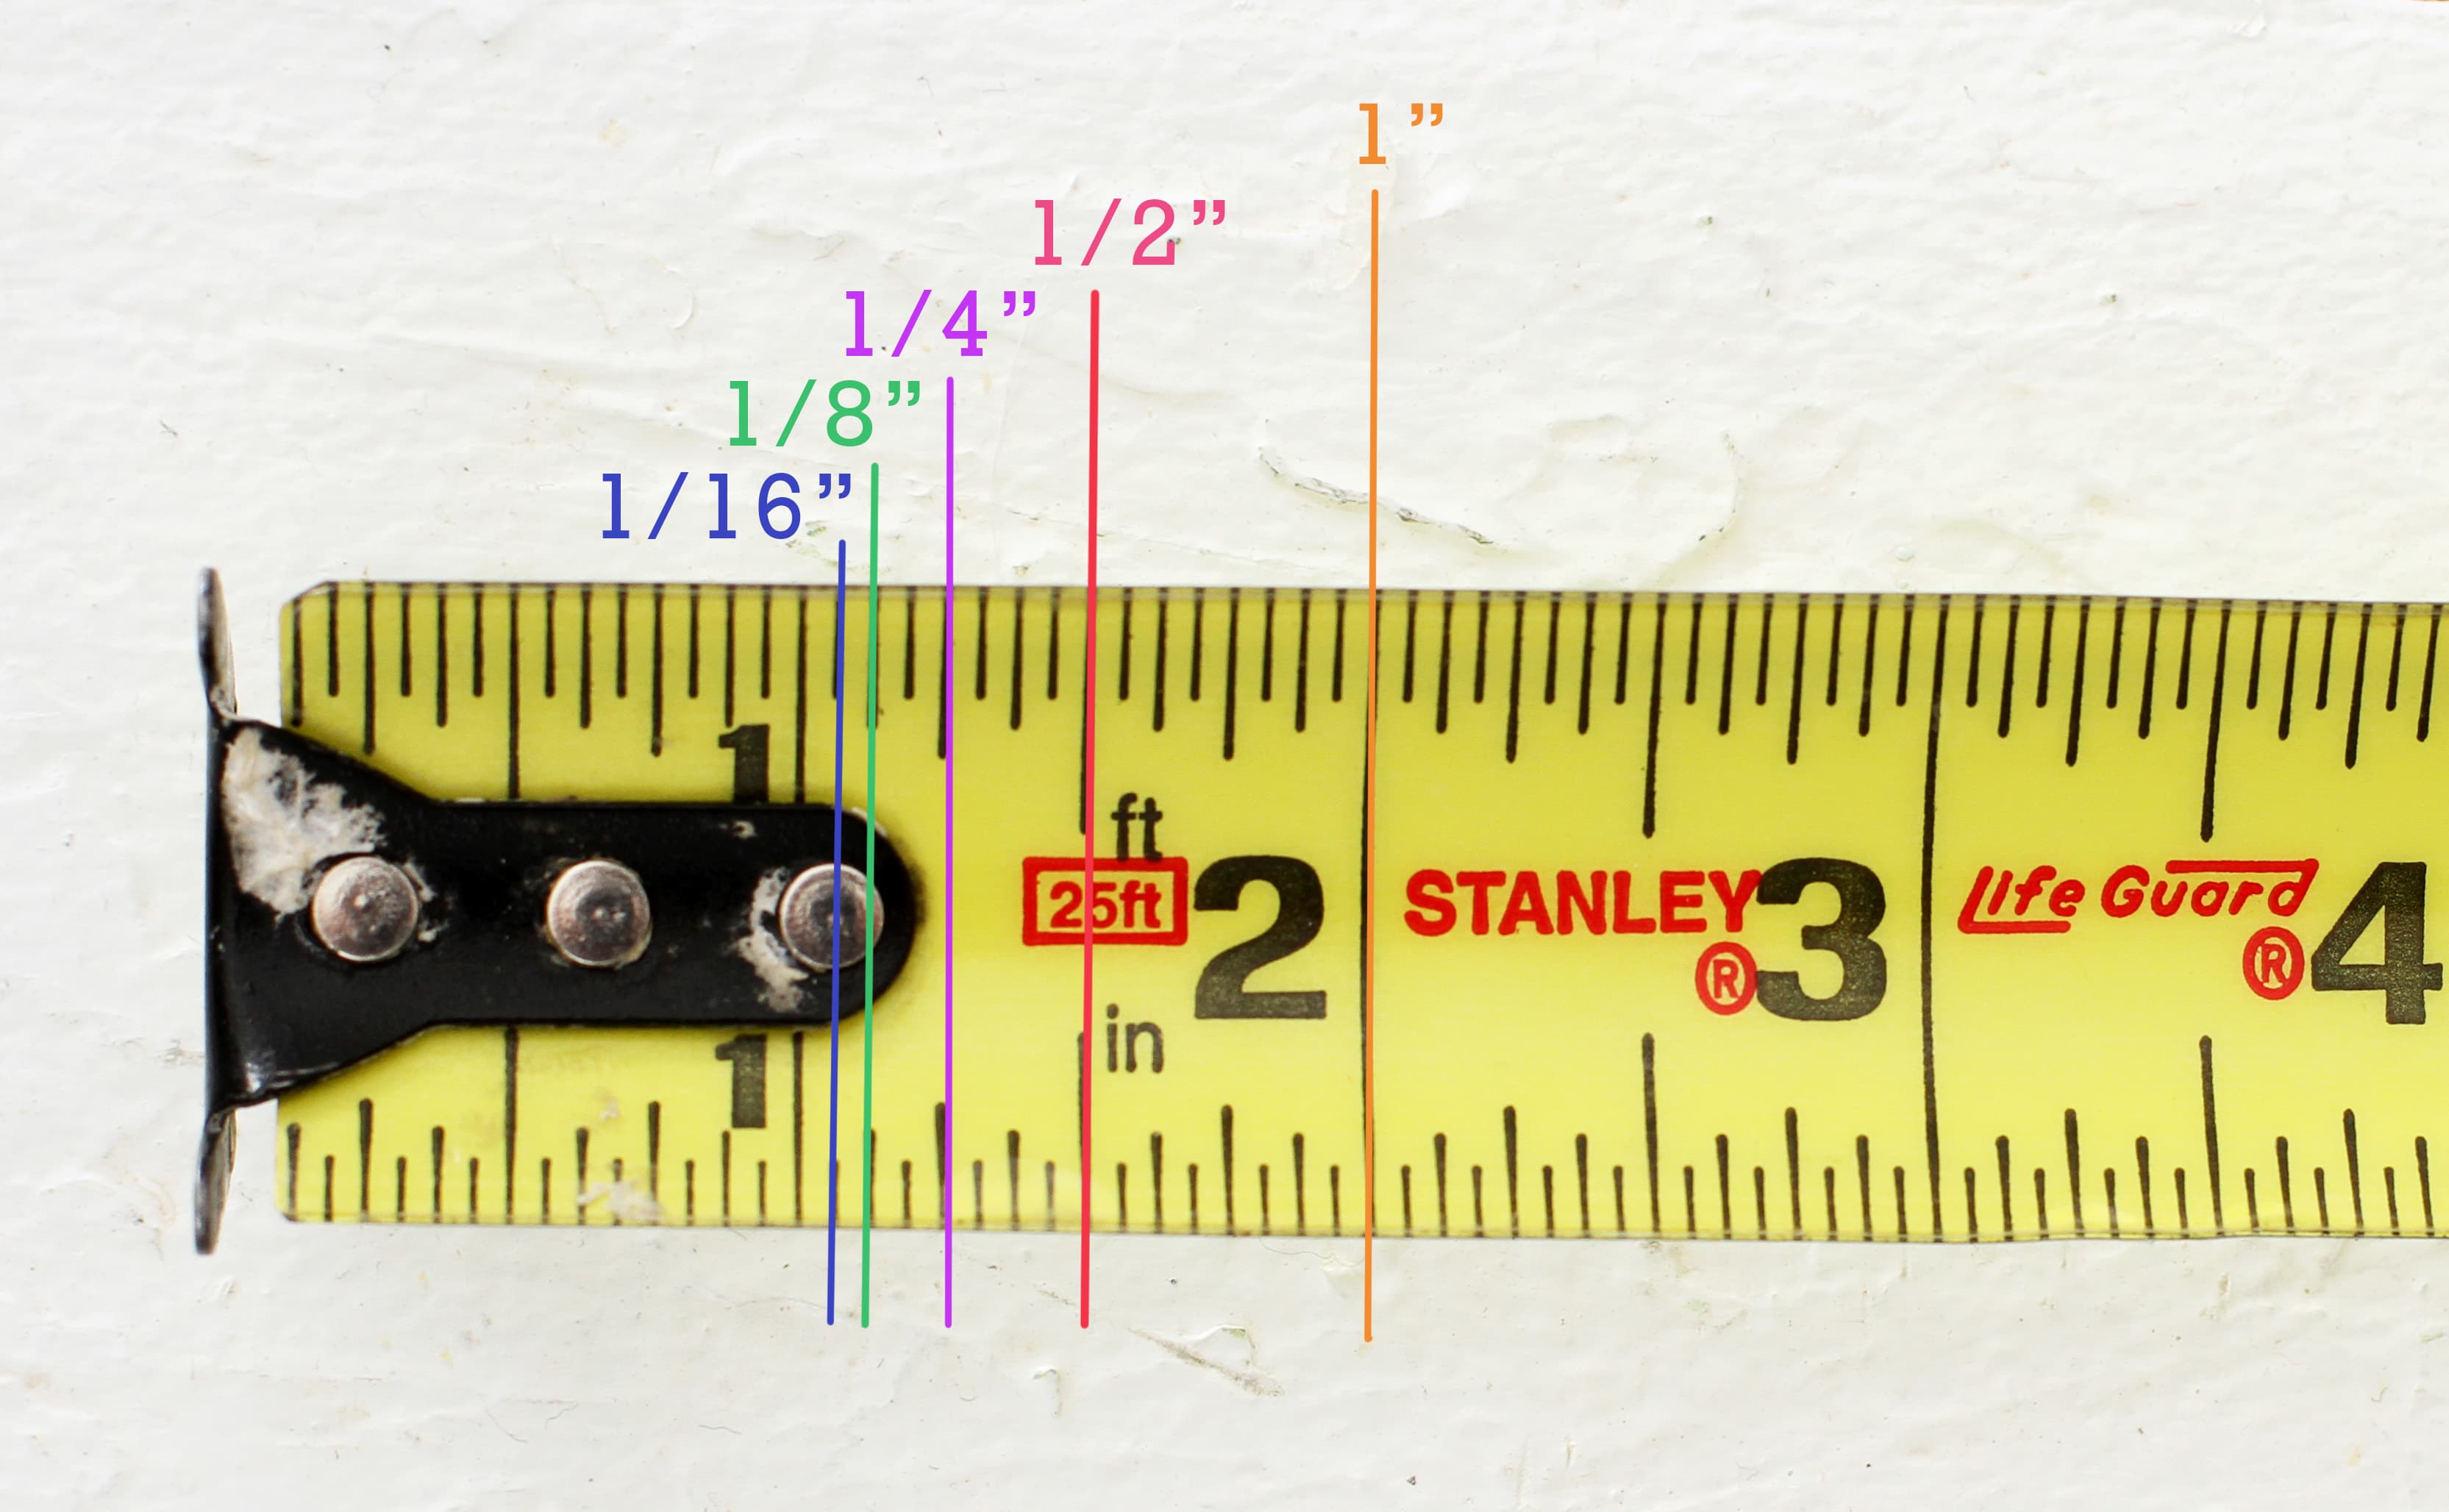
2. Measure and Plan
 Before beginning the installation process, it's crucial to accurately measure and plan out your kitchen bar top. This will ensure that the finished product fits perfectly and looks cohesive with the rest of your kitchen.
Measure the length and width of your bar area
and take into account any appliances or fixtures that may affect the placement of your bar top. With careful planning, you can create a functional and visually appealing kitchen bar top.
Before beginning the installation process, it's crucial to accurately measure and plan out your kitchen bar top. This will ensure that the finished product fits perfectly and looks cohesive with the rest of your kitchen.
Measure the length and width of your bar area
and take into account any appliances or fixtures that may affect the placement of your bar top. With careful planning, you can create a functional and visually appealing kitchen bar top.
3. Use Proper Tools and Techniques
 Proper tools and techniques are essential for a successful kitchen bar top installation.
Use a level to ensure that your bar top is even and straight
, and use a carpenter's square to ensure precise cuts. If you're installing a stone or concrete bar top, you may need specialized tools such as a wet saw or angle grinder. It's important to
follow manufacturer instructions and safety precautions
when using these tools.
Proper tools and techniques are essential for a successful kitchen bar top installation.
Use a level to ensure that your bar top is even and straight
, and use a carpenter's square to ensure precise cuts. If you're installing a stone or concrete bar top, you may need specialized tools such as a wet saw or angle grinder. It's important to
follow manufacturer instructions and safety precautions
when using these tools.
4. Consider Hiring a Professional
 While installing a kitchen bar top can be a fun and rewarding DIY project, it's not for everyone. If you don't have experience with home renovations or working with tools, it may be best to hire a professional. A skilled contractor can ensure that your kitchen bar top is installed correctly and efficiently, saving you time and potential headaches.
Research and get quotes from multiple contractors
to find the best fit for your project and budget.
While installing a kitchen bar top can be a fun and rewarding DIY project, it's not for everyone. If you don't have experience with home renovations or working with tools, it may be best to hire a professional. A skilled contractor can ensure that your kitchen bar top is installed correctly and efficiently, saving you time and potential headaches.
Research and get quotes from multiple contractors
to find the best fit for your project and budget.
Conclusion
 Installing a kitchen bar top can be a great way to add functionality and style to your kitchen. By choosing the right materials, measuring and planning carefully, using proper tools and techniques, and considering hiring a professional, you can create a beautiful and functional kitchen bar top that will be the centerpiece of your home. Remember to
regularly maintain and clean
your bar top to keep it looking its best for years to come.
Installing a kitchen bar top can be a great way to add functionality and style to your kitchen. By choosing the right materials, measuring and planning carefully, using proper tools and techniques, and considering hiring a professional, you can create a beautiful and functional kitchen bar top that will be the centerpiece of your home. Remember to
regularly maintain and clean
your bar top to keep it looking its best for years to come.