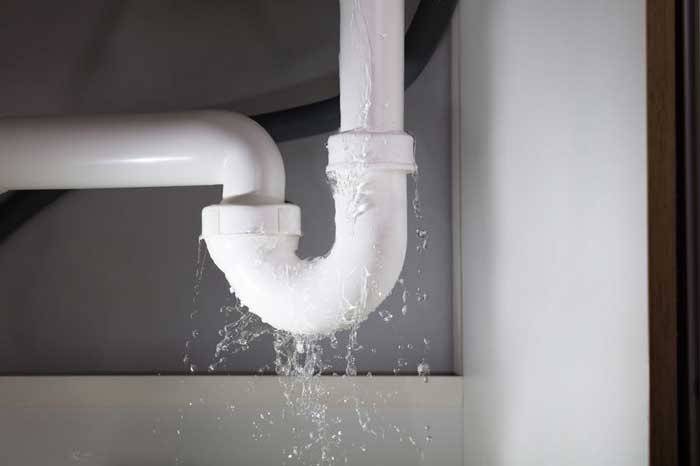
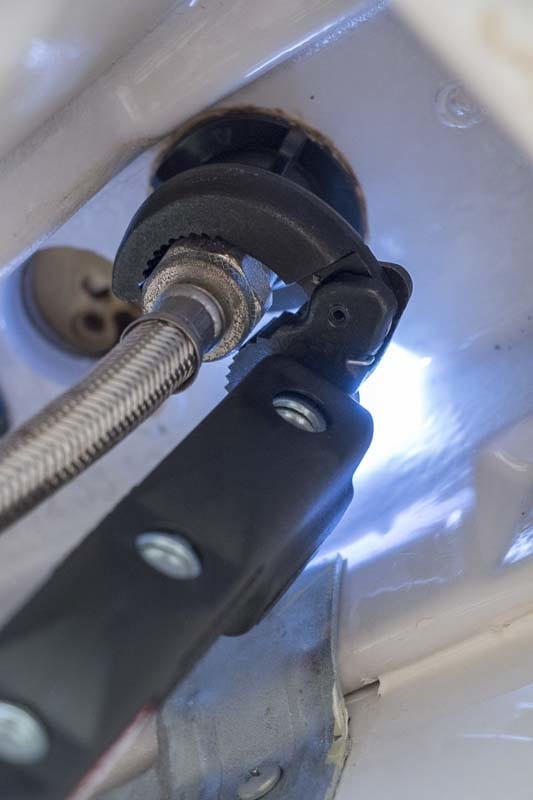
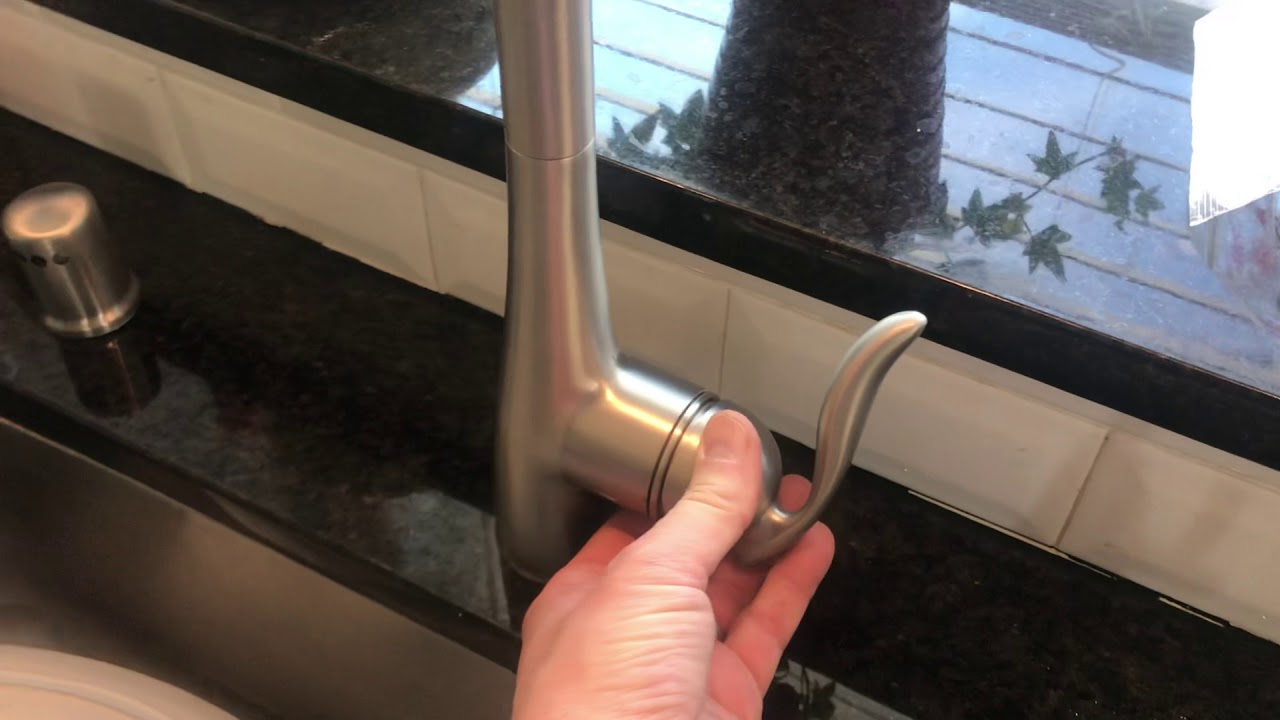
If you notice a constant drip or puddle of water under your kitchen sink, it's a sign that you have a leak. Not only is this an annoying problem, but it can also lead to water damage and mold growth. But don't worry, fixing a leaky kitchen sink is a simple task that you can do on your own. In this section, we will guide you through the steps to fix a leaky kitchen sink and help you save money on a plumber. The first step is to identify the source of the leak. It could be coming from the sink itself, the drain, or the pipes underneath. Start by checking the sink for any cracks, holes, or loose parts. If you find any, you can use a sealant or replace the damaged parts. If the sink is not the issue, move on to the drain. Remove the drain cover and clean out any debris that may be blocking the water flow. You can also use a plunger to try and clear out any clogs. If the drain is still leaking, you may need to replace the drain assembly. Lastly, if the leak is coming from the pipes, you will need to tighten any loose connections or replace damaged pipes. Remember to turn off the water supply before attempting to fix any pipes.1. How to Fix a Leaky Kitchen Sink
Fixing a kitchen sink doesn't always require professional help. There are many common problems that you can easily fix on your own with the right tools and knowledge. Not only will this save you money, but it will also give you a sense of accomplishment. In this section, we will go through some DIY kitchen sink repairs that you can do without calling a plumber. One of the most common problems with kitchen sinks is a clogged drain. To fix this, you can use a plunger or a drain snake to remove any blockages. You can also try using a mixture of baking soda and vinegar to break down any grease or food particles. If the clog is severe, you may need to remove the trap and clean it out. If your sink is not draining at all, it could be due to a garbage disposal issue. First, make sure the disposal is turned off and unplugged. Then, use an Allen wrench to manually turn the blades and remove any debris that may be stuck. If this doesn't work, you may need to replace the garbage disposal. For a loose or leaking faucet, you can use a wrench to tighten any loose connections or replace worn-out parts. If you need to replace the faucet entirely, make sure to turn off the water supply and follow the manufacturer's instructions.2. DIY Kitchen Sink Repair
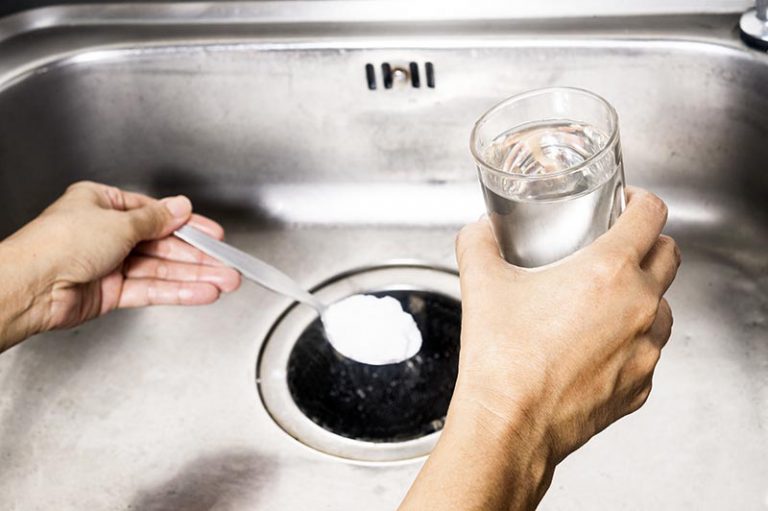
Kitchen sinks are used daily, which makes them prone to wear and tear. Some common problems that you may encounter with your kitchen sink include leaks, clogs, slow drainage, and a loose faucet. But don't worry, these issues have simple solutions. In this section, we will discuss some common kitchen sink problems and how to fix them. A leaky kitchen sink can be caused by a damaged sink, drain, or pipes. You can use a sealant or replace the damaged parts to fix the leak. Clogged drains can be cleared with a plunger, drain snake, or a mixture of baking soda and vinegar. Slow drainage can also be fixed by cleaning out the drain and trap. A loose faucet can be tightened or replaced. Other common problems include low water pressure, a smelly sink, or a crack in the sink. Low water pressure can be caused by a clogged aerator, which can be cleaned or replaced. To get rid of a smelly sink, you can use a mixture of baking soda and hot water. A crack in the sink can be sealed with a repair kit or replaced if the damage is severe.3. Common Kitchen Sink Problems and Solutions
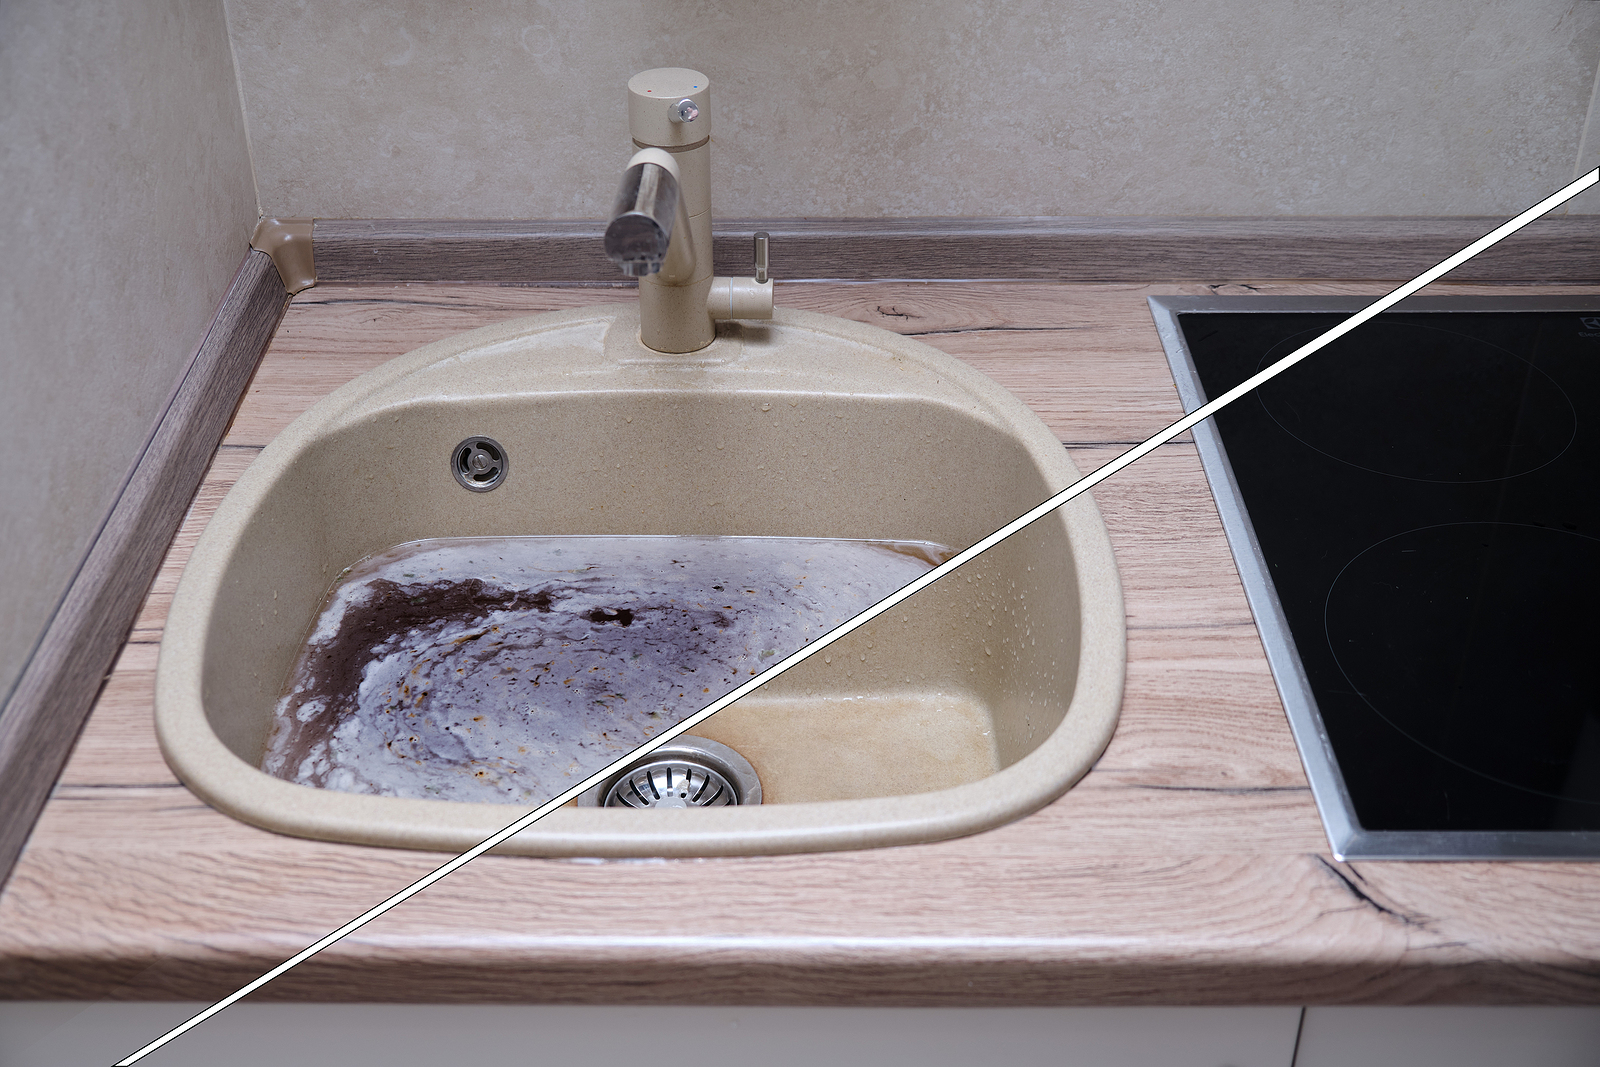
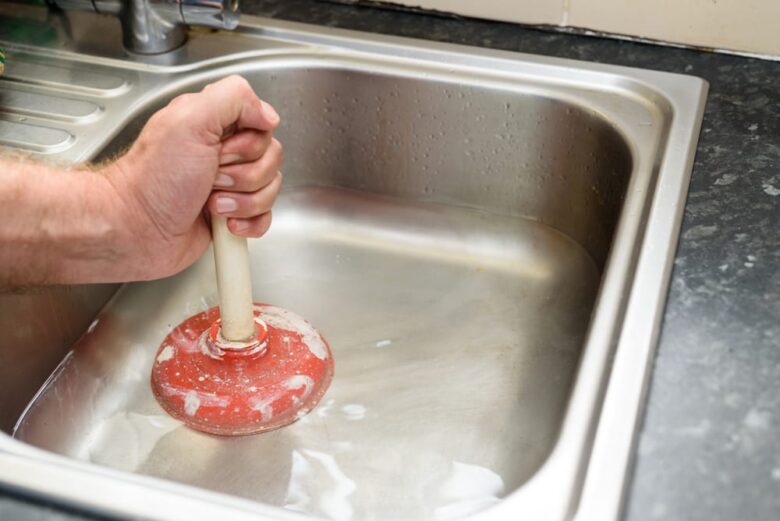
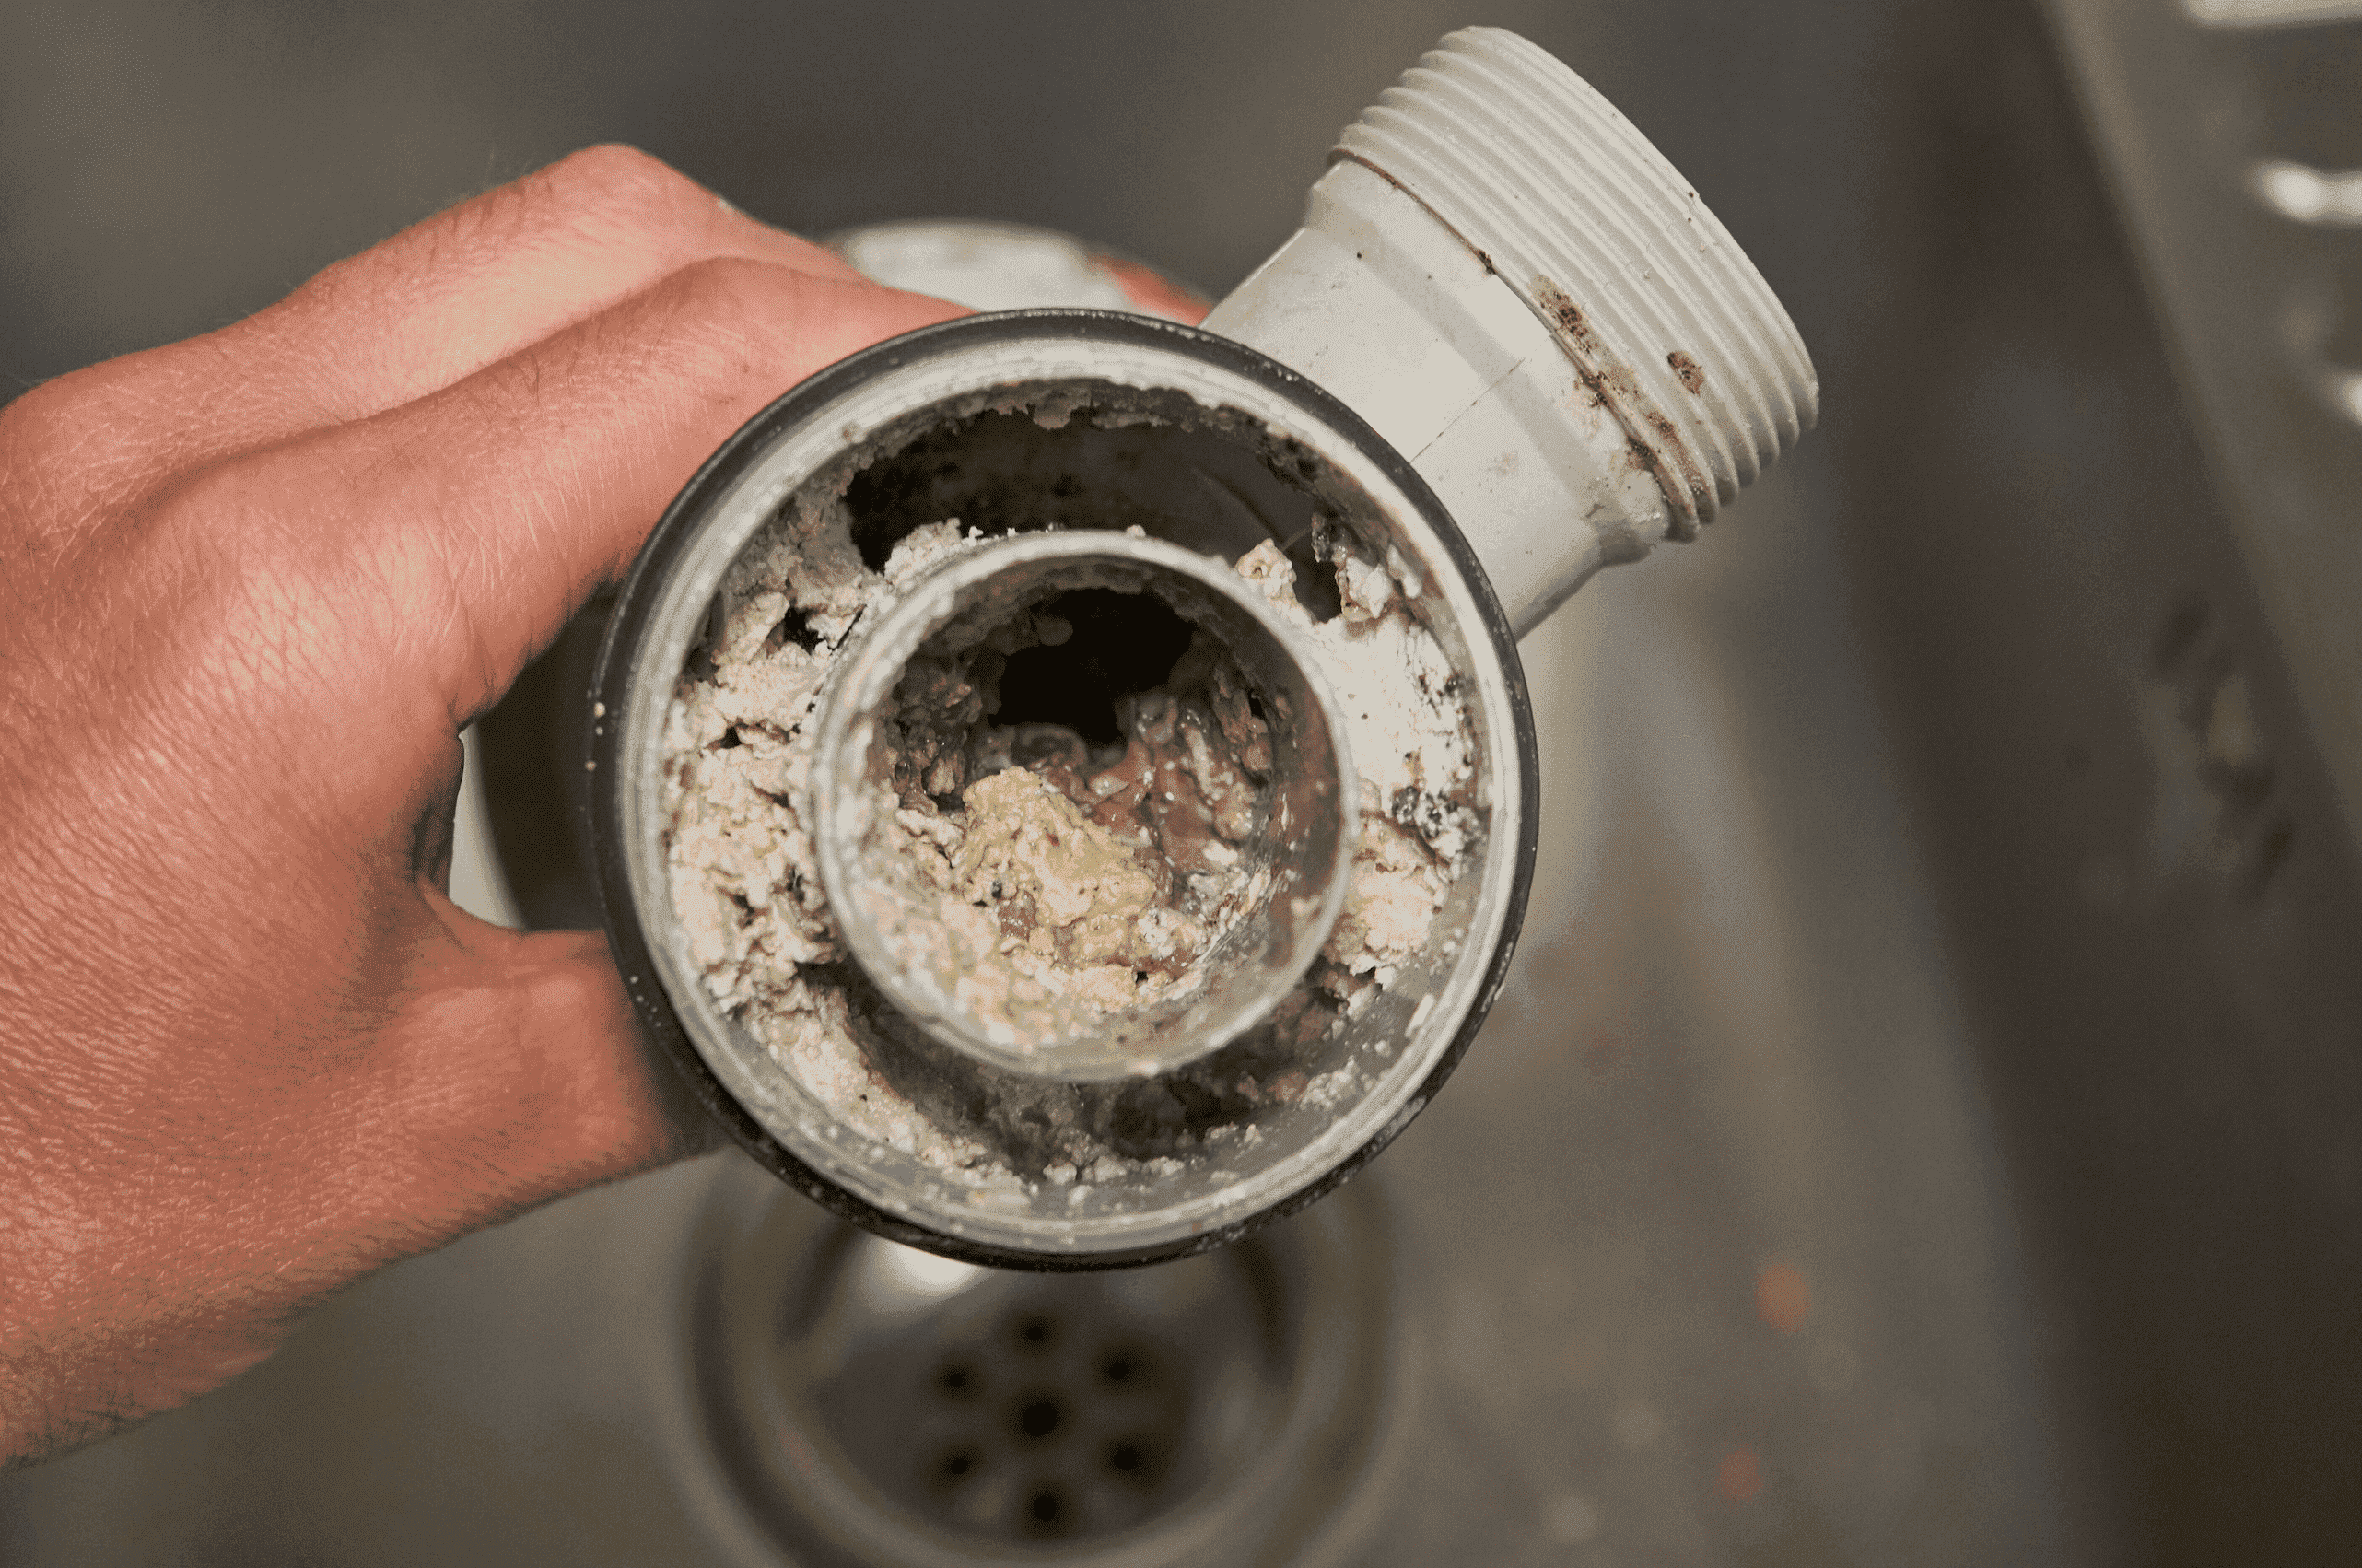
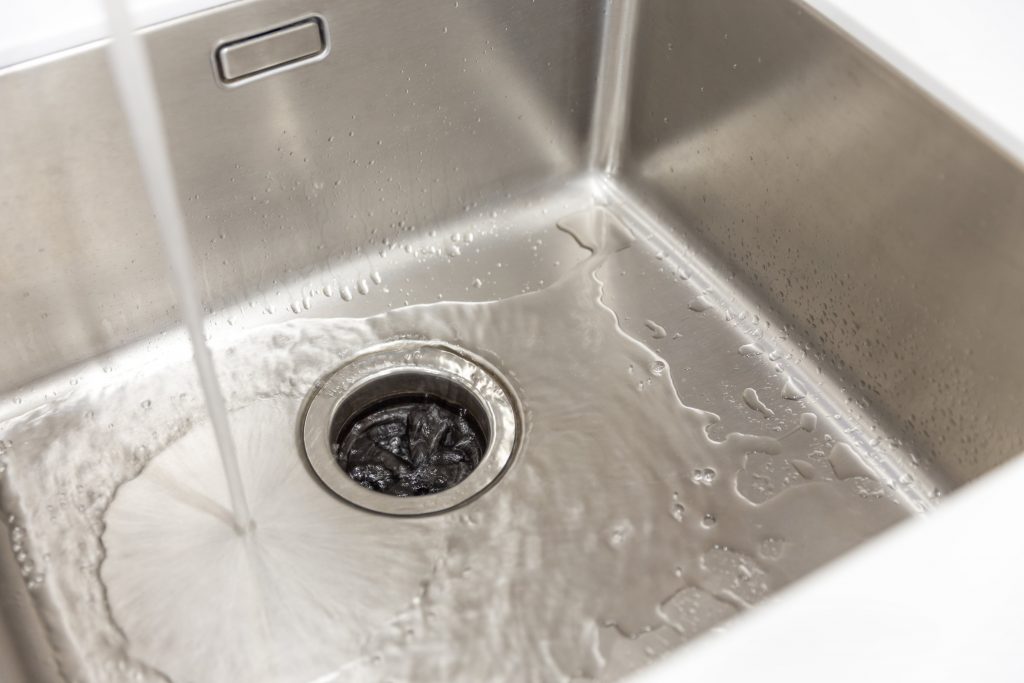
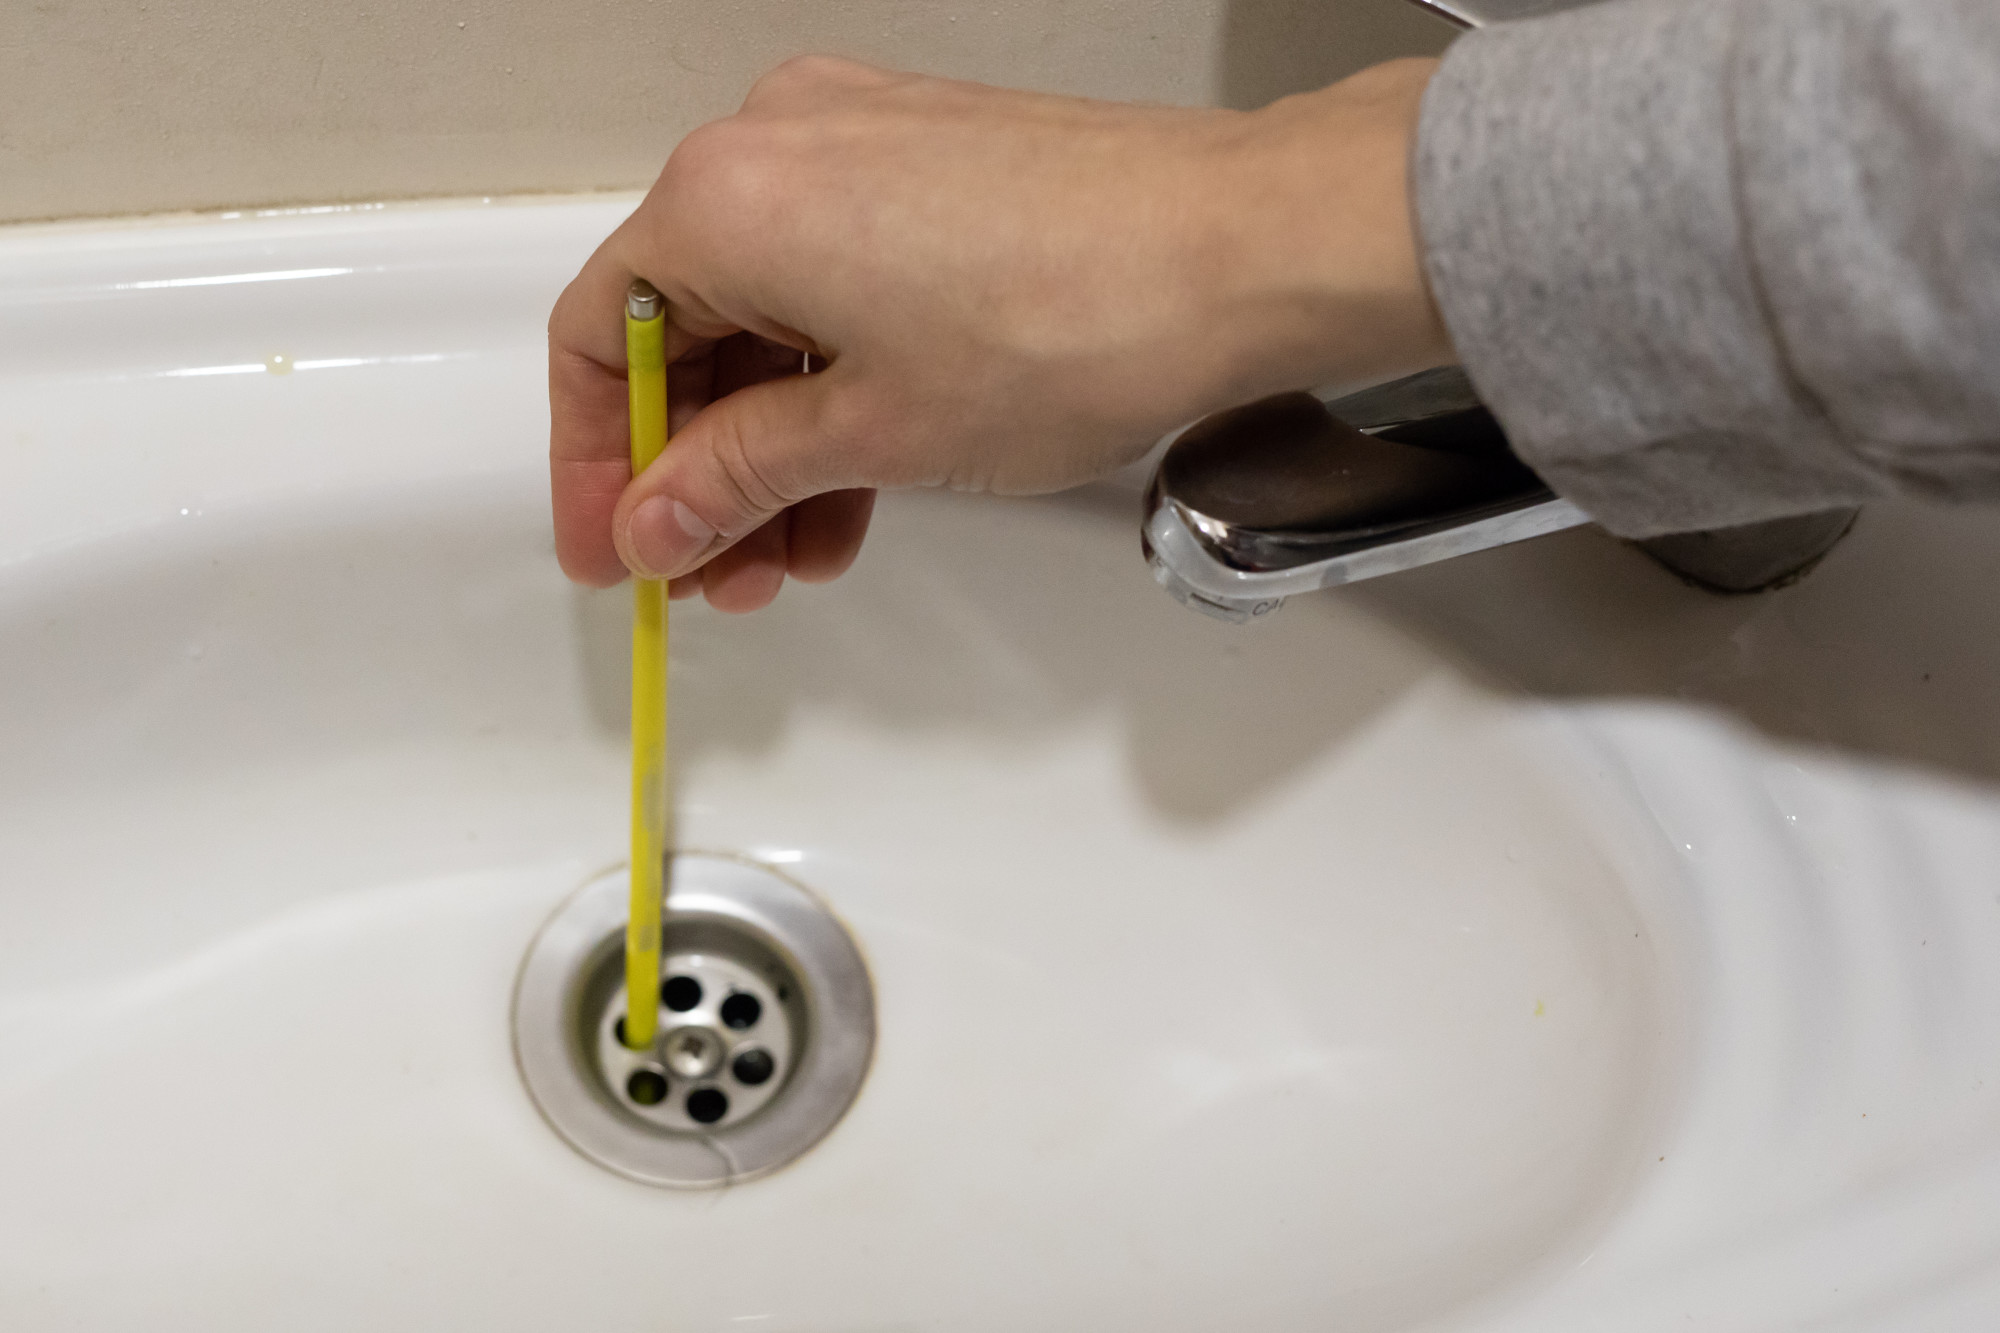
A clogged kitchen sink is a common problem that can be easily fixed with a few simple steps. If your sink is not draining or is draining slowly, follow this step-by-step guide to unclog it. In this section, we will provide a detailed guide to fixing a clogged kitchen sink. Step 1: Remove any standing water from the sink using a cup or a bucket. Step 2: Use a plunger to try and clear out the clog. If you have a double sink, make sure to cover the other drain with a wet cloth. Step 3: If the plunger doesn't work, remove the drain cover and clean out any debris using a wire hanger or a drain snake. Step 4: If the clog is still not cleared, you may need to remove the trap under the sink and clean it out. Make sure to place a bucket underneath to catch any water or debris. Step 5: Once the clog is cleared, run hot water down the drain to flush out any remaining debris. If none of these methods work, you may need to call a plumber to inspect and fix the issue.4. Step-by-Step Guide to Fixing a Clogged Kitchen Sink
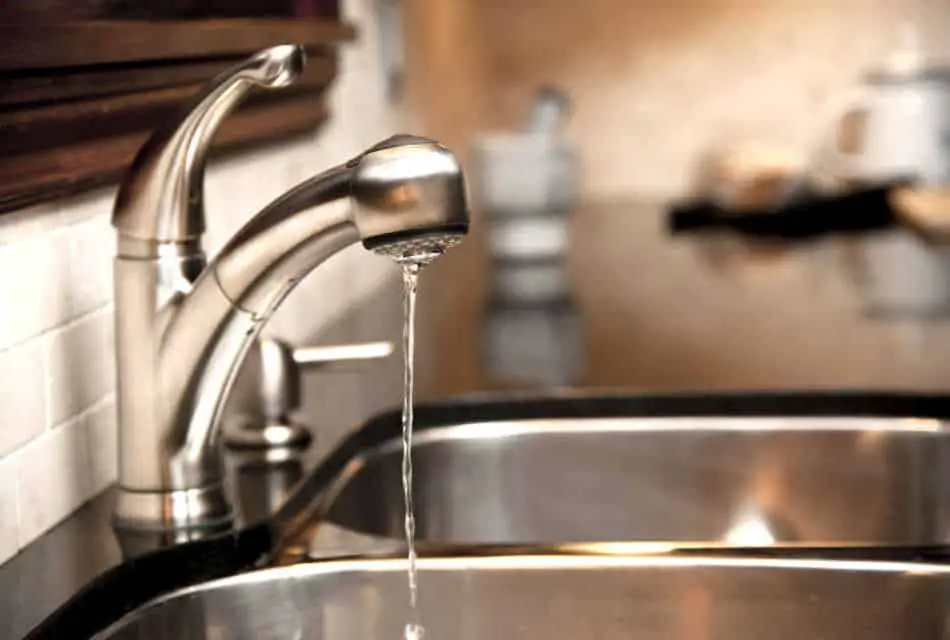
A dripping kitchen sink can be a frustrating and wasteful problem. Not only does it waste water, but it can also lead to a higher water bill. But before you call a plumber, there are some troubleshooting tips that you can try to fix the issue. In this section, we will provide some tips to help you troubleshoot a dripping kitchen sink. First, check the faucet for any loose or worn-out parts. You can use a wrench to tighten any connections or replace any damaged parts. If the dripping continues, you may need to replace the faucet entirely. If the faucet is not the issue, the problem may lie with the water pressure. Low water pressure can cause the water to drip constantly. You can clean the aerator to remove any blockages and increase the water pressure. Another possible cause of a dripping kitchen sink is a faulty valve or cartridge. These can be easily replaced by following the manufacturer's instructions or by calling a plumber for assistance.5. Troubleshooting Tips for a Dripping Kitchen Sink
Before attempting any kitchen sink repairs, it's important to have the right tools on hand. This will save you time and make the process much easier. Here are some essential tools you will need to fix a kitchen sink. In this section, we will list the tools you need to fix a kitchen sink. 1. Plunger: This is a must-have tool for unclogging a sink or drain. 2. Drain snake: A drain snake is a long, flexible tool used to remove debris from the drain. 3. Wrench: You will need a wrench to tighten any loose connections or replace parts. 4. Allen wrench: This is used to manually turn the blades of a garbage disposal. 5. Bucket: A bucket will come in handy to catch any water or debris when working under the sink. 6. Sealant: This is used to seal any cracks or holes in the sink or pipes. 7. Screwdriver: You may need a screwdriver to remove and replace any screws or bolts. 8. Pliers: These can be used to grip and tighten small parts. 9. Cleaning supplies: It's always a good idea to have some cleaning supplies on hand to clean out the sink and drain. 10. Replacement parts: It's always a good idea to have spare parts, such as a new faucet or drain assembly, in case they need to be replaced.6. Tools You Need to Fix a Kitchen Sink
If your kitchen sink is beyond repair, you may need to replace it entirely. This may seem like a daunting task, but with the right tools and instructions, you can easily replace a kitchen sink on your own. In this section, we will guide you through the steps to replace a kitchen sink. Step 1: Shut off the water supply and disconnect the plumbing connections under the sink. Step 2: Remove any caulk or adhesive holding the sink in place. Step 3: Carefully lift the old sink out and clean the area where the new sink will be installed. Step 4: Place the new sink into the designated area and secure it with caulk or adhesive. Step 5: Reconnect the plumbing and turn the water supply back on. Remember to follow the manufacturer's instructions for your specific sink model.7. How to Replace a Kitchen Sink
A slow-draining kitchen sink can be a nuisance, but it doesn't always require a plumber to fix it. There are some quick fixes that you can try to improve the drainage and get your sink back to working properly. In this section, we will provide some quick fixes for a slow-draining kitchen sink. First, try using a plunger to clear out any clogs. You can also use a mixture of baking soda and vinegar to break down any blockages. If this doesn't work, remove the drain cover and clean out any debris using a wire hanger or a drain snake. If the sink is still draining slowly, you may need to clean out the trap or replace it. The trap is located under the sink and can be removed using pliers or a wrench. Make sure to place a bucket underneath to catch any water or debris. If none of these methods work, you may need to call a plumber to inspect and fix the issue.8. Quick Fixes for a Slow-Draining Kitchen Sink
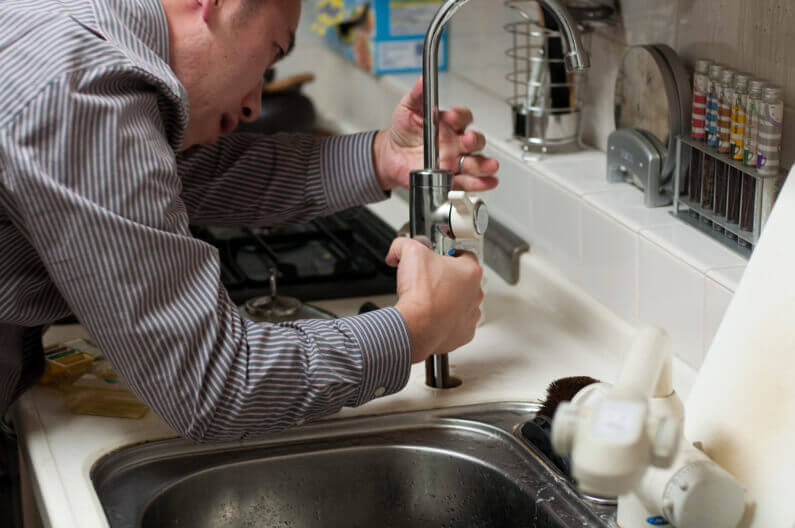
A loose kitchen sink faucet not only looks unattractive, but it can also be a safety hazard. If the faucet is moving around too much, it can cause leaks and damage to the sink and counter. But don't worry, fixing a loose faucet is a simple task that you can do on your own. In this section, we will provide a step-by-step guide to fixing a loose kitchen sink faucet. Step 1: Turn off the water supply and cover the drain to prevent any small parts from falling down. Step 2: Use a wrench to tighten any loose connections or replace any damaged parts. Step 3: If the faucet is still loose, you may need to replace the O-ring, which is located inside the faucet handle. Step 4: Once the issue is fixed, turn the water supply back on and check if the faucet is securely in place.9. How to Fix a Loose Kitchen Sink Faucet
Prevention is always better than cure, and this applies to kitchen sink problems as well. By regularly maintaining your kitchen sink, you can prevent many common issues from occurring. In this section, we will provide some maintenance tips to help you prevent kitchen sink problems. 1. Clean your sink and drain regularly to prevent clogs and build-up. 2. Avoid pouring grease, oil, and food scraps down the drain. 3. Use a drain cover to catch any debris and prevent it from going down the drain. 4. Check and tighten any loose connections or parts regularly. 5. Do not use harsh chemicals to clean the sink or drain, as they can damage the pipes and cause more problems. By following these simple maintenance tips, you can keep your kitchen sink in good condition and avoid costly repairs.10. Preventing Kitchen Sink Problems: Maintenance Tips
Why Fixing Your Kitchen Sink is Essential for a Well-Designed Home

The Importance of a Functional Kitchen
 Your kitchen is often considered the heart of your home, and for good reason. It is where meals are prepared, memories are made, and loved ones gather. However, a dysfunctional kitchen can quickly turn into a source of frustration and stress. One of the most common issues in a kitchen is a malfunctioning sink. Not only does a broken sink disrupt daily tasks, but it can also affect the overall aesthetic and functionality of your kitchen. That's why fixing your kitchen sink should be a top priority when it comes to house design.
The Impact of a Broken Sink
 A broken sink can cause major disruptions in your daily routine. From washing dishes to filling up a pot with water, a functioning sink is essential in completing these tasks efficiently. Additionally, a sink that is constantly leaking or clogged can lead to water damage and mold growth, which can be costly to repair. Not only does a broken sink affect the functionality of your kitchen, but it can also bring down the overall design of the space. A cracked or stained sink can make your kitchen appear outdated and unappealing.
The Benefits of Fixing Your Kitchen Sink
 By fixing your kitchen sink, you can improve the overall functionality and design of your kitchen. A new sink can add a modern touch to your space and make daily tasks easier and more enjoyable. Additionally, fixing a broken sink can prevent further damage and save you from costly repairs in the future. With a functional and aesthetically pleasing sink, your kitchen will become a more inviting and enjoyable space for you and your family.
What to Consider When Fixing Your Kitchen Sink
:max_bytes(150000):strip_icc()/father-and-son-fixing-pipe-under-kitchen-sink-603705637-57a3bd9c5f9b58974a7bff89.jpg) When it comes to fixing your kitchen sink, there are a few things to keep in mind. First, consider your budget. There are various options available, from budget-friendly options to more high-end sinks that can add a touch of luxury to your kitchen. Secondly, think about the style and design of your kitchen. You want to choose a sink that complements your existing decor and enhances the overall look of your kitchen. Lastly, make sure to hire a professional to install your new sink to ensure it is done correctly and will last for years to come.
In conclusion, fixing your kitchen sink is essential for a well-designed home. Not only does it improve the functionality and aesthetics of your kitchen, but it also prevents further damage and saves you from costly repairs in the future. So, if you're experiencing issues with your kitchen sink, don't hesitate to address the problem and invest in a new one. Your kitchen (and your sanity) will thank you.
When it comes to fixing your kitchen sink, there are a few things to keep in mind. First, consider your budget. There are various options available, from budget-friendly options to more high-end sinks that can add a touch of luxury to your kitchen. Secondly, think about the style and design of your kitchen. You want to choose a sink that complements your existing decor and enhances the overall look of your kitchen. Lastly, make sure to hire a professional to install your new sink to ensure it is done correctly and will last for years to come.
In conclusion, fixing your kitchen sink is essential for a well-designed home. Not only does it improve the functionality and aesthetics of your kitchen, but it also prevents further damage and saves you from costly repairs in the future. So, if you're experiencing issues with your kitchen sink, don't hesitate to address the problem and invest in a new one. Your kitchen (and your sanity) will thank you.


