If you're tired of that constant drip coming from your kitchen sink faucet, it might be time to replace the washer. While it may seem like a daunting task, replacing a faucet washer in a kitchen sink is actually a simple and straightforward process. With a few tools and some basic knowledge, you can have your faucet working like new in no time. Follow this step-by-step guide to learn how to replace a faucet washer in a kitchen sink.How to Replace a Faucet Washer in a Kitchen Sink


How to Replace a Faucet Washer in a Kitchen Sink


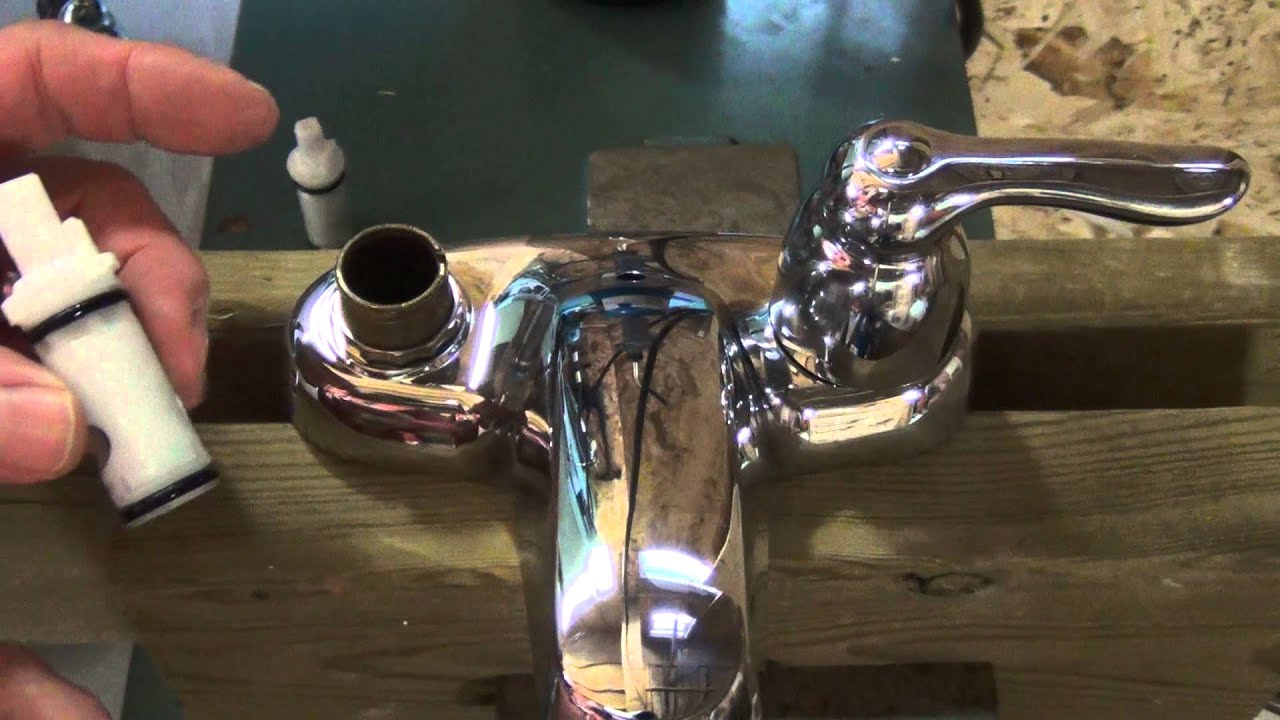


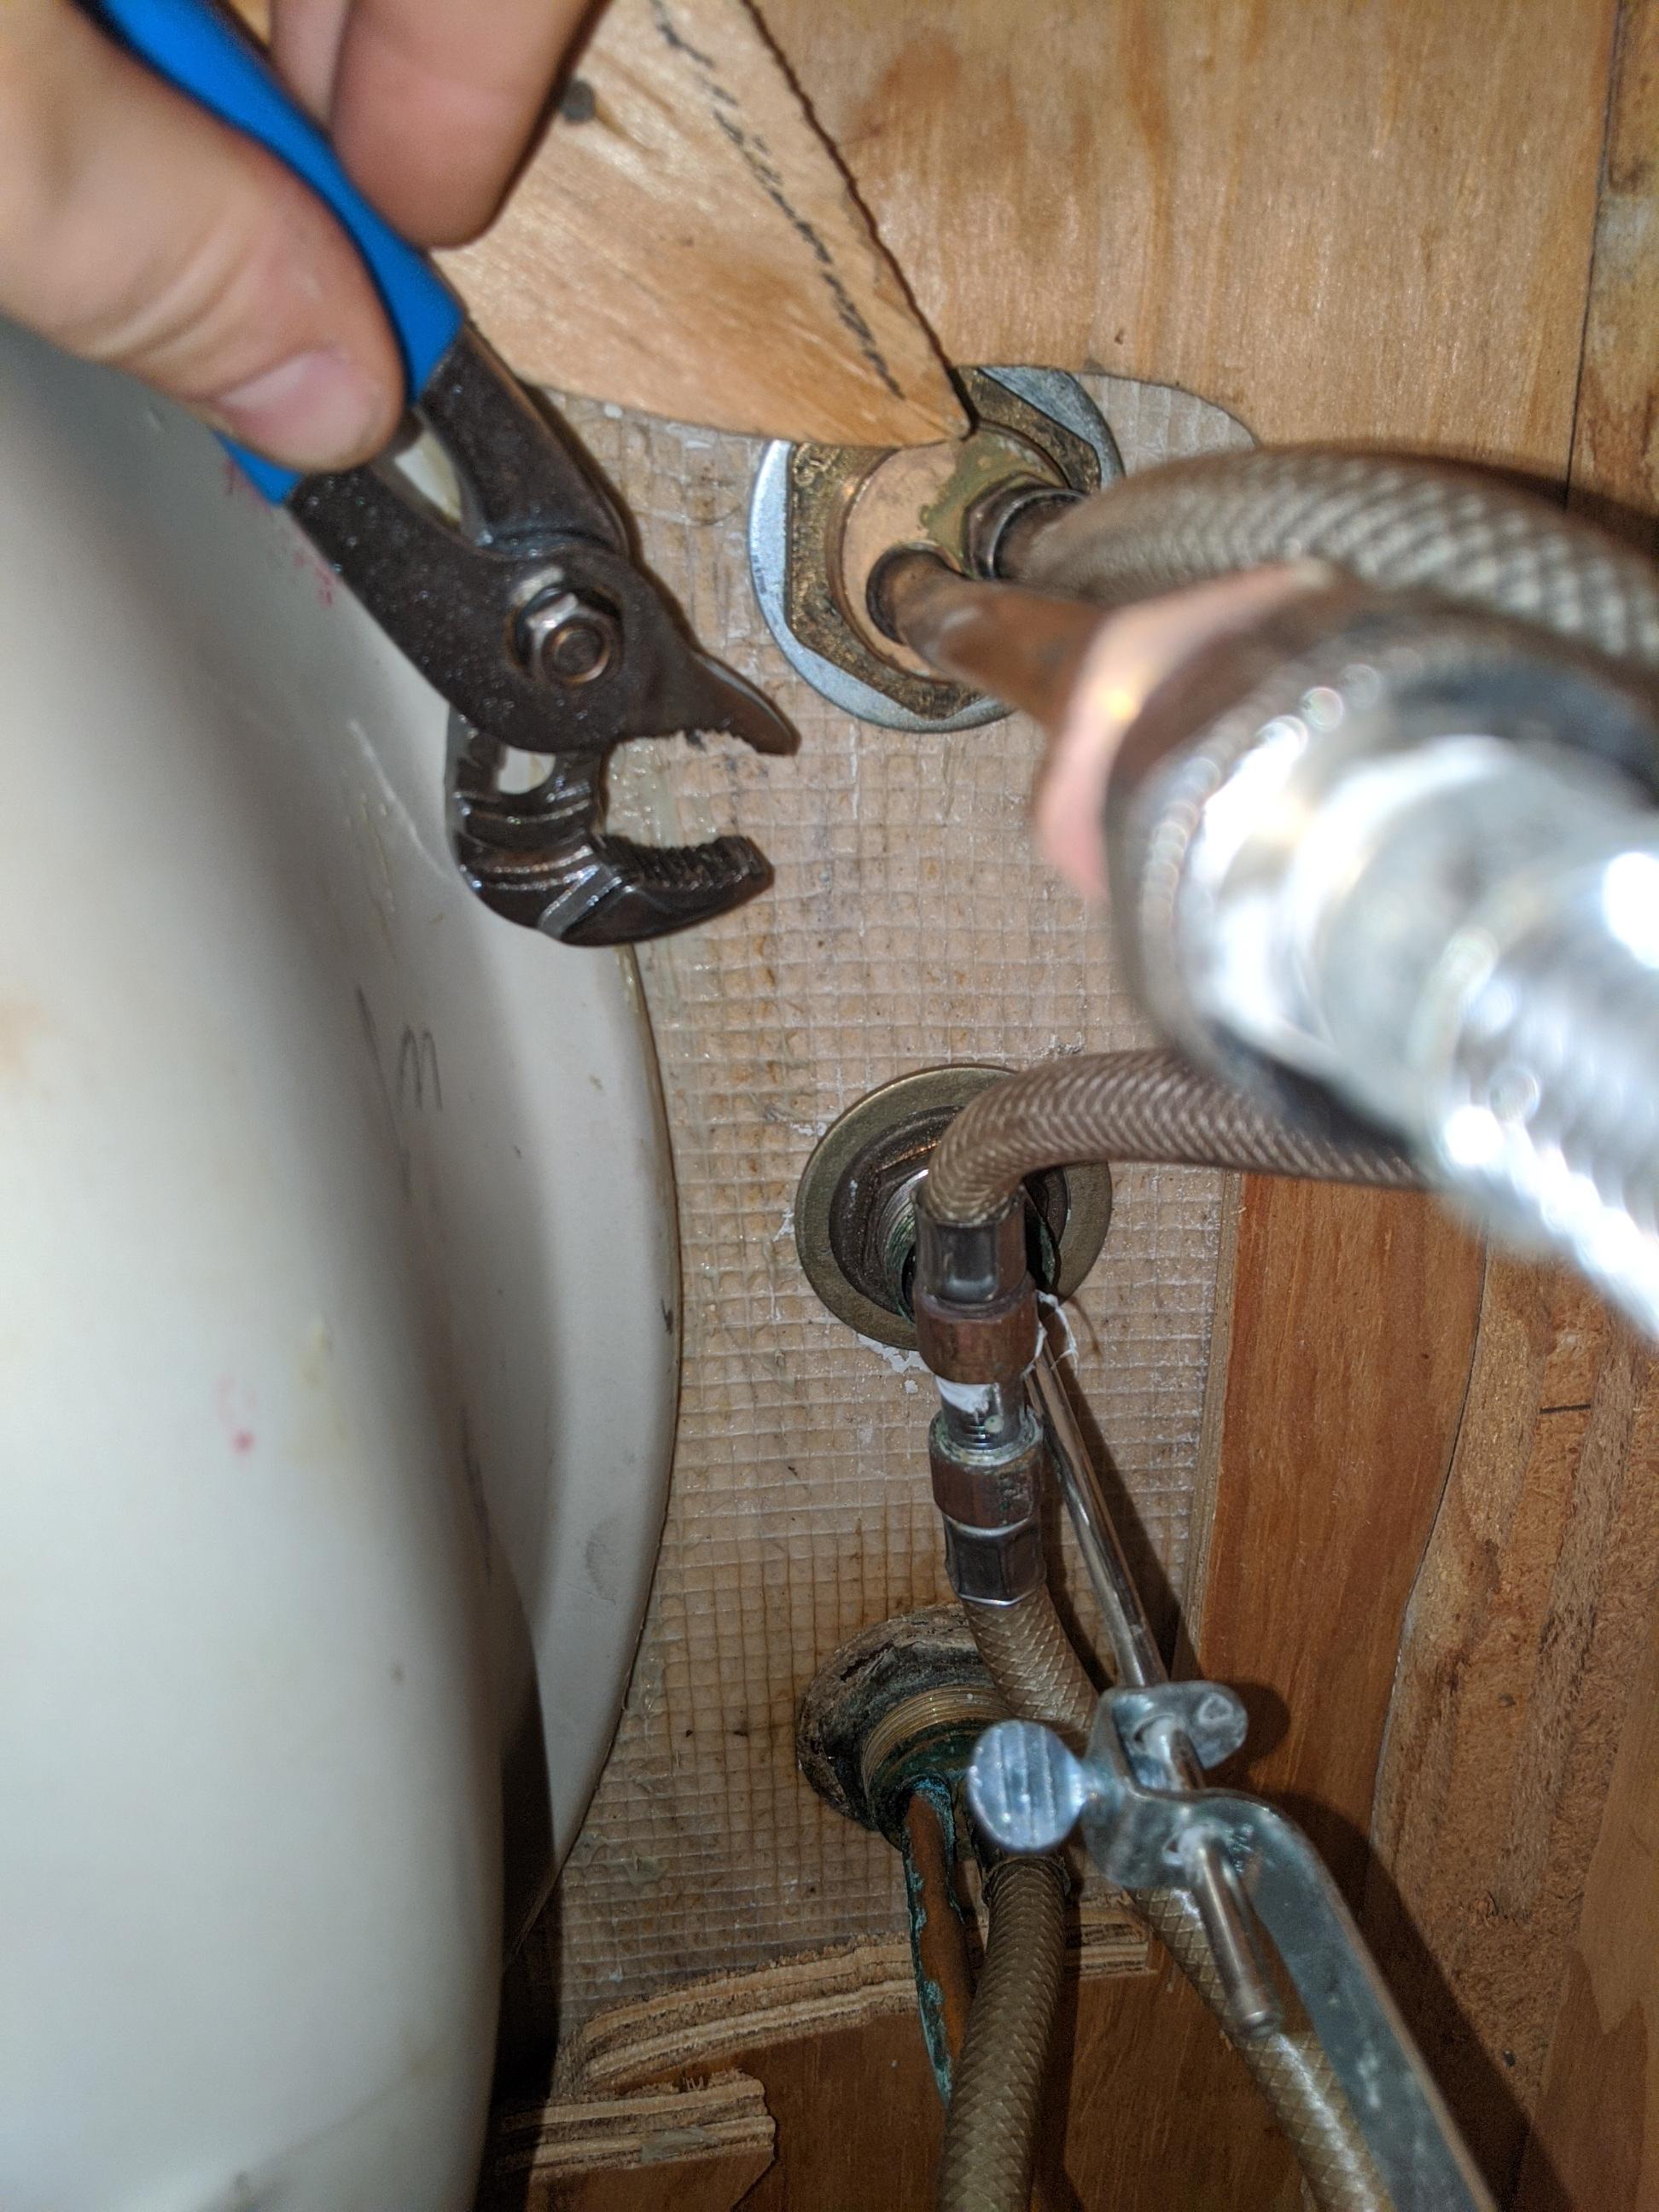
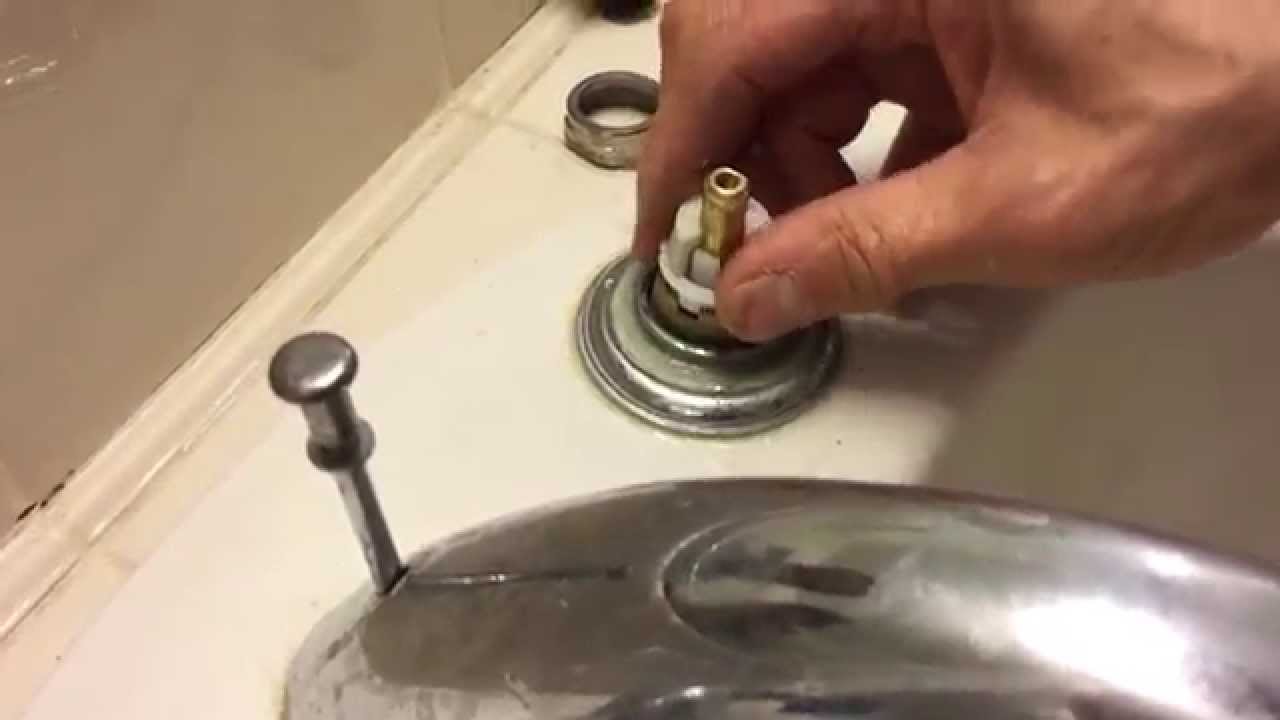
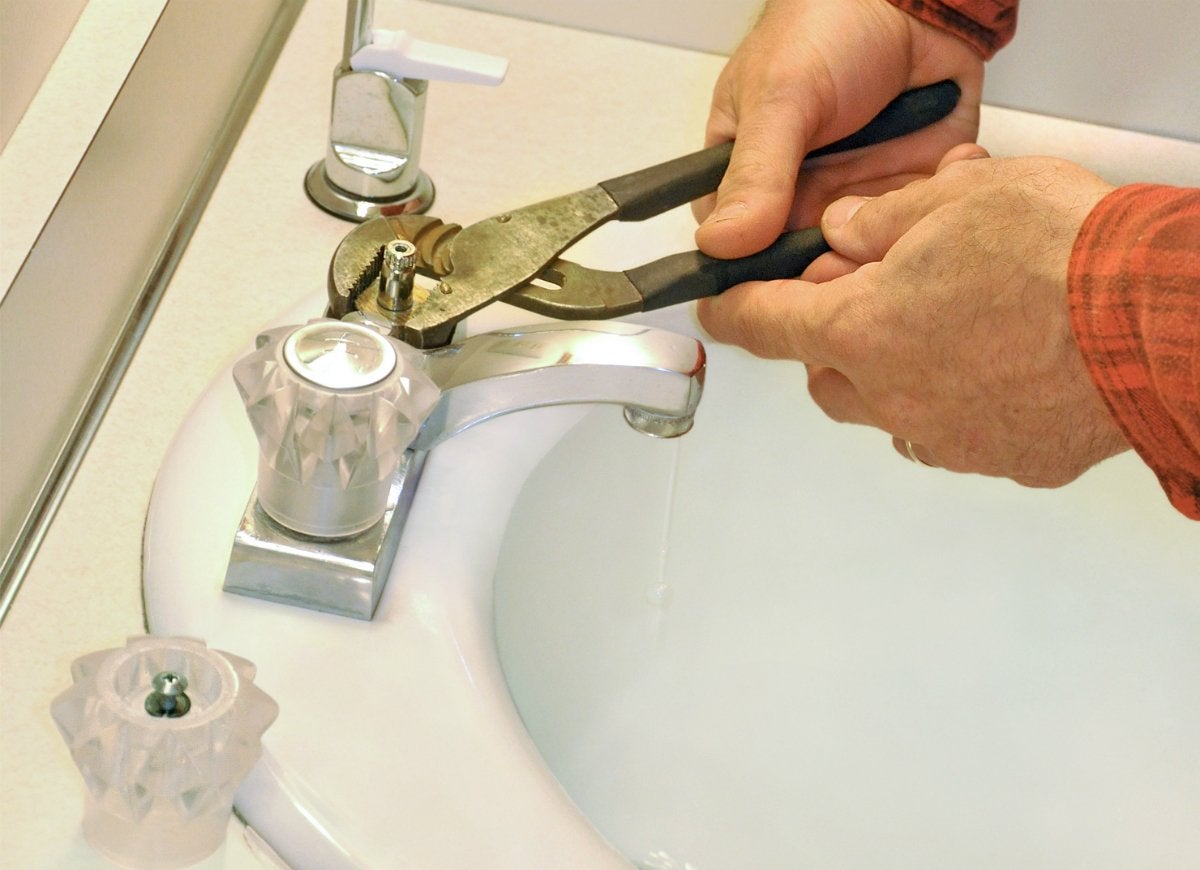
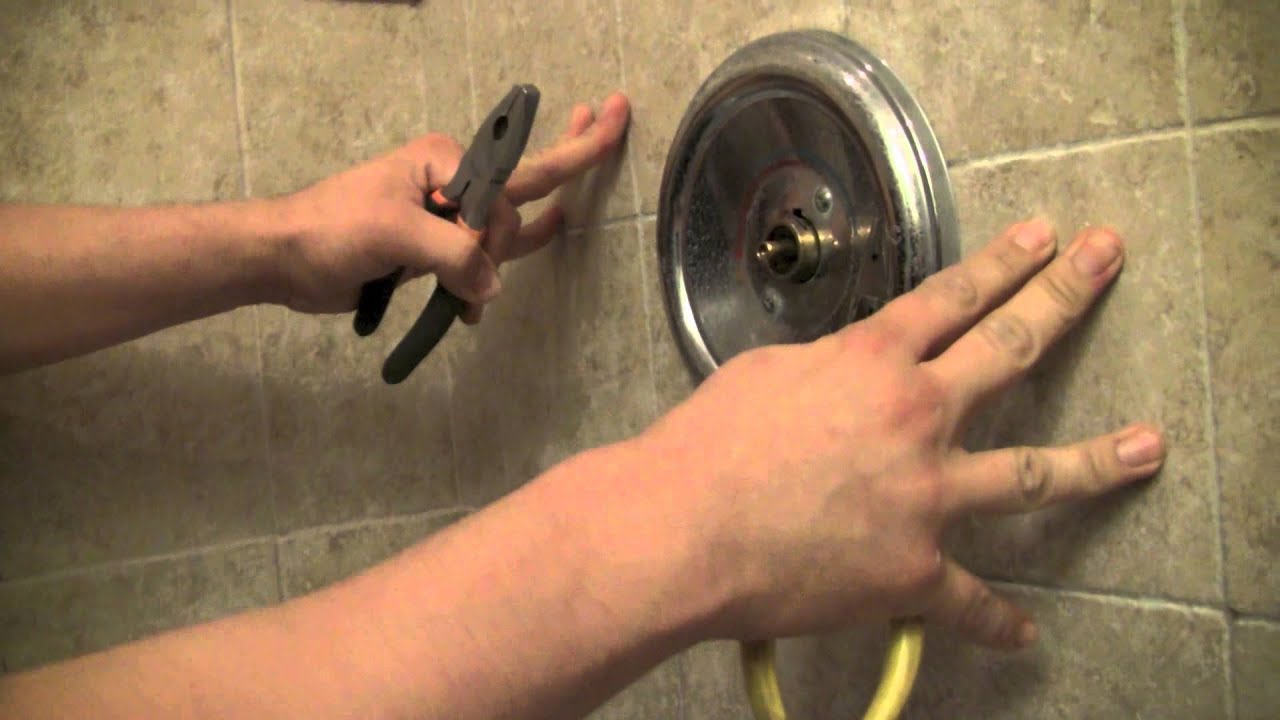
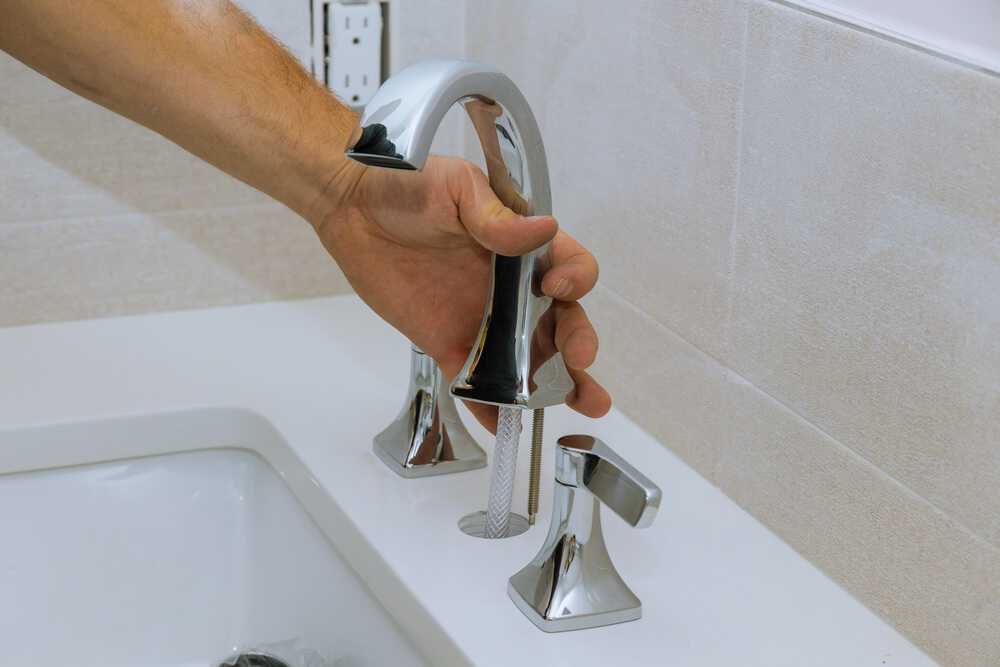
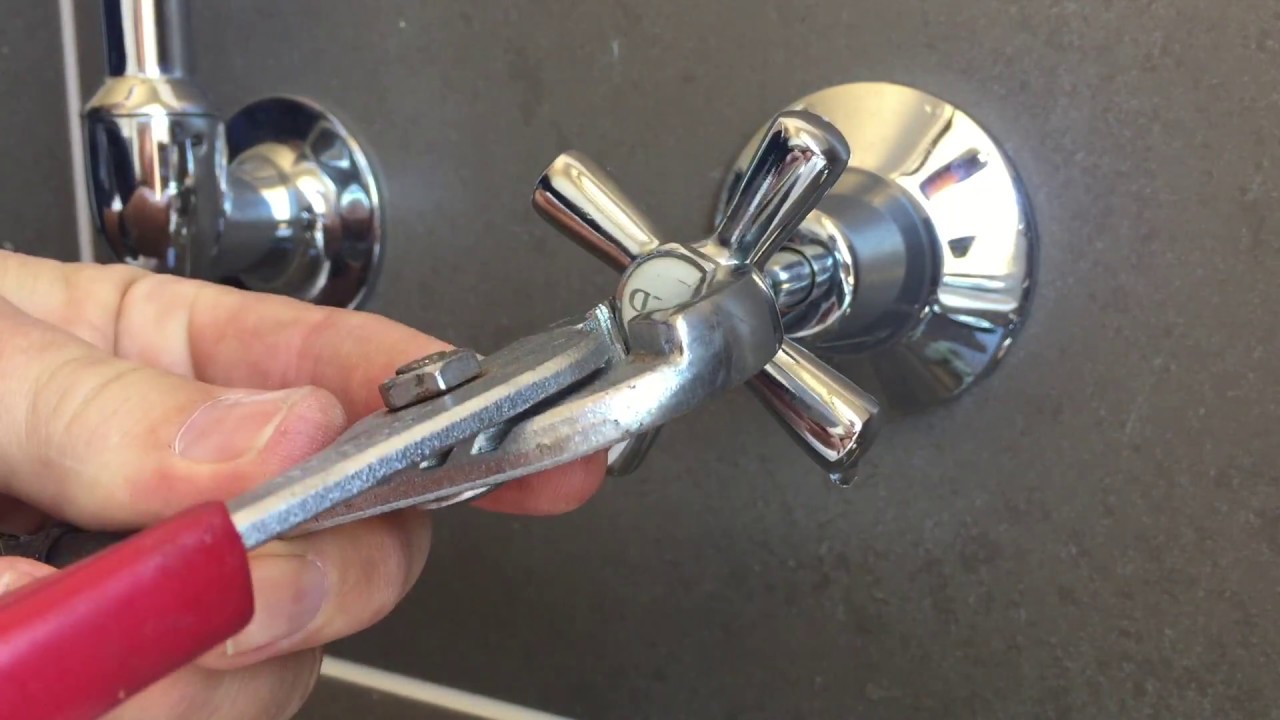
Step 1: Gather your tools and materials. You will need an adjustable wrench, pliers, a screwdriver, a new faucet washer, and plumber's grease. Step 2: Turn off the water supply to your kitchen sink. This can usually be done by turning a valve under the sink or by shutting off the main water supply to your house. Step 3: Remove the faucet handle. Use a screwdriver to remove the handle's screw and then pull the handle off. Depending on the type of faucet you have, you may need to use pliers to unscrew the handle. Step 4: Locate the faucet washer. The washer is usually located at the bottom of the faucet where it connects to the sink. Use pliers to remove the retaining nut that holds the washer in place. Step 5: Remove the old washer and replace it with the new one. Make sure the new washer is the same size and shape as the old one. Apply plumber's grease to the new washer to help create a watertight seal. Step 6: Reattach the retaining nut and tighten it with pliers. Be careful not to overtighten, as this can cause damage to the washer. Step 7: Replace the faucet handle and tighten the screw with a screwdriver. Step 8: Turn the water supply back on and test the faucet. If the drip has stopped, then you have successfully replaced the washer. If the drip persists, you may need to replace the entire faucet.Replacing a Faucet Washer in a Kitchen Sink: Step-by-Step Guide


Replacing a Faucet Washer in a Kitchen Sink: Step-by-Step Guide


/modern-laundry-room-with-washer-and-dryer--607041485-5af90c0beb97de003df26d14.jpg)
Replacing a faucet washer in a kitchen sink is a DIY project that can save you time and money. With the right tools and some basic knowledge, you can easily fix a leaky faucet on your own. Follow these tips for a successful DIY faucet washer replacement: Tip 1: Make sure you have the right size washer. If the new washer is too big or too small, it will not create a proper seal and your faucet will continue to leak. Tip 2: Use plumber's grease on the new washer to help create a watertight seal. This will also make it easier to remove the washer in the future if necessary. Tip 3: Take your time and be gentle when removing and installing the new washer. Overtightening the retaining nut can cause damage to the washer and lead to further leaks. Tip 4: If you are unsure about any step in the process, consult a professional plumber for assistance.DIY: Replacing a Faucet Washer in a Kitchen Sink


DIY: Replacing a Faucet Washer in a Kitchen Sink


Don't let a leaky faucet drive you crazy. Use this quick and easy guide to replace a faucet washer in your kitchen sink: Step 1: Turn off the water supply to your kitchen sink. Step 2: Remove the faucet handle. Step 3: Locate the faucet washer and remove it. Step 4: Replace the washer with a new one and apply plumber's grease. Step 5: Reattach the retaining nut and faucet handle. Step 6: Turn the water supply back on and test the faucet for leaks.Quick and Easy Guide to Replacing a Faucet Washer in a Kitchen Sink


Quick and Easy Guide to Replacing a Faucet Washer in a Kitchen Sink


Before you begin replacing a faucet washer in your kitchen sink, there are a few important things to keep in mind: Size: Make sure you have the correct size washer for your faucet. Using the wrong size can result in a faulty seal and continued leaks. Age: If your faucet is very old, it may be more cost-effective to replace the entire faucet rather than just the washer. Older faucets are more prone to wear and tear and may continue to leak even after replacing the washer. Materials: Use high-quality materials when replacing the washer. Cheaper materials may not create a proper seal and can lead to further leaks. Expertise: If you are not confident in your DIY skills, it is best to consult a professional plumber for assistance. They have the knowledge and experience to properly replace a faucet washer and troubleshoot any issues that may arise.Replacing a Faucet Washer in a Kitchen Sink: What You Need to Know

Replacing a Faucet Washer in a Kitchen Sink: What You Need to Know


If you're a visual learner, follow these step-by-step instructions for replacing a faucet washer in your kitchen sink: Step 1: Turn off the water supply to your kitchen sink. Step 2: Remove the faucet handle. Step 3: Locate the faucet washer and remove it. Step 4: Replace the washer with a new one and apply plumber's grease. Step 5: Reattach the retaining nut and faucet handle. Step 6: Turn the water supply back on and test the faucet for leaks.Step-by-Step Instructions for Replacing a Faucet Washer in a Kitchen Sink


Step-by-Step Instructions for Replacing a Faucet Washer in a Kitchen Sink


Replacing a faucet washer in a kitchen sink may seem like a simple task, but there are a few common mistakes to avoid: Overtightening: It is important to tighten the retaining nut just enough to create a secure seal. Overtightening can damage the washer and lead to further leaks. Wrong size: Using the wrong size washer will not create a proper seal and will result in continued leaks. Skipping plumber's grease: Applying plumber's grease to the new washer helps create a watertight seal. Skipping this step can lead to leaks.Replacing a Faucet Washer in a Kitchen Sink: Common Mistakes to Avoid

Replacing a Faucet Washer in a Kitchen Sink: Common Mistakes to Avoid
These tips and tricks will help make replacing a faucet washer in a kitchen sink even easier: Tip 1: Use a cloth or towel to protect the finish of your faucet when using pliers or a wrench. Tip 2: Turn off the water supply and test the faucet before removing the handle to ensure you have the correct washer size and necessary tools. Tip 3: Keep an eye out for any additional leaks or issues after replacing the washer. This could be a sign of a larger problem that may require professional assistance.How to Replace a Faucet Washer in a Kitchen Sink: Tips and Tricks

How to Replace a Faucet Washer in a Kitchen Sink: Tips and Tricks
If you encounter any issues while replacing a faucet washer in a kitchen sink, here are some common problems and how to troubleshoot them: Leaking after replacement: If your faucet continues to leak after replacing the washer, double check that you have the correct size washer and that it is properly installed. If the leak persists, you may need to replace the entire faucet. Difficulty removing the handle: If you are having trouble removing the faucet handle, try using a lubricant such as WD-40 to loosen it. If it still will not budge, consult a professional plumber for assistance. Additional leaks: If you notice additional leaks after replacing the washer, this could be a sign of a larger problem with your faucet or plumbing. It is best to consult a professional plumber for further assistance.Replacing a Faucet Washer in a Kitchen Sink: Troubleshooting Common Issues
Replacing a Faucet Washer in a Kitchen Sink: Troubleshooting Common Issues

With these tips and tricks, you can replace a faucet washer in a kitchen sink like a pro: Tip 1: Take your time and be patient. Rushing through the process can lead to mistakes and potentially make the problem worse. Tip 2: Use high-quality materials. Investing in a good faucet washer and plumber's grease can save you time and money in the long run. Tip 3: If you encounter any issues or are unsure about any step in the process, don't hesitate to consult a professional plumber for assistance. By following these steps and tips, you can easily replace a faucet washer in a kitchen sink and put an end to that annoying drip. Remember to turn off the water supply before beginning and to test the faucet for leaks after completing the replacement. With a little DIY know-how, you can have your kitchen sink faucet working like new in no time.DIY: How to Replace a Faucet Washer in a Kitchen Sink Like a Pro


DIY: How to Replace a Faucet Washer in a Kitchen Sink Like a Pro


Why Replace Your Kitchen Sink Faucet Washer?

Faucet washers are an essential part of your kitchen sink's plumbing system. They are small rubber or plastic discs that fit inside the faucet and help create a tight seal to prevent water from leaking out. Over time, these washers can wear out or become damaged, resulting in leaks and drips. It may seem like a small issue, but a faulty faucet washer can cause significant water and energy waste. Not to mention the annoyance of a constantly dripping faucet. That's why it's crucial to replace your kitchen sink faucet washer as soon as you notice any signs of wear and tear.
 Replacing a faucet washer is a relatively simple and cost-effective task that can be done by homeowners with basic plumbing knowledge and tools. It's also a great way to upgrade the look of your kitchen sink without spending a lot of money. New faucet washers come in a variety of styles and finishes, allowing you to match it with your existing kitchen design or give it a fresh new look.
But why exactly would you need to replace your kitchen sink faucet washer?
The answer lies in the wear and tear of the washer. Over time, the constant pressure and friction from turning the faucet handle can cause the washer to degrade. This can result in cracks, tears, or simply flattened out washers that can no longer create a tight seal. As a result, water can start leaking out of the faucet, not only wasting this precious resource but also causing potential water damage to your sink and countertops.
Another common issue with faucet washers is mineral build-up. If you live in an area with hard water, minerals can accumulate on the washer, causing it to become stiff and less pliable. This can also lead to leaks and drips. Replacing the washer with a new one can solve this problem and ensure a smooth and leak-free flow of water.
Replacing your kitchen sink faucet washer can also improve the overall efficiency of your plumbing system.
A faulty washer can cause your faucet to leak even when it's turned off, resulting in wasted water and higher water bills. By replacing the washer, you can ensure that your faucet is functioning properly and not wasting any water.
In conclusion, replacing your kitchen sink faucet washer is a simple and cost-effective solution to prevent leaks, save water, and improve the efficiency of your plumbing system. With a wide range of styles and finishes available, it's also a great way to upgrade the look of your kitchen sink. So if you notice any signs of wear and tear on your faucet washer, don't hesitate to replace it and enjoy a leak-free and efficient kitchen sink.
Replacing a faucet washer is a relatively simple and cost-effective task that can be done by homeowners with basic plumbing knowledge and tools. It's also a great way to upgrade the look of your kitchen sink without spending a lot of money. New faucet washers come in a variety of styles and finishes, allowing you to match it with your existing kitchen design or give it a fresh new look.
But why exactly would you need to replace your kitchen sink faucet washer?
The answer lies in the wear and tear of the washer. Over time, the constant pressure and friction from turning the faucet handle can cause the washer to degrade. This can result in cracks, tears, or simply flattened out washers that can no longer create a tight seal. As a result, water can start leaking out of the faucet, not only wasting this precious resource but also causing potential water damage to your sink and countertops.
Another common issue with faucet washers is mineral build-up. If you live in an area with hard water, minerals can accumulate on the washer, causing it to become stiff and less pliable. This can also lead to leaks and drips. Replacing the washer with a new one can solve this problem and ensure a smooth and leak-free flow of water.
Replacing your kitchen sink faucet washer can also improve the overall efficiency of your plumbing system.
A faulty washer can cause your faucet to leak even when it's turned off, resulting in wasted water and higher water bills. By replacing the washer, you can ensure that your faucet is functioning properly and not wasting any water.
In conclusion, replacing your kitchen sink faucet washer is a simple and cost-effective solution to prevent leaks, save water, and improve the efficiency of your plumbing system. With a wide range of styles and finishes available, it's also a great way to upgrade the look of your kitchen sink. So if you notice any signs of wear and tear on your faucet washer, don't hesitate to replace it and enjoy a leak-free and efficient kitchen sink.