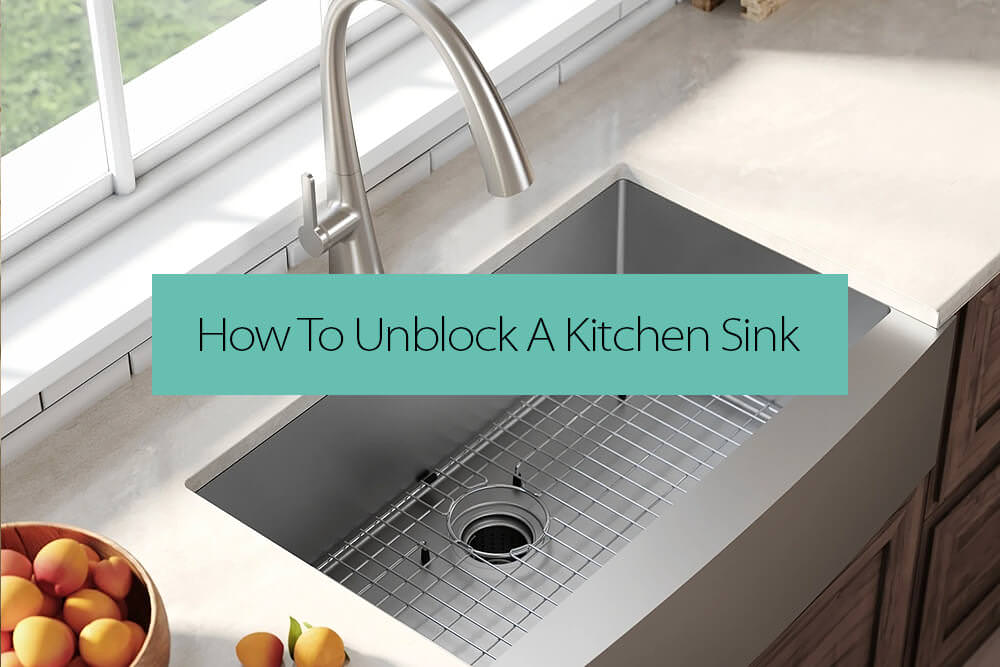
Fastening a kitchen sink is an essential step in any kitchen renovation or installation project. It ensures that the sink is securely attached to the countertop and will not move or shift over time. There are various methods and tools that can be used to fasten a kitchen sink, but it is important to choose the right one for your specific sink and countertop material.How to Fasten a Kitchen Sink


How to Fasten a Kitchen Sink


Before fastening a kitchen sink, it is important to ensure that it is properly secured to the cabinet base. This can be done by using brackets or clips that are attached to the sink and screwed into the cabinet base. This will prevent the sink from moving or shifting as you work on fastening it to the countertop.How to Secure a Kitchen Sink


How to Secure a Kitchen Sink


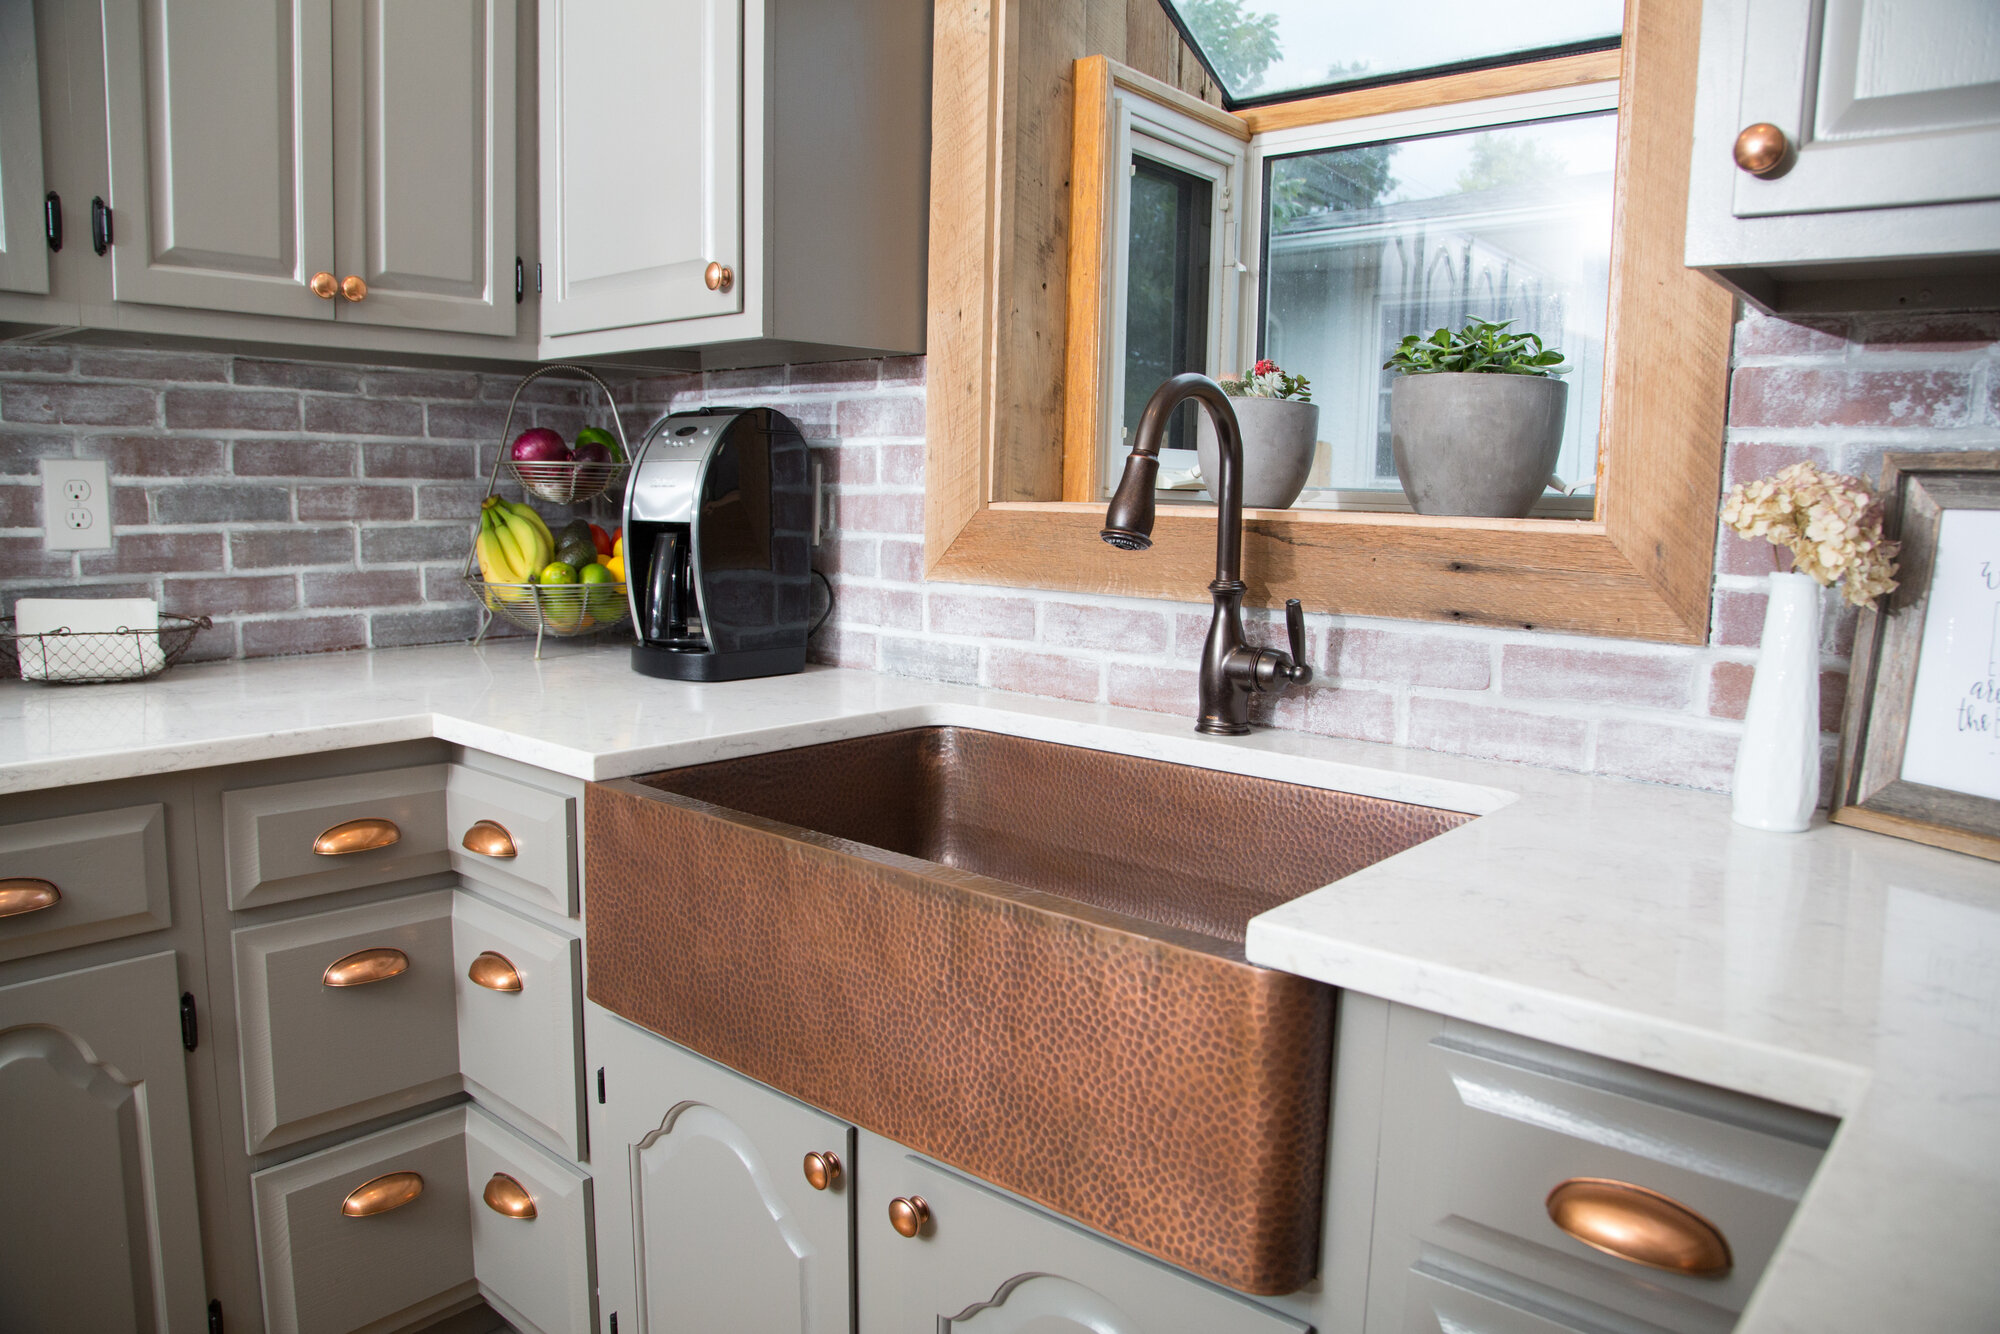


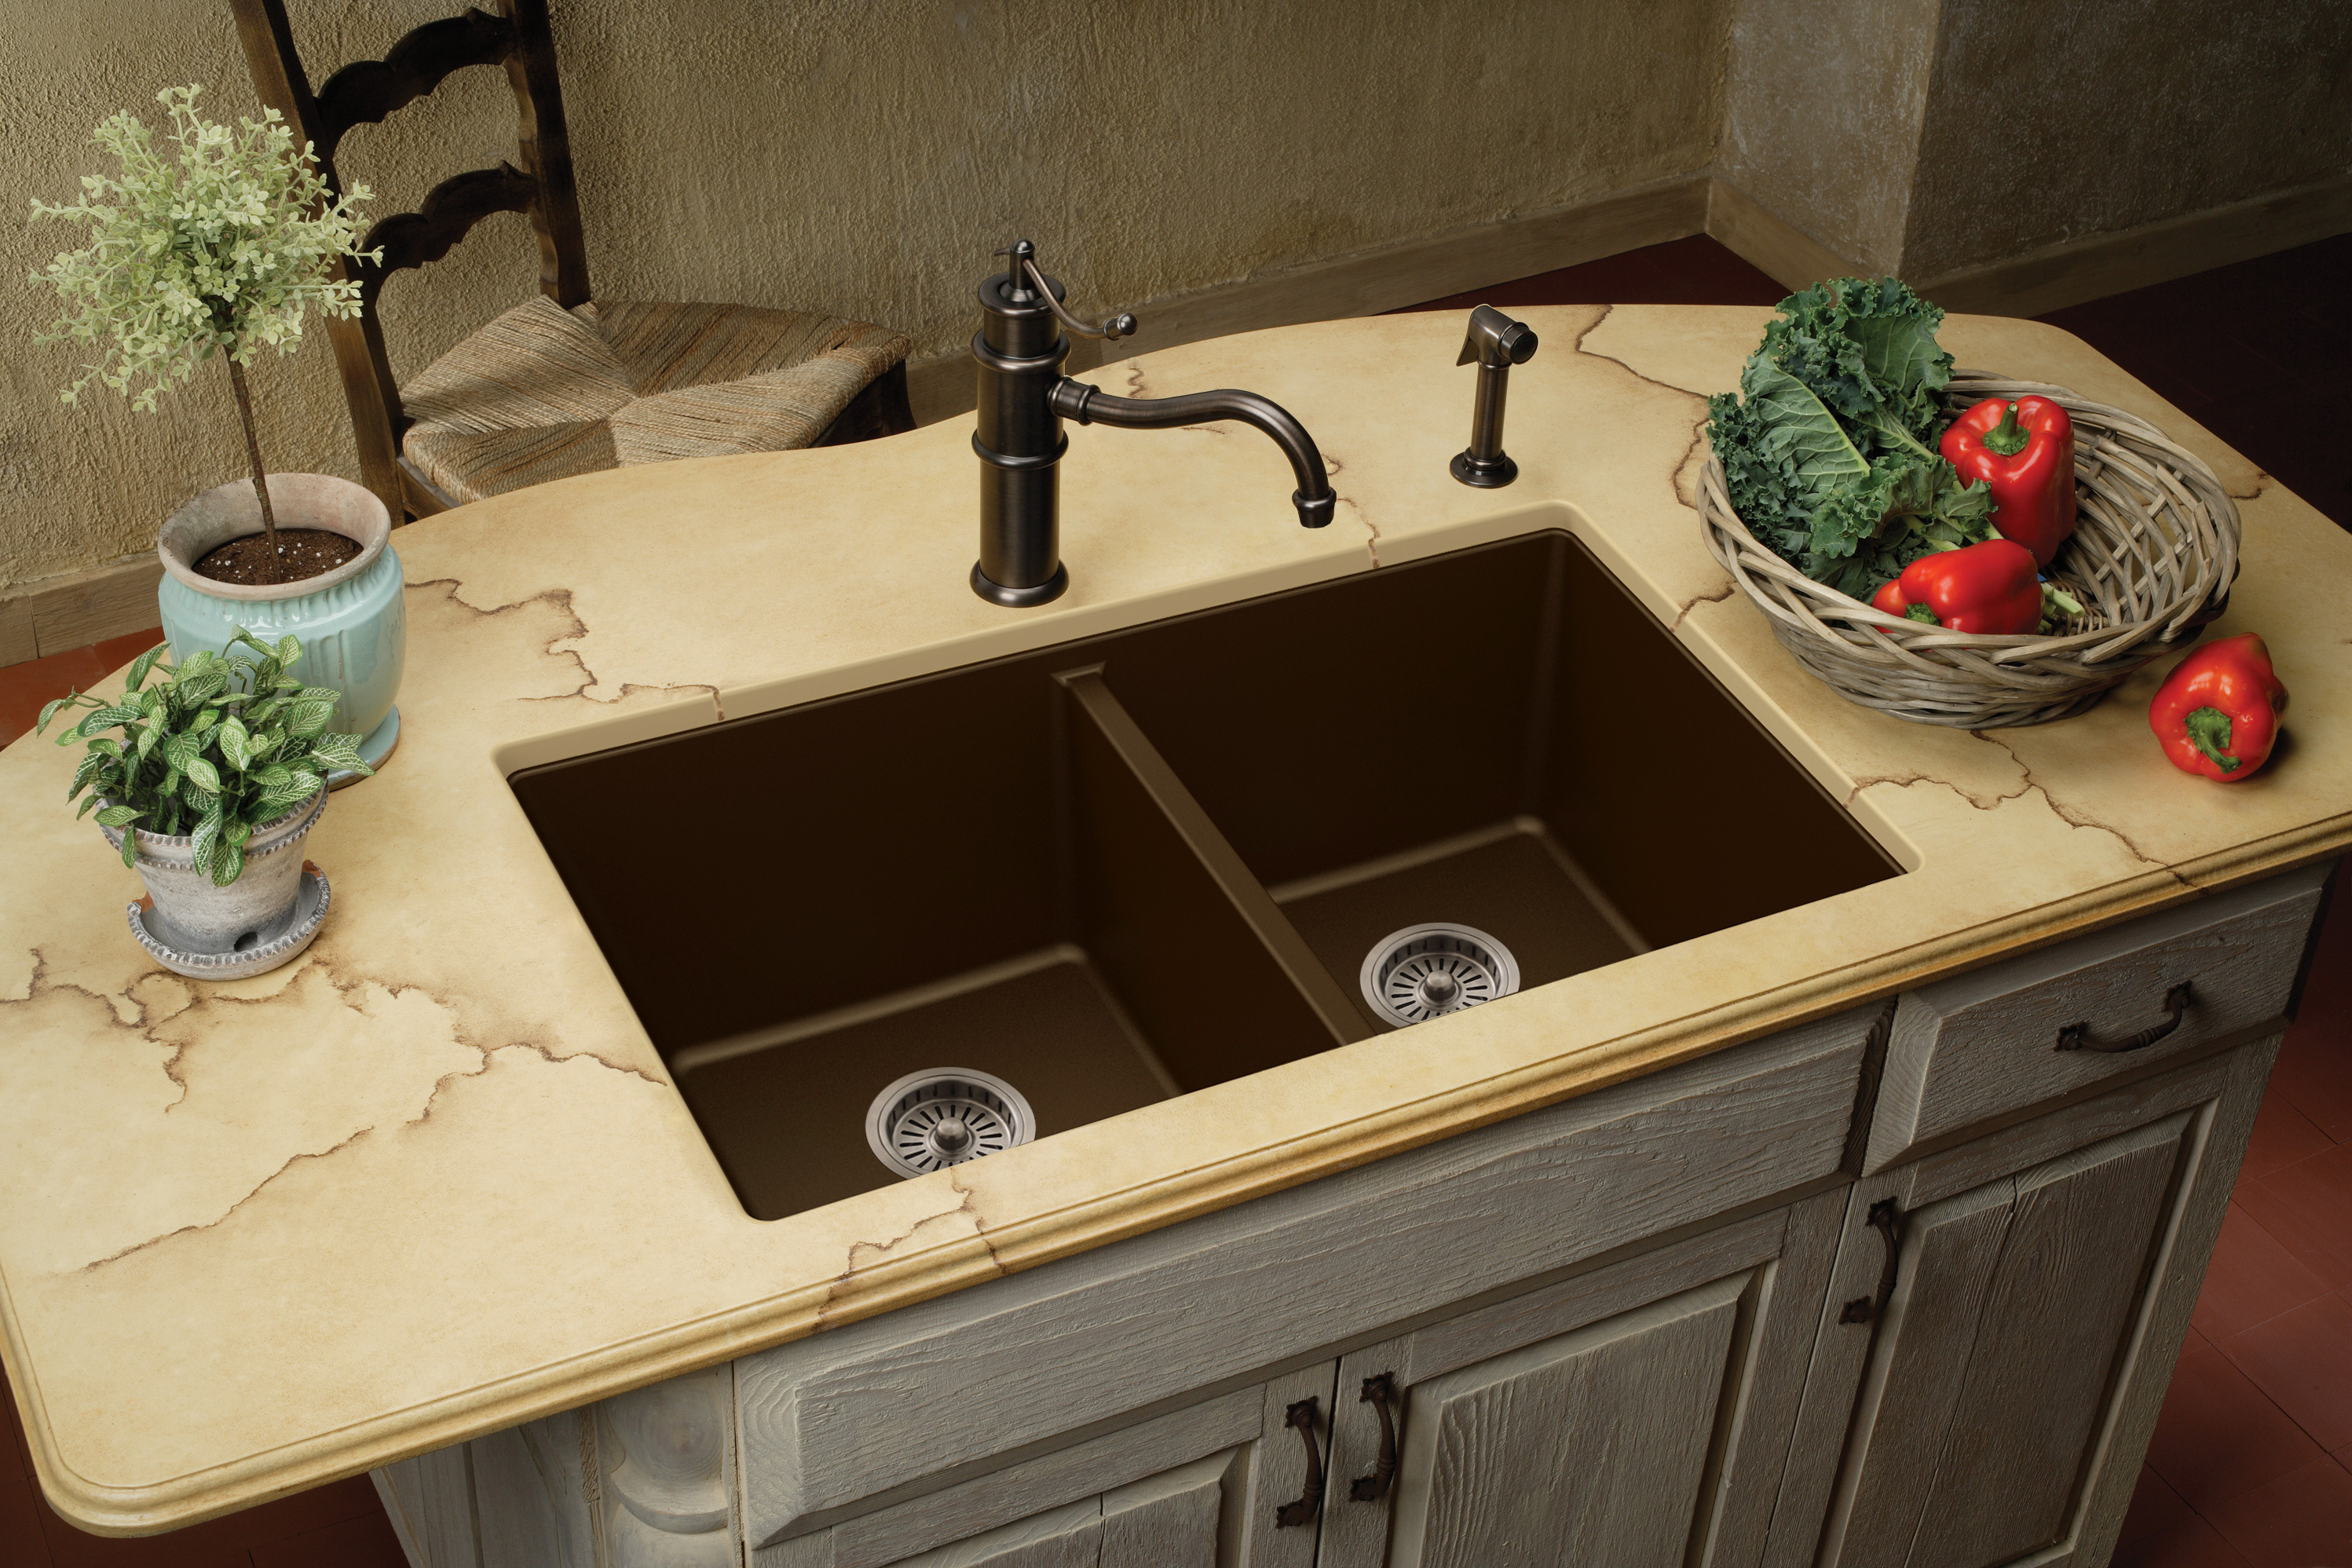
There are two main methods for attaching a kitchen sink to a countertop: top-mount and undermount. Top-mount sinks are placed on top of the countertop and secured with clips, while undermount sinks are attached to the underside of the countertop with adhesive or brackets. The method you choose will depend on your personal preference and the type of sink and countertop you have.Methods for Attaching a Kitchen Sink


Methods for Attaching a Kitchen Sink


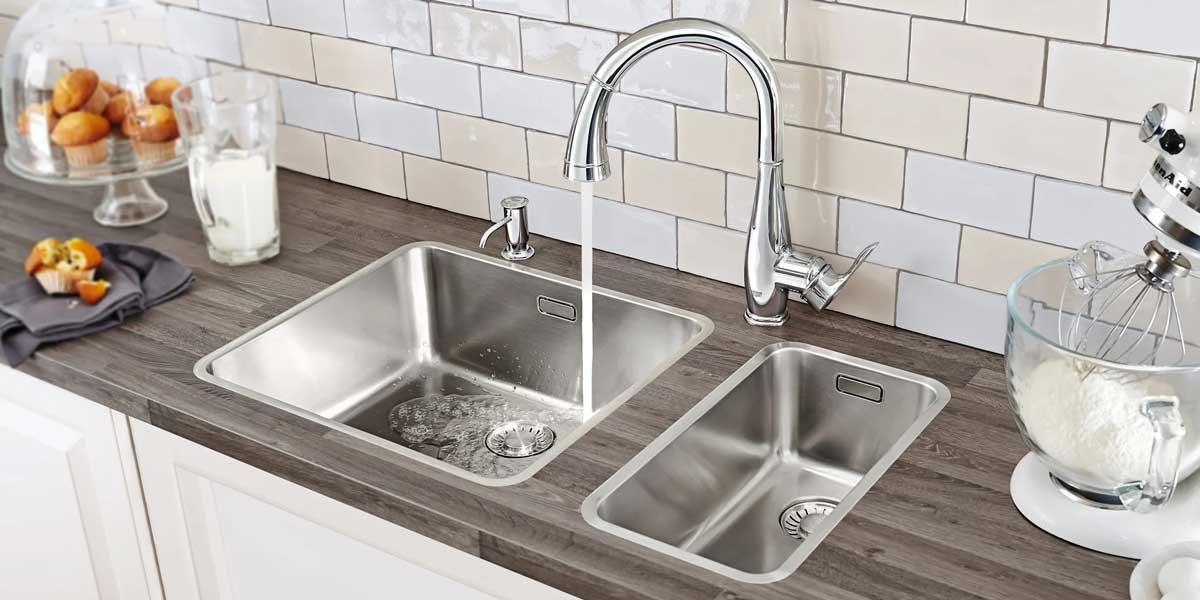
For top-mount sinks, the sink will typically come with clips that can be used to secure it to the countertop. These clips are usually placed on the underside of the sink and then tightened with a screwdriver. It is important to evenly distribute the clips around the sink to ensure a secure hold.Securing a Kitchen Sink to Countertop


Securing a Kitchen Sink to Countertop


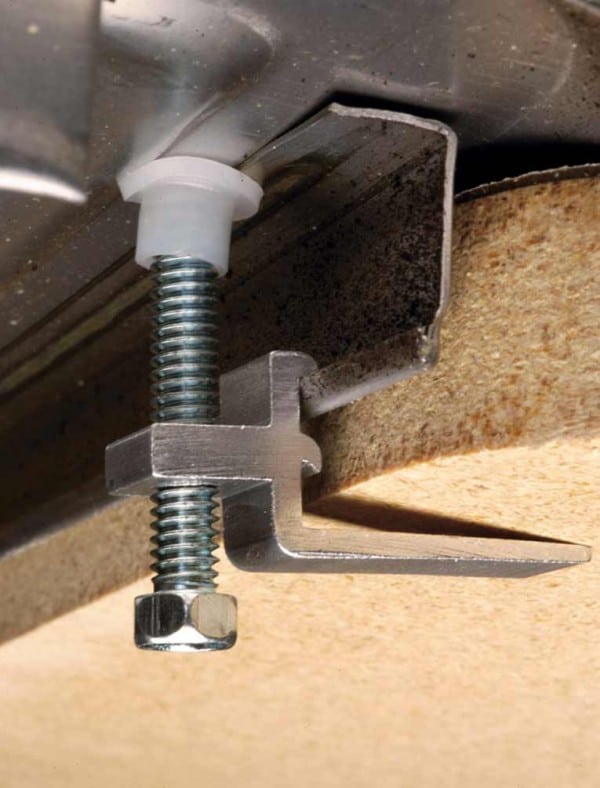
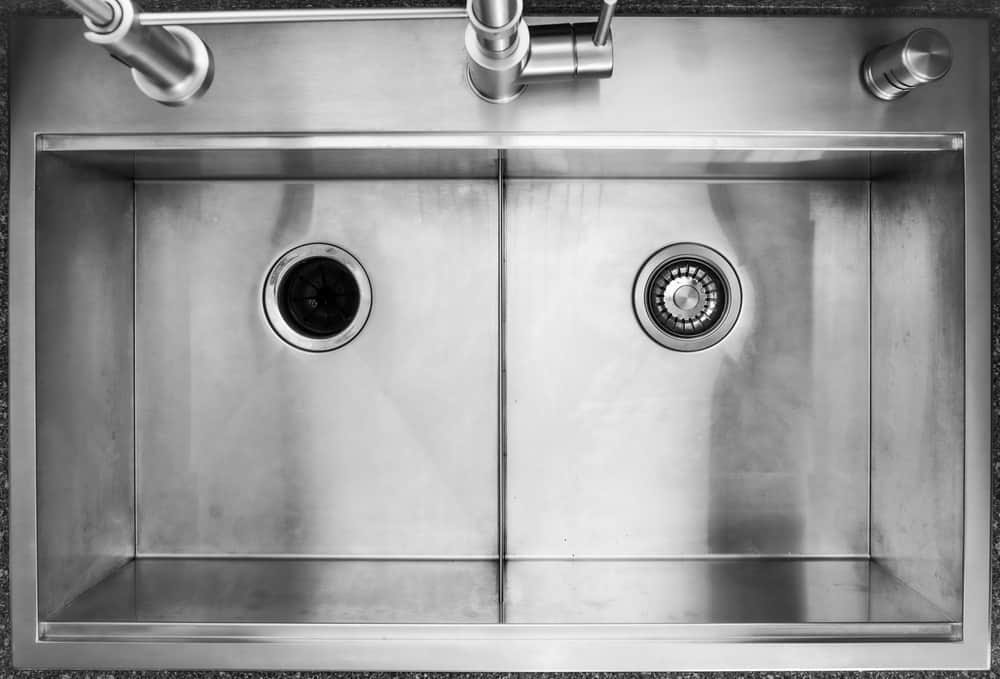
Fasteners are an essential tool for securing a kitchen sink to a countertop. They come in various forms, such as screws, bolts, and brackets, and are used to hold the sink in place. It is important to choose the right type of fastener for your sink and countertop material to ensure a strong and secure hold.Installing a Kitchen Sink with Fasteners


Installing a Kitchen Sink with Fasteners


:no_upscale()/cdn.vox-cdn.com/uploads/chorus_asset/file/19495086/drain_0.jpg)
In addition to fasteners, there are a few other tools that you will need to properly fasten a kitchen sink. These include a screwdriver, drill, and caulking gun. It is important to have these tools on hand before starting the installation process to ensure a smooth and efficient process.Tools for Fastening a Kitchen Sink


Tools for Fastening a Kitchen Sink


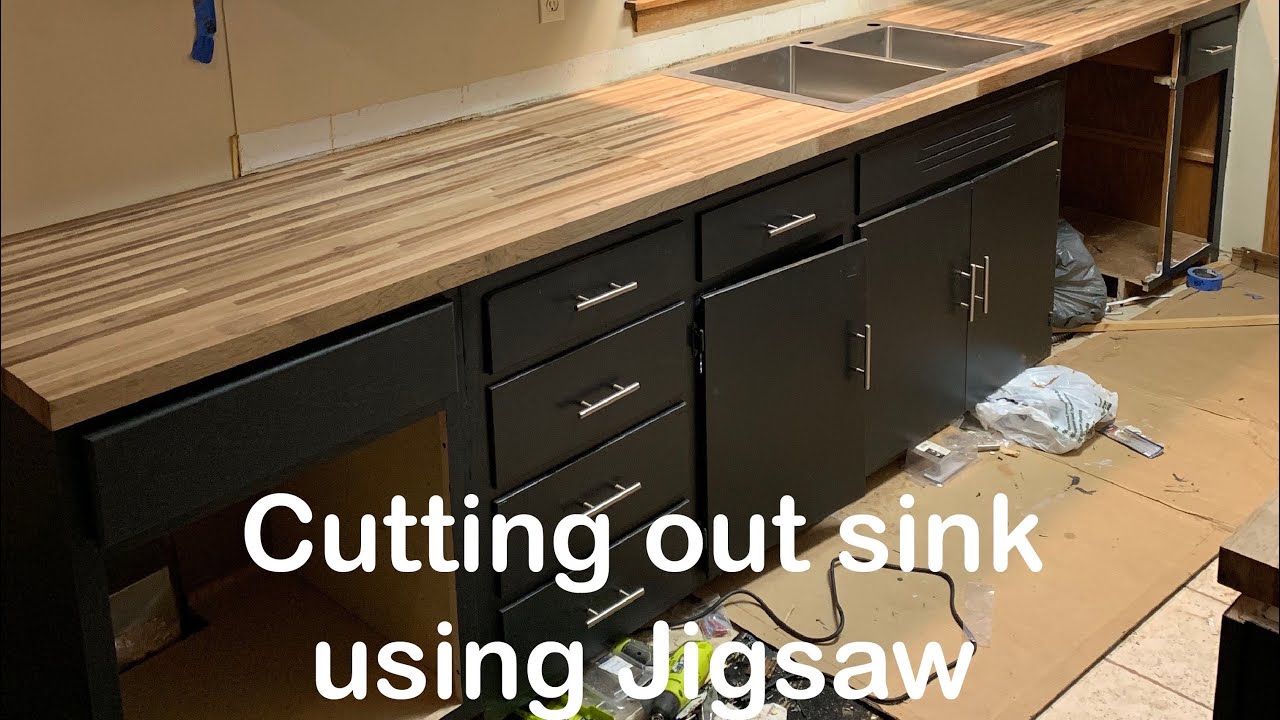
To fasten a kitchen sink, follow these steps: Step 1: Place the sink in the desired position on the countertop. Step 2: Secure the sink to the cabinet base with brackets or clips. Step 3: Use a drill to create holes for the fasteners around the perimeter of the sink. Step 4: Place the fasteners in the holes and tighten them with a screwdriver or drill. Step 5: Apply a bead of silicone caulk around the edge of the sink to create a watertight seal.Step-by-Step Guide for Fastening a Kitchen Sink


Step-by-Step Guide for Fastening a Kitchen Sink


:no_upscale()/cdn.vox-cdn.com/uploads/chorus_asset/file/19495086/drain_0.jpg)

There are various types of fasteners that can be used to secure a kitchen sink to a countertop. These include: Screws: These are the most common type of fastener and are used to hold the sink in place. Bolts: Bolts are similar to screws but are longer and provide a stronger hold. Brackets: Brackets are used to secure undermount sinks to the underside of the countertop. Clamps: Clamps are used to hold the sink in place while the adhesive dries for undermount sinks.Types of Fasteners for Kitchen Sinks


Types of Fasteners for Kitchen Sinks

:max_bytes(150000):strip_icc()/Basic-kitchen-sink-types-1821207_color_rev-0b539306b9ef4236a136624ad2a89a4c.jpg)


There are a few common mistakes that people make when fastening a kitchen sink. These include: Not evenly distributing the clips: When securing a top-mount sink, it is important to evenly distribute the clips around the sink to ensure a strong hold. Using the wrong type of fastener: It is important to choose the right type of fastener for your specific sink and countertop material to ensure a secure hold. Not applying enough pressure: When tightening the fasteners, it is important to apply enough pressure to ensure a tight hold. Failure to do so can result in a loose sink.Common Mistakes When Fastening a Kitchen Sink


Common Mistakes When Fastening a Kitchen Sink


Here are a few tips to keep in mind when fastening a kitchen sink: Choose the right type of fastener: As mentioned earlier, it is important to choose the right type of fastener for your specific sink and countertop material to ensure a secure hold. Follow the manufacturer's instructions: The sink and fasteners will come with instructions for proper installation. Be sure to follow these instructions carefully for best results. Have a helper: It can be helpful to have a helper when fastening a kitchen sink, especially with undermount sinks. They can hold the sink in place while you secure it to the countertop. With the right tools and knowledge, fastening a kitchen sink can be a simple and straightforward process. By following these tips and steps, you can ensure that your sink is securely attached to your countertop and will last for years to come.Tips for Properly Fastening a Kitchen Sink
Tips for Properly Fastening a Kitchen Sink


Additional Tips for Fastening a Kitchen Sink

Choosing the Right Materials
 When it comes to
fastening a kitchen sink
, selecting the right materials is crucial. The most common materials used for fastening kitchen sinks are
metal brackets
and
clips
, but there are also options such as
epoxy glue
and
silicone sealant
. It is important to consider the weight and size of your sink when choosing the appropriate materials. For heavier sinks, metal brackets and clips are recommended for a more secure fastening. For smaller or lighter sinks, epoxy glue or silicone sealant may be sufficient.
When it comes to
fastening a kitchen sink
, selecting the right materials is crucial. The most common materials used for fastening kitchen sinks are
metal brackets
and
clips
, but there are also options such as
epoxy glue
and
silicone sealant
. It is important to consider the weight and size of your sink when choosing the appropriate materials. For heavier sinks, metal brackets and clips are recommended for a more secure fastening. For smaller or lighter sinks, epoxy glue or silicone sealant may be sufficient.
Proper Installation
 Once you have chosen the appropriate materials, it is important to ensure proper installation.
Measure twice and cut once
to avoid any mistakes and make sure the sink fits snugly in the designated space.
Mark the placement of the brackets
on the underside of the sink and use a drill to create holes for the screws. For adhesive options, make sure to follow the instructions carefully and allow sufficient time for the adhesive to dry before using the sink.
Once you have chosen the appropriate materials, it is important to ensure proper installation.
Measure twice and cut once
to avoid any mistakes and make sure the sink fits snugly in the designated space.
Mark the placement of the brackets
on the underside of the sink and use a drill to create holes for the screws. For adhesive options, make sure to follow the instructions carefully and allow sufficient time for the adhesive to dry before using the sink.
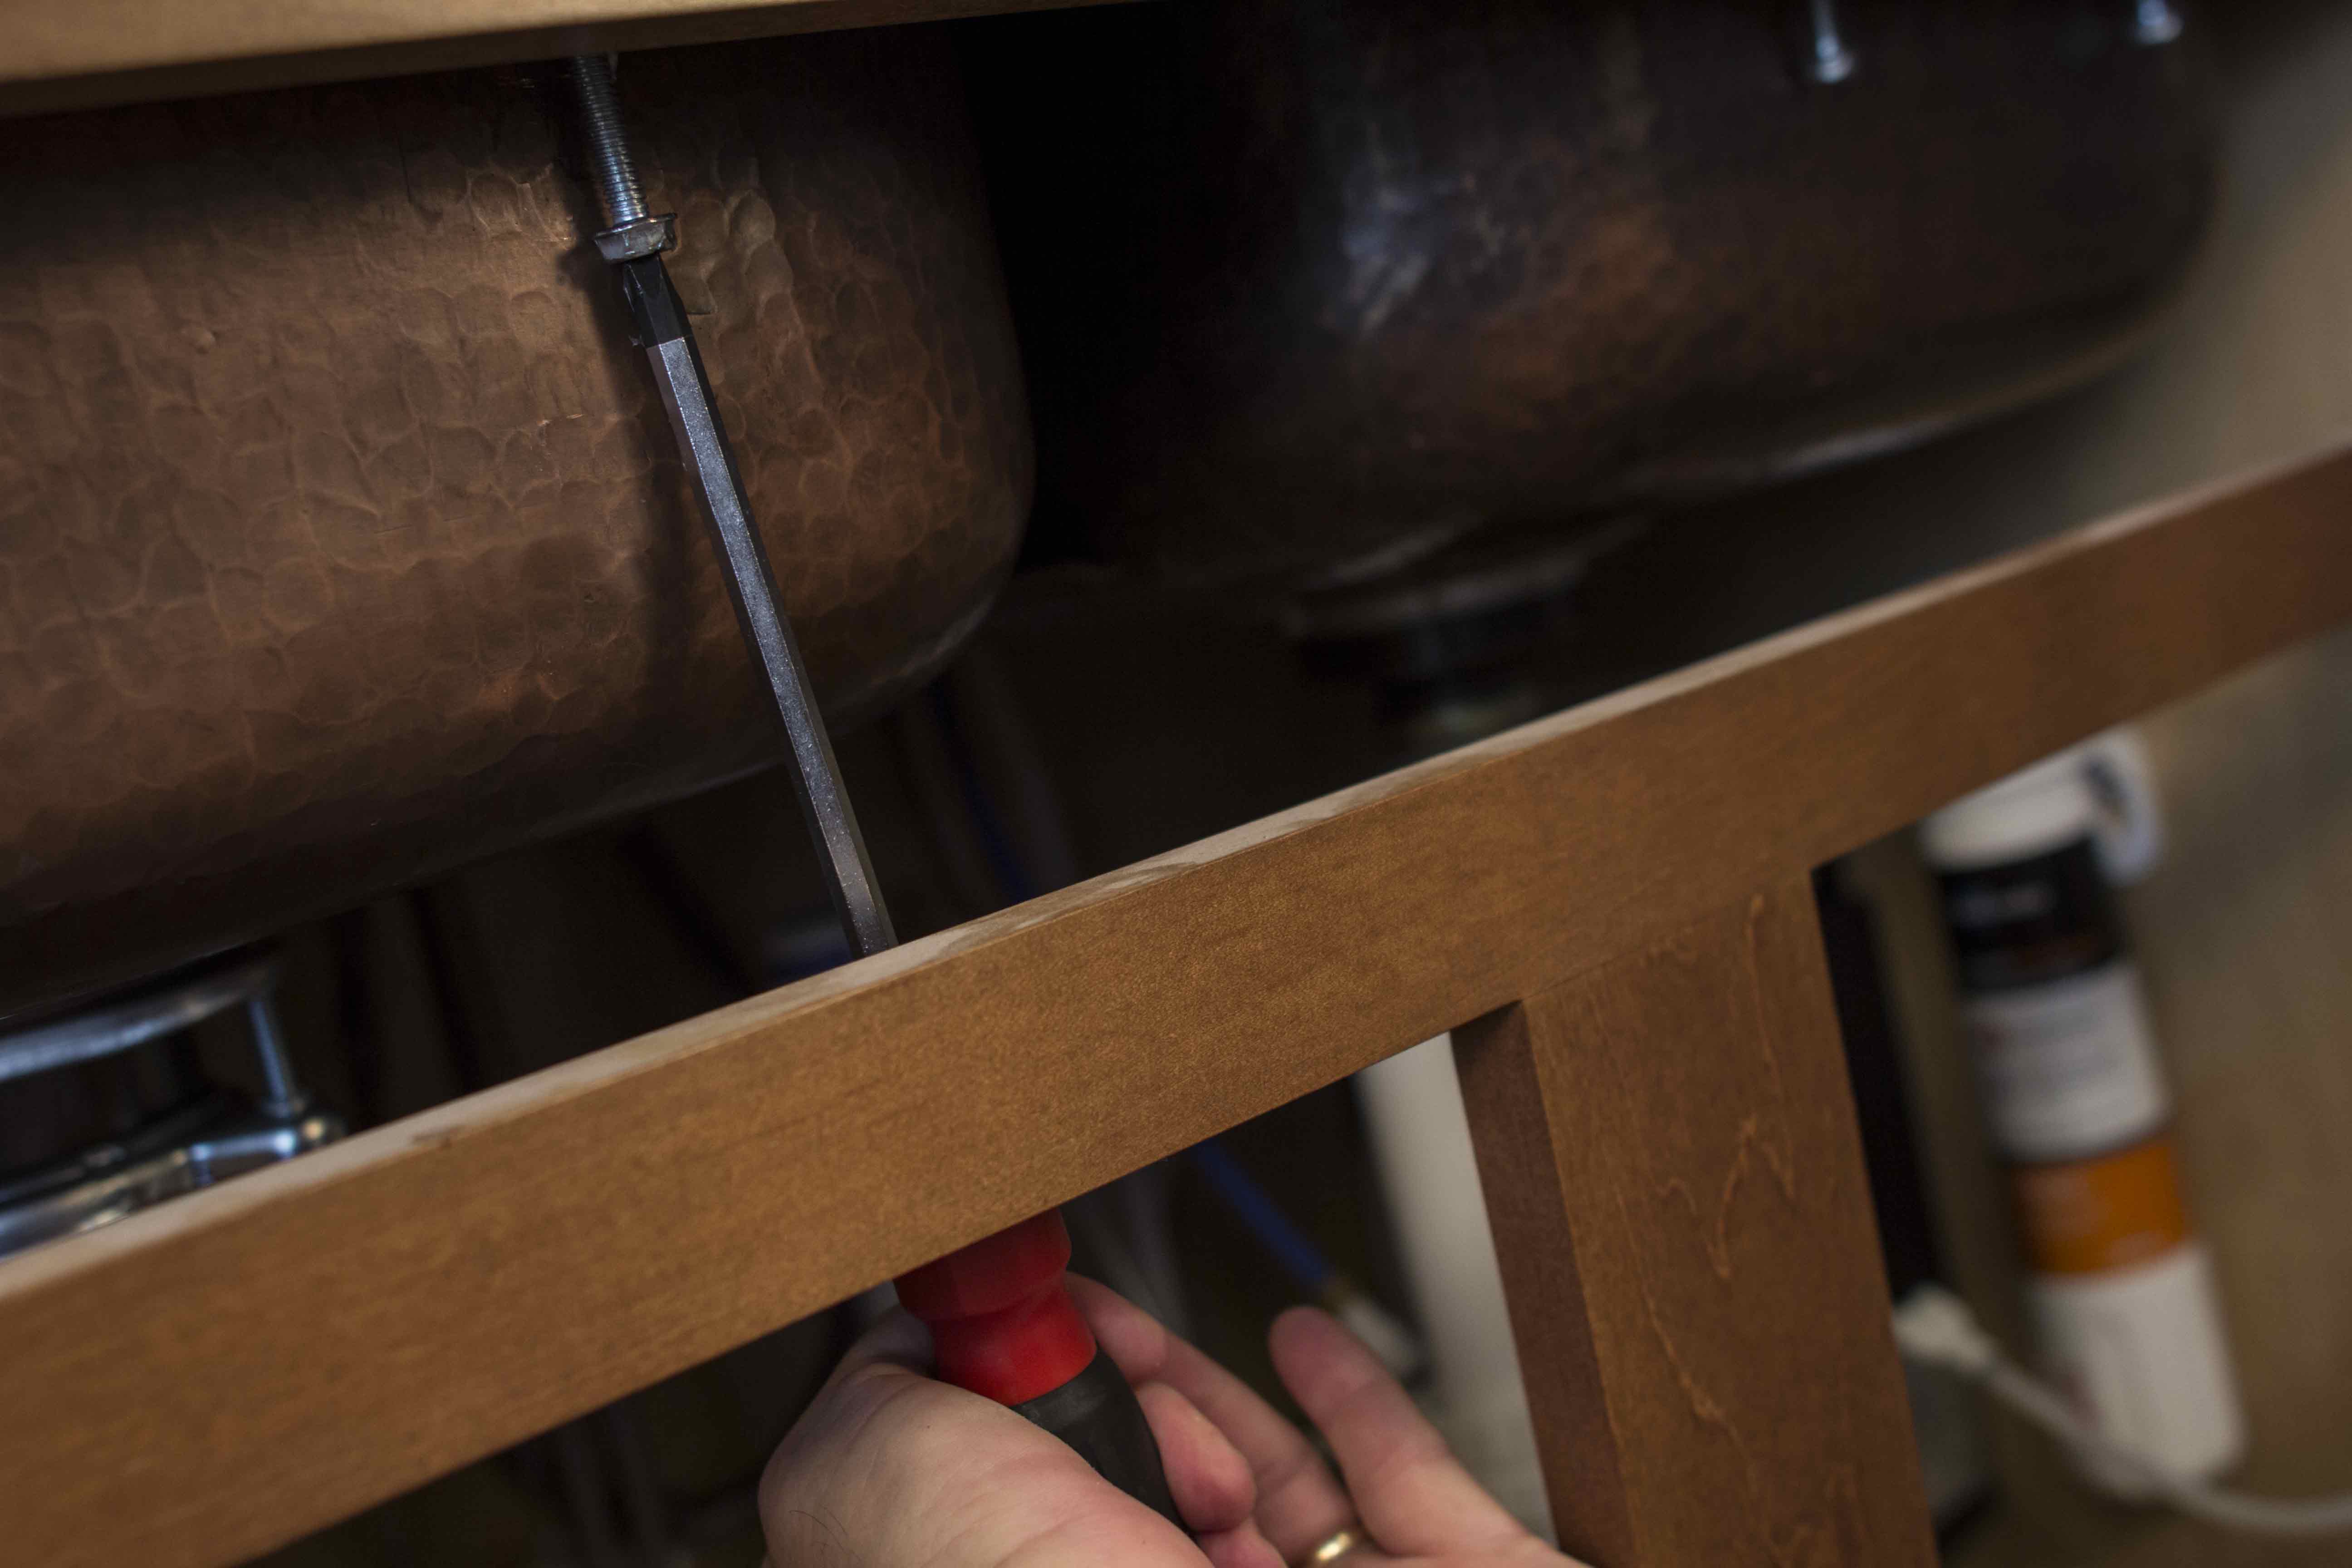
Tightening and Securing
 After the sink is in place, it is important to properly tighten and secure all fasteners.
Use a wrench or screwdriver
to tighten the screws or bolts on the brackets until the sink is firmly in place. For adhesive options, make sure to apply enough pressure to ensure a strong bond. It is also recommended to
add additional support
by placing shims or wooden blocks under the sink until the adhesive has fully dried.
After the sink is in place, it is important to properly tighten and secure all fasteners.
Use a wrench or screwdriver
to tighten the screws or bolts on the brackets until the sink is firmly in place. For adhesive options, make sure to apply enough pressure to ensure a strong bond. It is also recommended to
add additional support
by placing shims or wooden blocks under the sink until the adhesive has fully dried.
Maintaining and Monitoring
 To ensure the longevity of your fastened kitchen sink, it is important to
regularly check for any loosening or shifting
. Over time, sinks can loosen due to daily use and may need to be retightened or reinforced. It is also important to
monitor for any leaks
and address them immediately to prevent any damage to your kitchen cabinets or countertops.
With these additional tips, fastening a kitchen sink can be a manageable and successful task. Remember to choose the right materials, properly install and secure the sink, and regularly maintain and monitor for any issues. By following these steps, you can ensure a secure and functional kitchen sink in your home.
To ensure the longevity of your fastened kitchen sink, it is important to
regularly check for any loosening or shifting
. Over time, sinks can loosen due to daily use and may need to be retightened or reinforced. It is also important to
monitor for any leaks
and address them immediately to prevent any damage to your kitchen cabinets or countertops.
With these additional tips, fastening a kitchen sink can be a manageable and successful task. Remember to choose the right materials, properly install and secure the sink, and regularly maintain and monitor for any issues. By following these steps, you can ensure a secure and functional kitchen sink in your home.