DIY Bathroom Sink Replacement: A Comprehensive Guide
Replacing a bathroom sink may seem like a daunting task, but with the right tools and knowledge, it can be a manageable DIY project. Whether you're renovating your bathroom or simply want to update the look of your sink, replacing the sink door is a great way to give your bathroom a fresh new look. In this guide, we'll walk you through the steps of replacing your bathroom sink door, from start to finish.


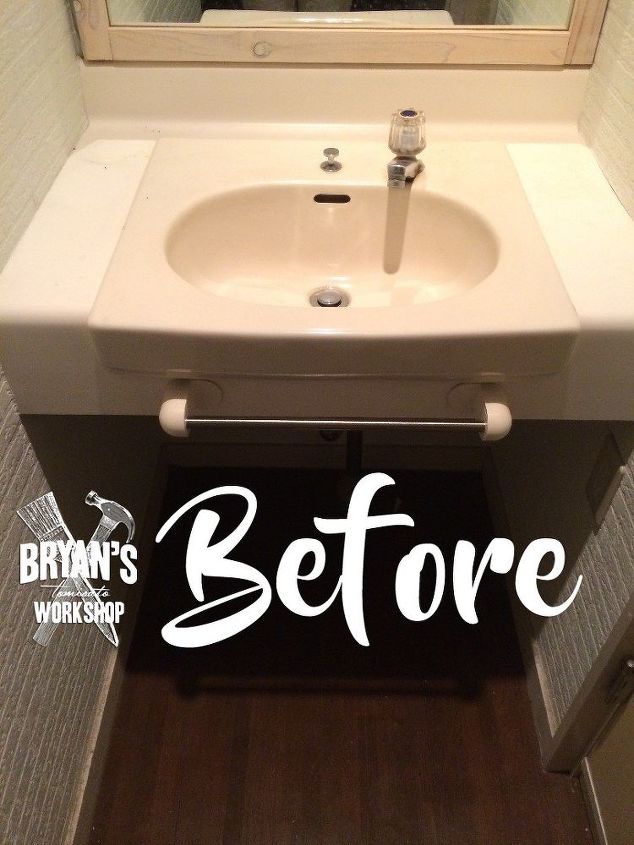
diy bathroom sink replacement


1. Gather Your Materials and Tools
The first step in any DIY project is to gather all the necessary materials and tools. For this project, you will need:


diy bathroom sink door replacement


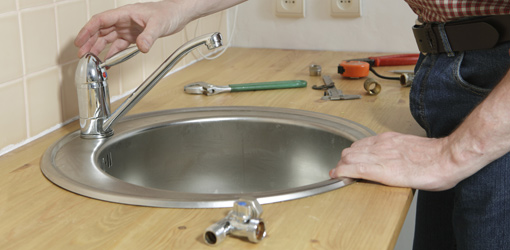
2. Remove the Old Sink Door
Before installing the new sink door, you'll need to remove the old one. Start by unscrewing the hinges from the door frame. Then, gently pull the door away from the frame. If the door is stuck, use a hammer to tap the bottom of the door to loosen it.
Once the door is removed, you can also remove the old door handle and any remaining hardware from the door frame.


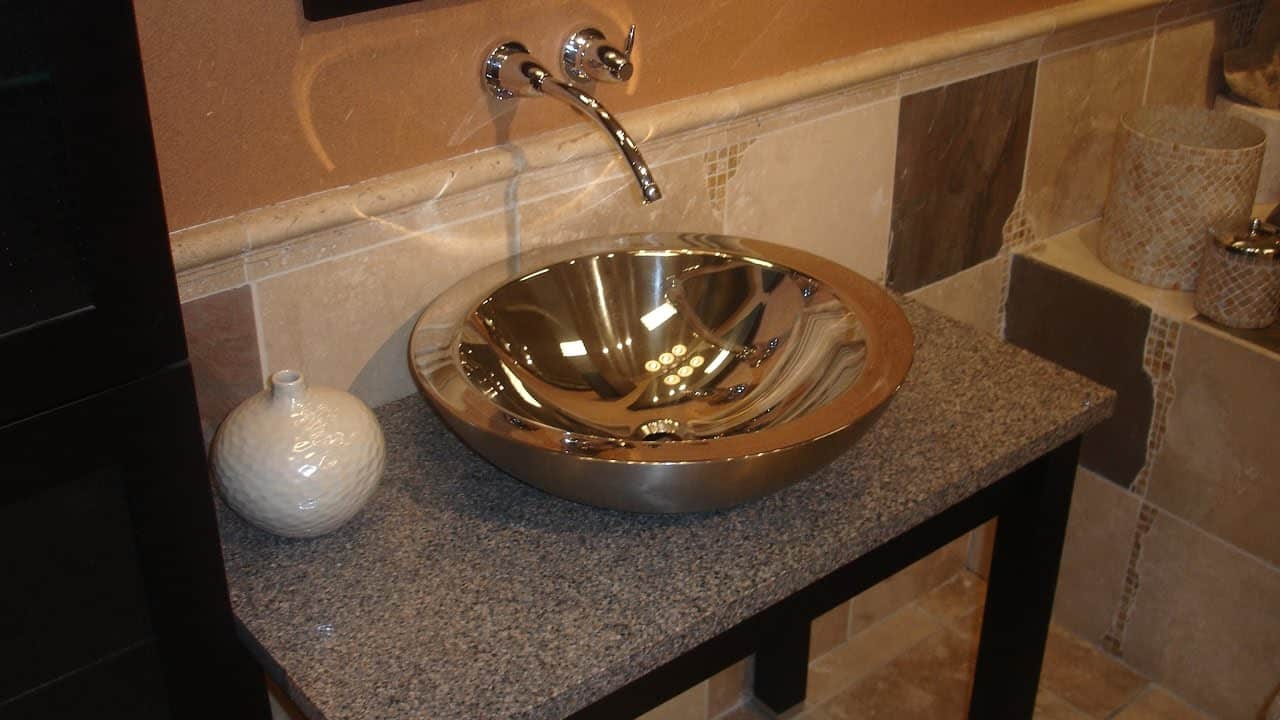
diy bathroom sink door replacement guide


3. Prep the Door Frame
Now that the old door is removed, it's time to prep the door frame for the new one. Use a screwdriver to remove any remaining screws or nails from the frame. Then, use a putty knife to scrape off any old caulk or adhesive. Finally, use sandpaper to smooth out any rough spots on the frame.

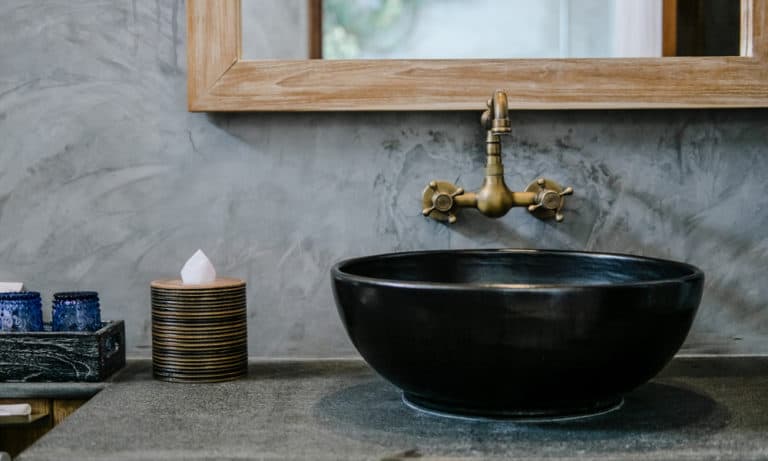
diy bathroom sink door replacement tutorial
4. Install the New Sink Door
With the door frame prepped, it's time to install the new sink door. Follow the instructions provided with the replacement kit to properly install the door. Be sure to use a level to ensure the door is straight before securing it in place.
If the door is slightly too big for the frame, you can use a saw to trim it down to the correct size. Just be sure to measure carefully and make precise cuts.

diy bathroom sink door replacement steps

5. Add Caulk and Paint (Optional)
Once the door is installed, you can add a layer of silicone caulk around the edges of the door frame to seal any gaps and prevent water damage. This step is especially important if your sink is located near a shower or bathtub.
If you want to give your bathroom a fresh new look, you can also paint the door frame and the door itself. Just be sure to use a paint that is suitable for bathroom use and allow it to fully dry before using the sink.


diy bathroom sink door replacement instructions
:max_bytes(150000):strip_icc()/build-something-diy-vanity-594402125f9b58d58ae21158.jpg)
6. Reattach Hardware
Finally, reattach the door handle and any other hardware to the door frame. Make sure everything is securely in place and functioning properly.


diy bathroom sink door replacement video
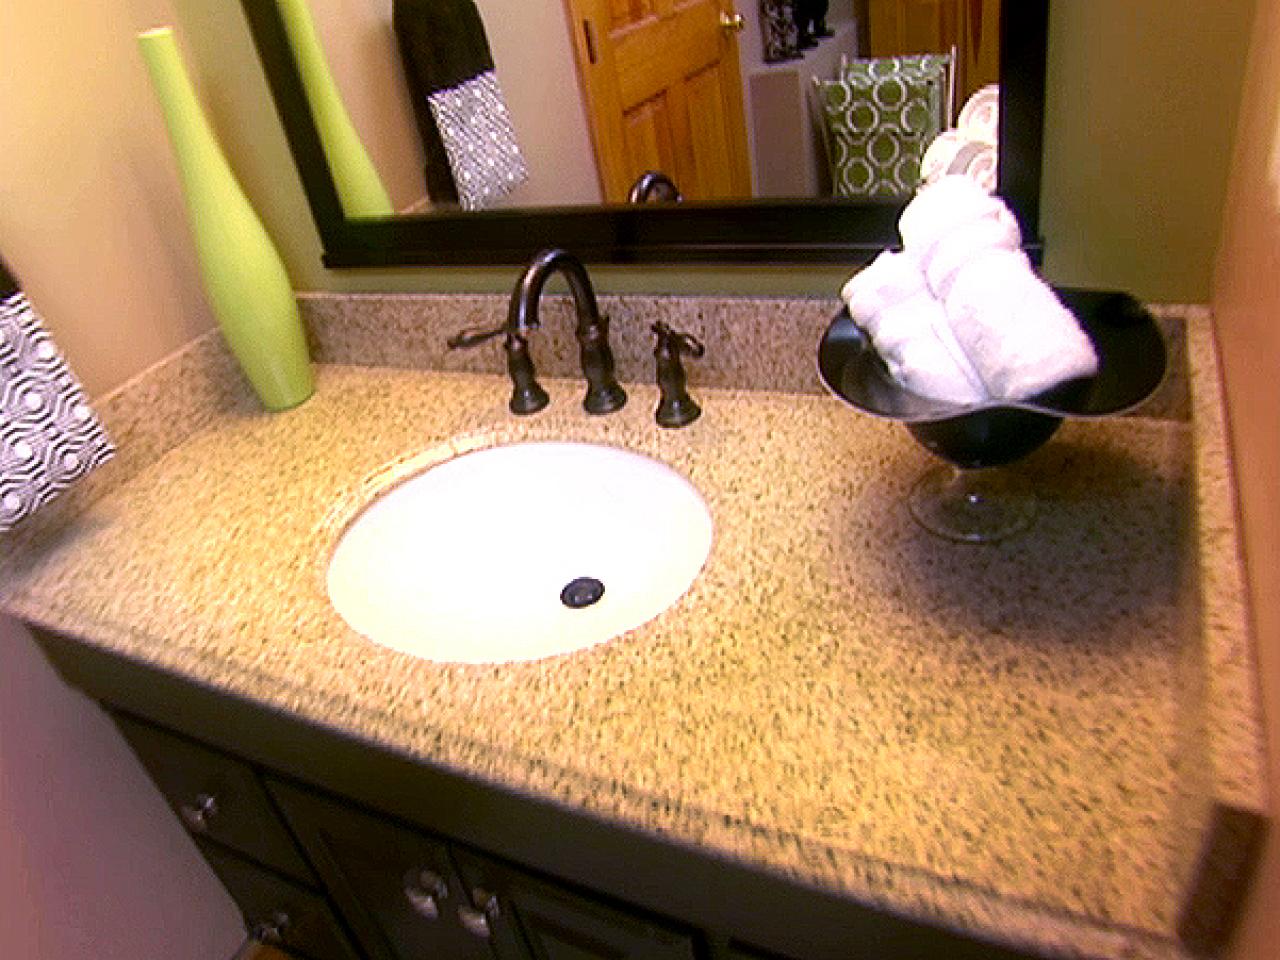
7. Enjoy Your New Sink Door
Congratulations, you have successfully replaced your bathroom sink door! Take a step back and admire your handiwork. Your bathroom now has a fresh new look and you can feel proud of your DIY skills.
diy bathroom sink door replacement tips
Conclusion
Replacing a bathroom sink door may seem like a daunting task, but with the right tools and a little bit of patience, it can be a manageable DIY project. By following these steps, you can give your bathroom a fresh new look without breaking the bank. So go ahead and tackle this project with confidence, and enjoy your new sink door!

diy bathroom sink door replacement tools


Why Replace Your Bathroom Sink Door?
Enhance Your Bathroom's Style and Functionality
 Replacing your bathroom sink door can seem like a daunting task, but the benefits are worth it. Not only does it give your bathroom a fresh look, but it can also improve its functionality. Over time, bathroom sink doors can become worn out, damaged, and outdated, making it difficult to fully utilize the space. By replacing your bathroom sink door, you can not only improve its appearance but also make it more functional for your daily needs.
Increase the Value of Your Home
 If you're looking to sell your home or just want to increase its value, replacing your bathroom sink door is a great place to start. The bathroom is one of the most frequently used rooms in the house, and potential buyers pay close attention to its condition. A modern and well-designed bathroom sink door can make a significant difference in the overall appeal and value of your home.
Save Money on Repairs
 Old and worn-out bathroom sink doors can lead to various issues such as leaks, cracks, and malfunctions. These problems not only make your bathroom less functional but also require frequent repairs, which can add up over time. By replacing your bathroom sink door, you can avoid these costly repairs and save money in the long run.
Customize Your Space
 One of the most significant advantages of replacing your bathroom sink door is the ability to customize it to your liking. Whether you prefer a modern and sleek design or a more traditional and rustic look, there are endless options to choose from. You can also choose from a variety of materials, colors, and finishes to match your personal style and complement the rest of your bathroom's design.
Do It Yourself
 Replacing your bathroom sink door may seem like a job best left to professionals, but it is actually a project that you can easily do yourself. With the right tools and materials, you can save money on labor costs and have the satisfaction of completing a DIY project. Just be sure to do your research and follow proper instructions to ensure a successful and safe installation.
In conclusion, replacing your bathroom sink door is a simple and effective way to enhance the style and functionality of your bathroom, increase the value of your home, and save money on repairs. With the wide range of customization options and the ability to do it yourself, there's no reason not to upgrade your bathroom sink door today.
Replacing your bathroom sink door may seem like a job best left to professionals, but it is actually a project that you can easily do yourself. With the right tools and materials, you can save money on labor costs and have the satisfaction of completing a DIY project. Just be sure to do your research and follow proper instructions to ensure a successful and safe installation.
In conclusion, replacing your bathroom sink door is a simple and effective way to enhance the style and functionality of your bathroom, increase the value of your home, and save money on repairs. With the wide range of customization options and the ability to do it yourself, there's no reason not to upgrade your bathroom sink door today.