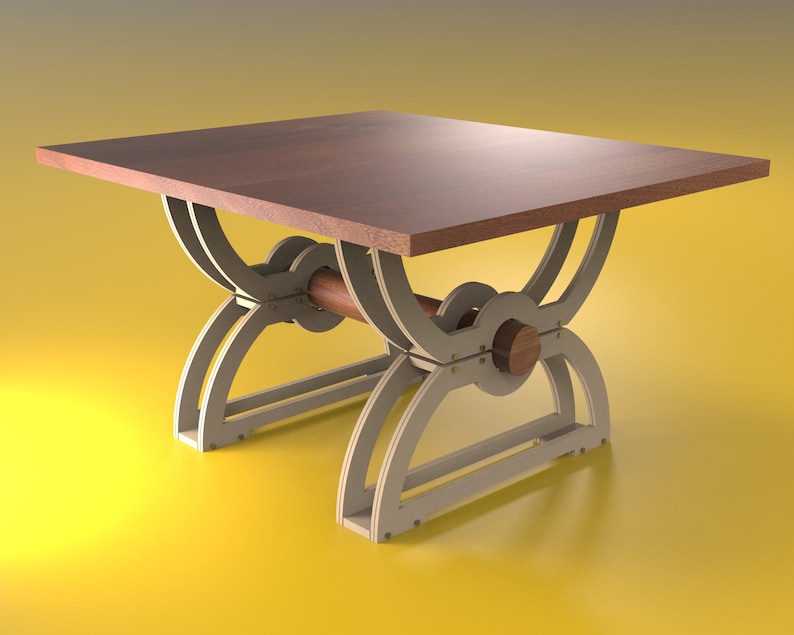
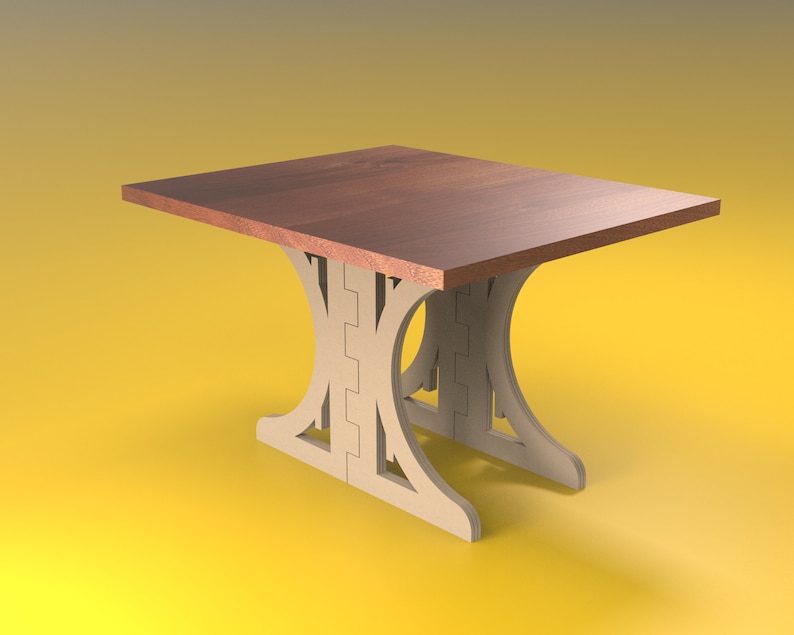
Are you tired of the same old straight table legs in your kitchen? Why not add a touch of elegance and uniqueness with curved wooden table legs? Building your own curved table legs may seem daunting, but with the right tools and technique, it can be a fun and rewarding DIY project. In this guide, we will take you through the step-by-step process of building beautiful curved wooden table legs for your kitchen.1. How to Build Curved Wooden Table Legs for Your Kitchen
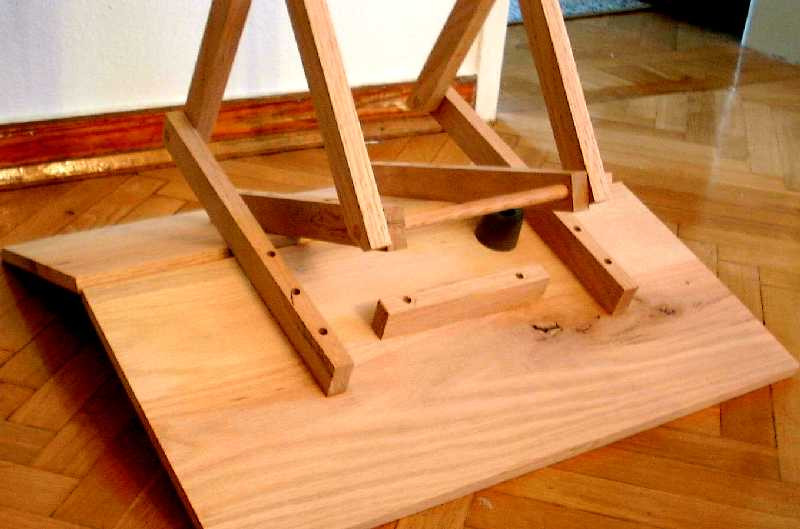
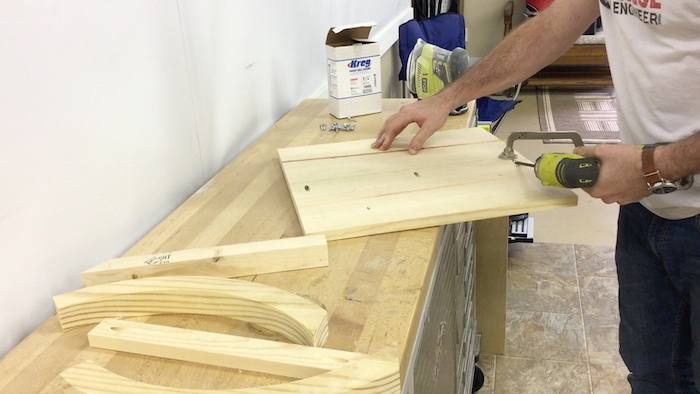
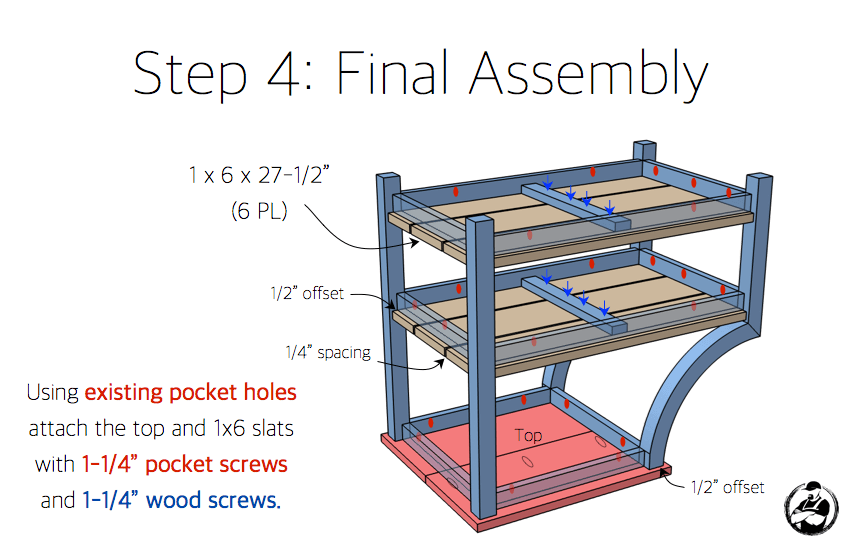
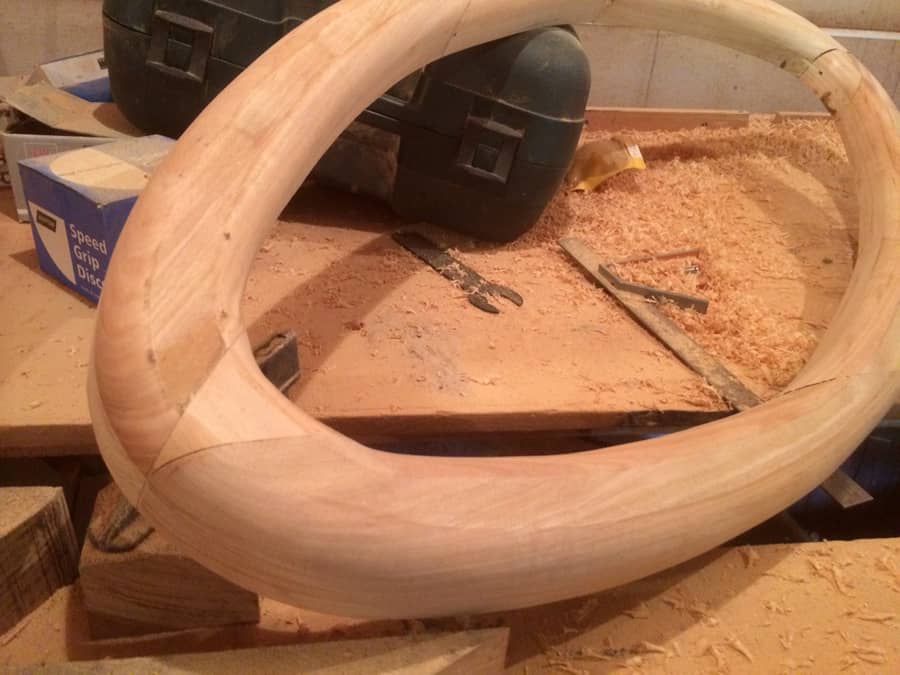
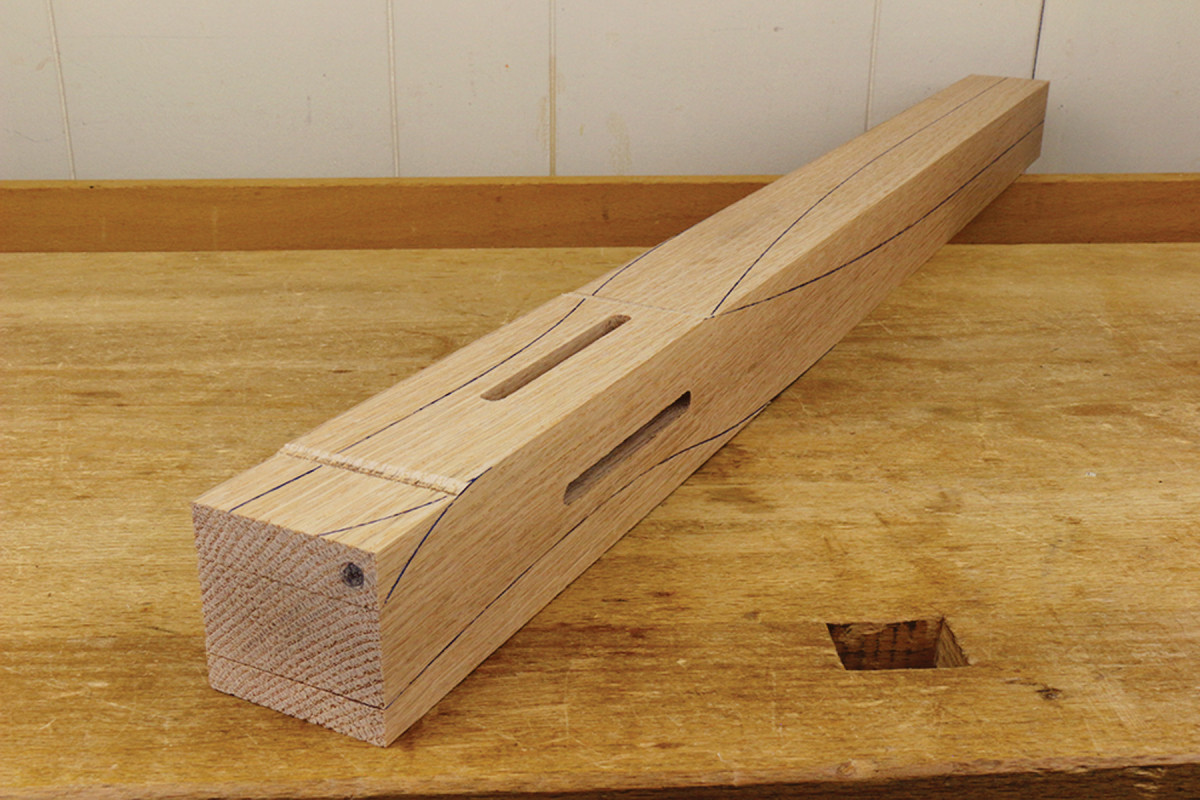
The first step in building your own curved table legs is to decide on the design and size. You can choose to make symmetrical or asymmetrical curves, depending on your preference. Next, gather all the necessary tools and materials, including a jigsaw, wood glue, clamps, and a sturdy workbench. Start by cutting the wood into rough shapes of the desired curve for each leg. Then, using a jigsaw, carefully cut along the curves, making sure to stay on the line. Sand the edges smooth and test the fit by placing the legs against the table. Once satisfied with the shape, glue the pieces together and clamp them tightly until they dry.2. DIY Curved Wooden Table Legs: A Step-by-Step Guide
There are endless possibilities when it comes to designing curved wooden table legs. You can experiment with different shapes, sizes, and finishes to create a unique piece of furniture for your kitchen. Here are ten creative ideas to inspire you: • Bentwood legs - using a steaming method to bend the wood into a curved shape • Twisted legs - creating a spiral effect by twisting the wood before gluing it together • Angled legs - cutting the legs at an angle to create a dynamic and modern look • Flared legs - tapering the legs towards the bottom to create a flared effect • Hairpin legs - using metal hairpin legs for a mid-century modern vibe • Carved legs - adding intricate designs or patterns to the curved legs for a decorative touch • Reclaimed wood legs - using salvaged wood for a rustic and eco-friendly option • Painted legs - choosing a bold color to make the curved legs stand out • Stacked legs - stacking multiple pieces of wood to create a layered effect • Curved metal legs - adding a mix of wood and metal for an industrial look3. 10 Creative Ideas for DIY Curved Table Legs
When it comes to choosing the type of wood for your curved table legs, there are a few factors to consider. First, the wood should be strong enough to support the weight of the table. Second, it should be easy to work with and have a smooth finish. Here are some of the best wood options for curved table legs: • Maple - strong, durable, and has a beautiful grain pattern • Cherry - a medium-hardwood with a natural reddish-brown color • Walnut - a dark hardwood with a rich and warm tone • Oak - a strong and versatile wood with a prominent grain pattern • Ash - a light-colored hardwood with a distinct grain pattern4. The Best Wood for Curved Table Legs: A Guide for DIYers
Now that you have your design and wood selected, it's time to start building your curved table legs. As mentioned earlier, the process involves cutting, sanding, gluing, and clamping the wood pieces together. It's essential to work slowly and carefully to ensure the curves are precise and symmetrical. Once the legs are dry, you can sand them again for a smooth finish and apply a coat of wood stain or paint.5. How to Make Your Own Curved Wooden Table Legs
Building curved wooden table legs may seem challenging, but with the right techniques and tools, anyone can do it. Here are some tips and tricks to keep in mind to ensure a successful project: • Measure twice, cut once - accuracy is crucial when it comes to creating symmetrical curves, so take your time to measure before cutting. • Use a guide - to ensure a straight cut, use a guide when using the jigsaw. • Work in sections - it's easier to manage smaller sections of the curve instead of trying to cut the entire curve at once. • Use a template - if you're not confident in your free-hand cutting skills, create a template from cardboard or paper to use as a guide. • Sand as you go - sanding the wood pieces as you cut them will ensure a smoother finish and save time at the end.6. DIY Curved Table Legs: Tips and Tricks for Success
If you're still looking for inspiration, here are ten beautiful designs for DIY curved wooden table legs: • Scalloped-edge legs - creating a scalloped edge along the curve for a delicate and feminine touch • Double curved legs - adding a second curve to the bottom of the legs for a unique and eye-catching design • Triangle legs - cutting the legs into a triangular shape for a modern and geometric look • Tapered legs with a curve - combining two design elements for a sleek and elegant look • Crossed legs - crossing two curved pieces of wood for a sturdy and visually appealing base • Asymmetrical legs - creating different curves for each leg for a playful and dynamic design • Tiered legs - stacking multiple layers of wood for a dimensional and unique look • Wavy legs - cutting the curves in a wavy pattern for a whimsical and artistic touch • Natural edge legs - keeping the natural edge of the wood for a rustic and organic feel • Zigzag legs - cutting the curves in a zigzag pattern for a bold and modern statement7. 10 Beautiful Designs for DIY Curved Wooden Table Legs
Aside from the aesthetic appeal, curved wooden table legs offer several benefits for your kitchen. First, they add a touch of sophistication and elegance to the space. They also create a softer and more welcoming atmosphere compared to straight legs. Additionally, the curves help distribute the weight of the table evenly, making it sturdier and more durable.8. The Benefits of Using Curved Wooden Table Legs in Your Kitchen
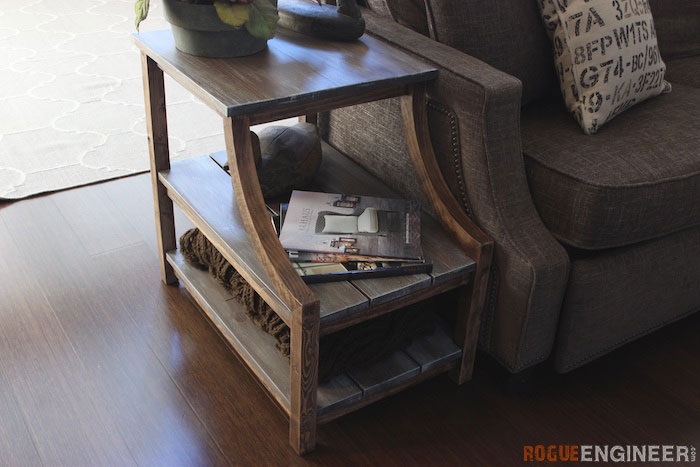
Your kitchen is the heart of your home, so why not make it stand out with a unique piece of furniture? DIY curved table legs offer the perfect opportunity to add a personal touch to your kitchen. By choosing your design, wood, and finish, you can create a one-of-a-kind piece that reflects your style and personality.9. How to Add a Unique Touch to Your Kitchen with DIY Curved Table Legs
Finally, let's take a look at the essential tools you'll need to build your own curved wooden table legs: • Jigsaw - for cutting the curves in the wood • Sandpaper - for smoothing the edges and surfaces • Wood glue - for joining the pieces of wood together • Clamps - for holding the pieces in place while the glue dries • Pencil - for marking the curves on the wood • Measuring tape - for accurate measurements Now that you have all the information and inspiration you need, it's time to get started on your DIY curved wooden table legs. Remember to take your time, be patient, and have fun with the process. With a little creativity and effort, you can create a stunning and unique piece of furniture for your kitchen. Happy building!10. The Tools You Need to Build Your Own Curved Wooden Table Legs
Benefits of DIY Curved Wooden Kitchen Table Legs

Enhance the Aesthetic Appeal of Your Kitchen
 One of the main benefits of incorporating
DIY curved wooden kitchen table legs
into your kitchen design is the enhanced aesthetic appeal it brings. The unique and elegant curvature of the legs adds a touch of sophistication and style to your kitchen, making it stand out from traditional straight-legged tables. Moreover, the natural texture and color of wood add warmth and coziness to the space, creating a welcoming atmosphere for your family and guests.
Customizable to Fit Your Kitchen Design
 Another advantage of DIY curved wooden kitchen table legs is their versatility. With the ability to create your own curved legs, you can customize the design and size to fit your kitchen perfectly. You can choose from a variety of wood types, such as oak, maple, or cherry, to match your existing kitchen cabinets or flooring. Furthermore, you can play around with different shapes and angles to create a truly unique and personalized piece for your kitchen.
Budget-Friendly Option
 DIY projects are often a more cost-effective option compared to buying pre-made furniture. With
DIY curved wooden kitchen table legs
, you can save money on expensive store-bought legs and create your own for a fraction of the cost. You can also repurpose old wood or use reclaimed wood for a more budget-friendly option. This not only saves you money but also adds a touch of sustainability to your kitchen design.
Strength and Durability
 Wood is known for its strength and durability, making it an ideal material for kitchen table legs. By choosing high-quality wood and using proper techniques, you can create sturdy and long-lasting table legs that can withstand daily use and even heavy weight. This is especially important for a kitchen table, where you may place heavy dishes or appliances on top.
Final Thoughts
 In conclusion, incorporating
DIY curved wooden kitchen table legs
into your kitchen design not only adds an aesthetic appeal but also offers customization, budget-friendly options, and strength and durability. With a little bit of creativity and woodworking skills, you can create a unique and functional piece that will be the centerpiece of your kitchen for years to come. So why not give it a try and elevate your kitchen design with DIY curved wooden table legs?


