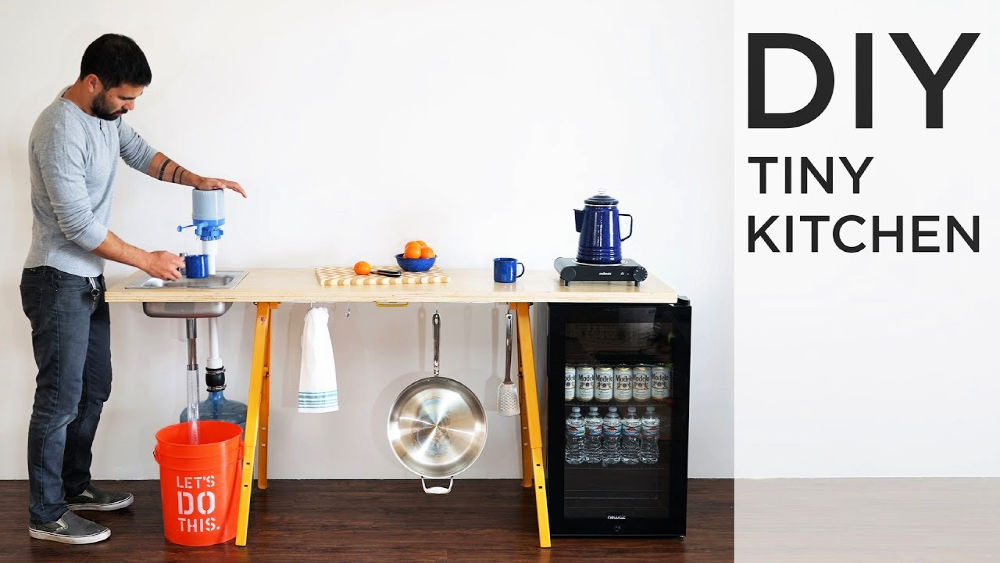
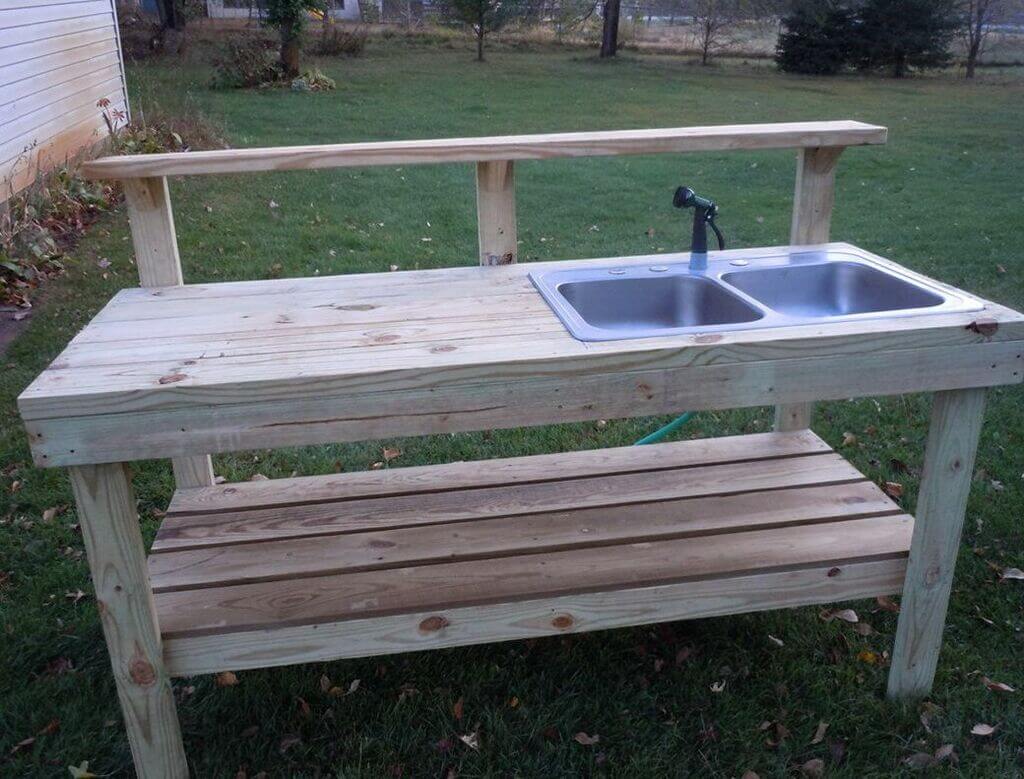
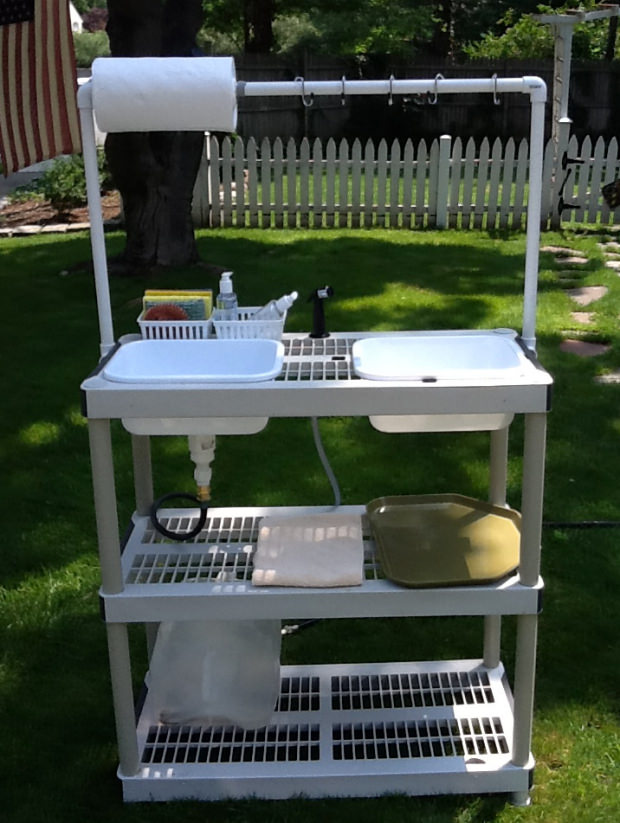
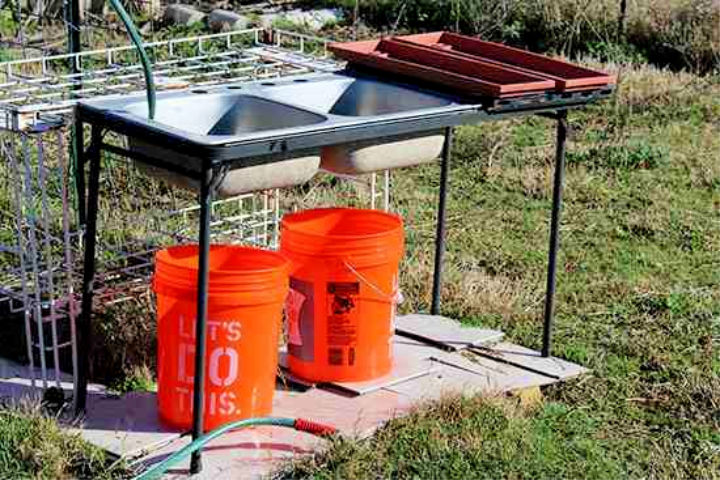
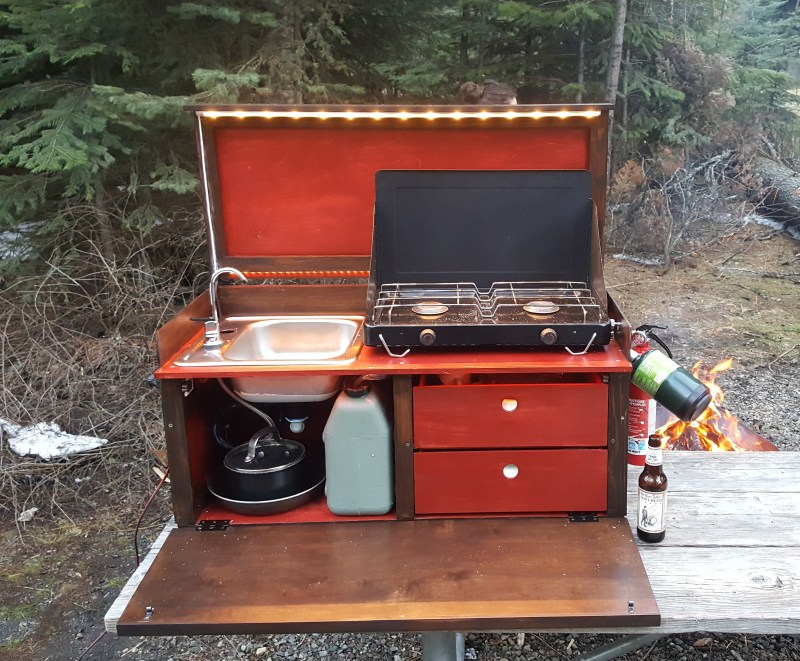
Are you tired of cooking on a makeshift outdoor stove or washing dishes in a bucket while camping? A DIY camp kitchen with a sink can make your outdoor cooking and cleaning experience much easier and more enjoyable. In this article, we will guide you through the steps of building your own DIY camp kitchen with a sink.How to Build a DIY Camp Kitchen with Sink
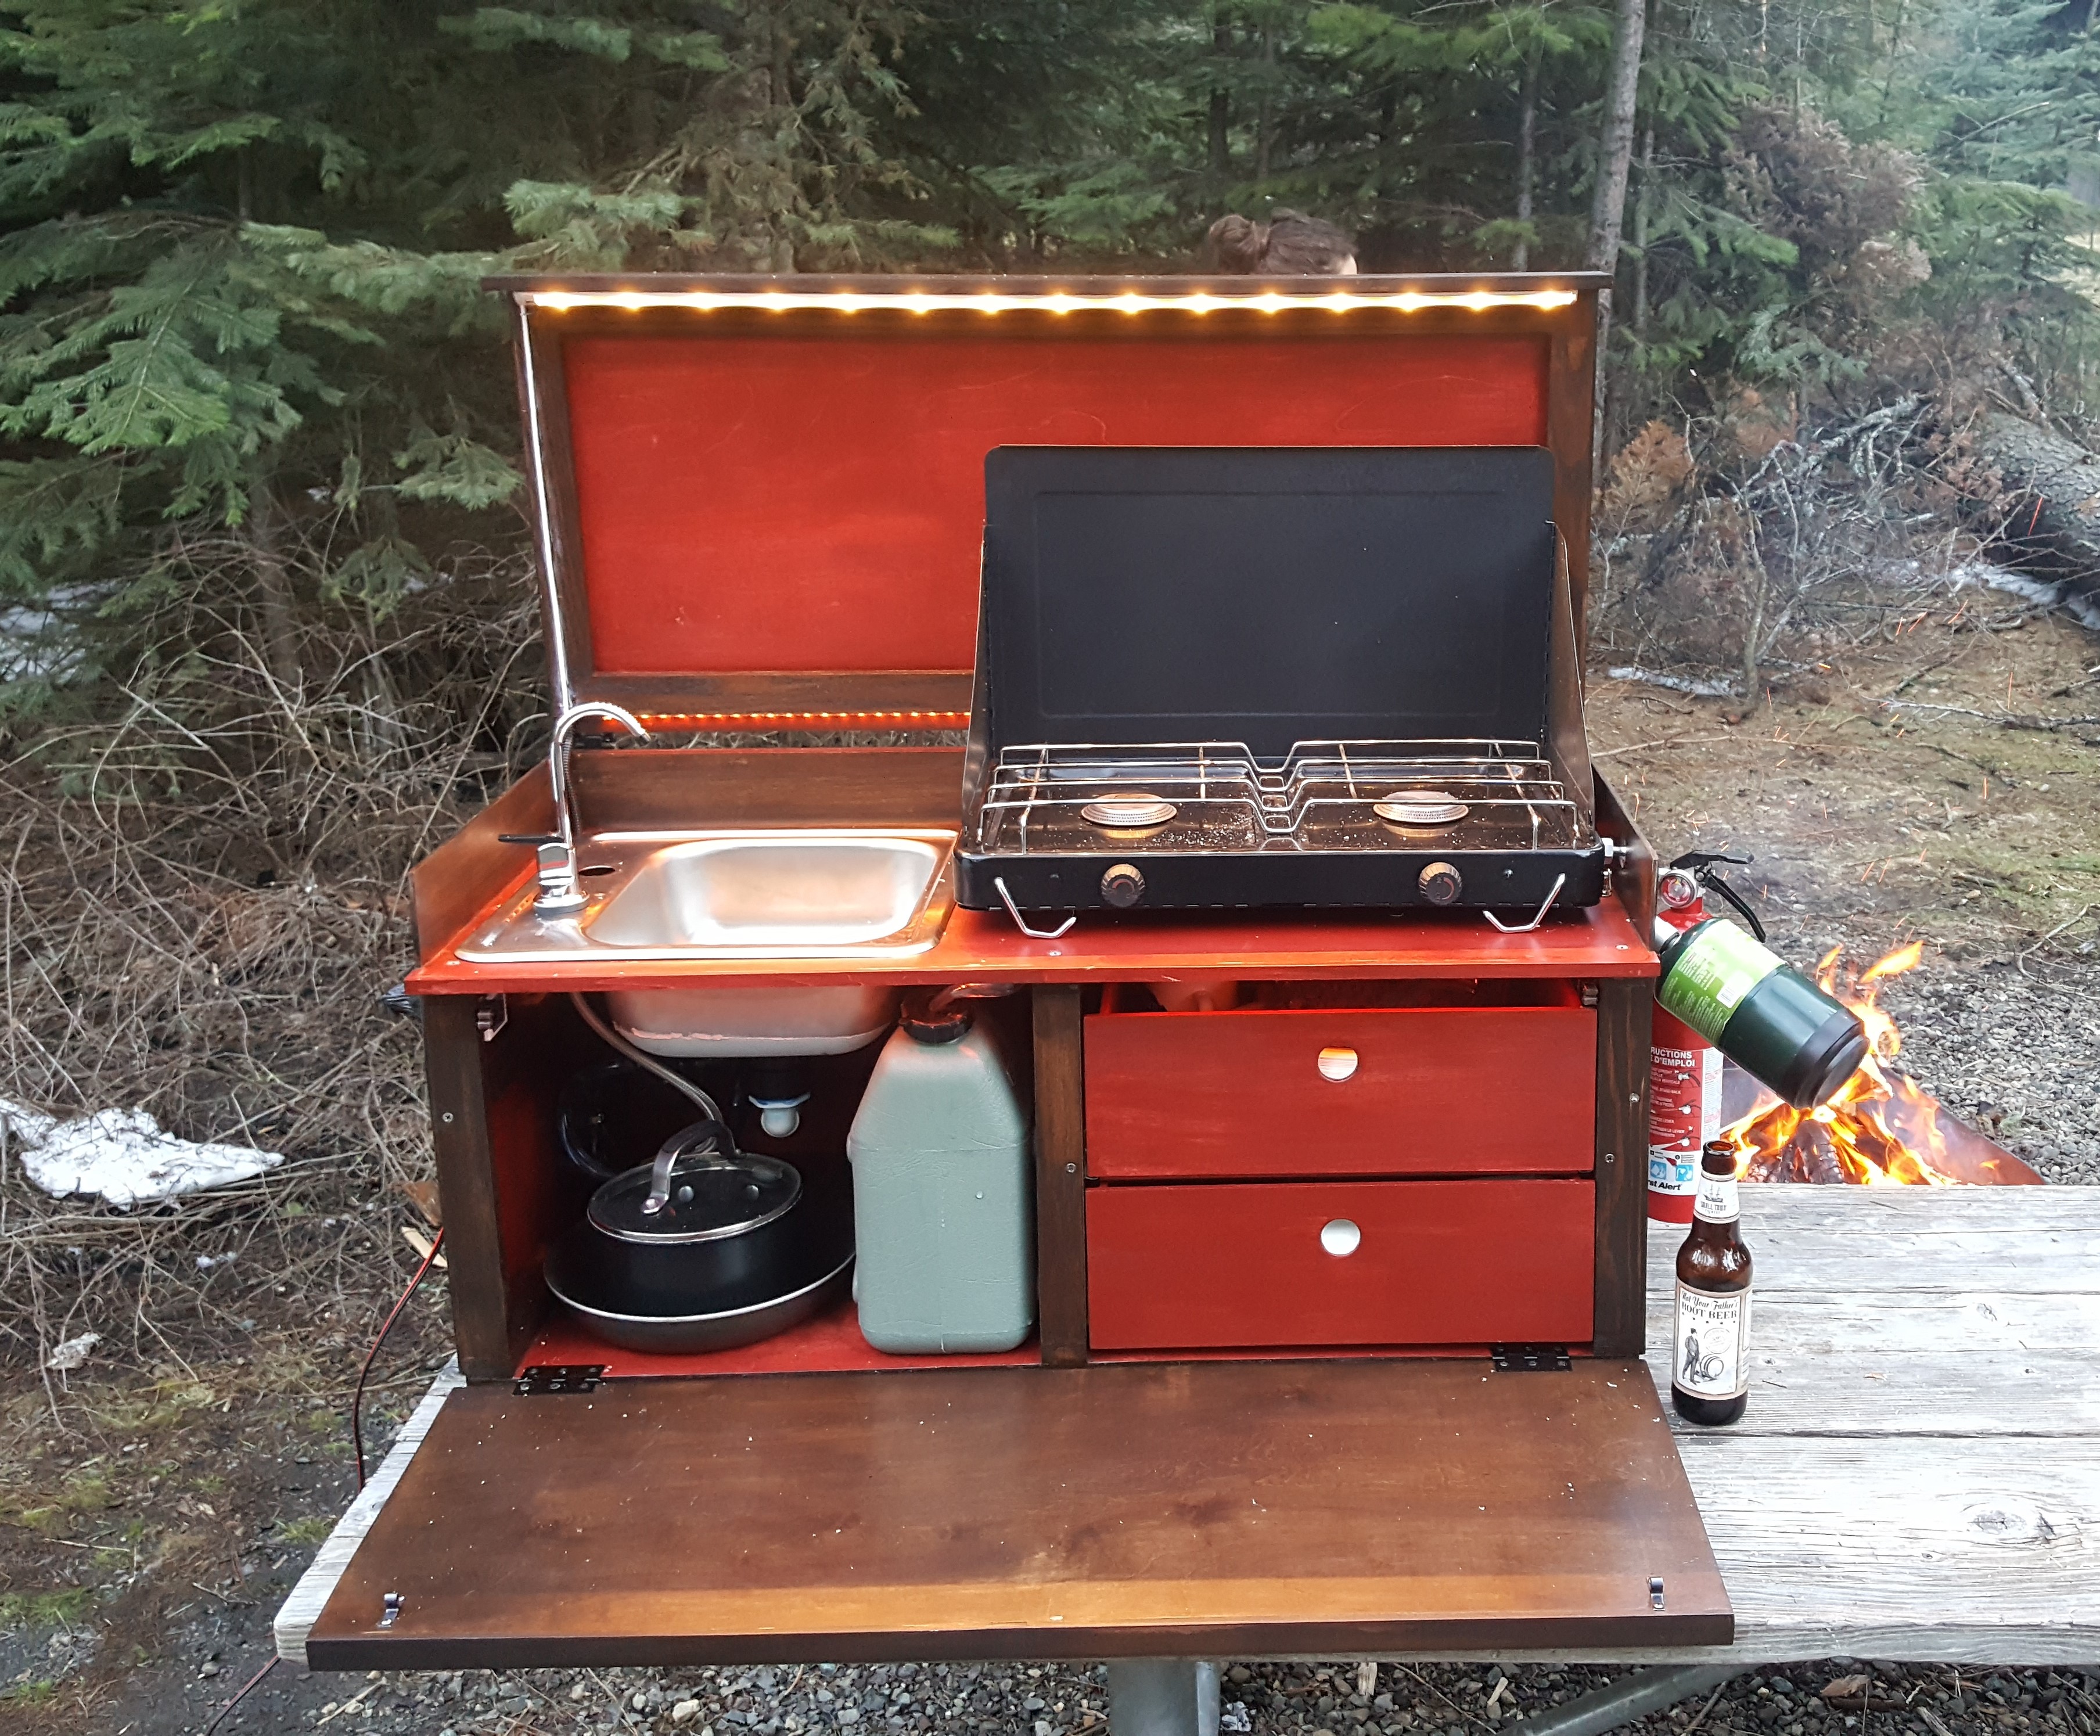
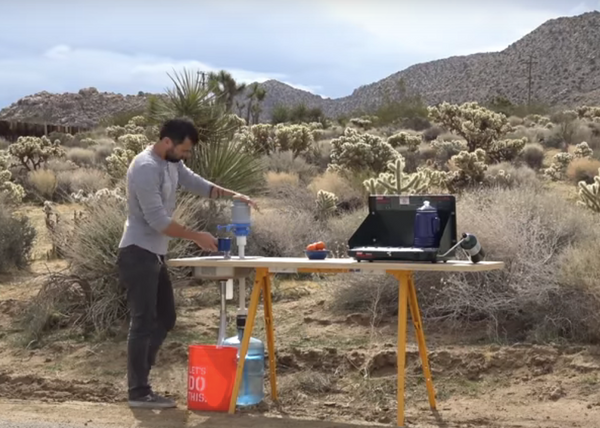
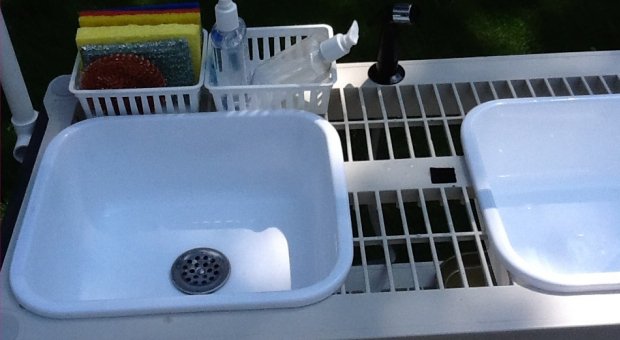
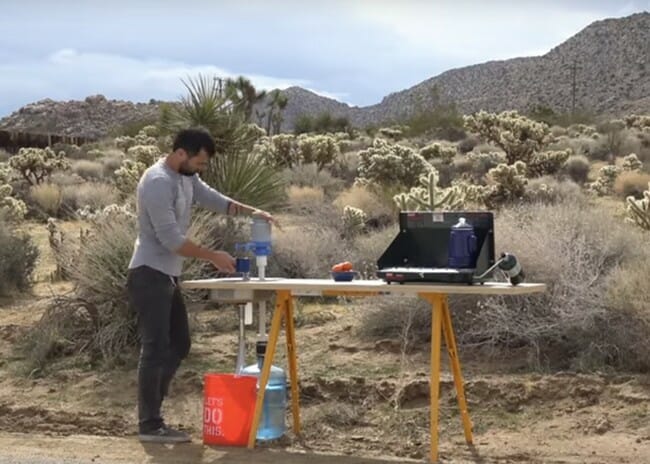
Building a DIY camp kitchen with a sink may seem like a daunting task, but with the right materials and tools, it can be a fun and rewarding project. Here are the steps you need to follow: Step 1: Plan and design The first step to building a DIY camp kitchen with a sink is to plan and design it. Consider the size of your camping group, the amount of space you have, and the features you want in your kitchen. You can find inspiration from online tutorials and designs or come up with your own unique design. Step 2: Gather materials and tools Next, gather all the necessary materials and tools. You will need a sturdy base, such as a table or counter, for your kitchen. You will also need a sink, plumbing supplies, a water container, and other kitchen essentials. Make sure to choose materials that are durable and suitable for outdoor use. Step 3: Assemble the base Once you have all your materials and tools, it's time to assemble the base of your camp kitchen. This may involve building a wooden frame or repurposing an old piece of furniture. Make sure the base is stable and level before moving on to the next step. Step 4: Install the sink Install the sink on top of your base according to the manufacturer's instructions. Make sure the sink is securely attached and sealed to prevent leaks. You may need to drill a hole for the drain and faucet if they are not included with the sink. Step 5: Add plumbing and drainage If you want running water in your DIY camp kitchen, you will need to add plumbing and drainage. This may involve connecting pipes and a water container to the sink, or using a portable water tank and pump. Make sure to test the plumbing and fix any leaks before using the kitchen. Step 6: Add shelves and storage To make your camp kitchen more functional, add shelves and storage space for your cooking and cleaning supplies. You can use repurposed crates, baskets, or build your own shelves using wood or metal. This will keep your kitchen organized and clutter-free.DIY Camp Kitchen with Sink: A Step-by-Step Guide
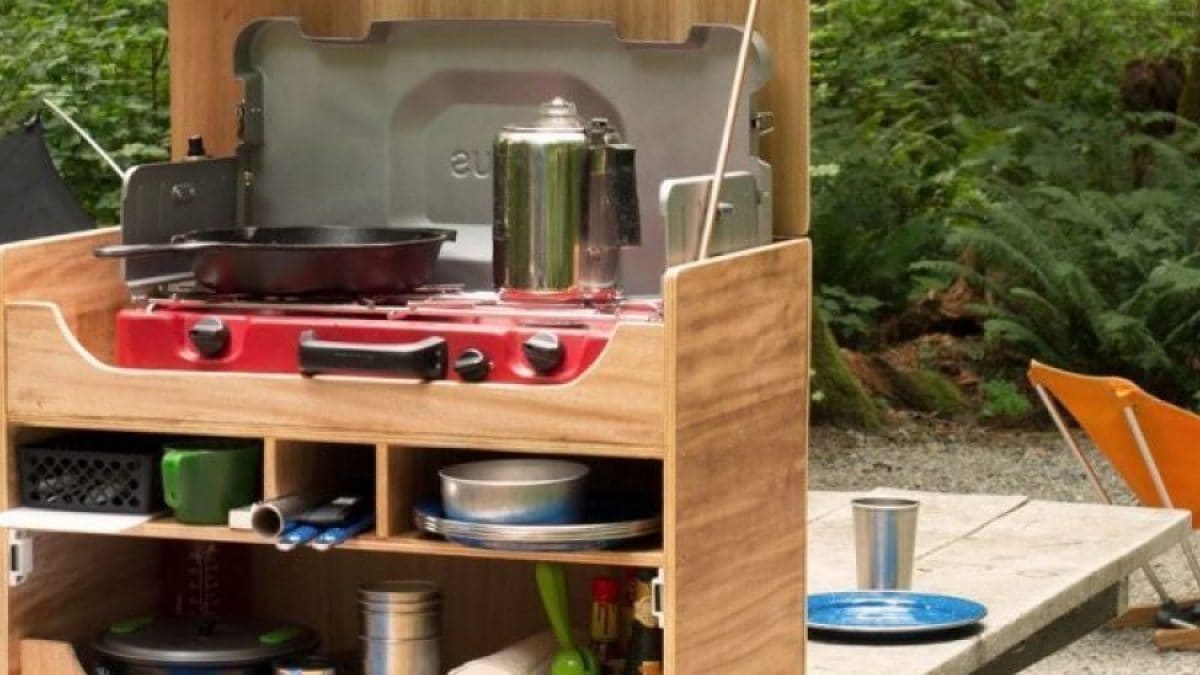
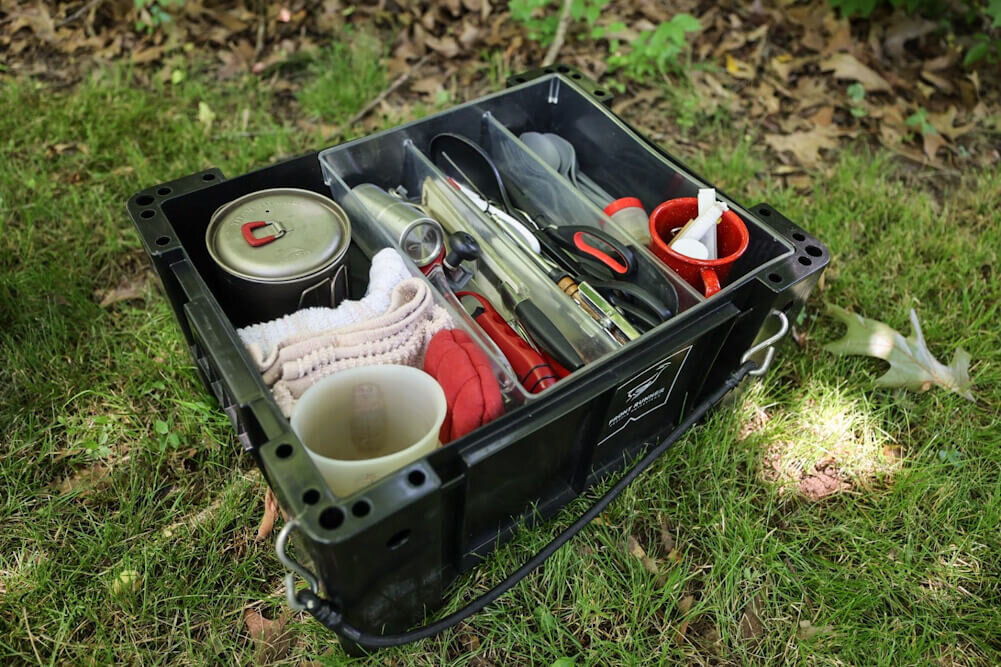
Building a DIY camp kitchen with a sink can be challenging, but here are some tips and tricks to make the process easier: Choose durable materials: Your camp kitchen will be exposed to the elements, so make sure to choose materials that can withstand outdoor conditions. Make it portable: If you're a frequent camper, consider making your DIY camp kitchen portable so you can bring it with you on all your adventures. Optimize storage: Make the most of your limited space by organizing and optimizing your storage options. Hang utensils and pots on hooks, use stackable containers, and utilize vertical space.DIY Camp Kitchen with Sink: Tips and Tricks
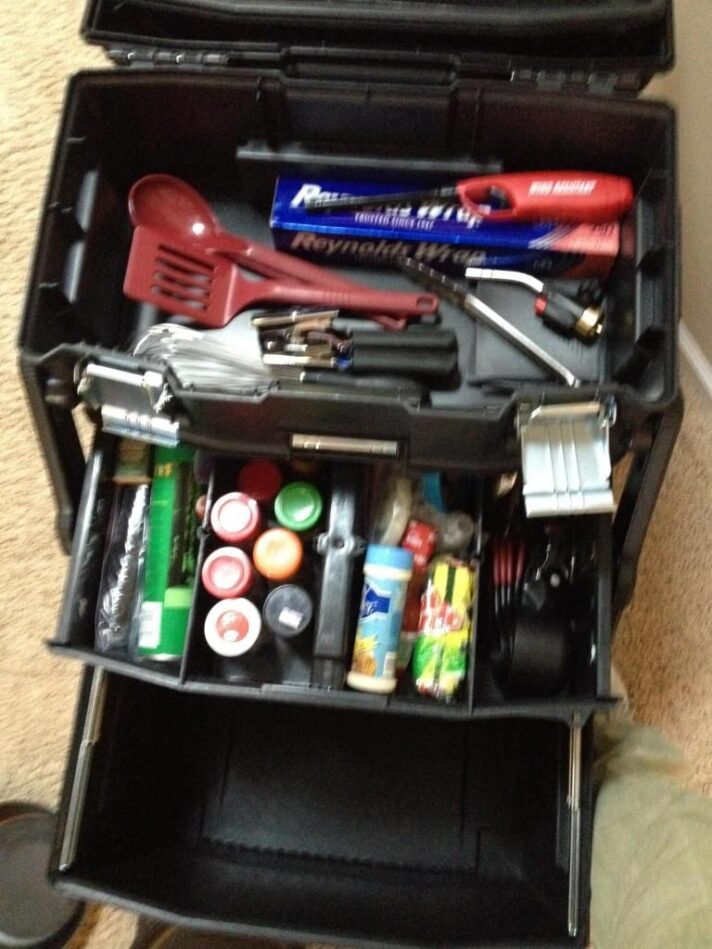
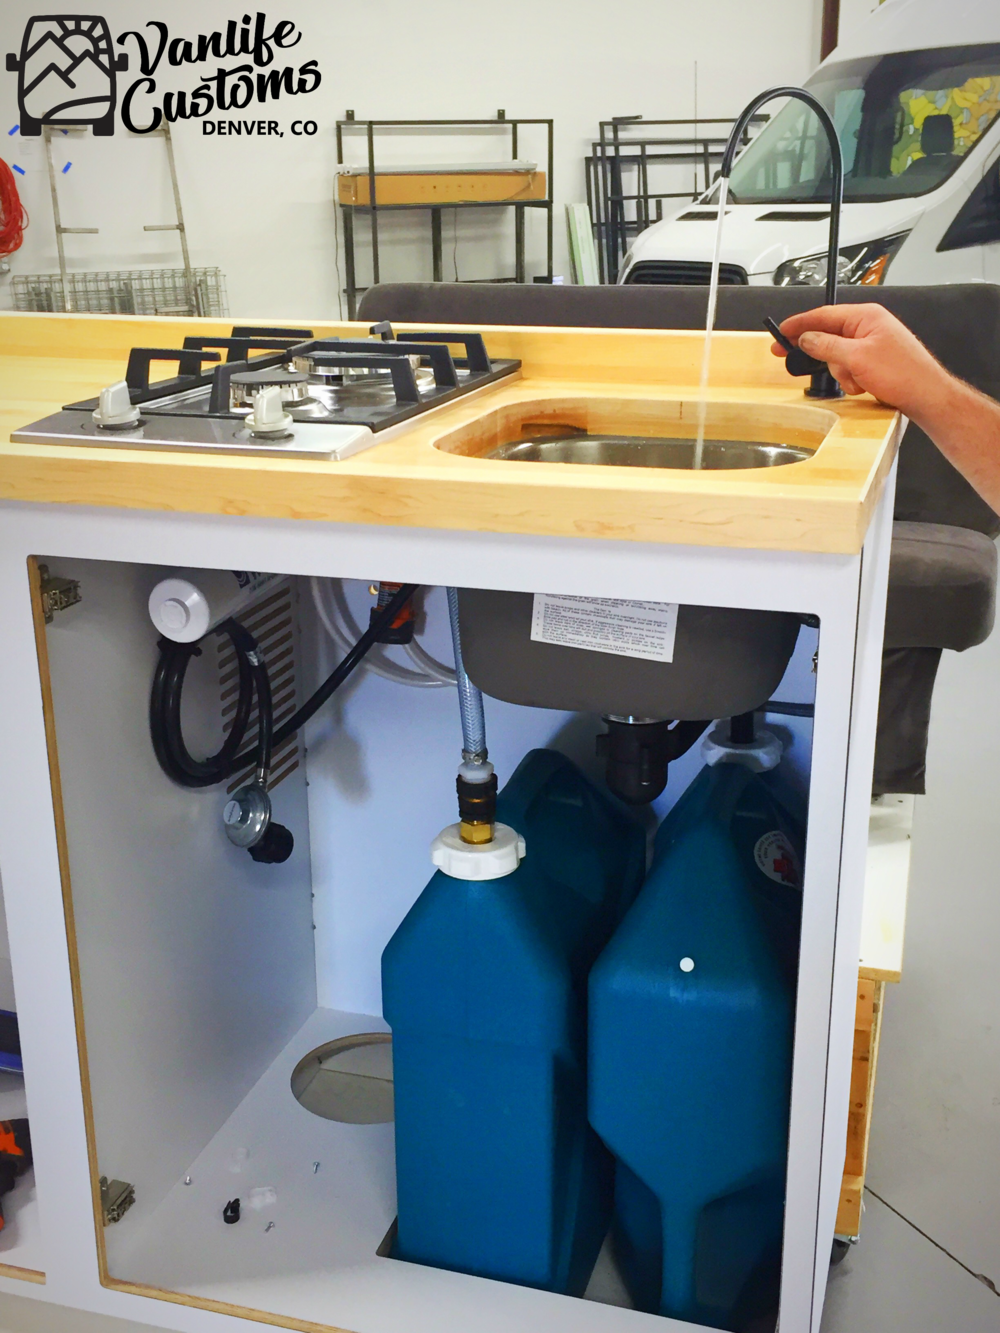
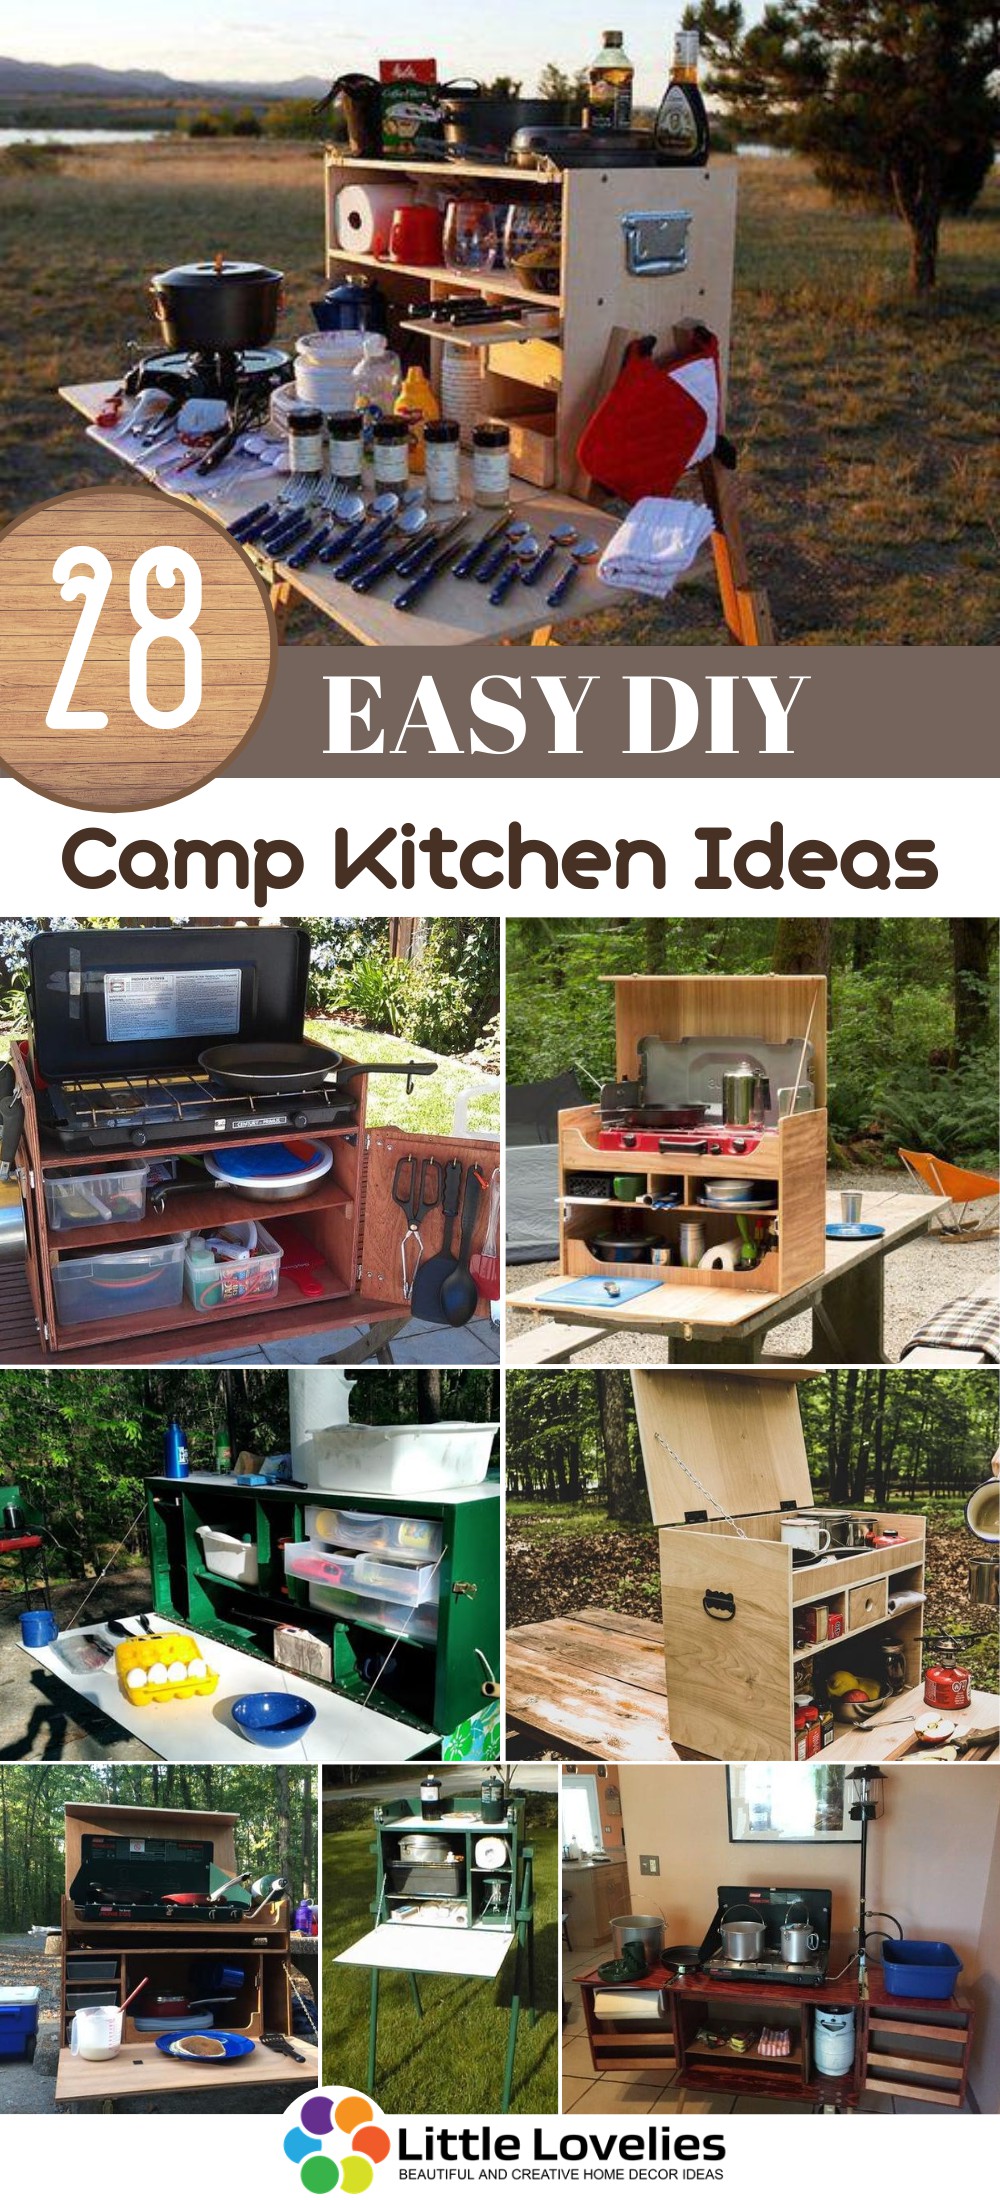
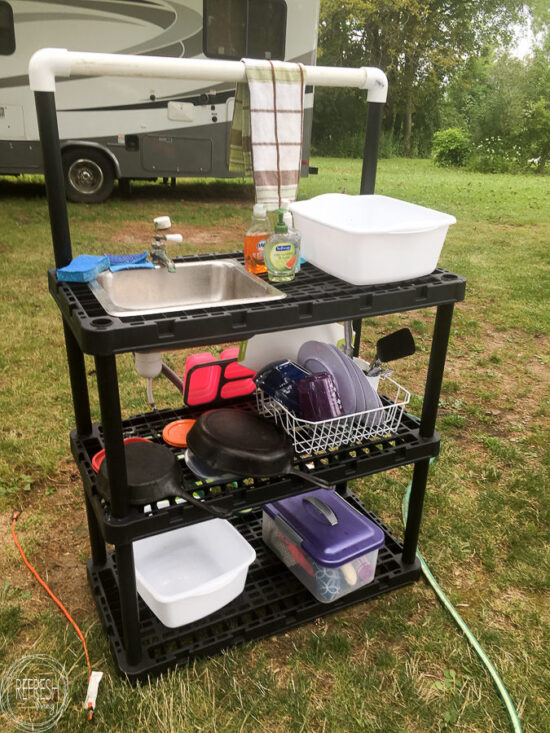
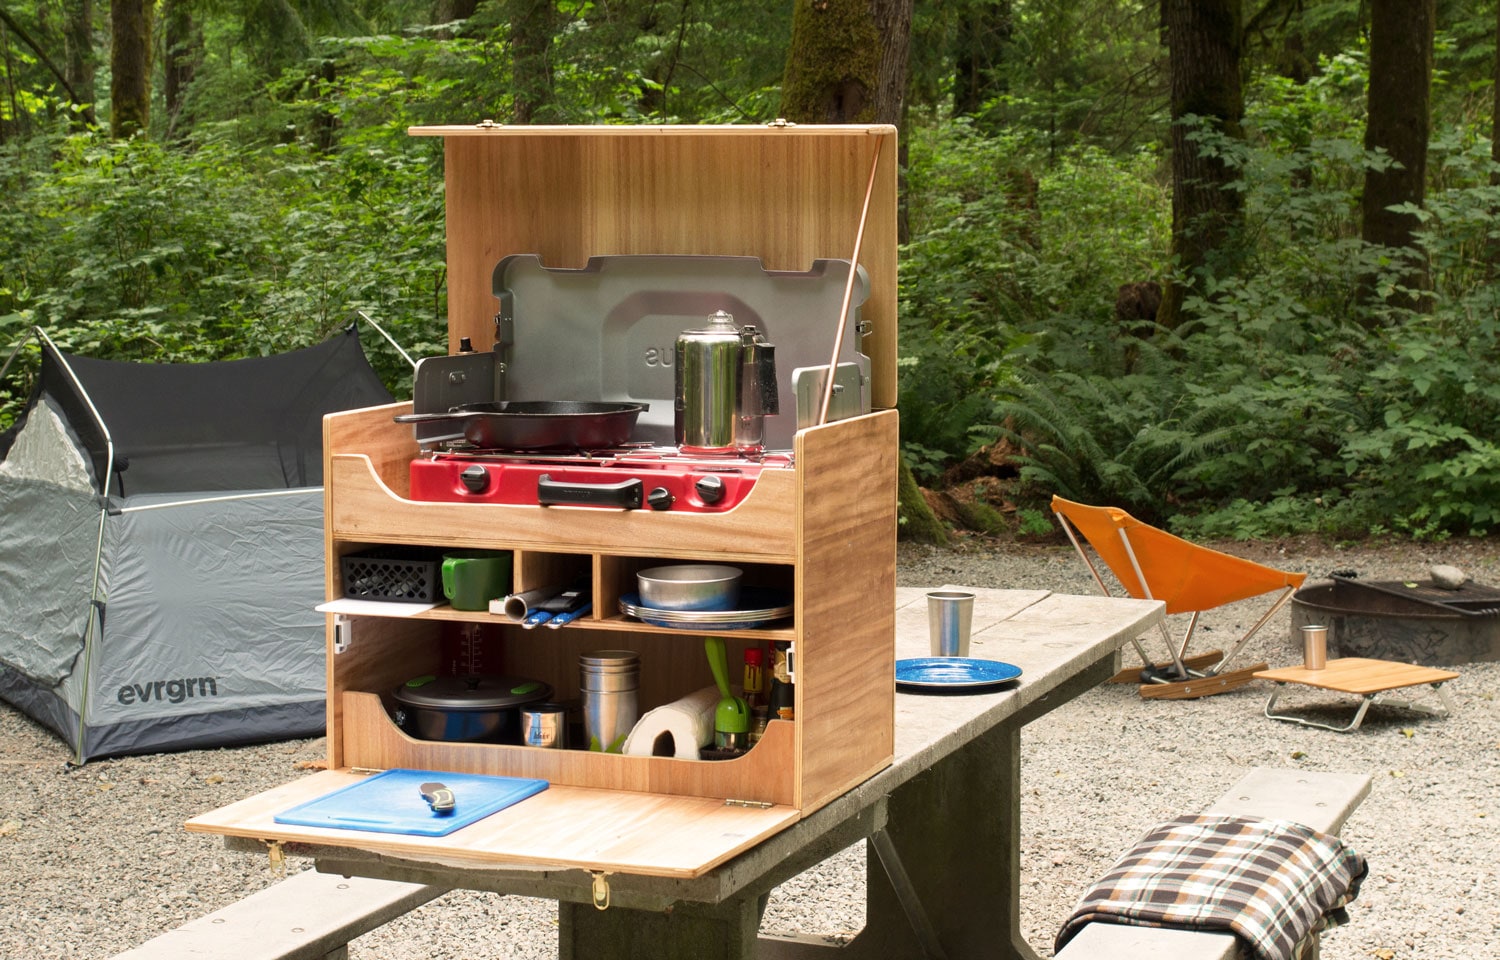
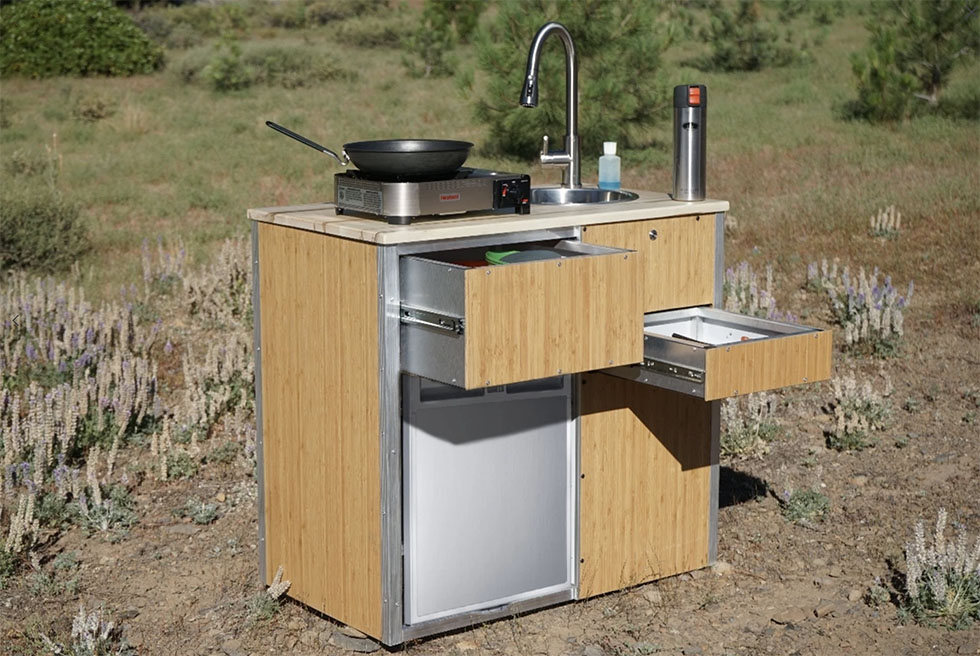
If you need some inspiration for your DIY camp kitchen with a sink, here are ten ideas to get you started: Campervan kitchen: Transform an old van into a mobile kitchen complete with a sink, stove, and storage space. Repurposed dresser: Turn an old dresser into a functional camp kitchen by adding a sink and shelves in the drawers. Portable kitchen cart: Build a portable kitchen cart with a sink and storage shelves that can be rolled to your desired location. Pallet kitchen: Repurpose wooden pallets to create a rustic and budget-friendly camp kitchen with a sink. Camp kitchen in a box: For a compact and easy-to-transport option, build a camp kitchen in a box that folds out into a sink and cooking area. Trunk kitchen: Make use of your car's trunk space by turning it into a camp kitchen with a sink, stove, and storage compartments. Pop-up kitchen: If you have a pop-up camper, consider adding a sink and countertop to your outdoor cooking area. Collapsible kitchen: For a space-saving option, build a collapsible camp kitchen that can be easily stored and set up when needed. Roof rack kitchen: Use a roof rack on your vehicle to create a small but functional camp kitchen with a sink and stove. DIY camping trailer: If you're feeling ambitious, build your own camping trailer complete with a kitchen, including a sink.10 DIY Camp Kitchen Ideas with Sinks
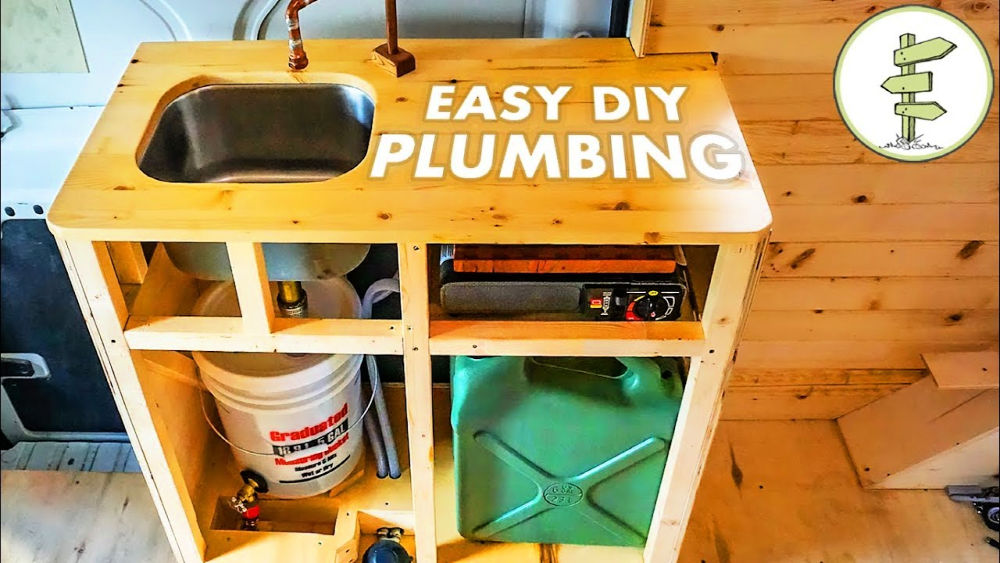
Here are the materials and tools you will need to build a DIY camp kitchen with a sink: Materials: - Base (table, counter, or repurposed furniture) - Sink - Faucet - Plumbing supplies - Water container/tank - Wood or metal for shelves - Screws and nails Tools: - Drill - Saw - Hammer - Screwdriver - Level - PliersDIY Camp Kitchen with Sink: Materials and Tools Needed
Building a DIY camp kitchen with a sink doesn't have to break the bank. Here are some budget-friendly options to consider: Repurpose old furniture: Instead of buying new materials, repurpose old furniture like dressers, tables, or cabinets to use as the base for your camp kitchen. Use affordable materials: Look for affordable materials like PVC pipes for plumbing, wooden pallets for shelves, and repurpose containers for storage. Shop at thrift stores: You can often find second-hand camping equipment and kitchen supplies at thrift stores at a fraction of the cost.DIY Camp Kitchen with Sink: Budget-Friendly Options
For campers who are always on the go, a portable and compact DIY camp kitchen with a sink is a must. Here are some design ideas to consider: Camp kitchen in a box: As mentioned earlier, a camp kitchen in a box is a great option for its portability and compactness. Collapsible kitchen: Another space-saving option is a collapsible camp kitchen that can be easily stored and set up when needed. Camp kitchen cart: A kitchen cart with wheels is a convenient option for transporting your sink and cooking supplies to your desired location.DIY Camp Kitchen with Sink: Portable and Compact Designs
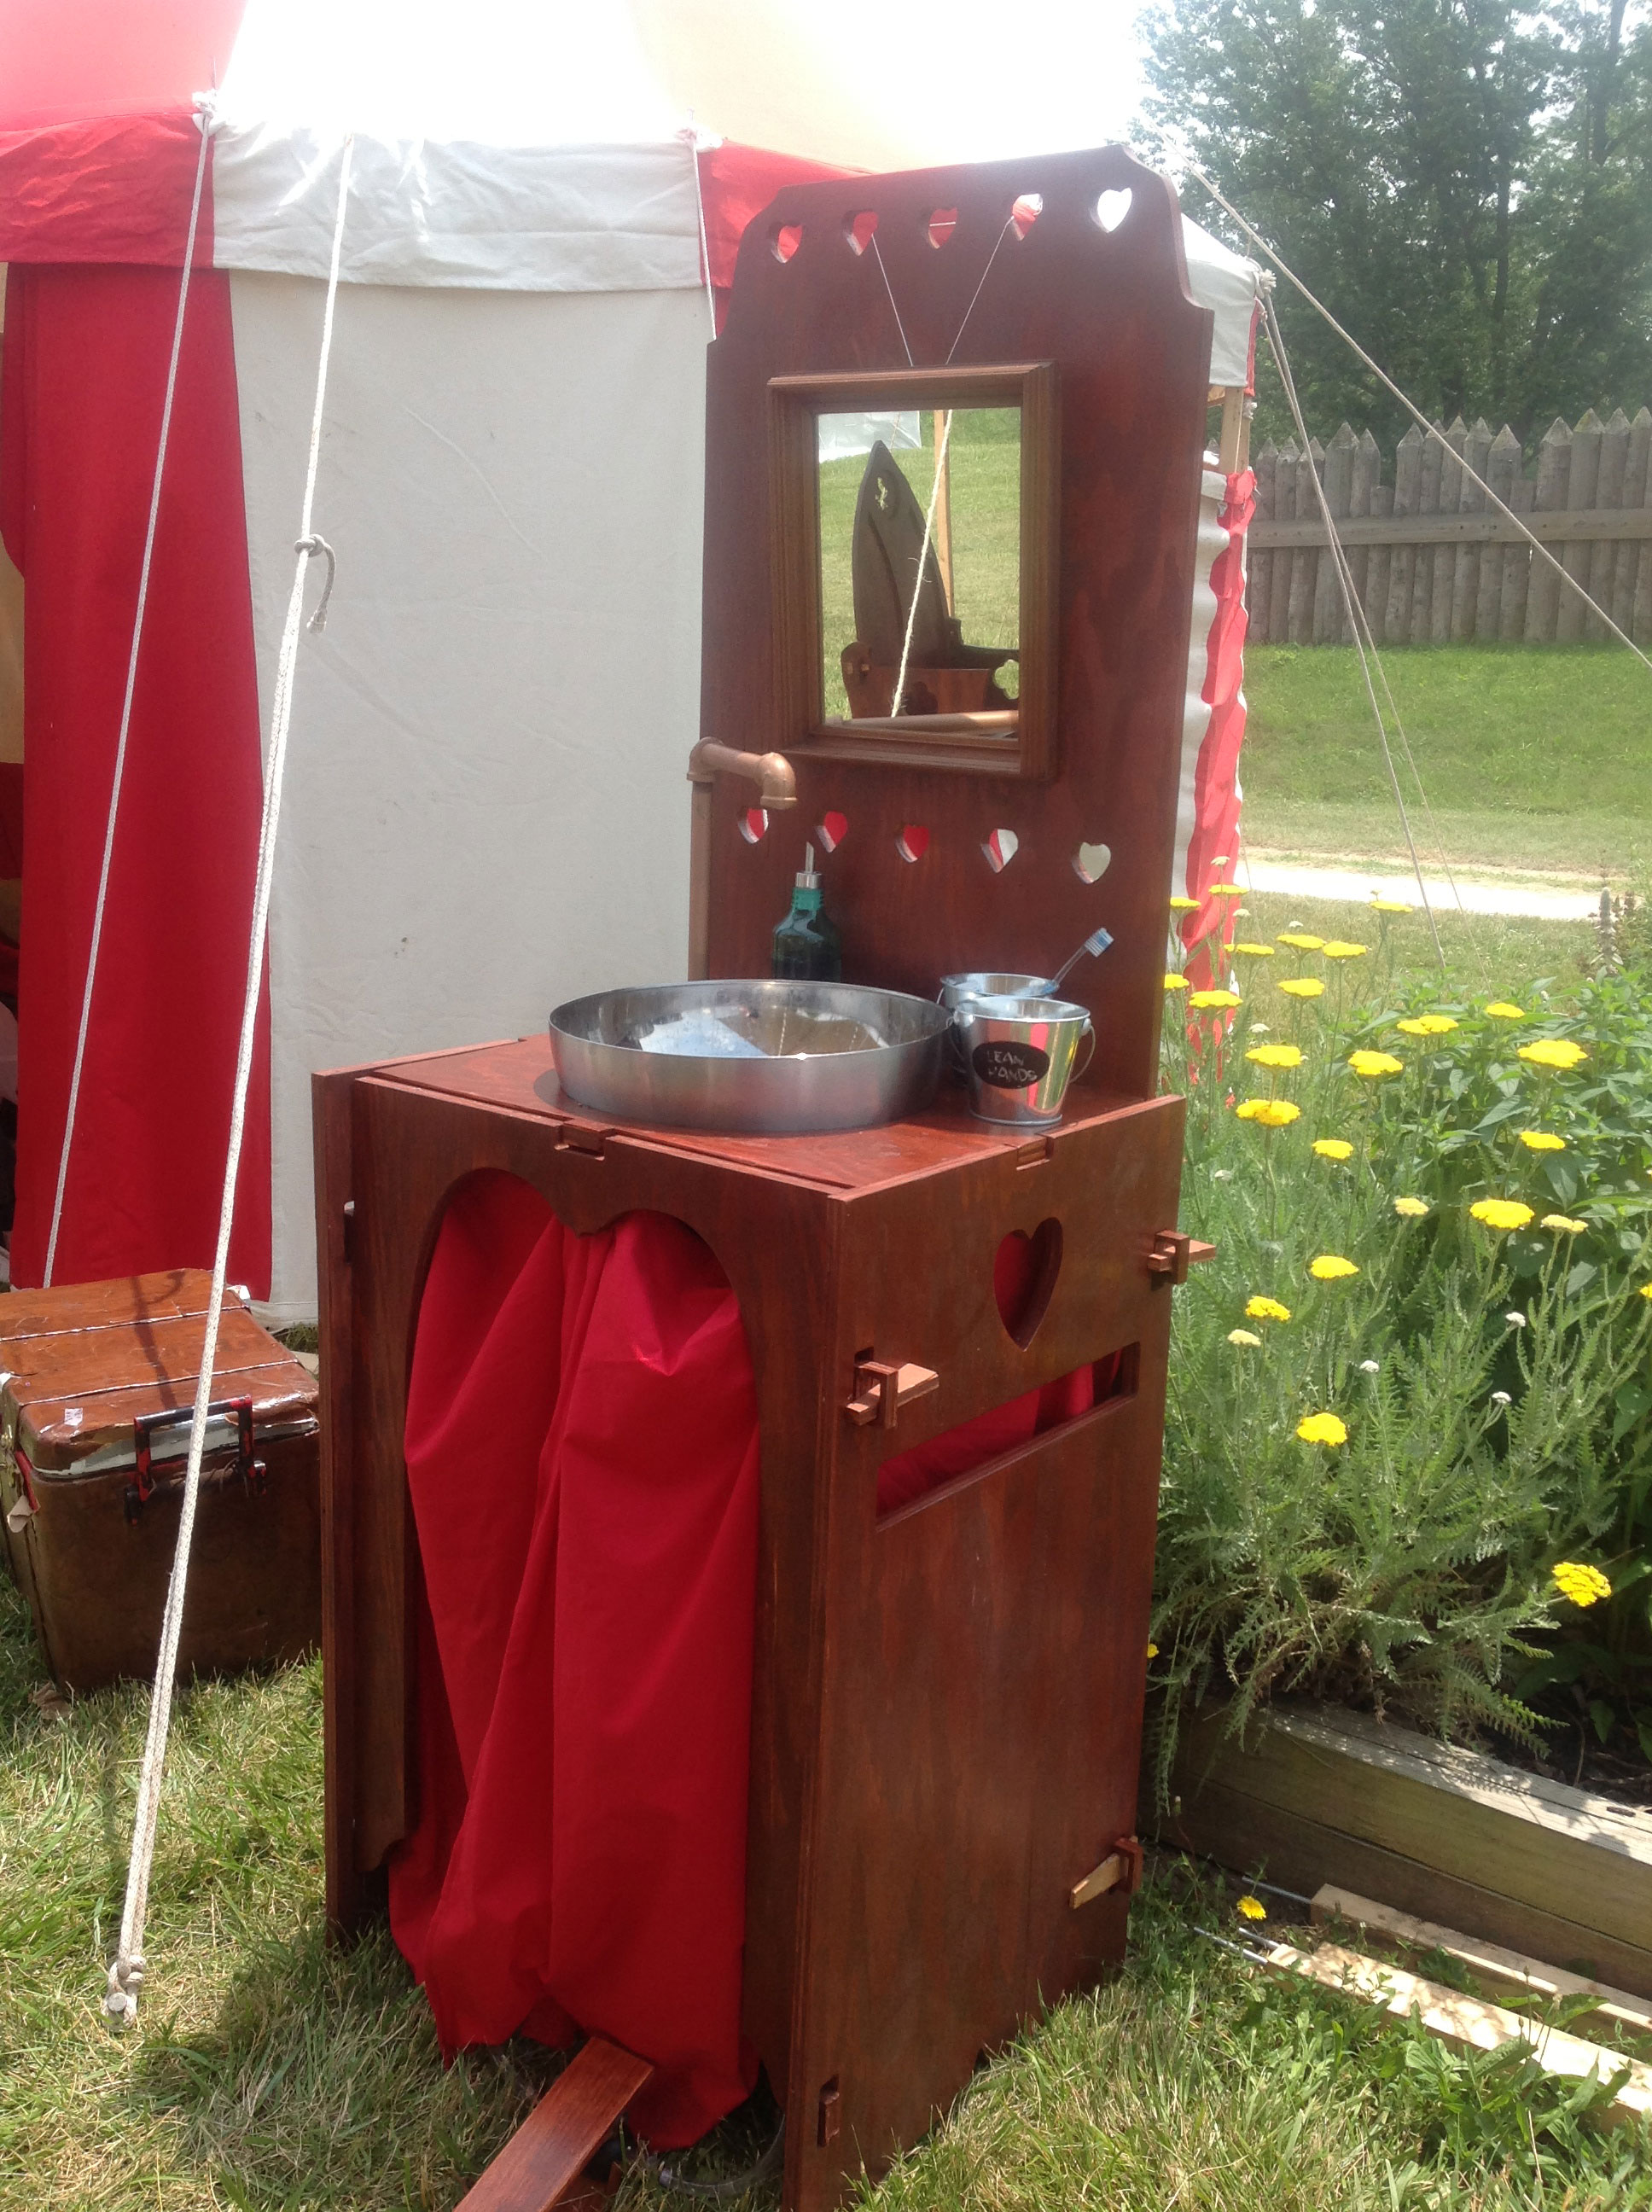
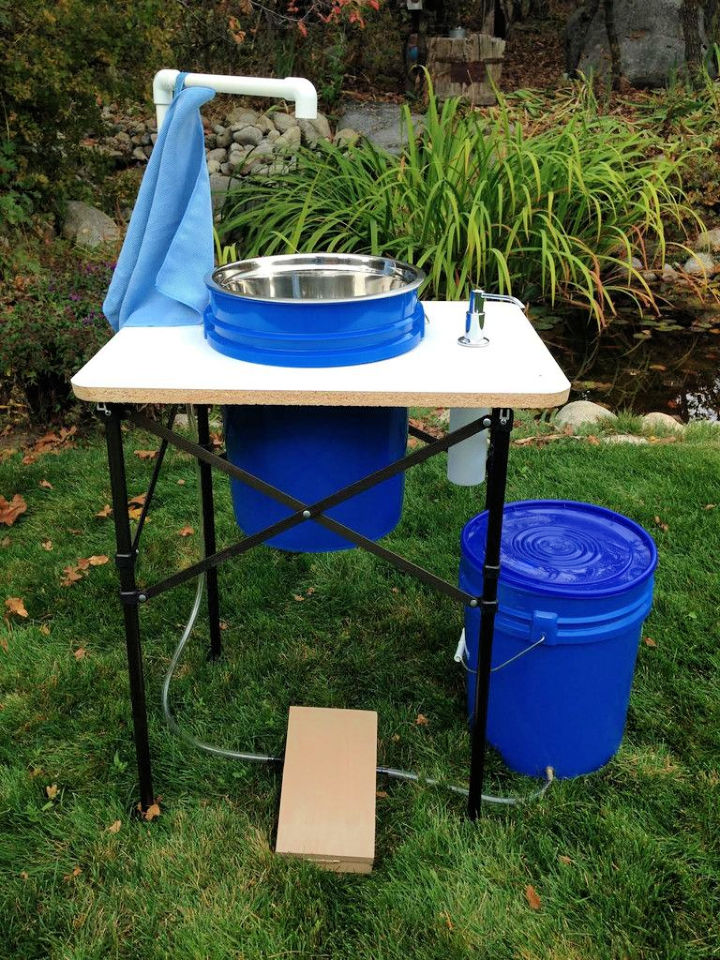
Your DIY camp kitchen with a sink doesn't have to be plain and basic. Get creative and add some unique features to make it both functional and aesthetically pleasing. Here are some ideas to consider: Outdoor sink: Instead of a traditional sink, use a large bucket or basin as your sink for a more rustic and natural look. Hanging utensil holder: Utilize vertical space by hanging utensils and pots on hooks attached to your camp kitchen. Mini herb garden: Add some fresh herbs to your outdoor cooking by creating a mini herb garden on your camp kitchen.DIY Camp Kitchen with Sink: Creative and Functional Designs
If you want running water in your DIY camp kitchen with a sink, you will need to add plumbing and drainage. Here's how: Step 1: Connect pipes to the sink: Using a drill and plumbing supplies, connect pipes to the bottom of your sink for the water to drain into. Step 2: Attach pipes to a water container: Attach the other end of the pipes to a water container using a spigot or valve for easy access to water. Step 3: Add a drainage system: To prevent water from pooling under your camp kitchen, install a drainage system by digging a small trench and filling it with gravel.DIY Camp Kitchen with Sink: How to Add Plumbing and Drainage
Proper maintenance and cleaning are essential for keeping your DIY camp kitchen with a sink in good condition. Here are some tips to follow: Empty and clean the sink regularly: Make sure to empty and clean your sink after each use to prevent clogs and bacteria growth. Store kitchen supplies properly: After each camping trip, make sure to clean and store your kitchen supplies properly to prevent damage and prolong their lifespan. Protect against the elements: If your camp kitchen is not weatherproof, make sure to cover it or bring it indoors when not in use to protect it from rain and harsh weather. Building a DIY camp kitchen with a sink can greatly enhance your outdoor cooking and cleaning experience. With these tips and ideas, you can create a functional and personalized camp kitchen that will make your camping trips even more enjoyable. Happy camping!DIY Camp Kitchen with Sink: Maintenance and Cleaning Tips
The Benefits of a DIY Camp Kitchen with Sink
Maximizing Space and Efficiency
 When it comes to camping, space and efficiency are key. With a DIY camp kitchen with a sink, you can easily create a compact and organized space for all your cooking and cleaning needs. By incorporating a sink into your camp kitchen, you eliminate the need for extra buckets or basins for washing dishes and utensils. This saves valuable space and allows you to make the most of your campsite setup.
Convenience and Comfort
 One of the biggest advantages of a DIY camp kitchen with a sink is the convenience and comfort it provides. Gone are the days of washing dishes in a nearby river or having to carry water back and forth from a communal water source. With a sink right at your campsite, you can easily wash and rinse dishes, and even clean up after cooking without having to leave your campsite. This not only saves time, but also adds an element of comfort to your camping experience.
Hygiene and Cleanliness
 Maintaining hygiene and cleanliness while camping can be a challenge, especially when it comes to food preparation and cleanup. A DIY camp kitchen with a sink allows you to easily wash your hands and keep your cooking area clean, reducing the risk of food contamination and illness. It also makes it easier to properly dispose of waste and keep your campsite tidy.
Customization and Personalization
 By choosing to build your own camp kitchen with a sink, you have the freedom to customize and personalize it to your specific needs and preferences. You can choose the size, design, and materials that best suit your camping style and budget. This allows you to create a truly unique and functional space that meets all your camping needs.
Cost-Effective Solution
 Investing in a pre-made camping kitchen with a sink can be expensive, especially for occasional campers. Building your own DIY camp kitchen with a sink is a cost-effective solution that can save you money in the long run. With some creativity and basic DIY skills, you can create a functional and efficient camp kitchen without breaking the bank.
In conclusion, a DIY camp kitchen with a sink is a practical and convenient addition to any camping setup. It maximizes space and efficiency, provides convenience and comfort, promotes hygiene and cleanliness, allows for customization and personalization, and is a cost-effective solution. With these benefits in mind, consider building your own DIY camp kitchen with a sink for your next camping adventure.

