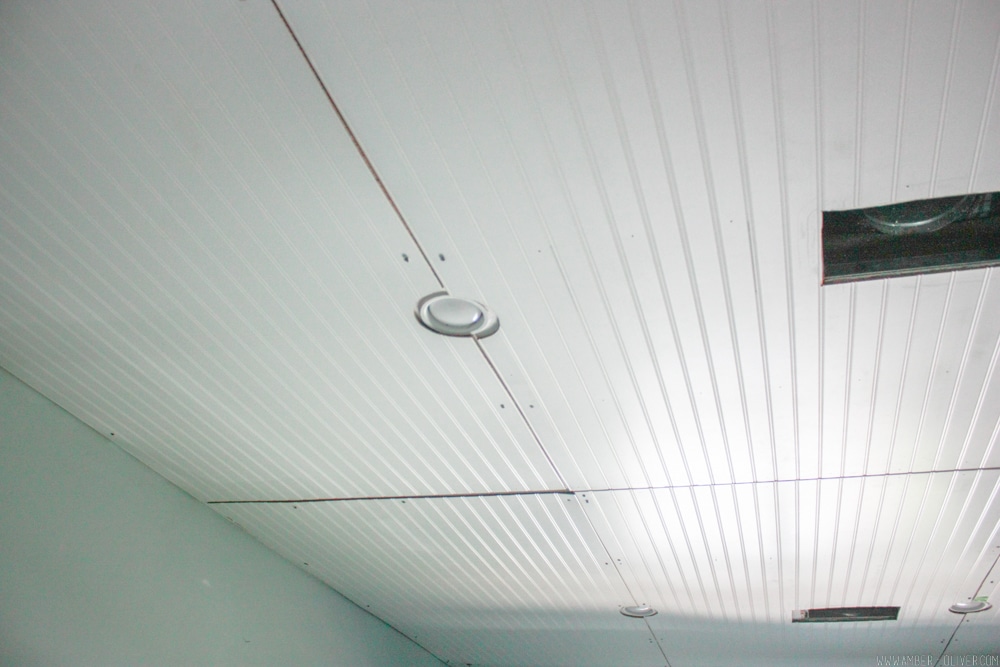
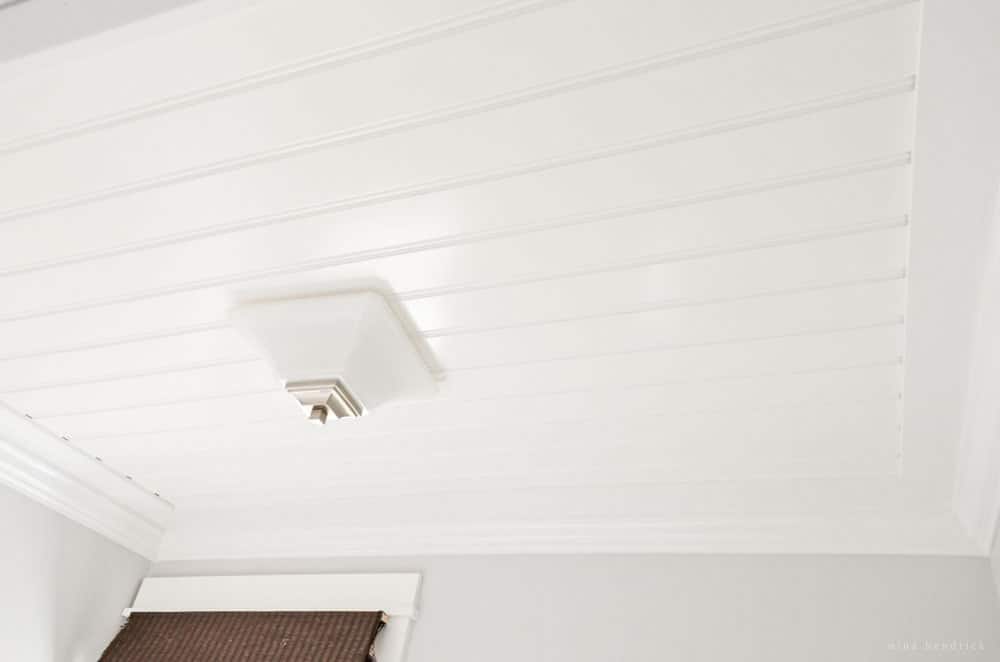
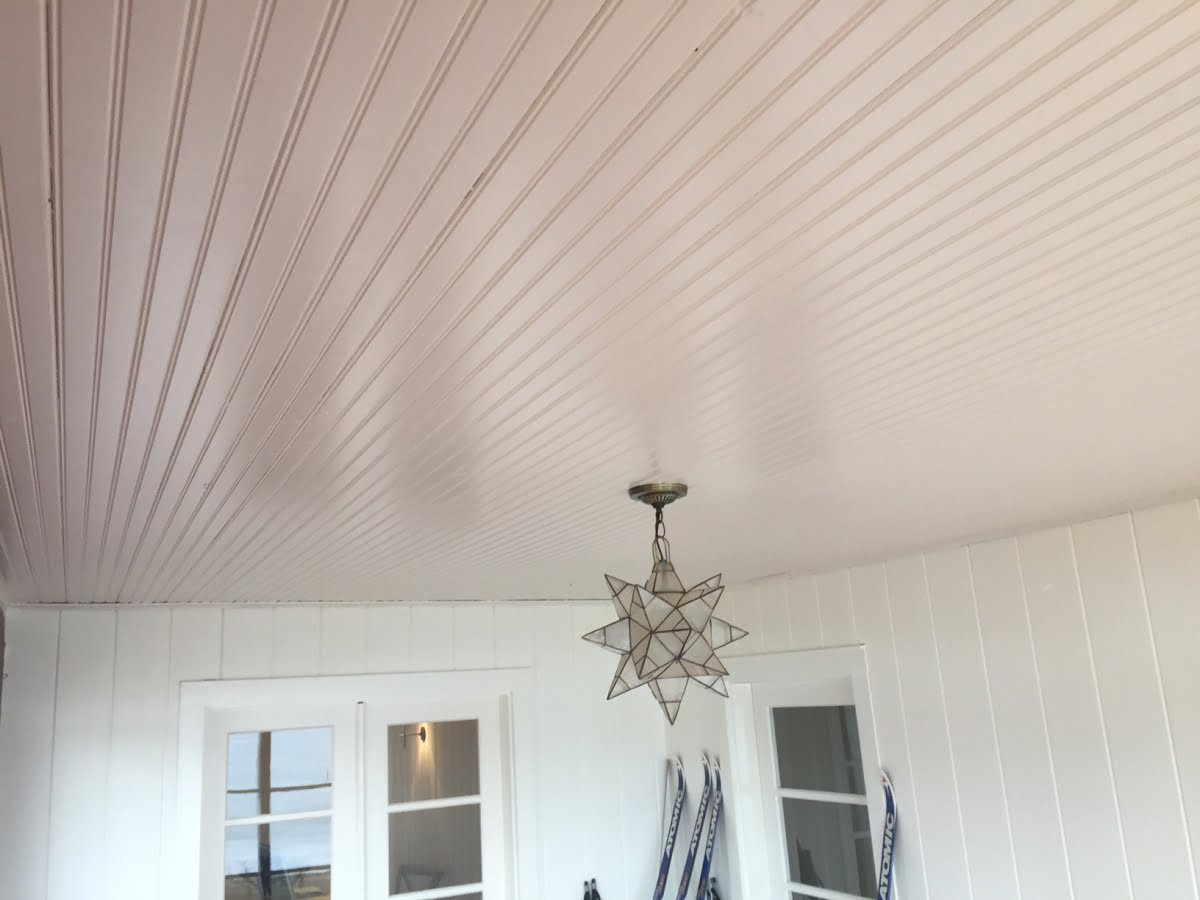
If you're looking for a budget-friendly way to add some charm and character to your kitchen ceiling, consider a DIY beadboard ceiling. This easy and affordable project will give your kitchen a cozy cottage feel without breaking the bank. Beadboard is a type of paneling that features evenly spaced grooves or beads. It's typically used on walls, but can also be used on ceilings to add texture and visual interest. It's also relatively easy to install, making it a great option for a DIY project. To create a beadboard ceiling, you'll need to purchase sheets of beadboard paneling, which can be found at most home improvement stores. Measure your ceiling and cut the panels to fit, leaving a small gap around the edges to allow for expansion. Then, simply nail or glue the panels to the ceiling and cover any visible seams with trim or molding. The end result will be a charming and unique ceiling that adds personality to your kitchen without breaking the bank.1. DIY Beadboard Ceiling
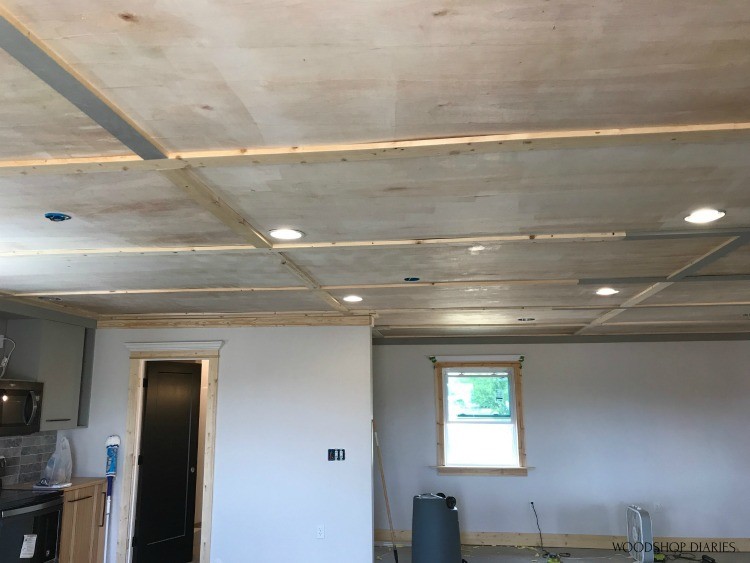
If you're looking for an even more budget-friendly option, consider a painted plywood ceiling. This is a great choice if you have a lot of exposed ceilings in your kitchen, as it's a cost-effective way to cover them up and add some color and style to the space. Start by measuring your ceiling and cutting sheets of plywood to fit. Sand the plywood to create a smooth surface, then paint it in the color of your choice. You can also add a pattern or design with stencils for a more custom look. Once the paint is dry, simply nail or glue the plywood sheets to the ceiling. You can also add trim or molding to cover any visible seams or gaps. This is a great option for those who love the look of wood but don't want to spend a fortune on expensive wood paneling.2. Painted Plywood Ceiling
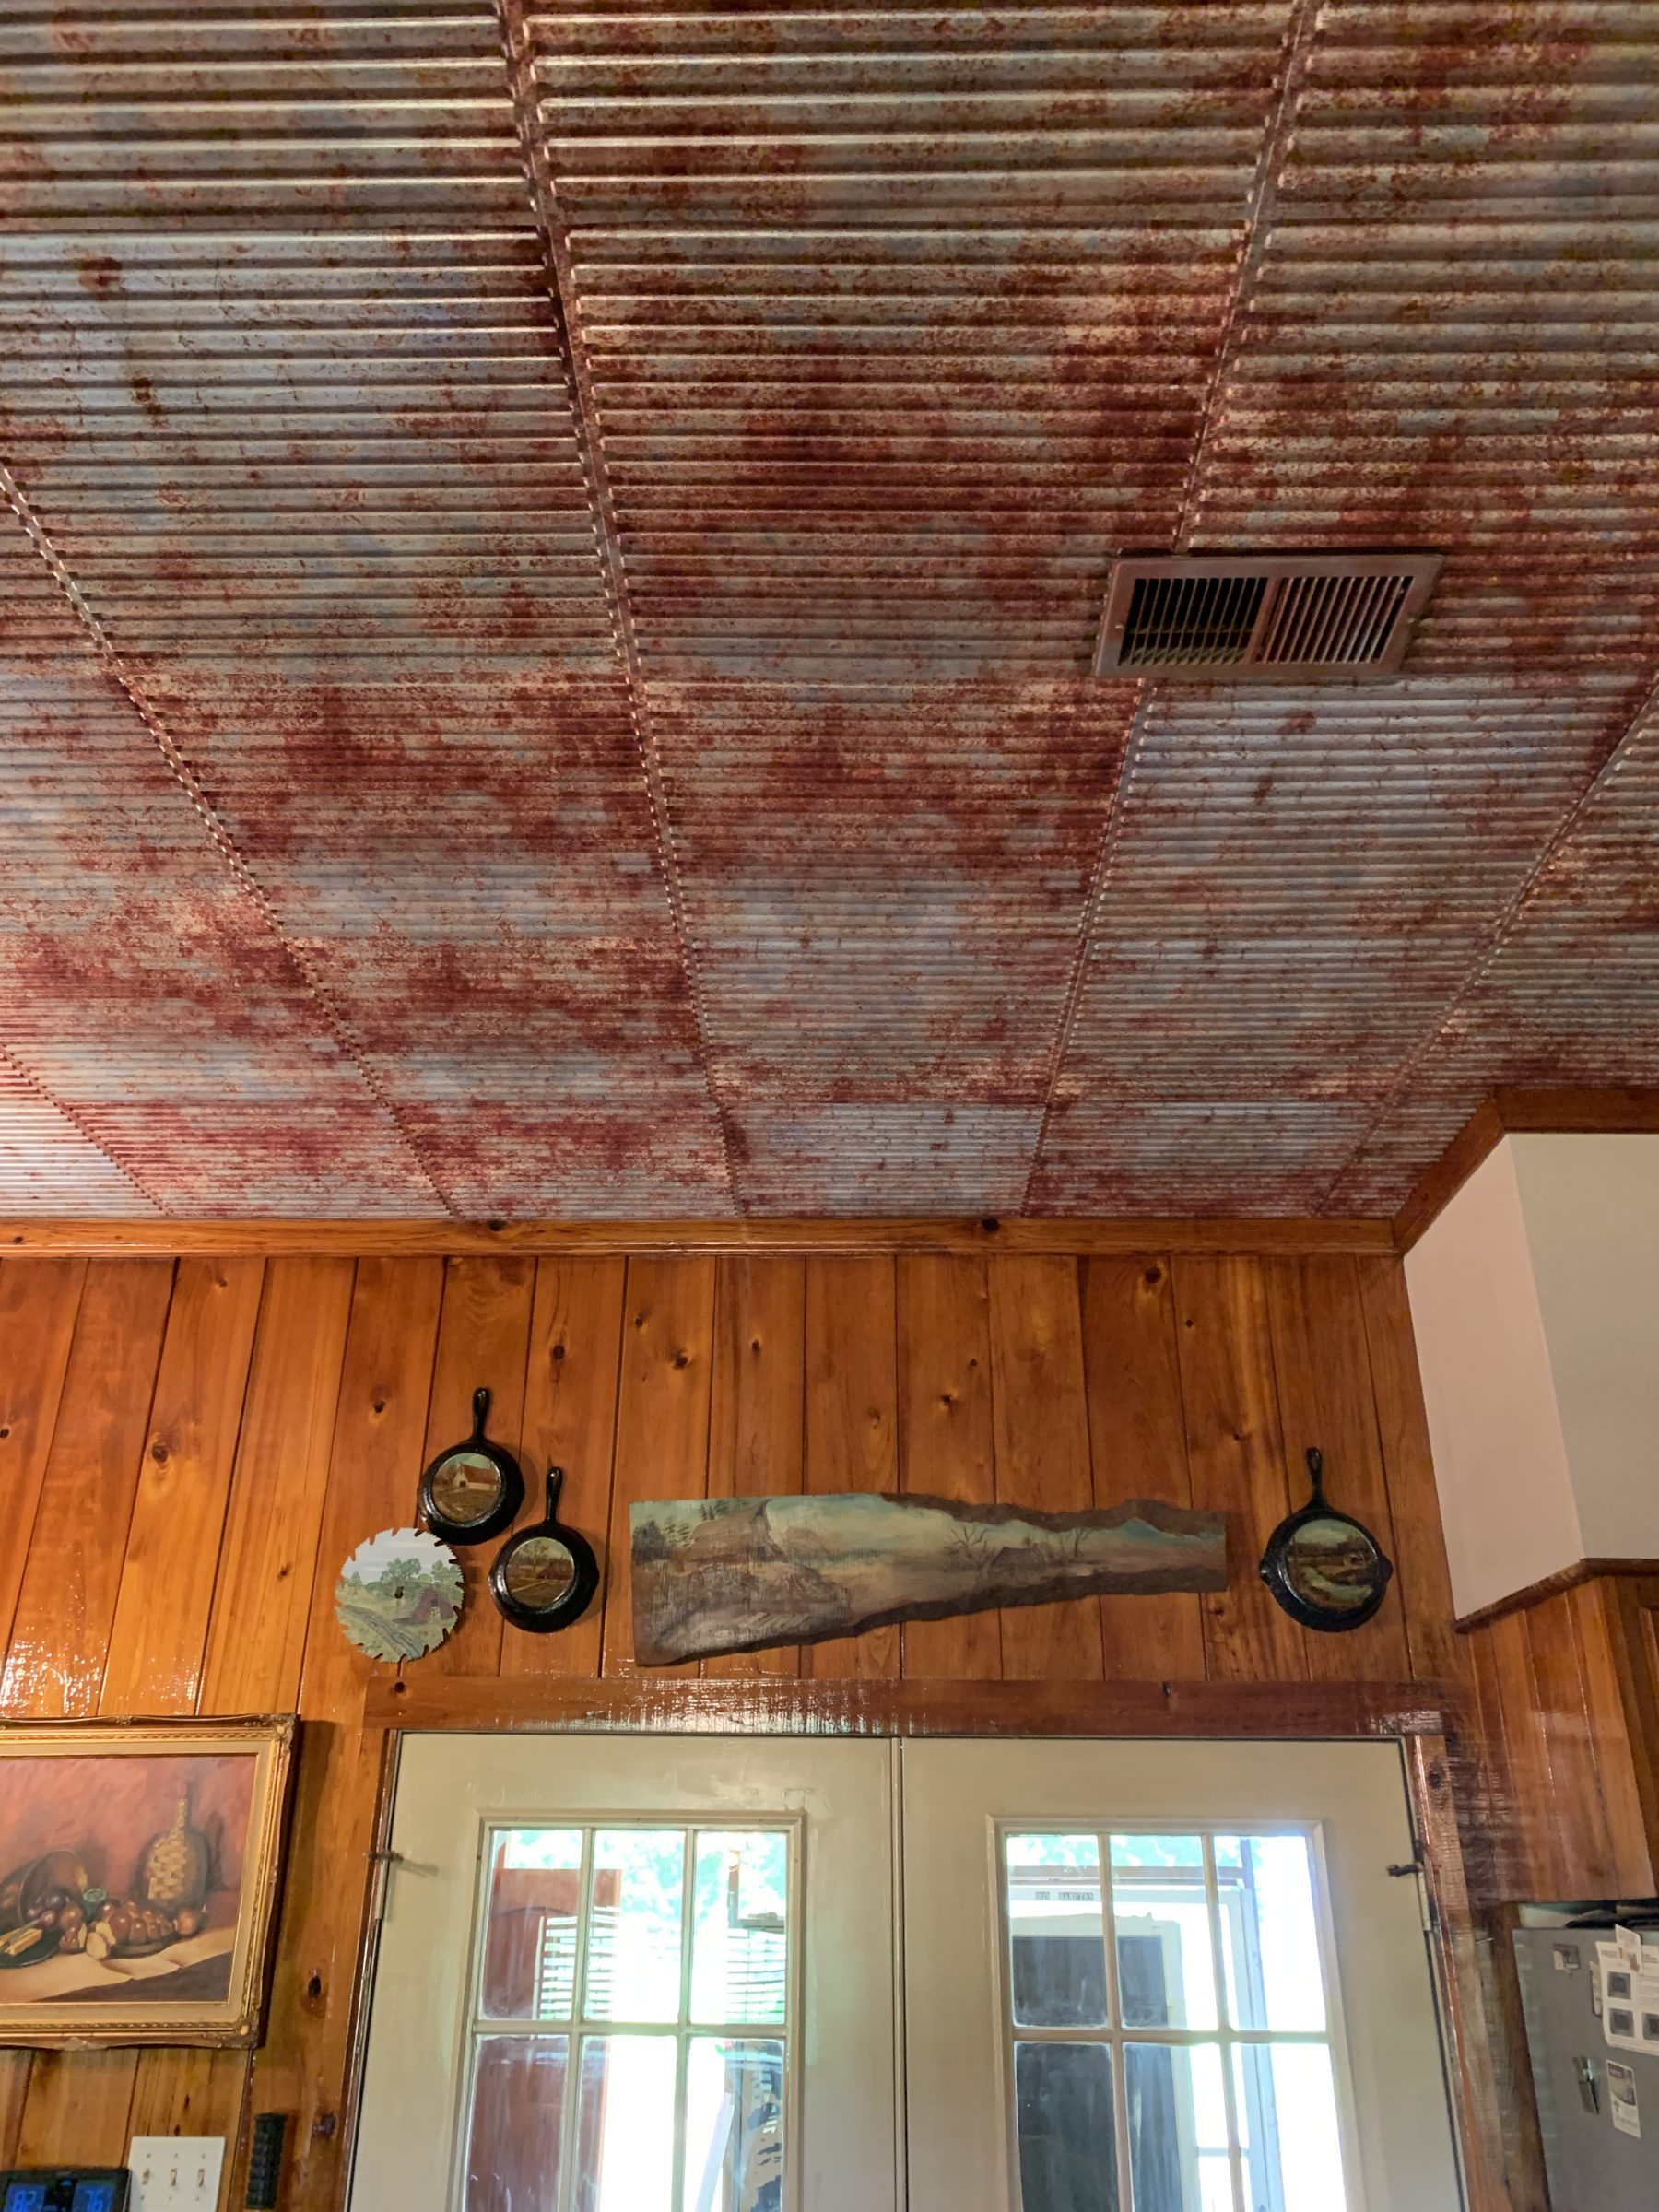
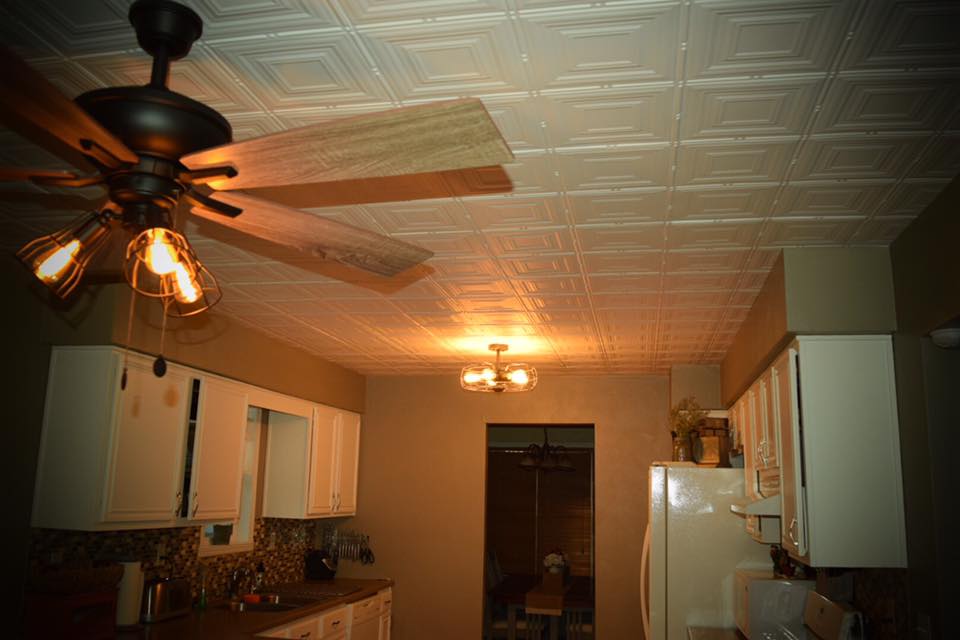
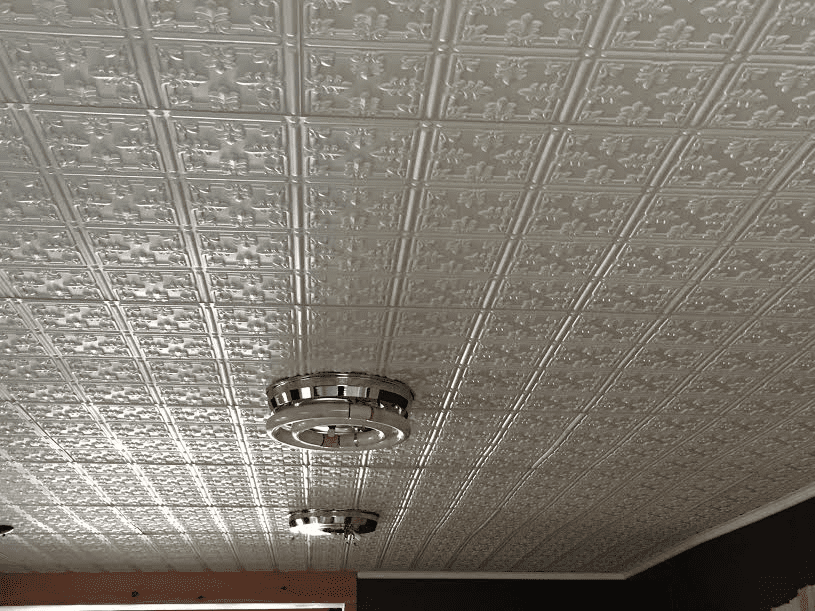
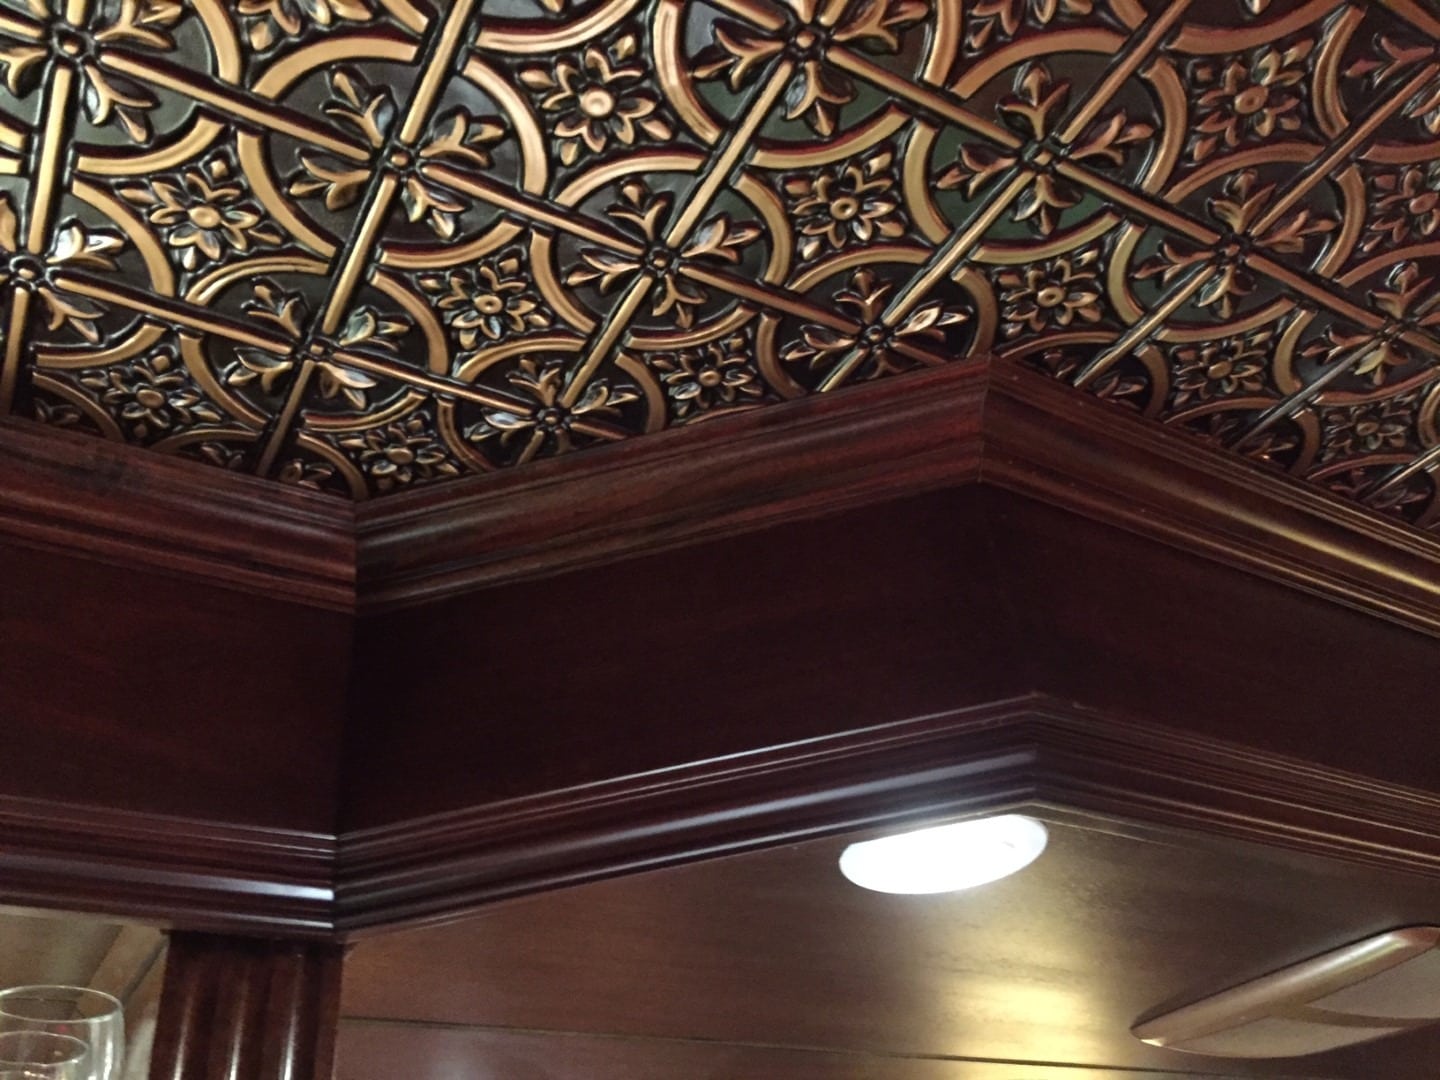
Tin tiles are a popular choice for creating a vintage, industrial look in a kitchen. They are also a great choice for a cheap kitchen ceiling, as they are relatively affordable and easy to install. You can purchase tin tiles in a variety of styles and finishes, including traditional tin, painted, and even faux rusted for a more rustic look. Simply measure your ceiling and cut the tiles to fit, then nail or glue them in place. Add some trim or molding to cover any visible seams, and you'll have a unique and eye-catching ceiling that won't break the bank.3. Tin Tile Ceiling
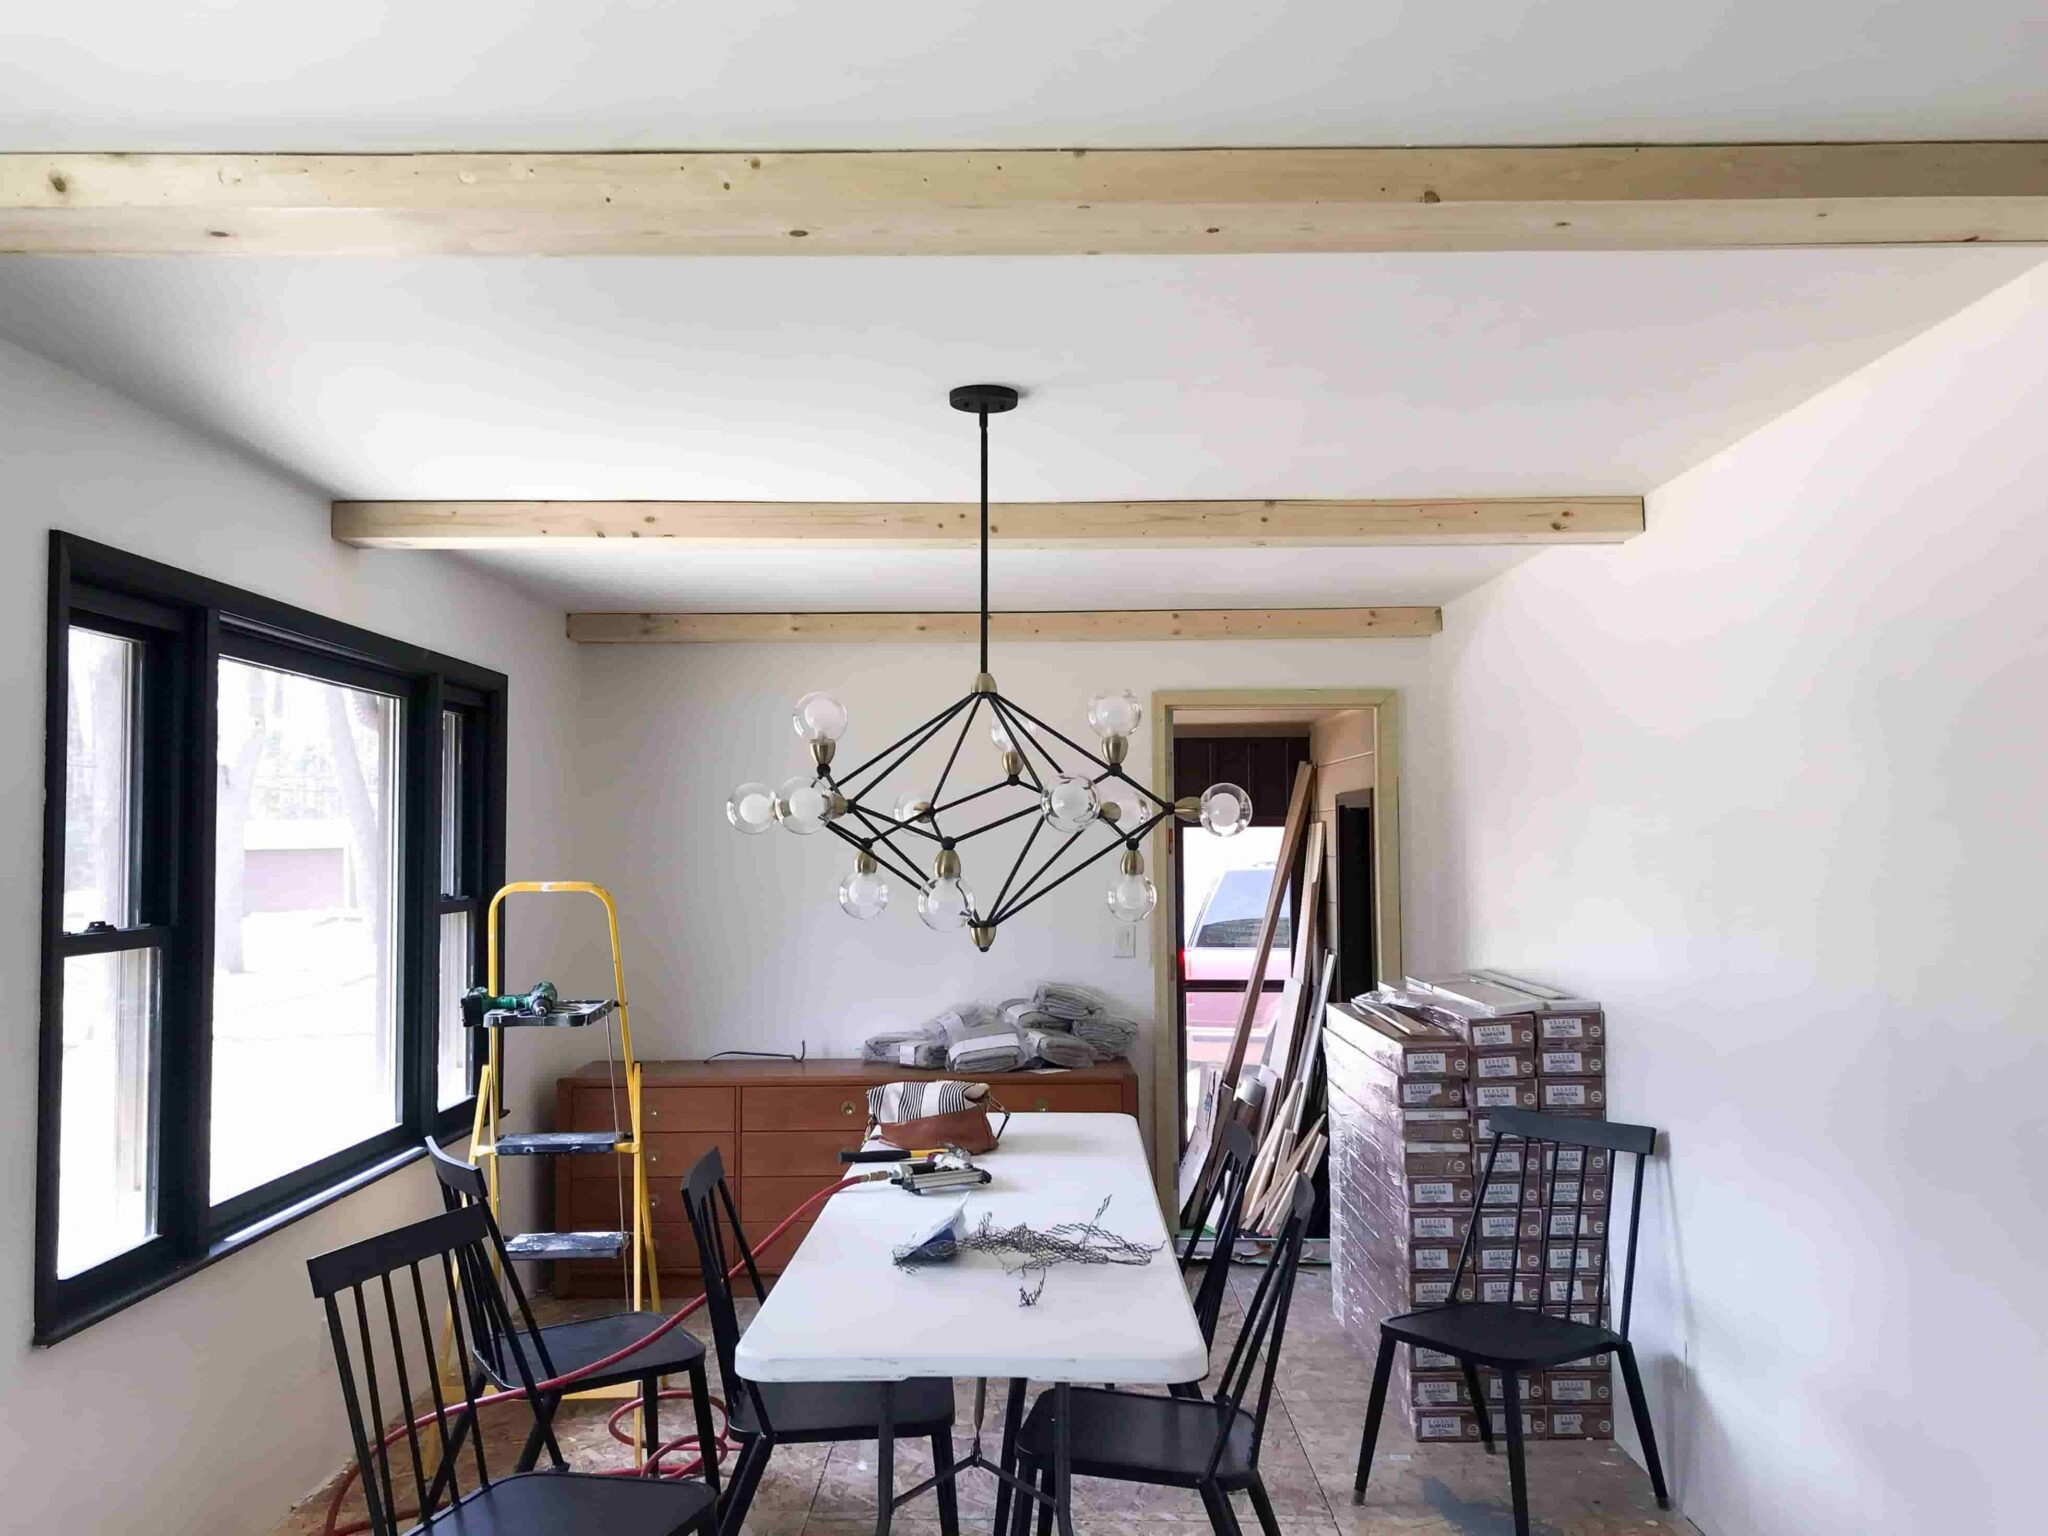
If you love the look of exposed wood beams but don't want to pay for the real thing, consider a faux wood beam ceiling. This option requires some basic DIY skills, but the end result is a stunning and budget-friendly ceiling that adds warmth and character to your kitchen. To create a faux wood beam ceiling, you'll need to purchase foam beams, which can be found at most home improvement stores. Measure and cut the beams to fit your ceiling, then attach them with adhesive and screws. You can also use paint or stain to give the beams a more realistic wood finish. This is a great option for those who want a high-end look without the high-end price tag.4. Faux Wood Beam Ceiling
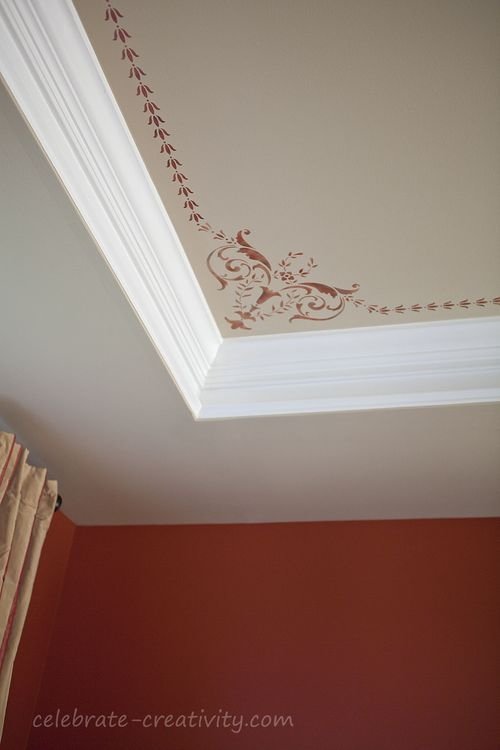
If you're feeling creative and want to add some visual interest to your kitchen ceiling, consider stenciling it. This is a budget-friendly option that allows you to create a custom and unique design that reflects your style and personality. To stencil your ceiling, you'll need a stencil of your choice, paint, and a steady hand. Start by measuring and marking the center of your ceiling, then use a level to position your stencil in the center. Use a small amount of paint and a sponge or brush to carefully fill in the design. Repeat the process until your entire ceiling is stenciled. This is a great option for those who want a one-of-a-kind ceiling without spending a lot of money.5. Stenciled Ceiling
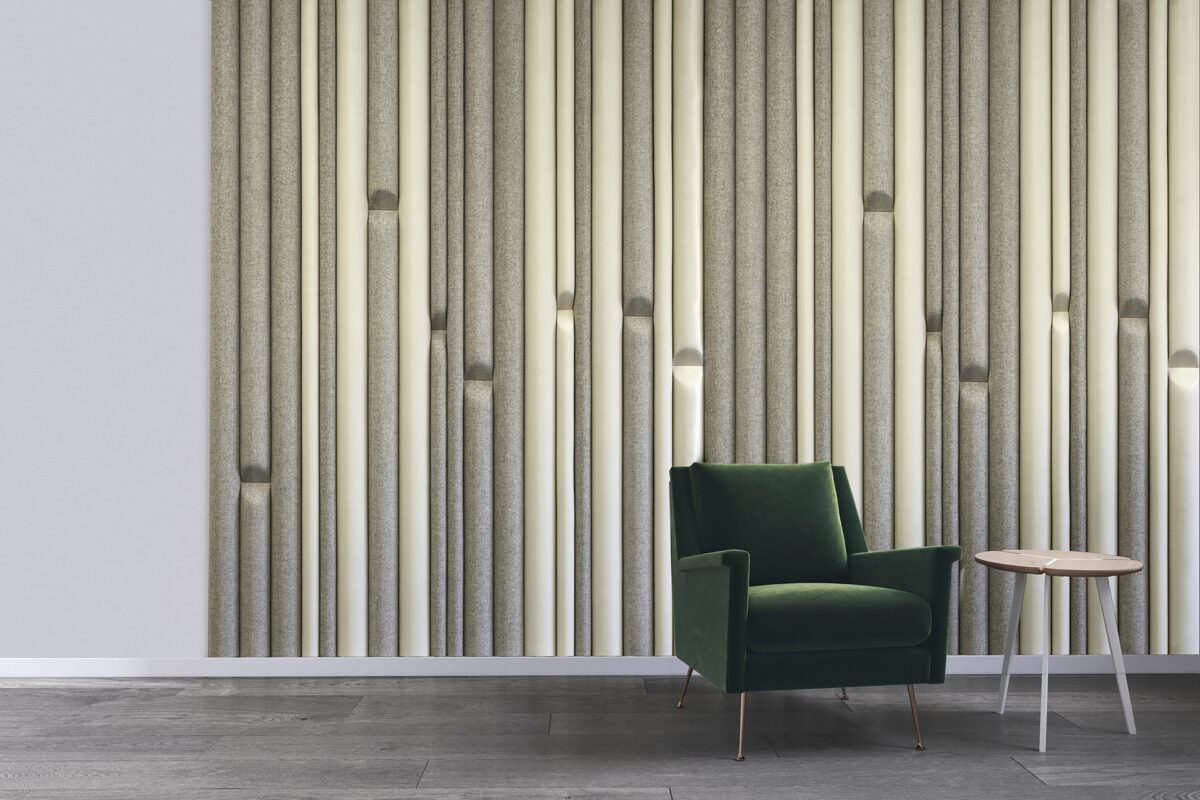
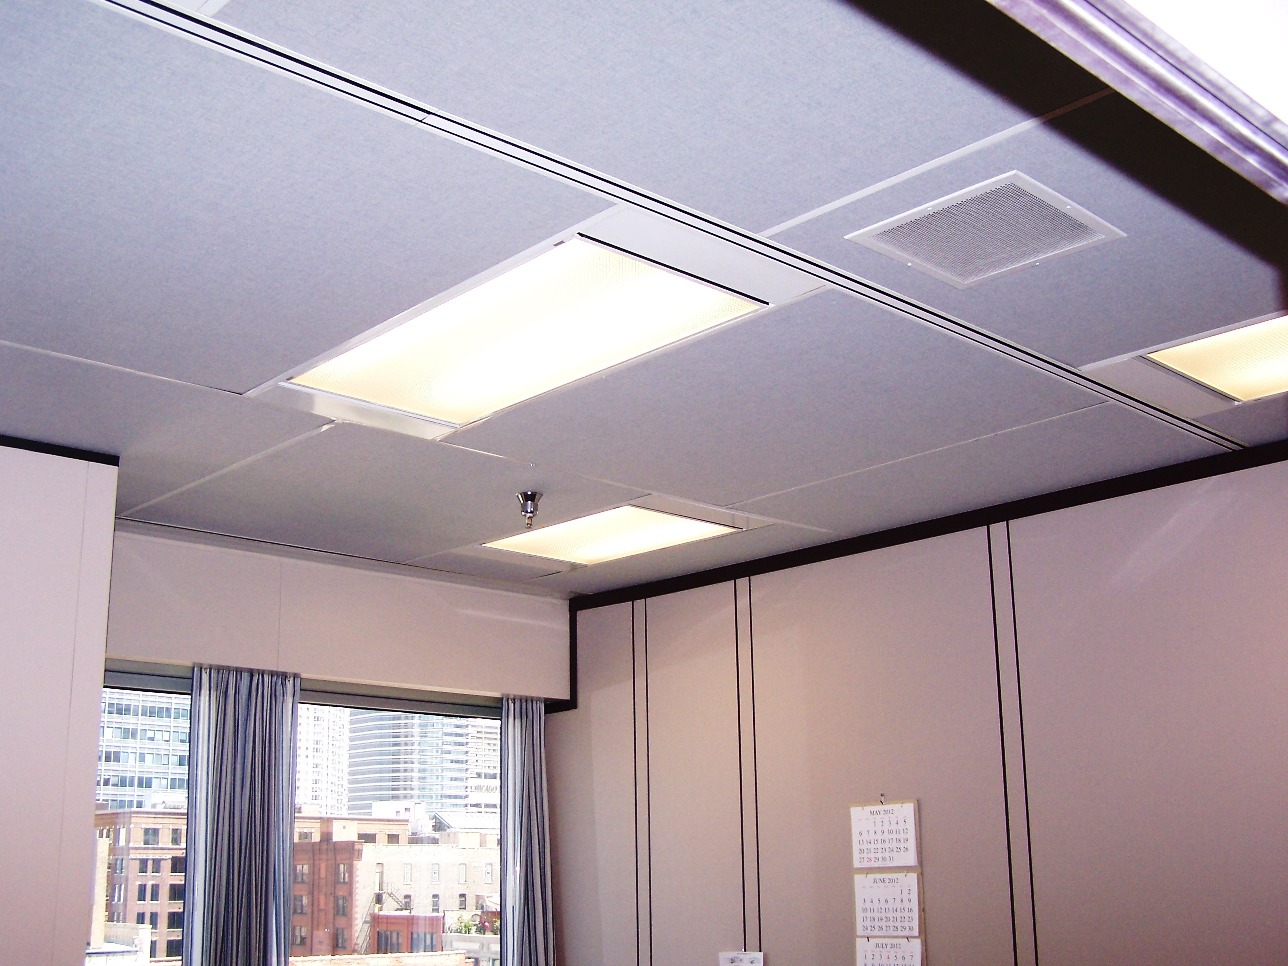
For a soft and cozy look in your kitchen, consider fabric ceiling panels. This option is perfect for those who want to cover up a plain or damaged ceiling without spending a lot of money. You can purchase fabric ceiling panels in a variety of styles and patterns, or you can make your own using fabric and some basic supplies. Simply measure and cut the fabric to fit your ceiling, then attach it with adhesive or staples. This is a great option for renters, as the panels can easily be removed when you move out.6. Fabric Ceiling Panels
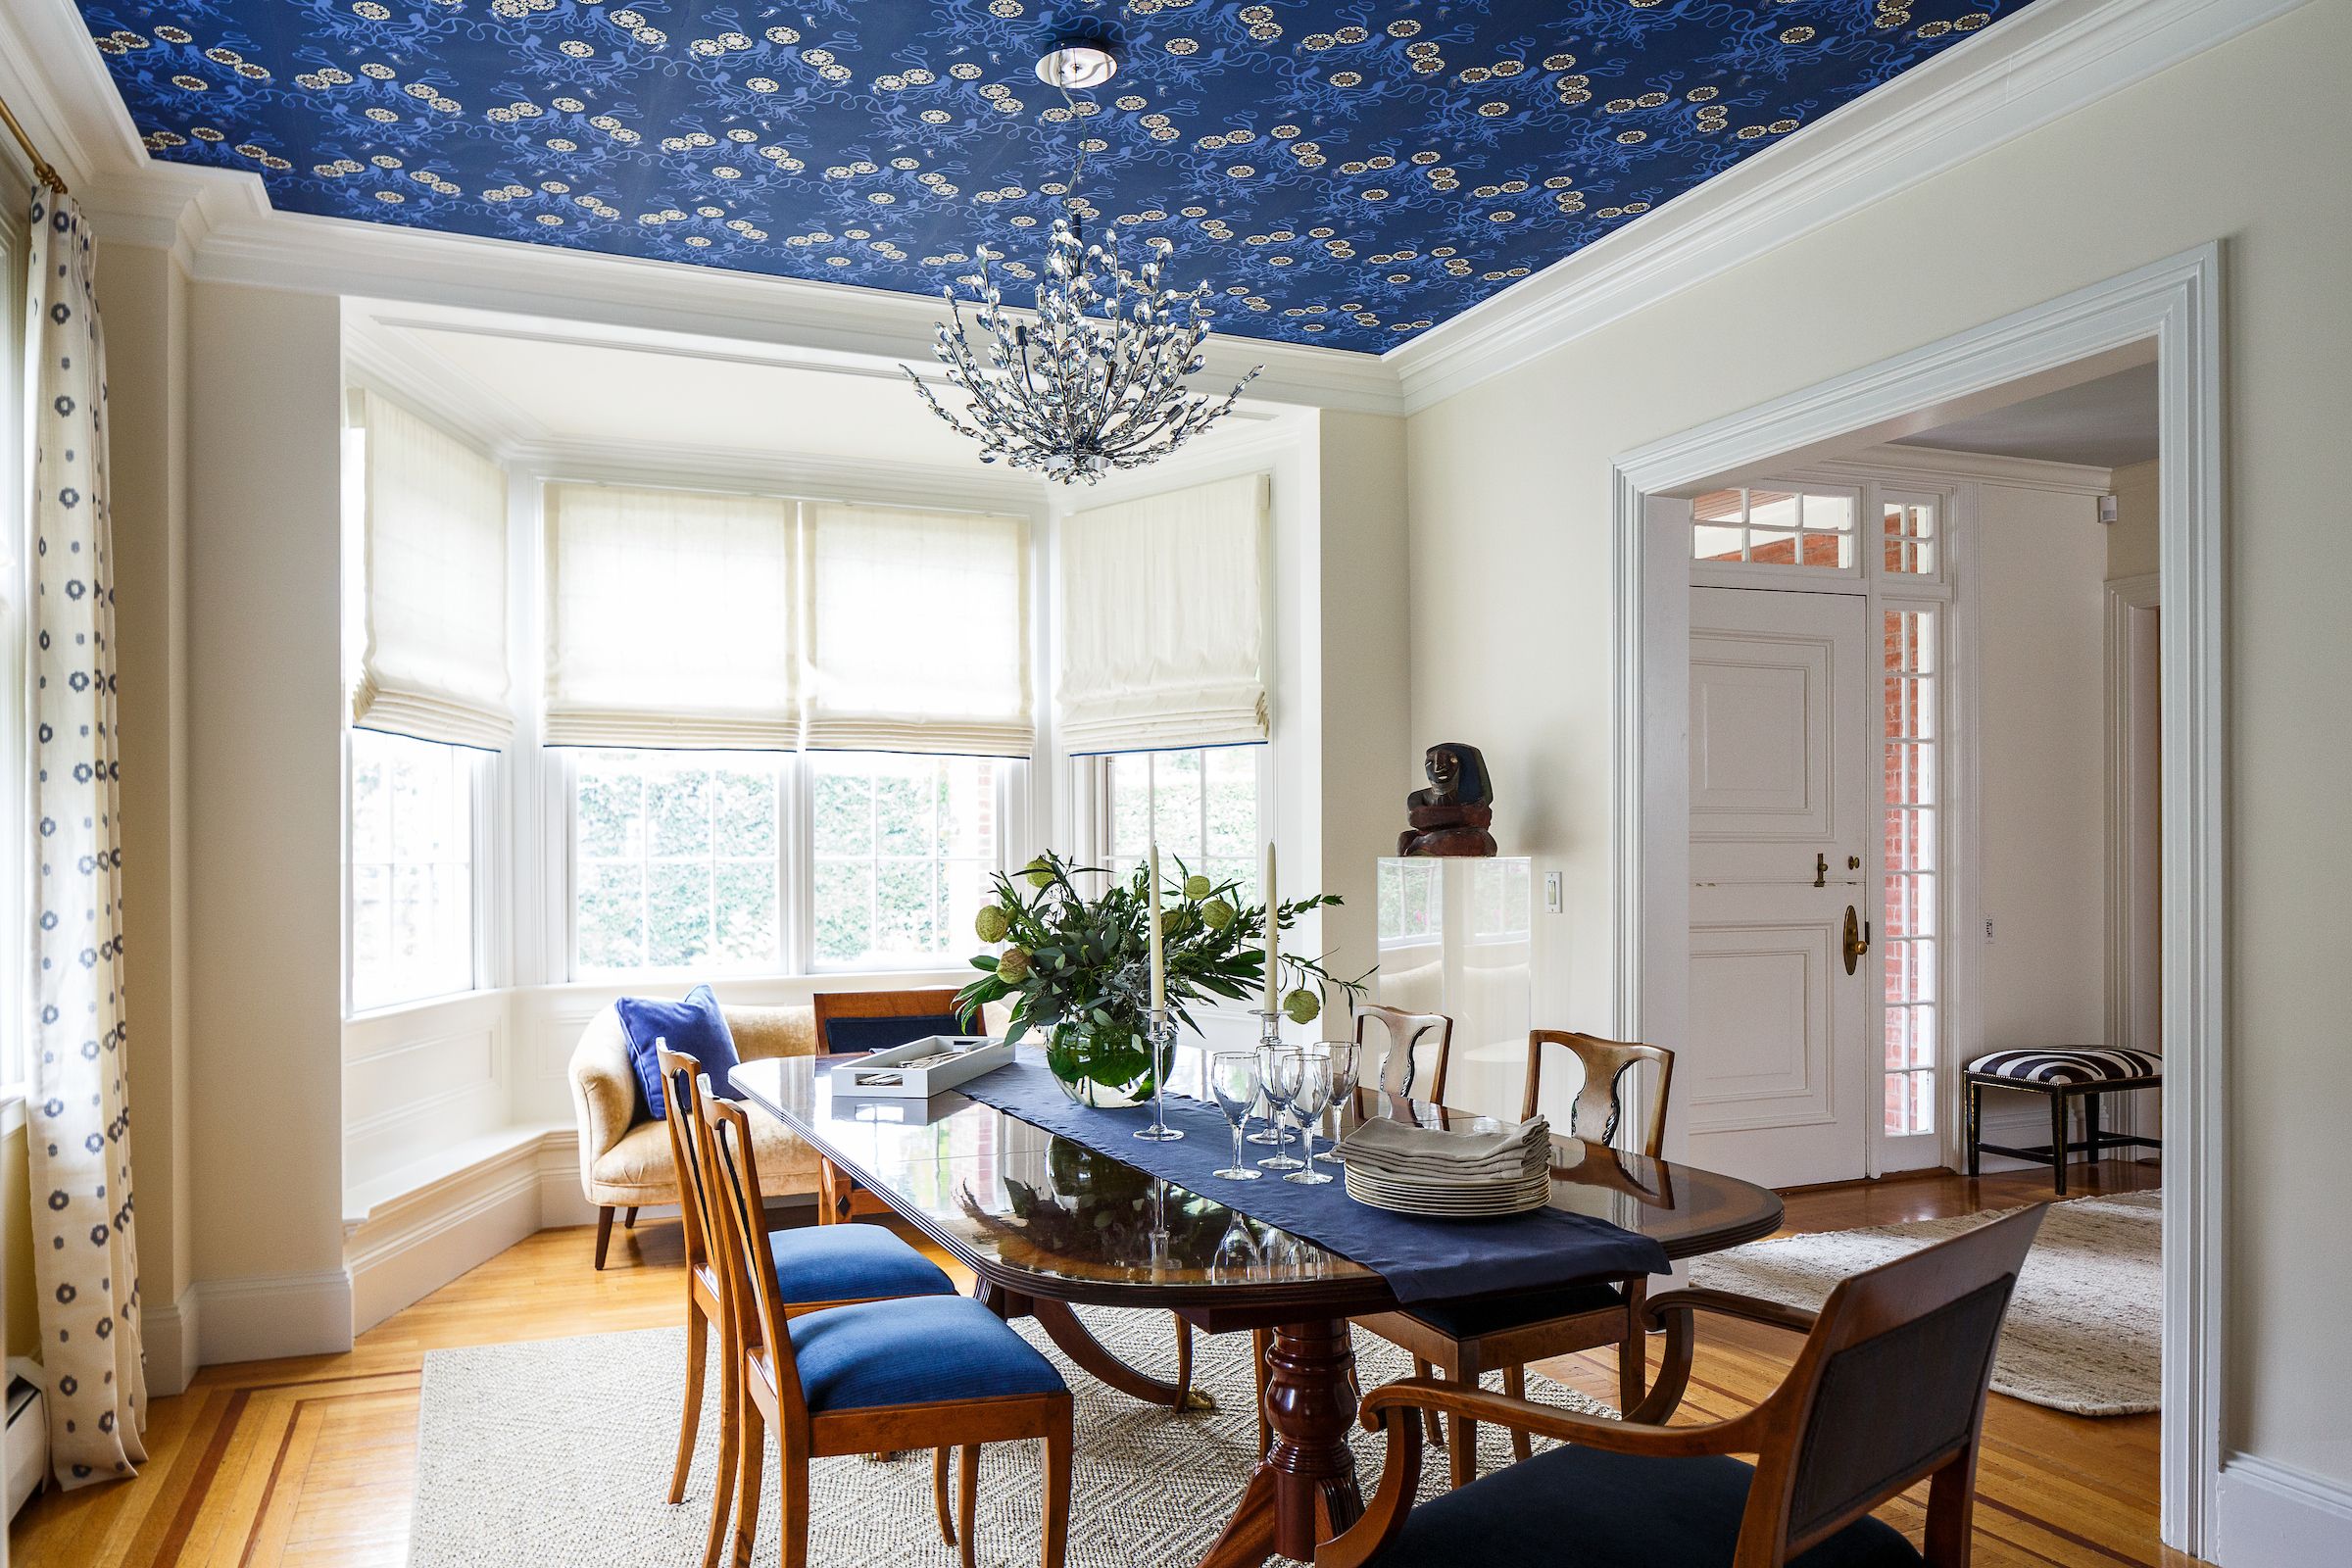
If you want to add some color and pattern to your kitchen ceiling, consider wallpaper. Wallpapered ceilings can create a stunning and unique look in your kitchen without breaking the bank. To wallpaper your ceiling, you'll need to measure and cut the wallpaper to fit, then apply it with adhesive. You can also add a border or trim to cover any visible seams or edges. This is a great option for those who want a bold and unexpected element in their kitchen design.7. Wallpapered Ceiling
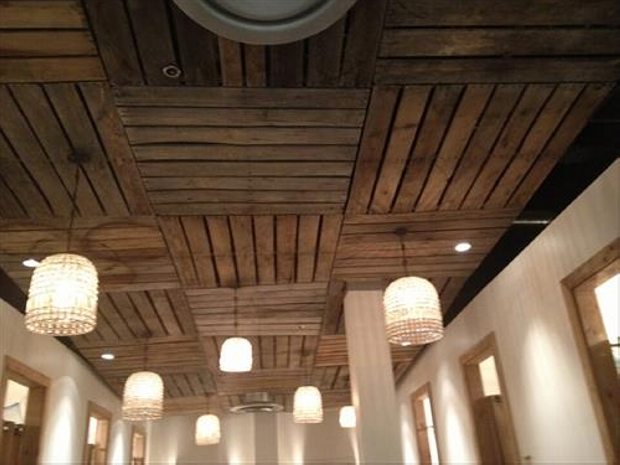
If you're a fan of the rustic and farmhouse look, consider using pallet wood to create a cheap kitchen ceiling. Pallet wood can be found for free or at a low cost, making it a budget-friendly choice for adding texture and warmth to your kitchen. To create a pallet wood ceiling, you'll need to disassemble the pallets and cut the wood to fit your ceiling. Sand and stain the wood to your desired color, then attach it to the ceiling with adhesive or nails. This is a great option for those who love the look of natural wood but don't want to spend a lot of money on expensive materials.8. Pallet Wood Ceiling
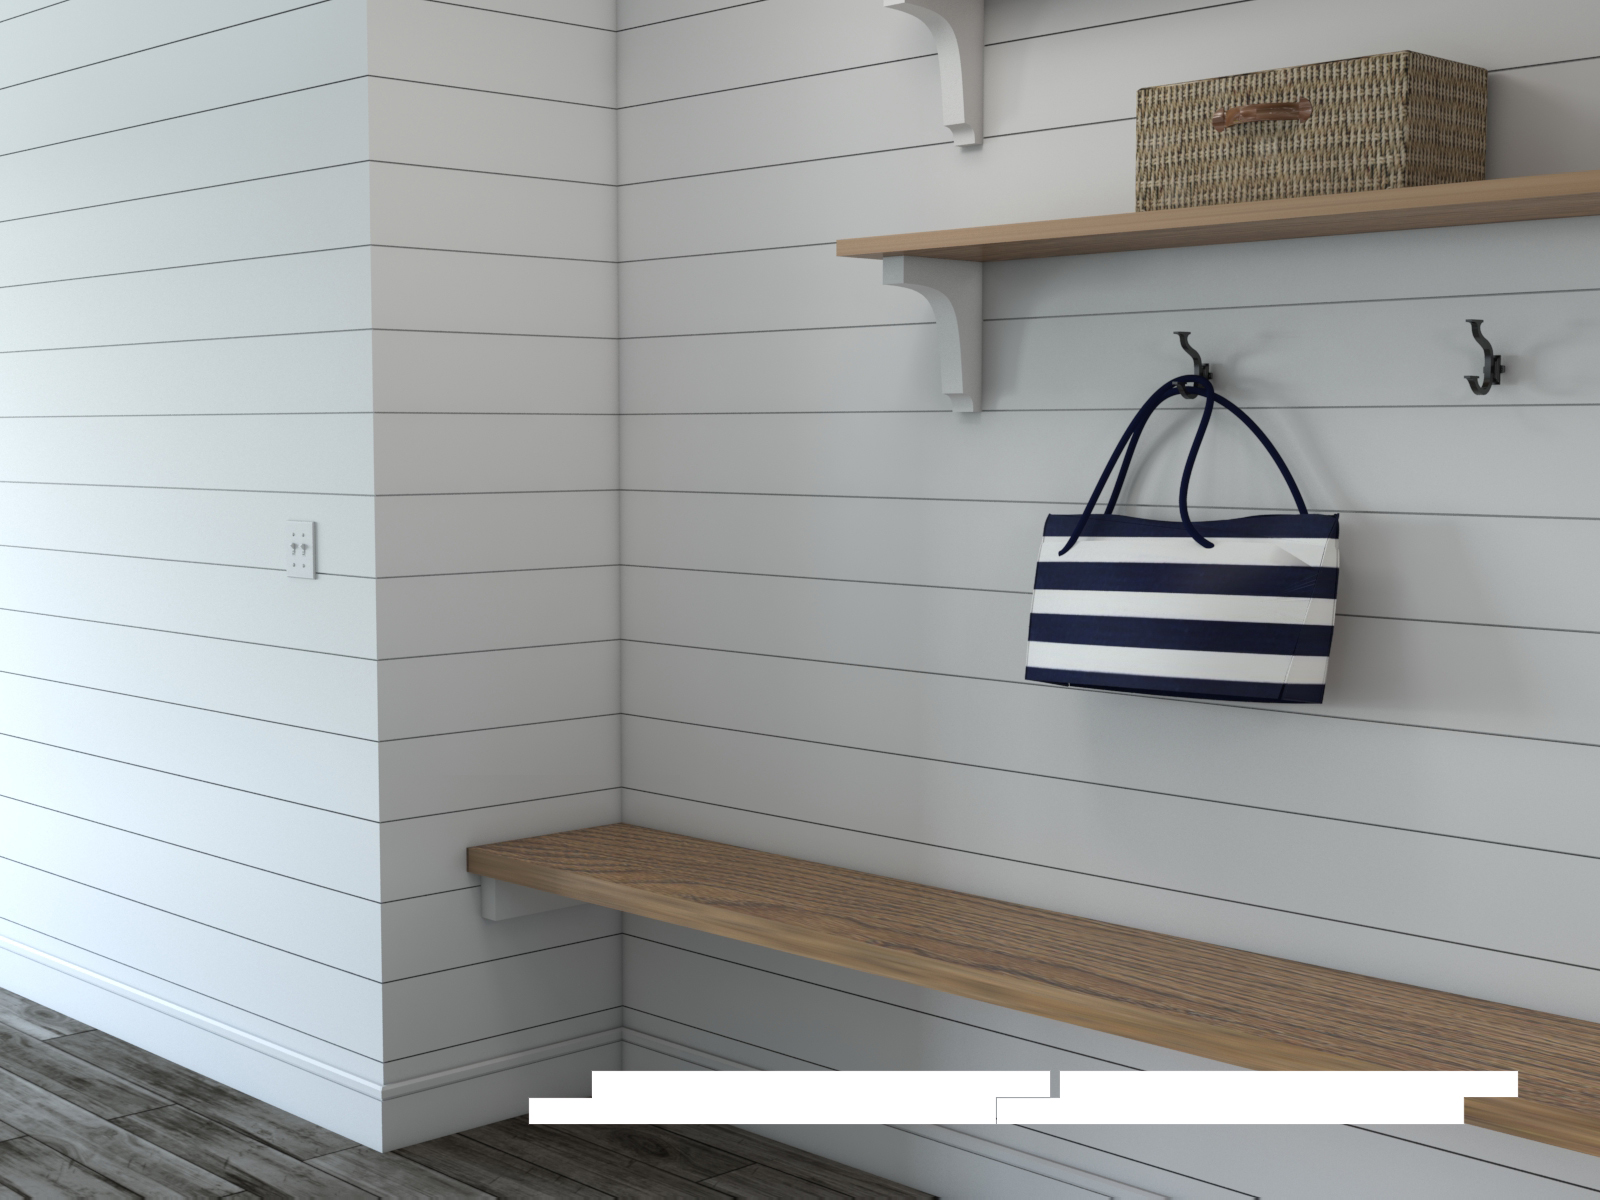
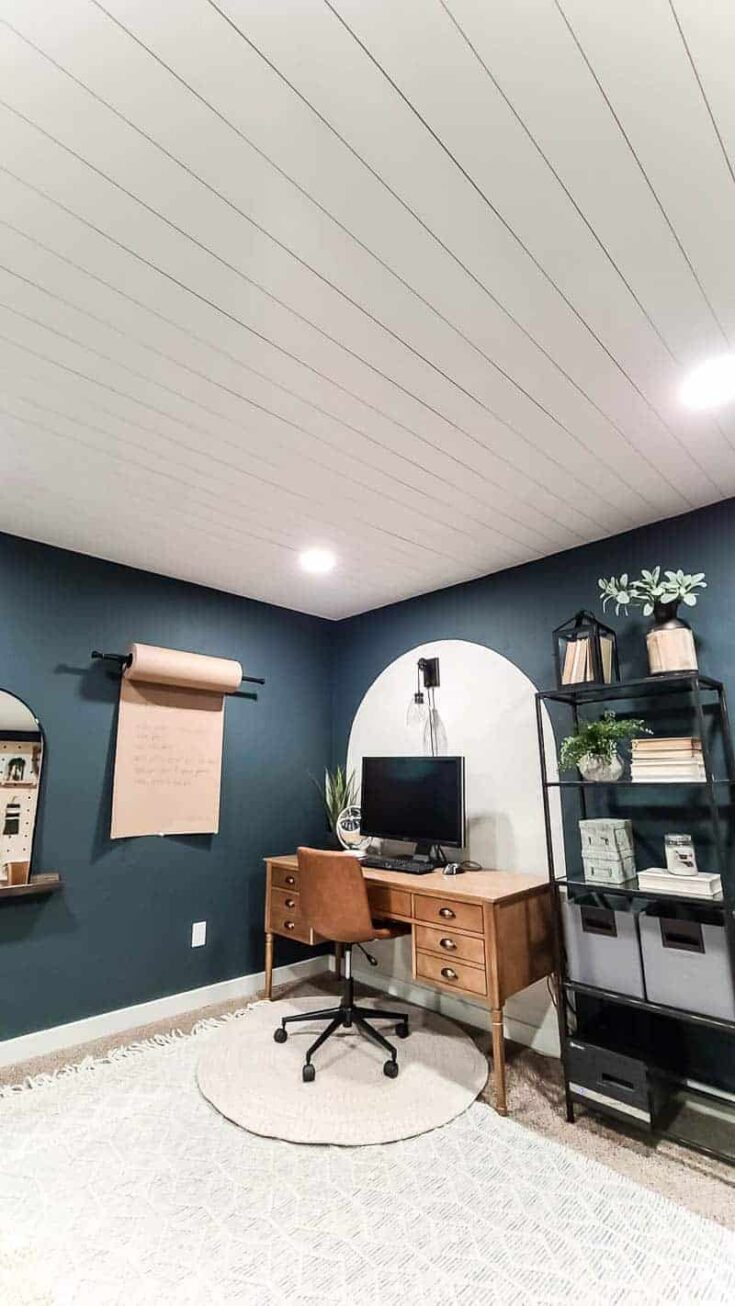
Shiplap has become a popular choice for adding texture and character to walls, but it can also be used on ceilings for a unique and budget-friendly look. Shiplap is a type of paneling that features horizontal grooves, giving it a rustic and coastal feel. To create a shiplap ceiling, you'll need to purchase shiplap boards and cut them to fit your ceiling. Attach them with adhesive or nails, and add trim or molding to cover any visible seams. This is a great option for those who want to add a touch of farmhouse charm to their kitchen design.9. Shiplap Ceiling
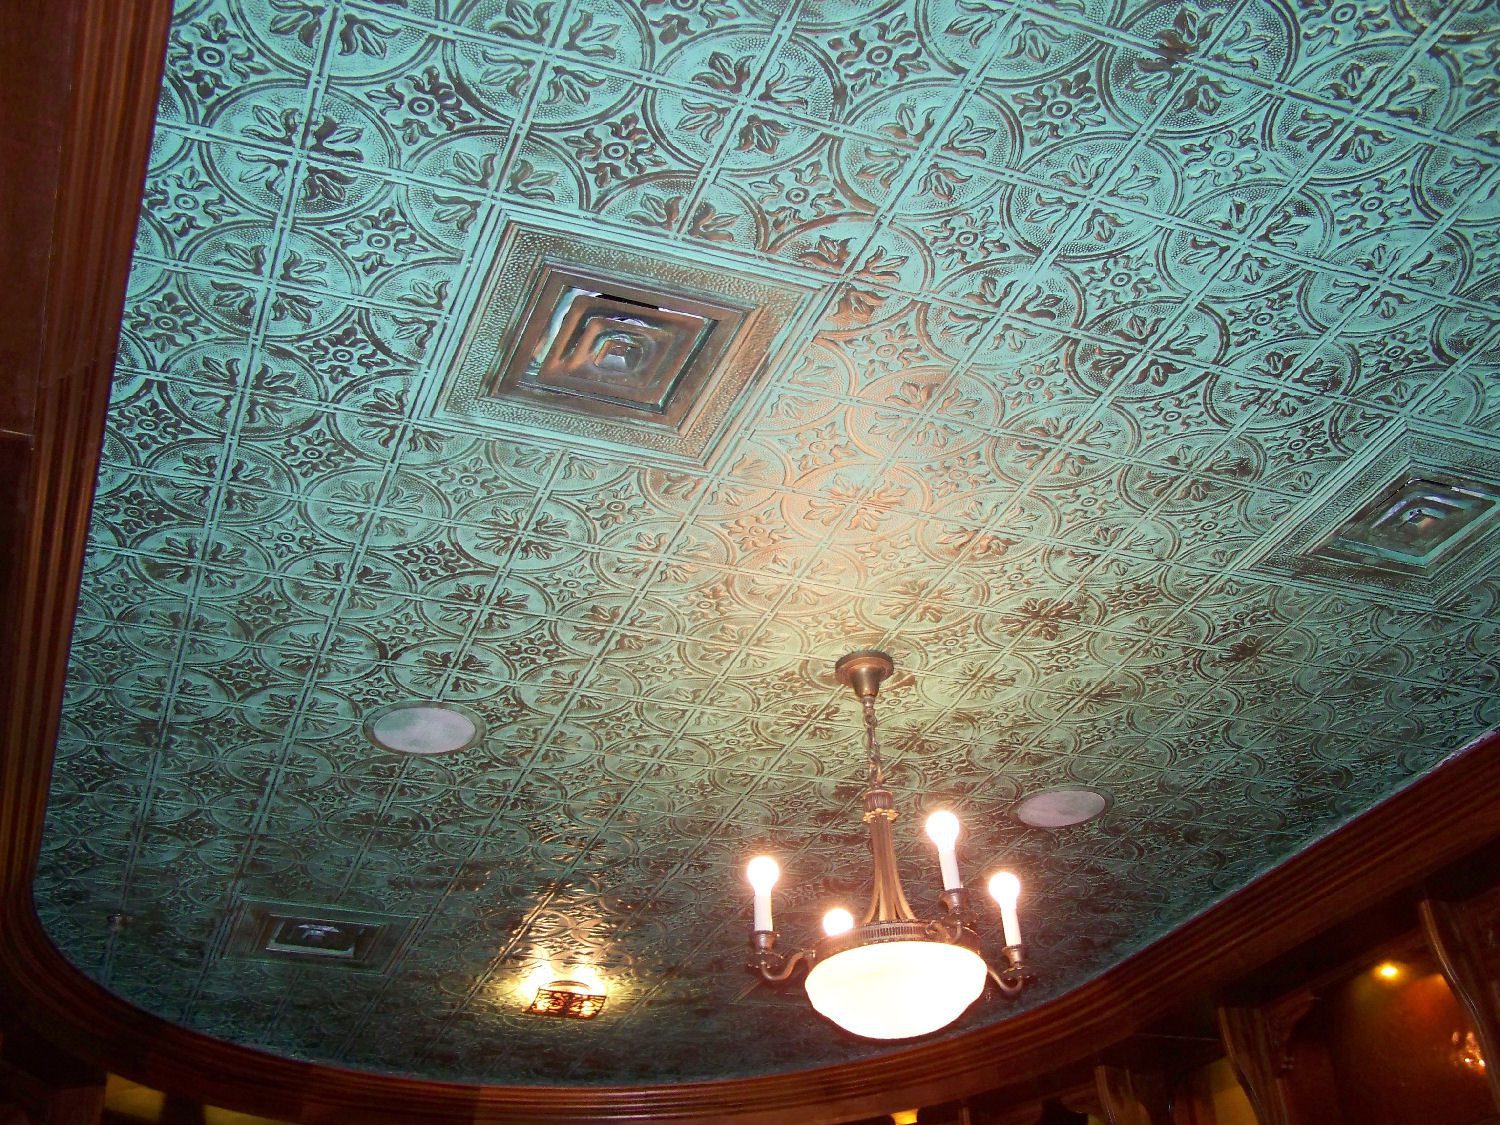
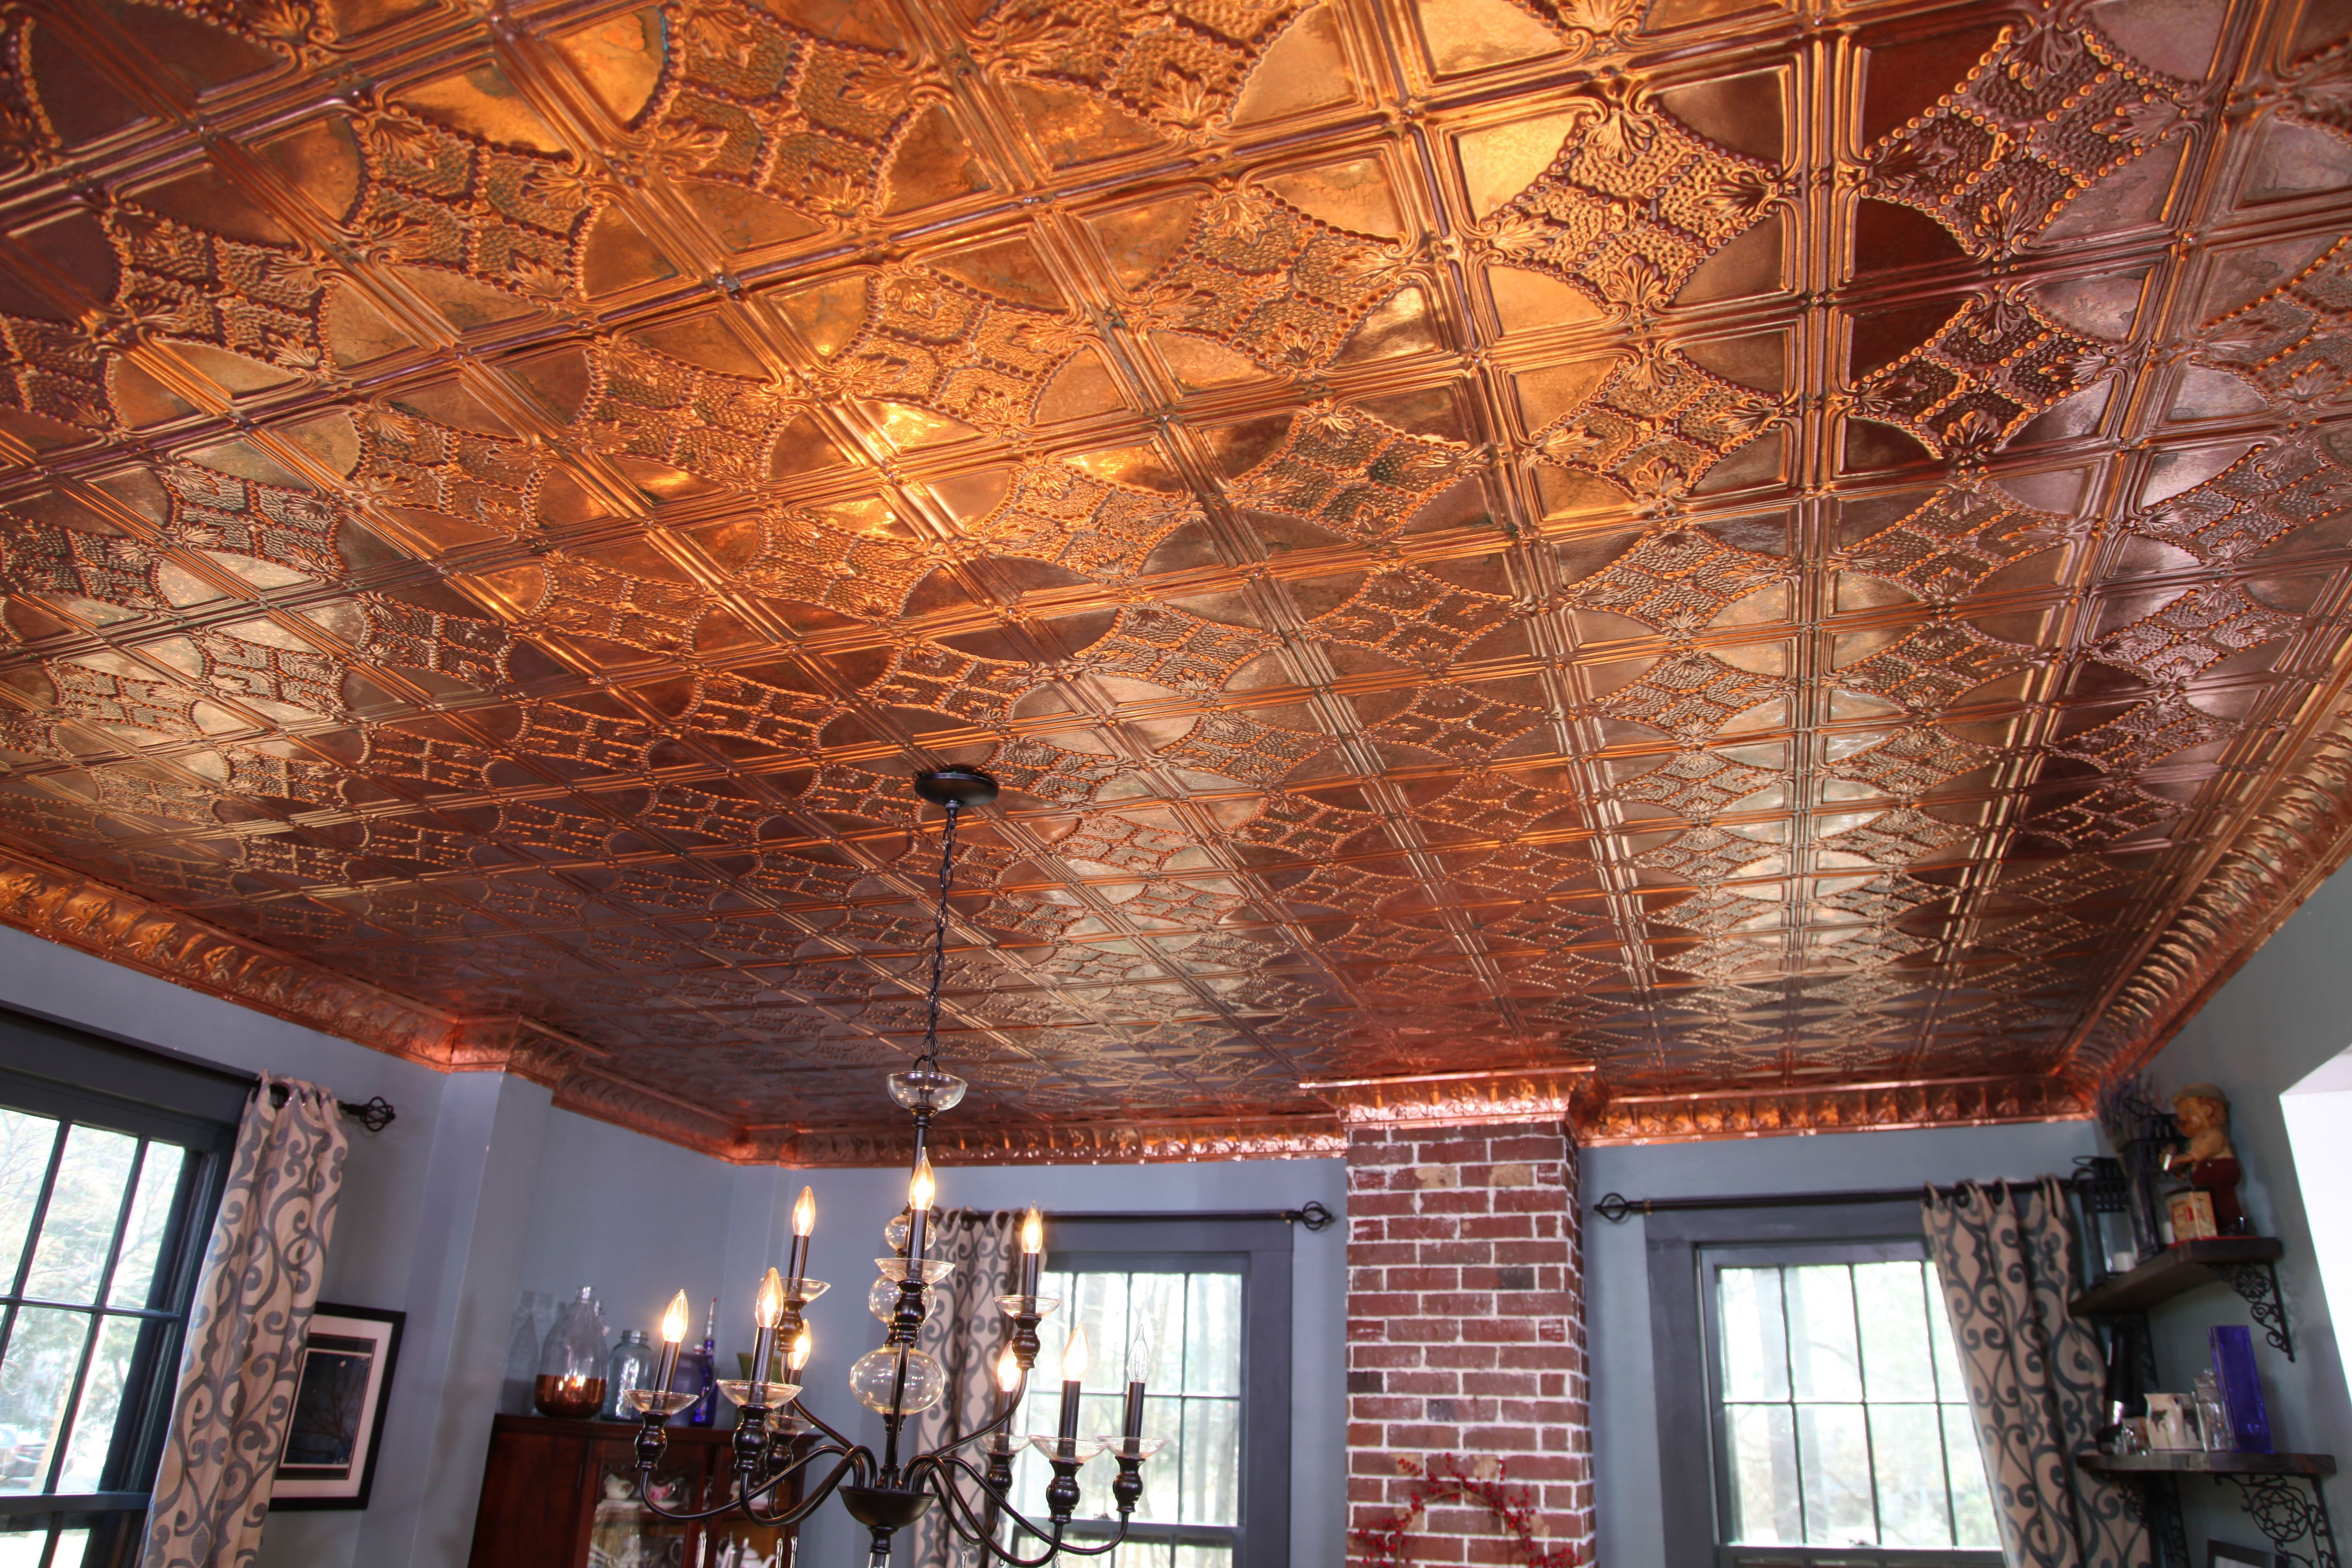
For a budget-friendly way to add some elegance and charm to your kitchen ceiling, consider stamped tin. This option involves using a metal stamp to create a pattern on the ceiling, giving it a vintage and high-end look. To create a stamped tin ceiling, you'll need to purchase a metal stamp and apply it to your ceiling using a hammer. You can also use paint or stain to add some color and depth to the design. This is a great option for those who want a unique and eye-catching ceiling without spending a lot of money.10. Stamped Tin Ceiling
Revamp Your Kitchen with a Cheap and Stylish Ceiling Design
Enhance Your Kitchen's Look and Functionality
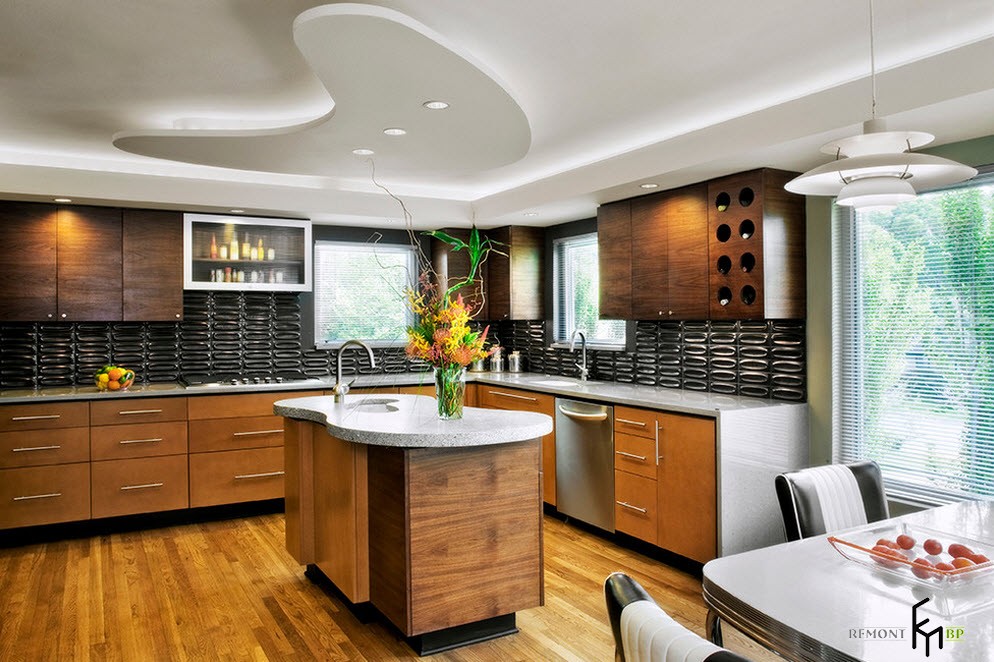
 When it comes to designing a kitchen, the ceiling is often overlooked. Most homeowners focus on the cabinets, countertops, and appliances, neglecting the potential of the ceiling to transform the space. However, a well-designed ceiling can add character and functionality to your kitchen while staying within budget.
Cheap kitchen ceiling design
ideas are becoming increasingly popular among homeowners who want to revamp their kitchen without breaking the bank. With a little creativity and some budget-friendly materials, you can achieve a stylish and functional ceiling that will elevate the overall look of your kitchen.
Get Creative with Paint
 One of the simplest and most cost-effective ways to give your kitchen ceiling a makeover is by using paint. Instead of the traditional white ceiling, consider using a bold color that will add personality to your kitchen. You can also use stencils or patterns to create a unique and eye-catching design.
Stylish kitchen ceiling
designs can also be achieved by using different finishes such as metallic or matte paint. These finishes not only add visual interest but also create a sense of depth and dimension to the ceiling.
Add Texture with Beadboard or Wood Planks
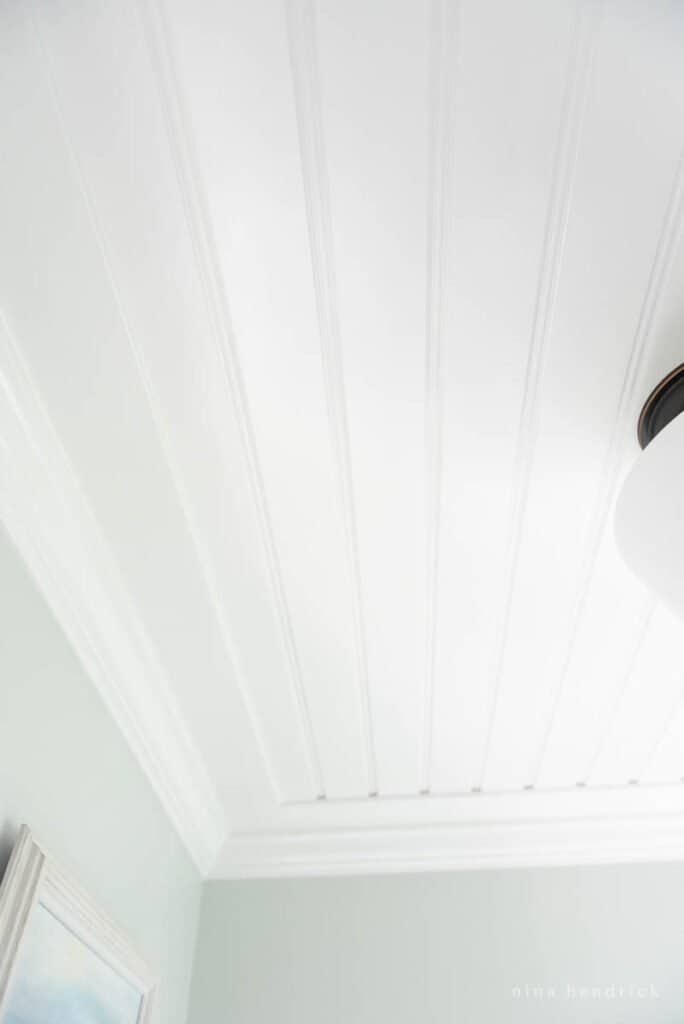
 Beadboard and wood planks are affordable materials that can add texture and charm to your kitchen ceiling. Beadboard is a type of paneling that is often used in traditional and farmhouse-style kitchens. It can be installed directly onto the ceiling or used as a drop ceiling for a more dramatic effect.
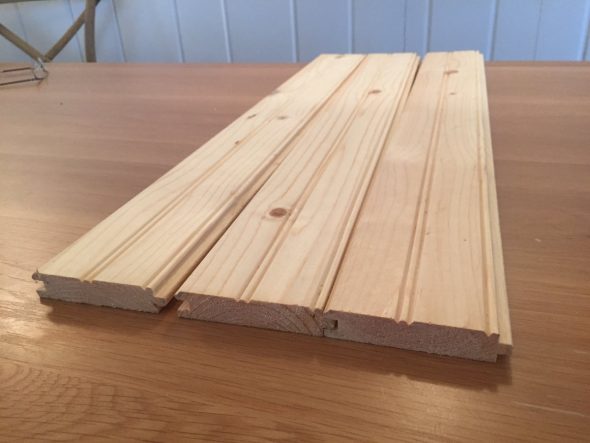
Wood planks, on the other hand, add a rustic and natural look to the kitchen. They can be installed in a variety of patterns, such as herringbone or chevron, to add visual interest to the ceiling. You can also choose to paint or stain the planks to match the rest of your kitchen decor.
Get Creative with Lighting
 Using
cheap kitchen ceiling
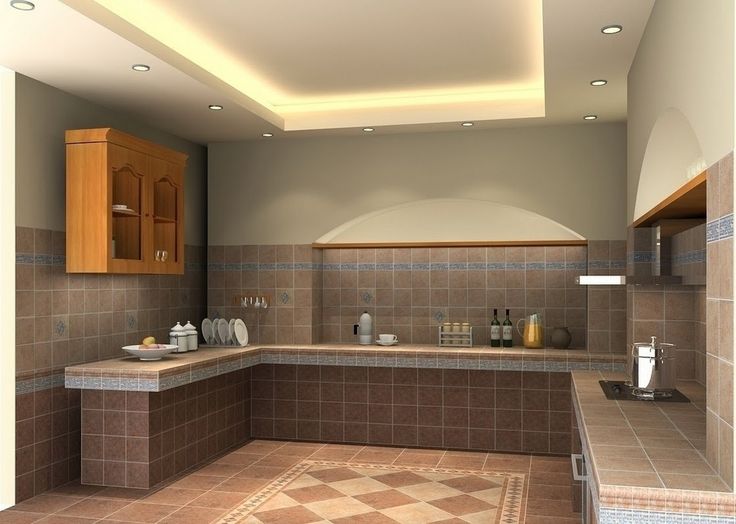
design ideas, you can also incorporate creative lighting to enhance the look and functionality of your kitchen. Installing recessed lights or pendant lights can add a modern touch to the ceiling while providing ample lighting for cooking and food prep.
You can also use LED strip lights to create a dramatic effect on the ceiling. These lights can be easily installed and come in a variety of colors, allowing you to customize the look of your kitchen. They are also energy-efficient, making them a budget-friendly choice.
Conclusion
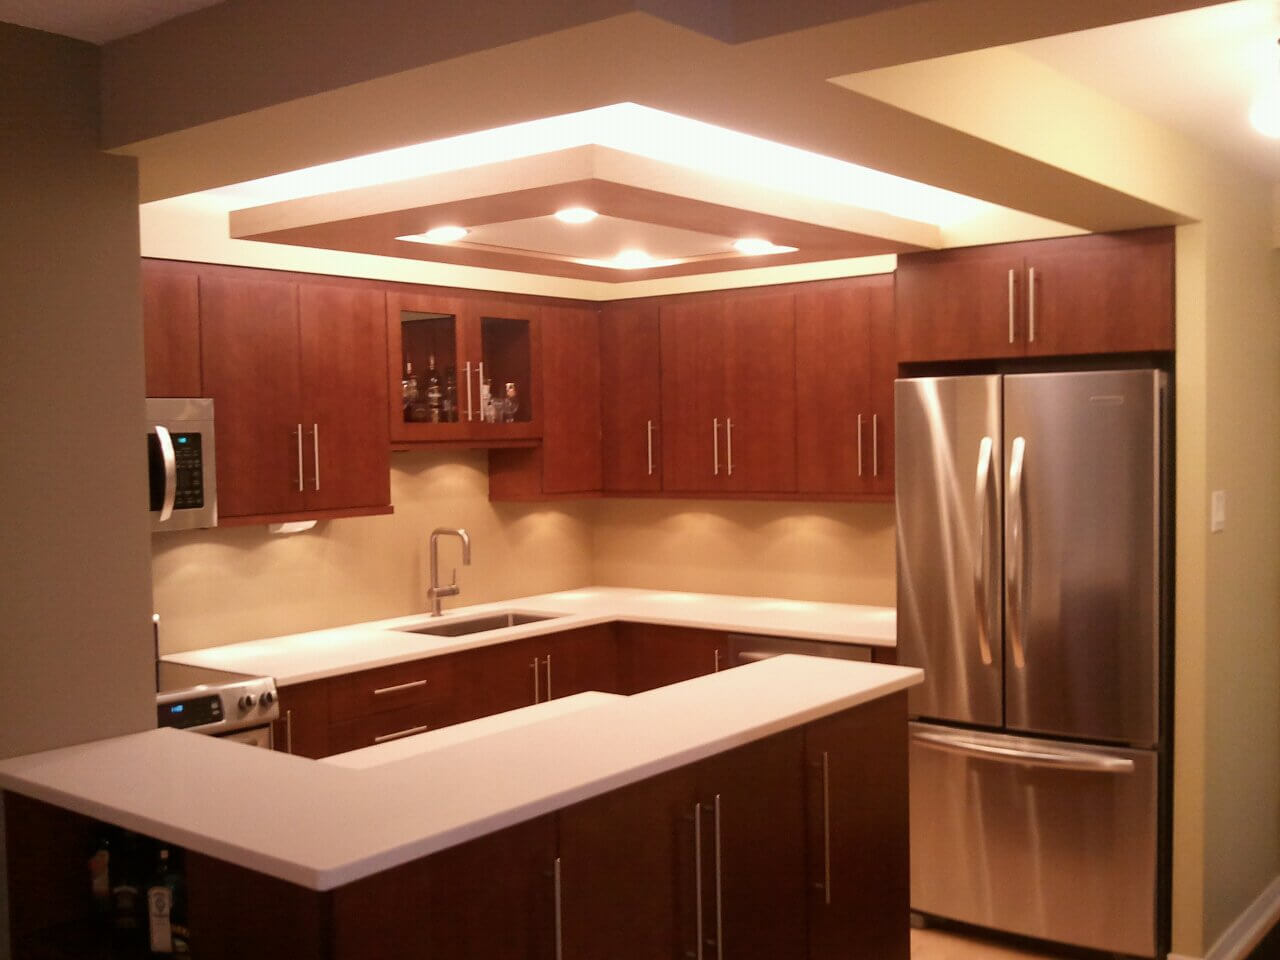 A well-designed kitchen ceiling can make a big impact on the overall look and functionality of your kitchen. With these
cheap kitchen ceiling
design ideas, you can transform your kitchen into a stylish and inviting space without breaking the bank. So why wait? Get creative and give your kitchen ceiling the attention it deserves!



























:max_bytes(150000):strip_icc()/ep11-21-5abfaa3431283400371fa0d0.jpg)






:max_bytes(150000):strip_icc()/ShiplaponCeiling-ebfc07f71359414e838c695c8948a4c8.jpg)

